Before beginning this page, I completed the preparation of the rest of the pages in the book. I watched one of Robyn McClendon’s videos, the start of her series on an altered book, and I wished I’d seen this before I started with this journal! She gave some excellent instructions about how to remove pages and stick the remaining ones together, to be ready for the addition of collage elements etc. In my case I didn’t remove as many pages. I stuck the remaining pairs of pages together with PVA as I’d done before, and then sealed each page with acrylic polymer. Once this was done and I counted up the pages, I was surprised to find that I am already over half way through this journal!
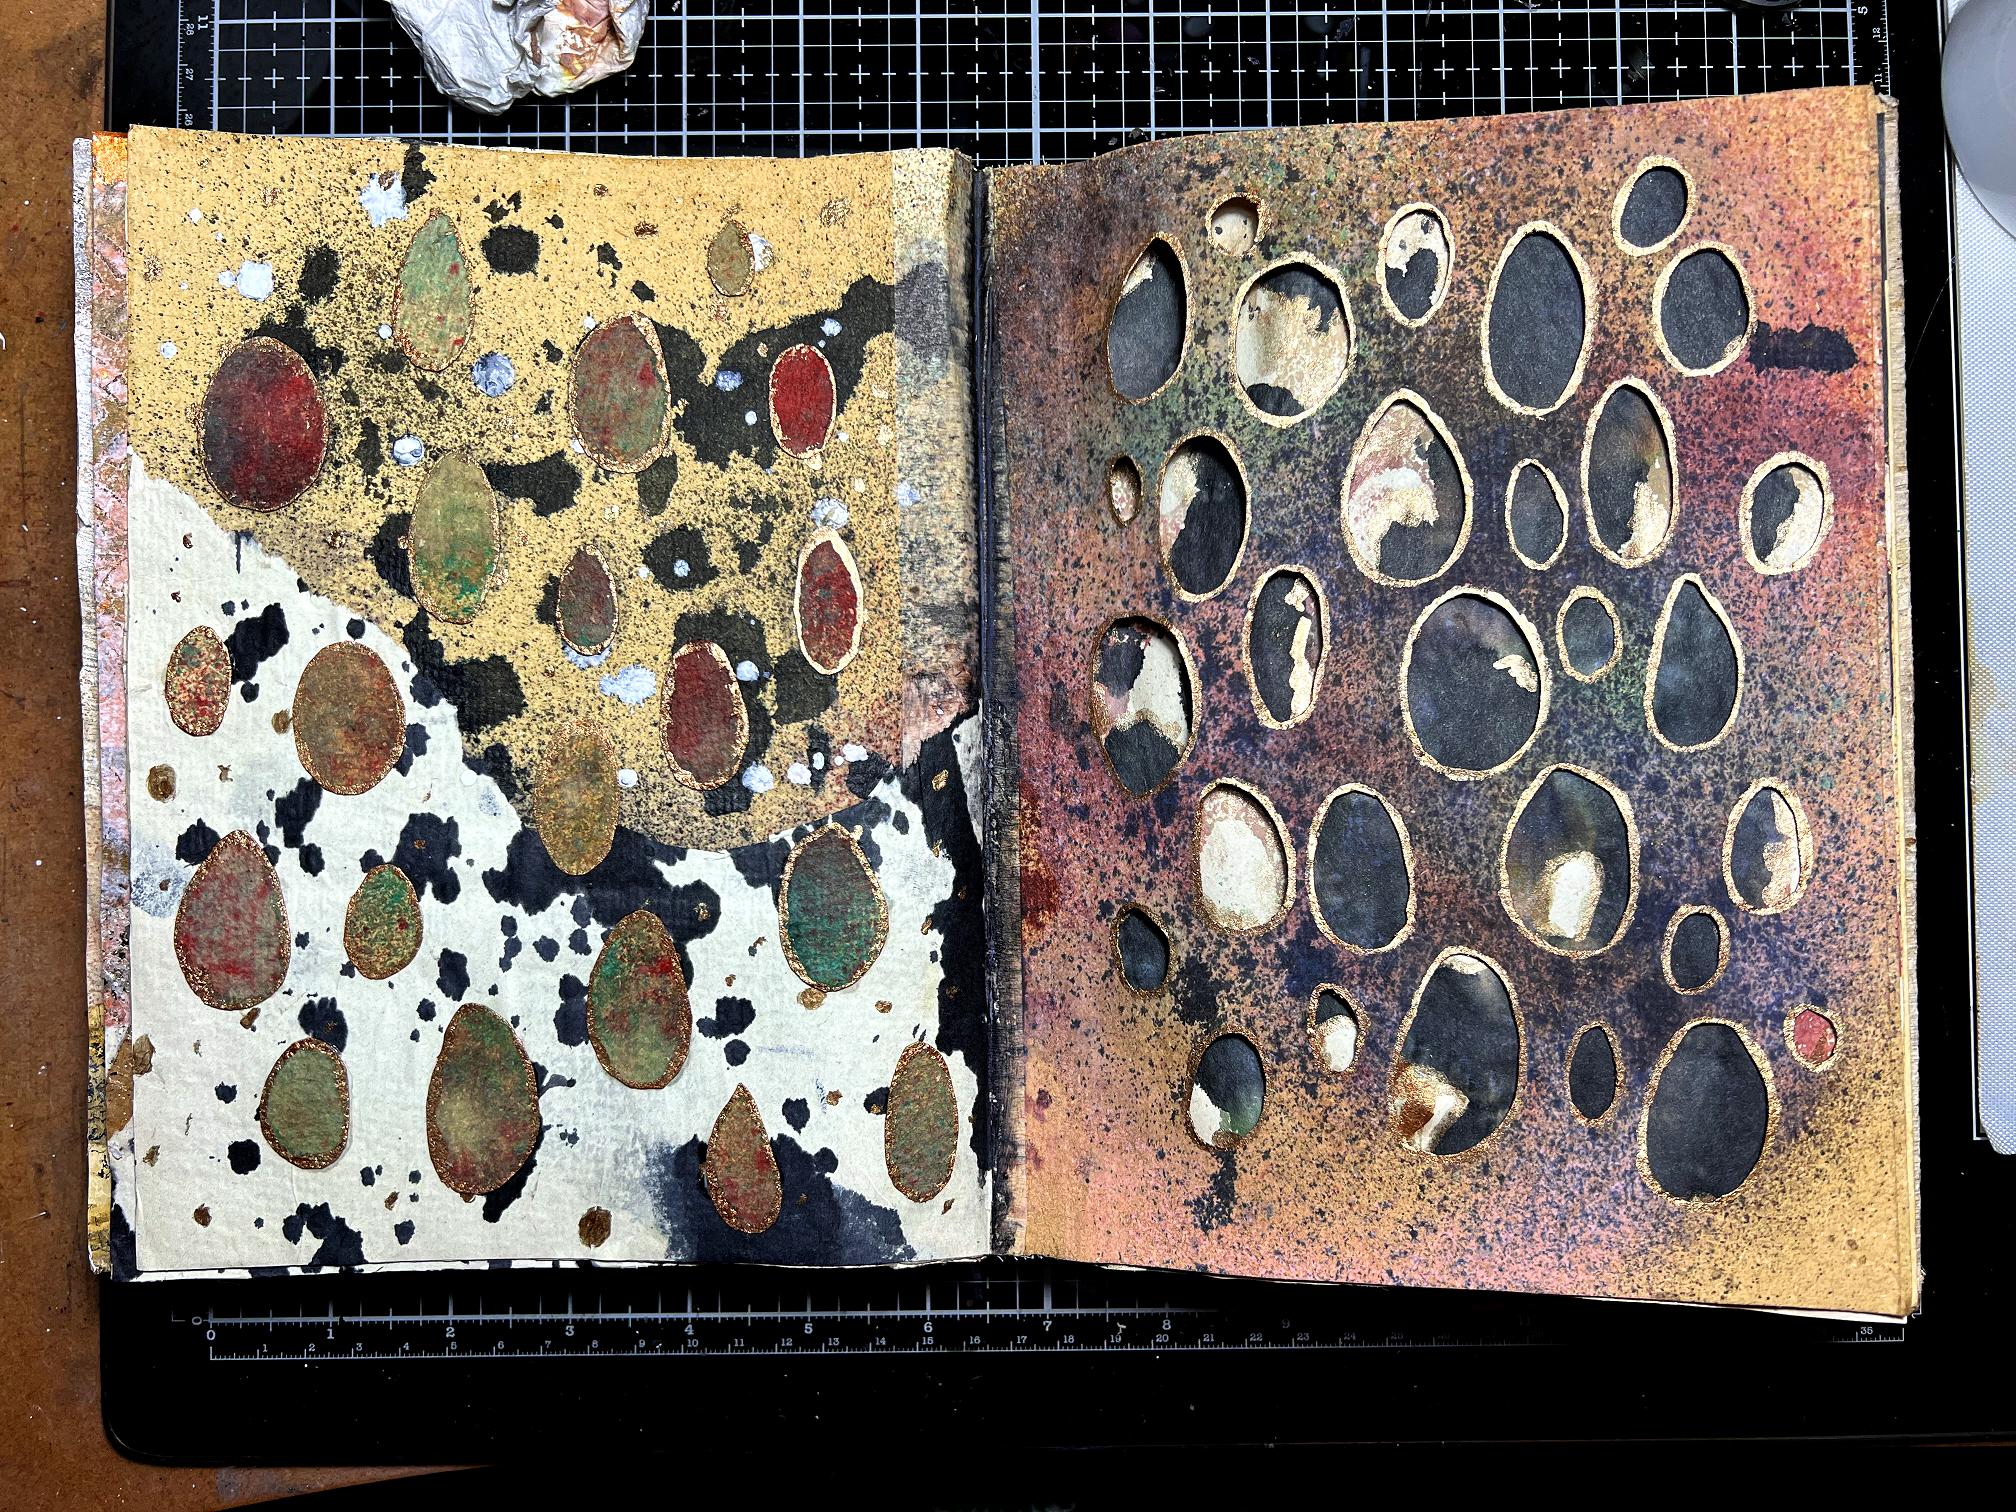
The other side of the pierced ovals
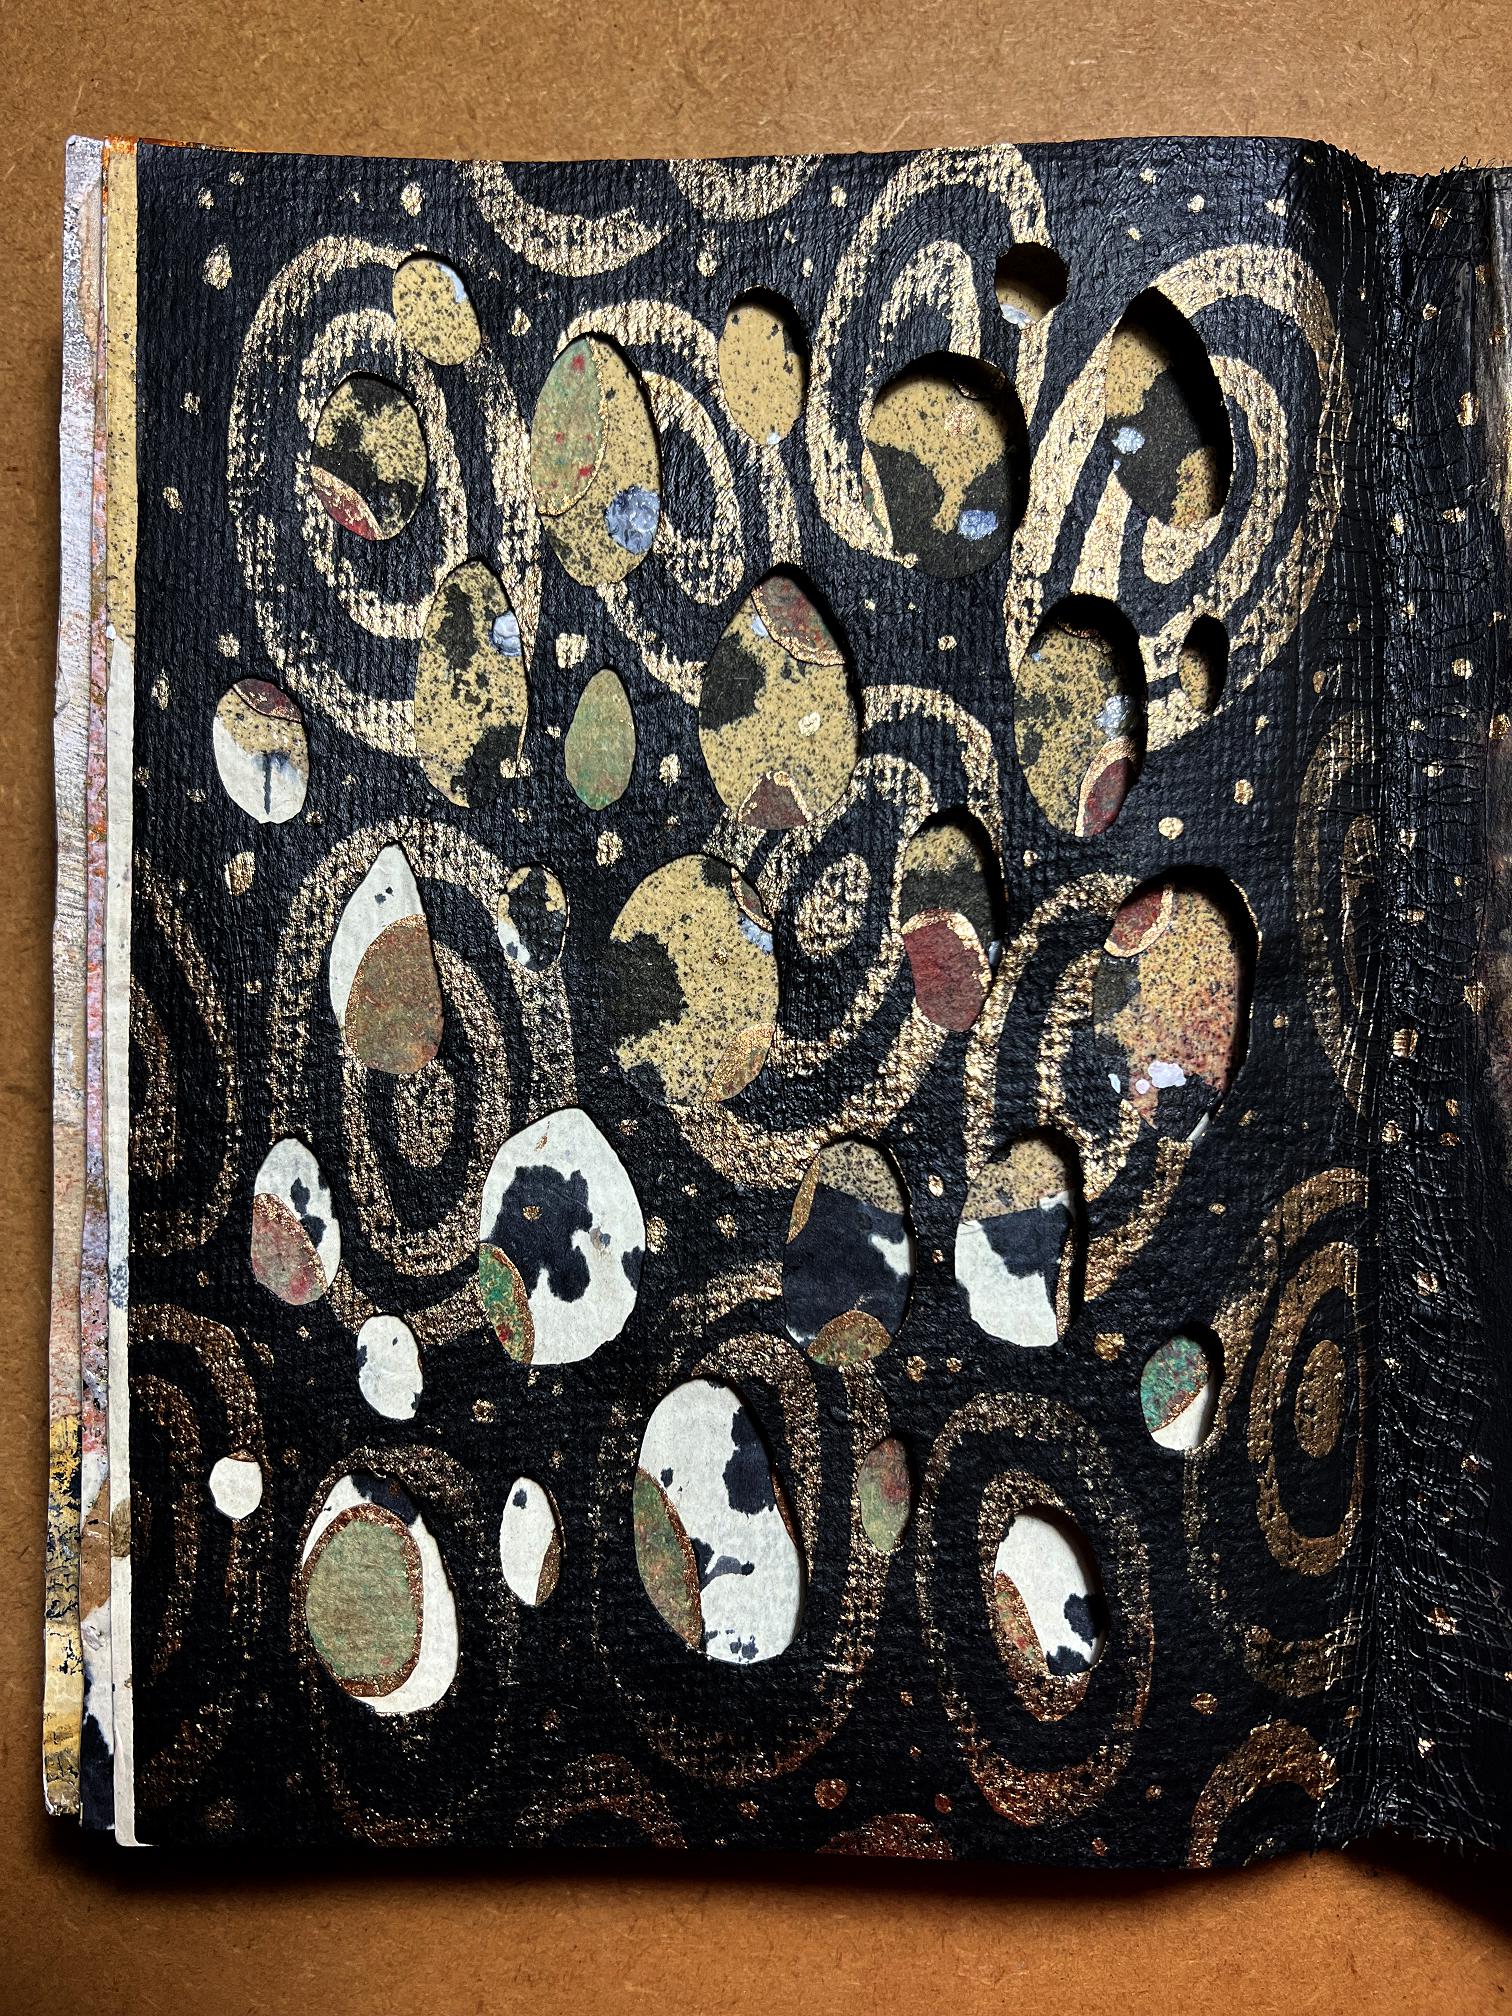
Having completed the first spread involving the cut out ovals in my Organic Journal:
I turned the page and began work on the next spread.
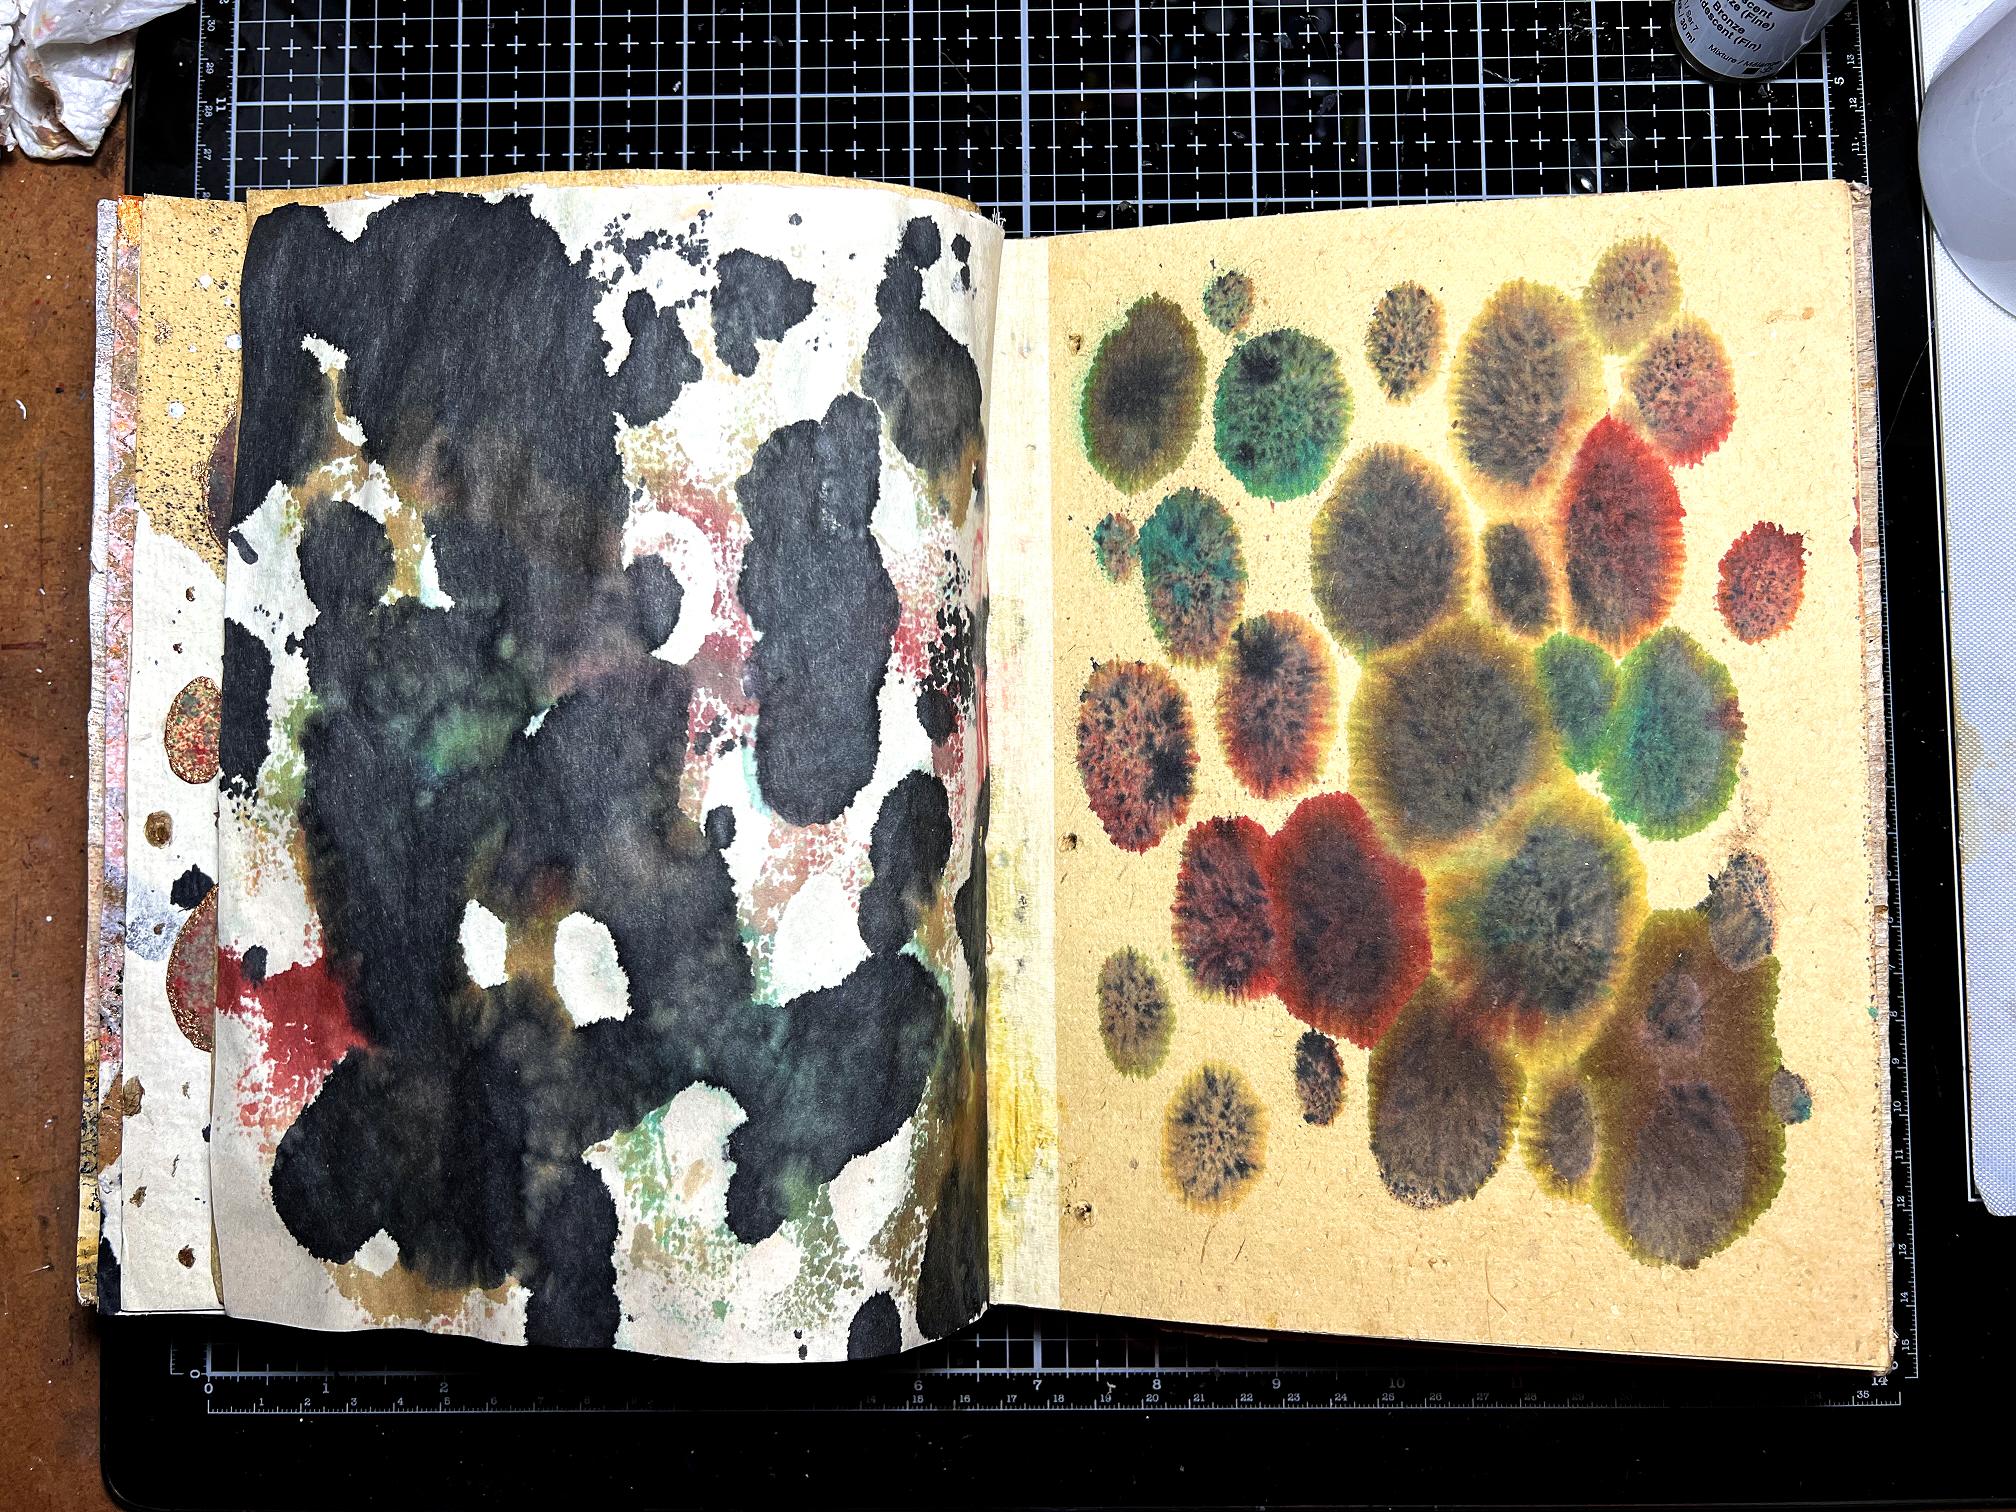
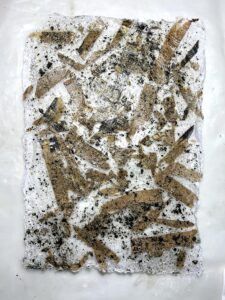
The blotted off page, which is what shows through the pierced ovals, is made of quite flimsy paper and all the ink went straight through it. The next page of the journal was untreated, and when I painted the pierced oval page, I didn’t put a sheet underneath to catch the paint that penetrated through the holes, and it soaked into the next page and spread, and again went right through onto the other side. I really didn’t want three spreads in a row with the ovals theme. That page tore a bit at the bottom, and with the flimsy blot-off page being virtually the same as its front side, I decided to stick those two pages together. This had the added advantage of strengthening the blot-off page and repairing the tear.
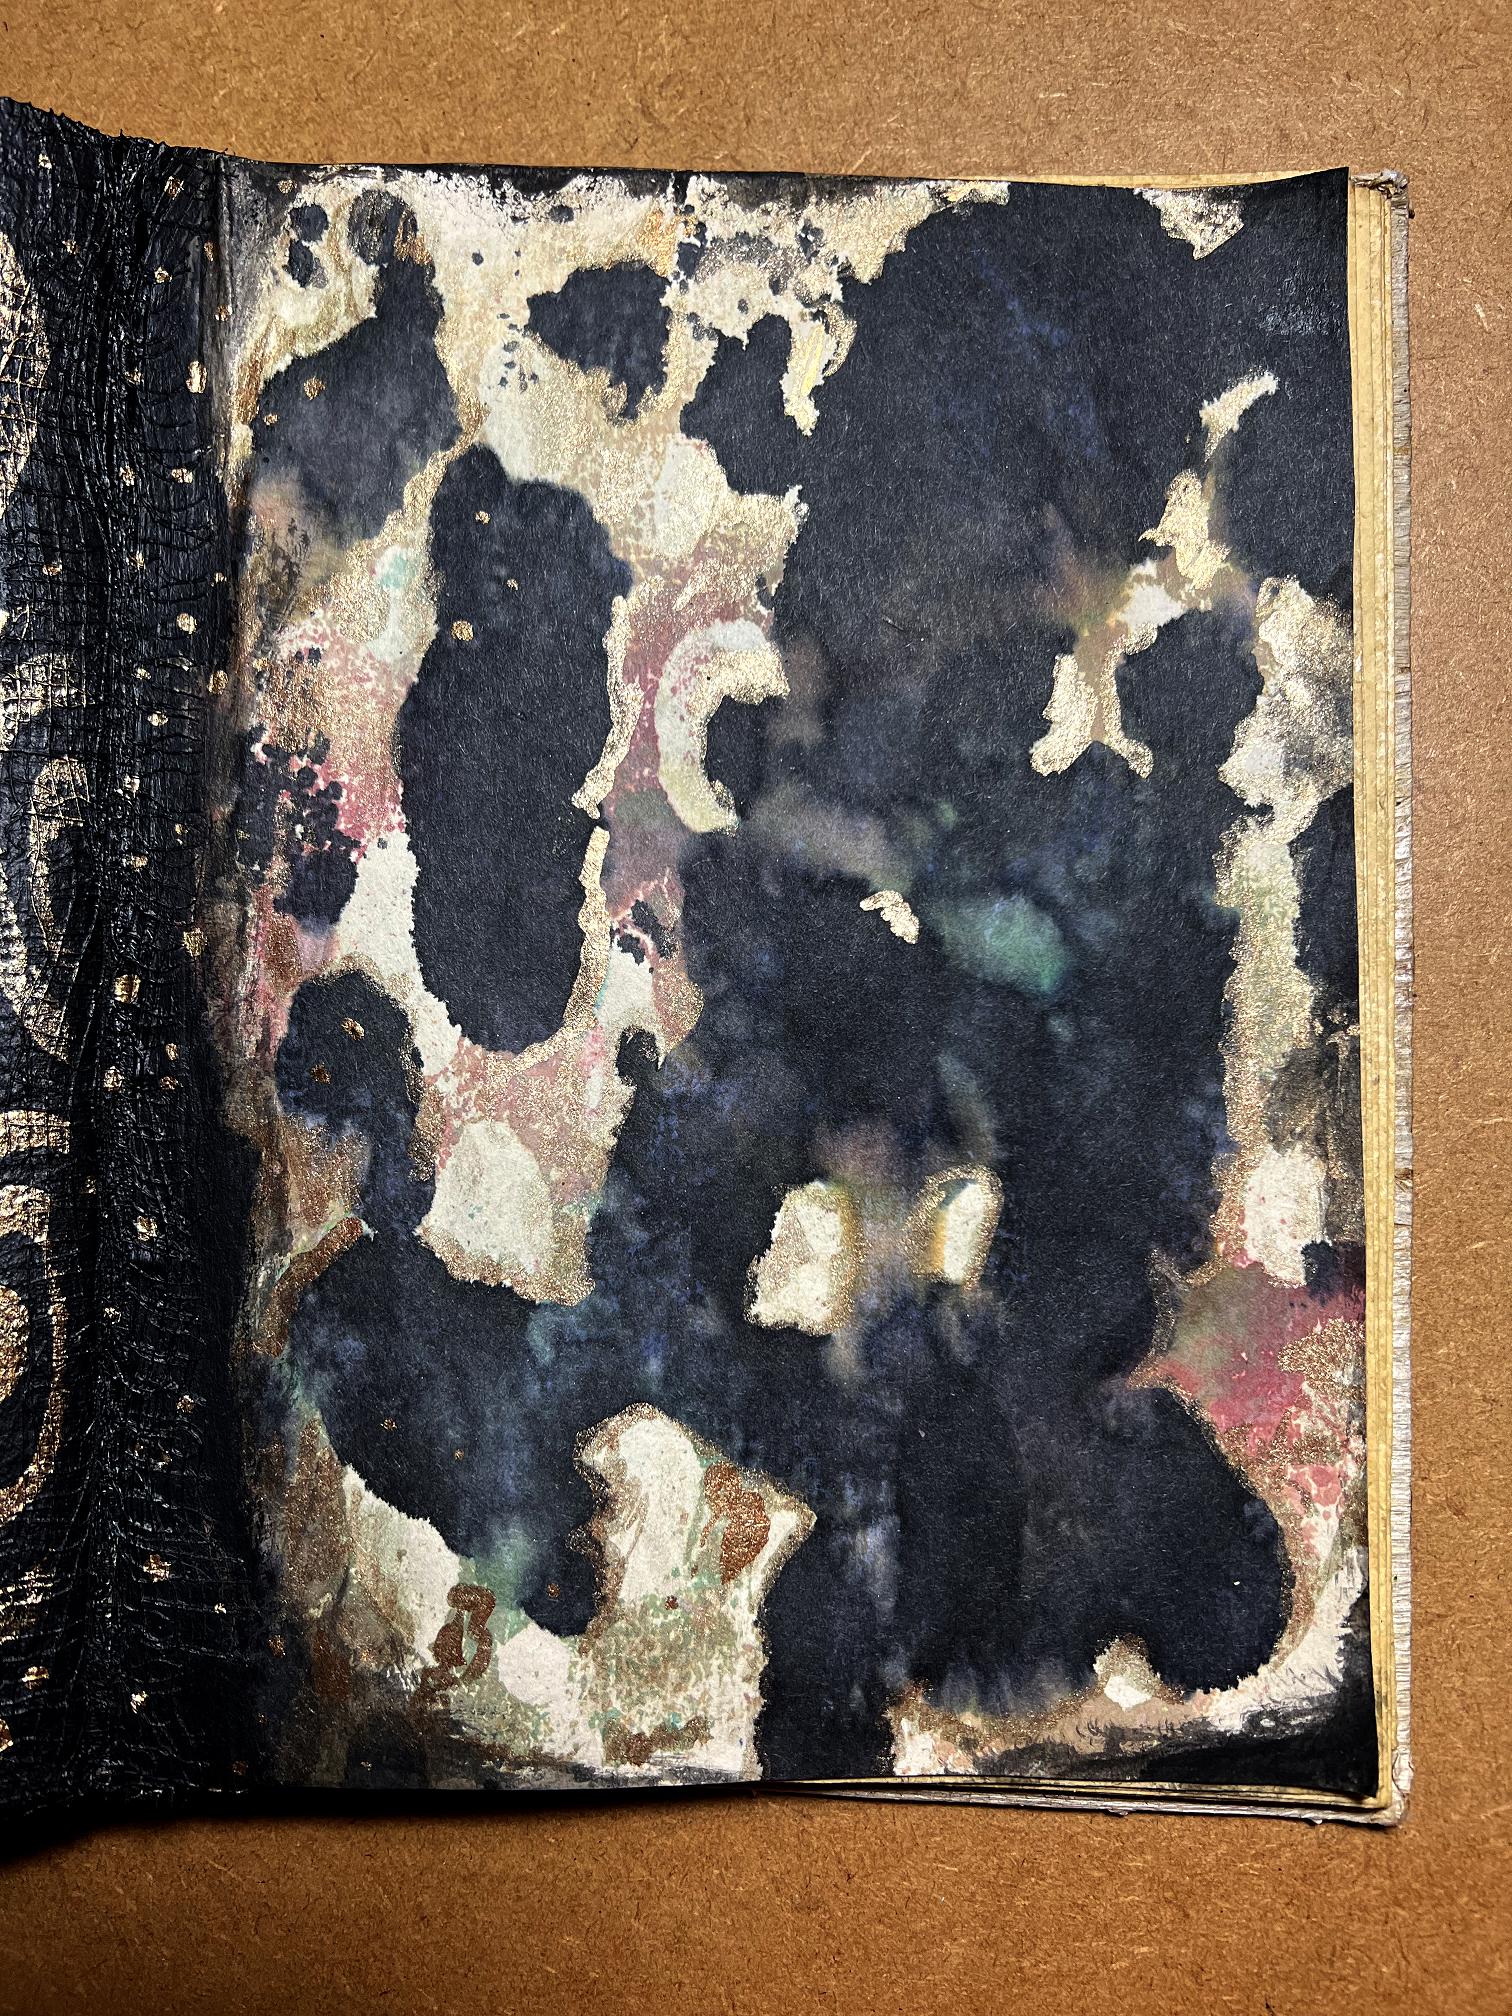
I then had to decide what to do with the reverse side of the pierced ovals page, which also had some paint bleed-through from the other side. I eventually painted the whole thing black. Fortunately I used some fairly heavy body cheap black acrylic without adding any water, because I forgot that this page was also untreated, and I did get a bit of bleed-through onto the front. It wasn’t too bad, but most of the gold outlining around the ovals was compromised, so I had to redo this.
I continued the black paint over onto the blot-off page a little way, to cover the page reinforcement that I had added in the form of a couple of strips of scrim.
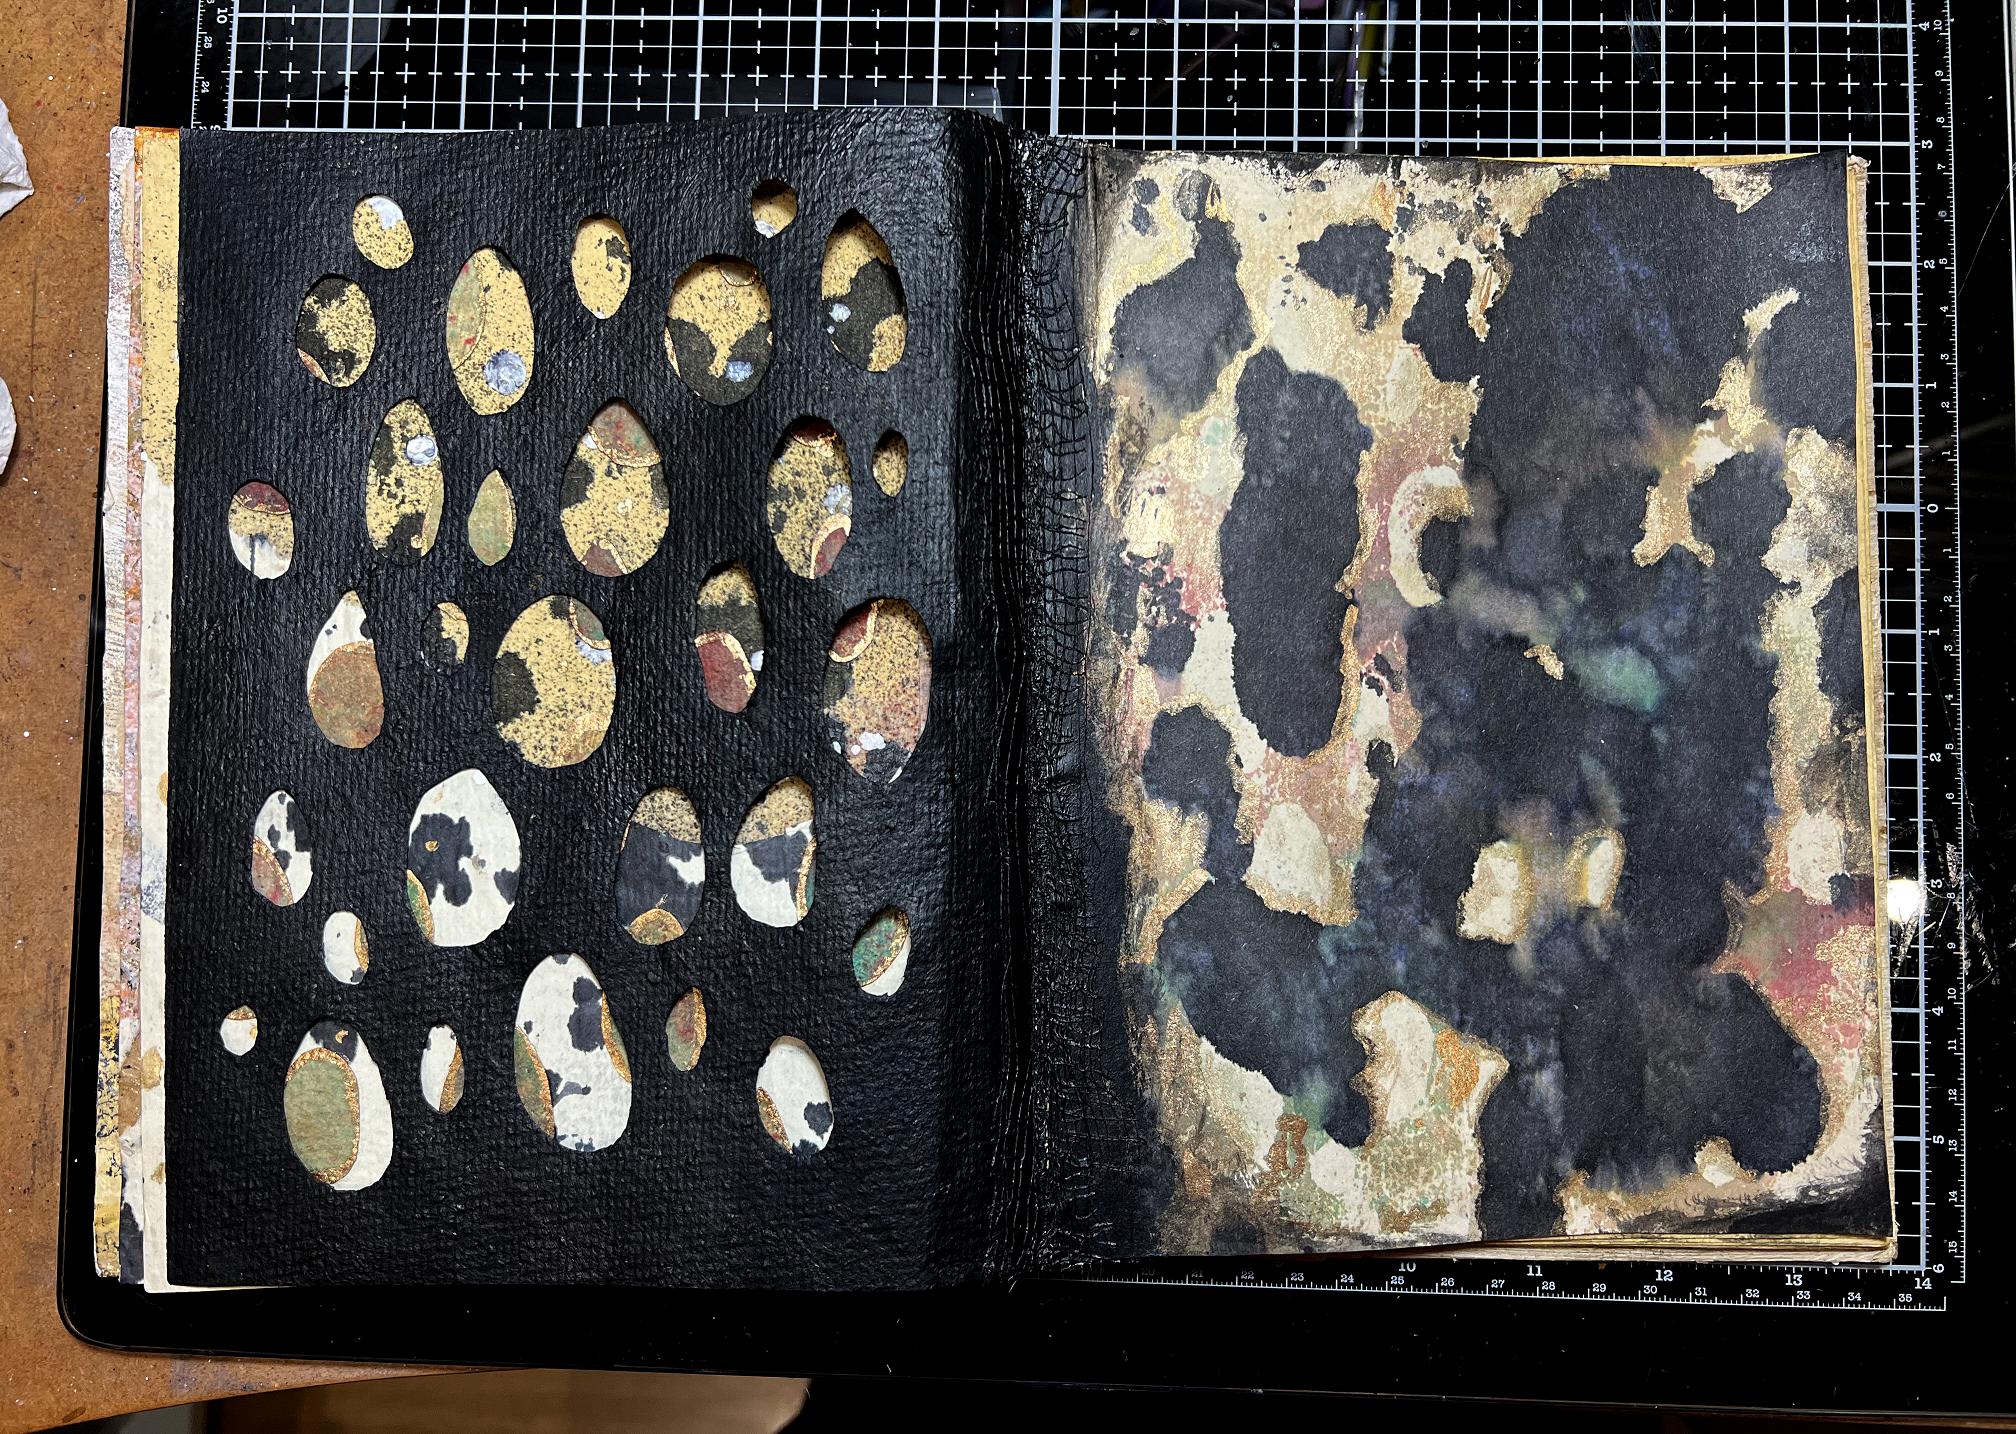
I wanted the reverse side of the pierced ovals page to be contrasting and interesting against what you could see through the holes, but the flat black wasn’t quite what I wanted.
I chose one of my new DIY foam stamps (I must do a post about these!) which happened to have a pair of ovals on it, and applied some Golden iridescent bronze fine paint (my favourite gold paint) and stamped this randomly over the page.
I think this gives quite an interesting effect and ties in with both the blot-off page and the holes, and what you can see through them. It’s a shame the photo doesn’t show how bright and shiny the gold is, and it doesn’t show the gold on the blot-off page at all! The whole effect is very much richer and more opulent in real life.
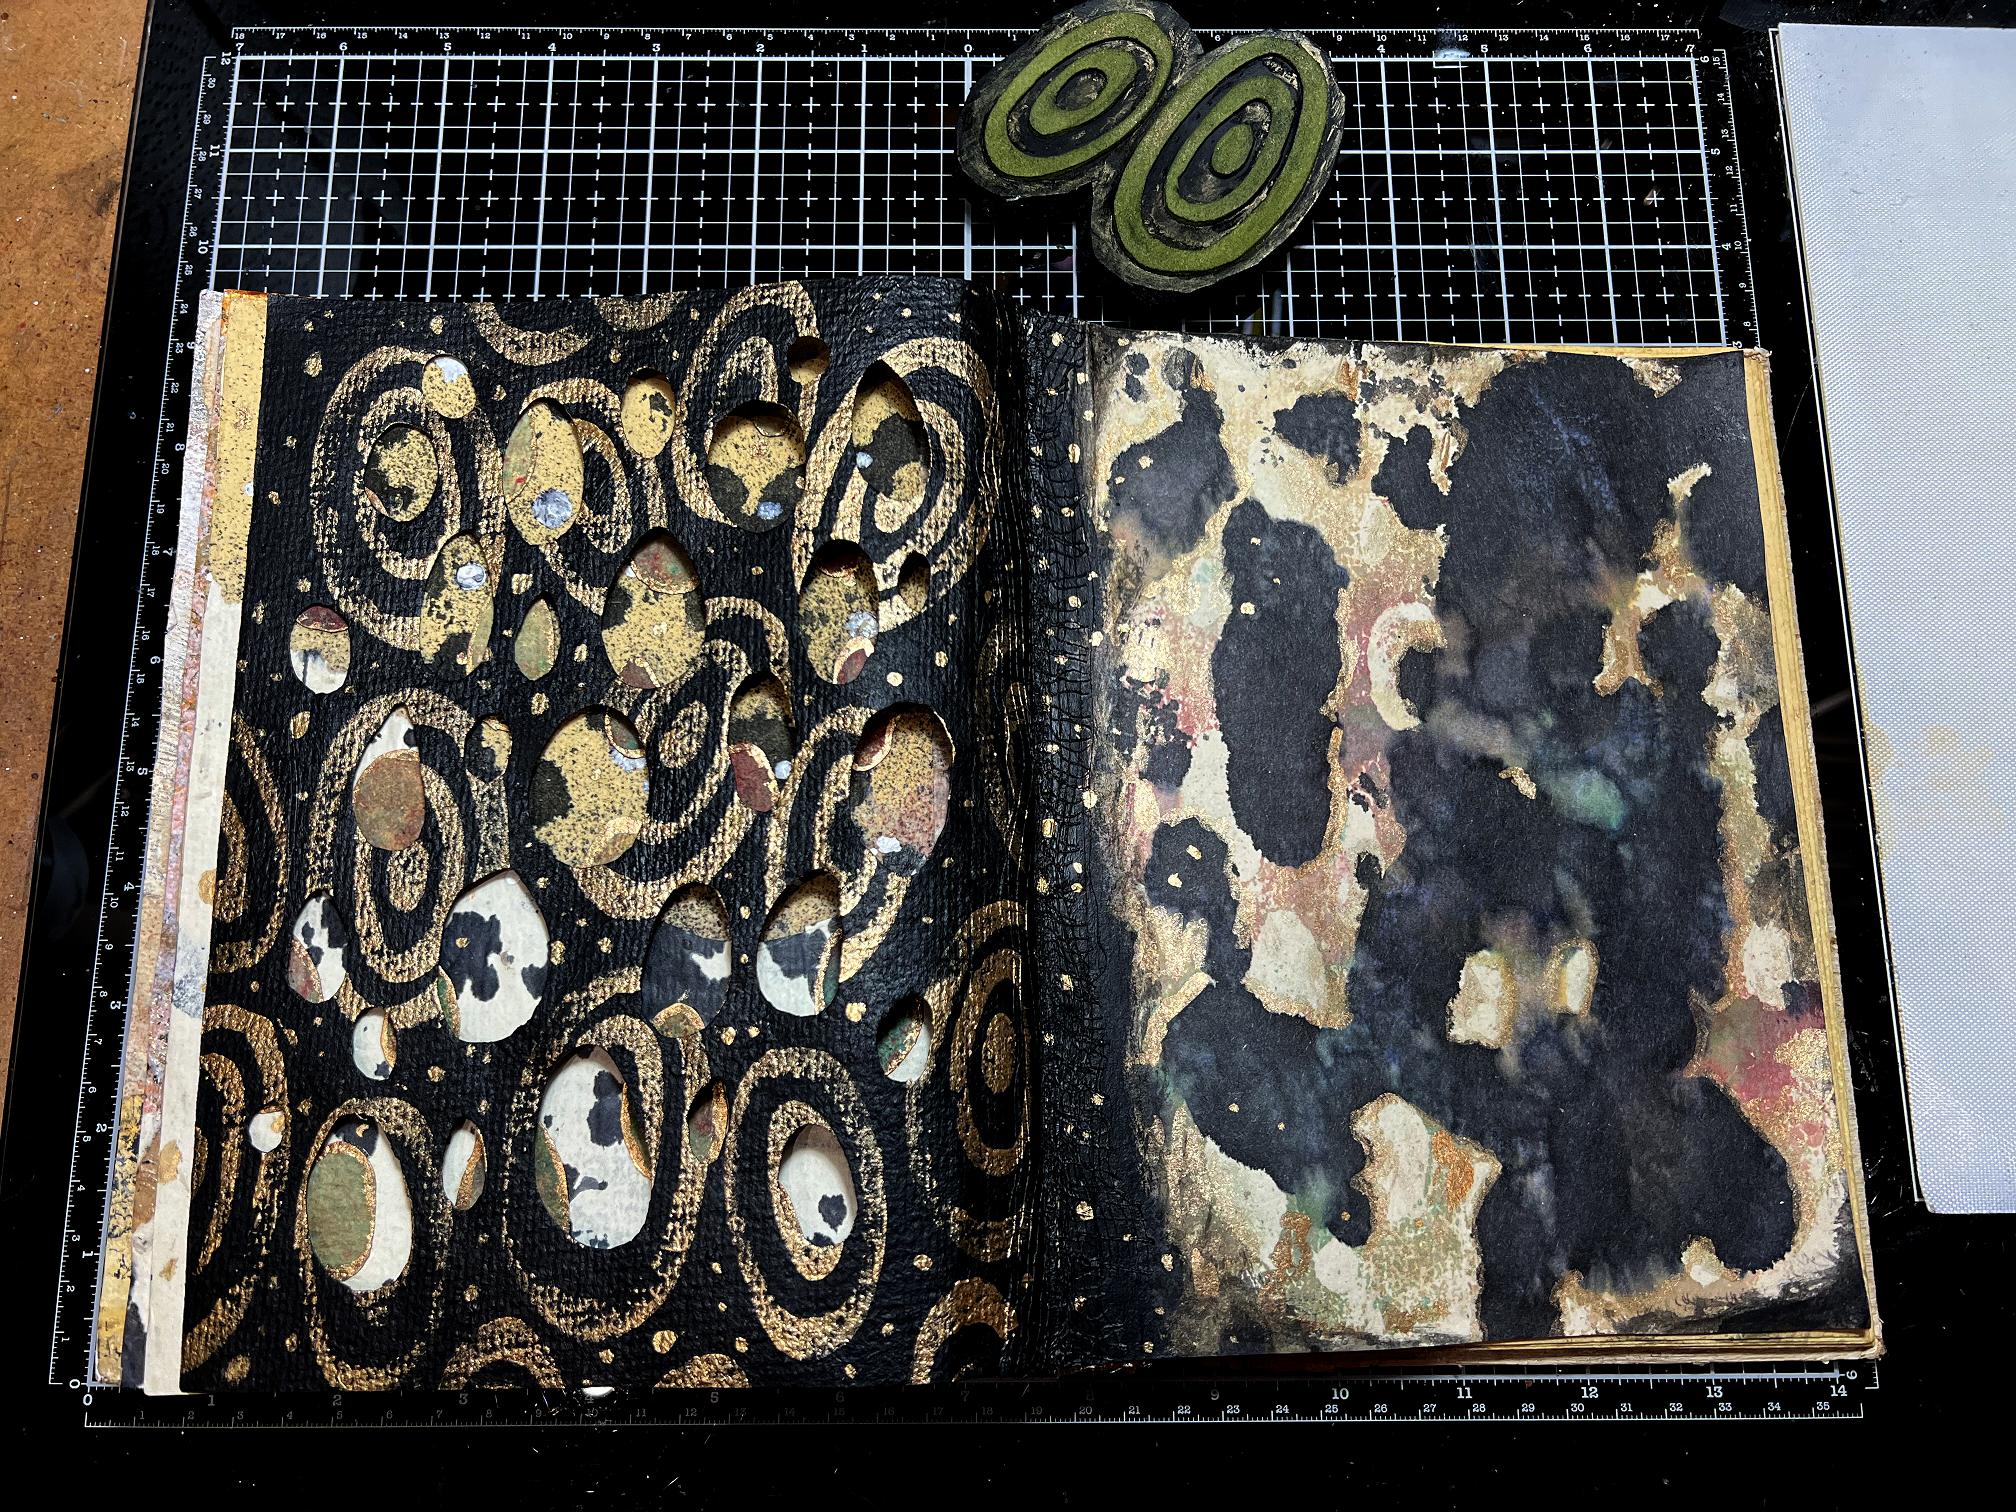
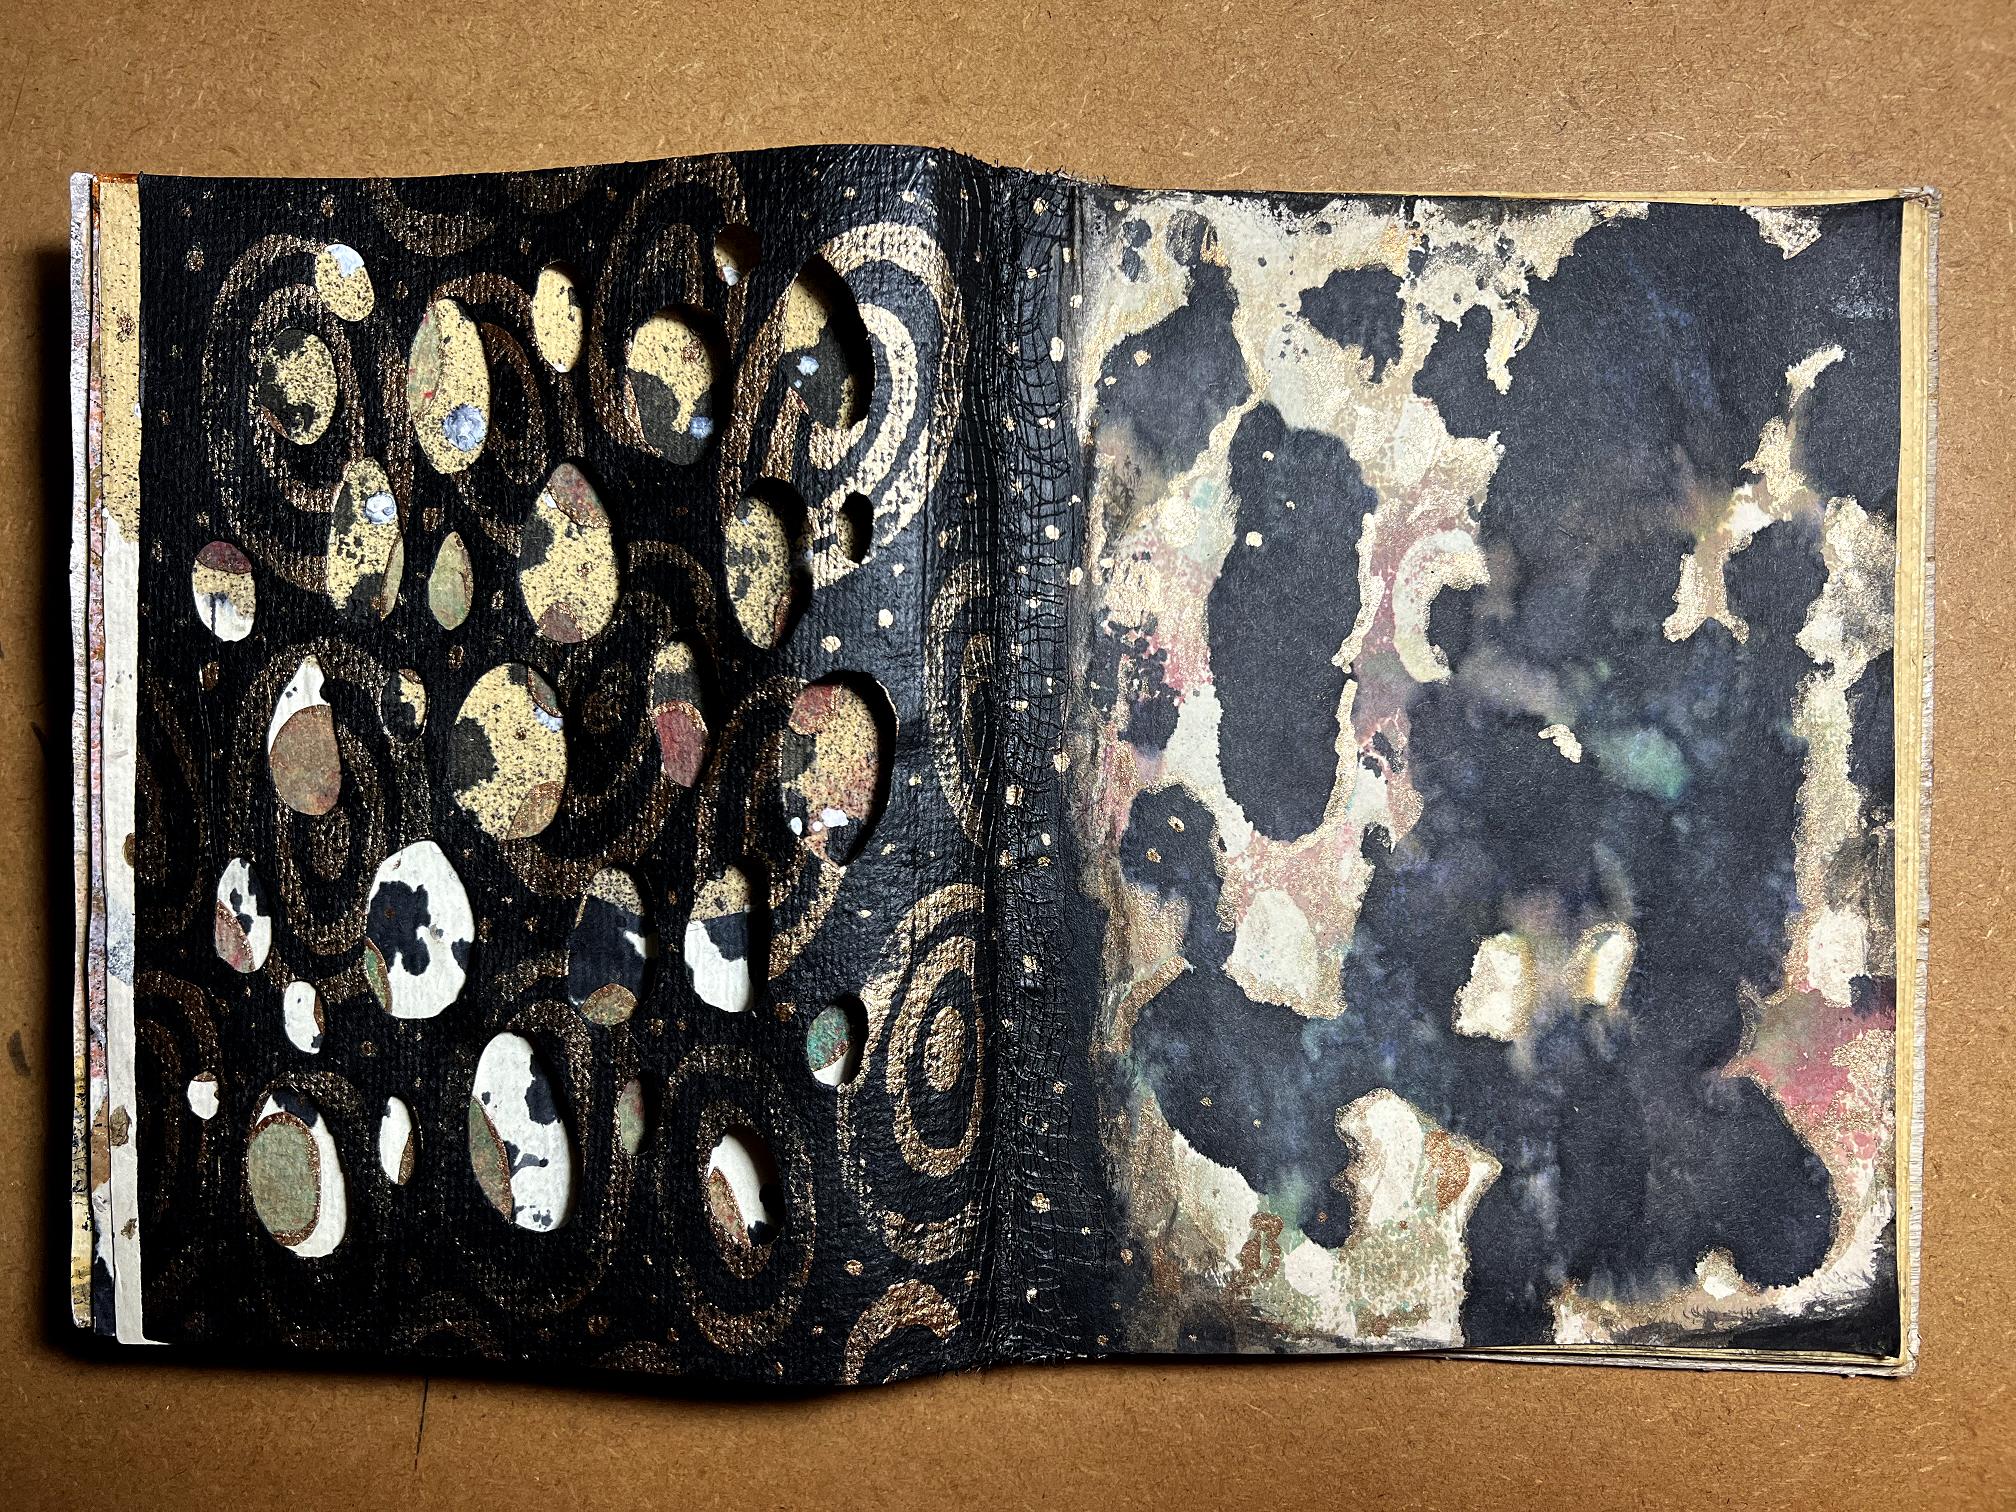
The finished spread.
The left-hand page.
Finally the right-hand page.
You can see that I have added some gold spots in between the stamped ovals, and these also spread over onto the blot-off page. This was really just to use up the remaining gold paint on the palette as I hate wasting good paint, epecially the Golden brand which is so expensive!!
The paint that went through the oval holes has penetrated onto the other side of the now glued-on page under the blot-off page, and I am now working on that spread, and choosing some collage papers. More on this later.