Another page in my wonderful Organic Journal is complete! I have called this one “Voynich Circles” because it includes images from the famous Voynich Manuscript.
What is the Voynich Manuscript?
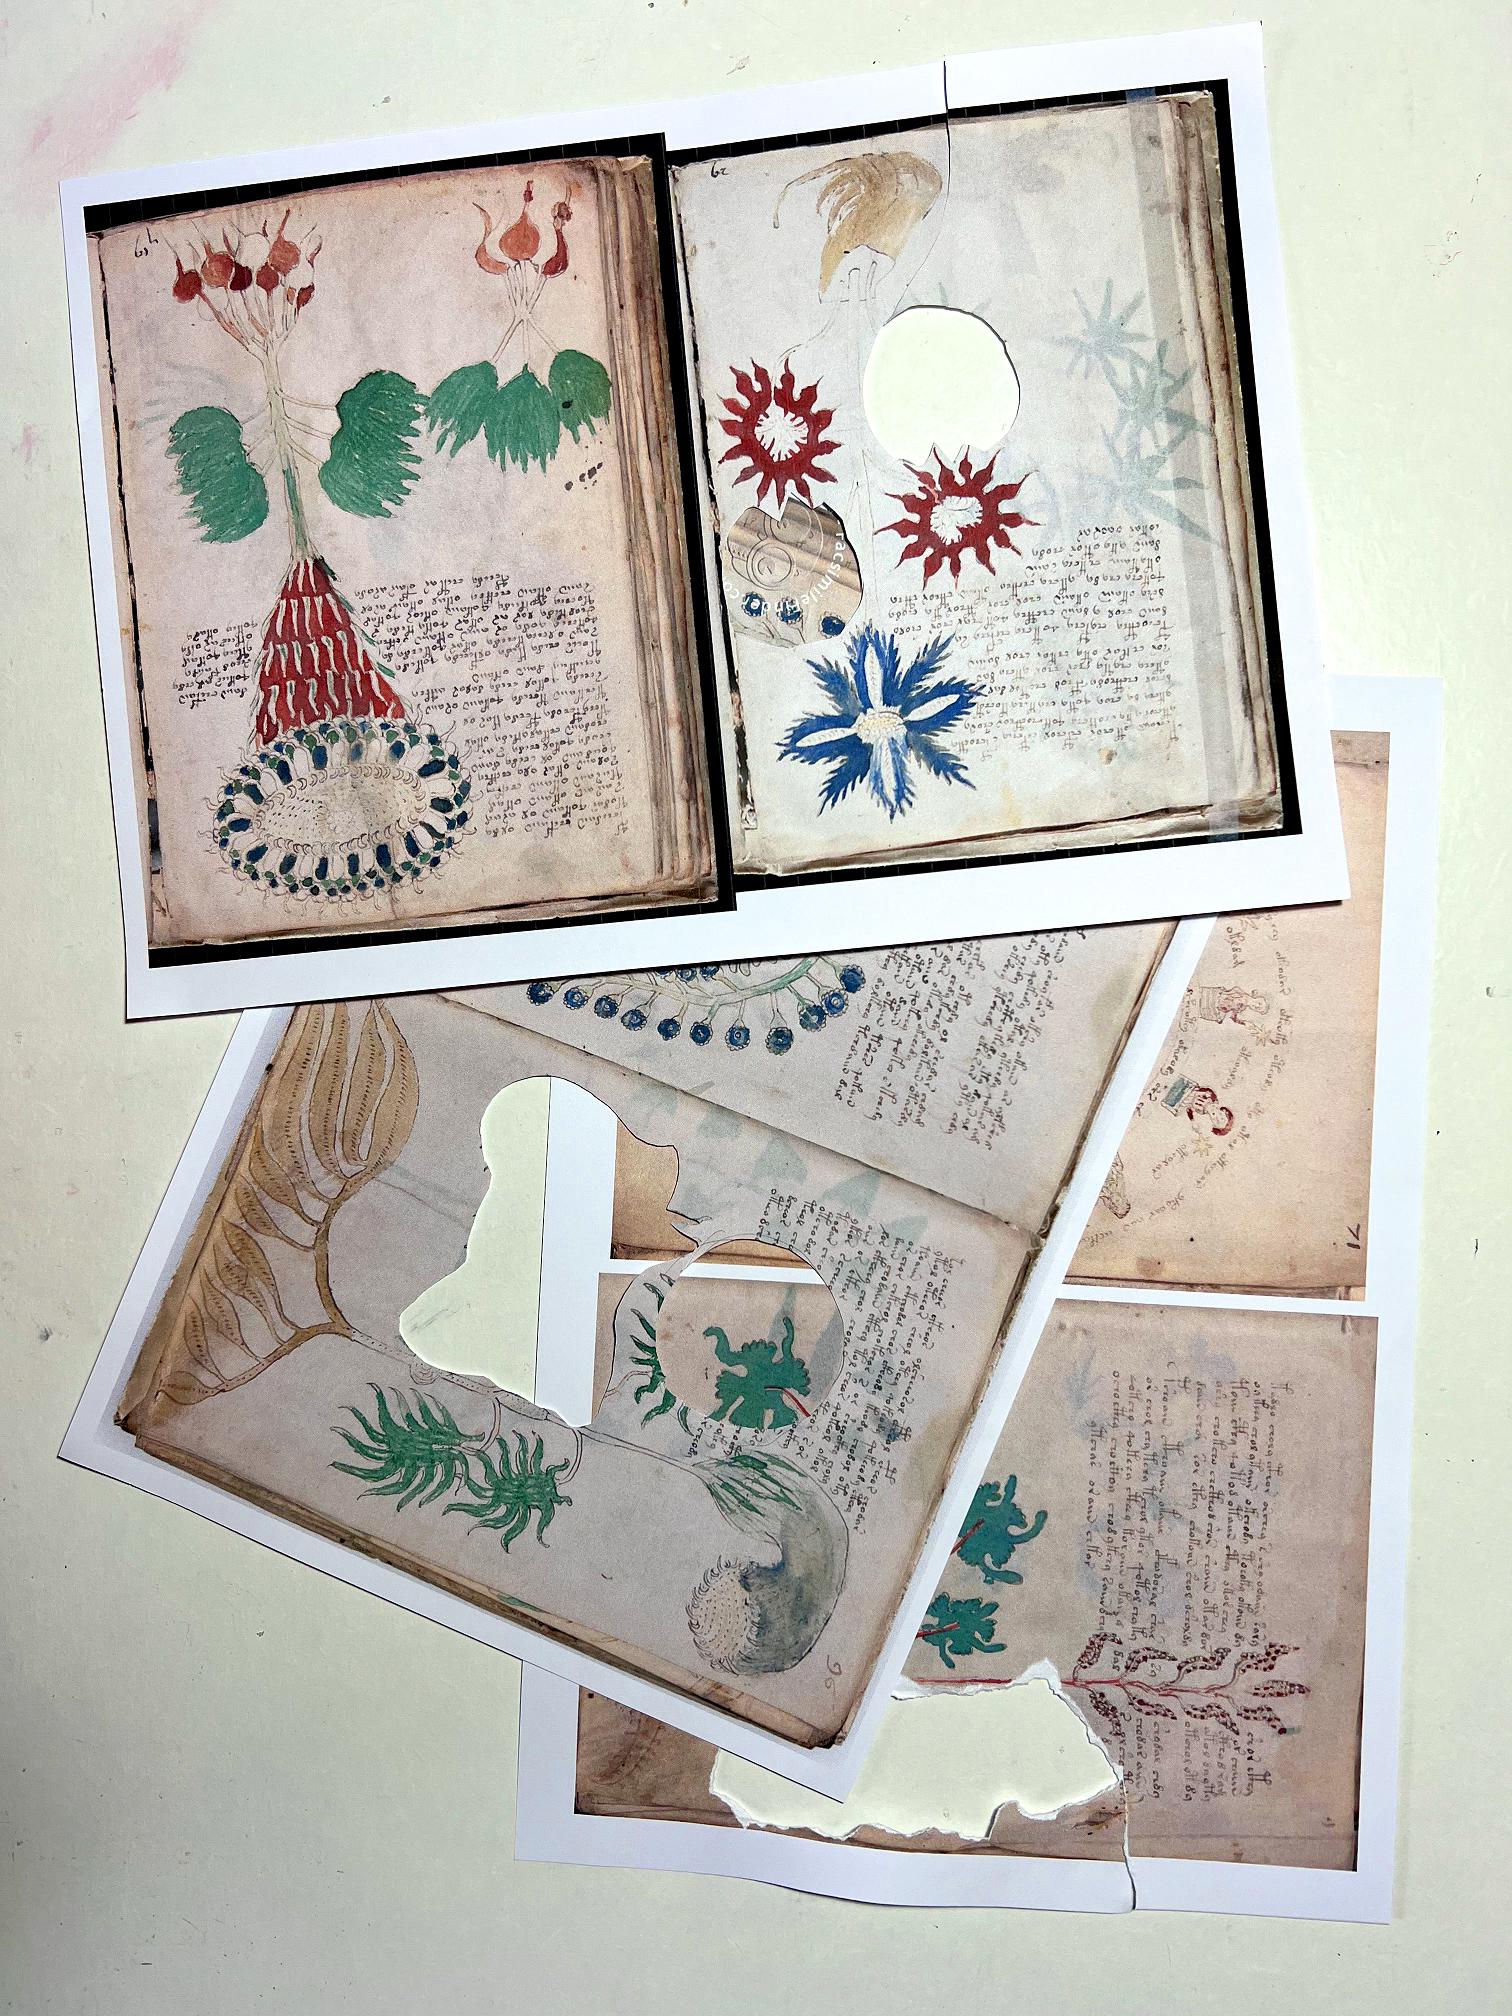
This is a very curious artefact. It is a book dating from the 15th century which contains hand-written text and many illustrations, some of which are botanical, although the plants are somewhat mythical in appearance; circular charts which resemble star charts, and numerous pictures of naked women who look as if they are bathing. The script is beautiful to look at, but it is in a language utterly unknown. Many attempts have been made to translate it, but without success. Its author, and its purpose, are unknown.
The book is a complete mystery, and it has intrigued people for generations. Who doesn’t love a good mystery?
For now, all I can say is that it provides some very nice images for collaging!
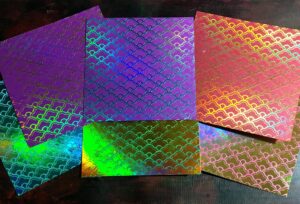
A few more gel prints
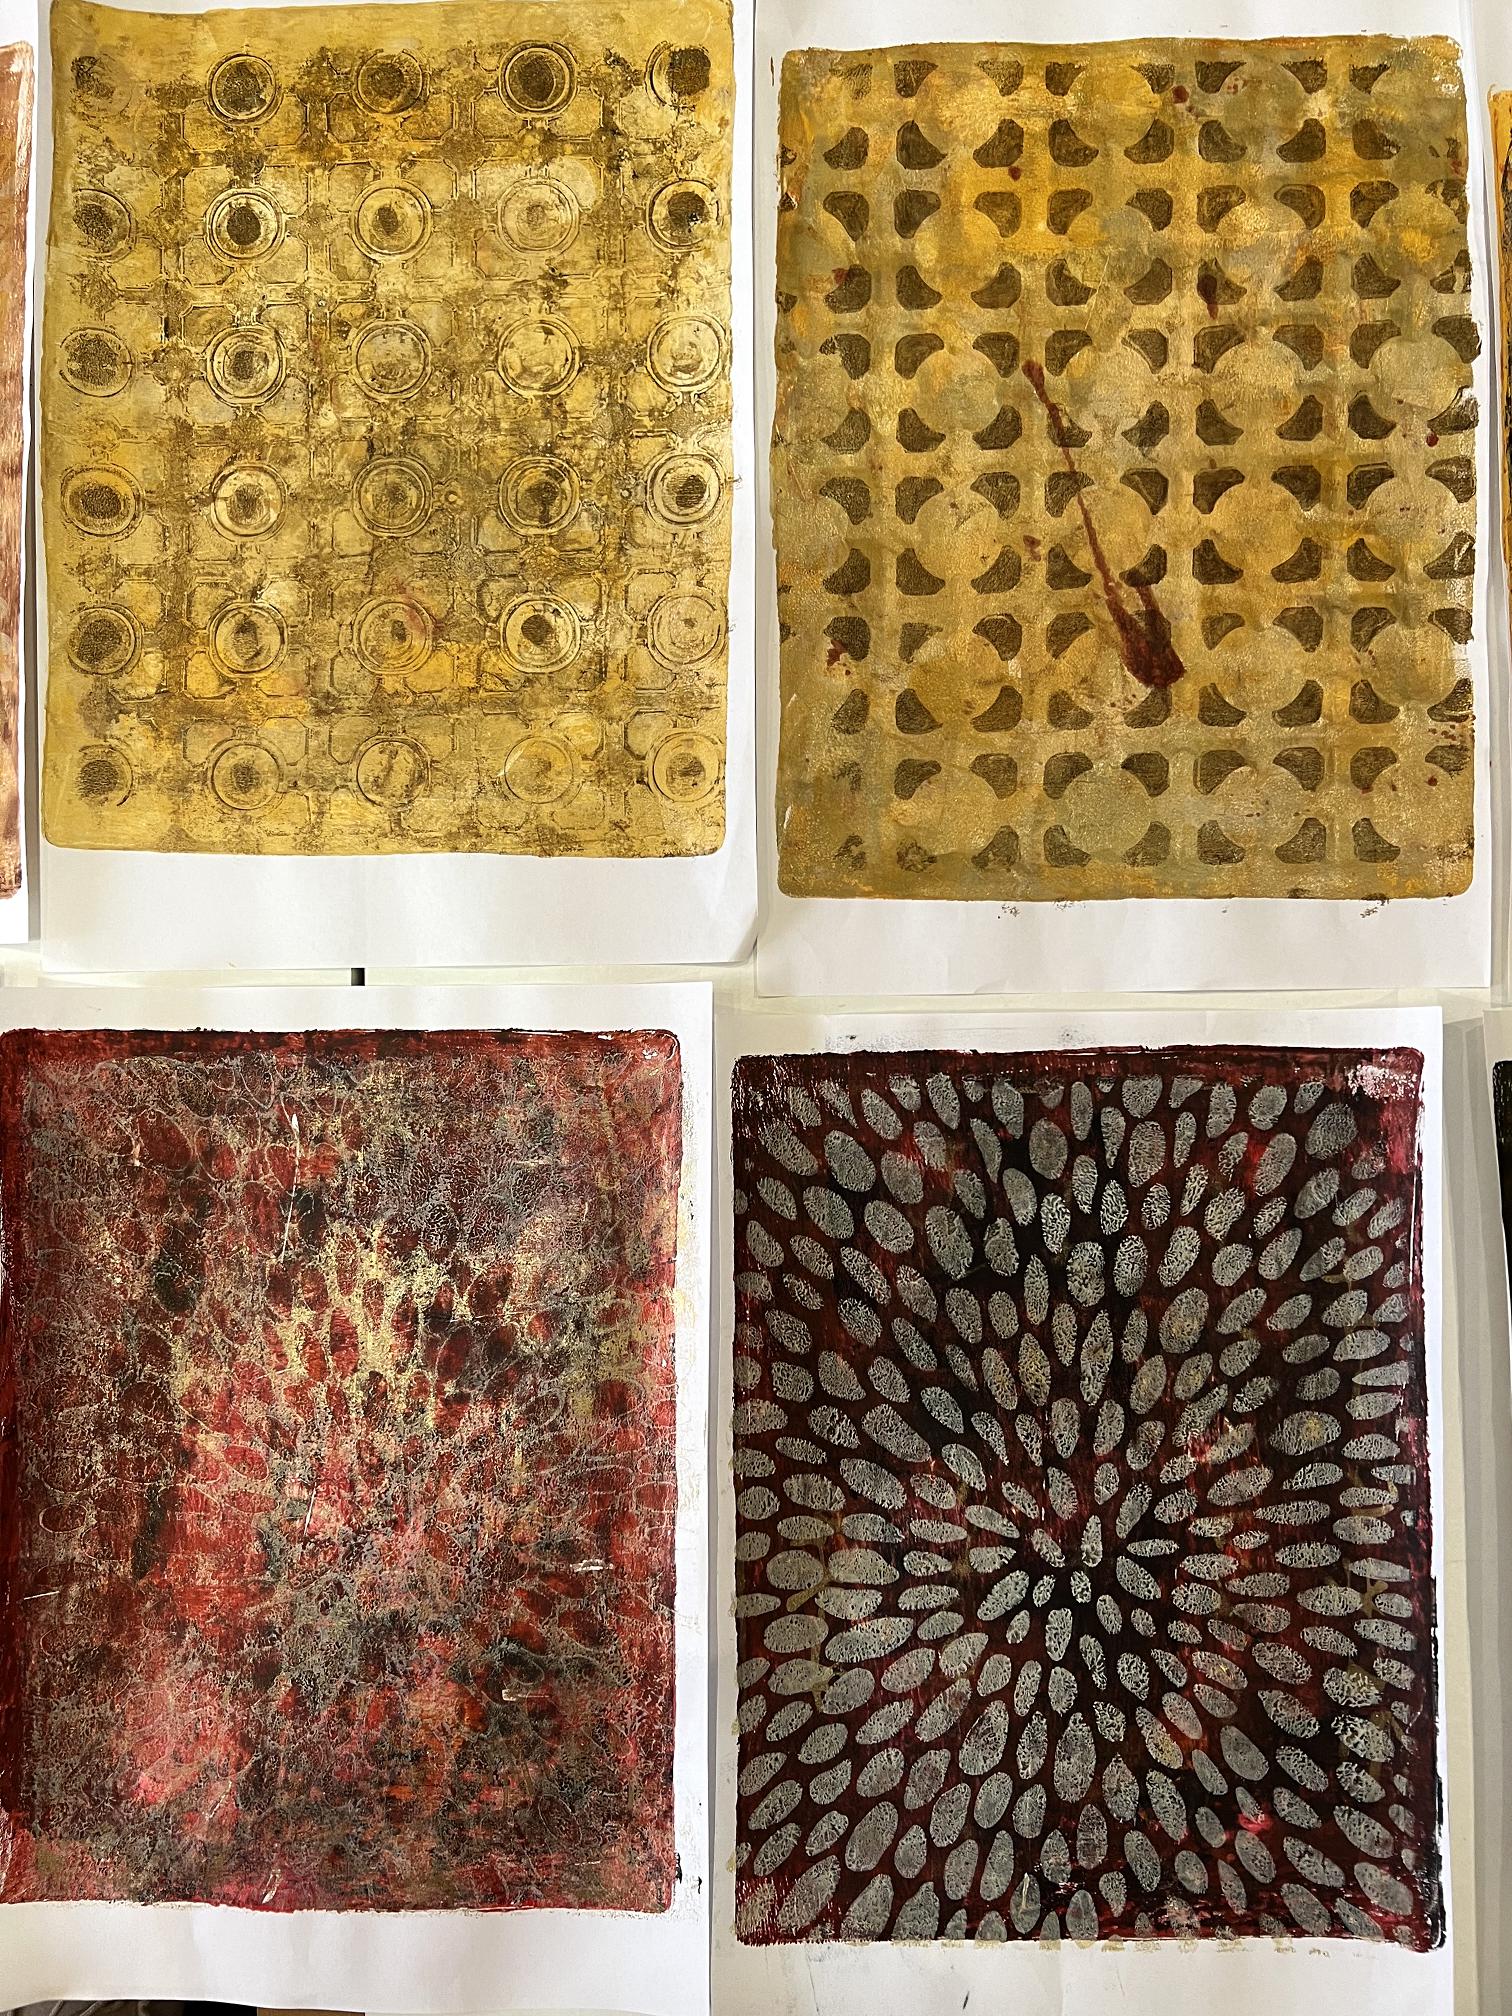
Before I began the new page in my journal, I spent some time playing with my gel plate and came up with a few new prints. I am keeping to the same limited palette of browns and cream with touches of red and gold, and a bit of black and white. Here is the first new batch.
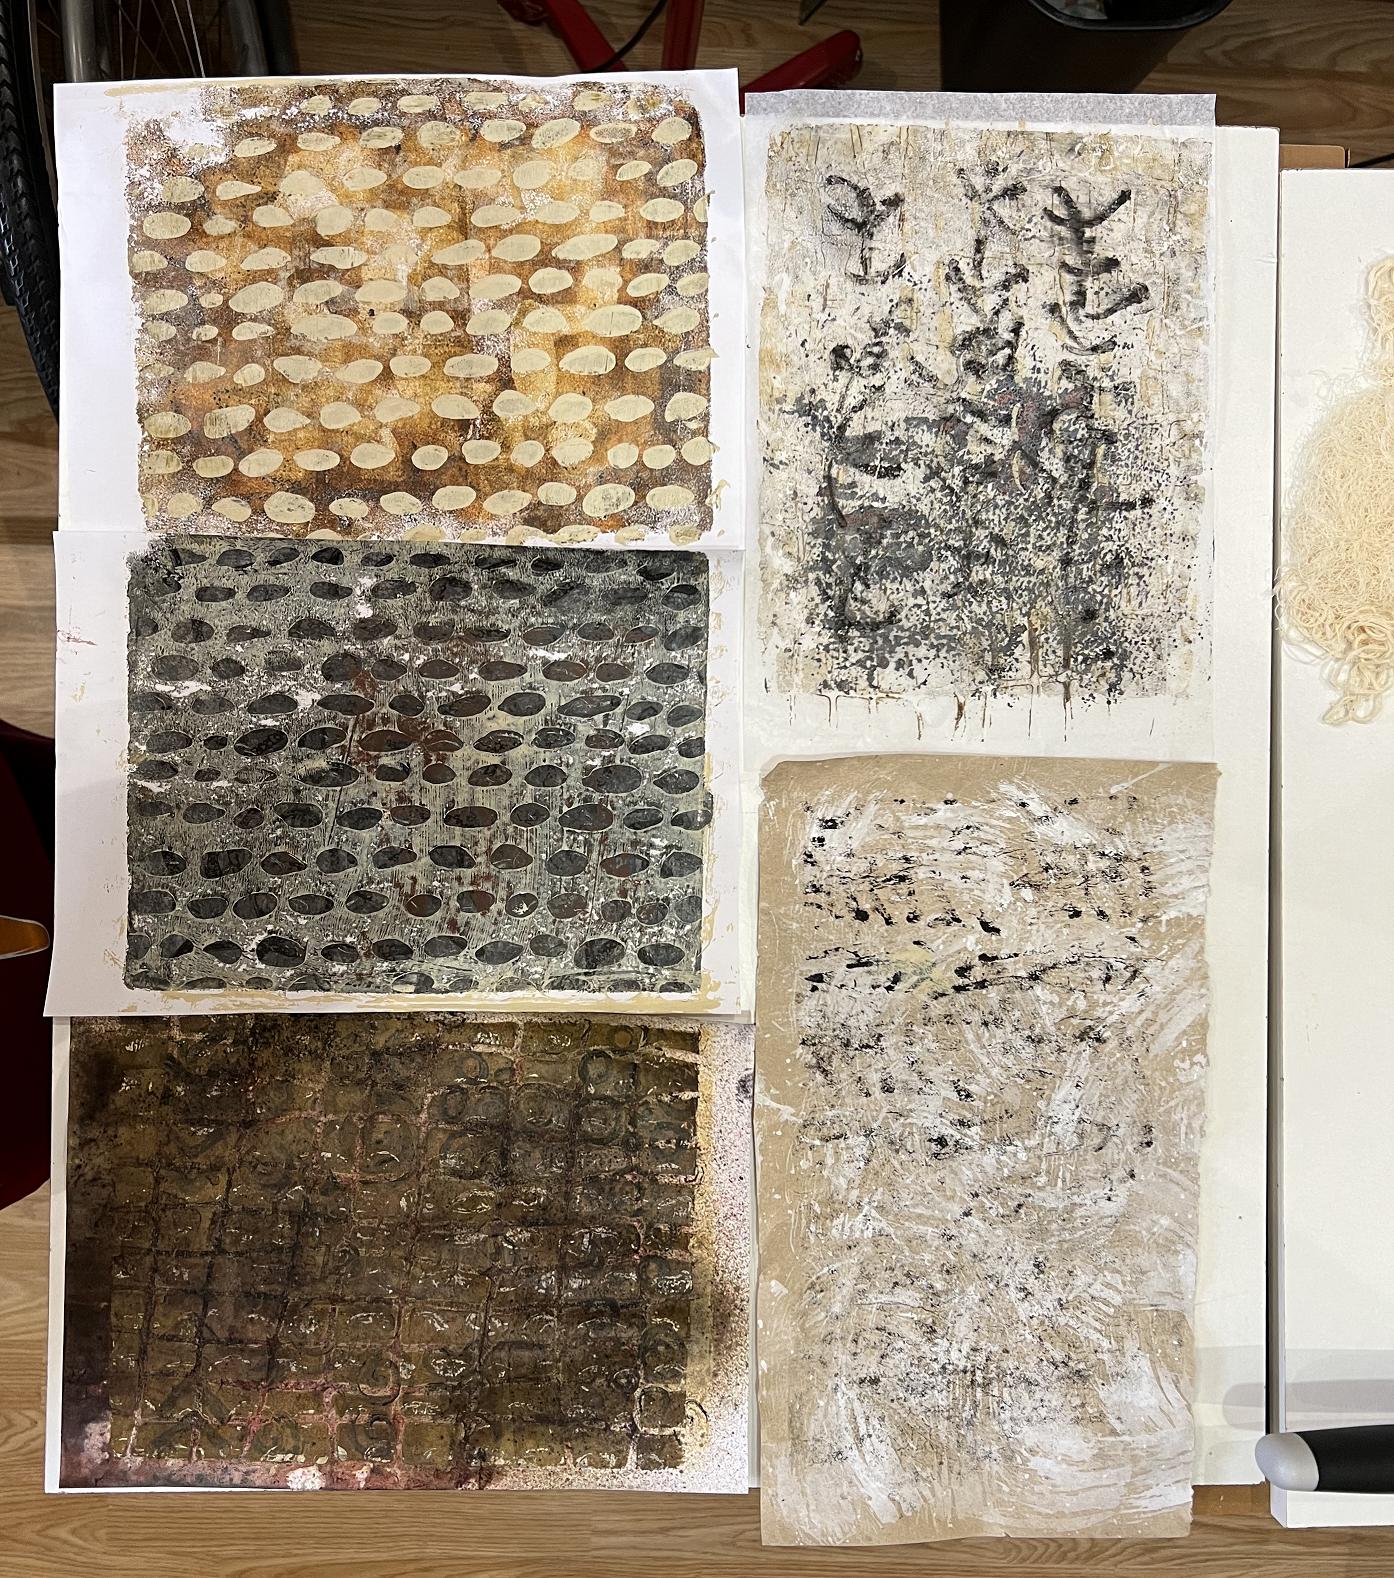
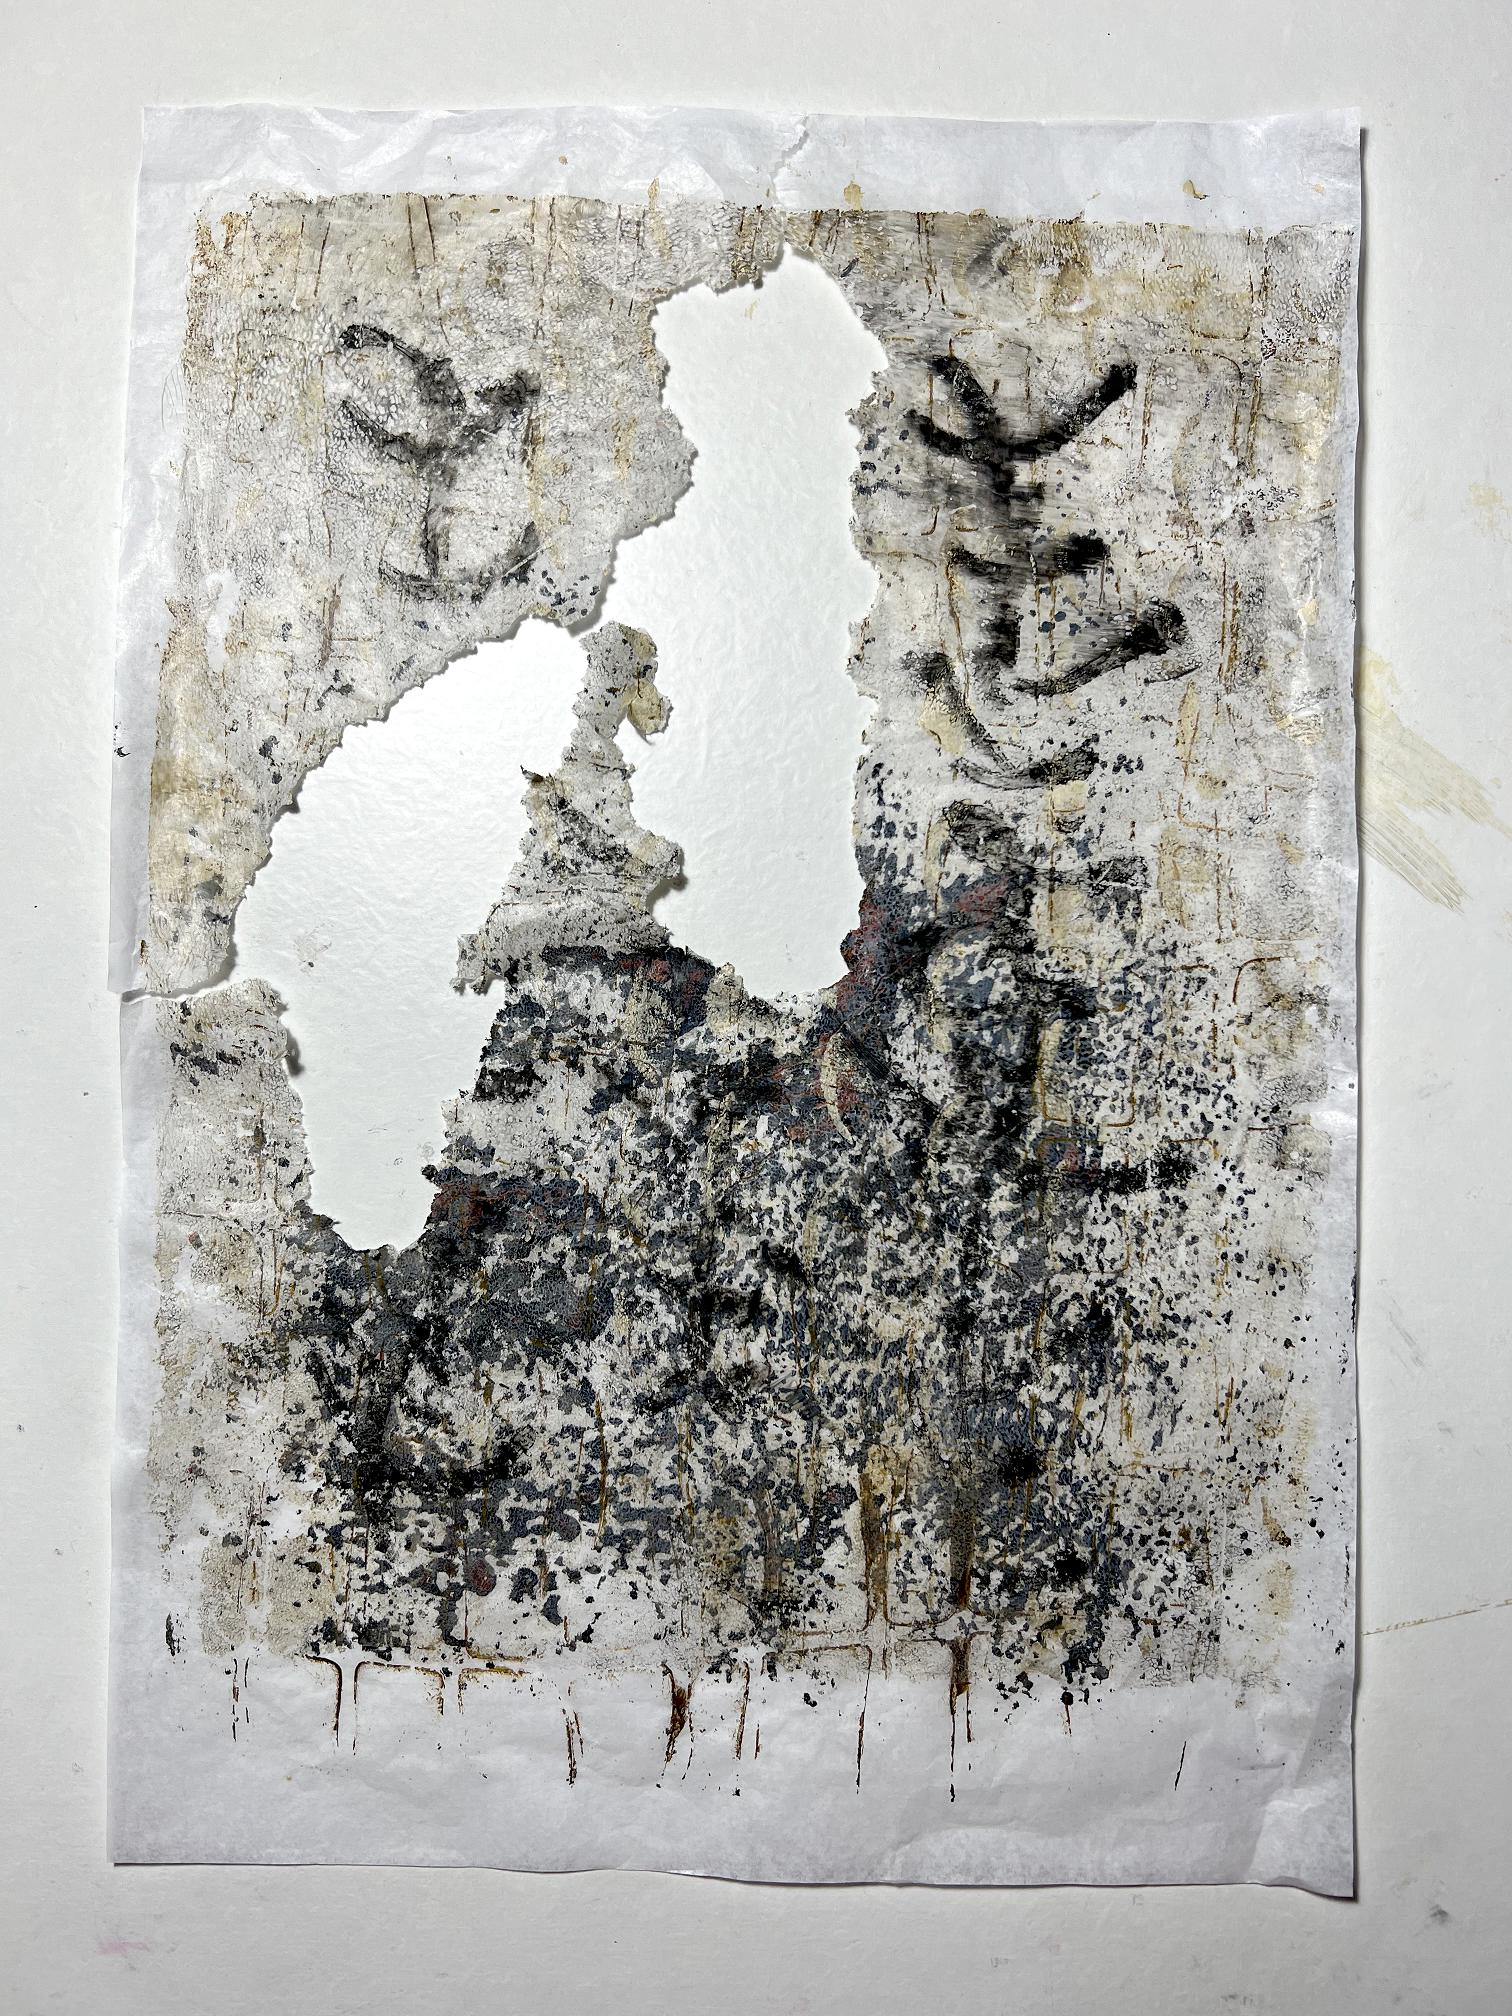
The one in the middle on the left started out a bit of a failure. I tried doing some random scripting with a black Posca pen and when I thought it was dry, I brayered on some unbleached titanium white. Unfortunately the Posca marks immediately smudged and merged with the unbleached titanium, making a dirty grey mess. I added more layers but it remained dark and not great. Stencilling over the top has rescued it. Nothing is ever a failure and worthy of the bin in Shoshi’s world, though, and everything is ultimately redeemable!
I took multiple ghost prints of this and other prints onto the piece of tissue that you can see at top right. You can see the scripting. I thought this would be useless but the more I looked at it, the more potential it had.
The one at bottom right is a piece of Amazon packaging paper with some brush-cleaning marks in white, with bits of ghost printing and some brayer cleaning on it. Definitely useable, with room for more layers to be added as required.
The following day I made this new batch, using my original plain background prints as a starting point, using stencils. You can see I have used the bathmat again, and also, for the first time, one of my Oriental Script stencils.
REMINDER: All my stencils are available for free download to cut yourself, on my OneDrive.
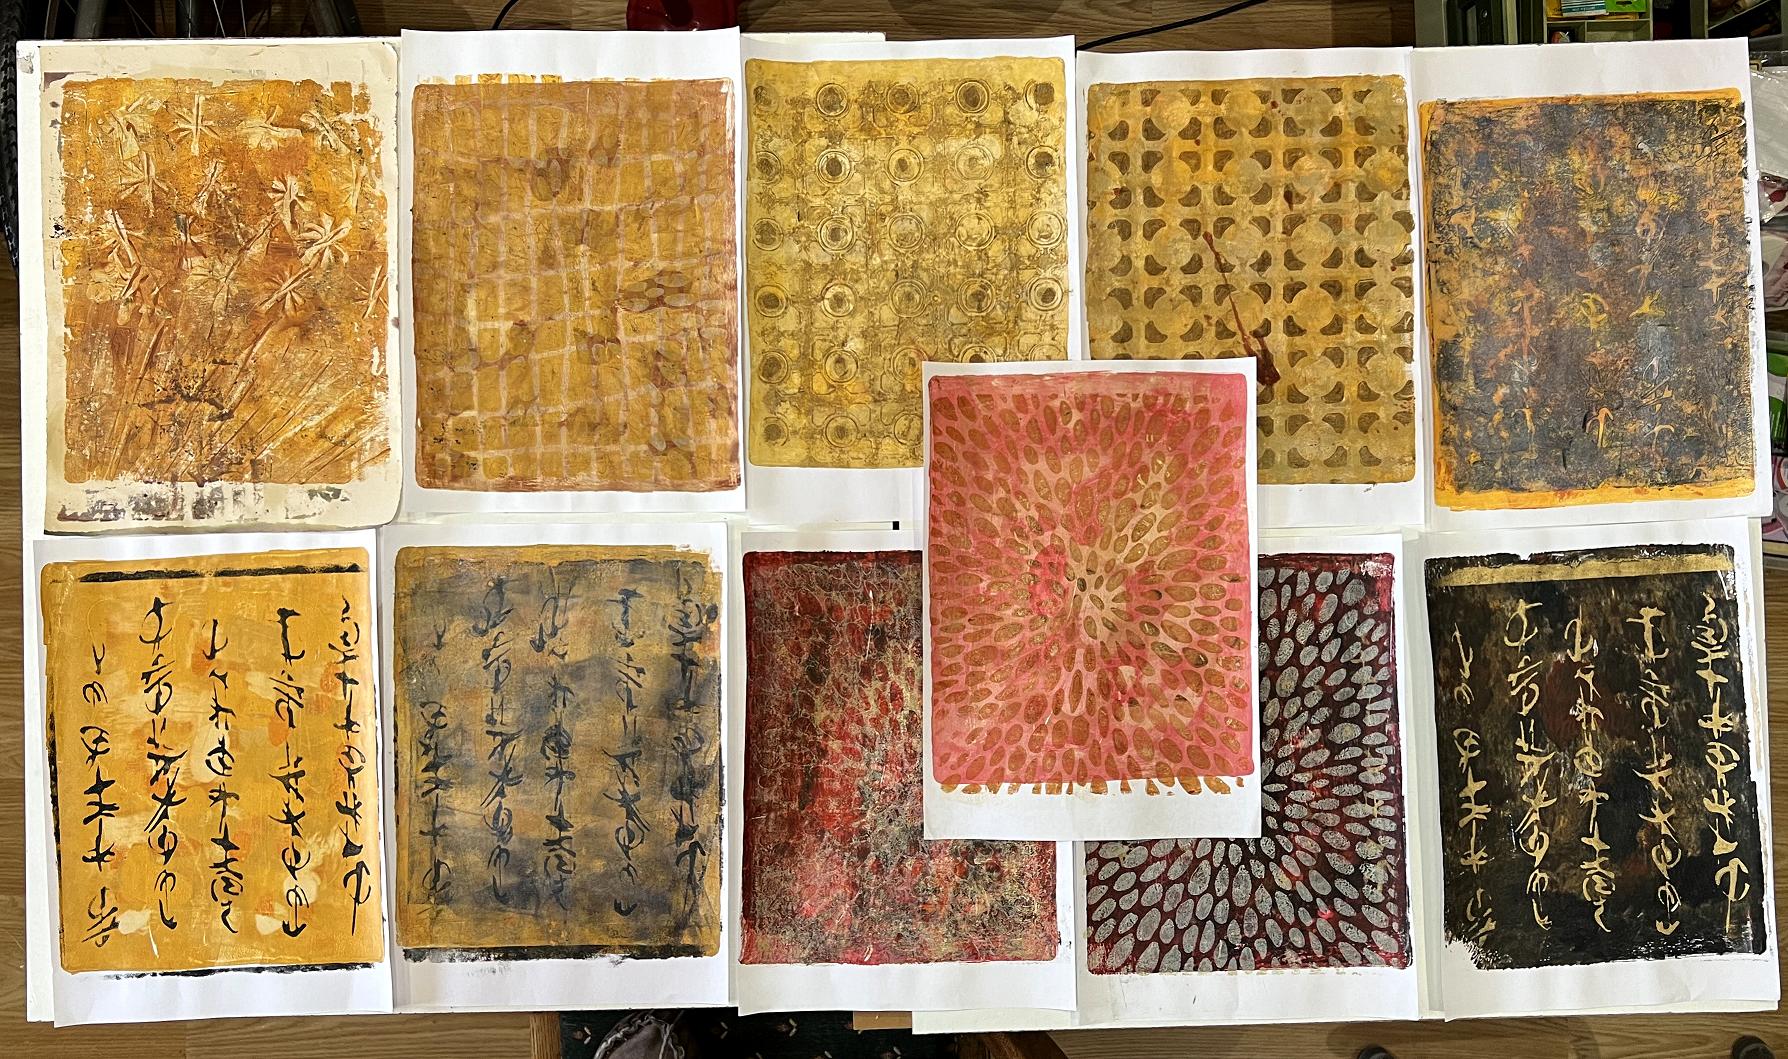
Here are some closer shots of these prints.
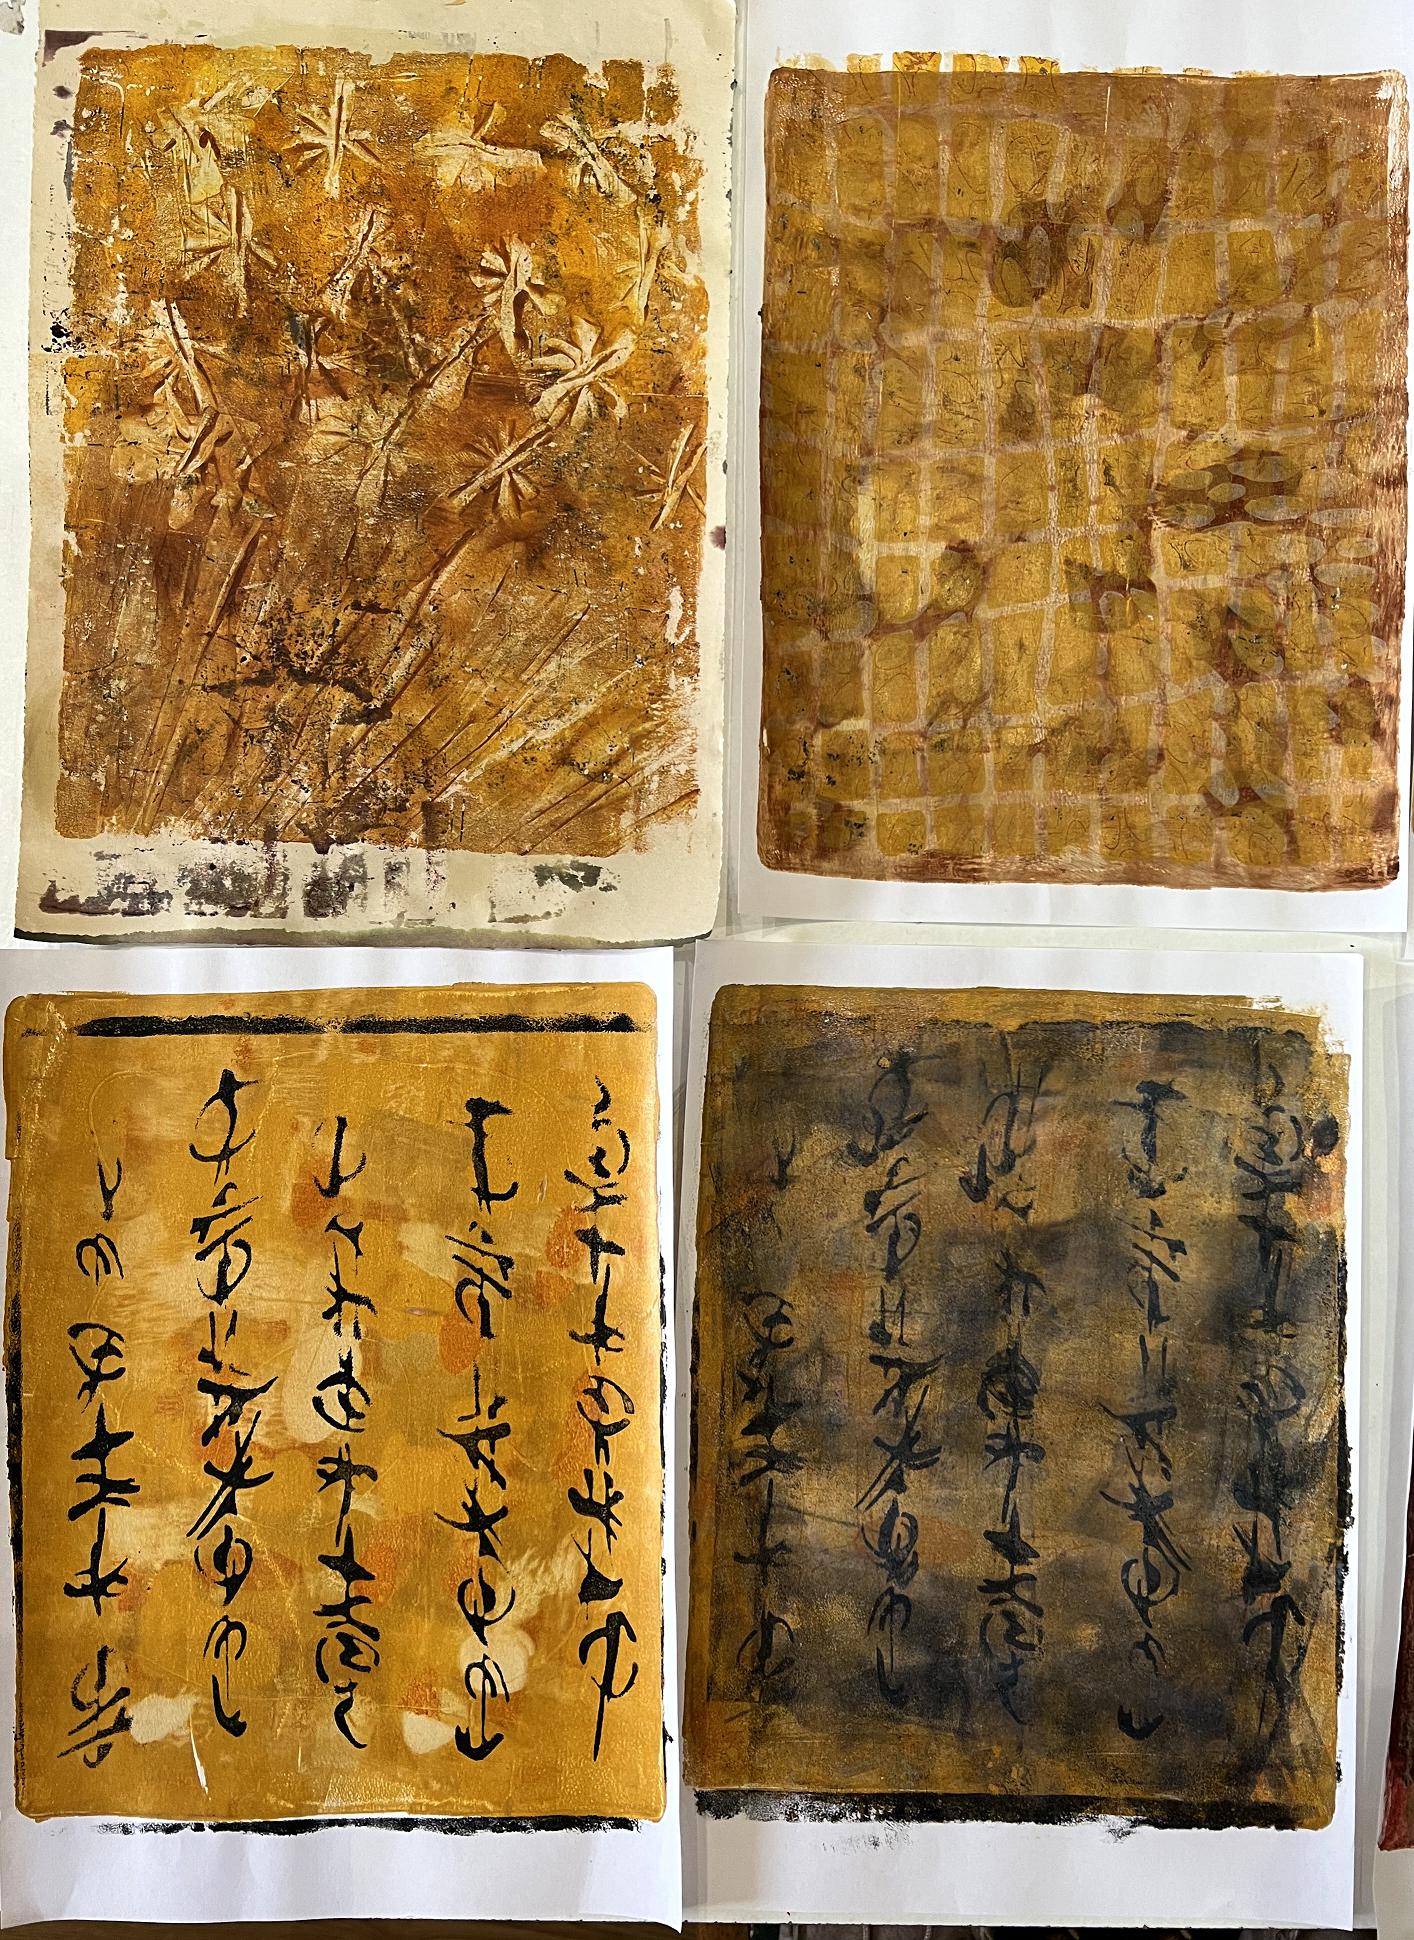
The one at top left is interesting. Some time ago I saw someone on YouTube using a silicone whisk to create interesting patterns on the gel plate. I bought a cheap one on Ebay.
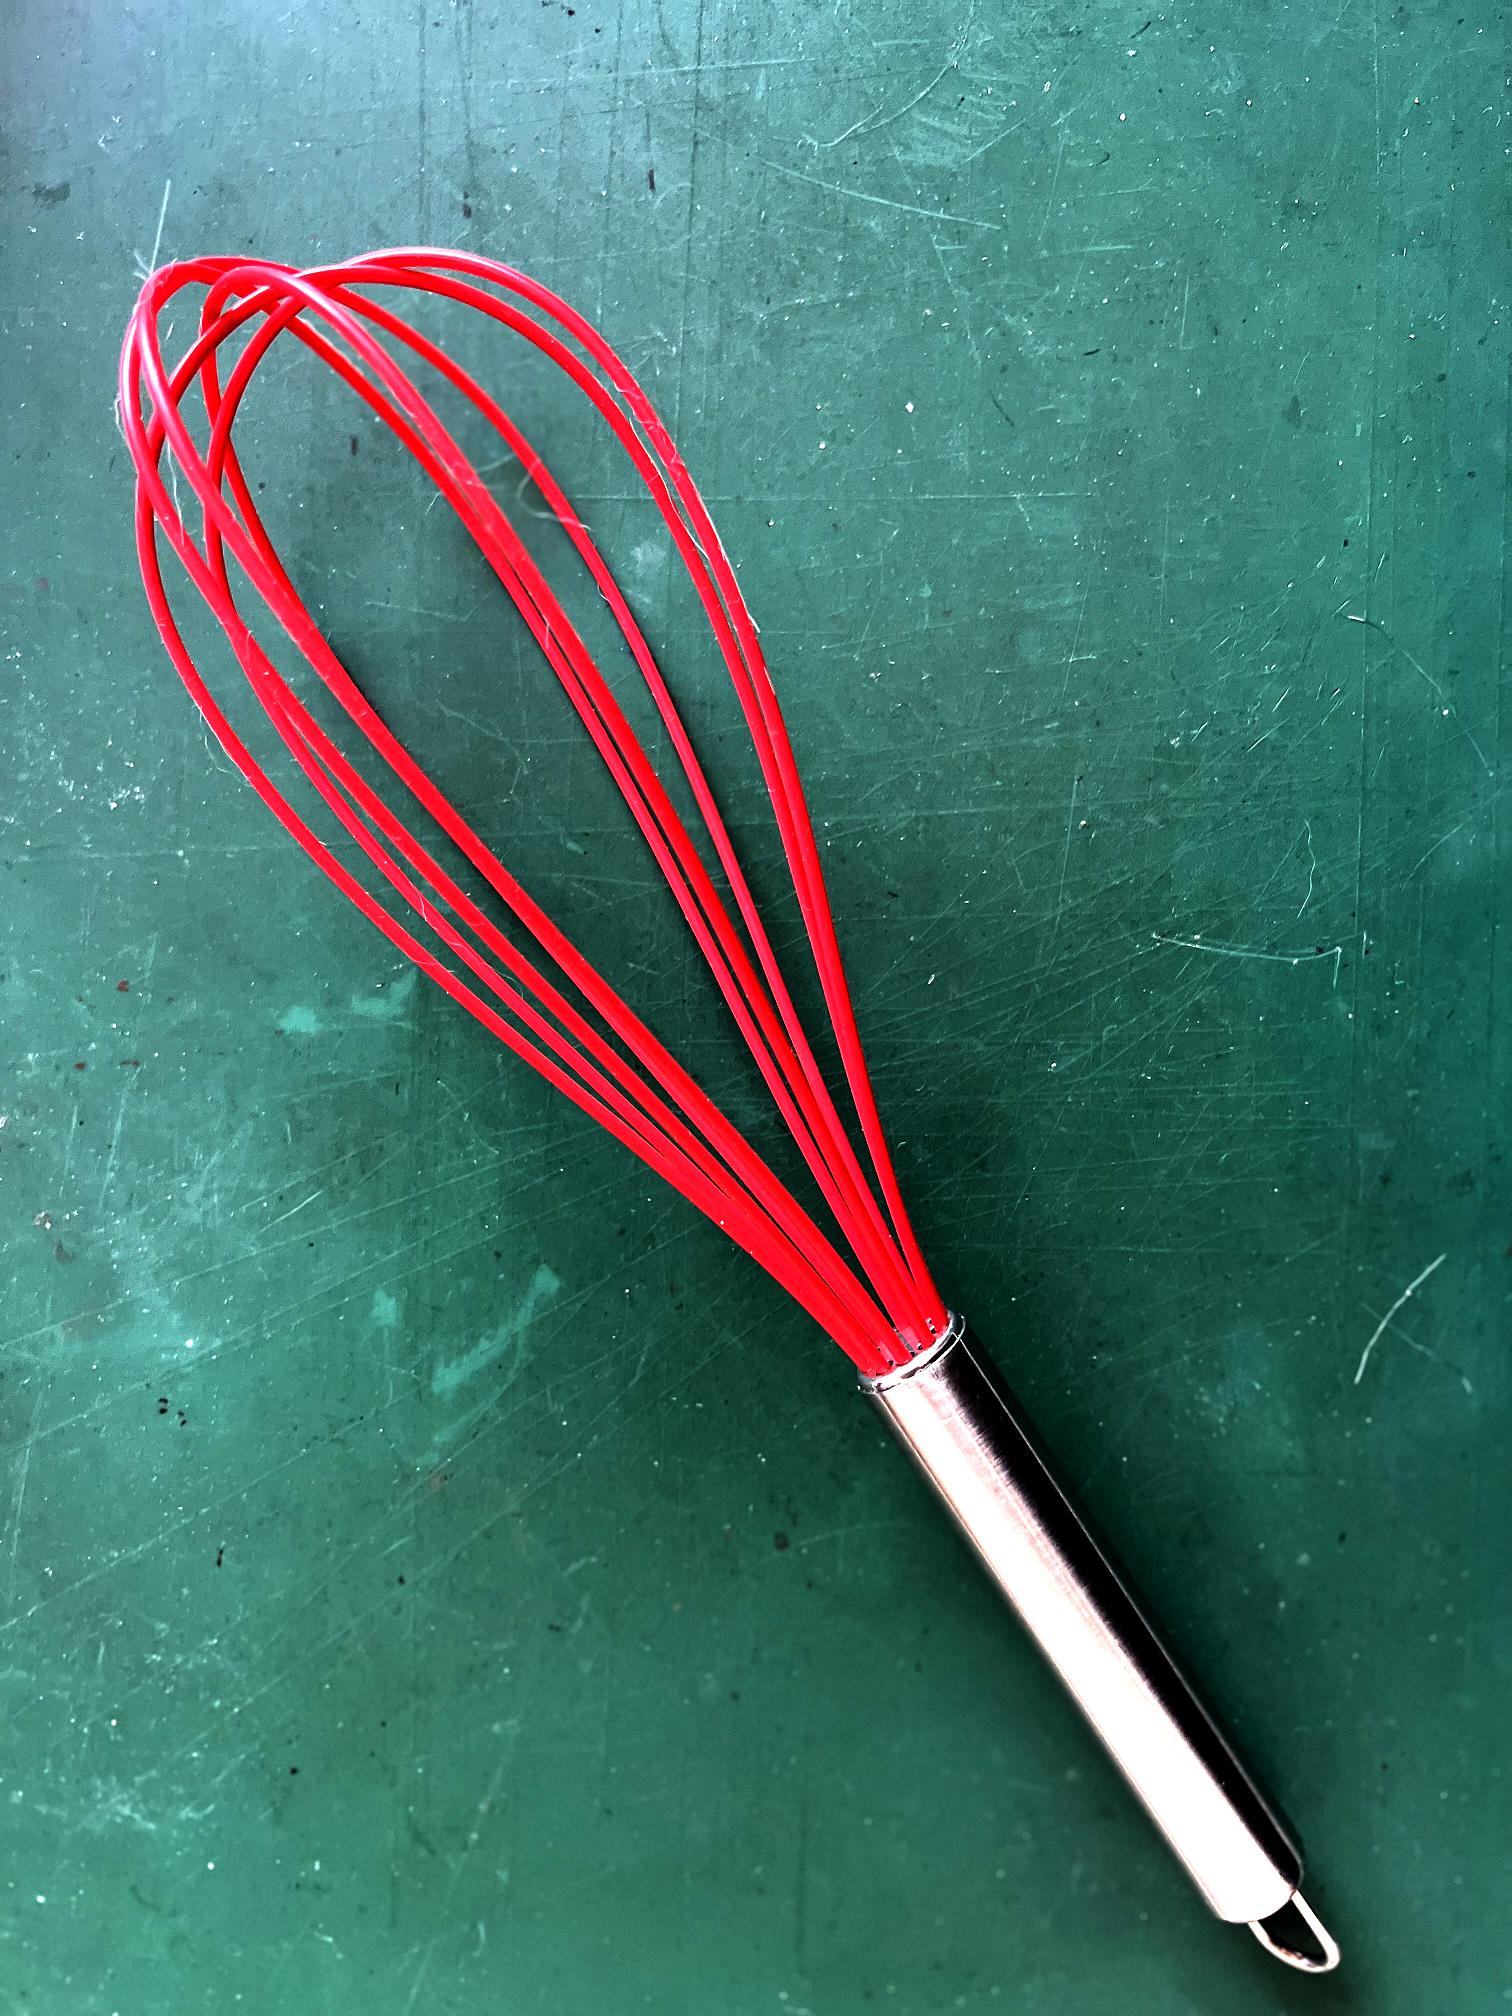
If you press this down quite hard, vertically, onto the gel plate, it creates the star or flower pattern. The radiating lines at the bottom of the print were created by rolling the side of the whisk on the gel plate. You can also use it vertically to create a border or continuous pattern by twisting it as you move it along, but I forgot to try this one.
I really like how these ones turned out. Top right is using the bathmat, and top left is the ghost print from the same one. I particularly like this print. I got some Indian yellow acrylic from Amazon to add to my colour arsenal and it blends beautifully with the browns and yellow ochre palette.
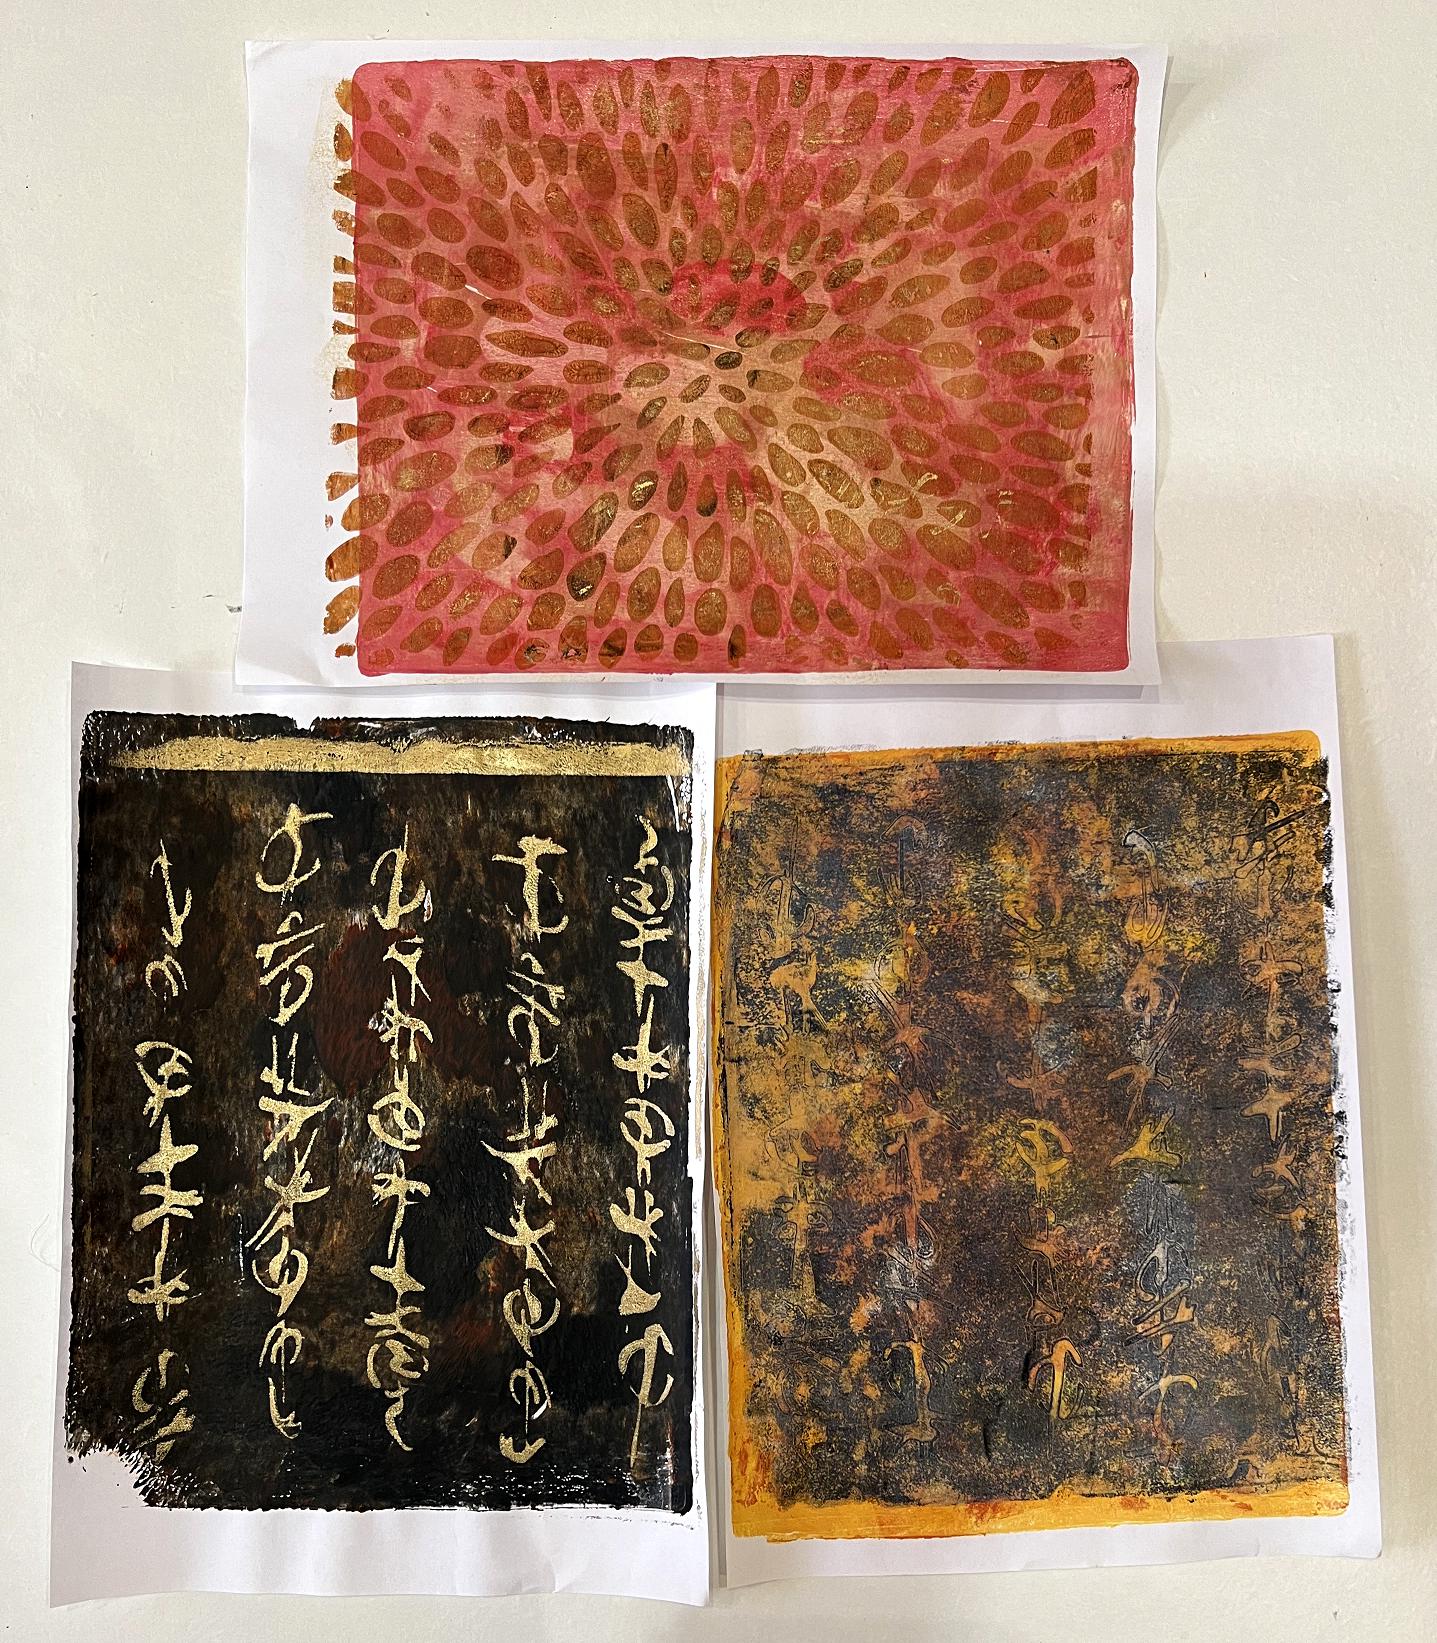
The one at bottom right in the above photo was a ghost print from the one at bottom left. It didn’t come out that well, but is redeemable, as always!
I have been binge watching Robyn McClendon on YouTube when I get the chance, and she did a video using cheap stuff from the Dollar Store to create texture. Independently of Froyle, through whom I got the bathmat idea, she discovered the bathmat, and the other day I was pleased to recognise some of her prints that featured its distinctive pattern! Lots of people mentioned in the comments under the video that they had also bought the bathmat from the same source. I was so happy to find this incredible texture maker on Ebay. In the video, Robyn also used a sink mat as a texture maker. I immediately went on Ebay and found loads of them with different patterns! I am definitely going to get hold of some of these.
Packaging materials for art
I have mentioned before about using Amazon’s brown paper packaging for art. I had two Amazon parcels delivered and there were two nice long pieces of this, so I’ve rolled them up on an empty kitchen paper tube. I also had a whole-foods delivery from my online supplier, which included a glass jar. This was wrapped in the incedible “expanded paper” you can see in the photo.
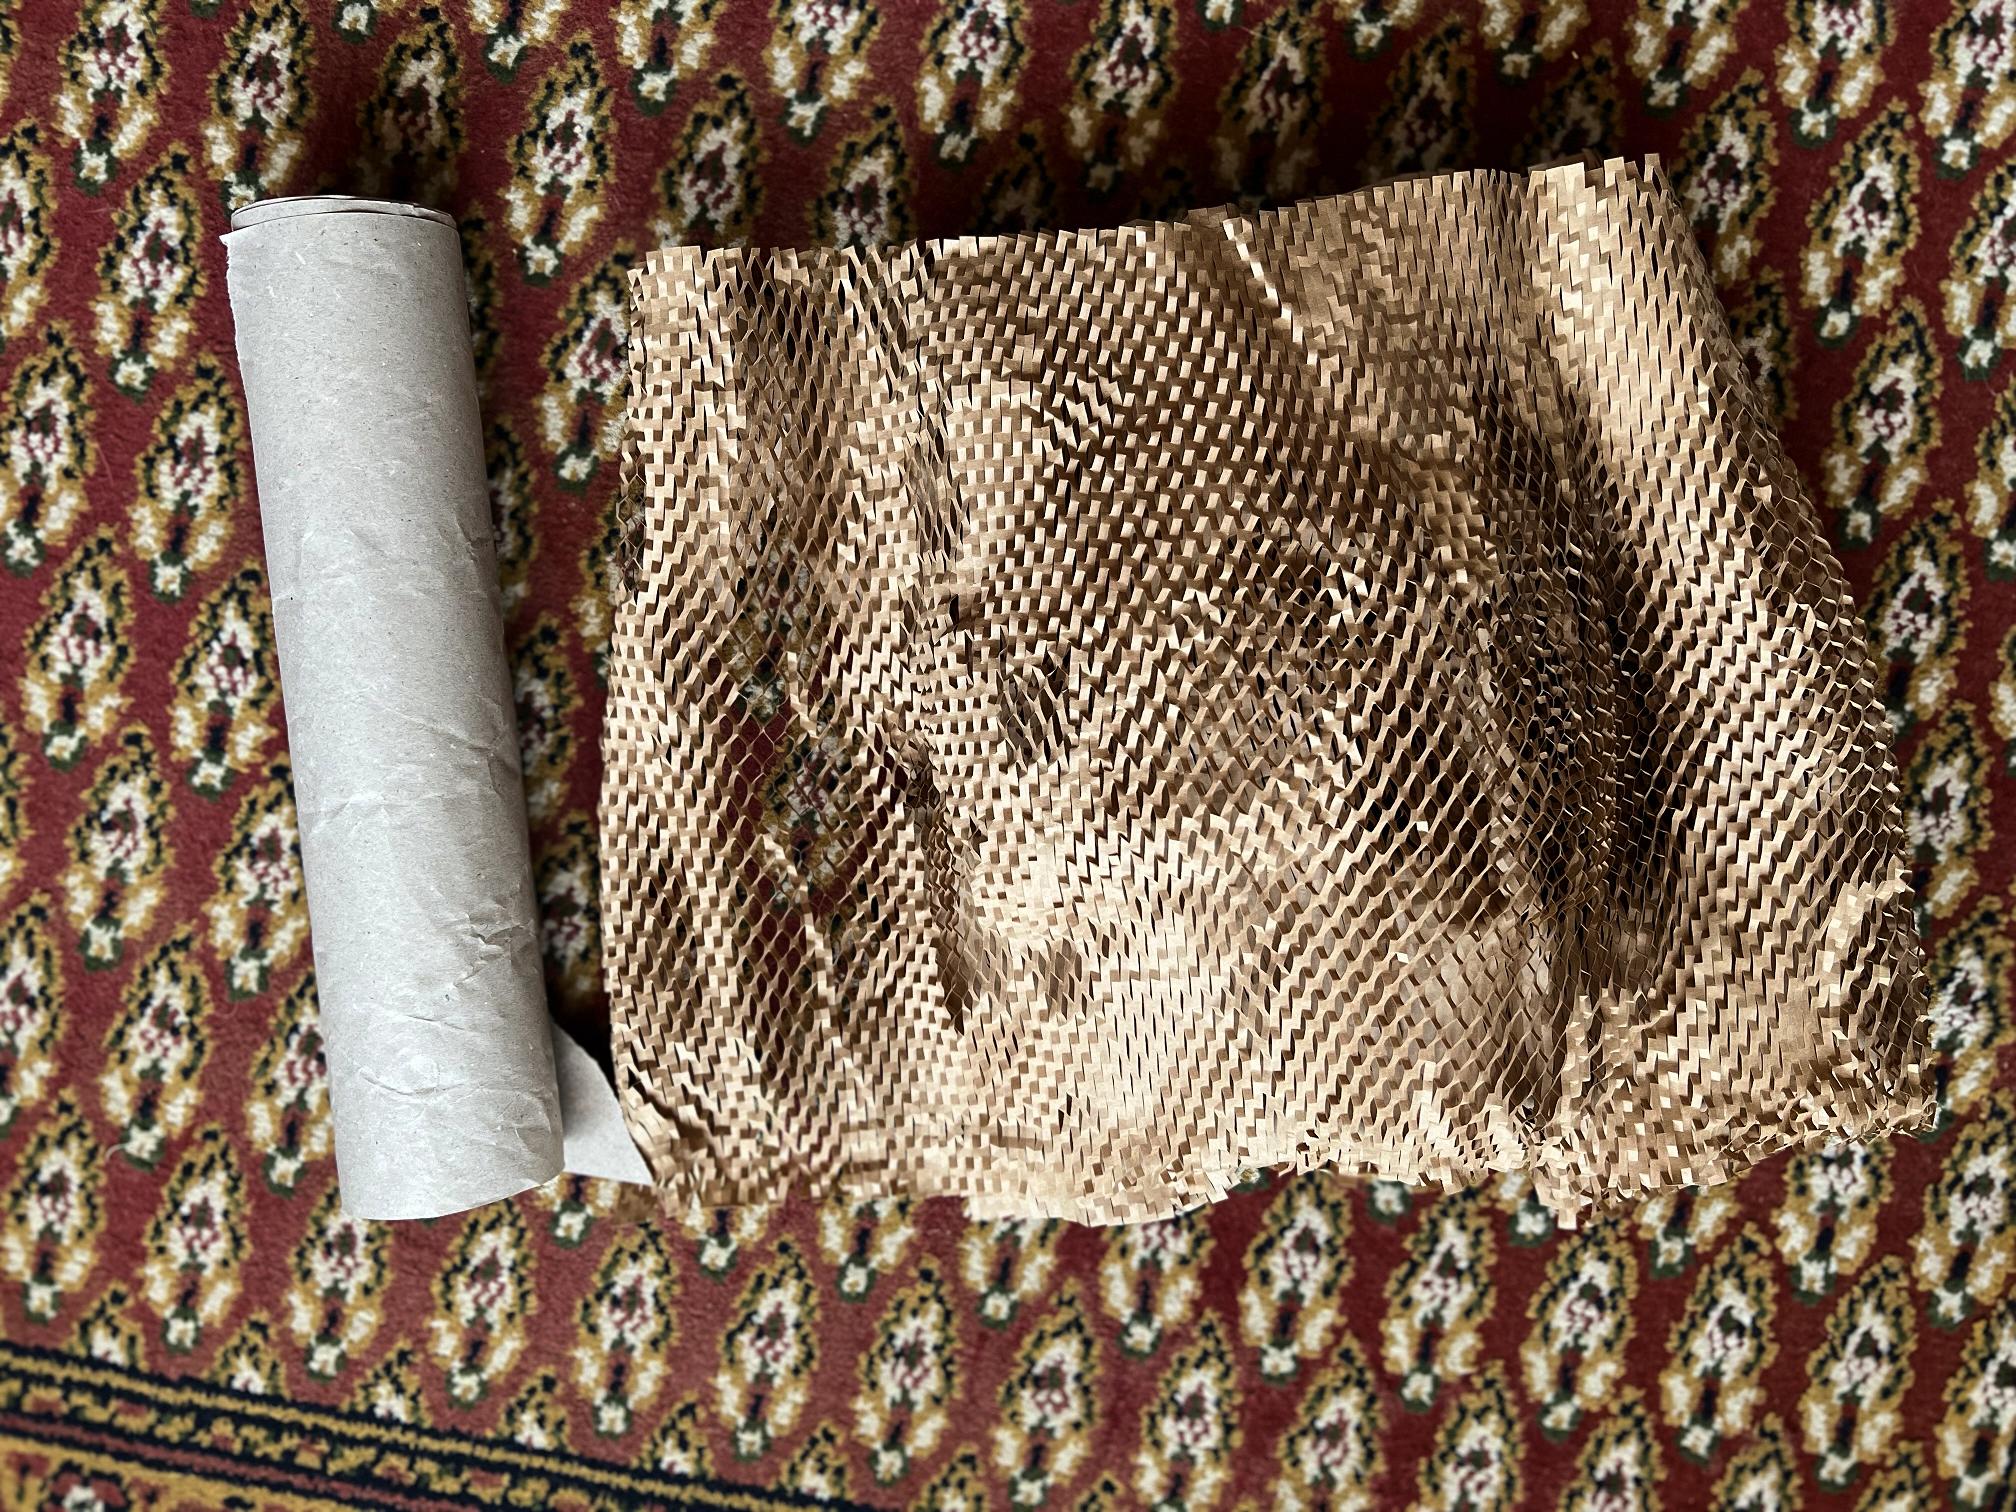
This is now also rolled up on a cardboard tube.
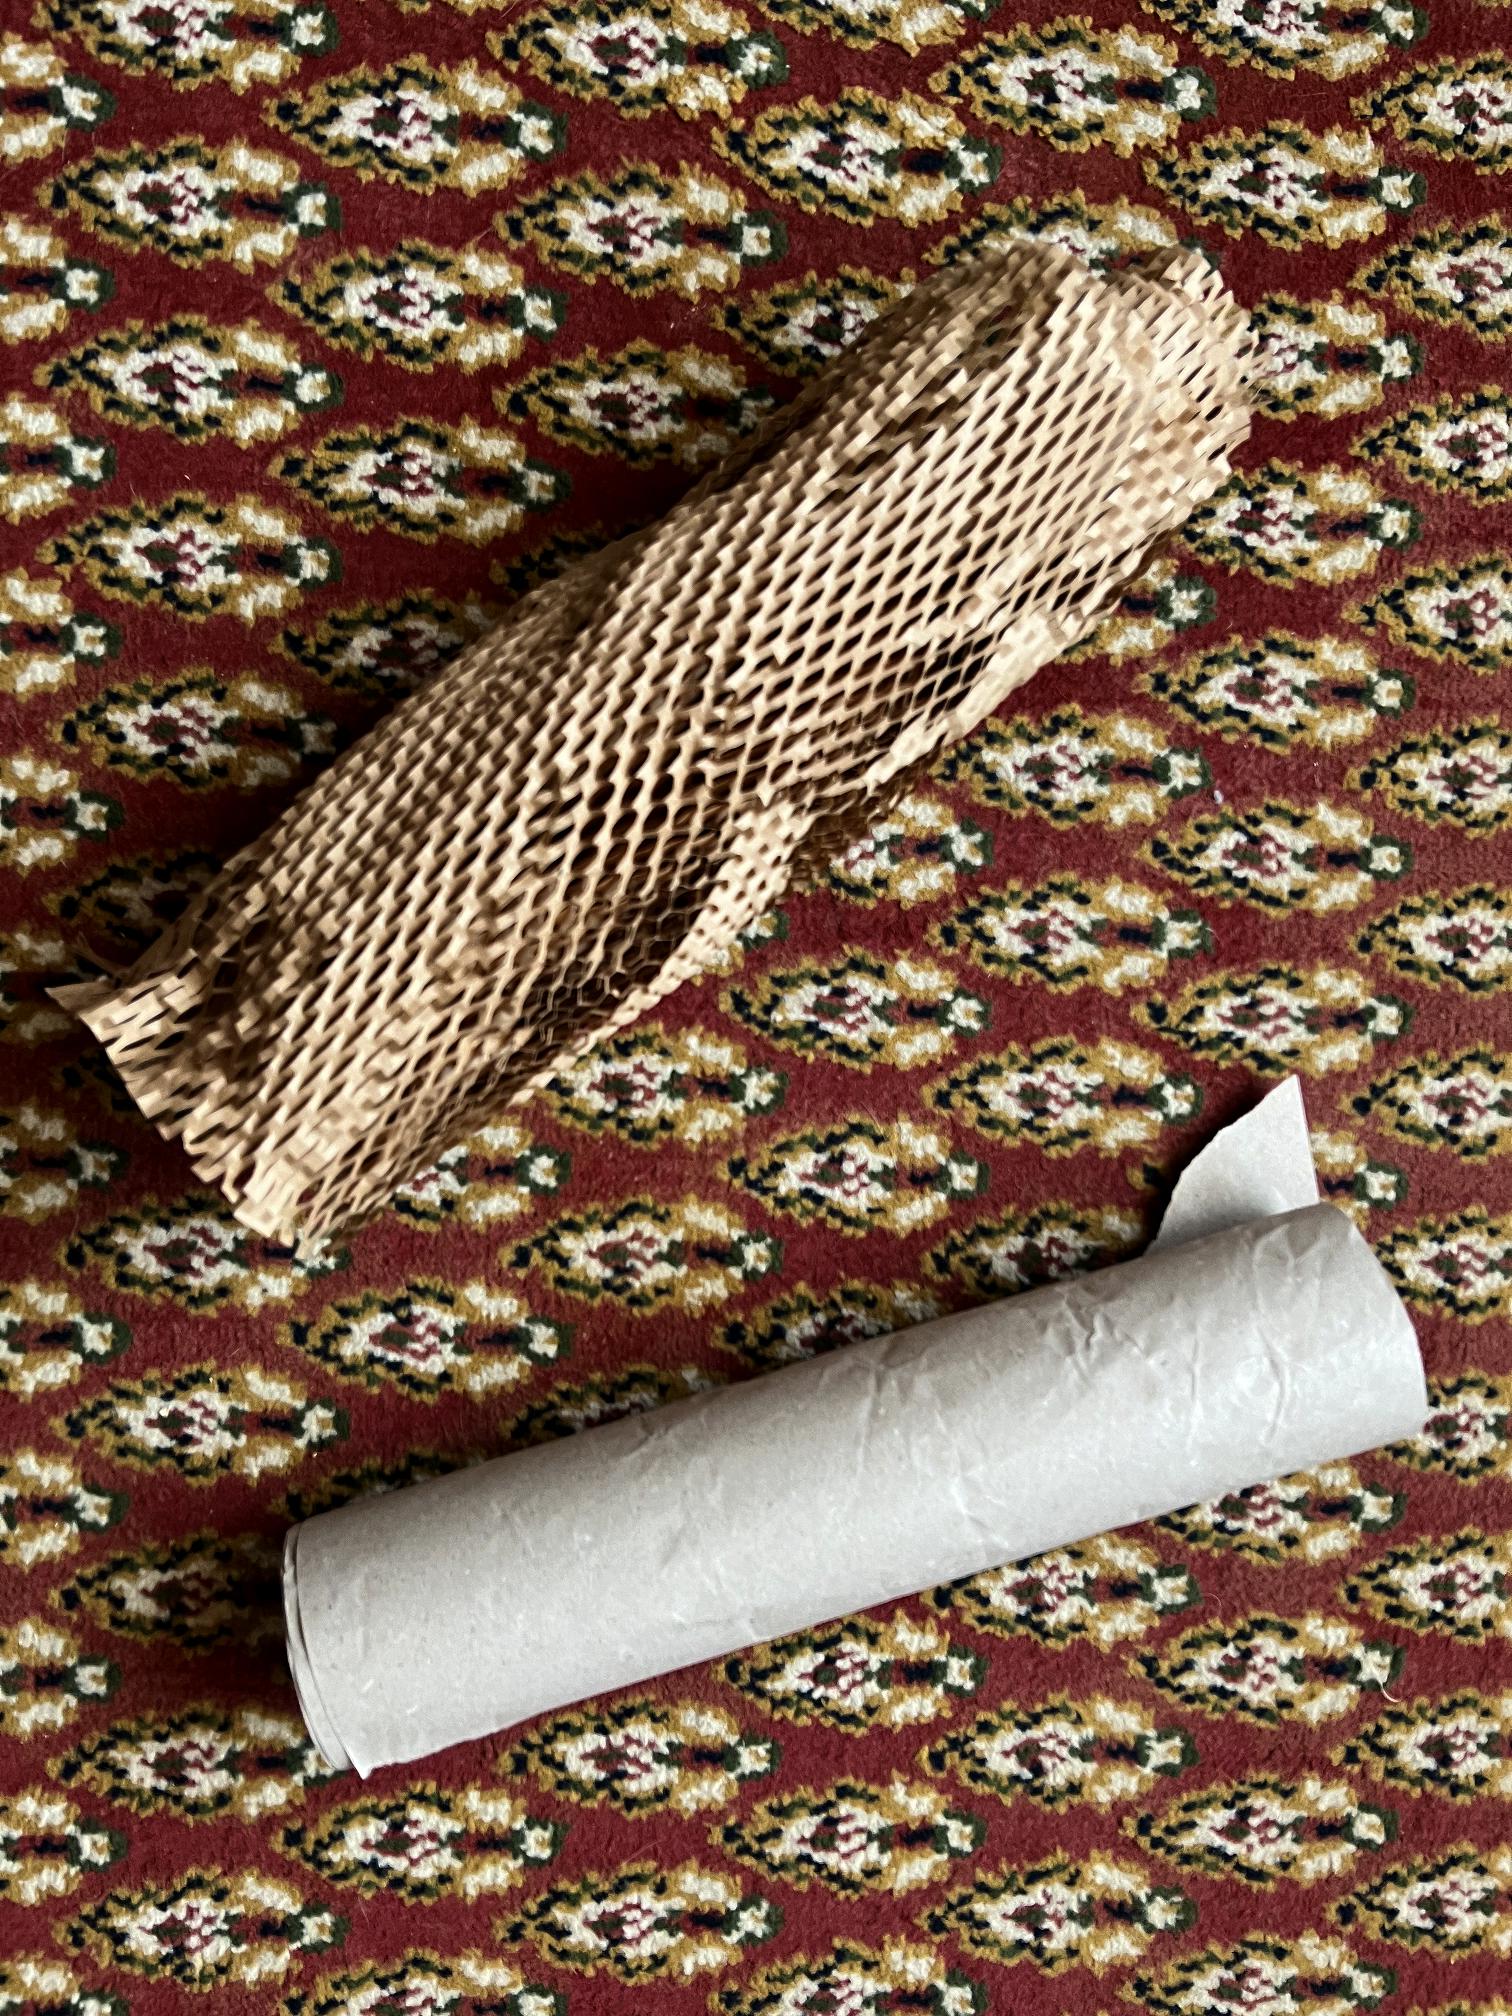
This photo shows the paper in its original unexpanded state, and what happens to it if you pull it apart.

Isn’t this stuff just scrumptious? I am thinking that you could press it onto the gel plate for texture, or use it as a stencil, or just lay it down as a collage element. You could spray it, or spray through it. You could even thread something contrasting through the holes. The possibilities are endless. It feels fabulous, too! I am also thinking that if I wanted this pattern in a better quality paper, it would be easy to design the pattern and cut it on the cutting machine. After all, it’s just a series of short vertical cuts arranged in an alternating pattern.
Anyway, after this rather long pre-amble to the main theme of this post, here’s the main theme of this post.
Voynich Circles
This is the title of the latest page in my Organic Journal. The other day I downloaded a heap of images of the Voynich Manuscript and printed them out, ready to be used in collage. The colours are subtle and I thought they would make a fine addition to my journal.
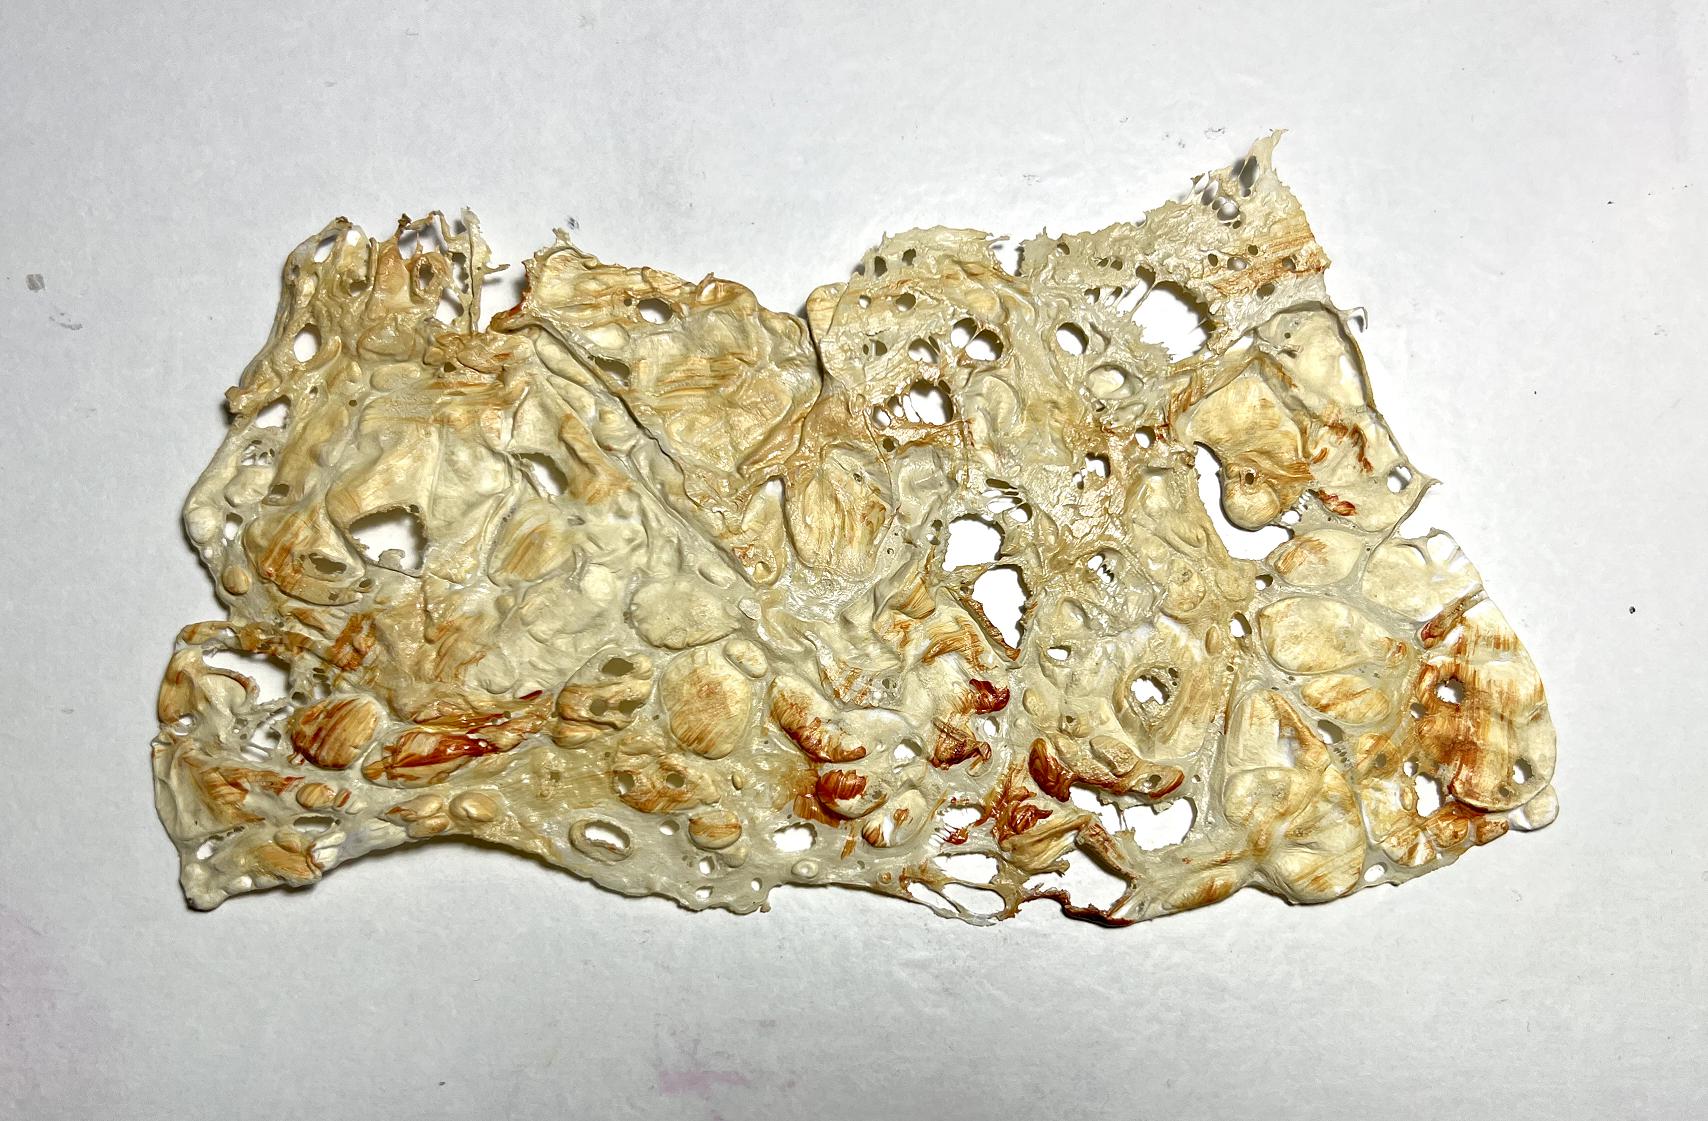
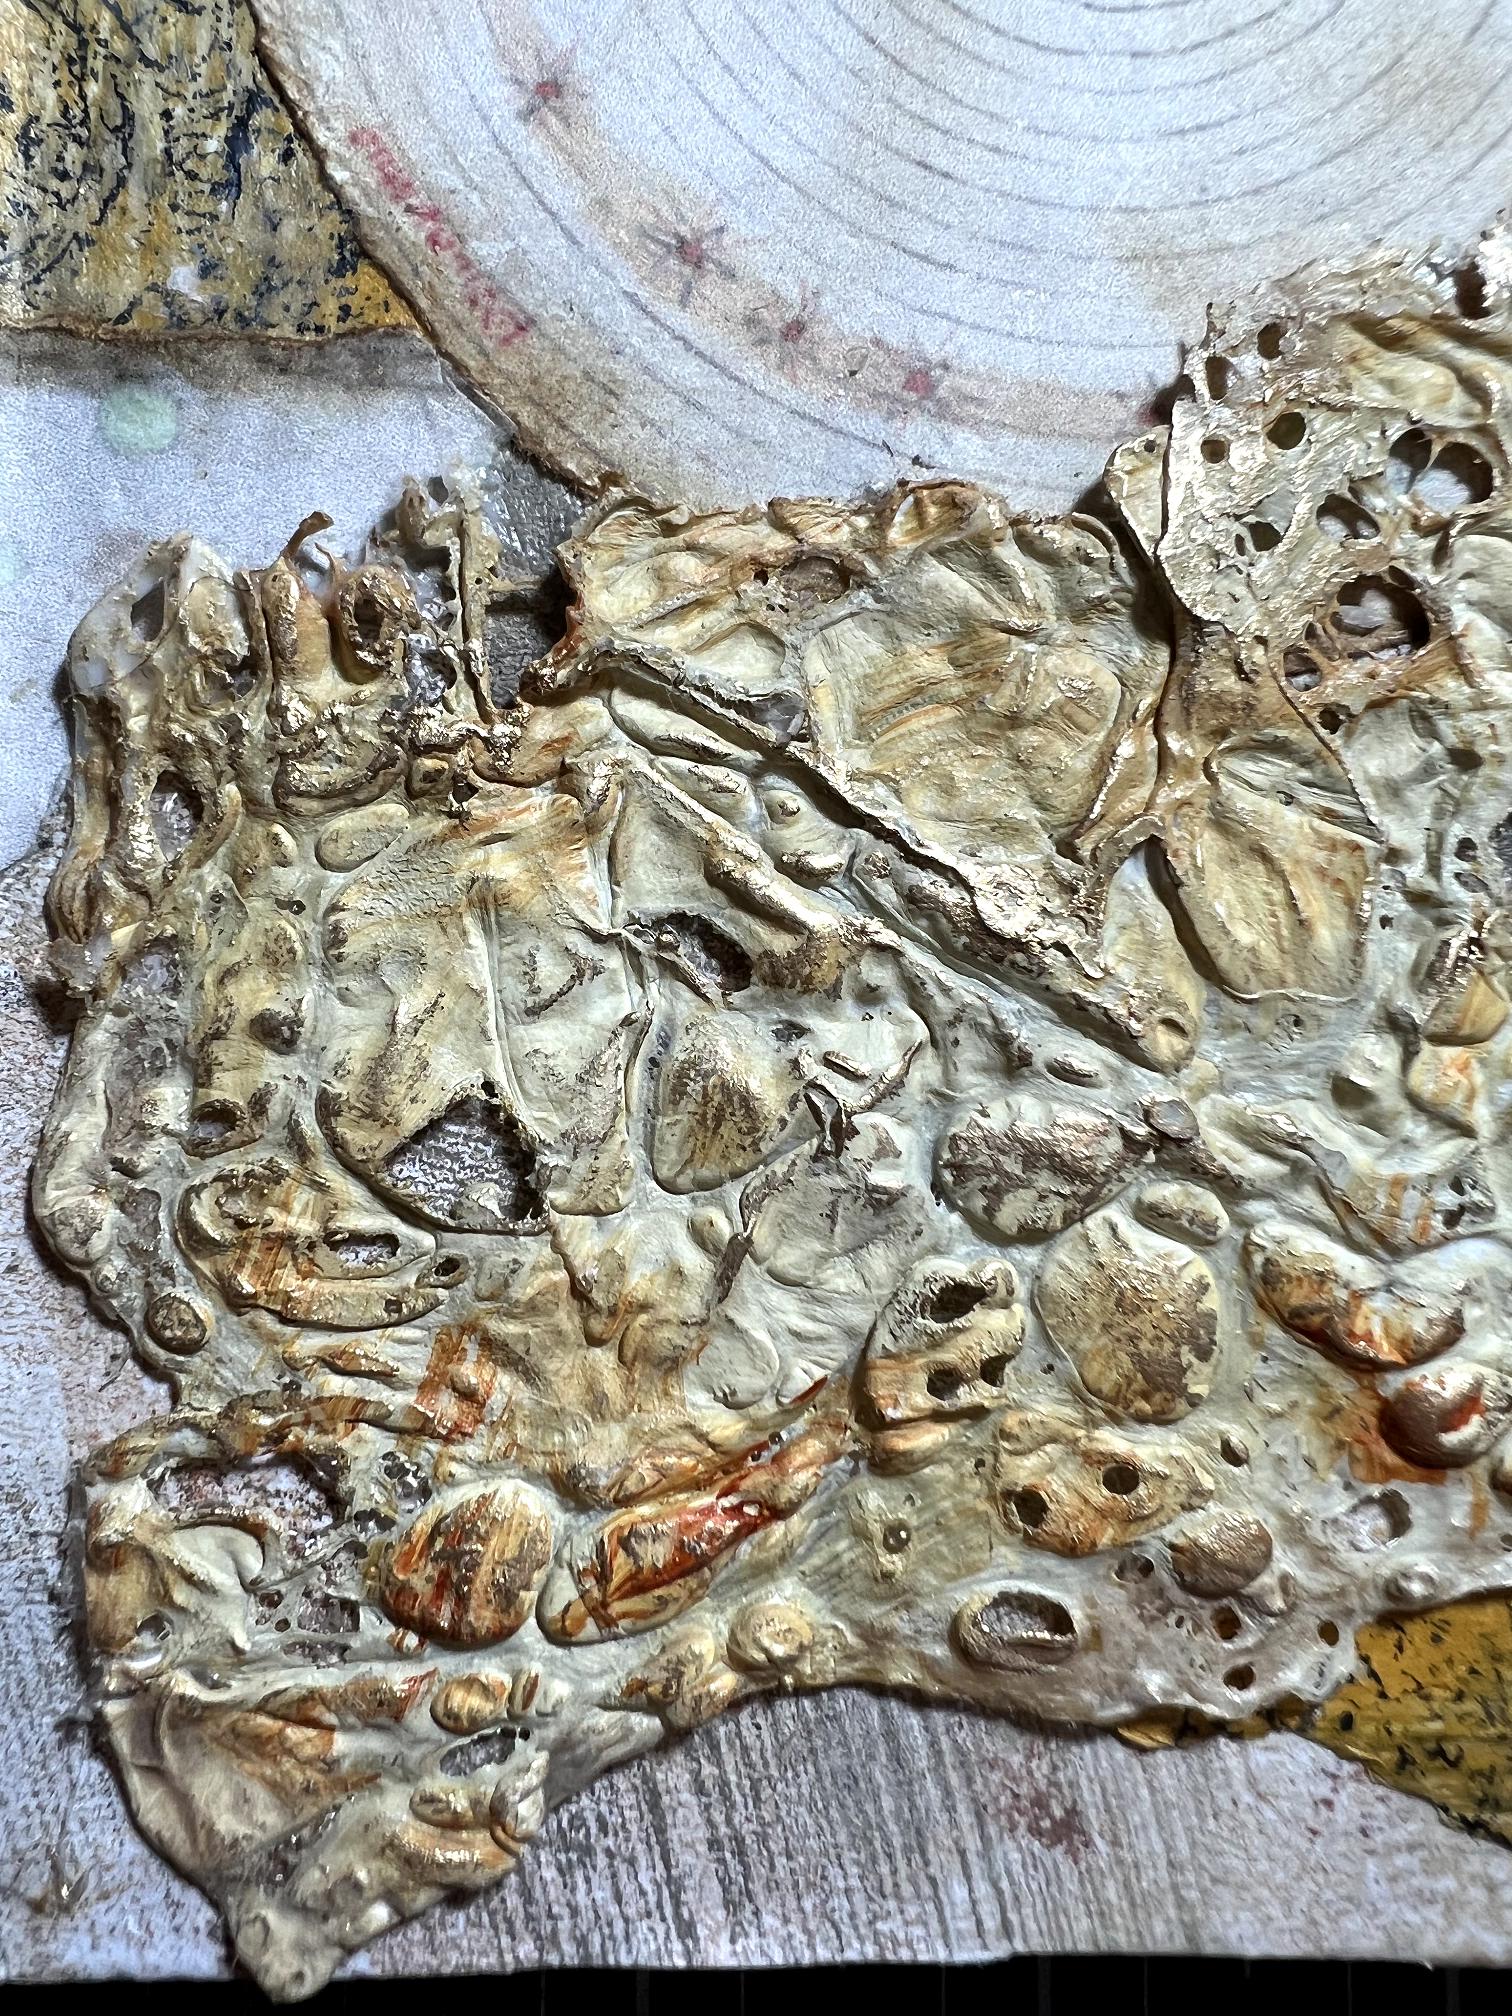
When I was experimenting with Tyvek recently, I melted two pieces, one painted, and the other plain.
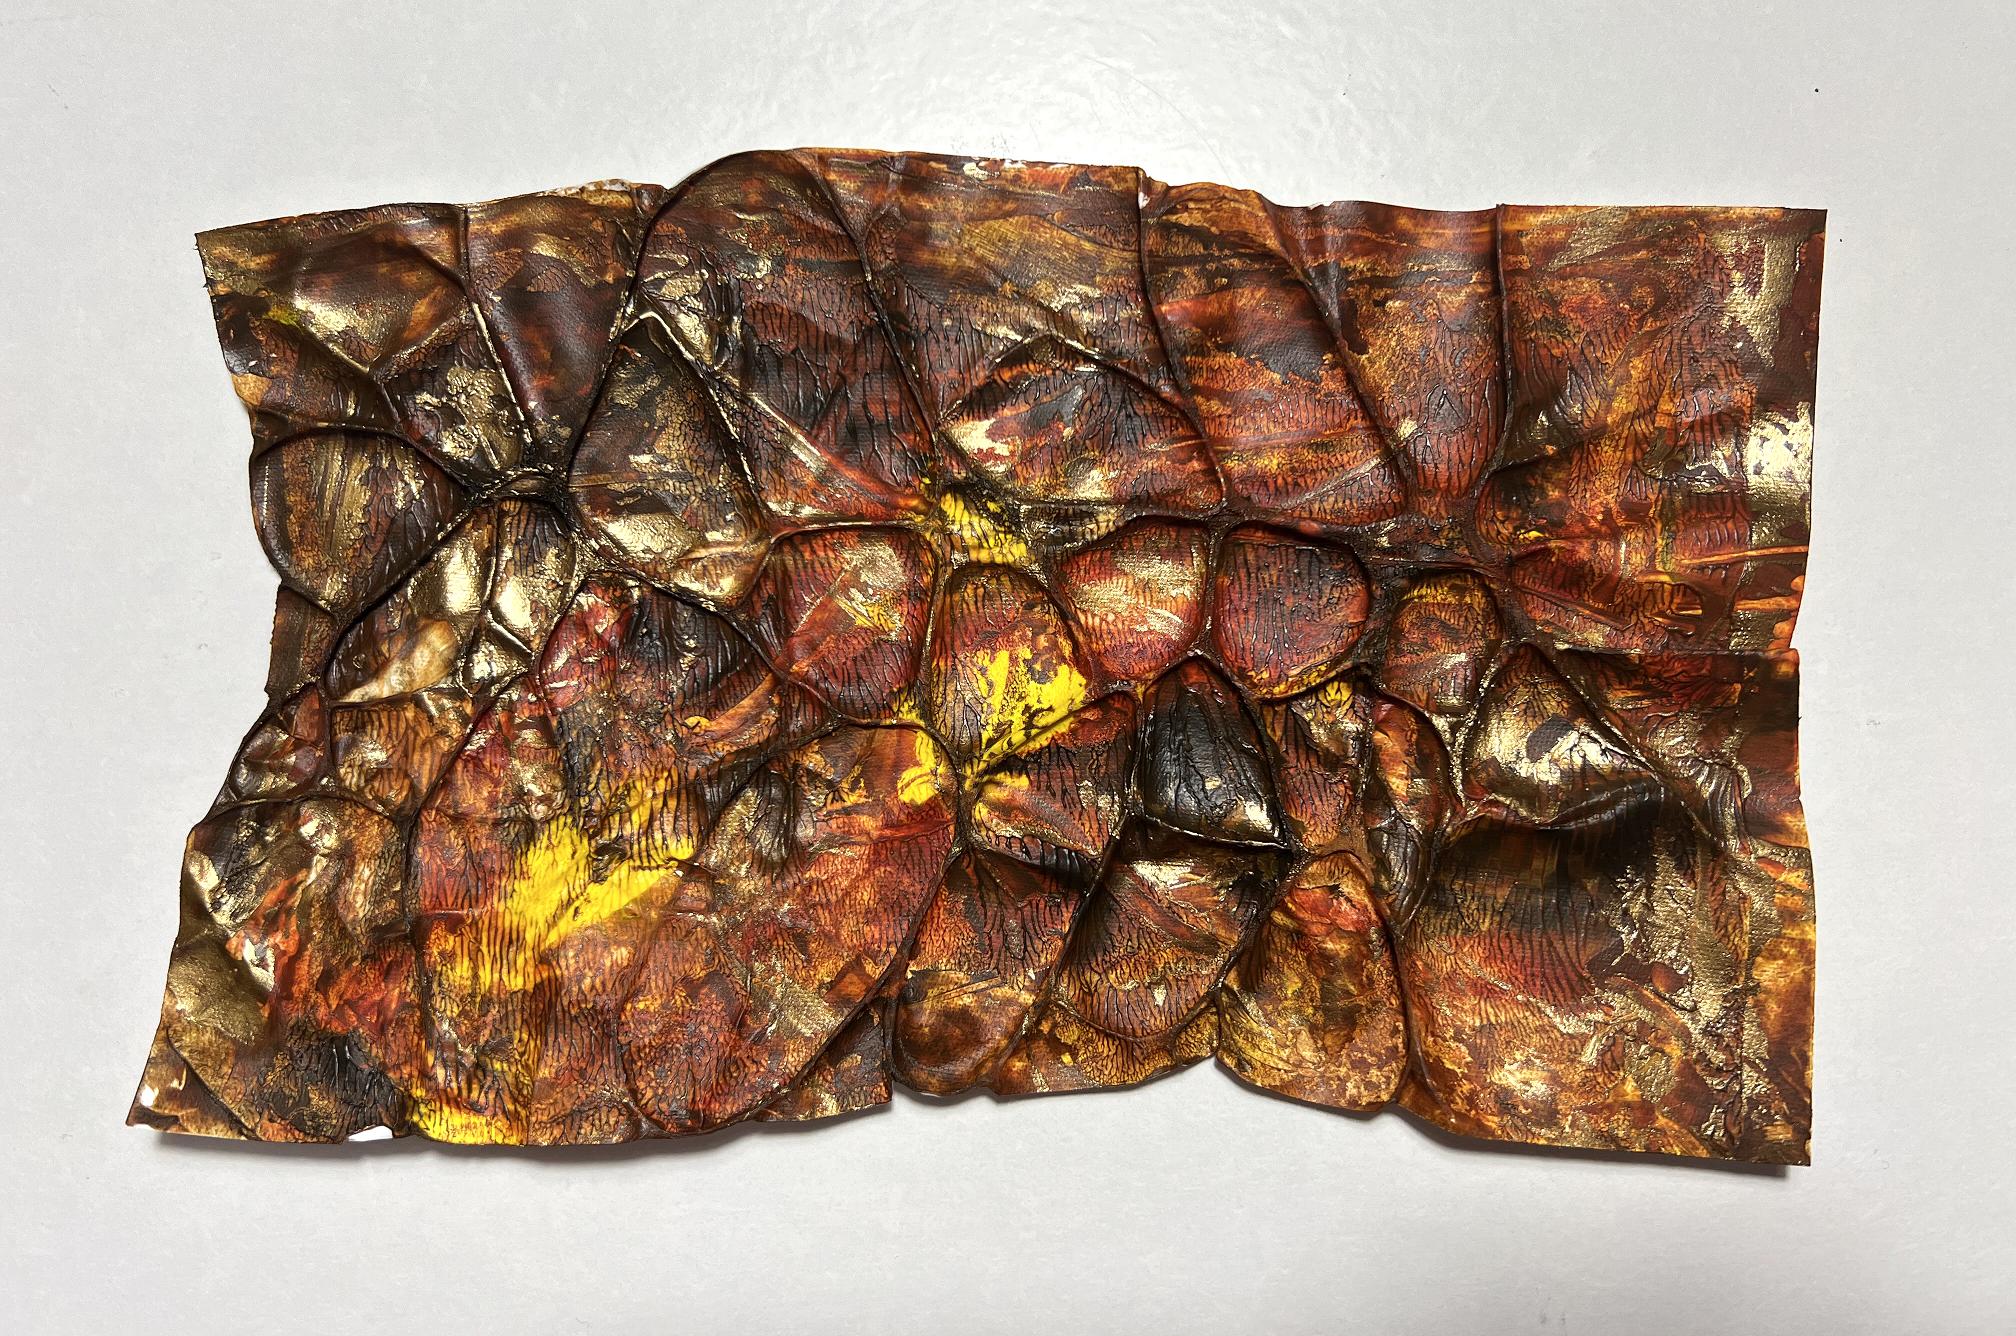
I decided they weren’t much use as they were, so I melted them some more, turning them over to get the bubbles to go into holes.
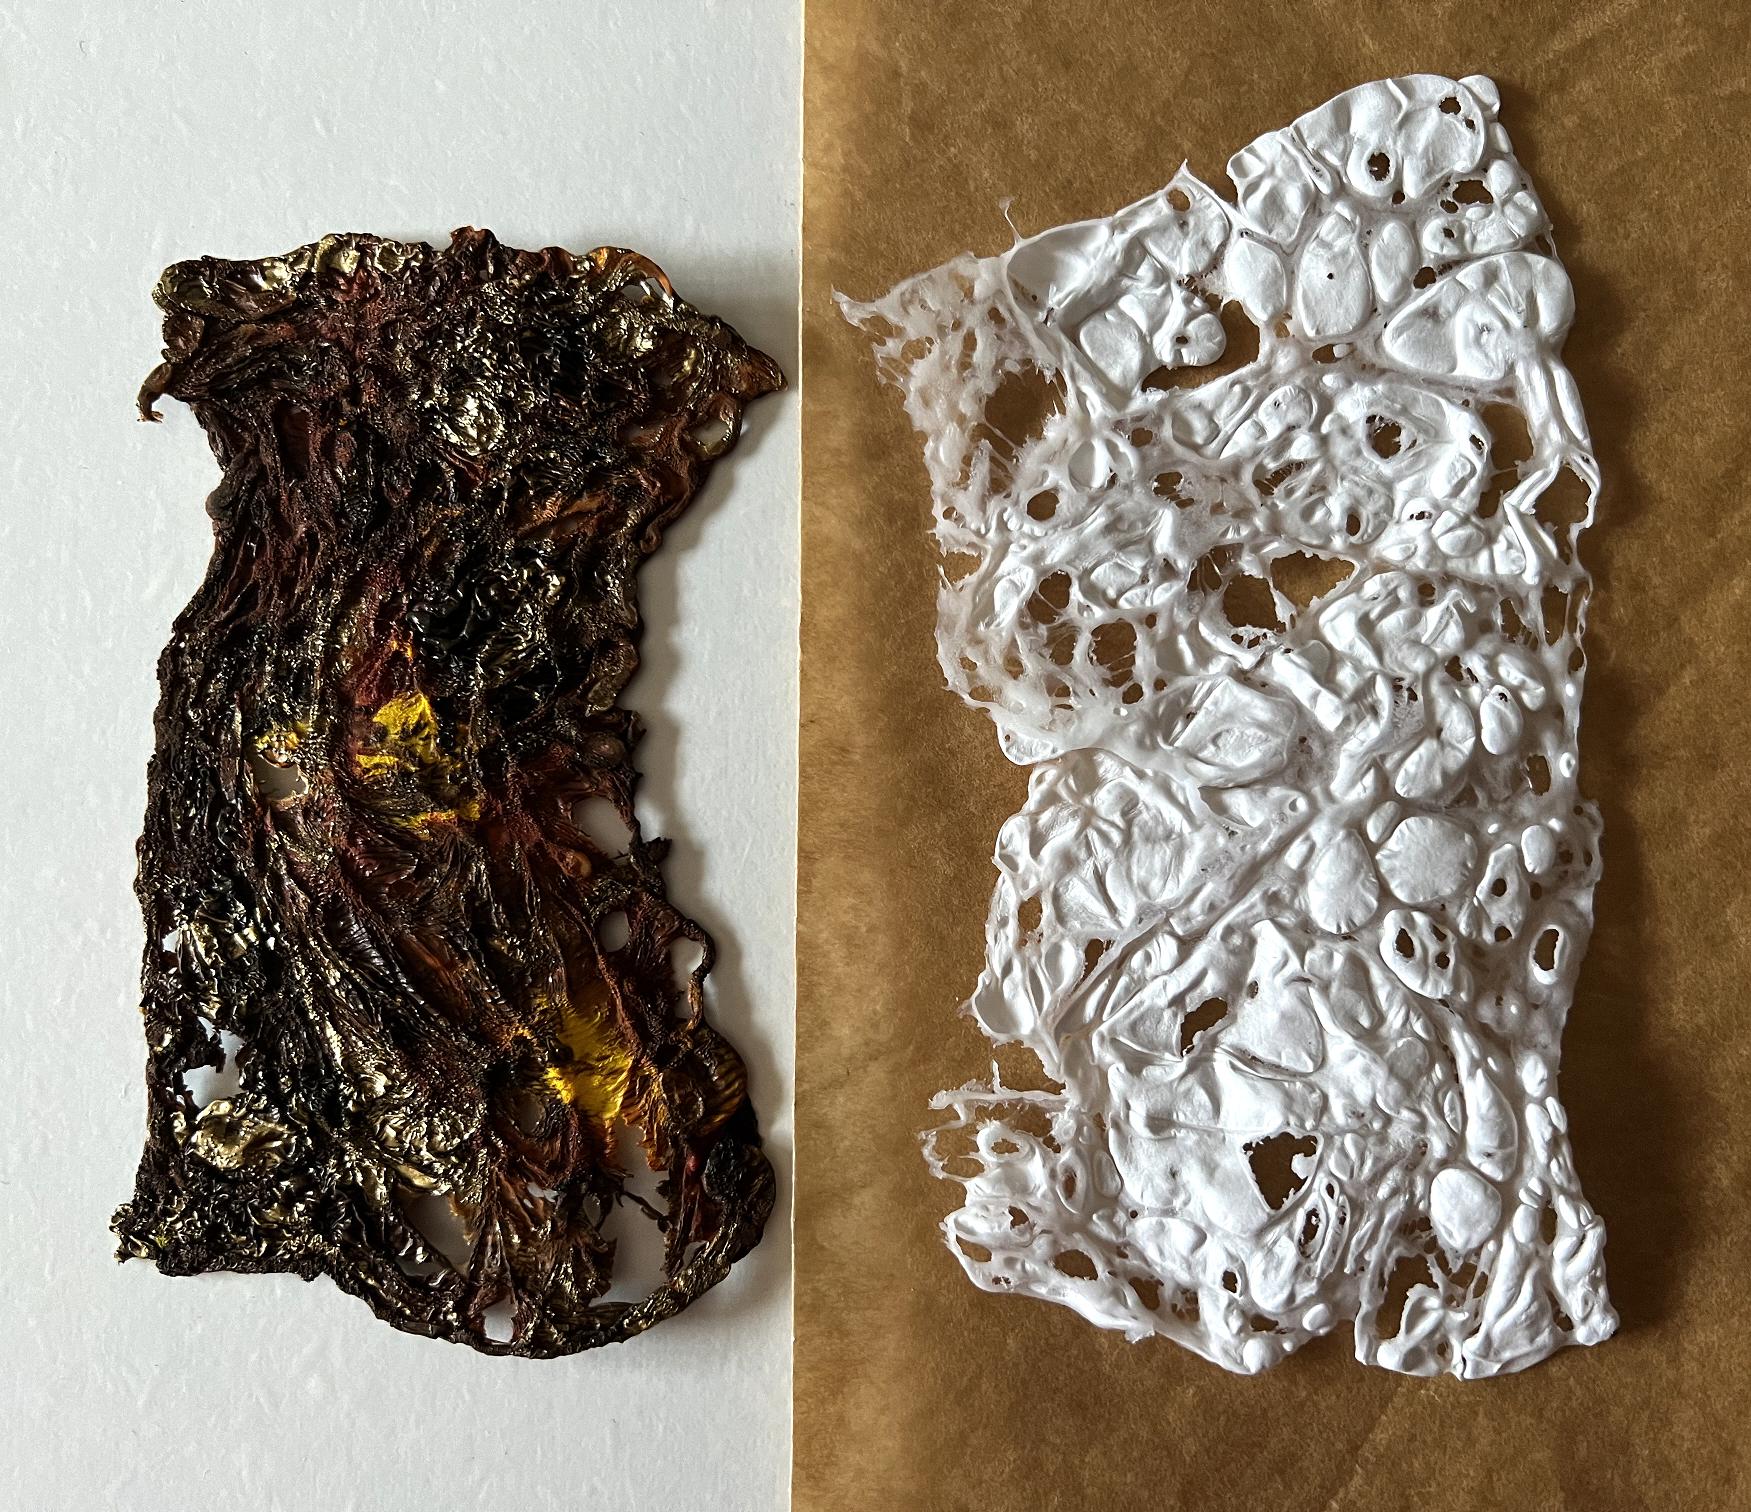
Definitely more interesting. The painted one looks a lot more promising in real life – shrinking it down some more has concentrated the gold.
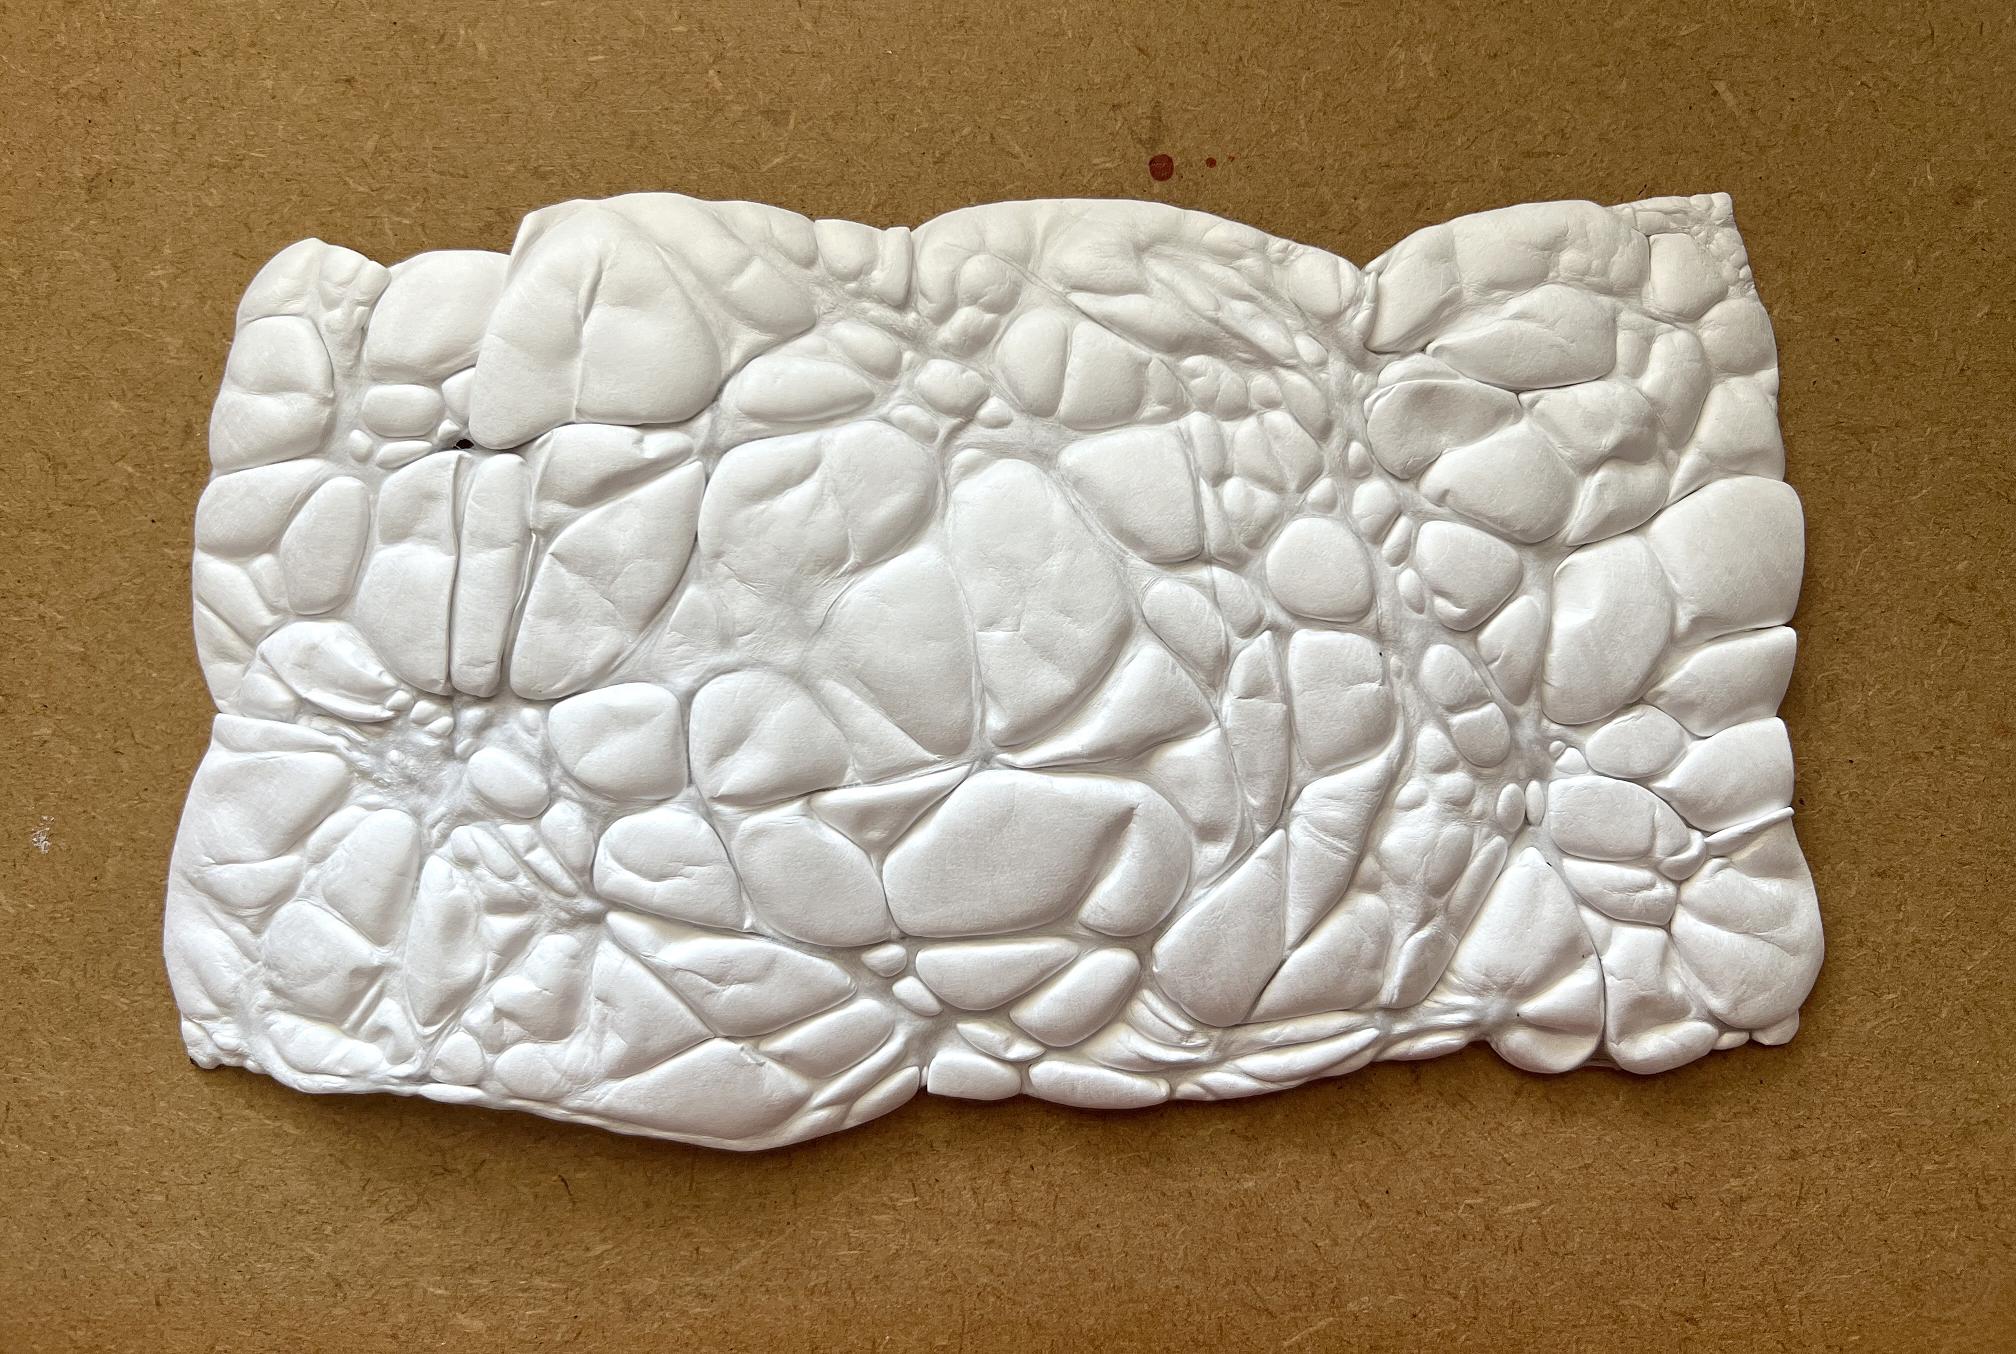
I thought I would use this as a feature on my new collage page, but in the end it was too dark and dominating, so I chose the white one instead, and painted it with unbleached titanium and a touch of Golden azo gold.
With a bit of trimming of the hard right-hand edge, it was perfect for my page.
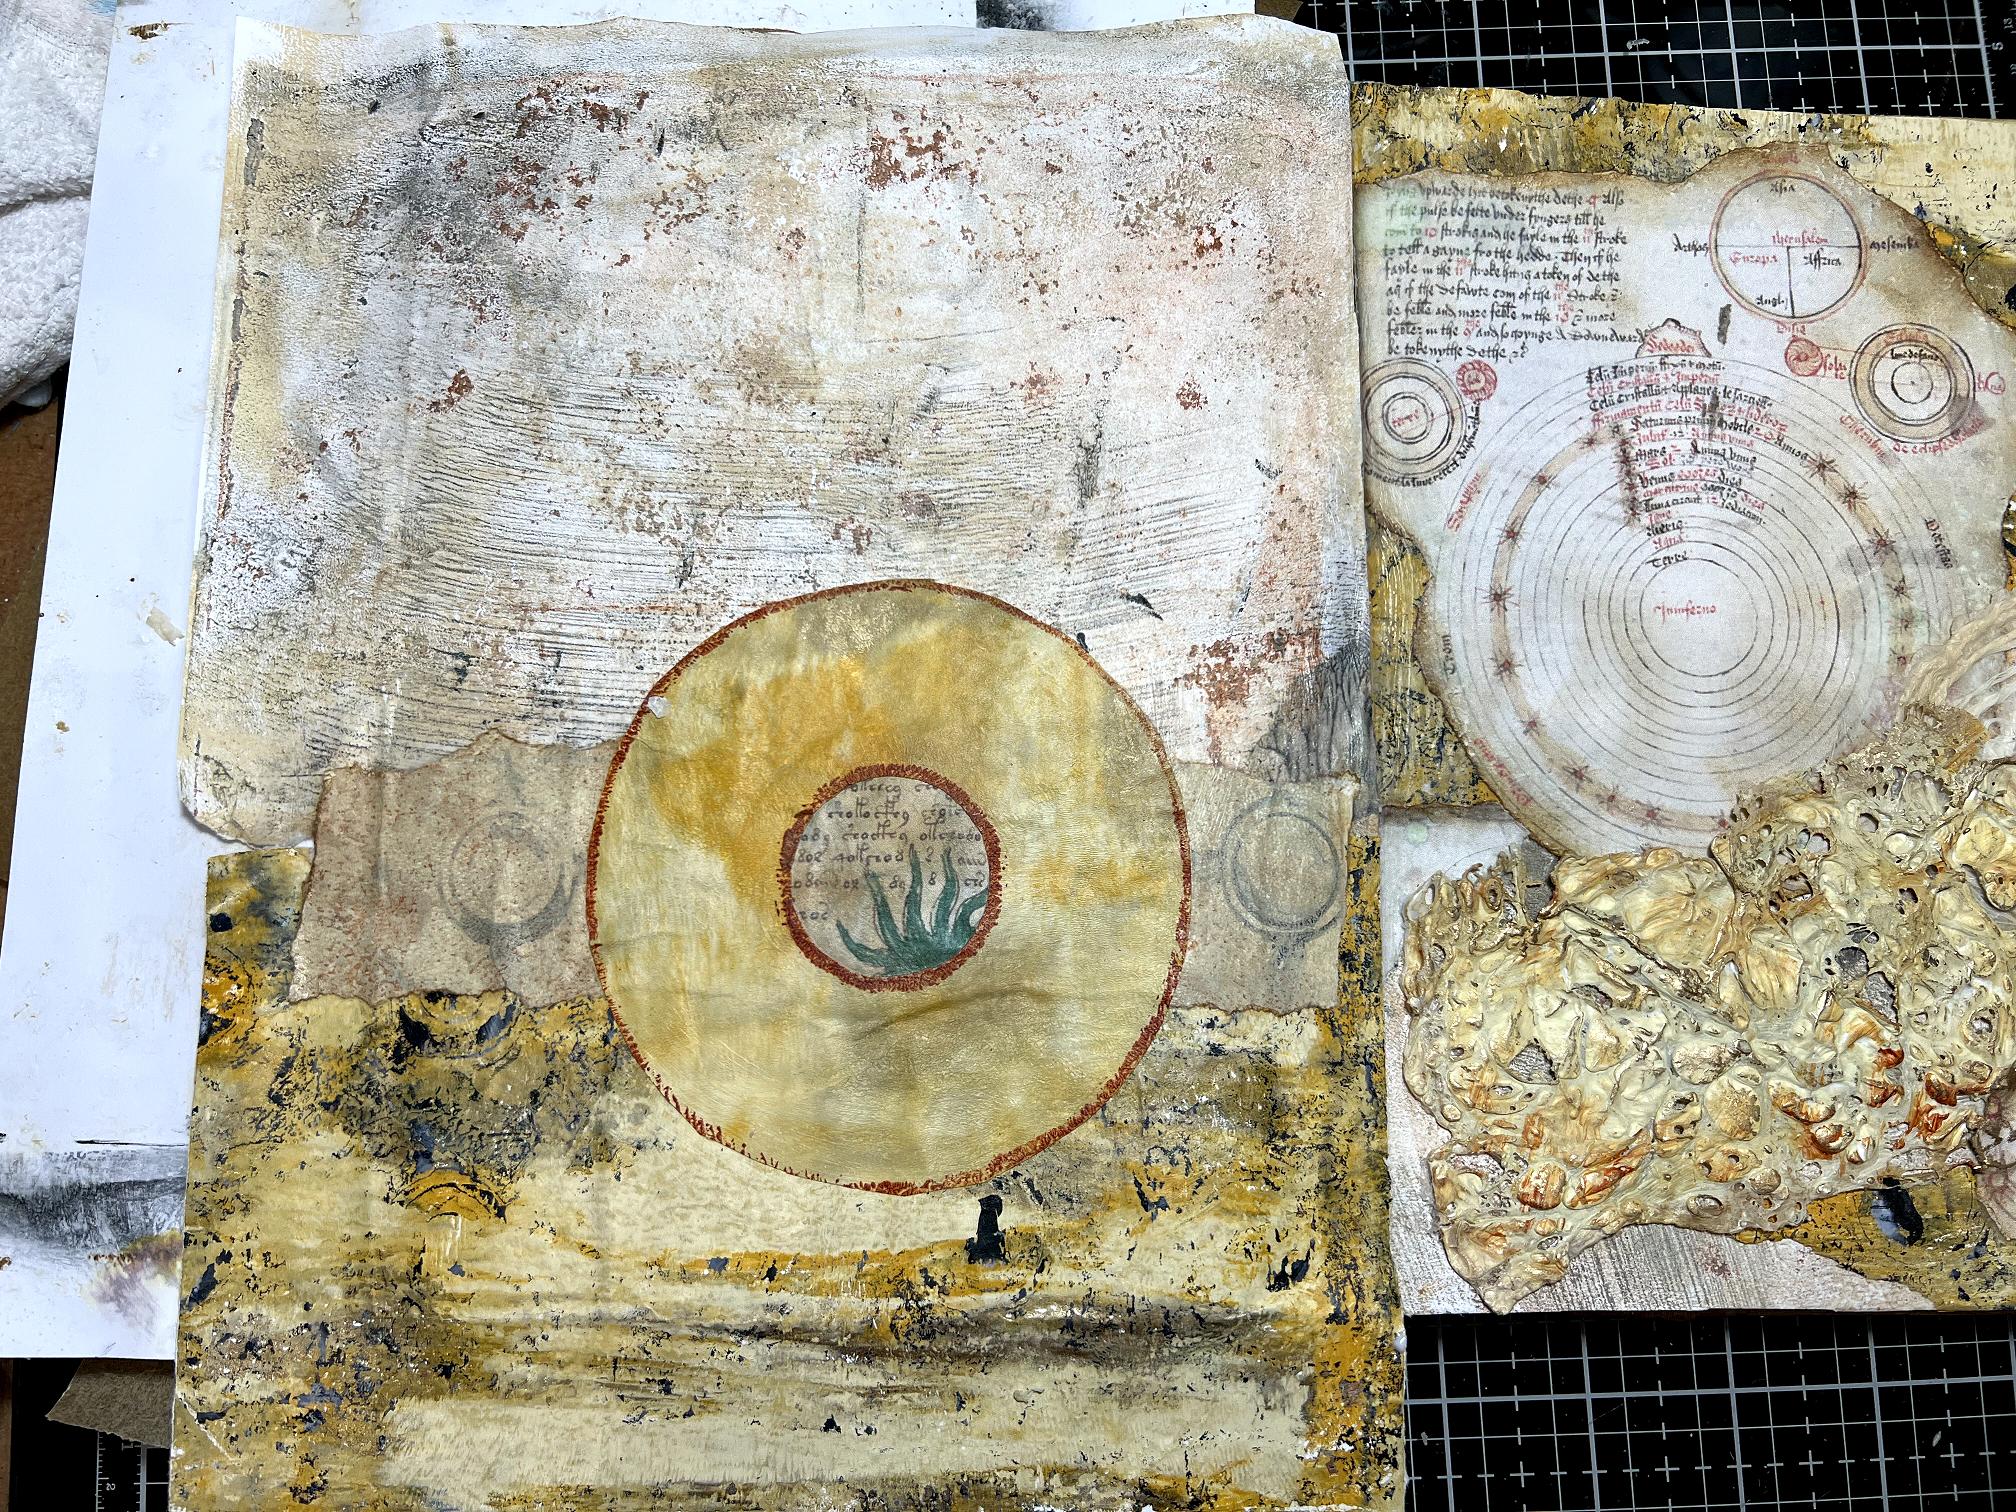
Beginning the page
I tore the Voynich image out of the backgound and distressed the edges. The top background is one of my gel prints, and the bottom one is part of a clean-off sheet. I tore out one of my DIY paper roses (see my post here).
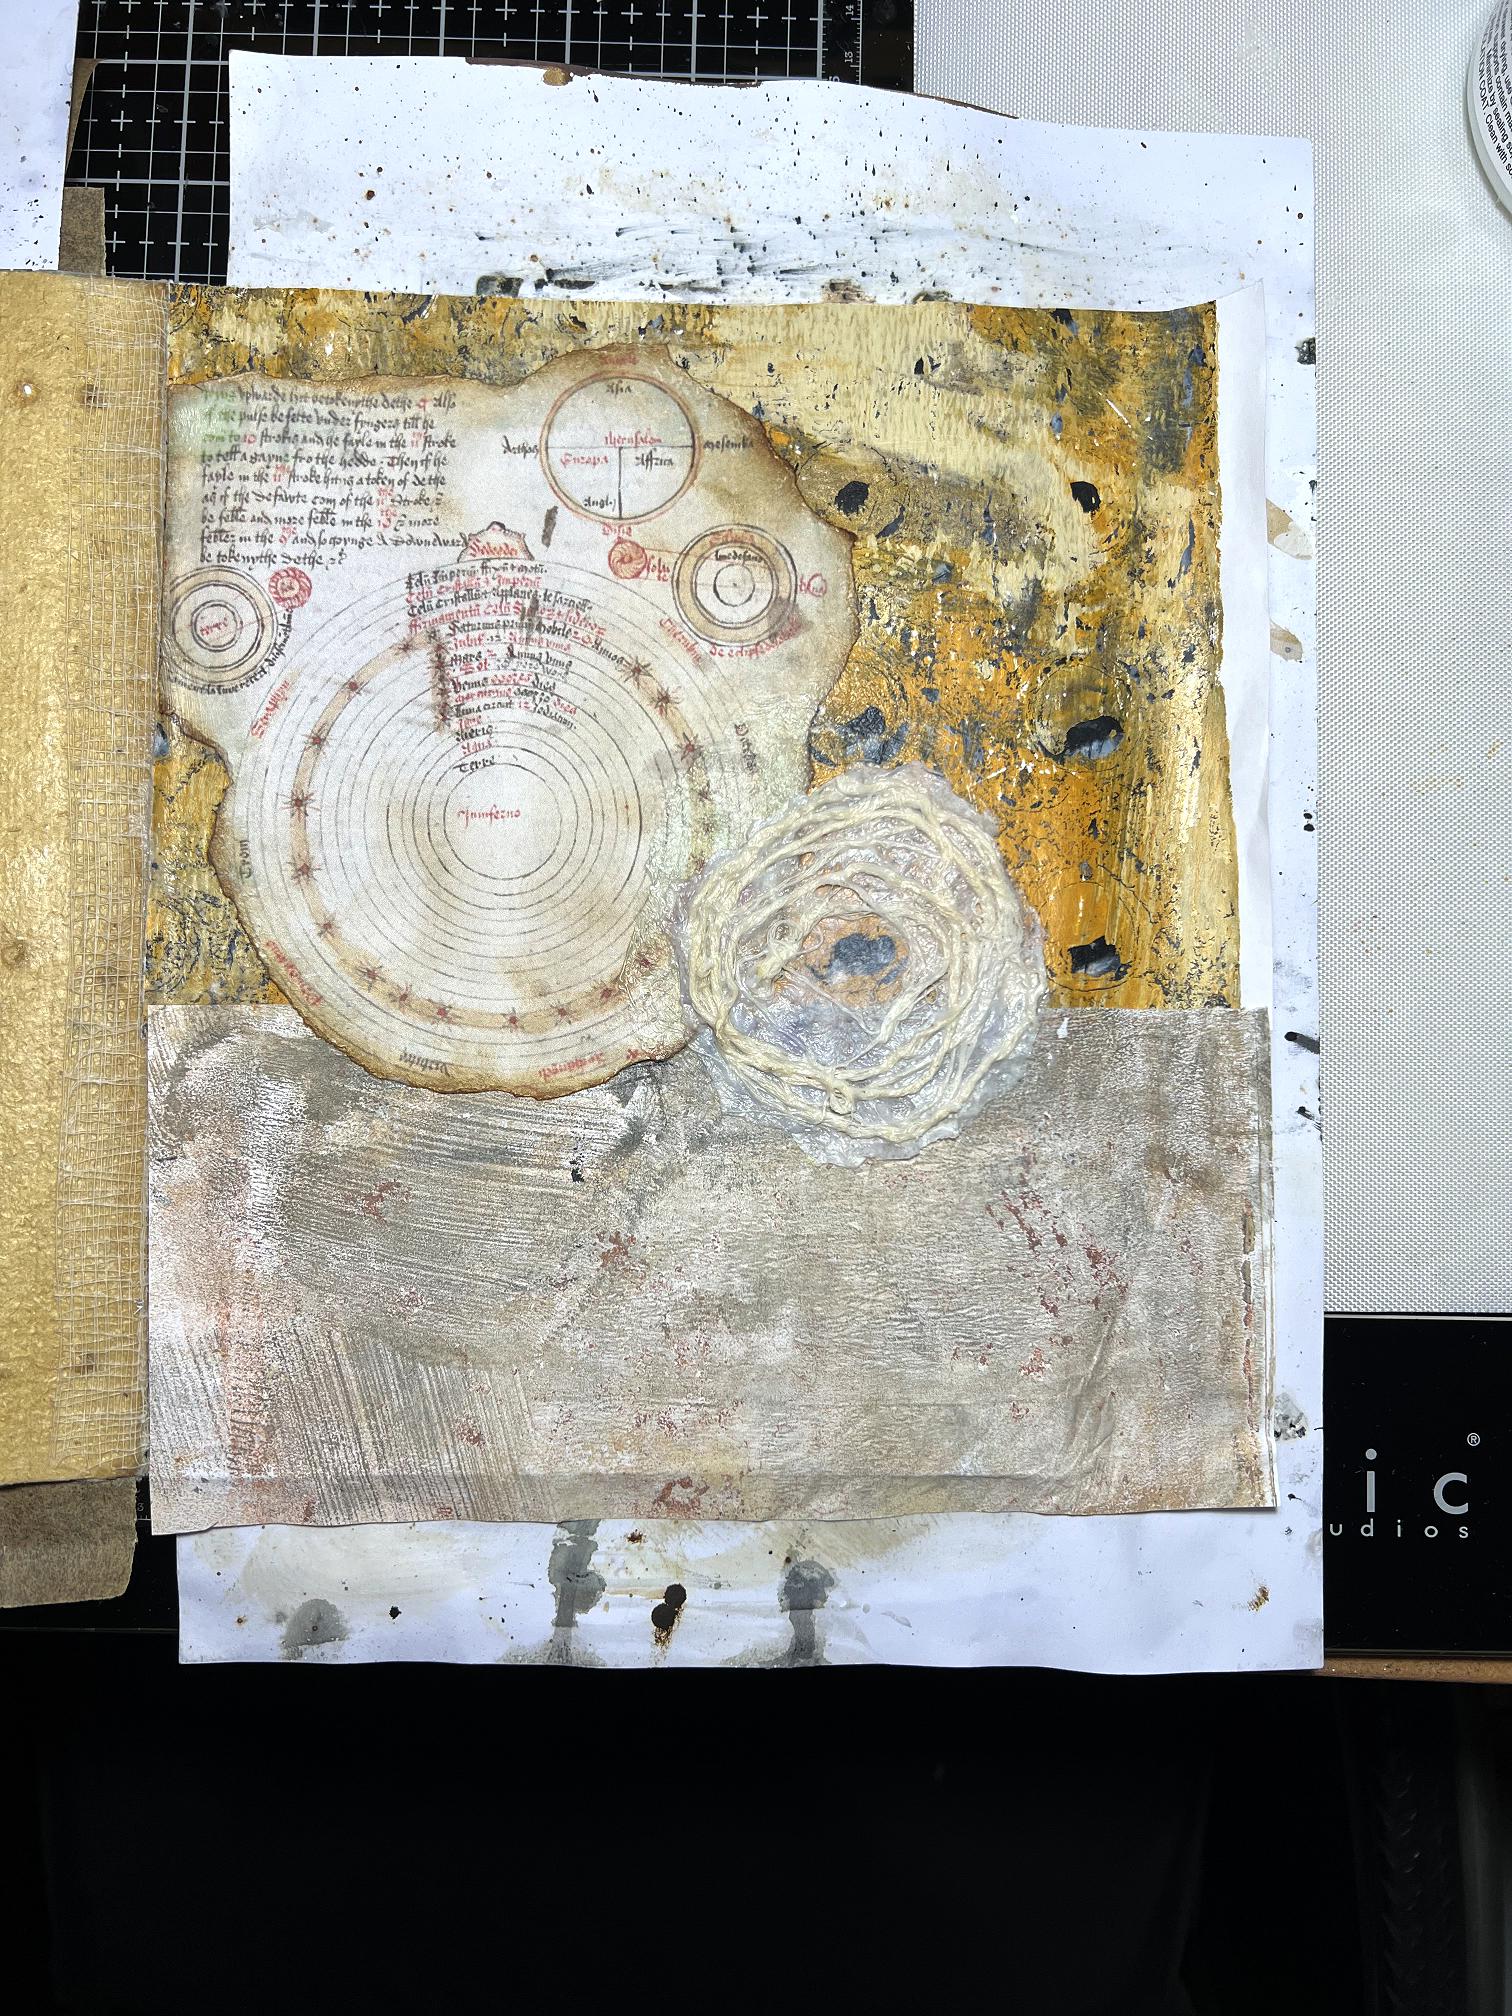
The page with the Tyvek applied. I stuck this down with hot glue.
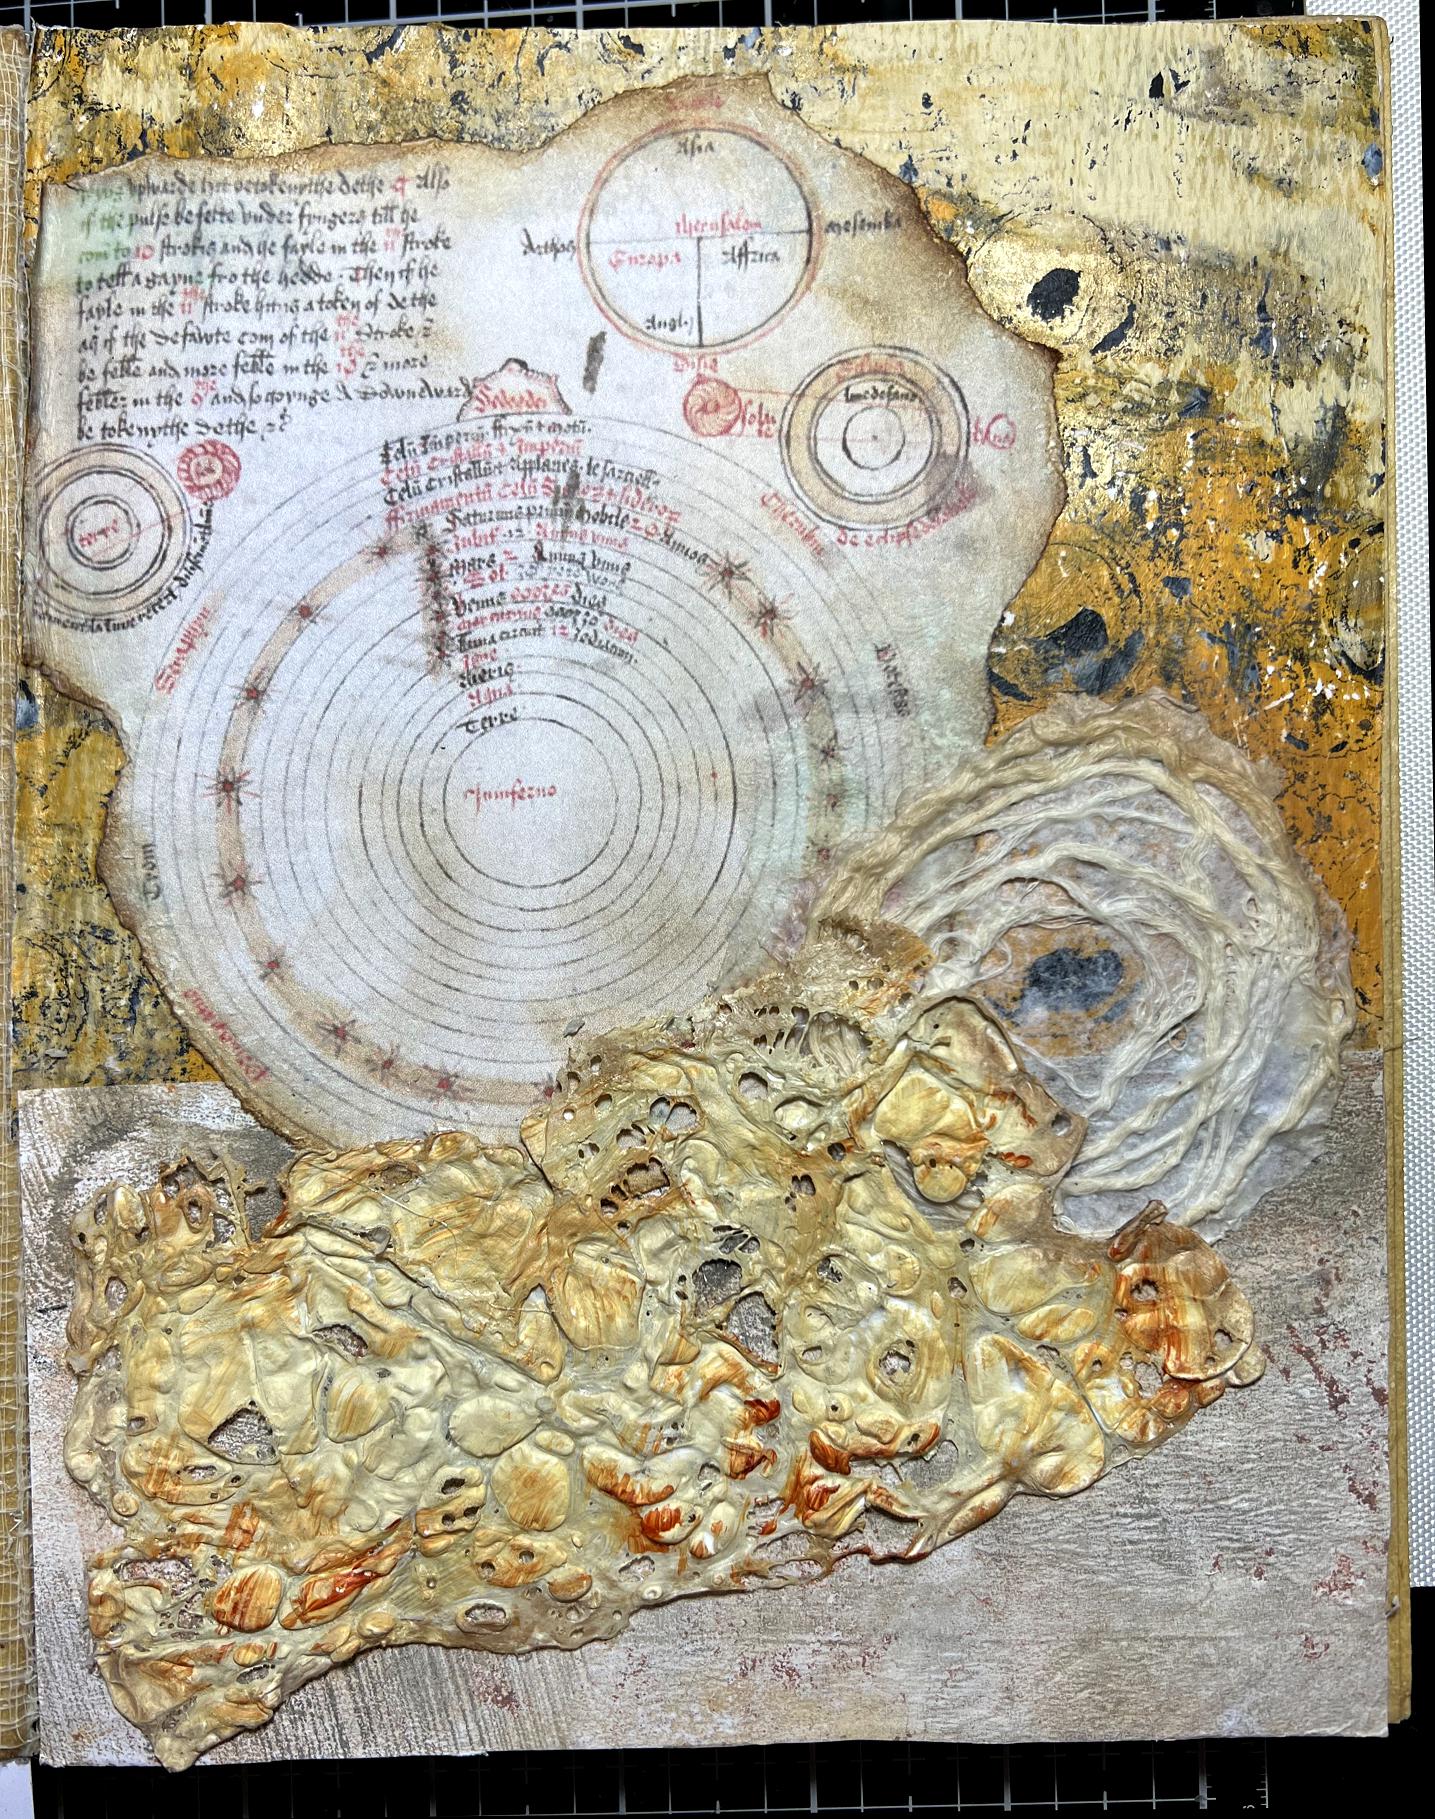
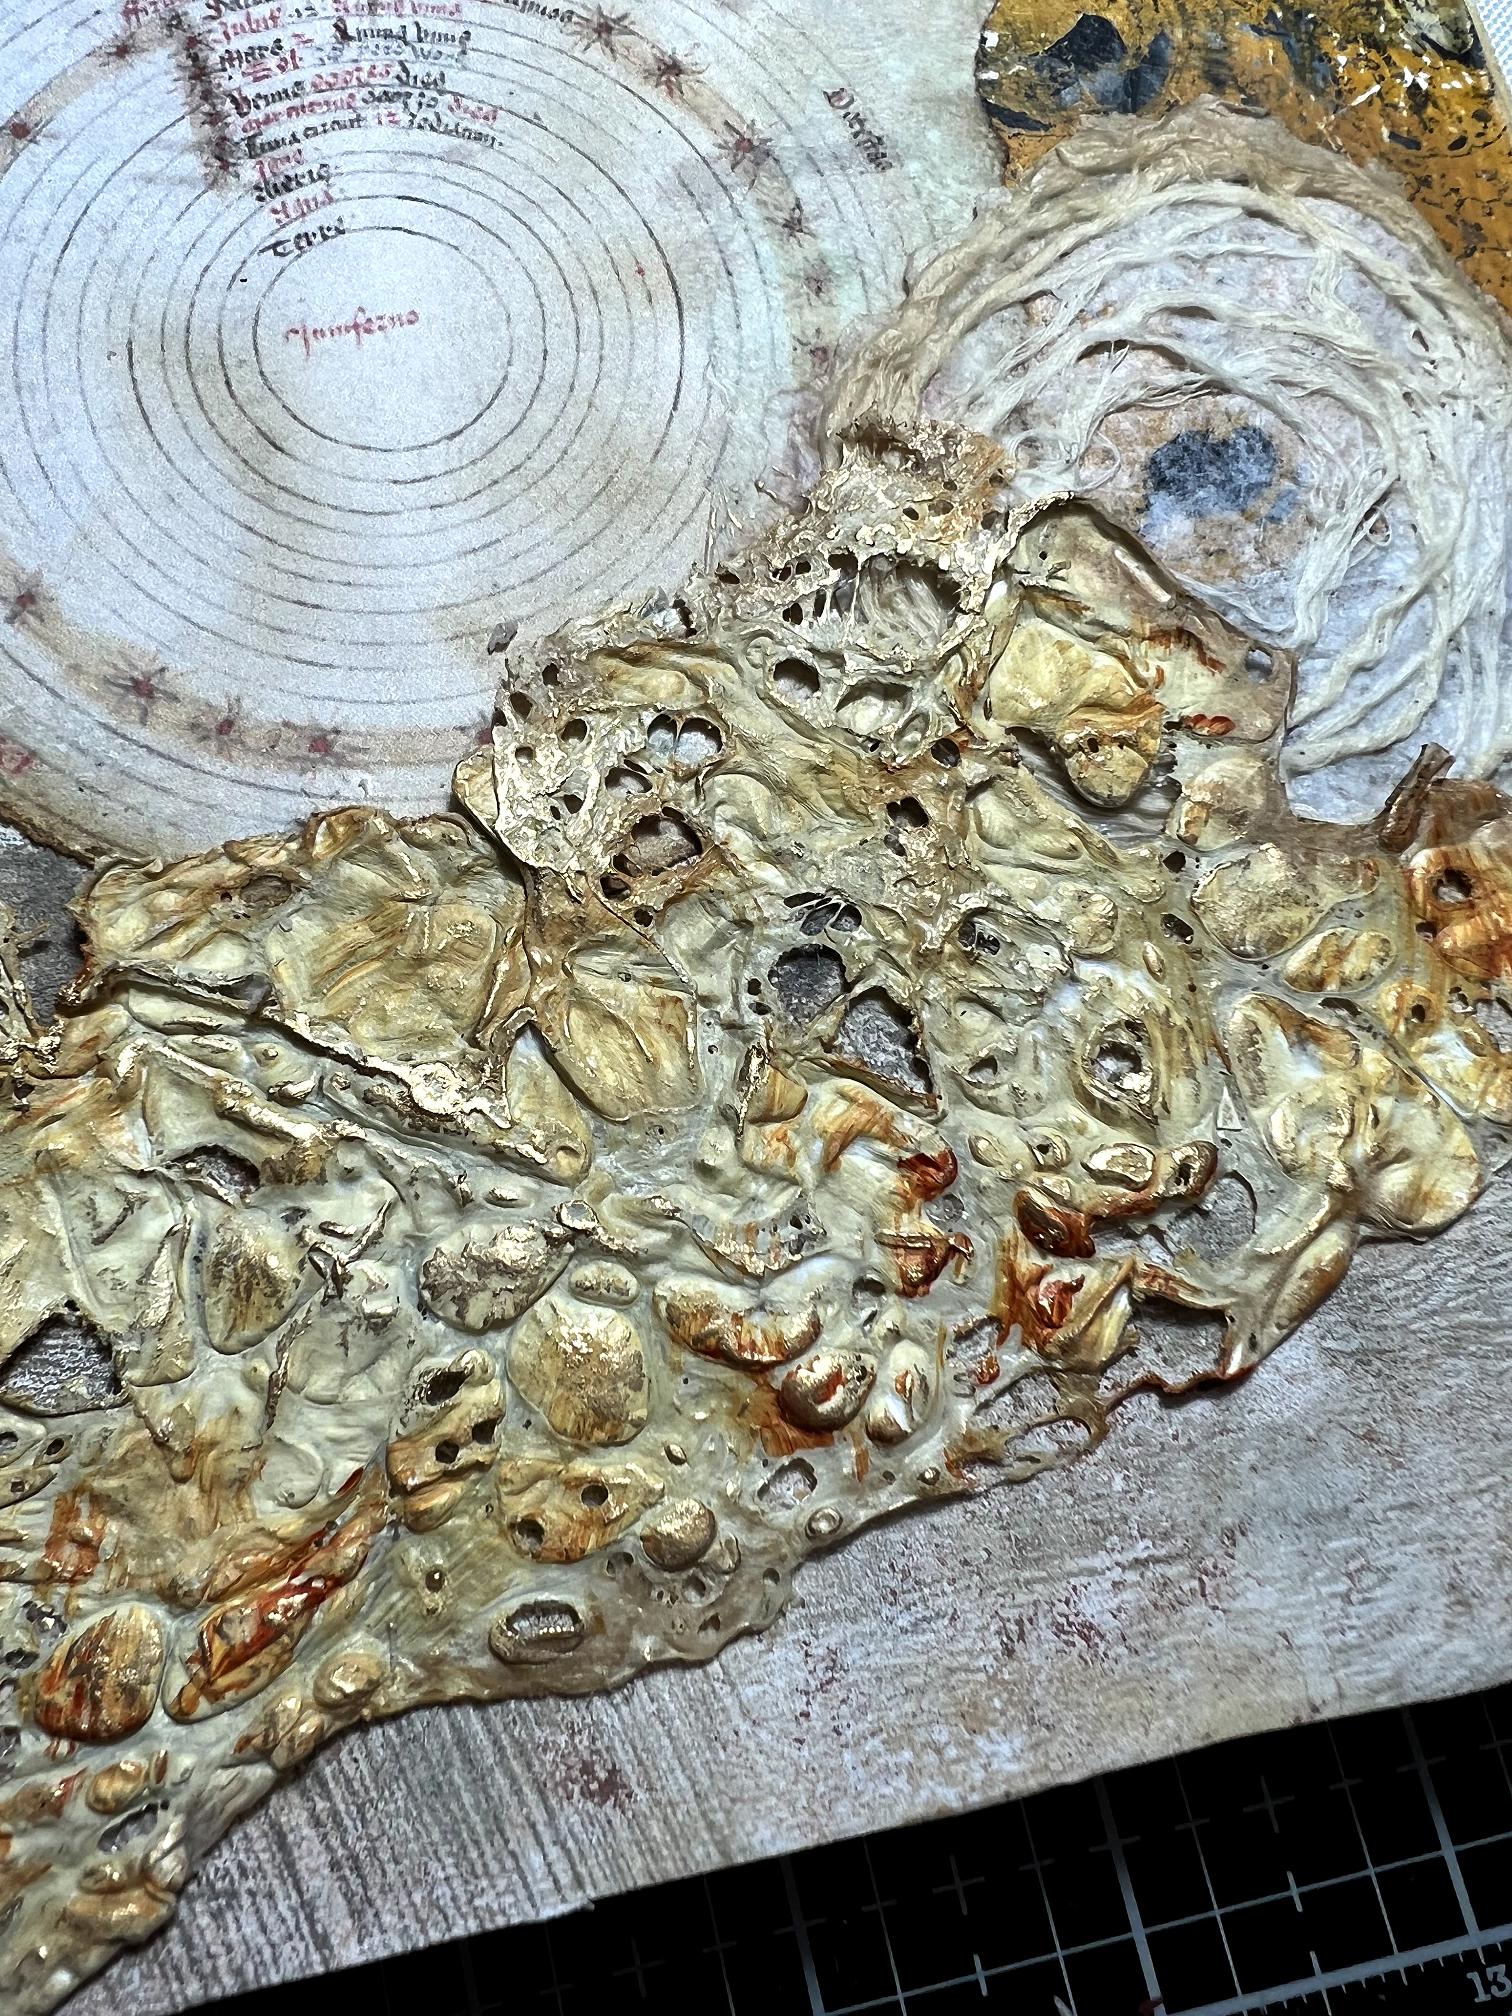
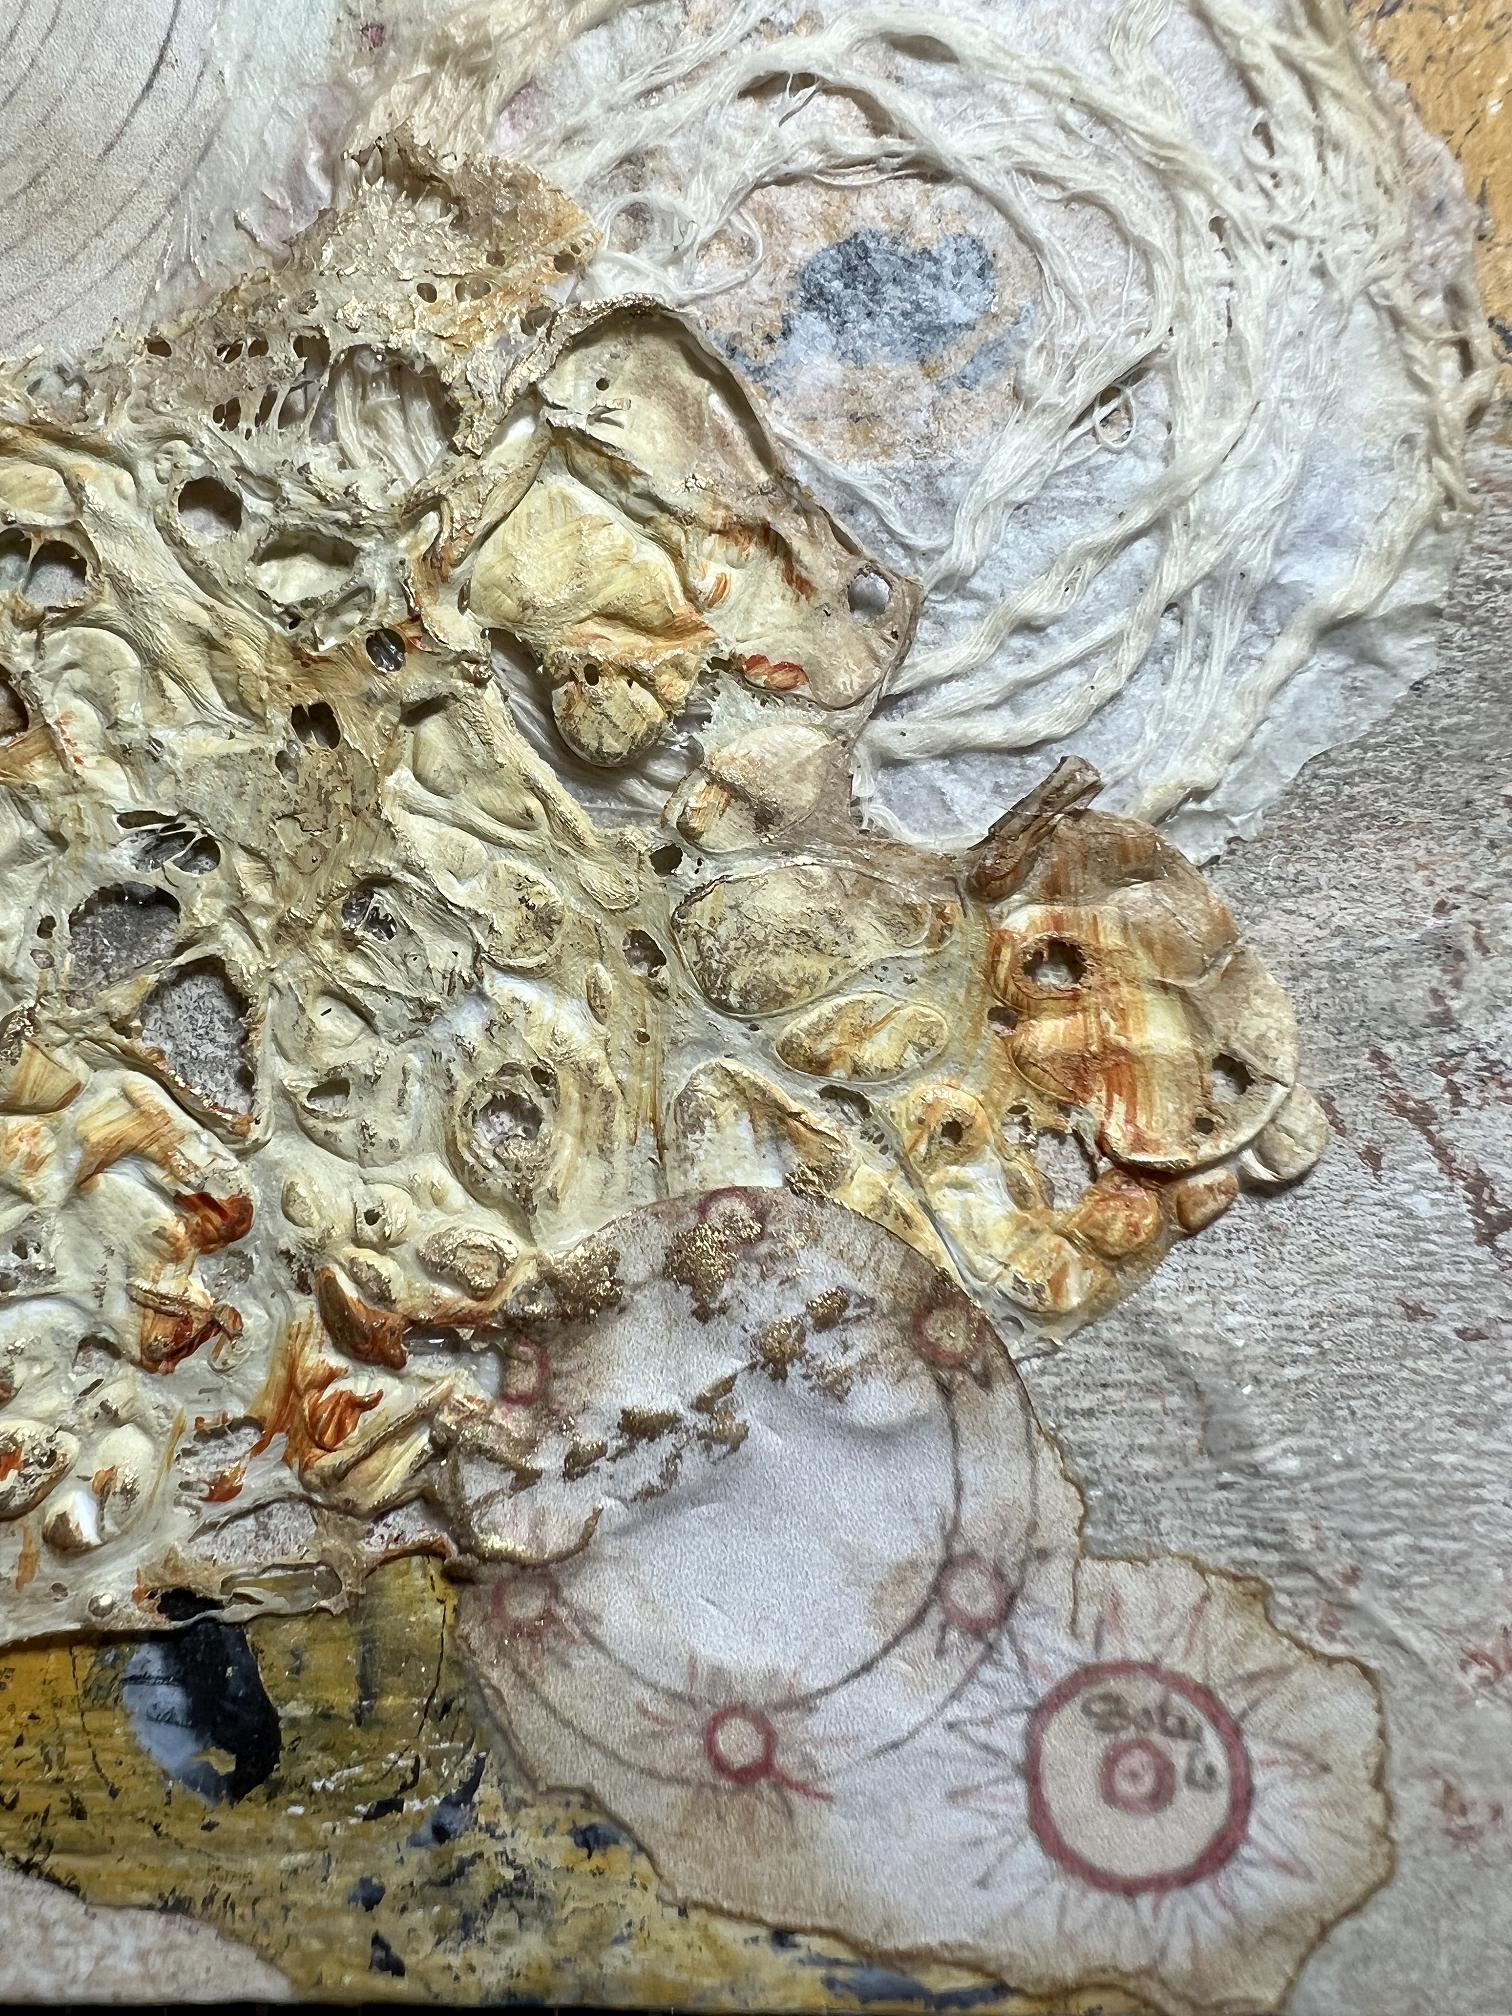
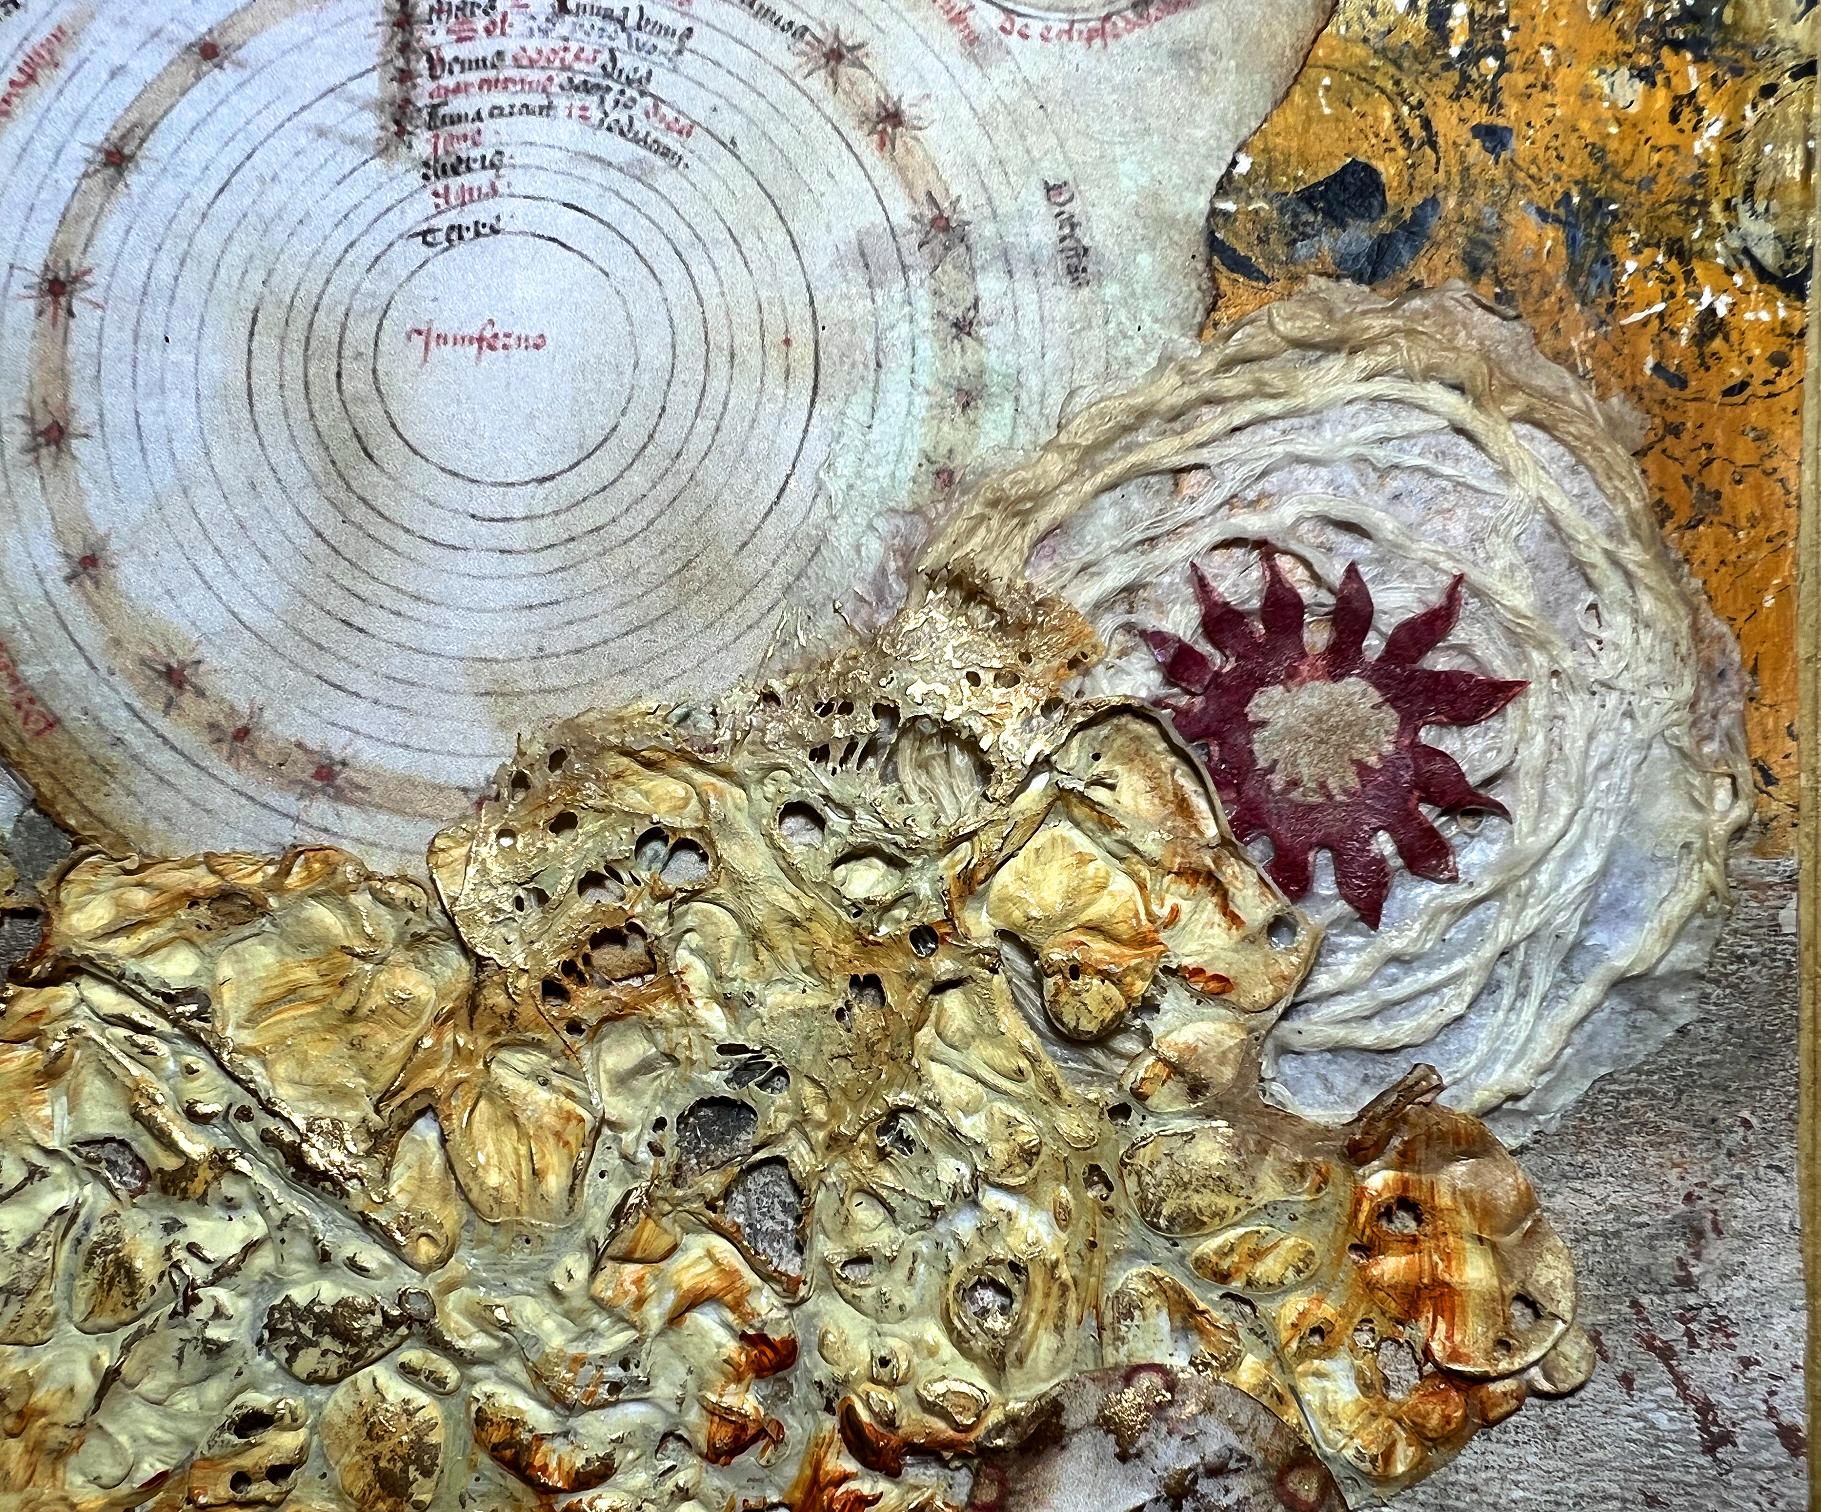
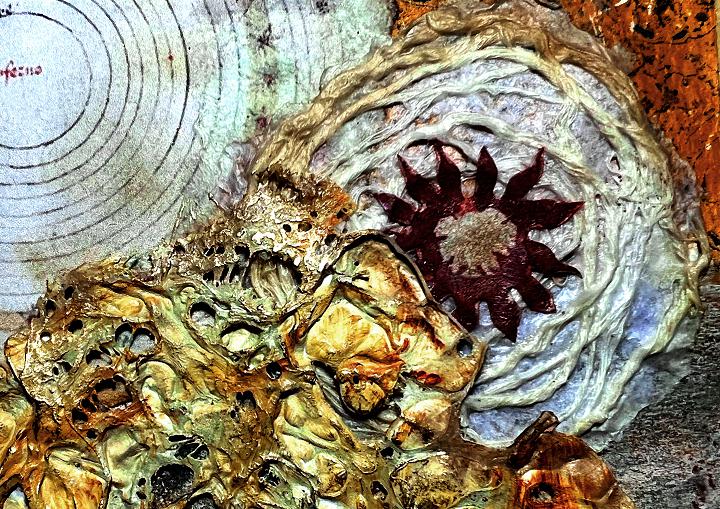
I felt it needed a bit more, so I added some gilding wax to the tops of the raised texture. I also stuck down a couple more of the Voynich circles. The paper took on the contour of the underlying Tyvek, which I didn’t like, but with the addition of some gilding wax onto this, it was perfect – blending into the Tyvek beautifully! Wabi sabi. I also added a small fragment to the top left of the Tyvek, at the junction between the two background pieces, and also a fragment of the top background at the bottom of the page beneath the Tyvek. Subtle additions, but an improvement.

Some detail shots of the page.


Beginning the left hand page
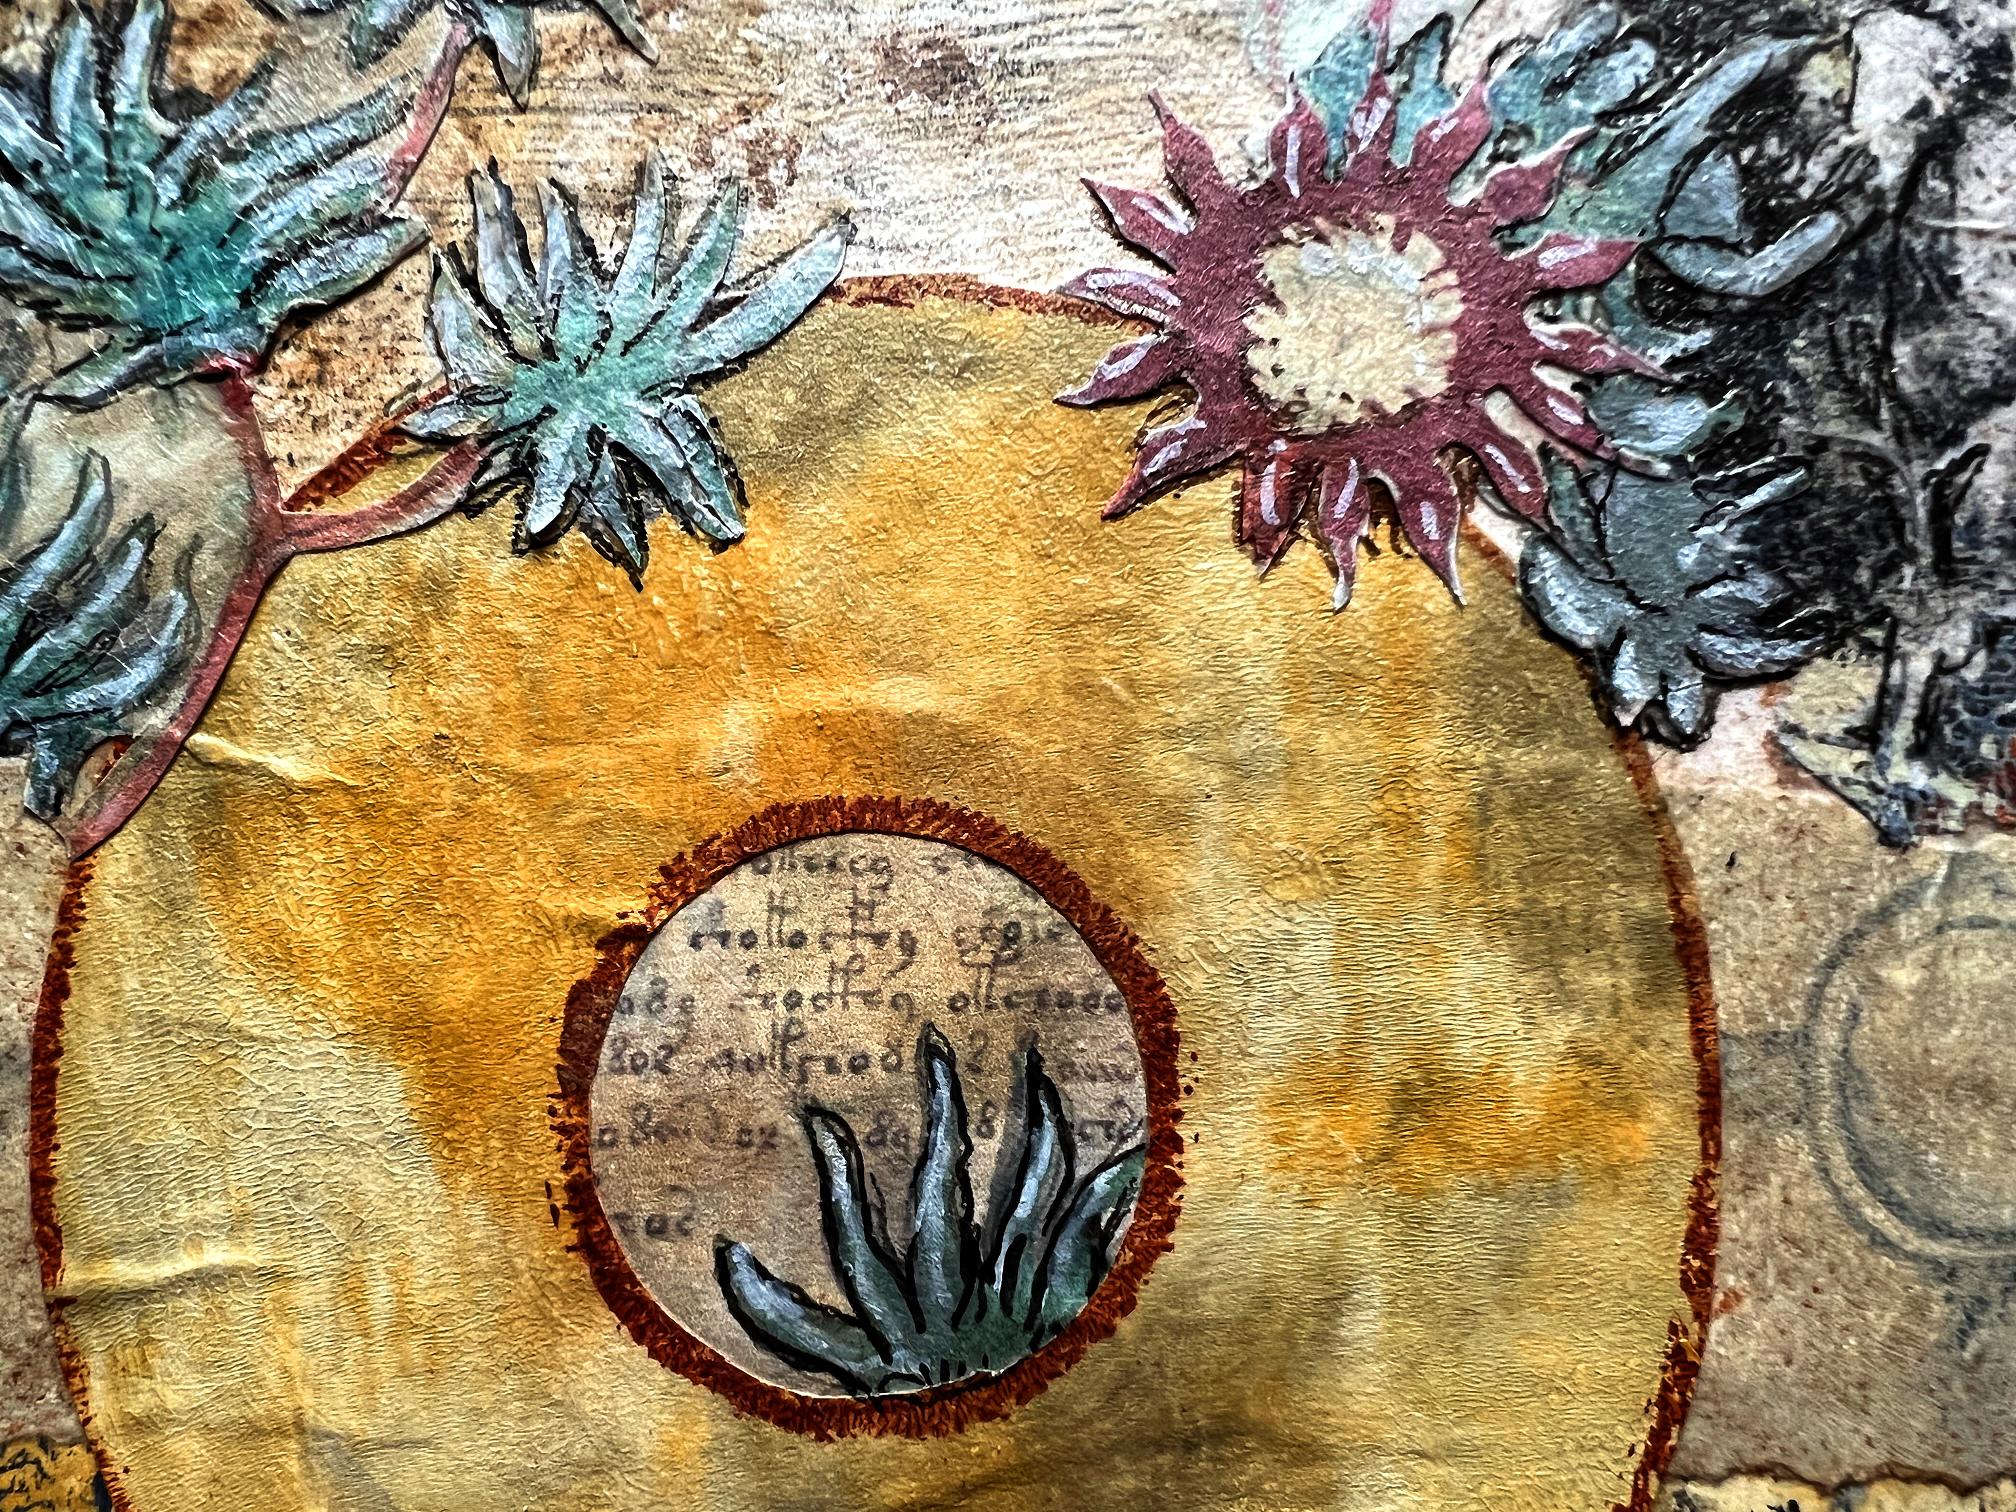
I made a start on the opposite page by continuing the circles theme. I cut out one of the circles from a gel print, leaving a narrow red border.
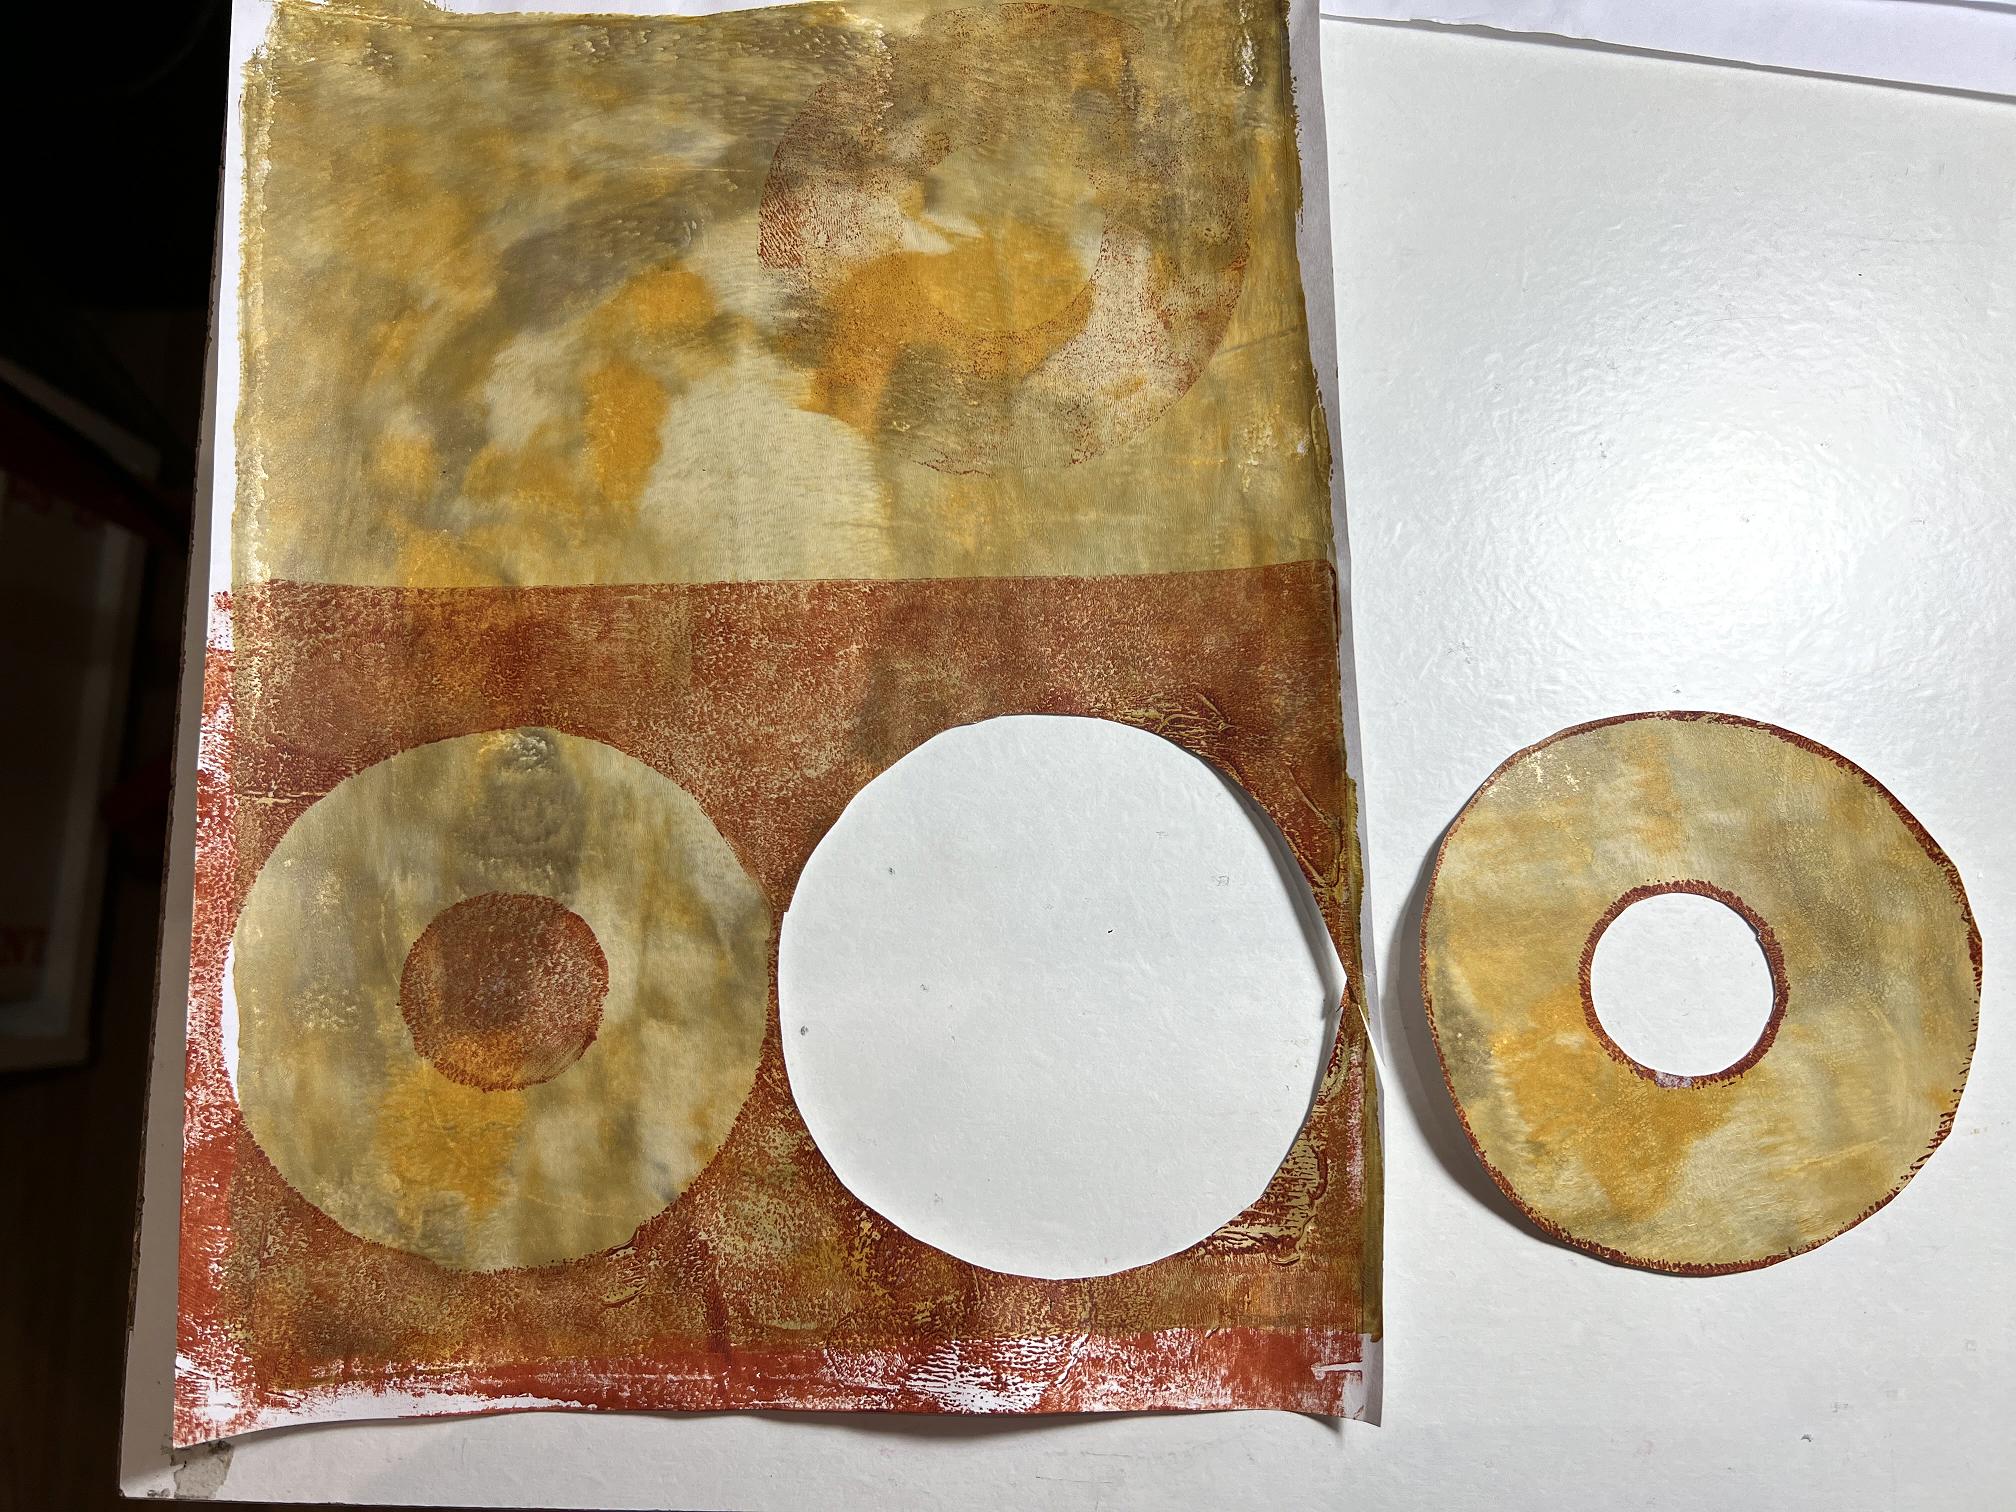
Choosing something from one of the Voynich printouts to go behind the hole in the centre of the circle.
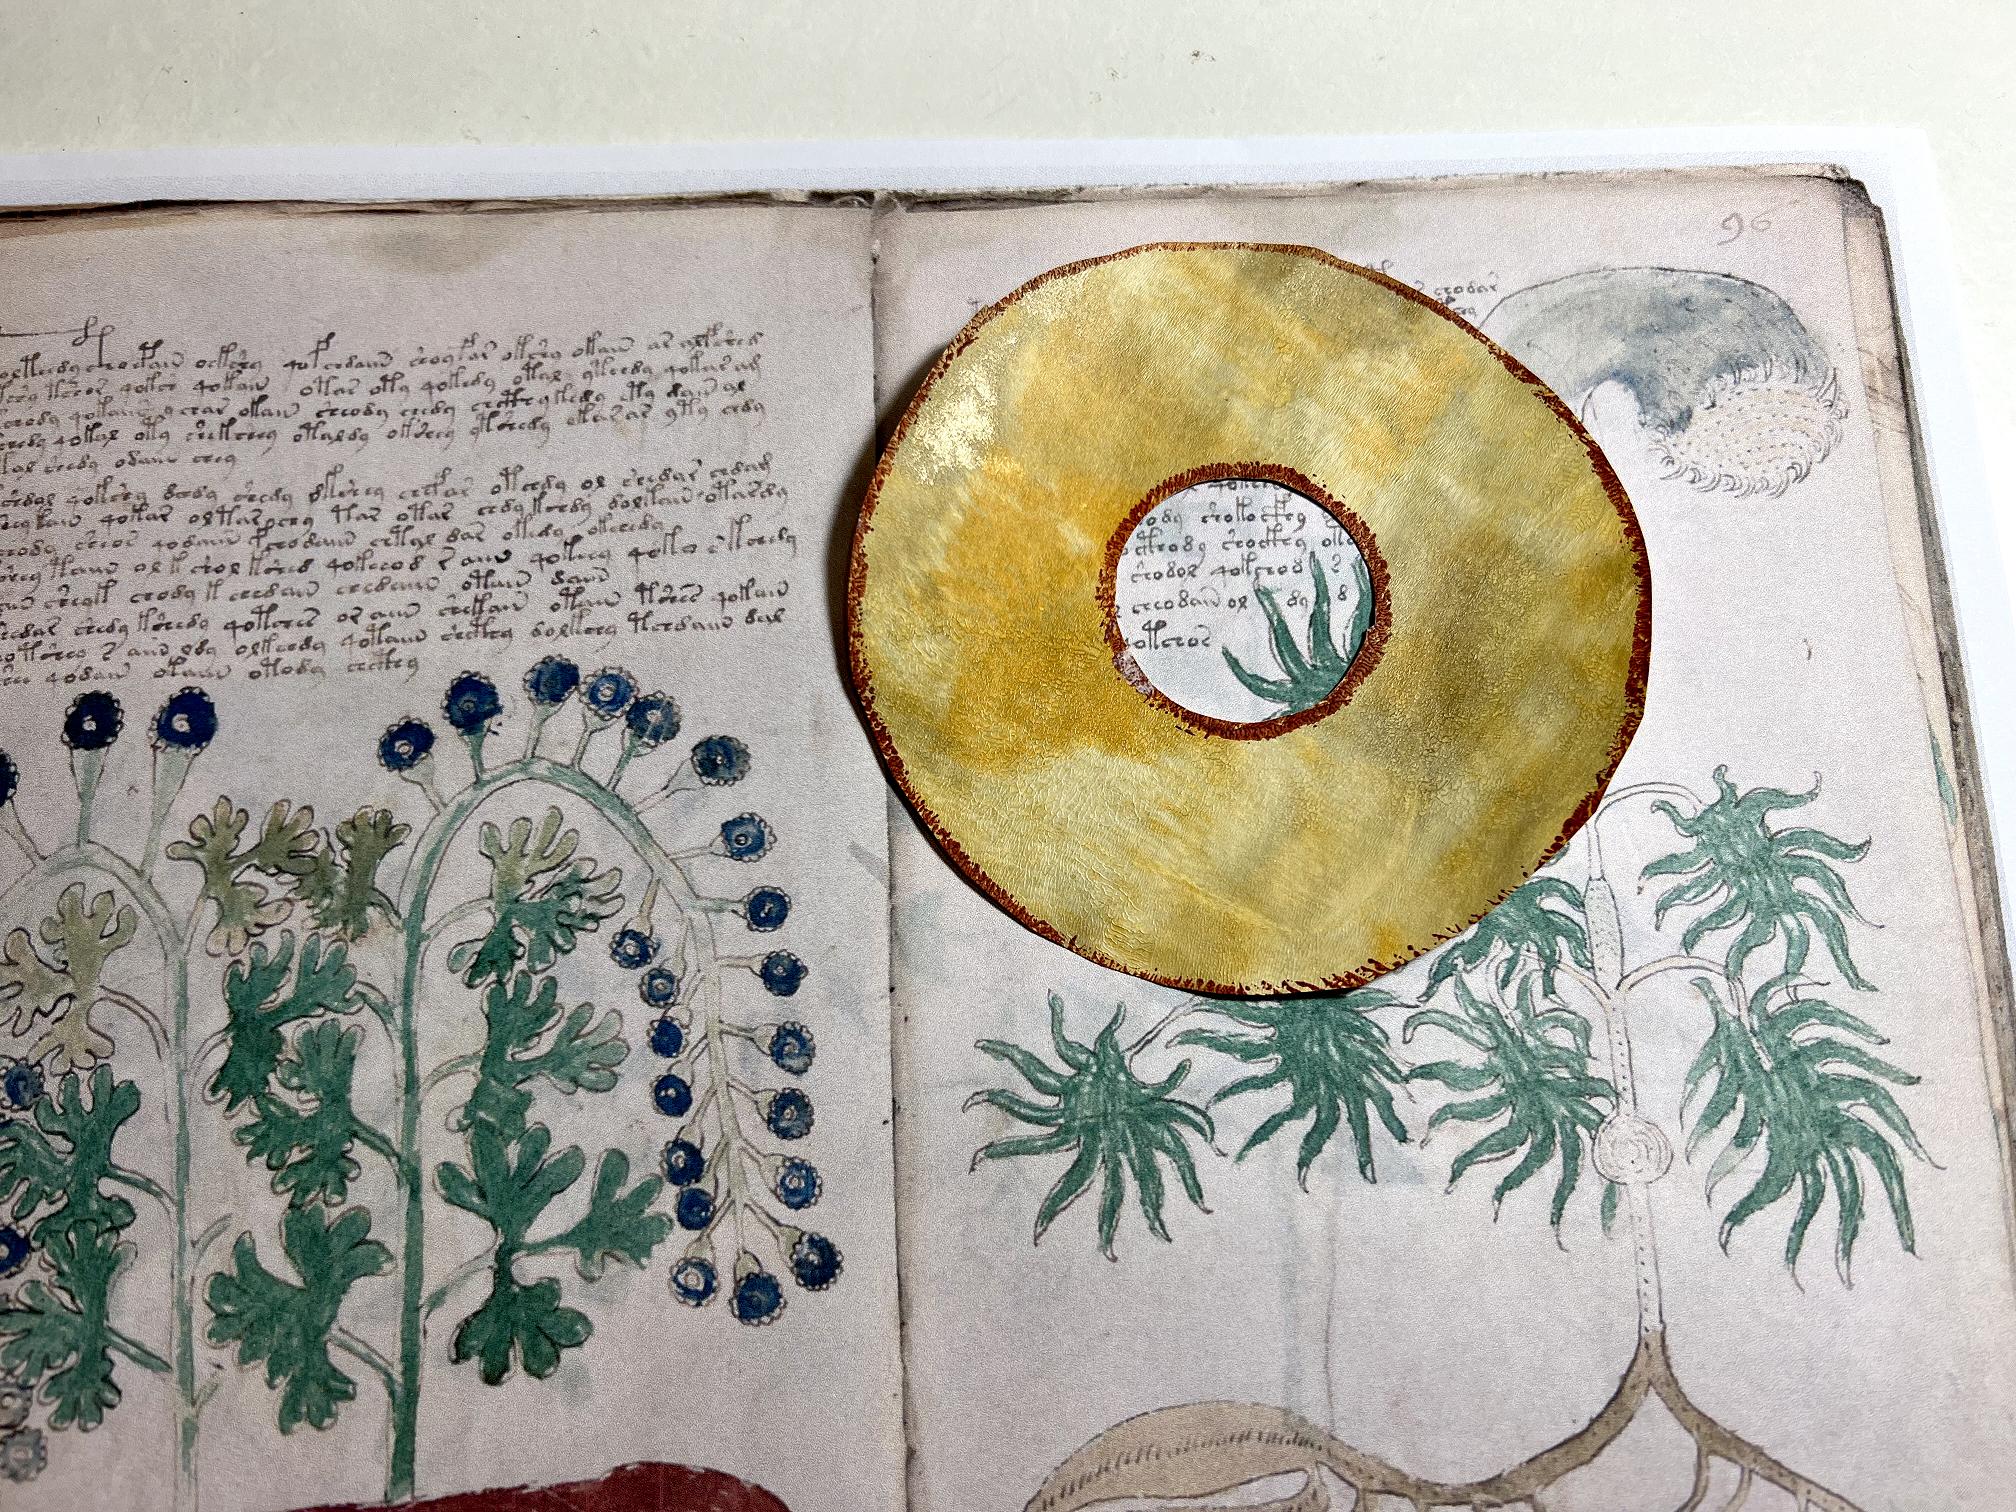
I cut this out and stuck it behind the circle.
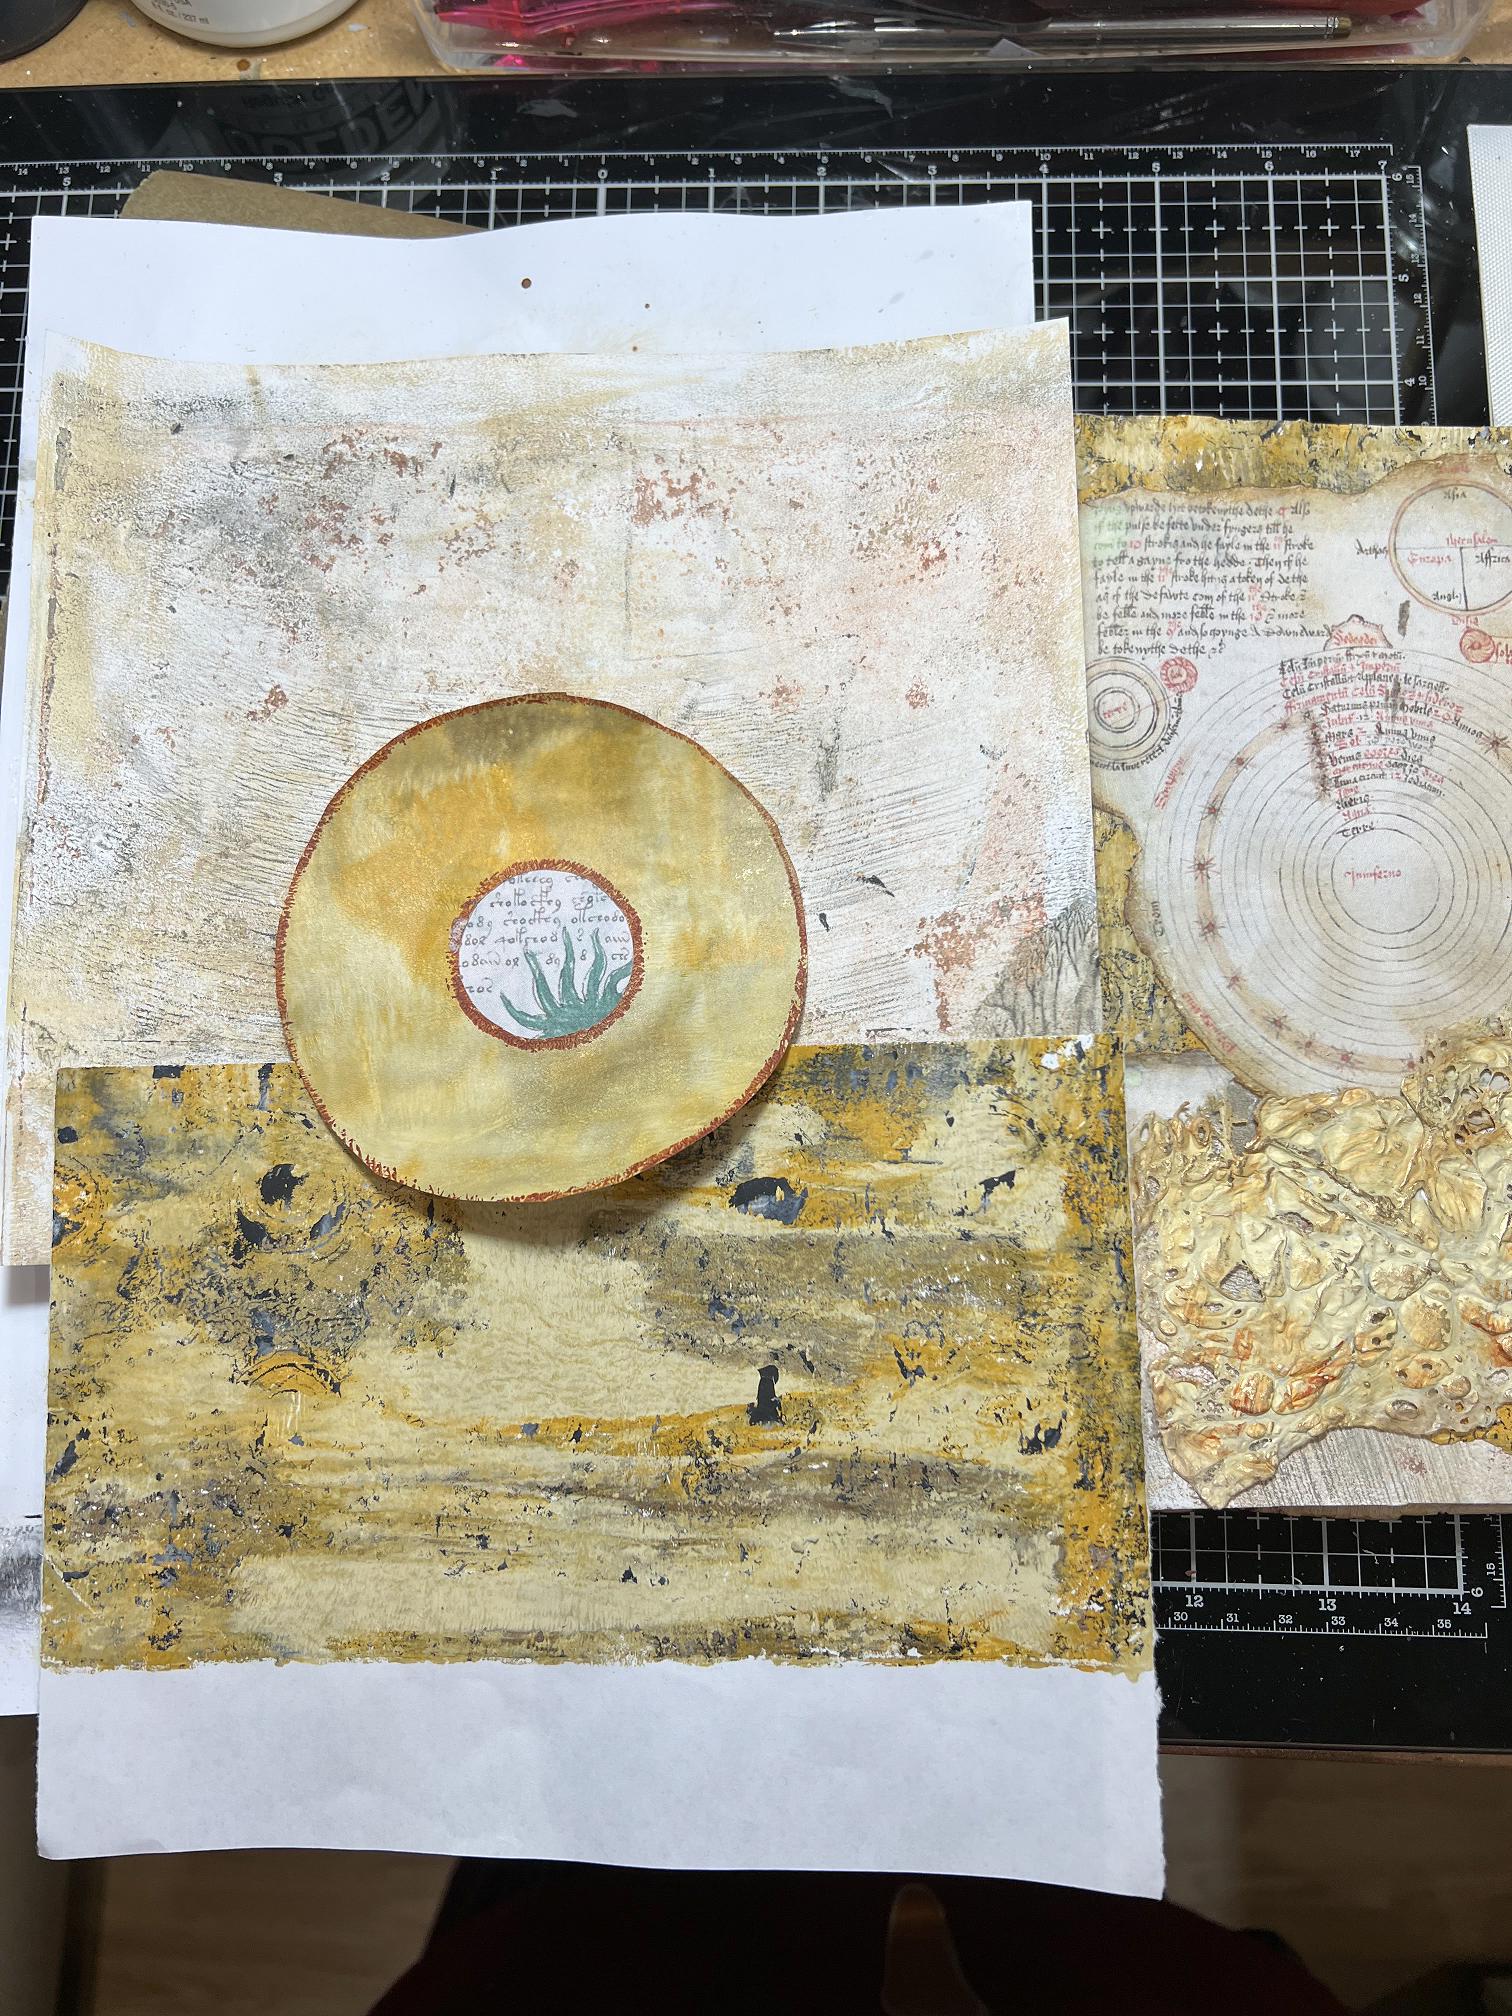
The next photo shows the beginning of the page. I used some more of the clean-off sheet for the top background, and some more gel print for the bottom background.
The main elements of the page stuck down. Underneath the circle is a strip of bathmat ghost print with circles.
Completing the left hand page
I took one of my tissue gel prints, which was a multiple ghost print, and painted around a couple of the “branches” with a wet brush, to enable me to tear them out.
I selected some of the Voynich print-outs that I’d made, and cut out various leaf and floral elements.
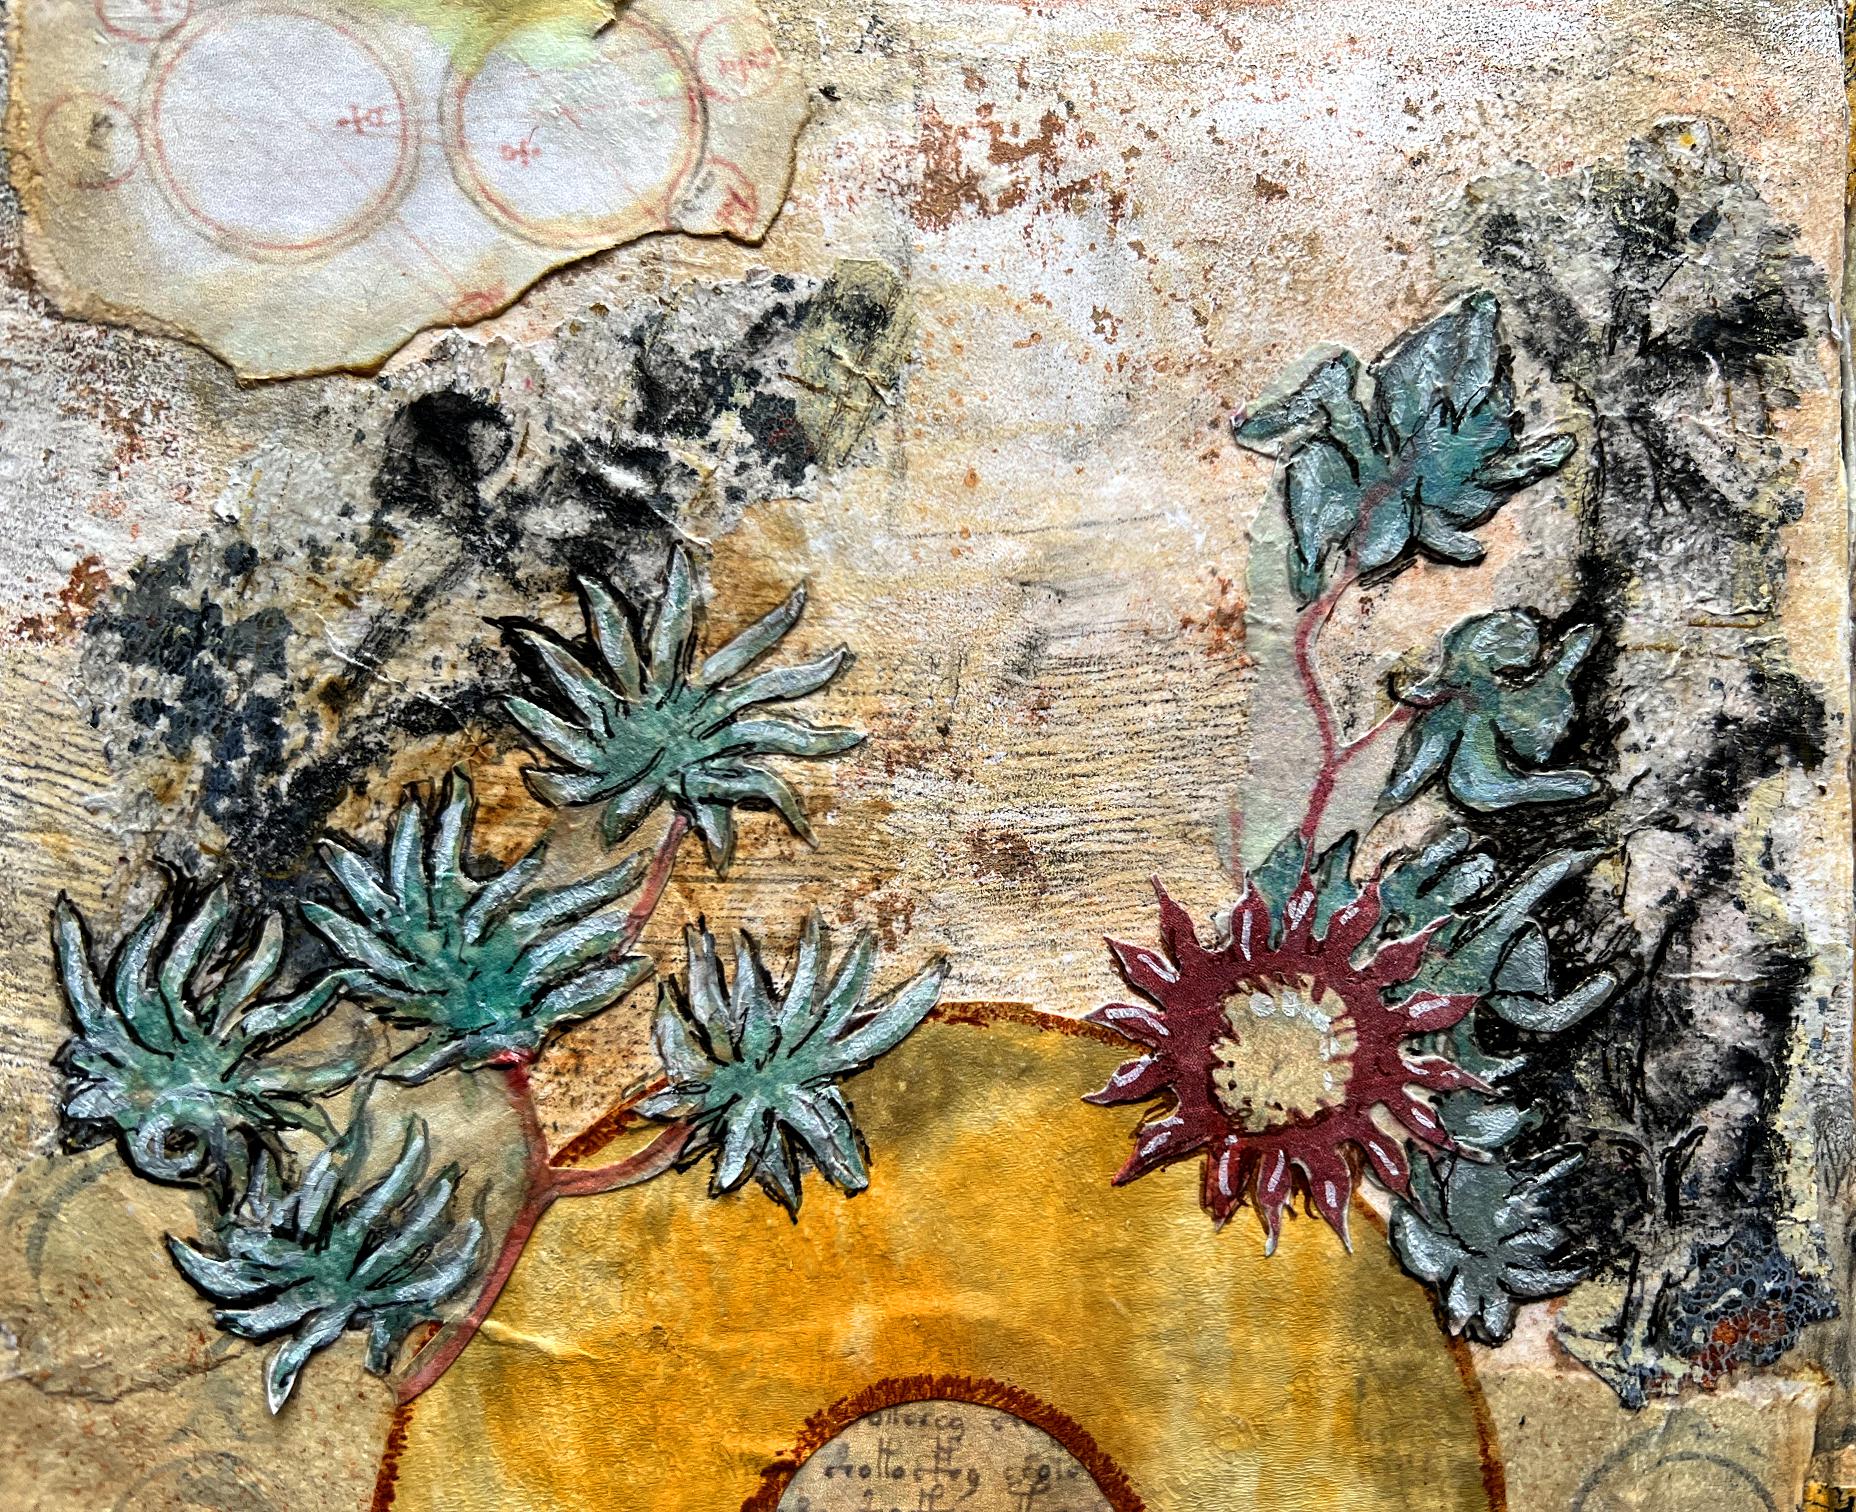
First of all, I stuck down the black branches with soft gel medium, and then fussy-cut the leaves and flowers and added them, overlapping th circle. To balance the design, I added a red flower to the centre of my hand-made rose on the right-hand page.
I also added a couple more Voynich circles to the top left corner, and one more bathmat circle above the dividing strip on the left hand page.
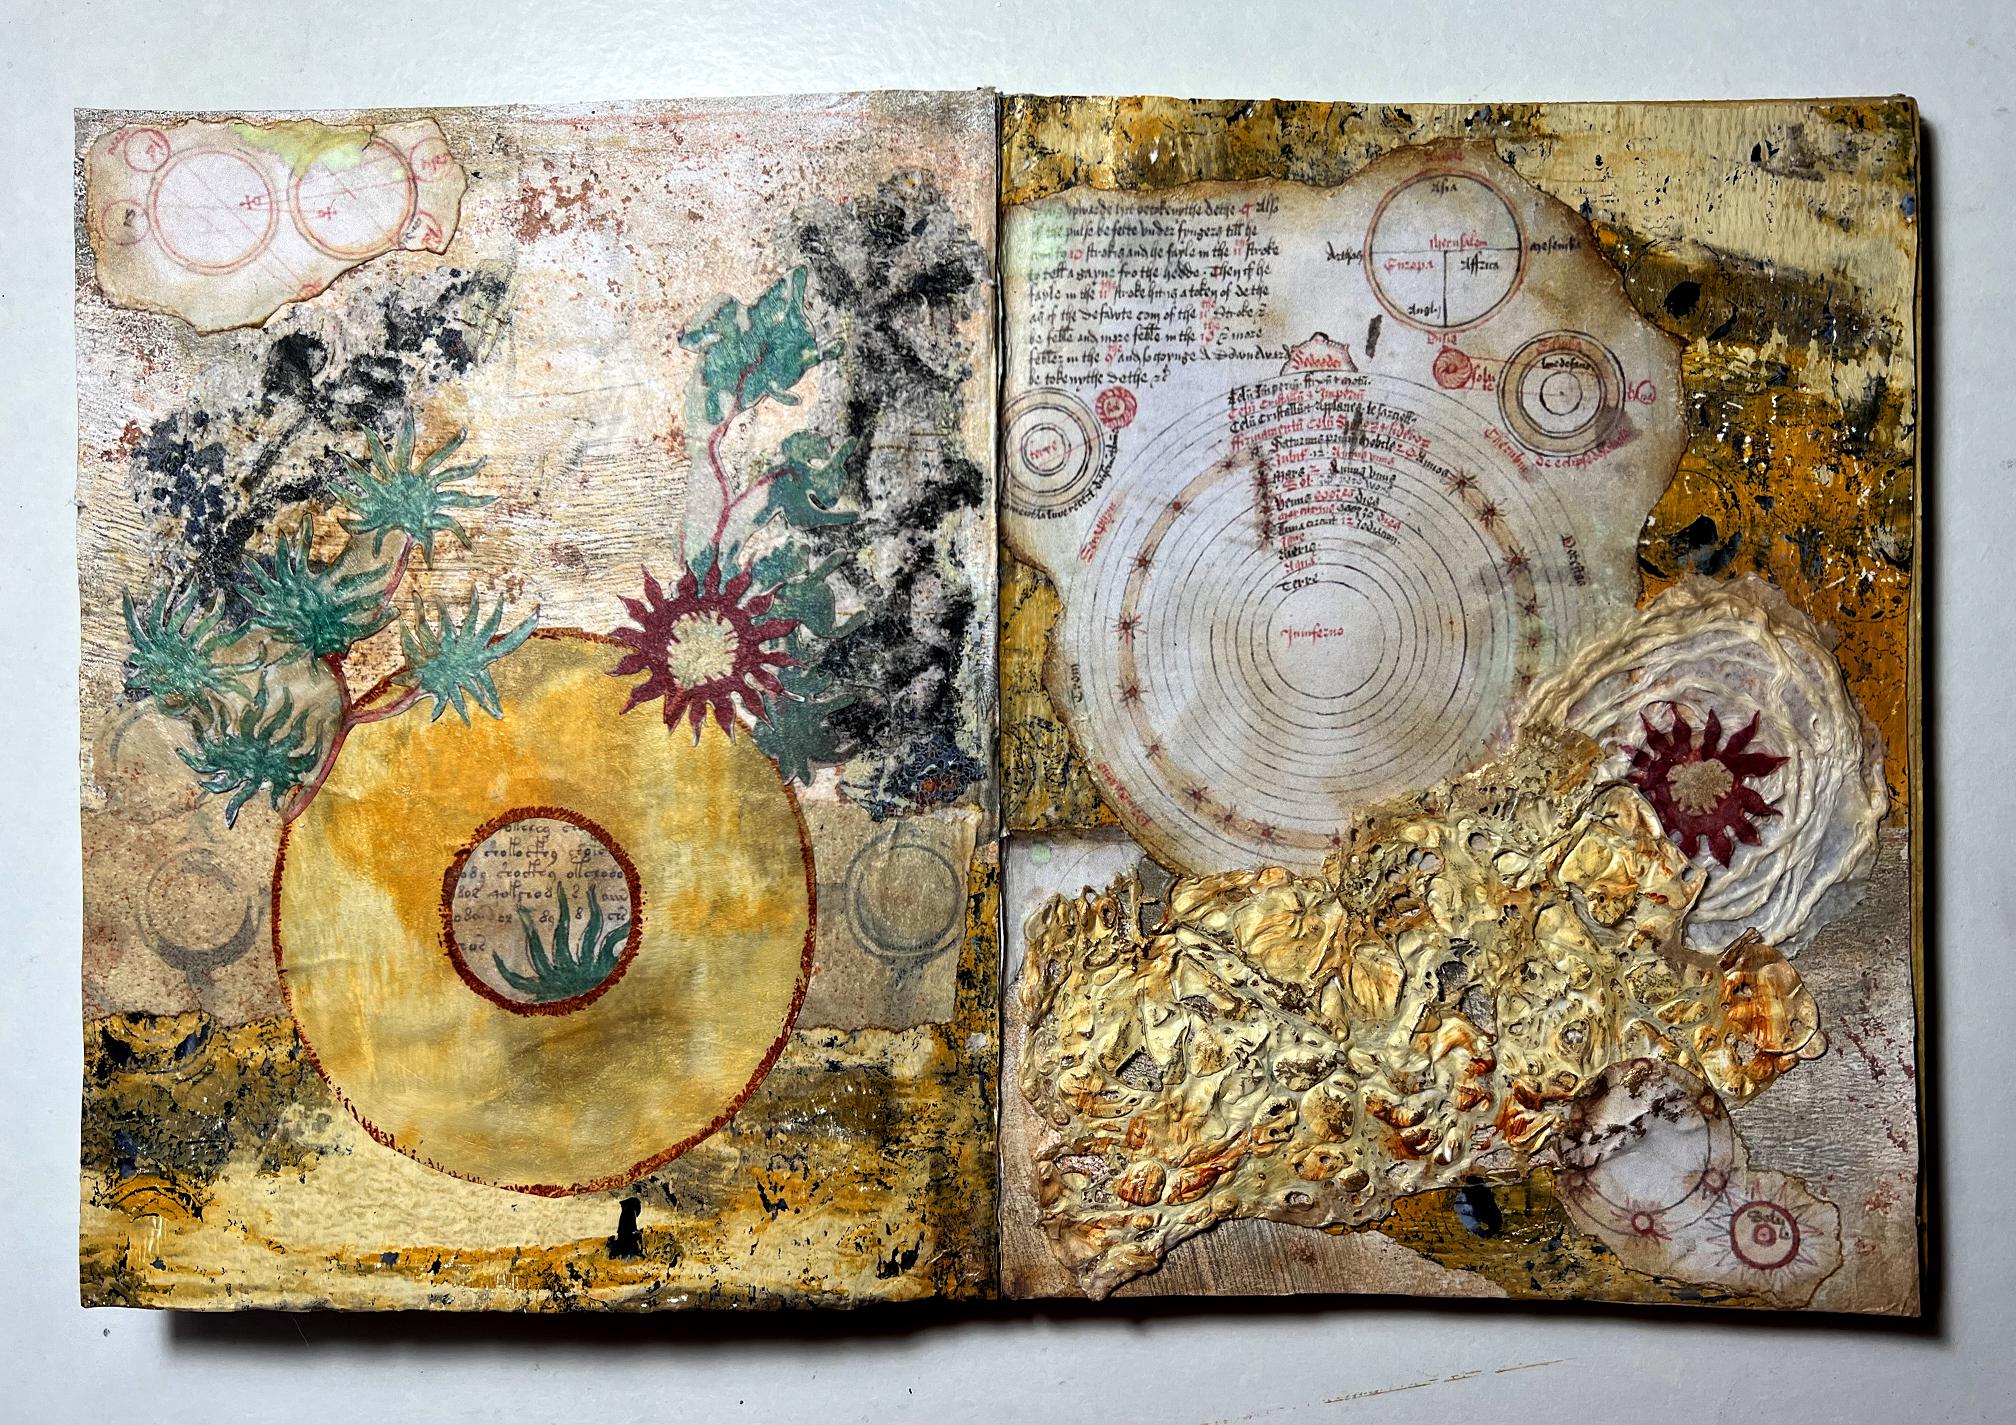
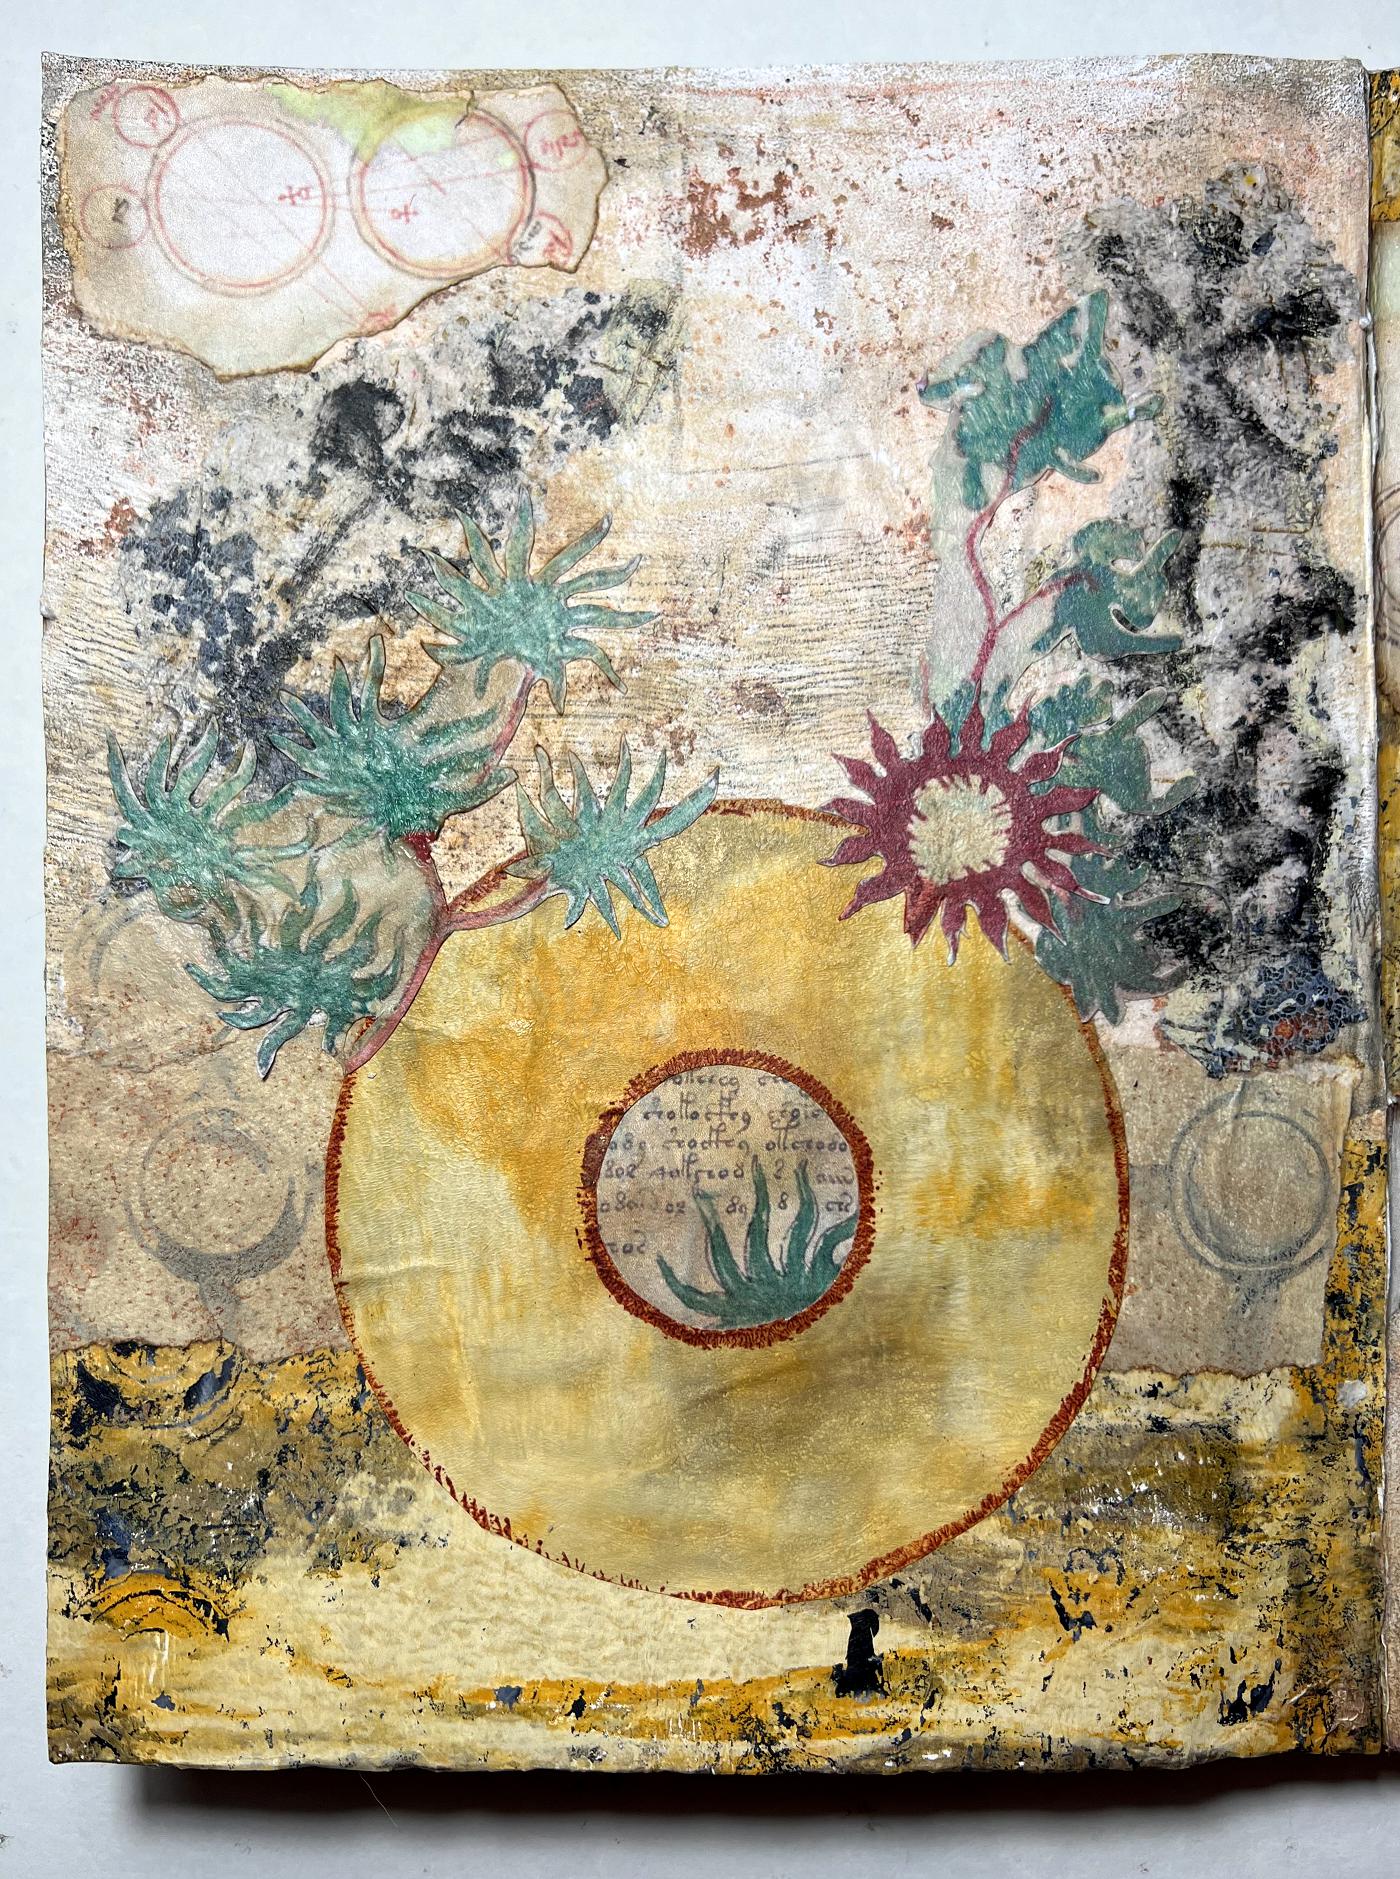
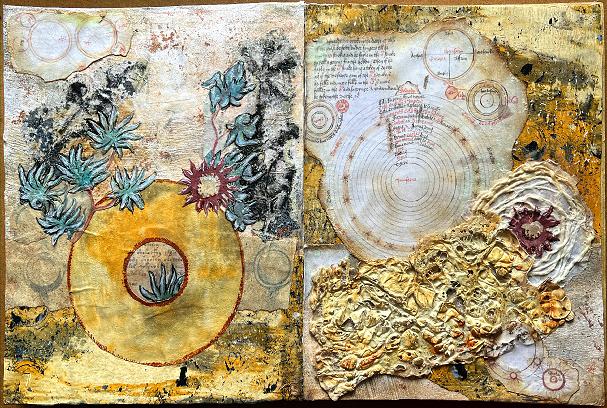
This is the completed page spread.
Now for some detail shots.
First, the botton right hand corner of the right hand page, showing the addition of the red flower. I painted the white centre with some Gathered Twigs distress ink.
The completed left hand page. I painted the centre of the red flower as before, and also added some more of the Gathered Twigs distress ink around the cut-out green leaves to blend in where I was not able to fussy-cut. I painted the stems of the leaves on the left with Fired Brick distress ink to match the stems of the leaves on the right, as they were white in the original. This also tied in with the red outline of the circle.
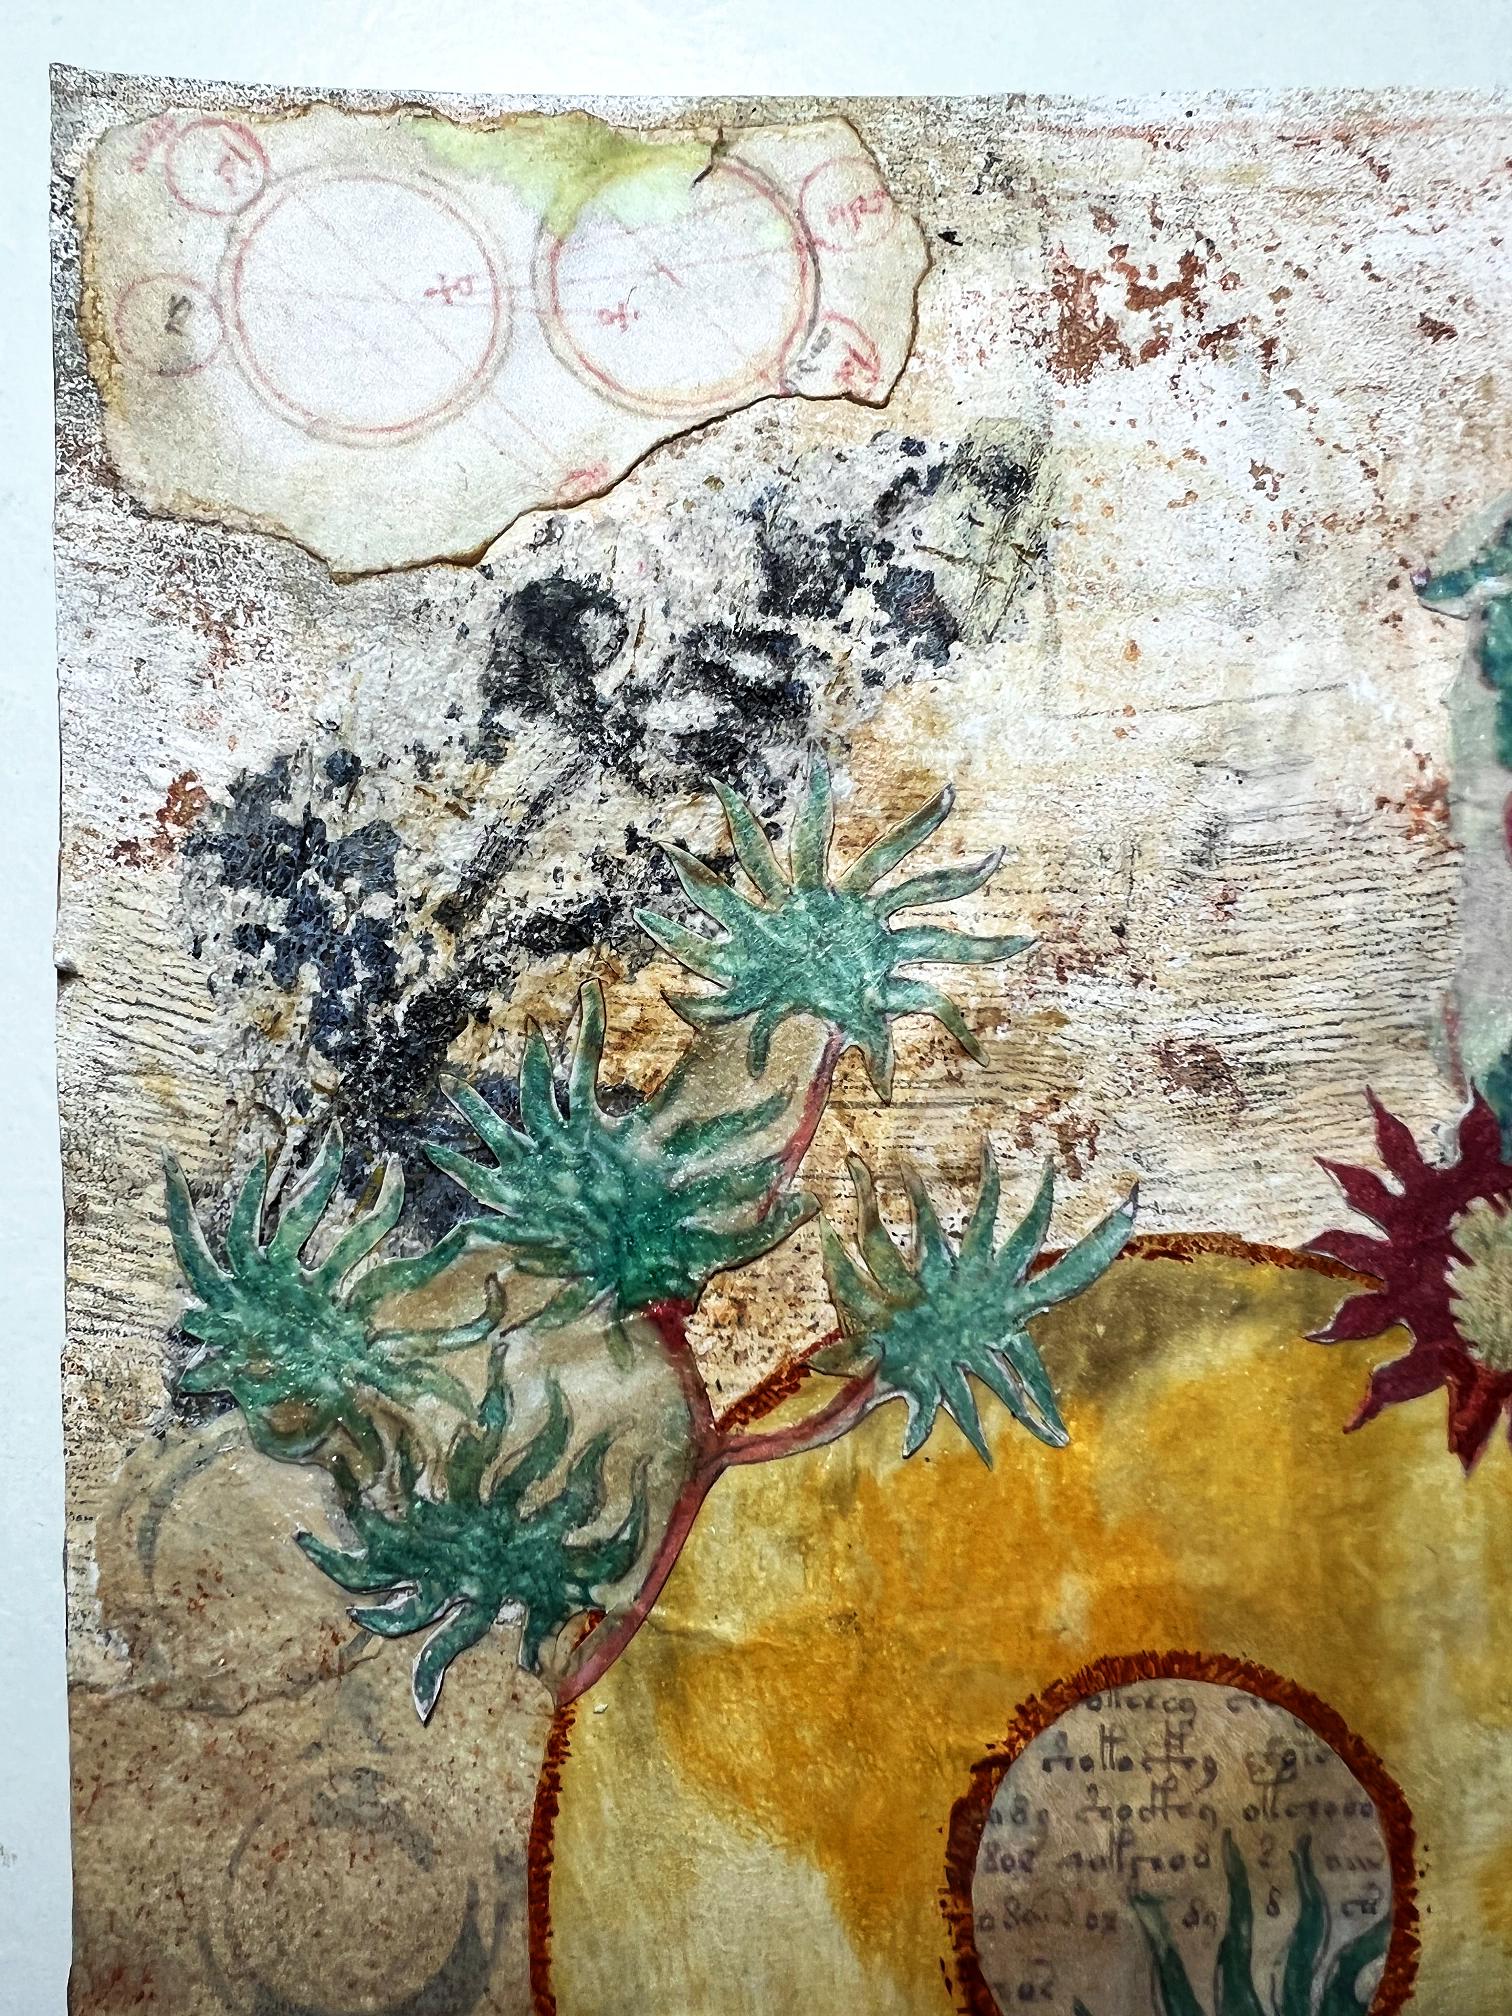
The top left of the completed left hand page.
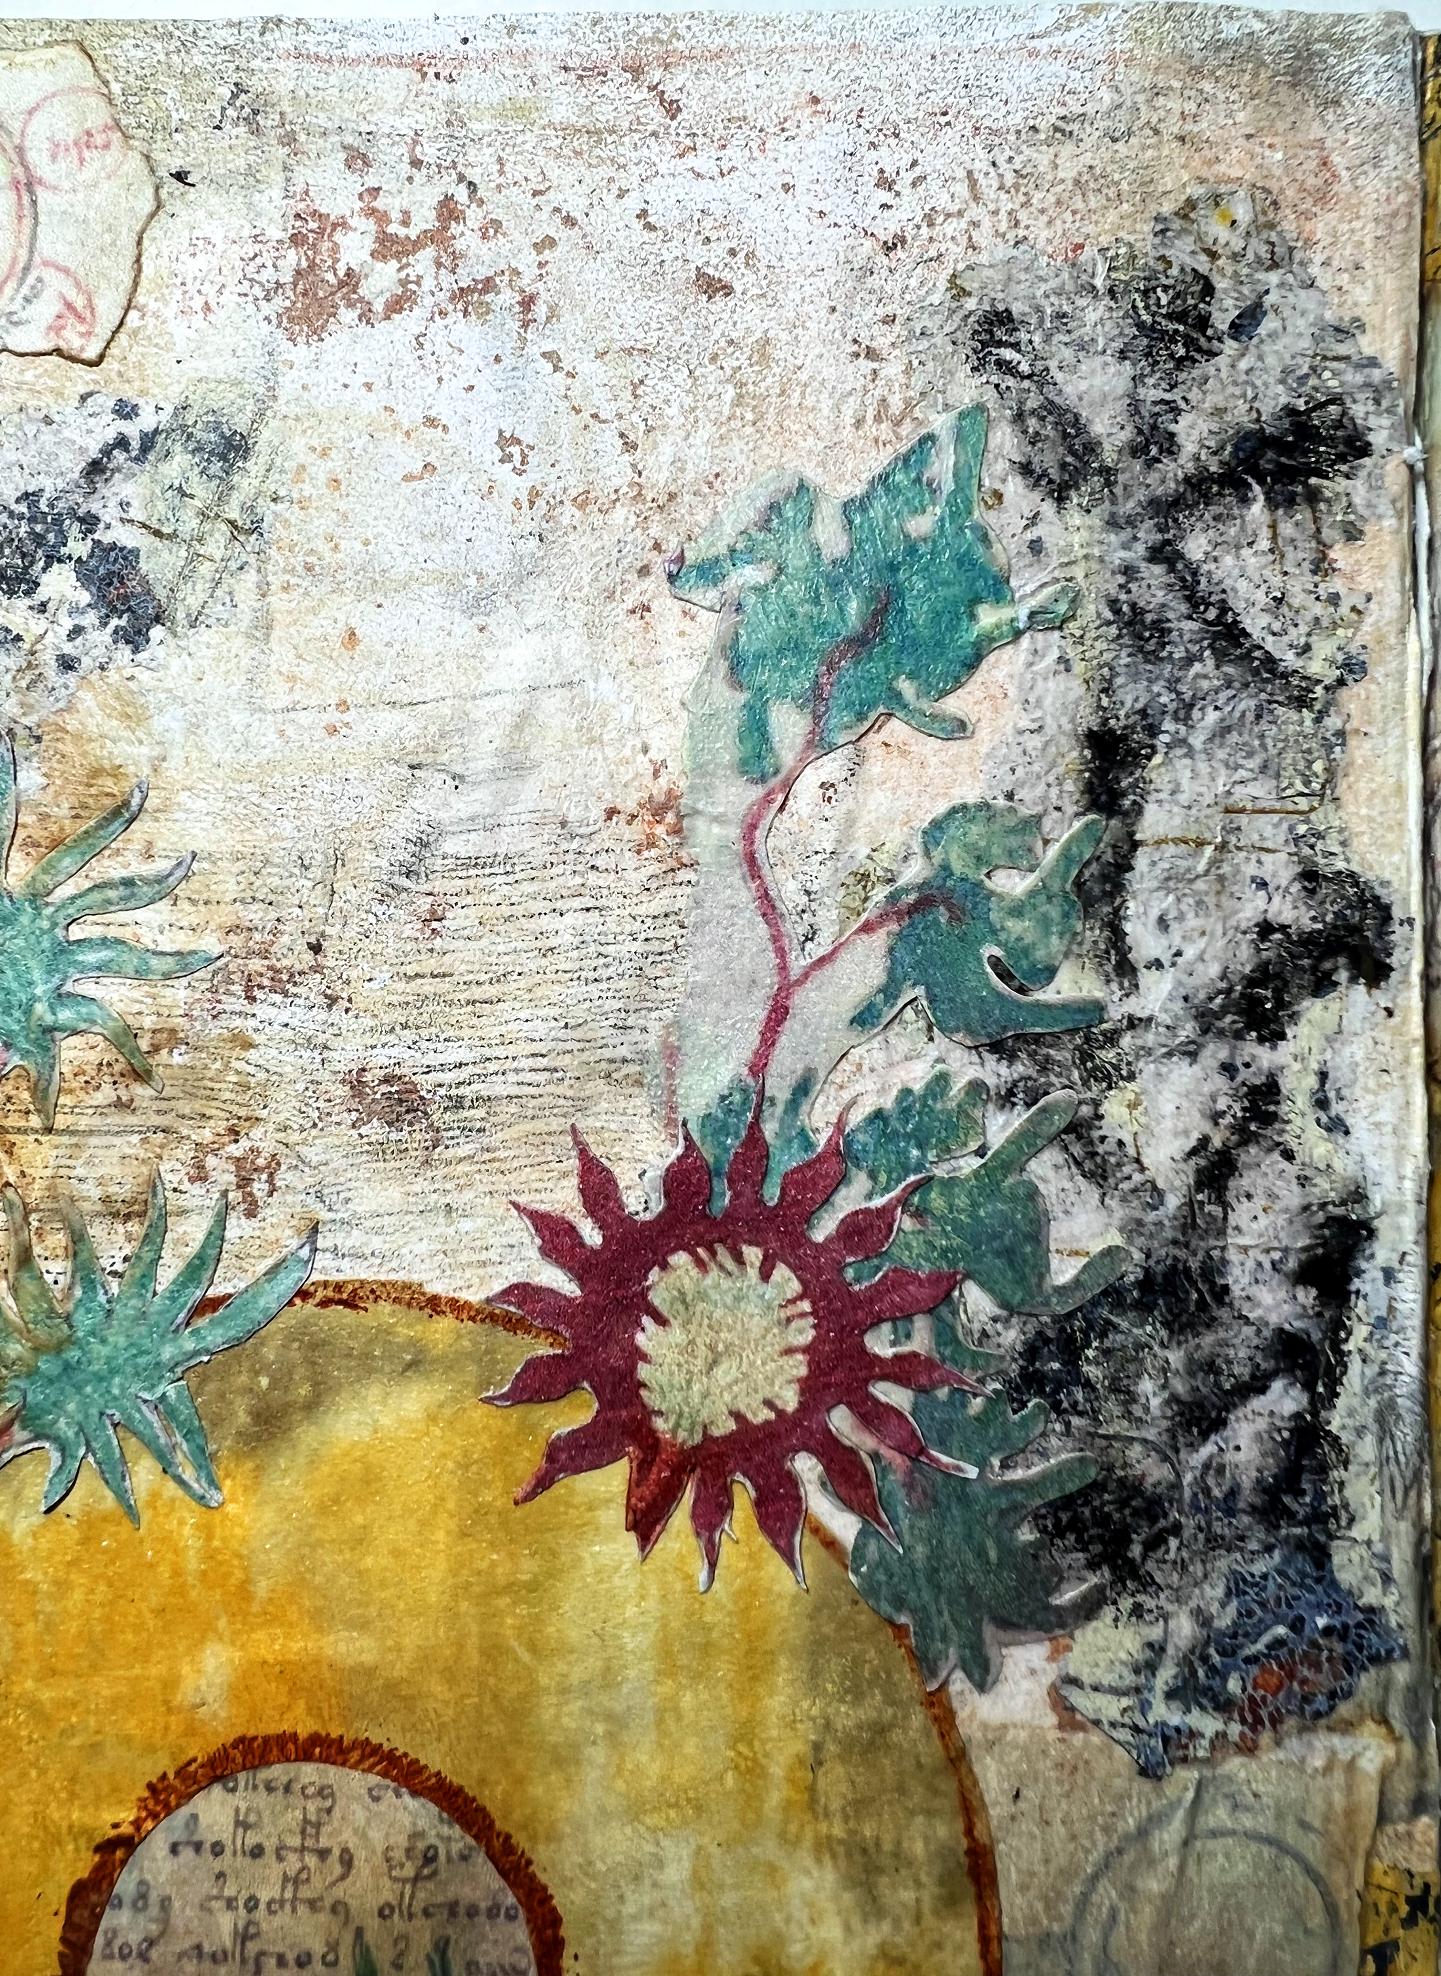
The top right of the same page.
The completed page spread once more.
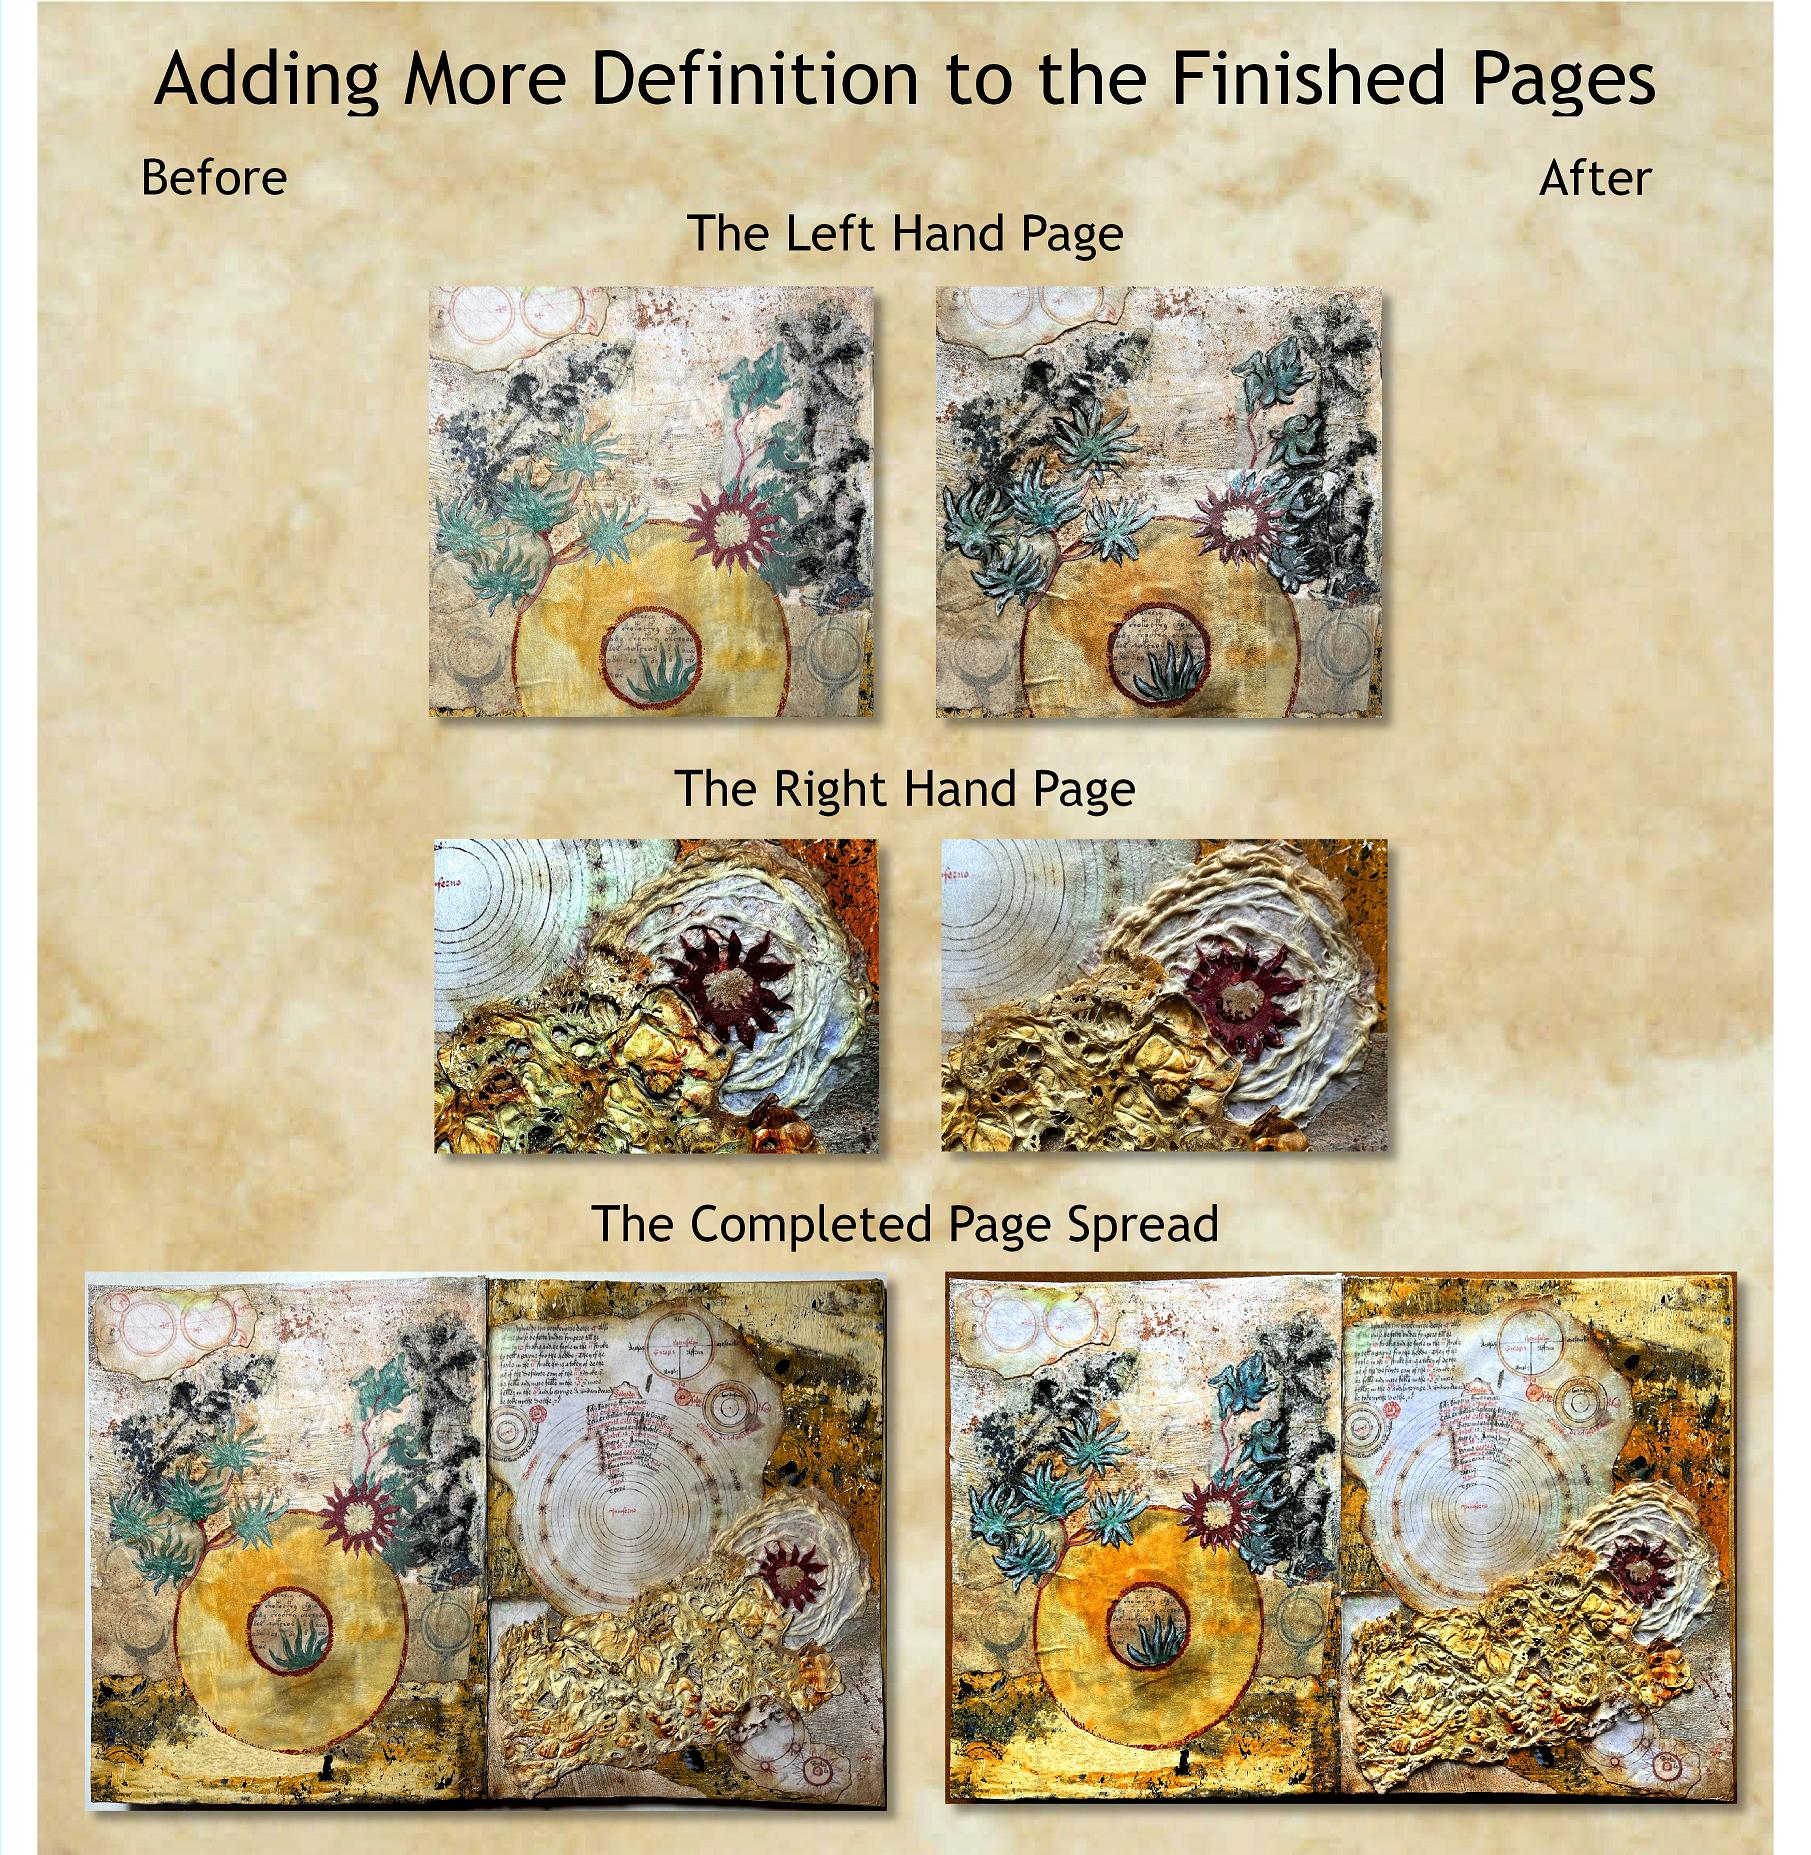
After finishing this, I had a good look at it, close up and from a distance, and felt that the leaves and flowers needed more definition as they weren’t standing out enough against the background. I added outlines with grey and black permanent markers and touches of white marker pen as hightlights, and I think the result is now a lot better. Again, subtle changes, but an improvement.
The top of the left hand page.
The bottom of the same page.
The bottom of the right hand page. Unfortunately the highlighting doesn’t show up very much on the flower in the photo!
The full page spread.
Finally, a montage with photos side by side for comparison.
I love the Voynich Manuscript text and images and I am sure I shall be using them again and again.
Kitties
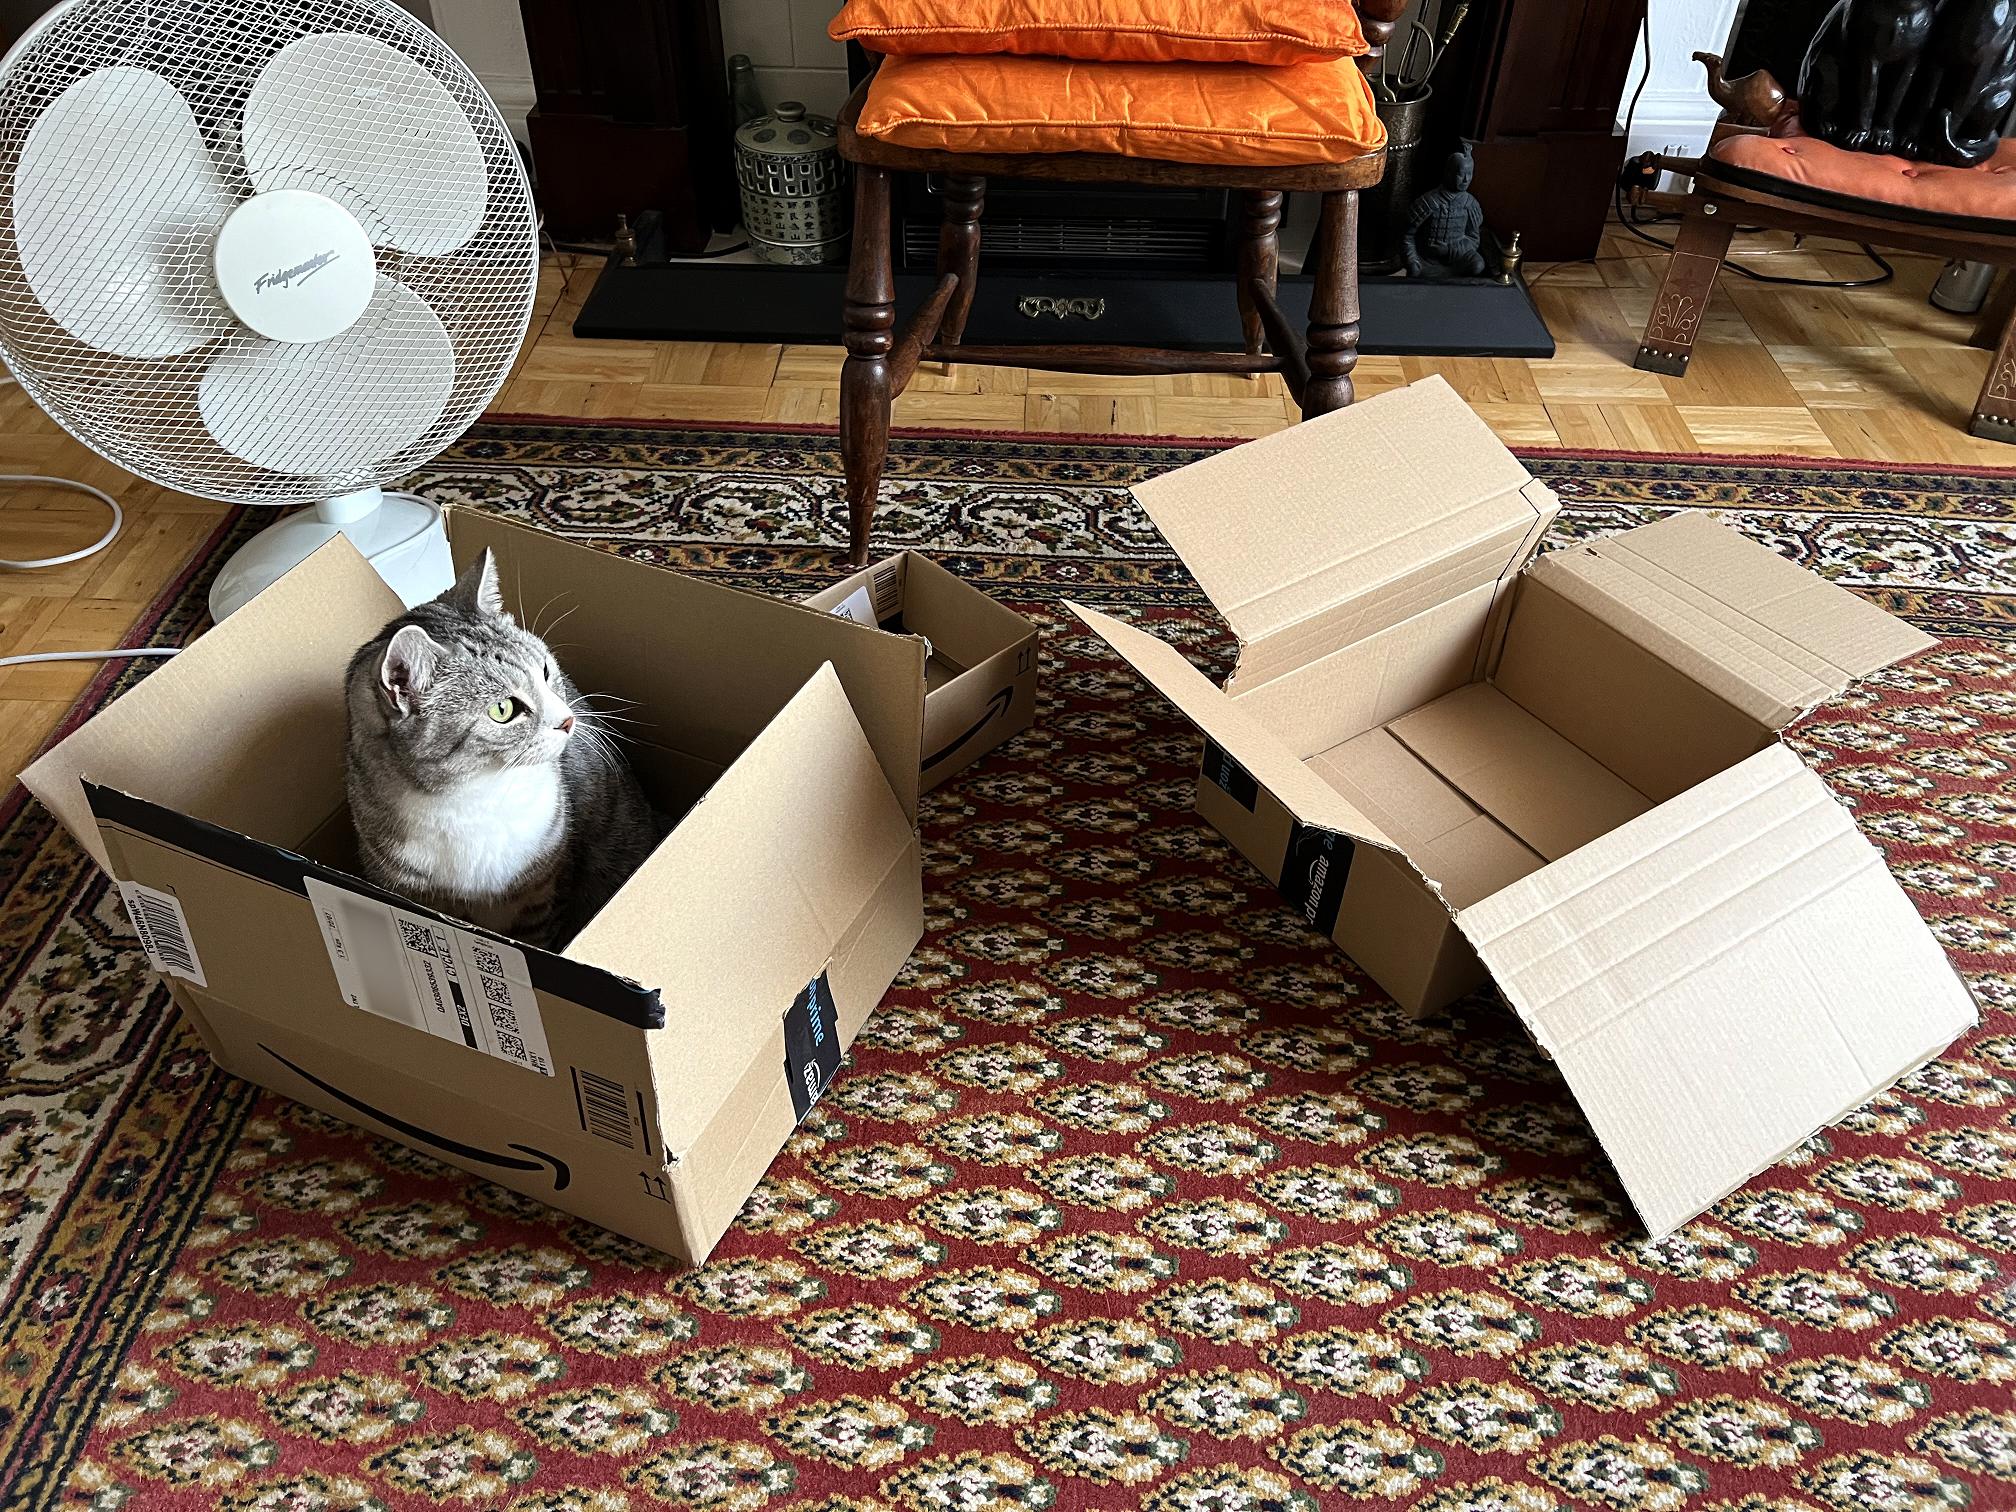
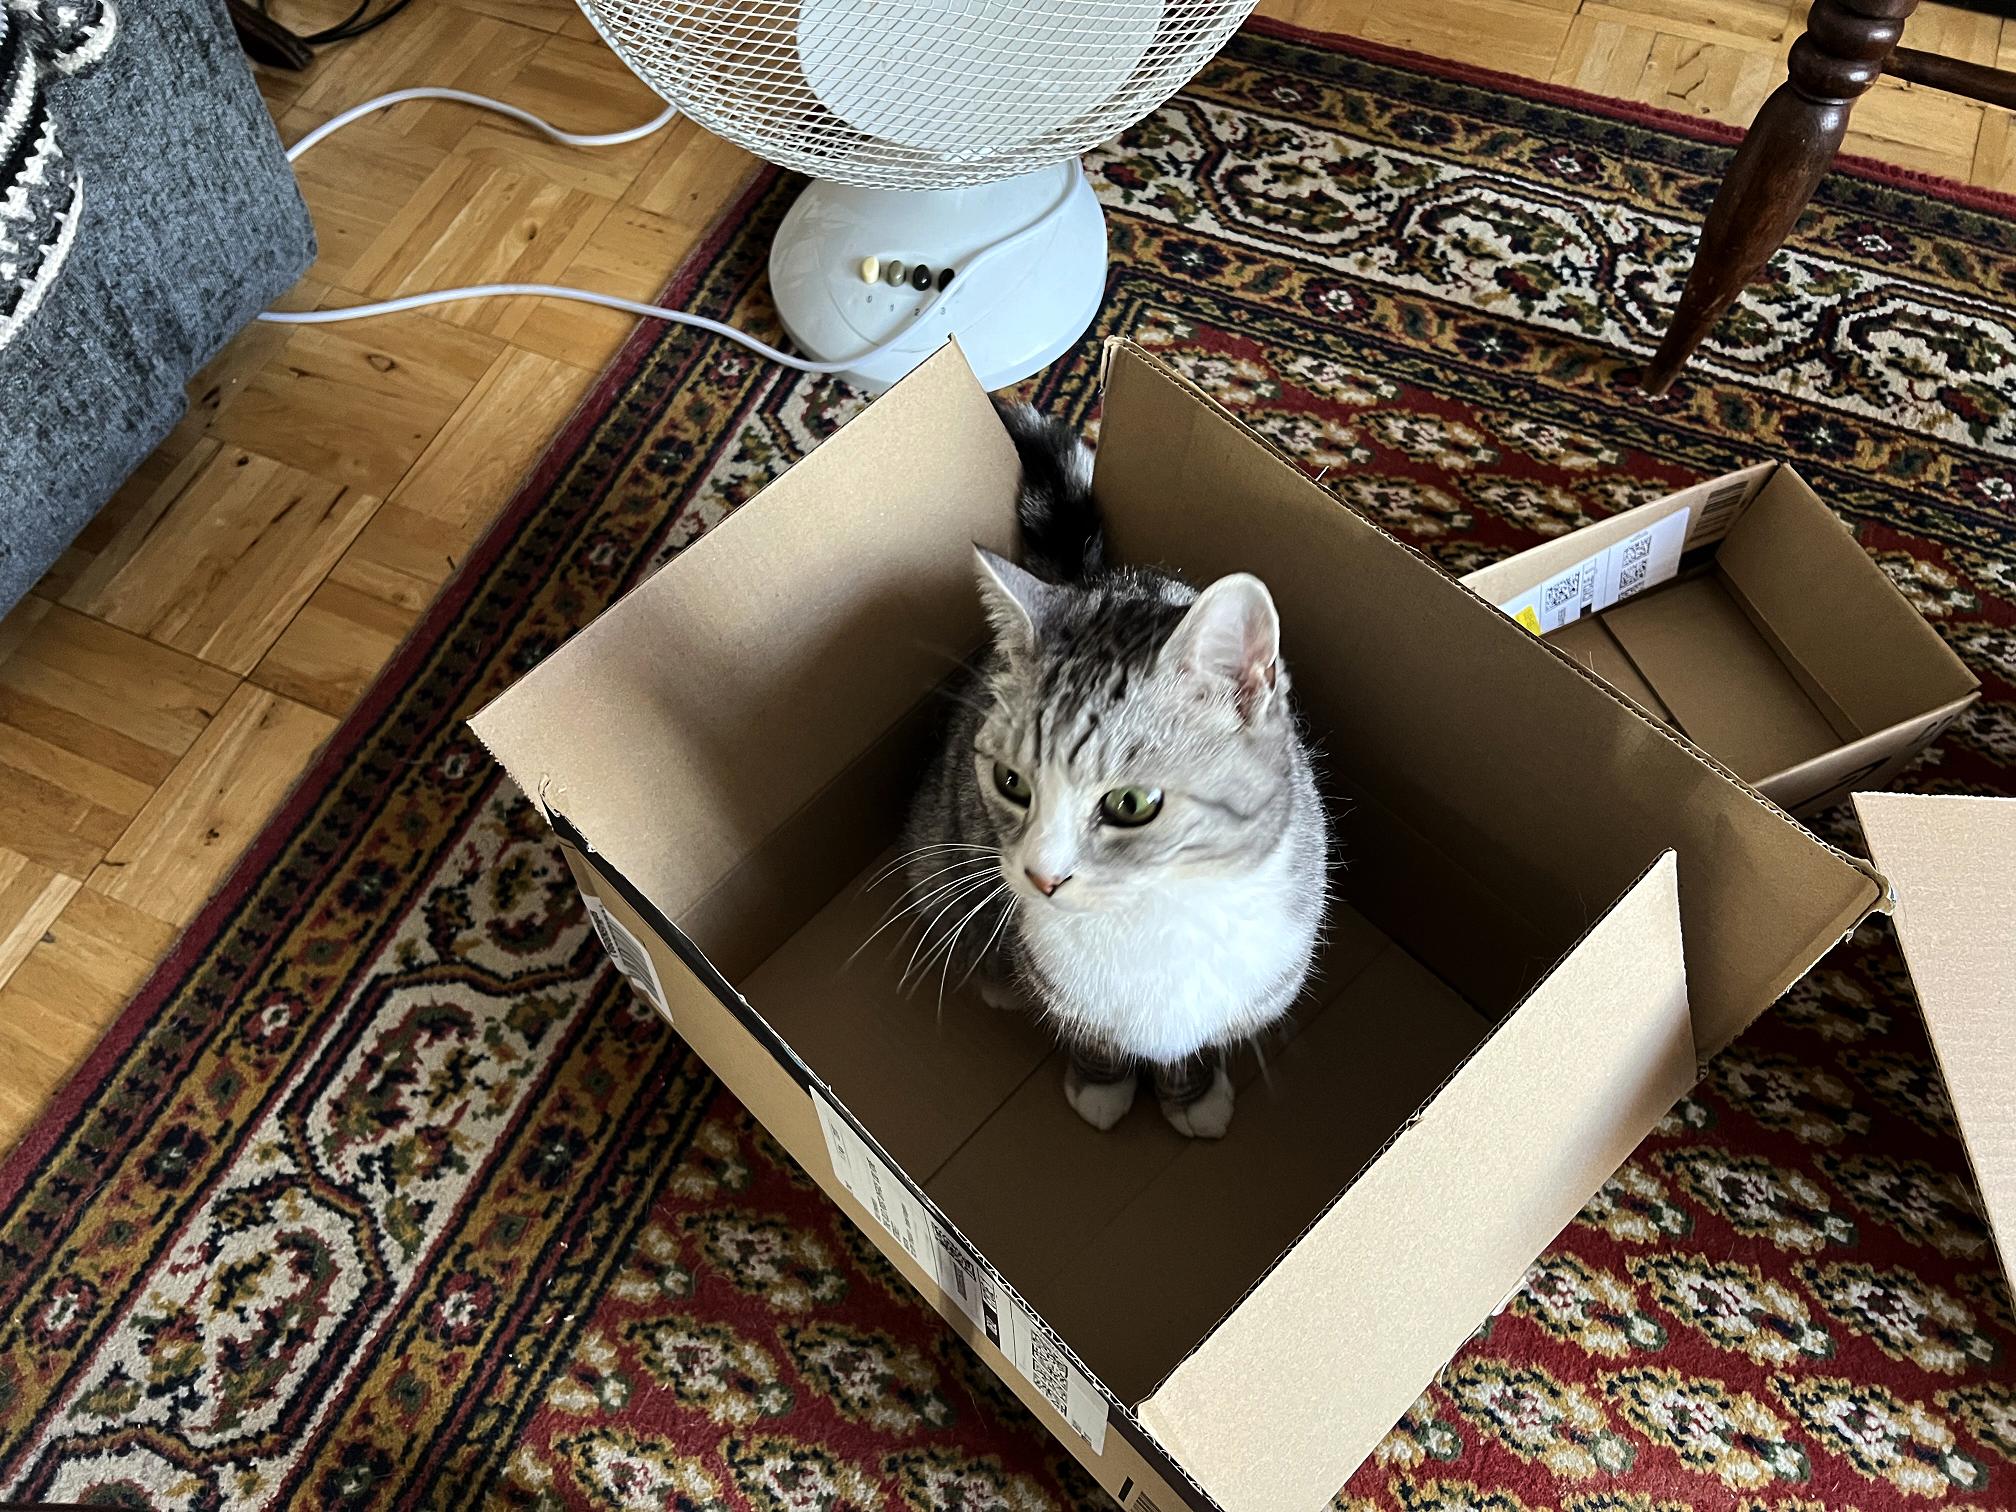
Well, all Ruby actually. My Amazon Prime kitty who simply can’t resist a box.
She has been using the tiny box, which she can just squeeze into, but when my two Amazon parcels arrived and I gave her the boxes, she simply couldn’t help herself and had to try them out, completely ignoring the little box.
Testing out Box Number Two.
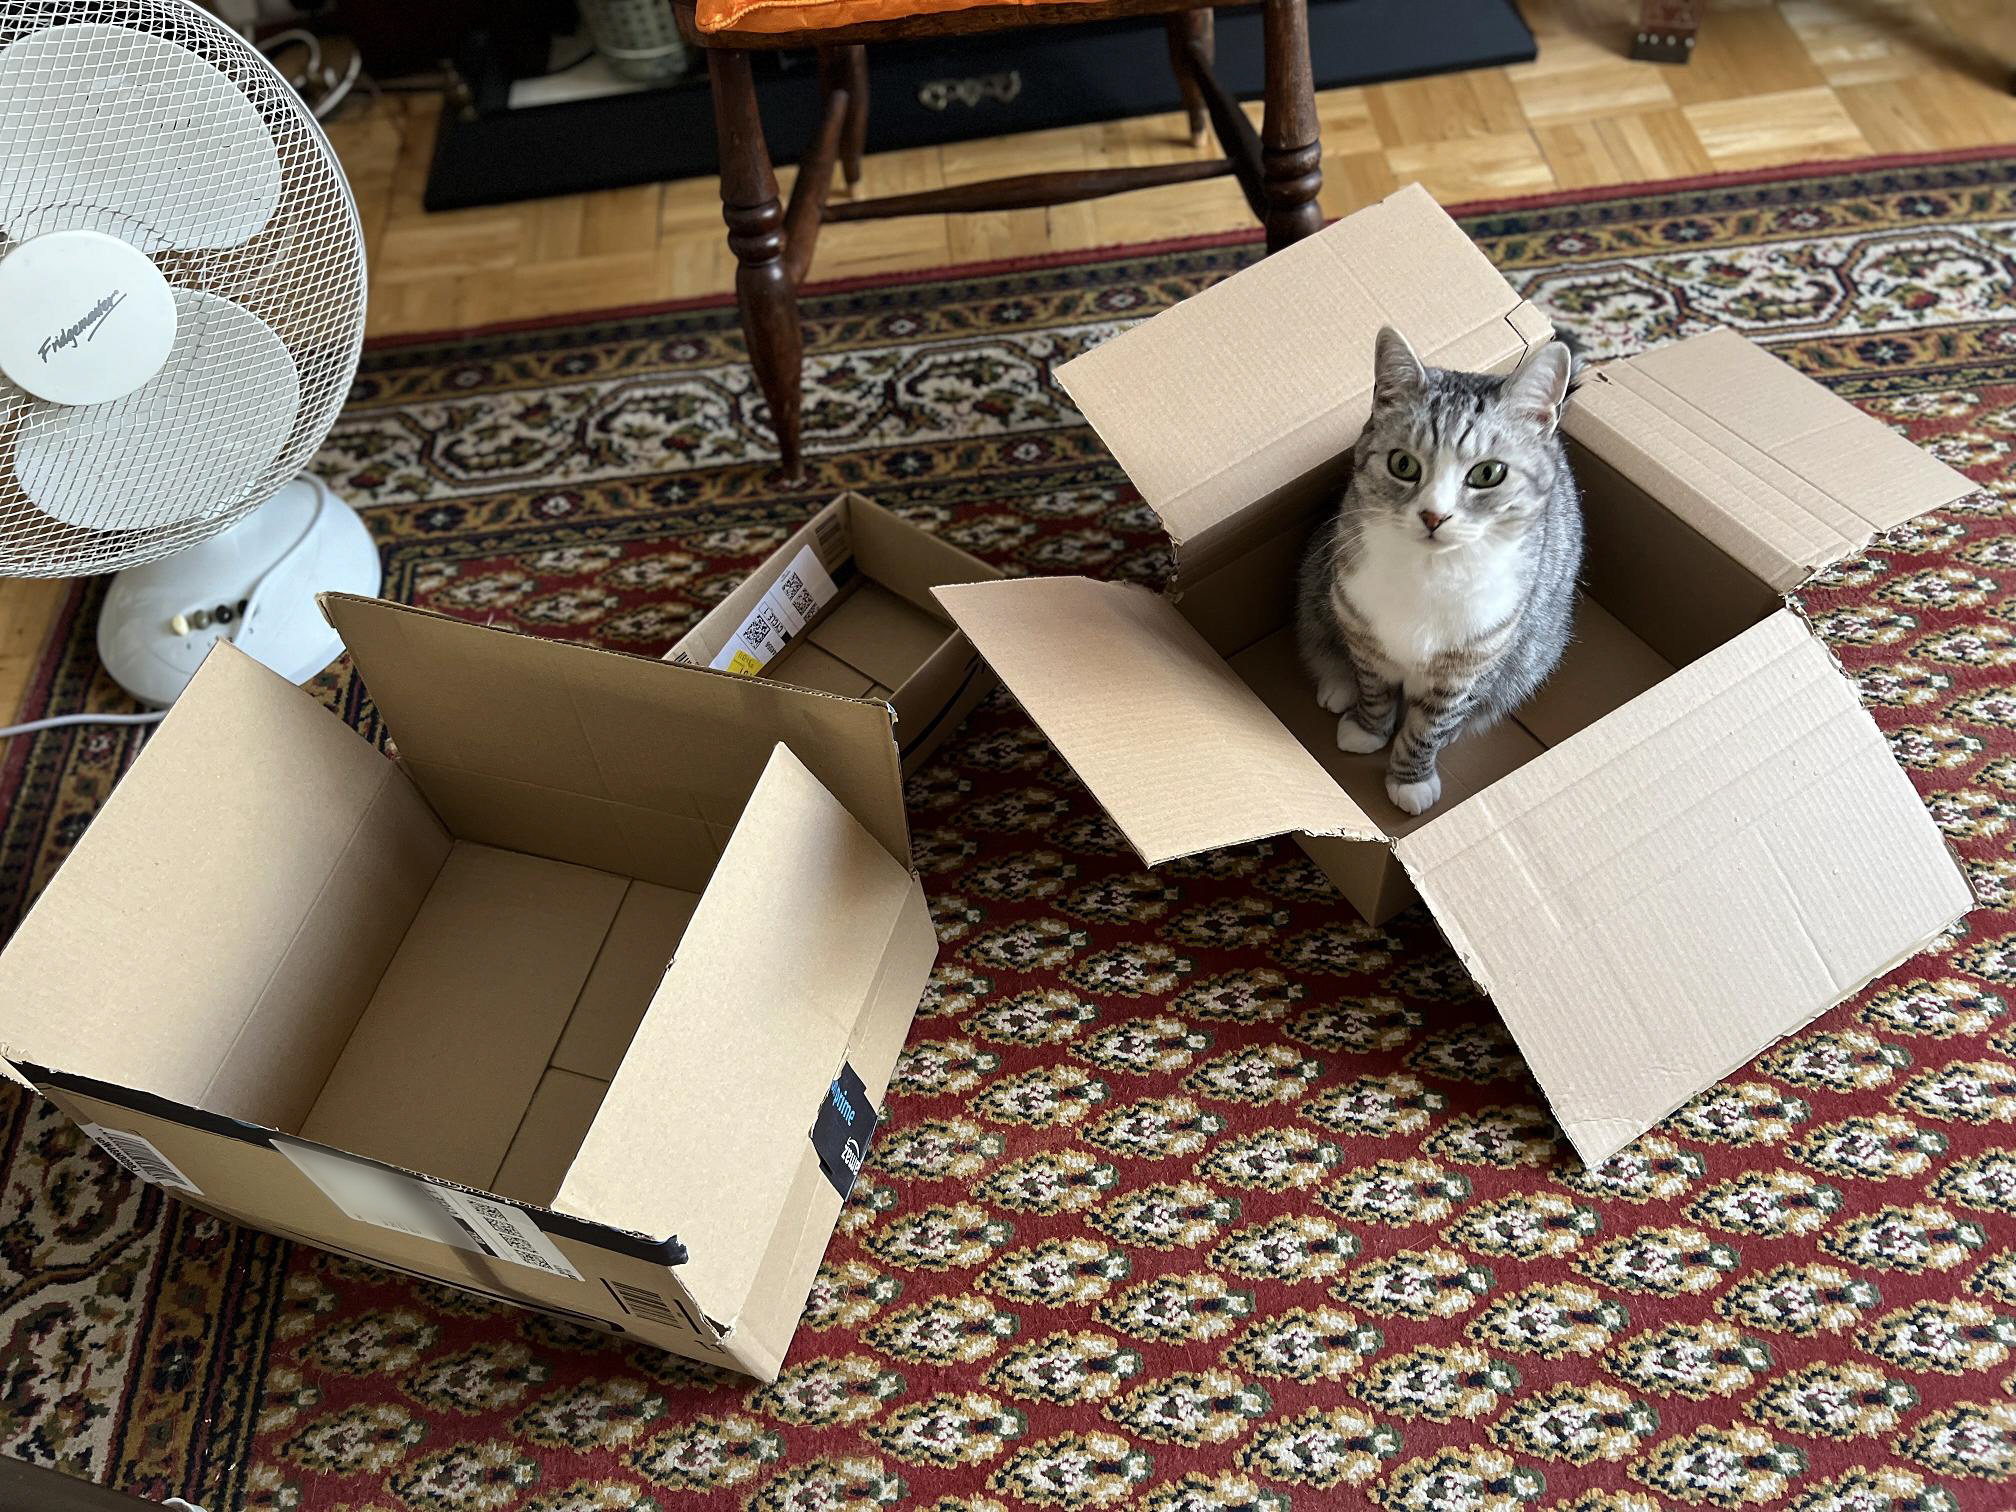
Mmm. Yes. Really like this one!
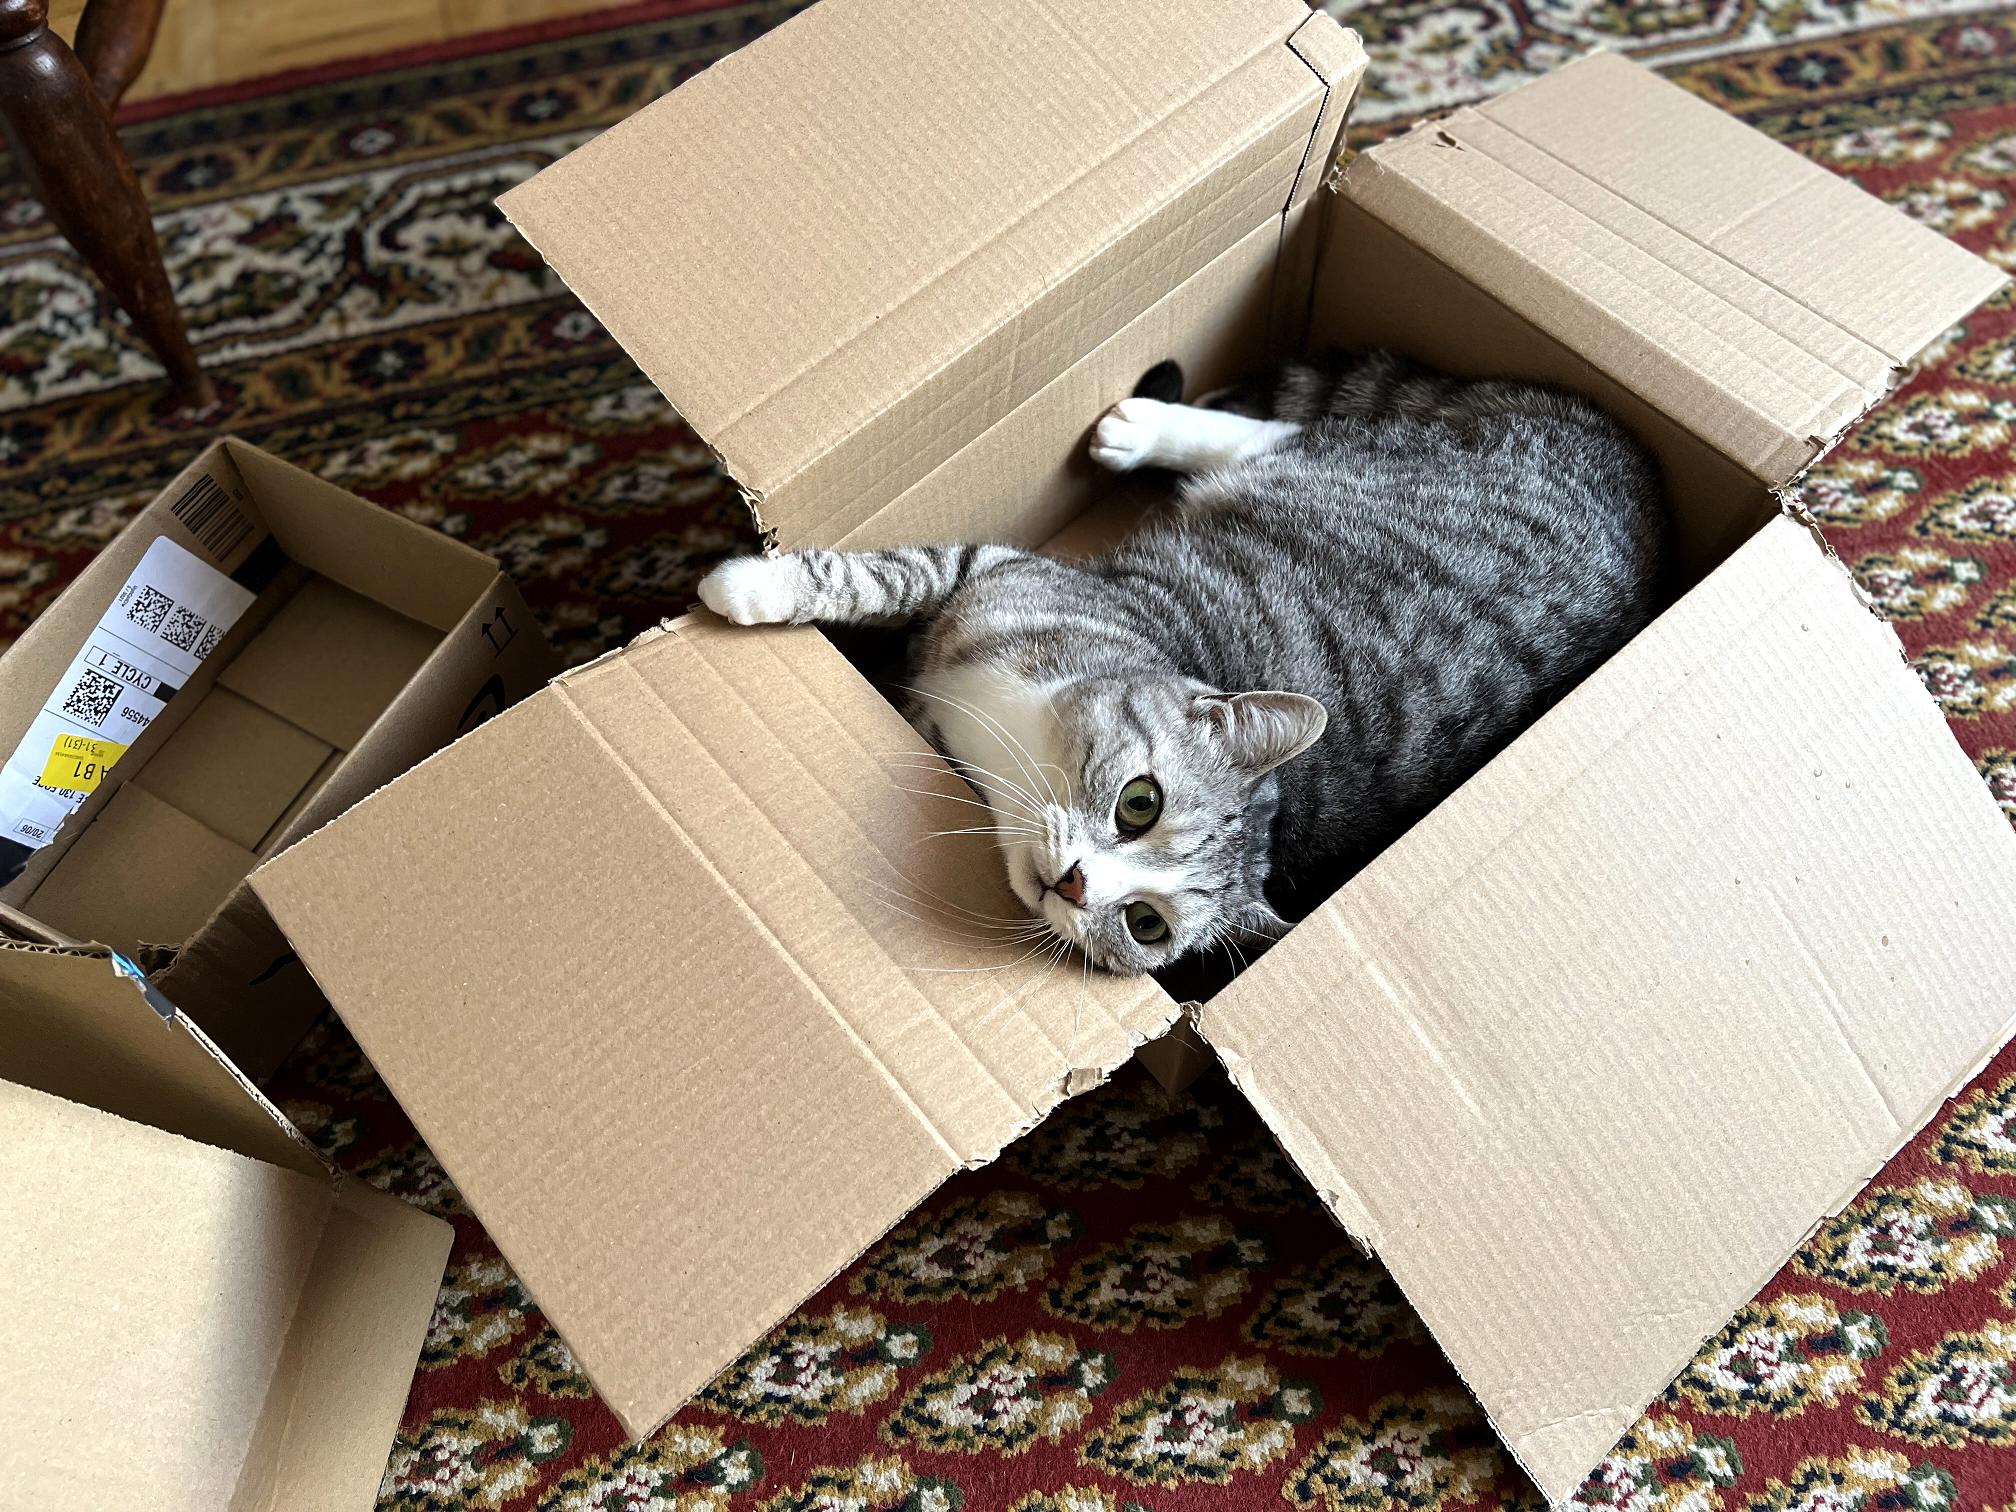
Or… back to Box Number One. Impossible to decide!
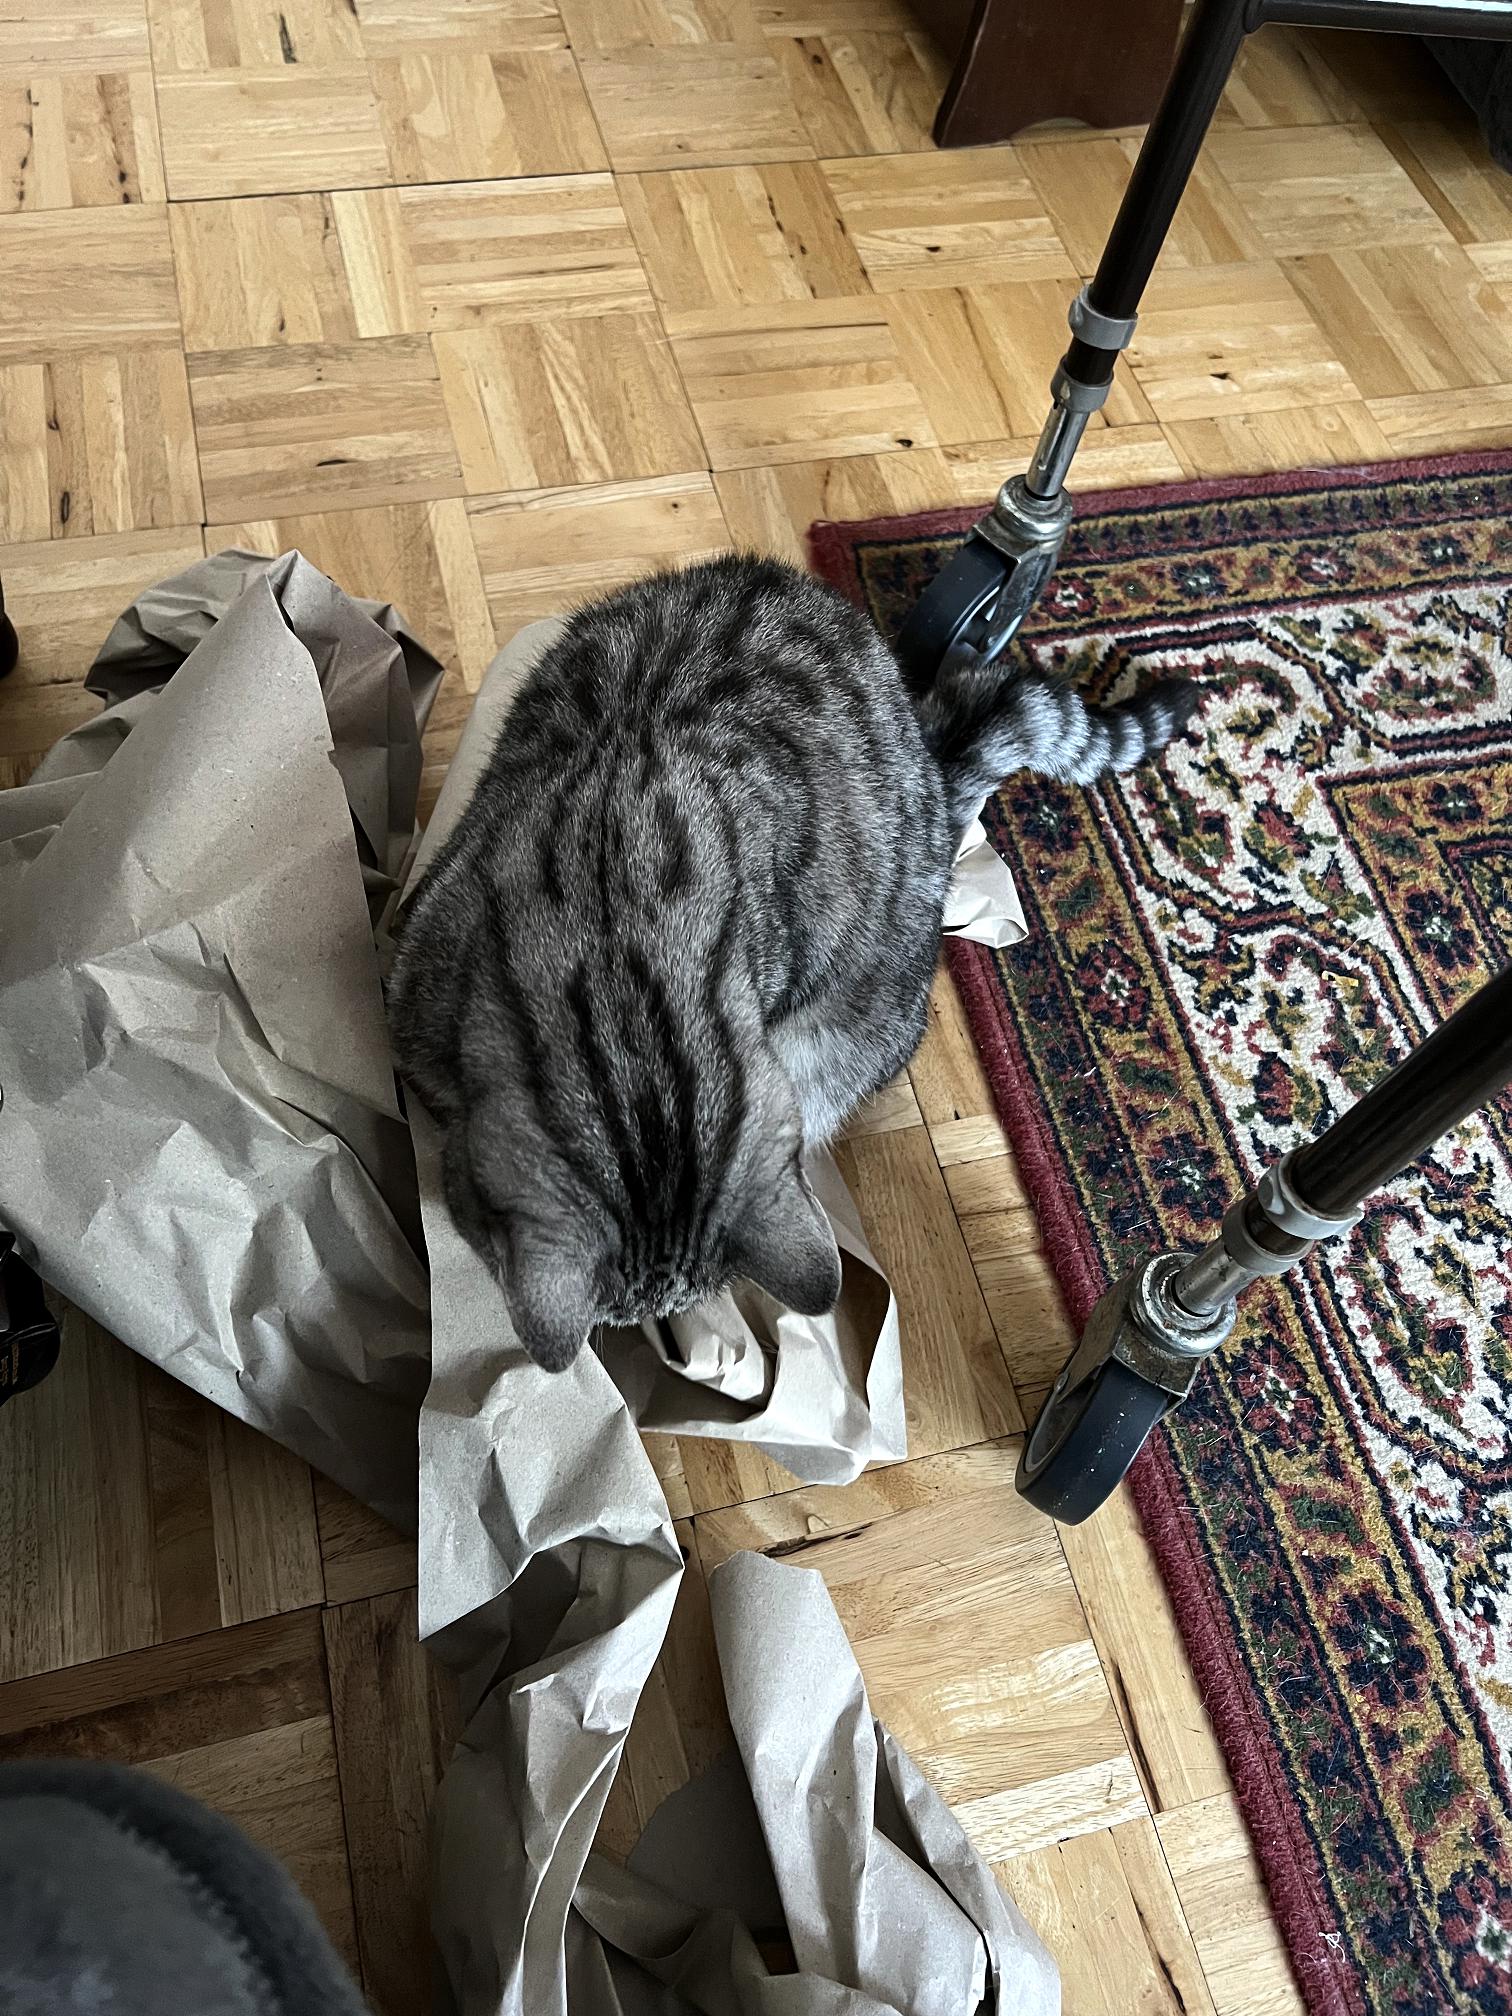
While I think about it, how about a rummage through that interesting packaging paper?
Finally…
Our garden
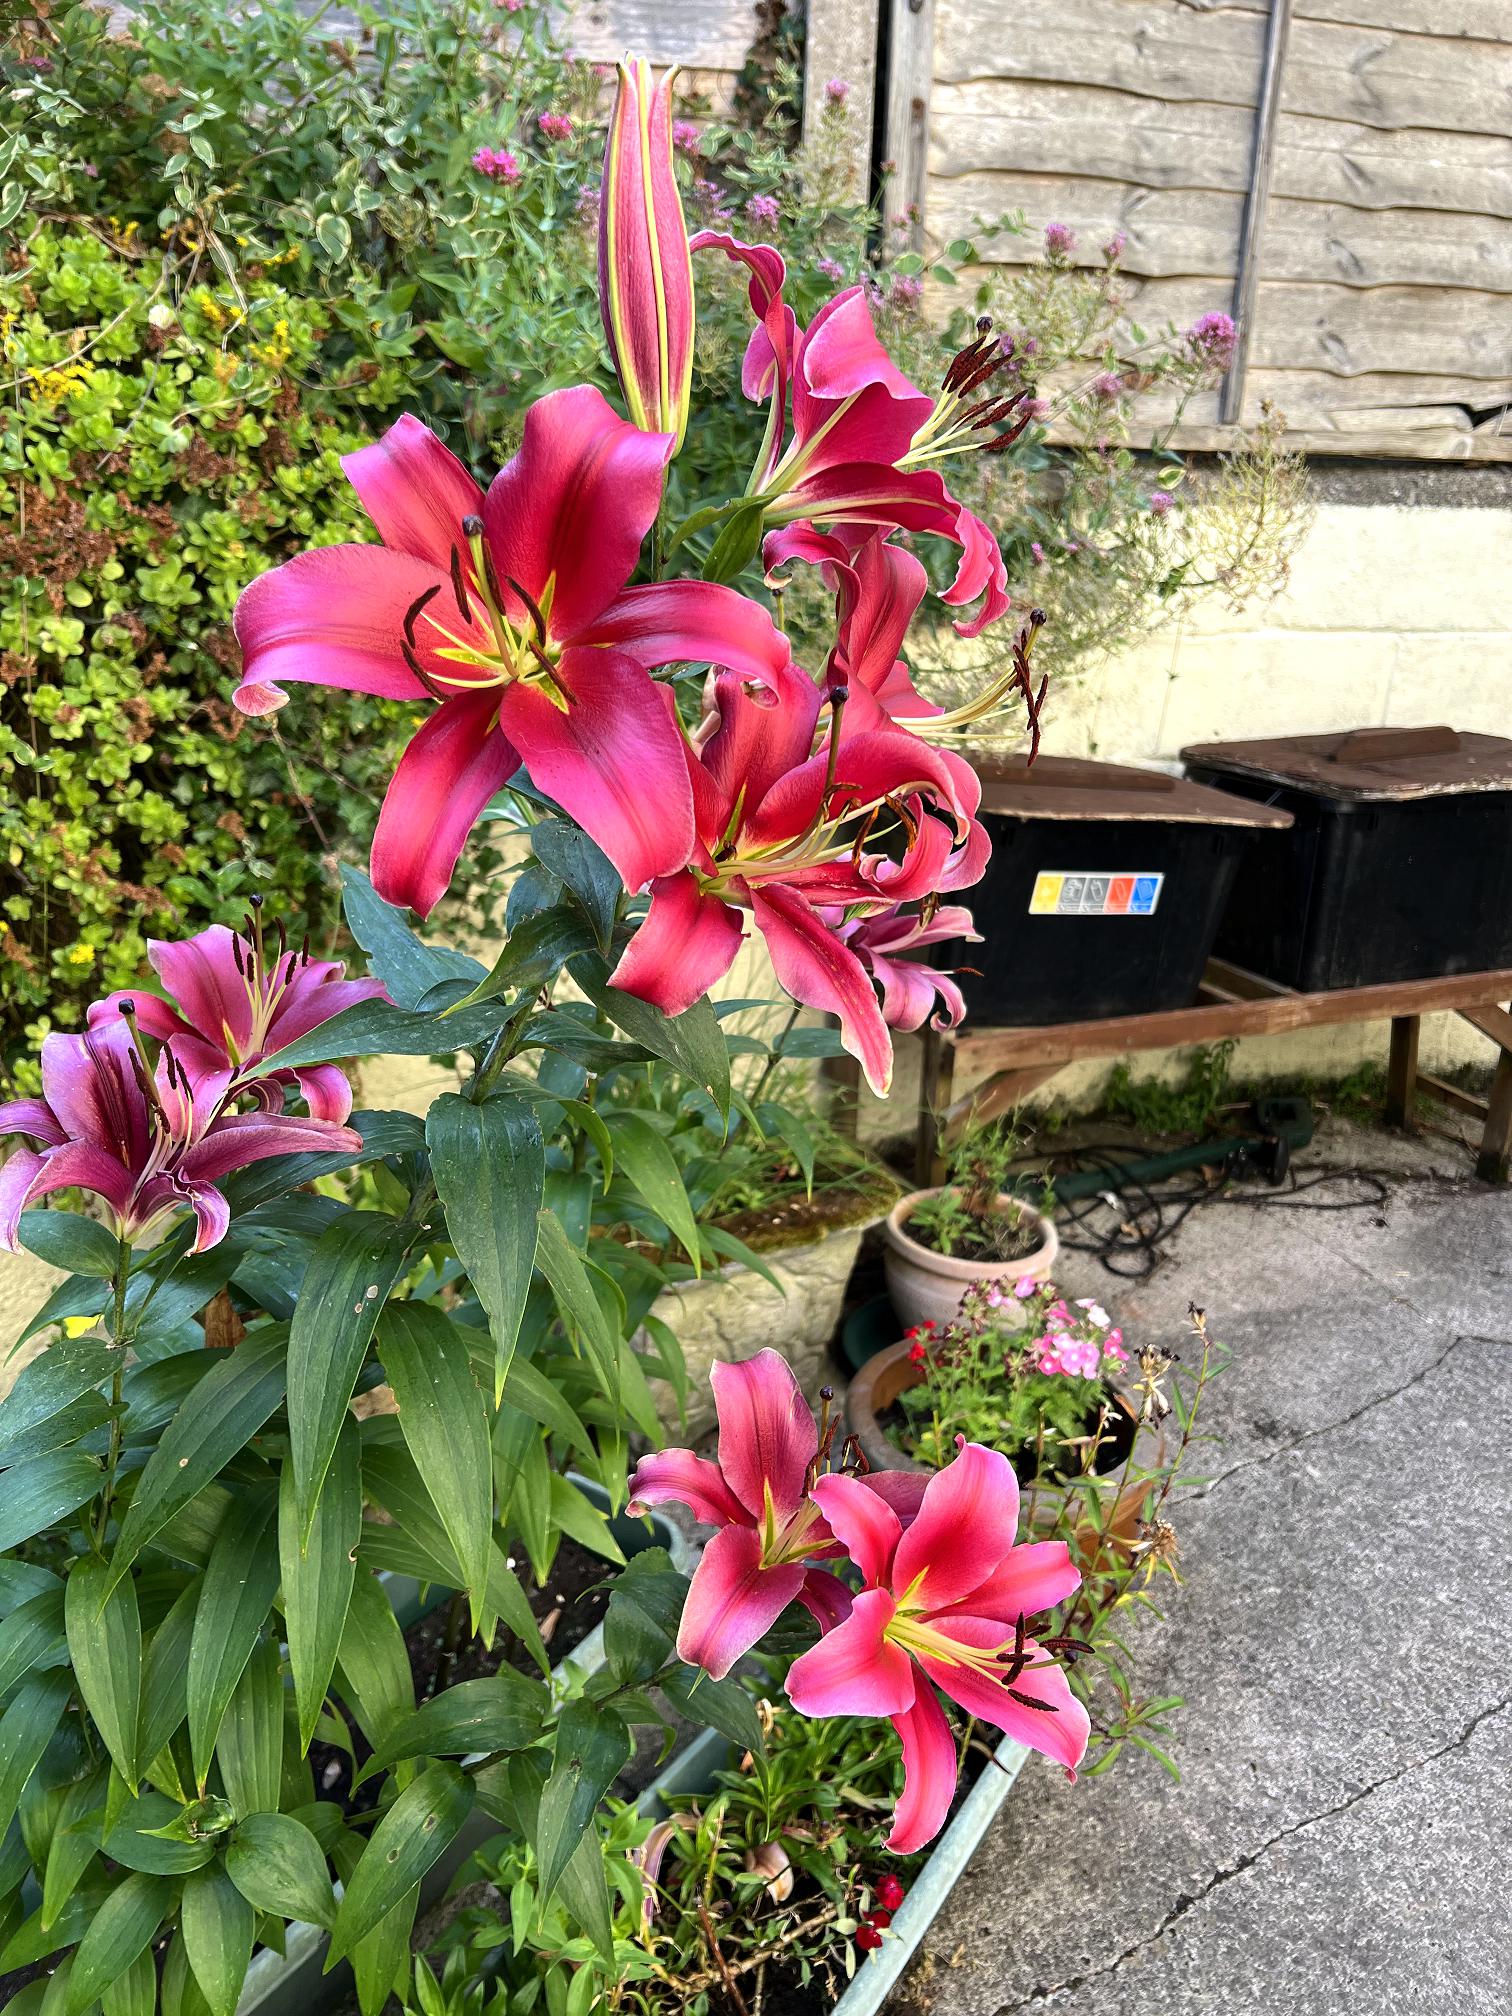
The lilies in front of the kitchen are now in full bloom. Glorious!
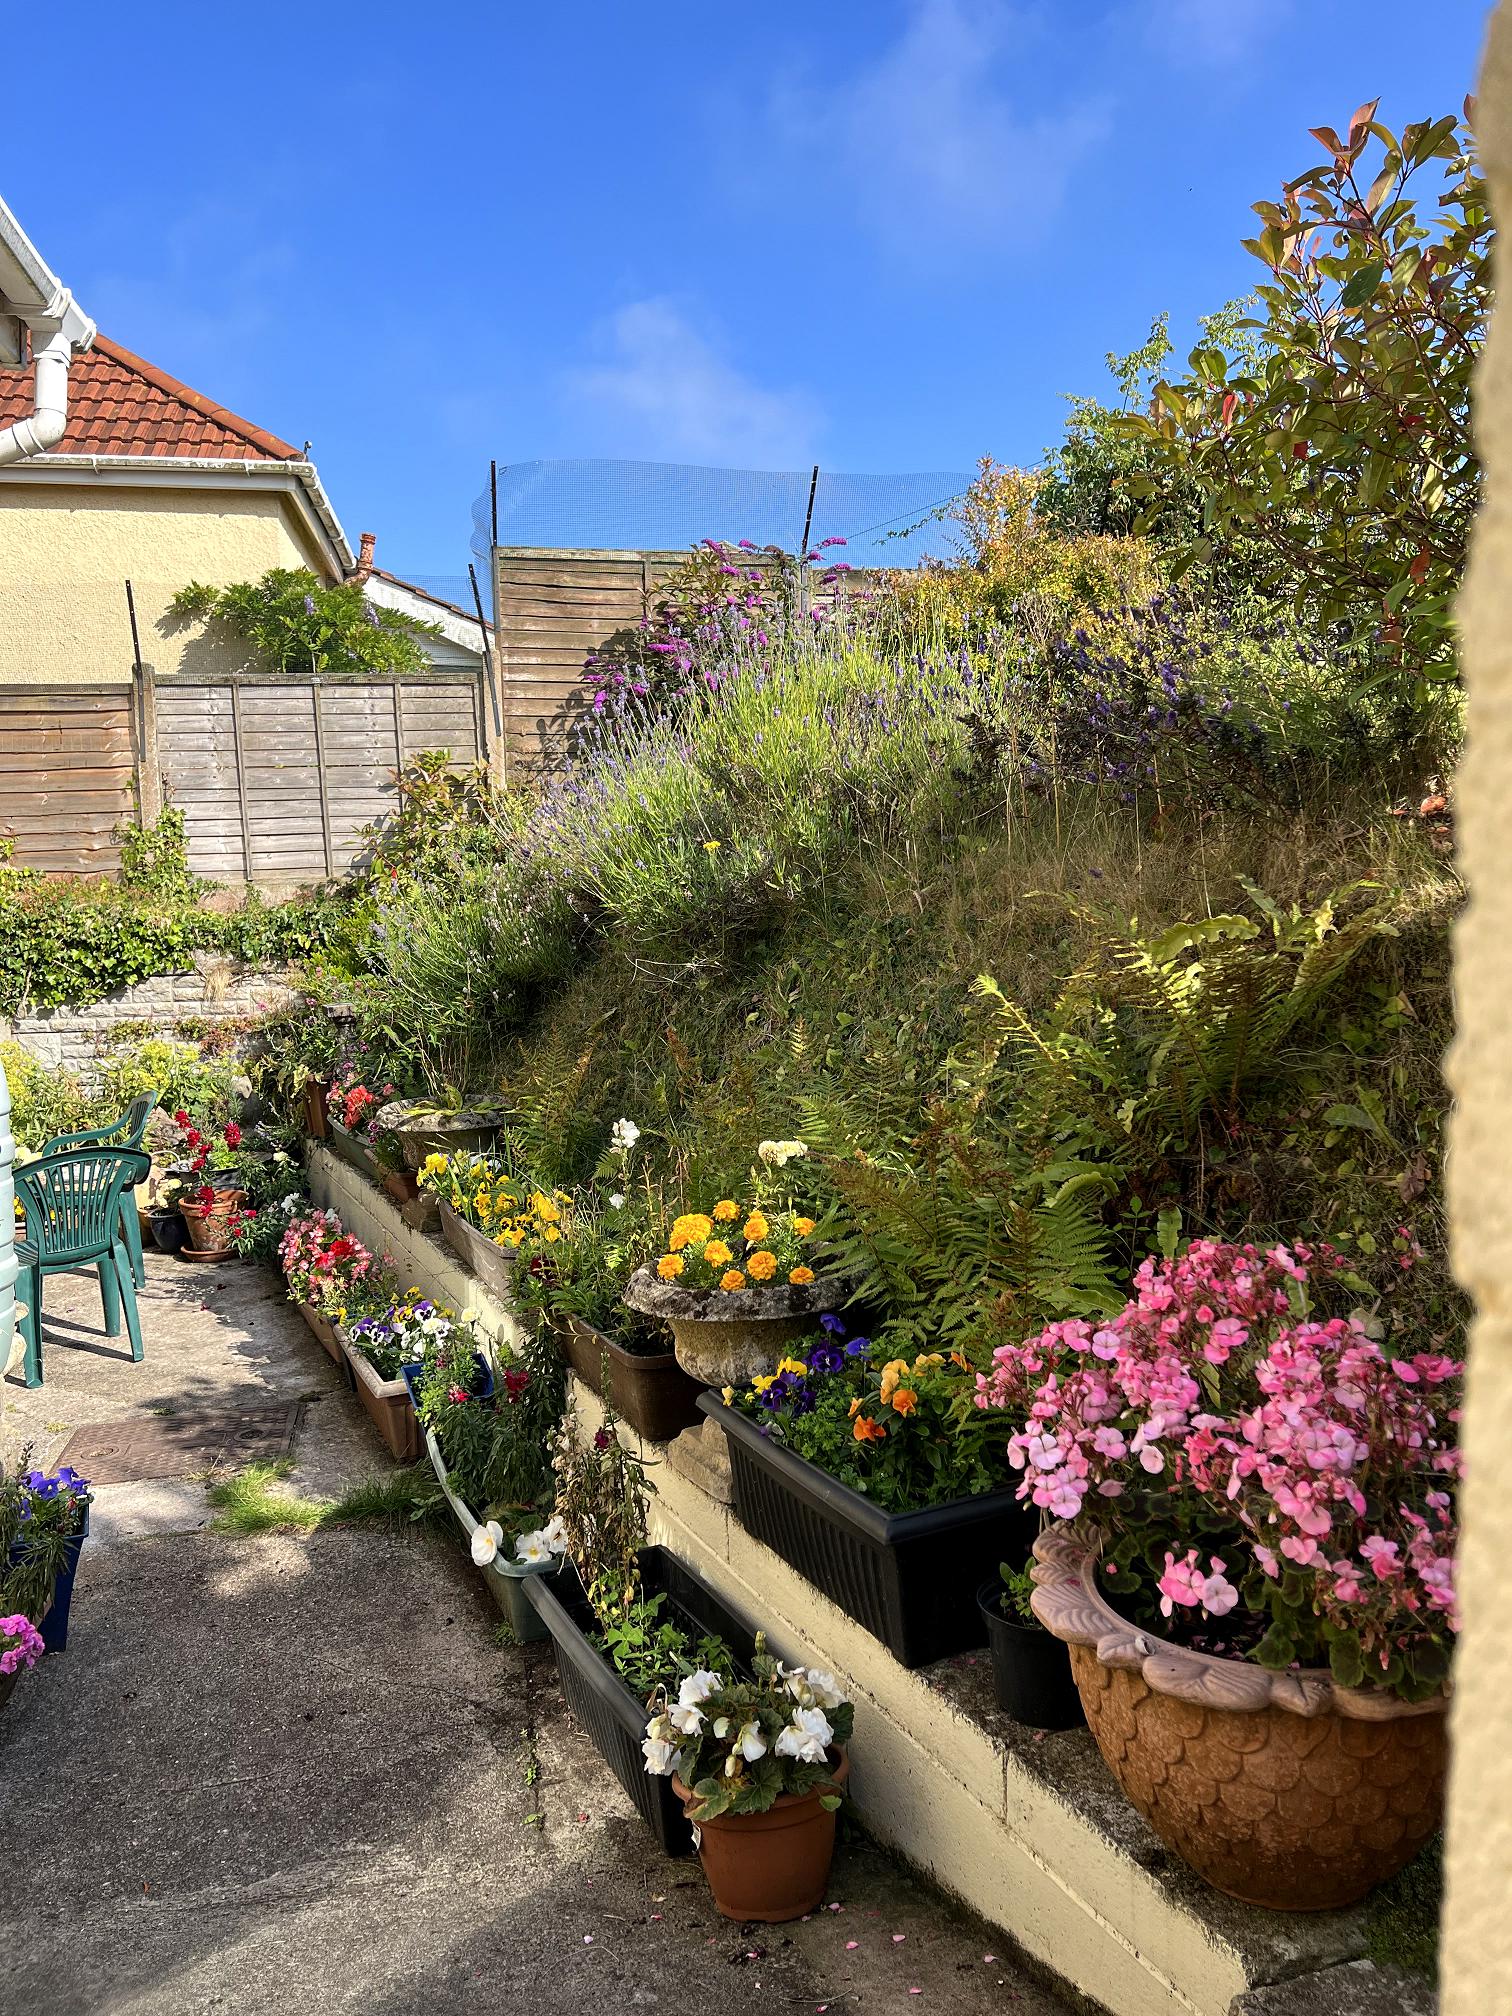
The tubs and troughs along the path on the way to the patio are also looking fabulous. Hats off to my hubby for all his hard work making it look so lovely. Shame it’s been too hot to sit out these past few days.

Beautiful Shoshi!! Love the Voynich circles – how fascinating: it’s obsucrity and rarity makes it even more intriguing and you have transformed it into what seems to be a new artform? ….and your Amazon Prime kittty is adorable! We sometimes get quite a bit of that packaging, if you’d liek me to save some, let me know!