That sinking feeling…
I’ve been binge-watching Robyn McClendon recently when I get the chance. She is awesome with the gel press and I’m learning a lot.
I got the idea of the bathmat from Froyle, and was interested to see that Robyn had also bought one, independently of Froyle, and was using it in her gel printing. In fact, I knew she was before I actually saw her showing the bathmat, because I instantly recognised the pattern it makes in one of her collage pieces!
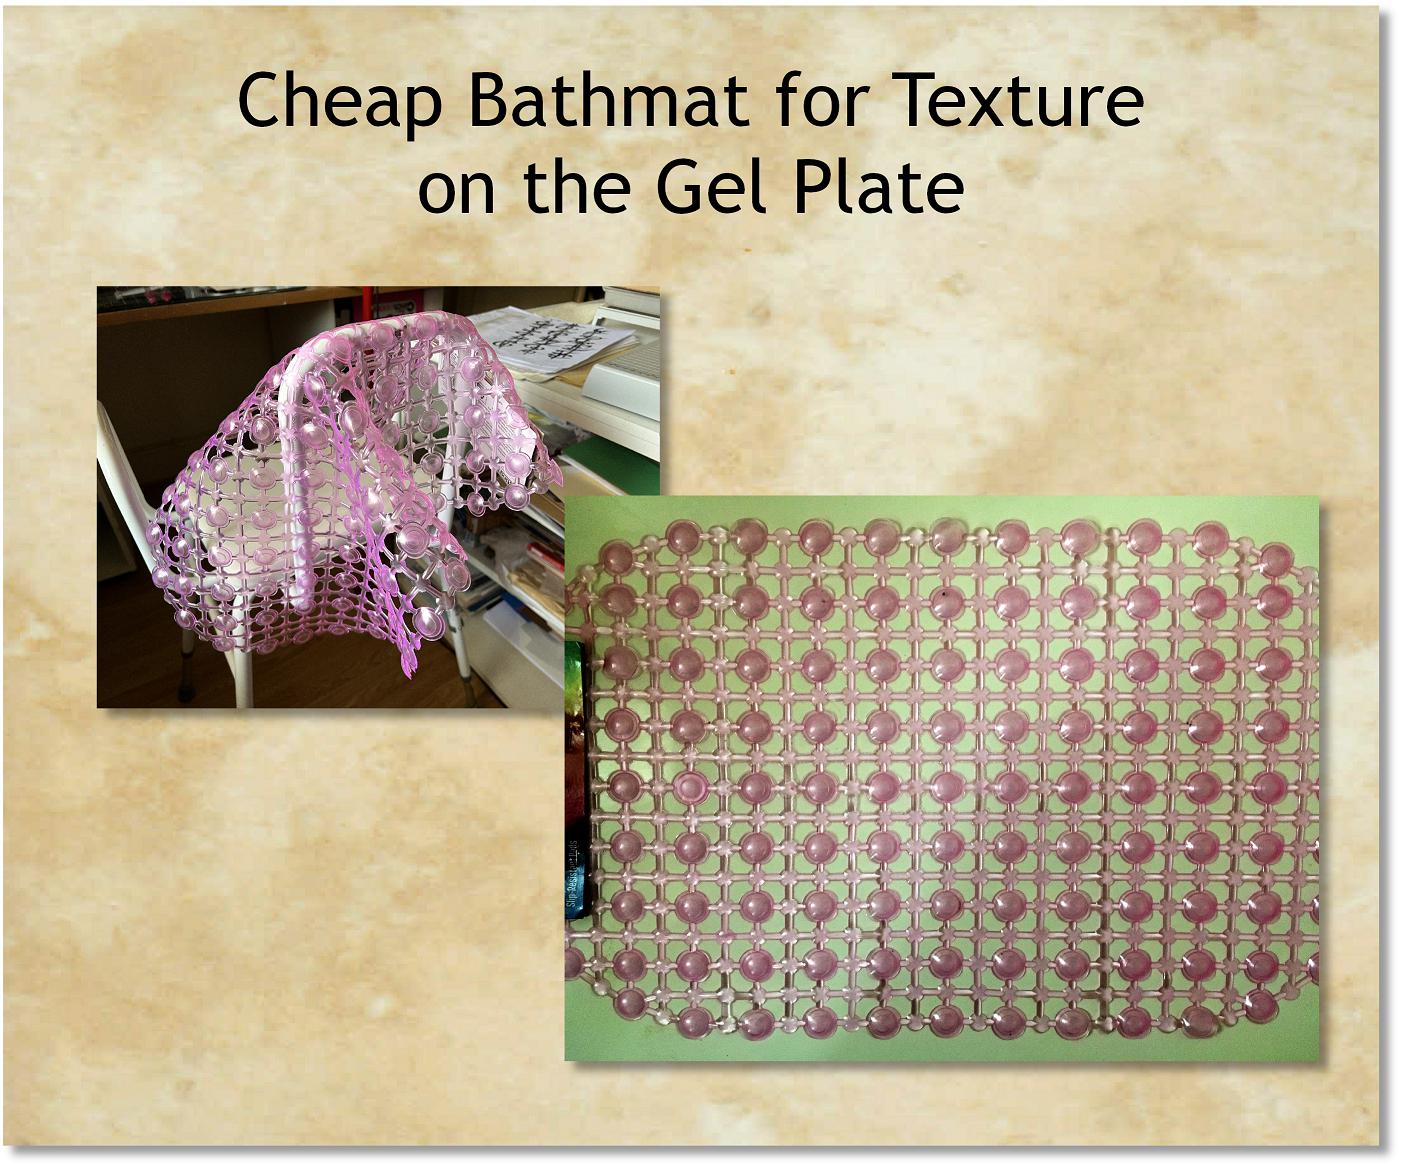
The following imagea show examples of the pattern generated by this unusual tool. The first shows the initial print. You spread paint on the gel plate and lay the bathmat down on top, and then place paper over it and press into all the negative spaces to pick up the paint.
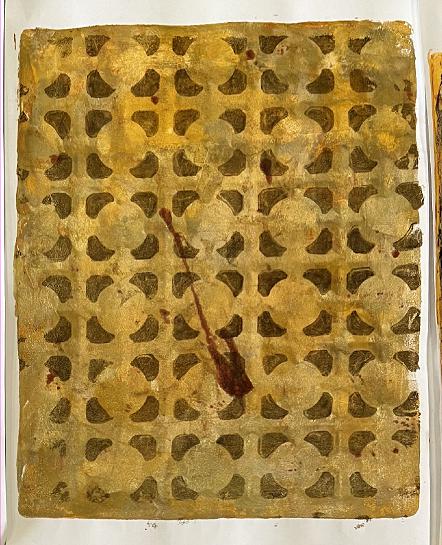
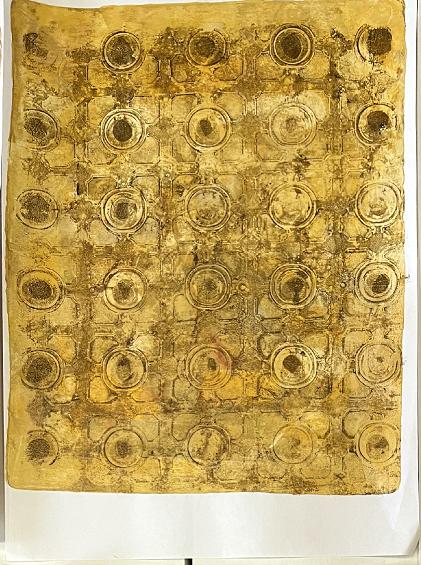
This makes a very nice print with an interesting result, but when you remove the bathmat, and take a ghost print of what remains on the plate, this reveals the best result, as the underside of the mat, including its suction pads, creates such a fun texture.
Robyn worked with the bathmat on one of her videos that I saw recently, and she also made some prints from a plastic sink mat that she’d bought at the Dollar Store. This was in the form of a square grid. I immediately thought to myself, I must look for sink mats on Ebay! I found quite a variety of different patterns and ordered some. Most of these are very inexpensive.
The first batch to arrive were these. You can see that one of them is the square grid.
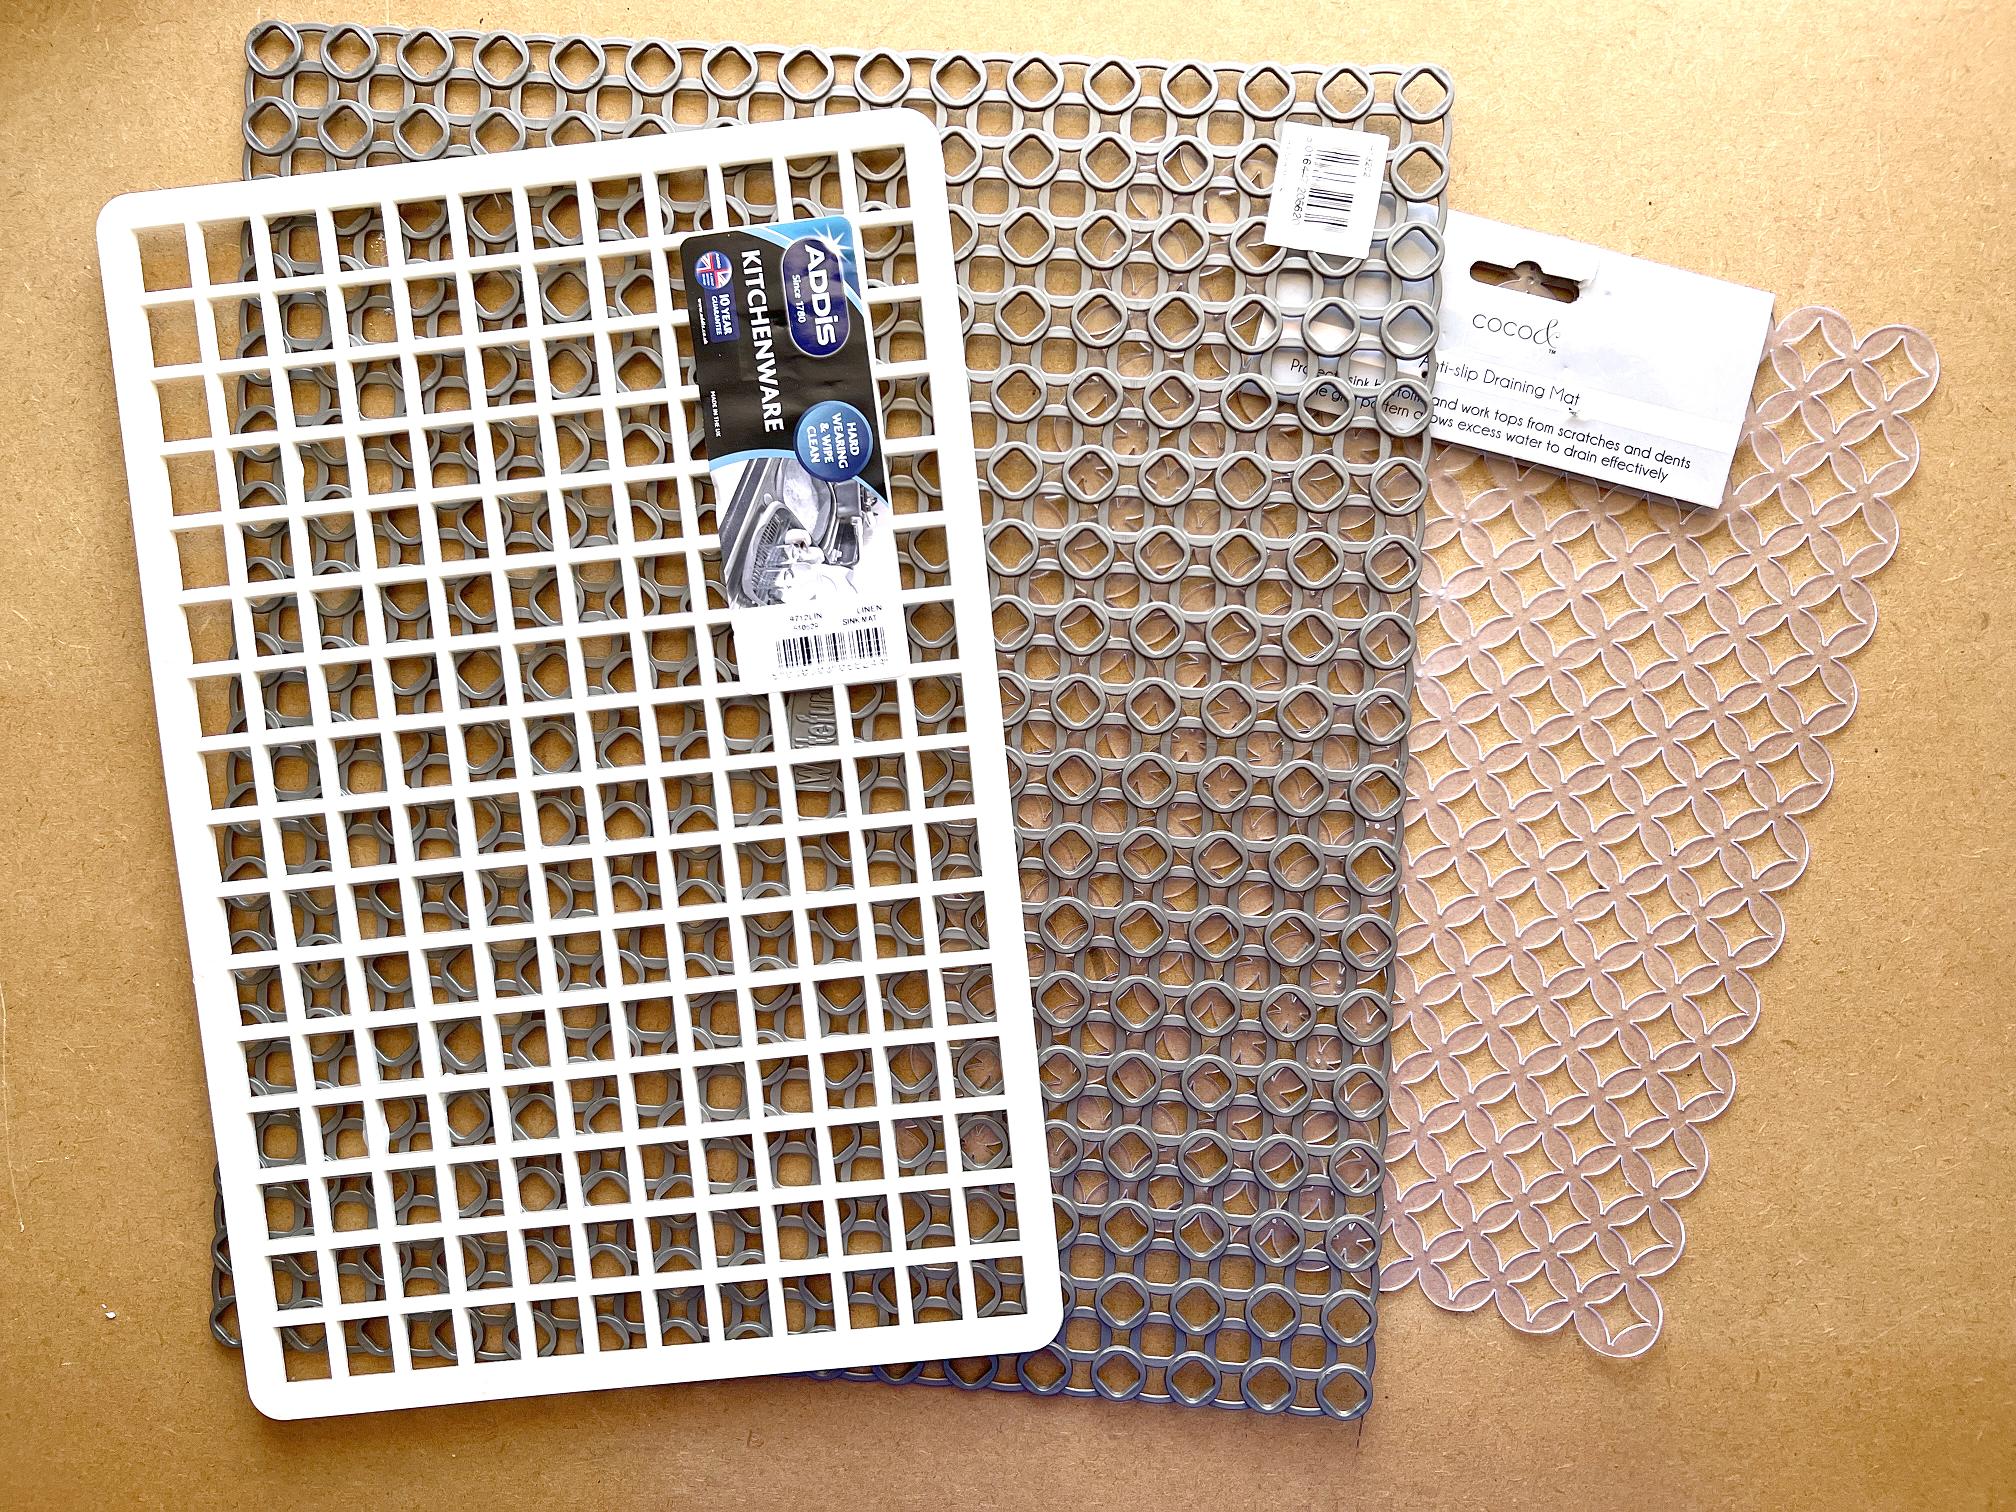
The middle one is interesting, having a multi-layered texture. On the reverse side it has small round projections which are presumably to raise it off the sink so that the water drains away well. I think these will make some interesting patterns. Either side of this mat will probably be good for printing but the other way up, the little projections might make holes in the initial print. I shall have to experiment. The mat on the right is a very pretty pattern, and is the only one of the three made of flexible silicone rubber like the bathmat.
The remaining mat was delivered the following day. It has a very pretty pattern indeed, and like the bathmat, it is made of transparent flexible silicone rubber.
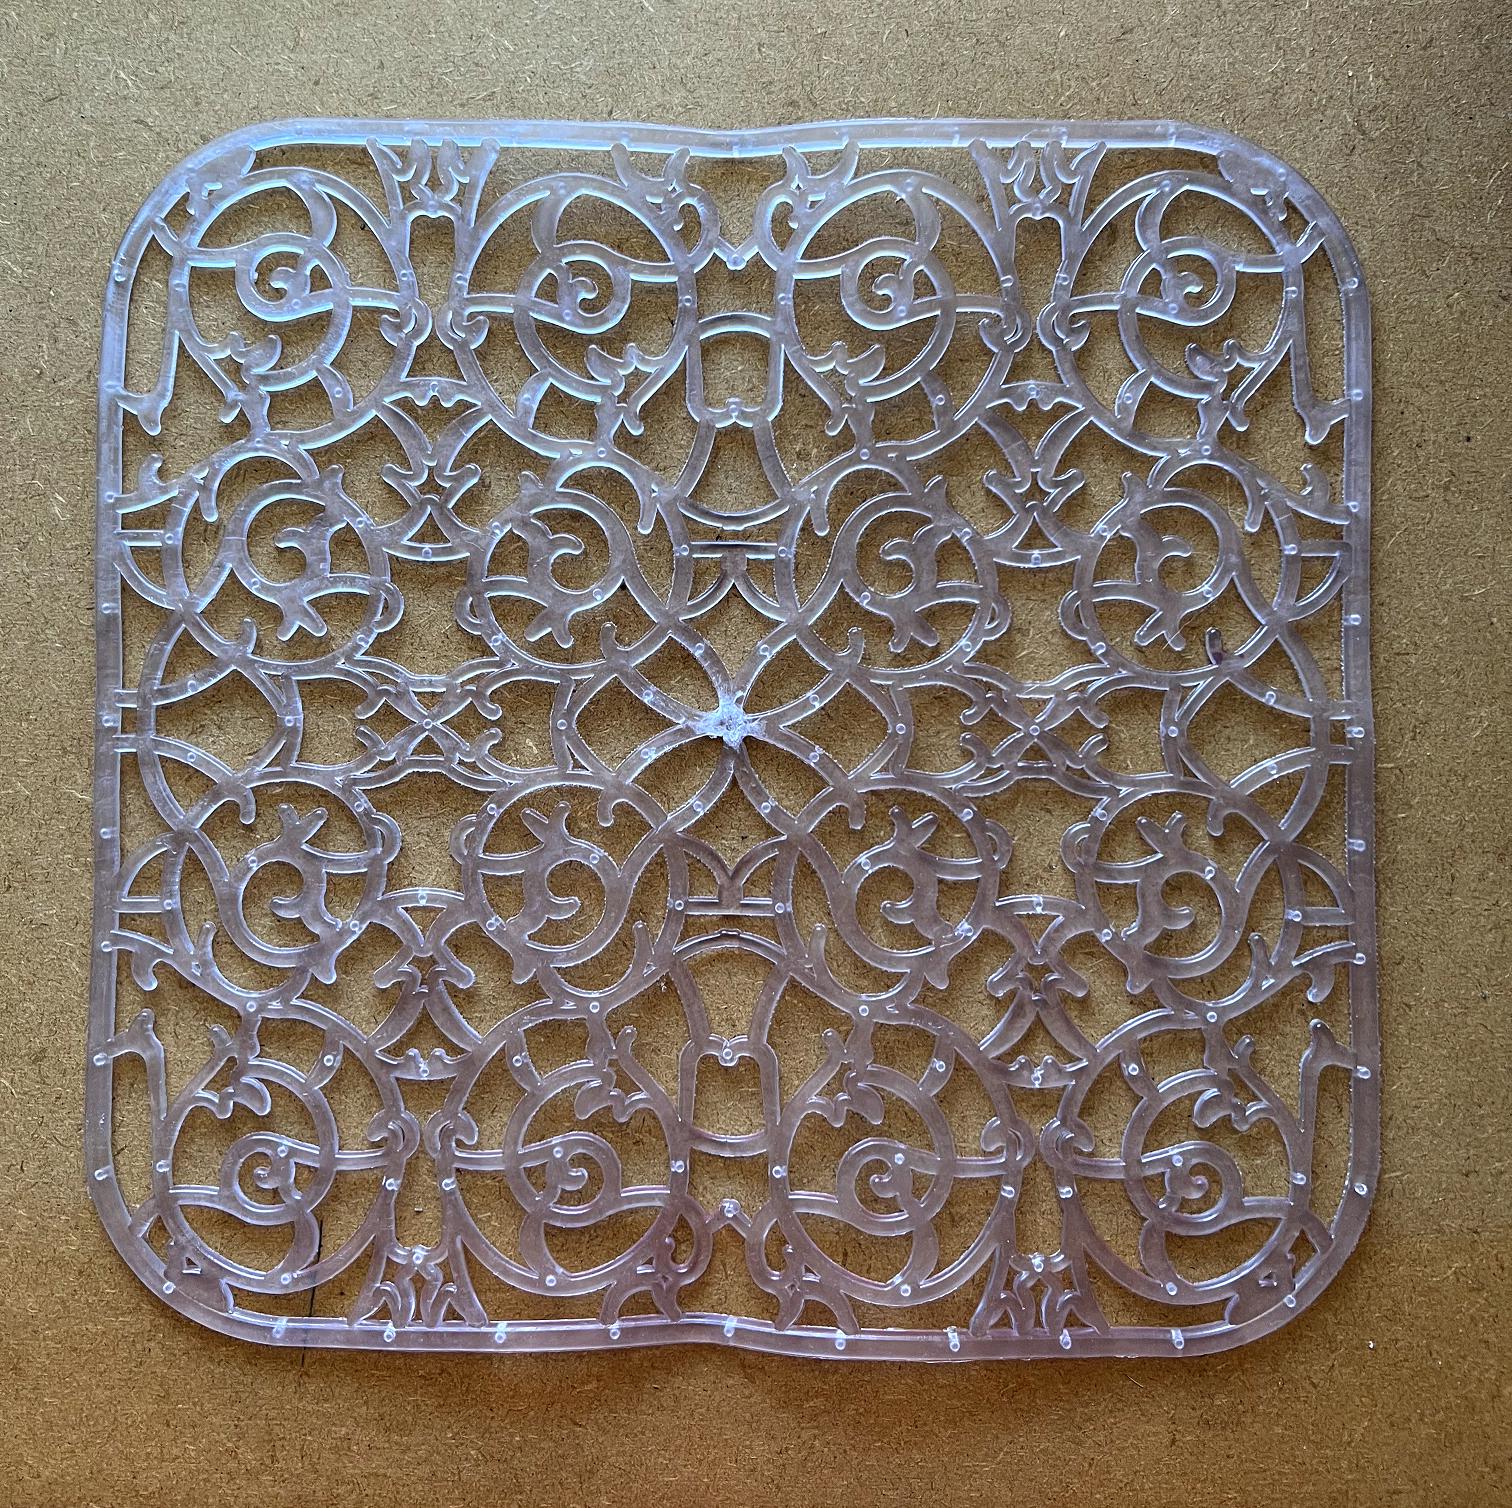
I think this one is going to make some very interesting prints.
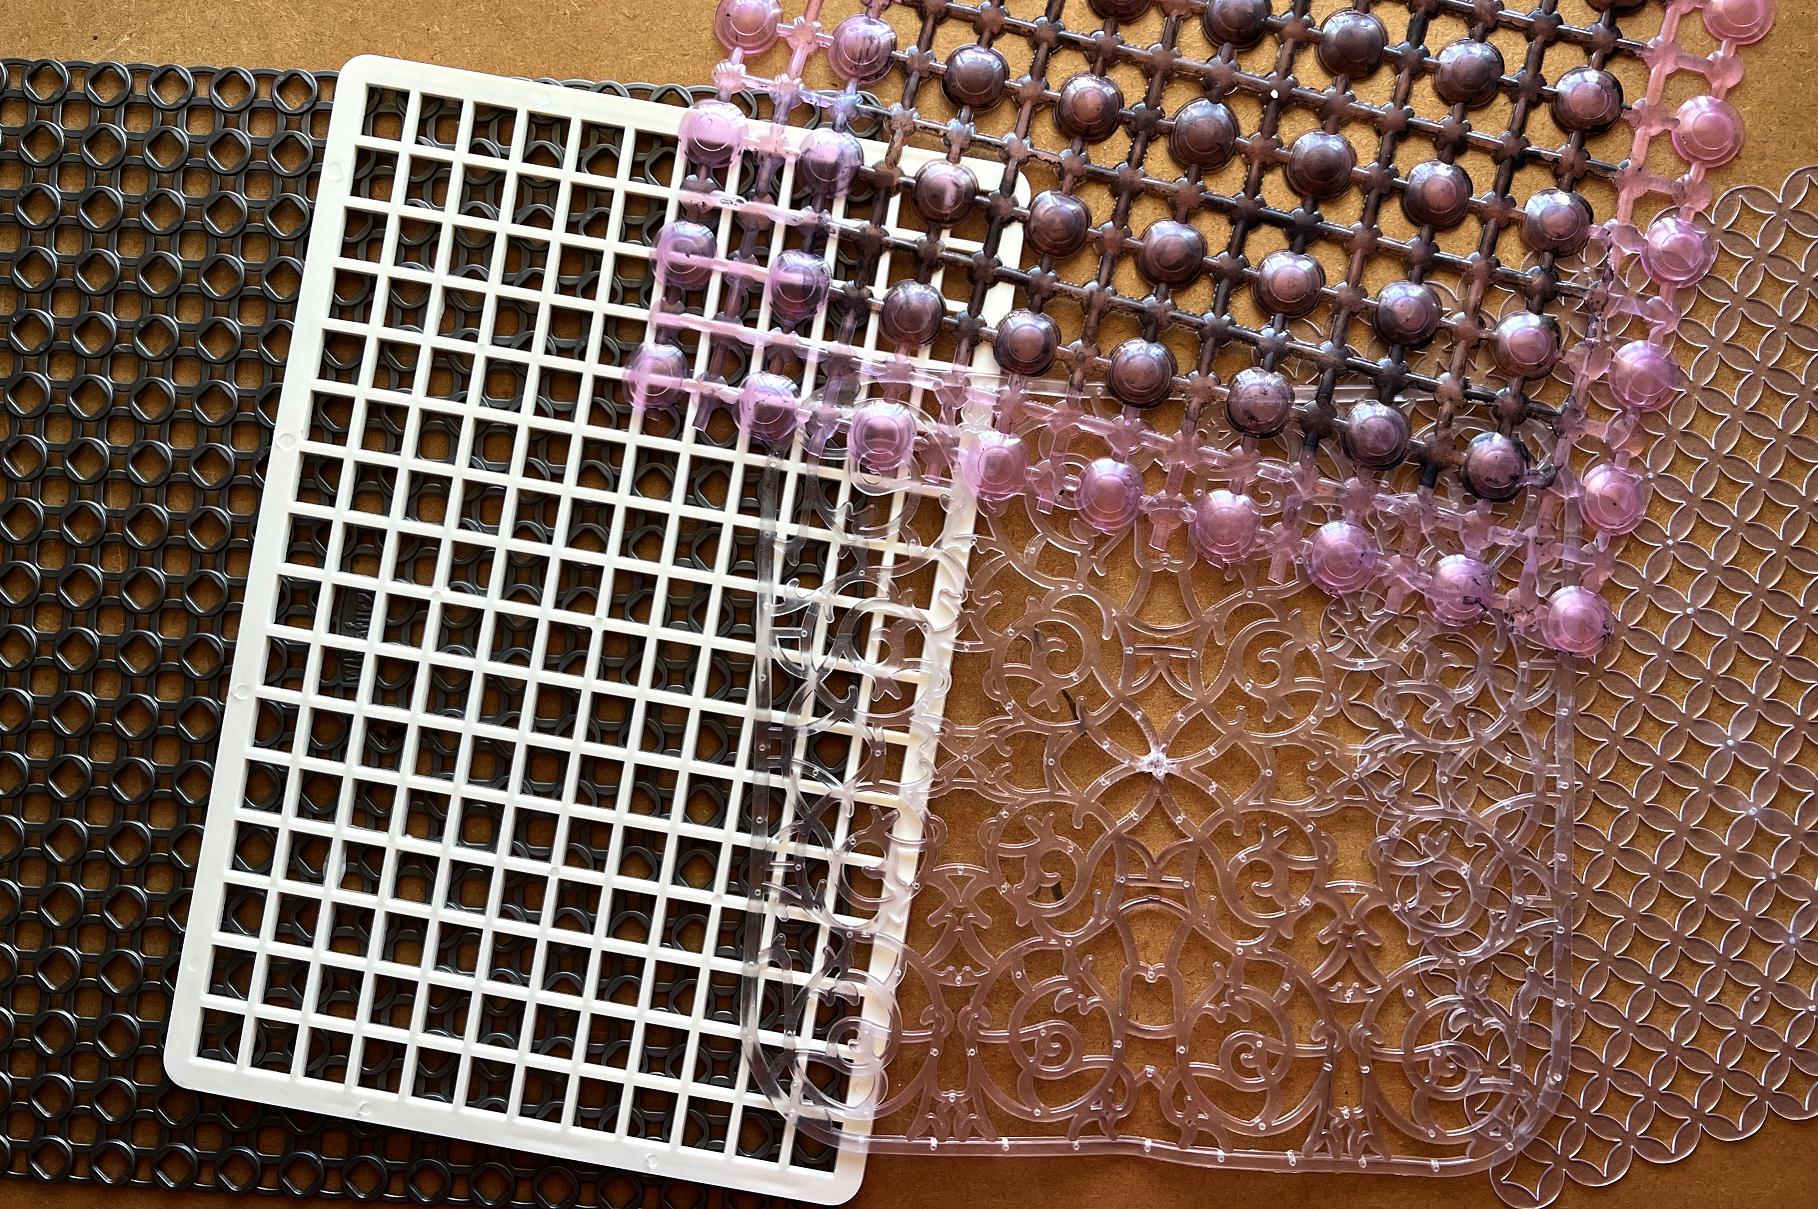
Here are all the texture mats together, including the bathmat, which you can see is now quite stained with paint.
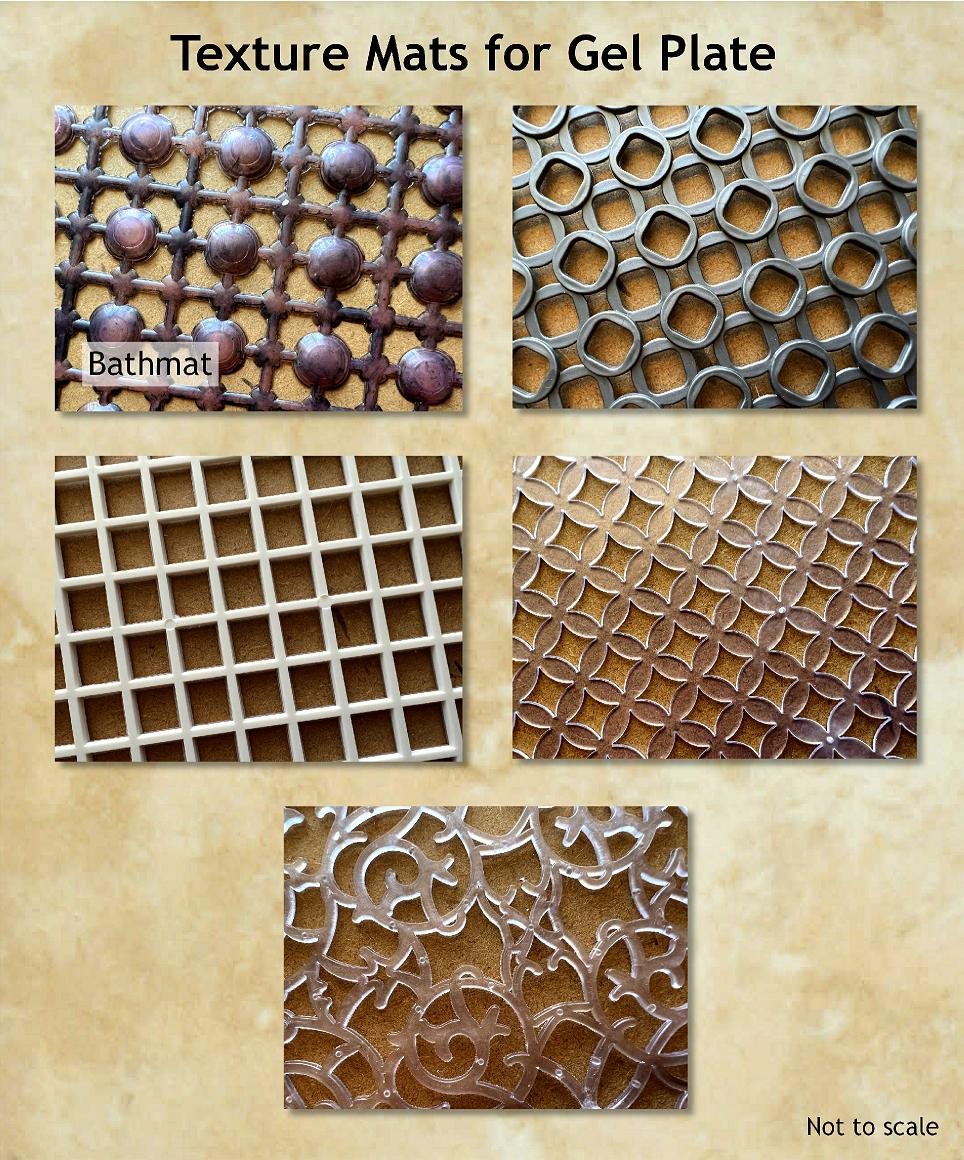
Here are some close-ups of the mats showing the texture.
Wet board
Today I made what I call my “wet board.” One of the parcels that arrived today was wrapped in a long length of tacky black plastic, a bit like thick clingfilm. Rather than throwing it in the bin, I wonered if it might be repurposed for something.
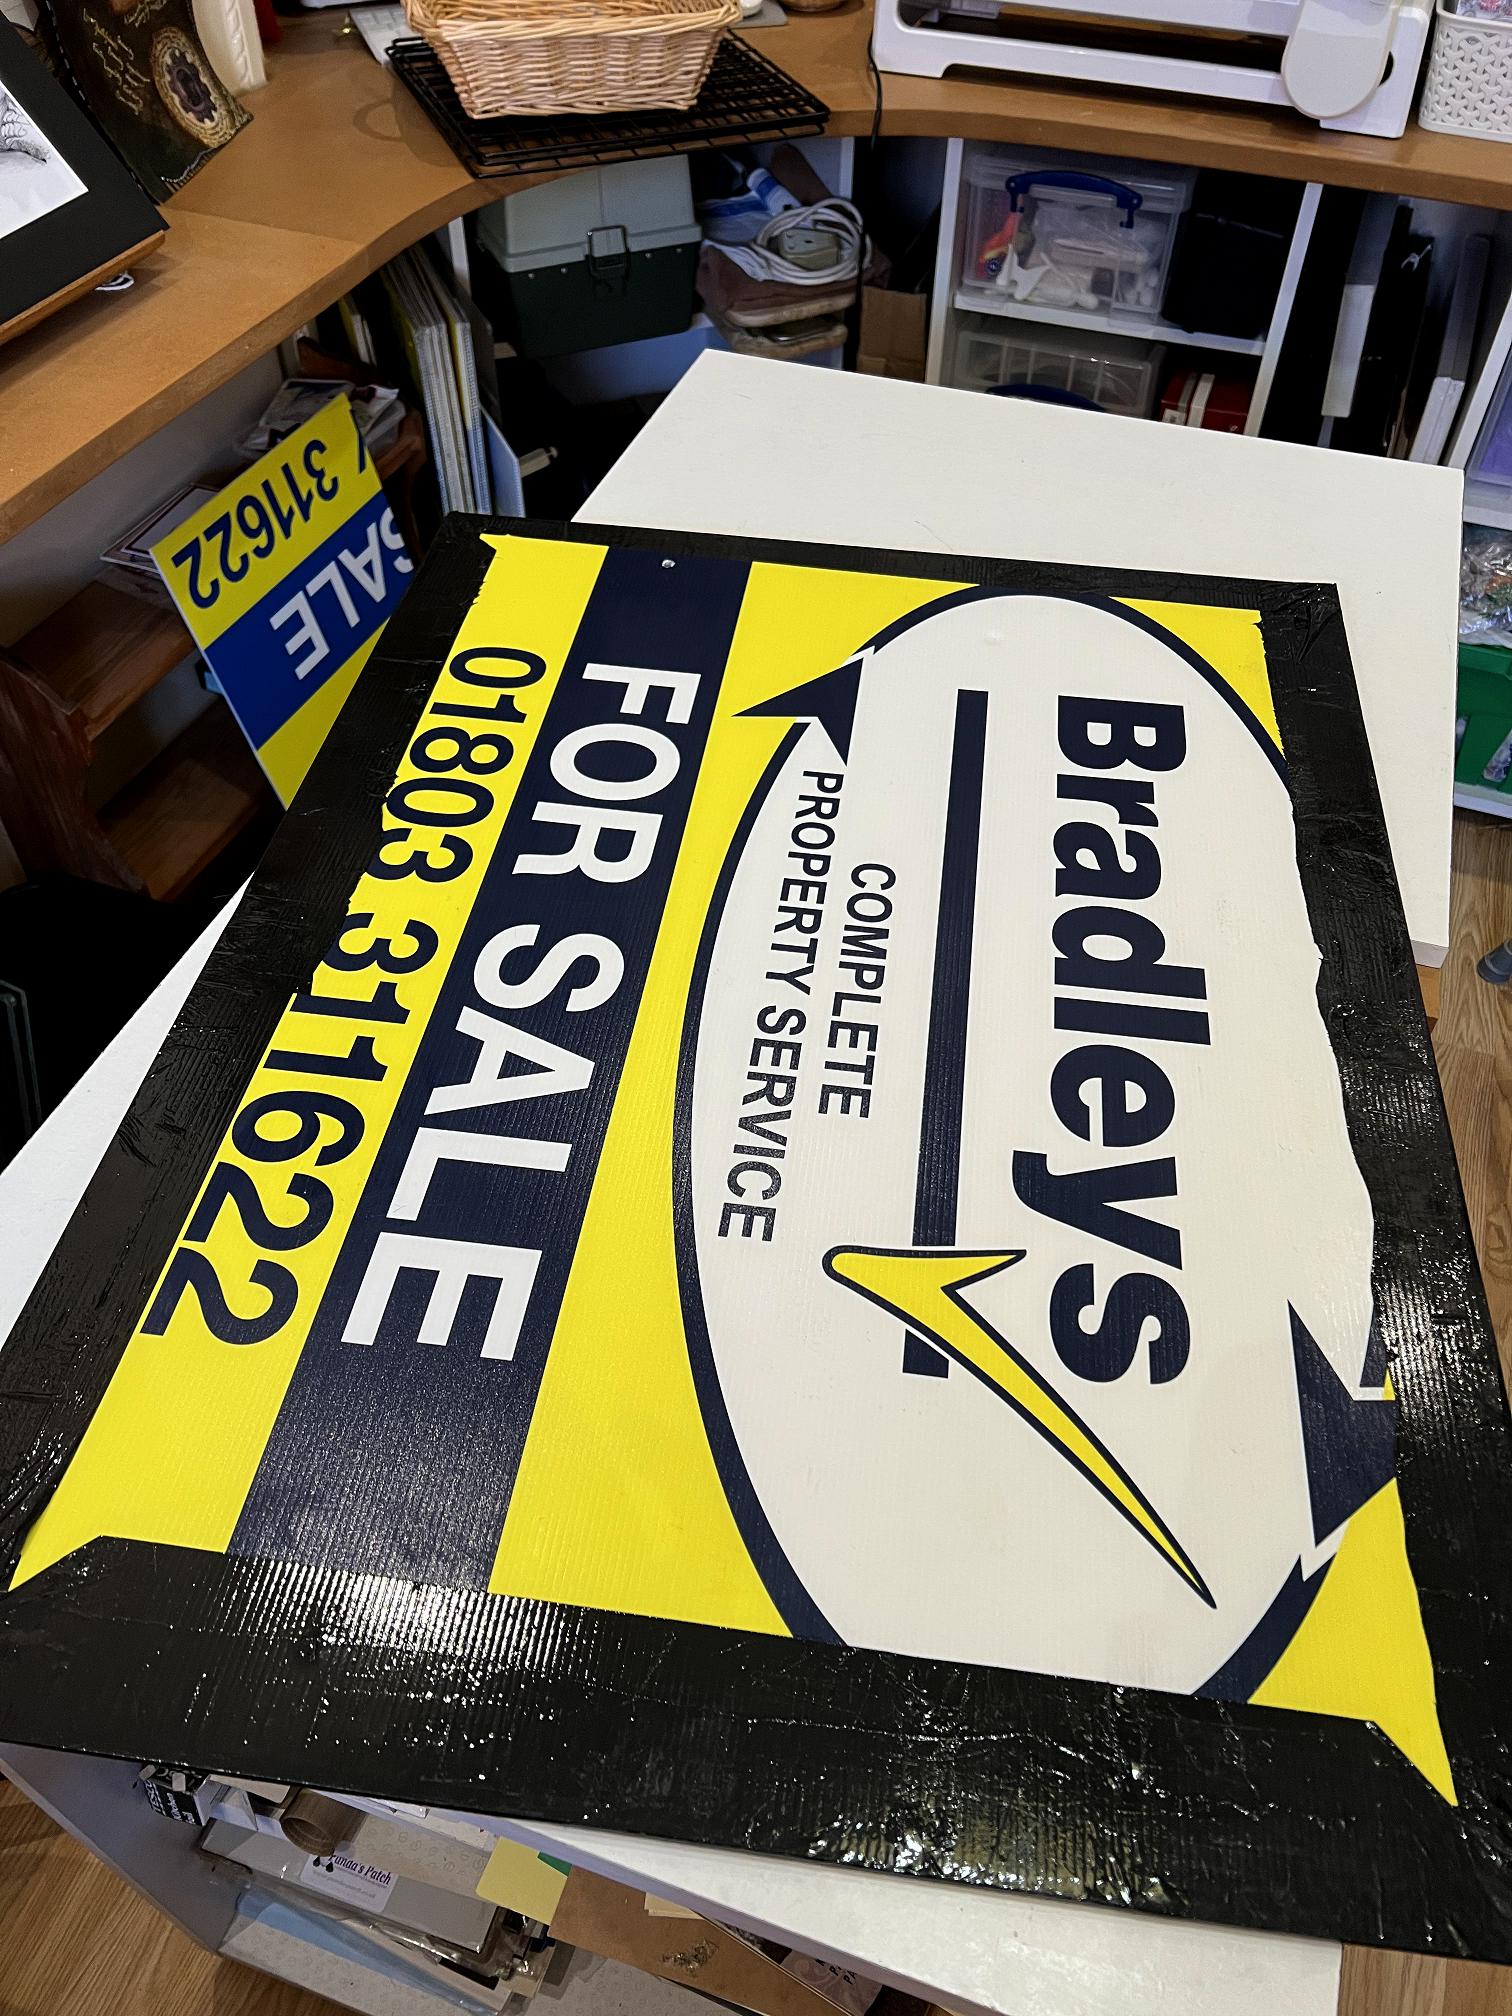
Just after we moved here, I went into the estate agents’ office for something, and noticed a whole stack of “For Sale” boards in the corner of the office. They had recently changed their logo and these boards had the old one on them. I asked what they were going to do with them, and they said they were to be thrown out. I asked if I could have some of them and they willingly agreed. Each board is made of two sheets of corrugated plastic, each with a skin of plastic on each side. They are very light and sturdy.
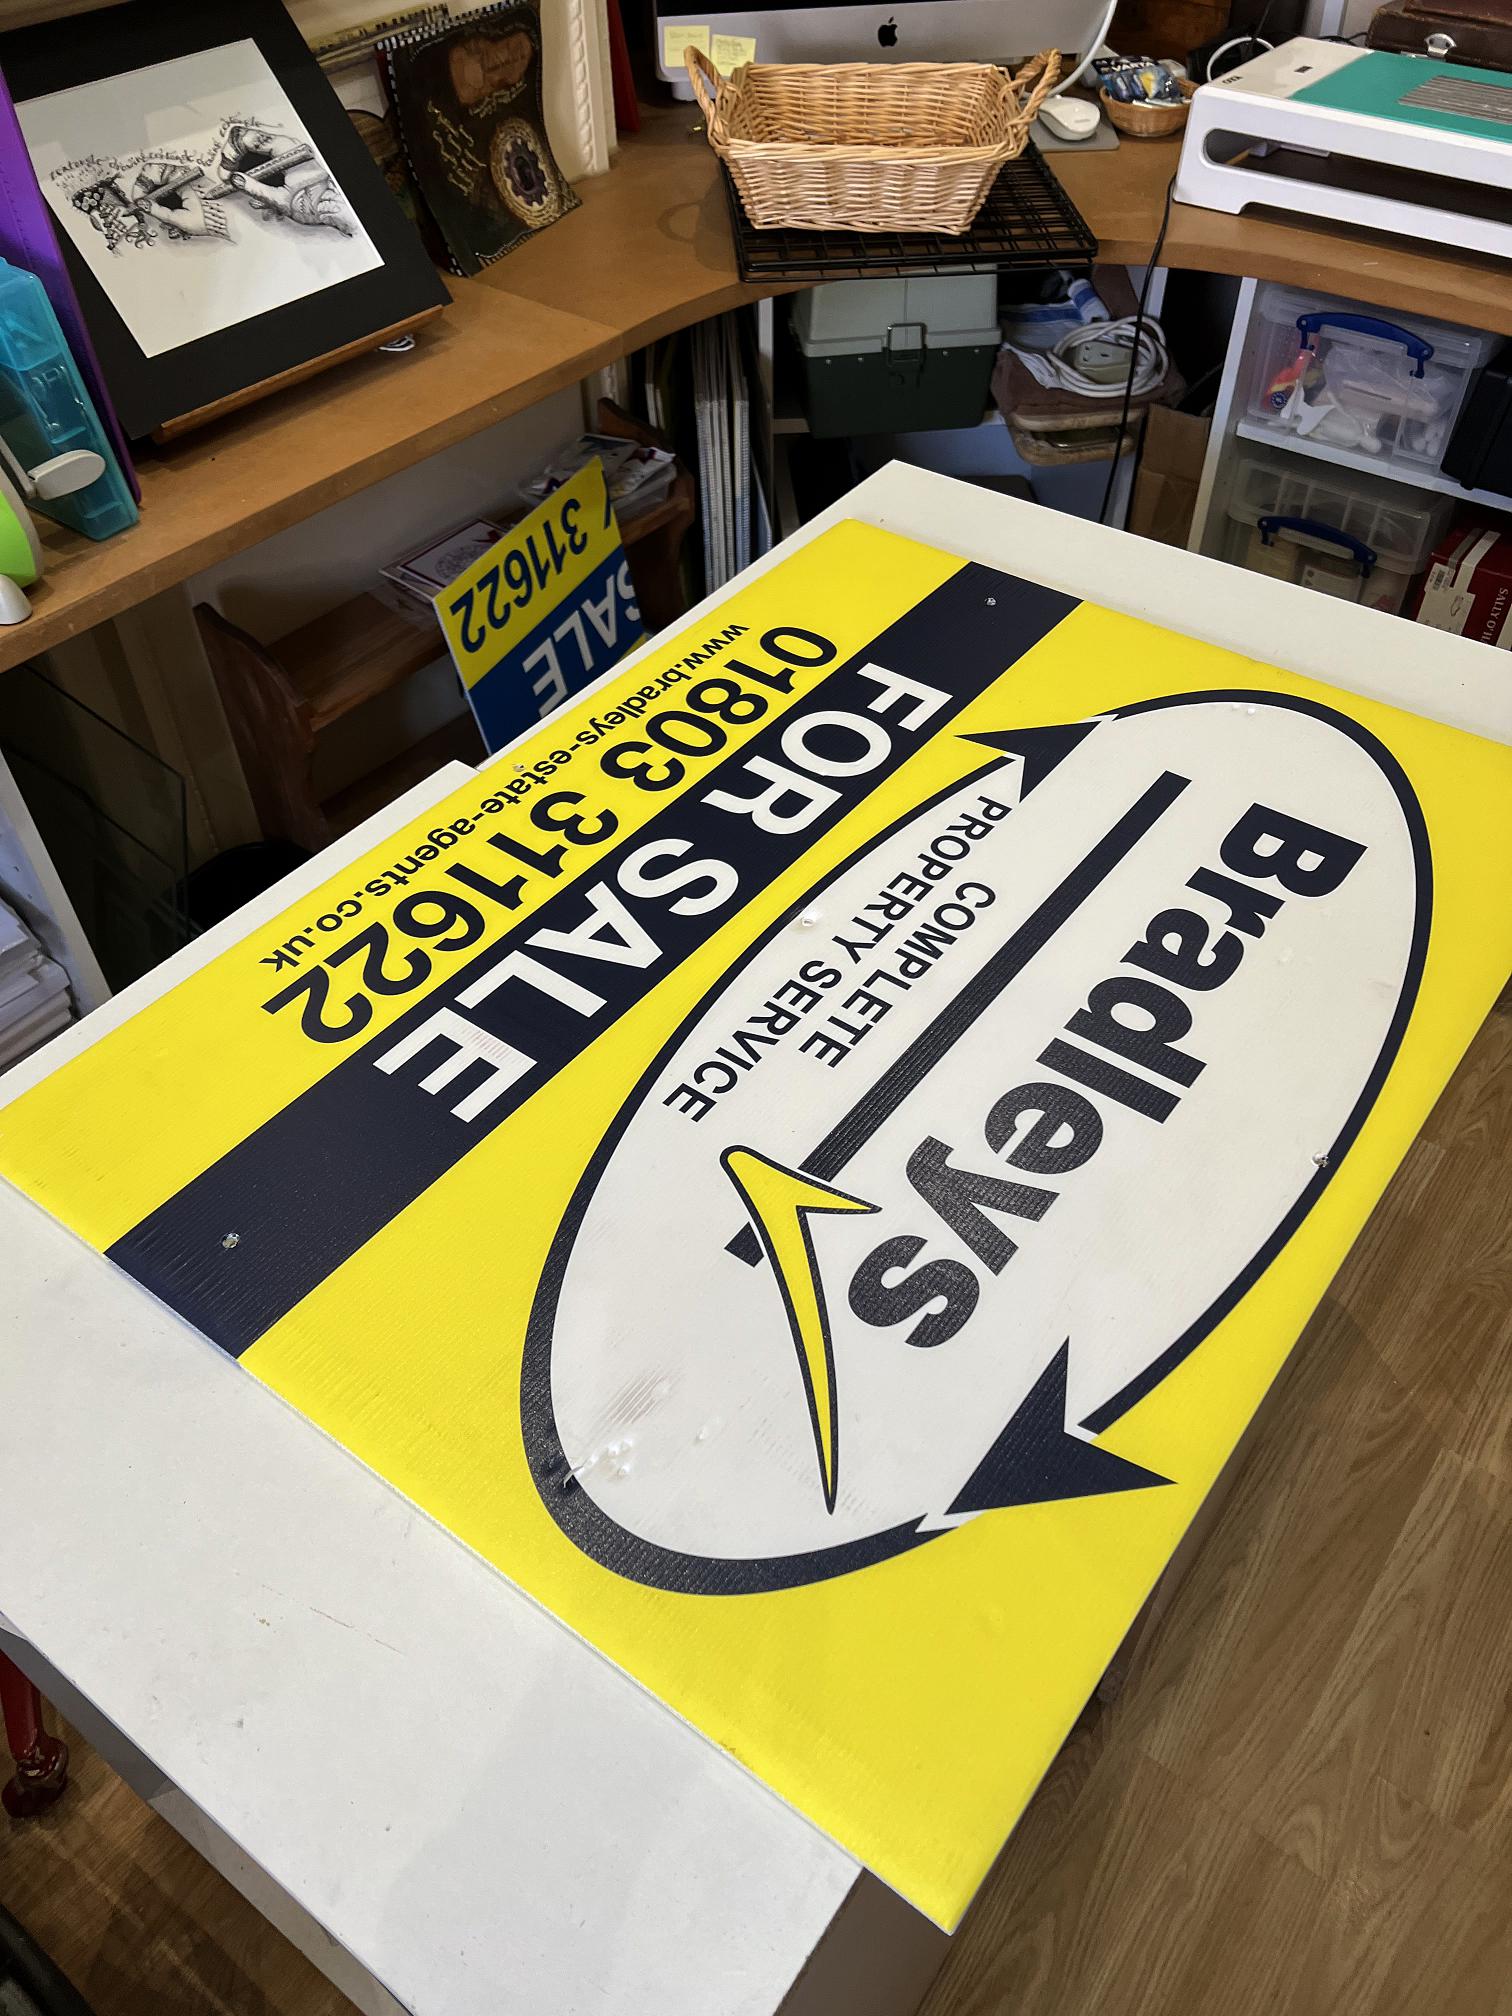
You can see part of another one down on the floor. I cut this up for something or other a while back. I haven’t used much of this material yet but had an idea I might make some wheelchair spoke guards out of them.
I covered the board with two layers of the black plastic, the first layer being two sheets with an overlap running the length of the board, and the second layer being two sheets running in the opposite direction. I stuck the plastic down with PVA adhesive and did my best to remove as many air bubbles and wrinkles as possible, using a credit card. You can see the texture of the board through the plastic. There are a few holes in the board where the fixings would have been, and I didn’t bother to fill these before covering it.
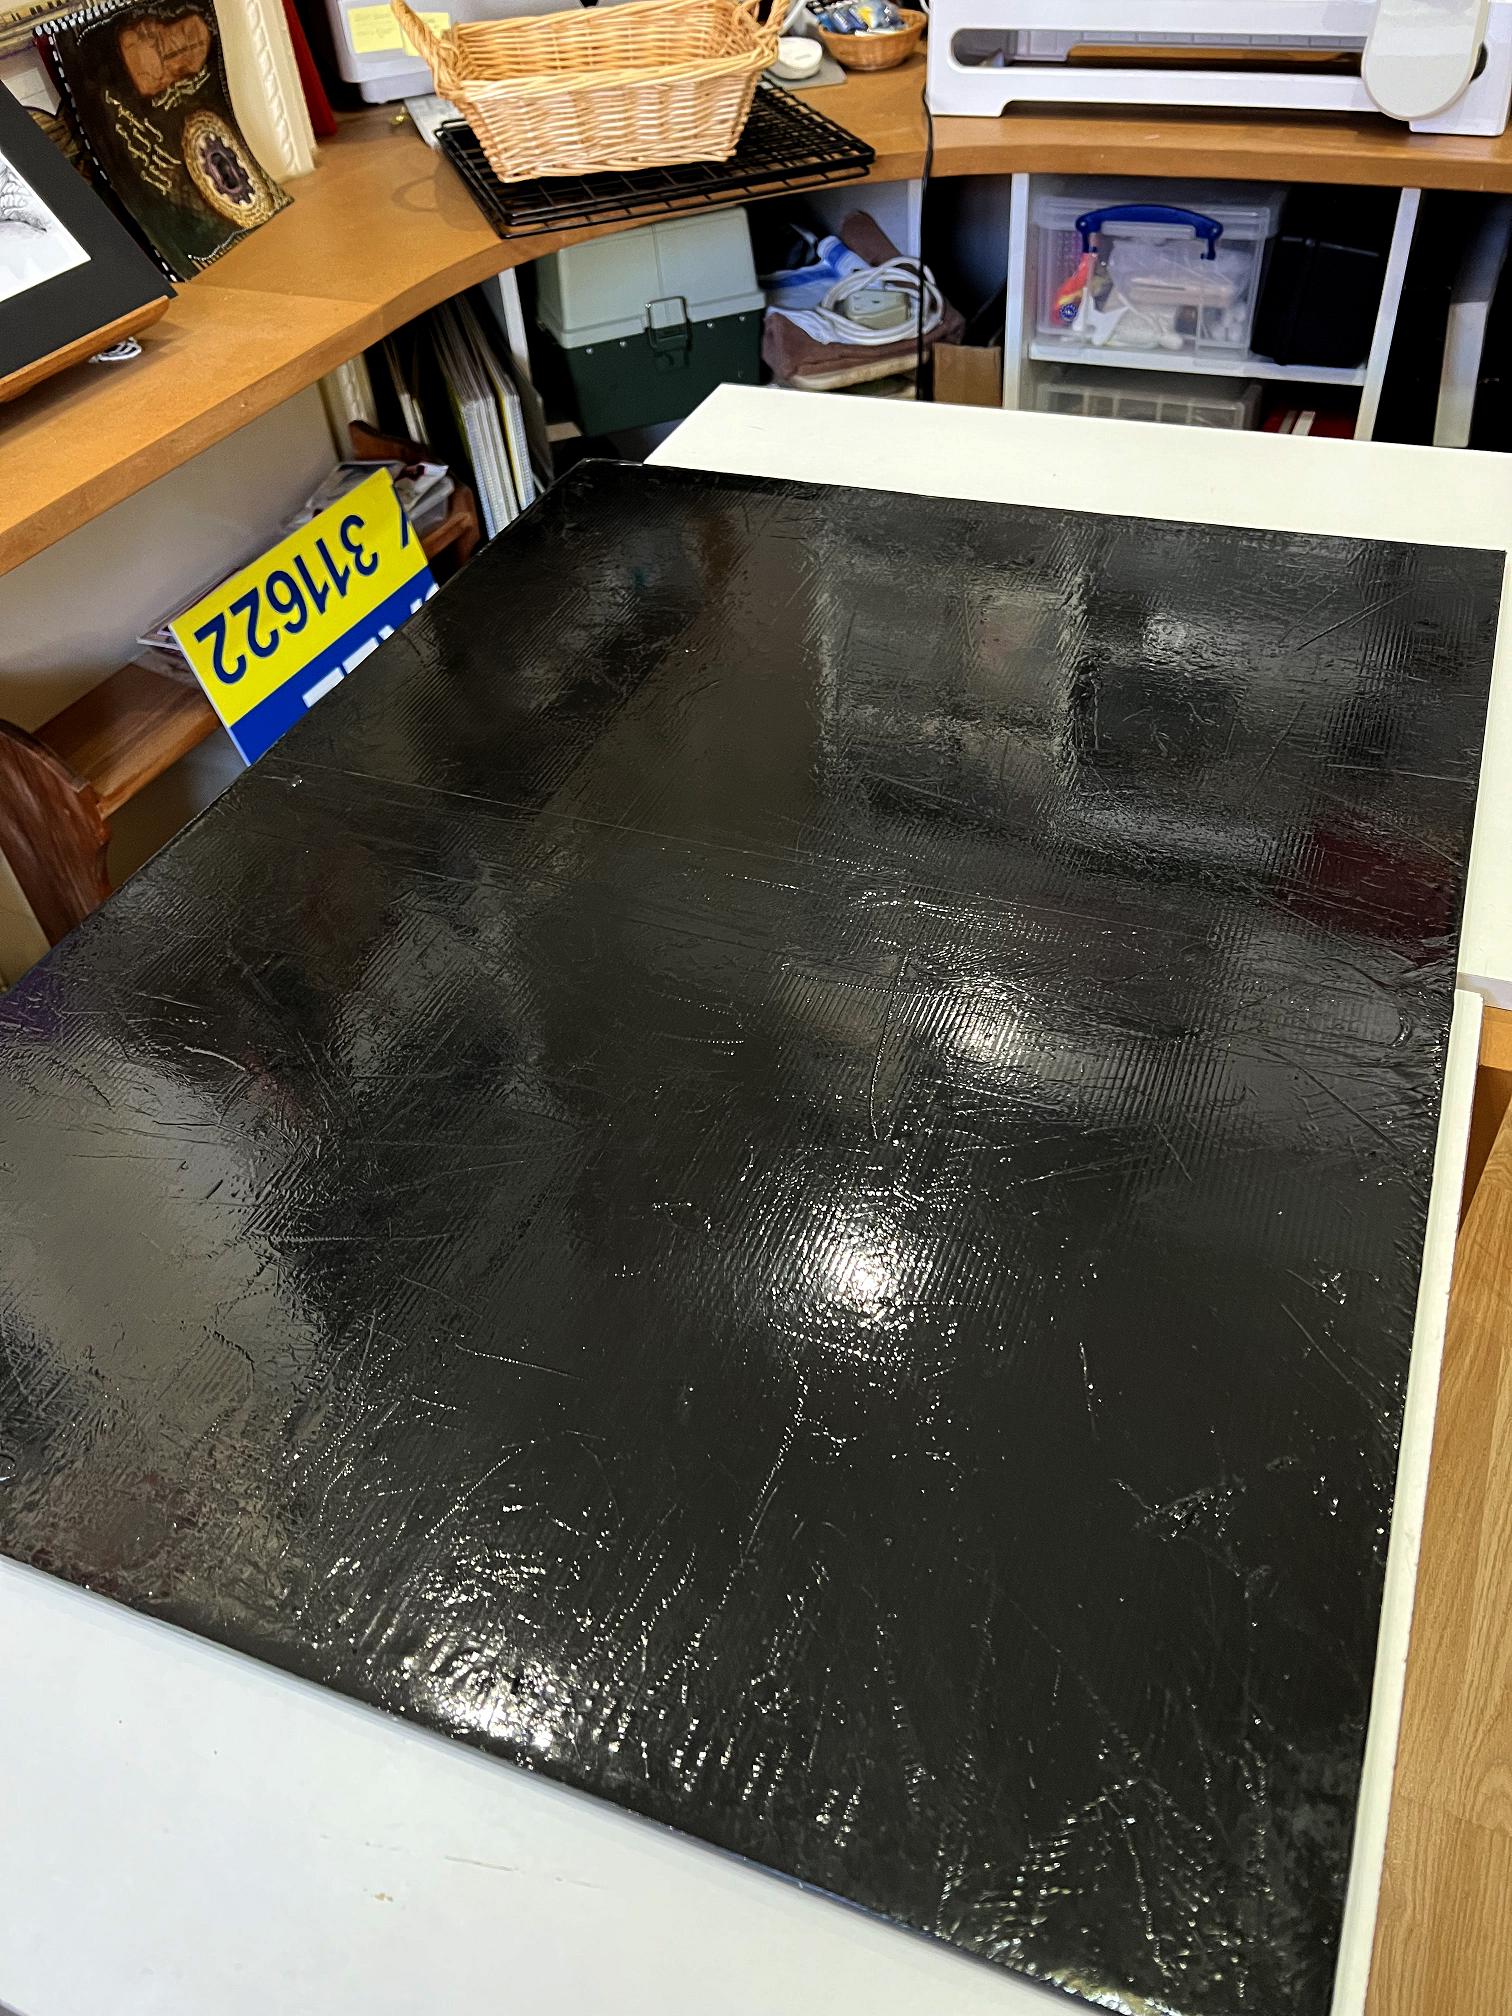
On the back, I mitre-folded the corners and glued everything down securely.
I propose using this board for anything that requires a plastic substrate to stop it sticking, for example when coating tissue paper with glue, or making skins from polymer etc. It is going to be very useful because it is large enough to lay out quite a few sheets, and I shall be able to move the board out of the way without disturbing the papers which are fragile when wet.
I used it straight away today.
Coffee staining
Robyn McClendon did a very useful video on how she coffee- and tea-stains her papers. I didn’t want to stain blank sheets at this stage, but ones with existing marks on them. She explained how she mixed up the coffee and put it in a spray bottle, and to prevent it from going mouldy, she added some rubbing alcohol. I now have a spray bottle of weaker coffee, and a bottle of strong coffee.
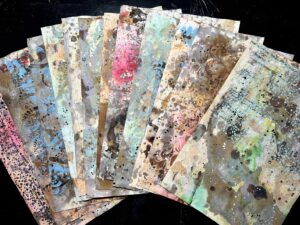
I began by spraying these papers with the weak coffee, after laying them out on my new wet board. Here they are, drying.
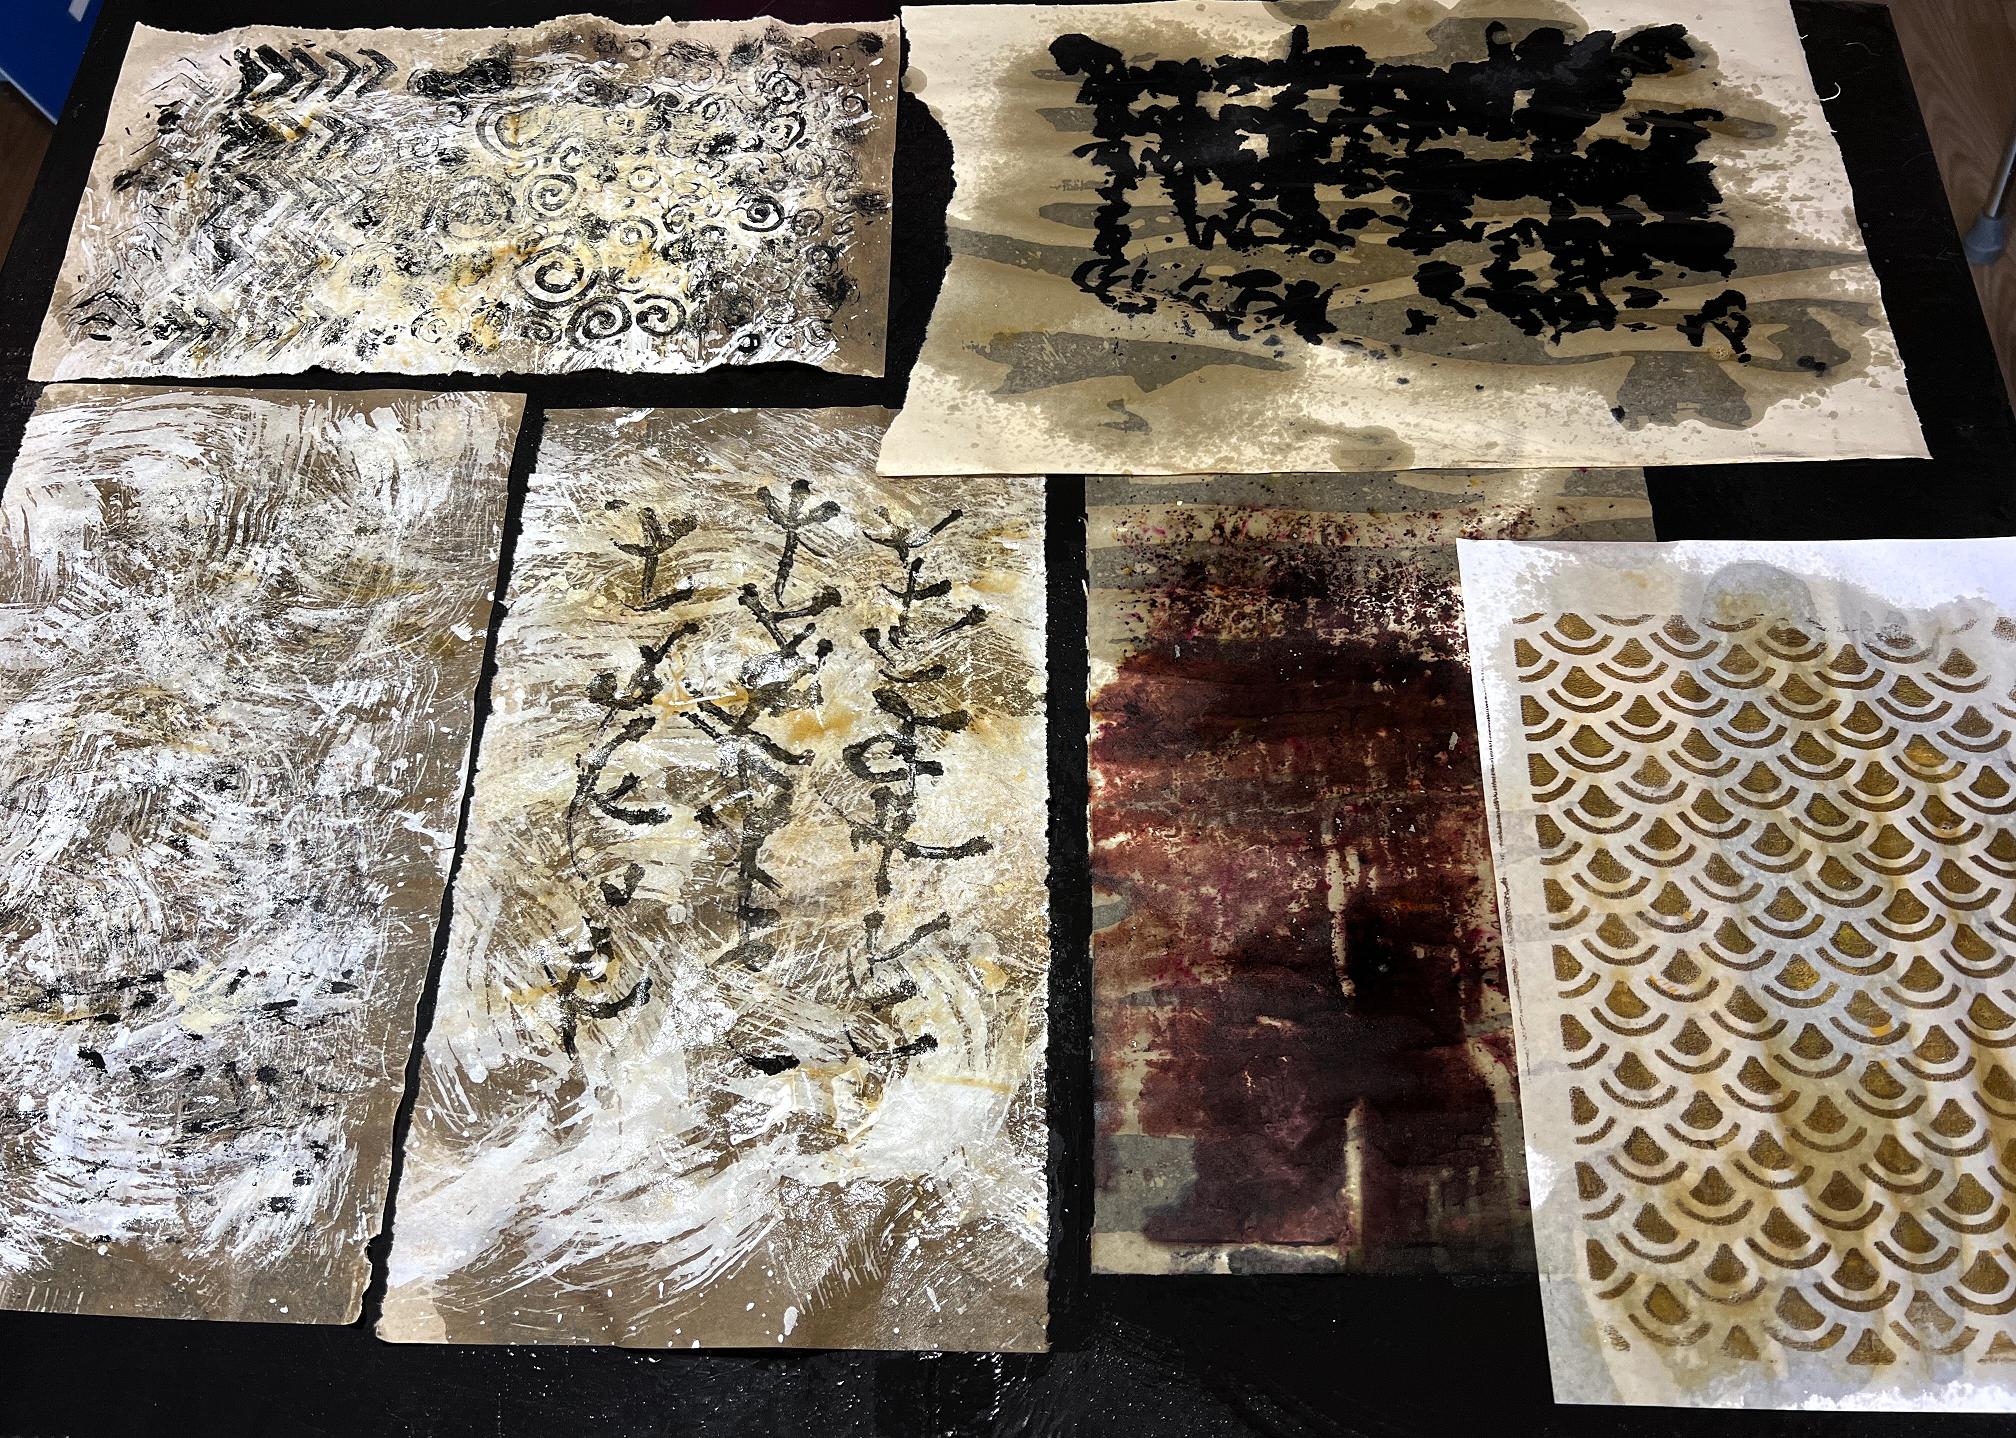
Later,when they were pretty much dry, I took a plastic pipette and drew up some of the strong coffee and spattered it onto the sheets. As it dried, it spread a bit and some of it disappeared, so I may add some more tomorrow. The photo doesn’t show too much difference but you can see some of the spread spatters.
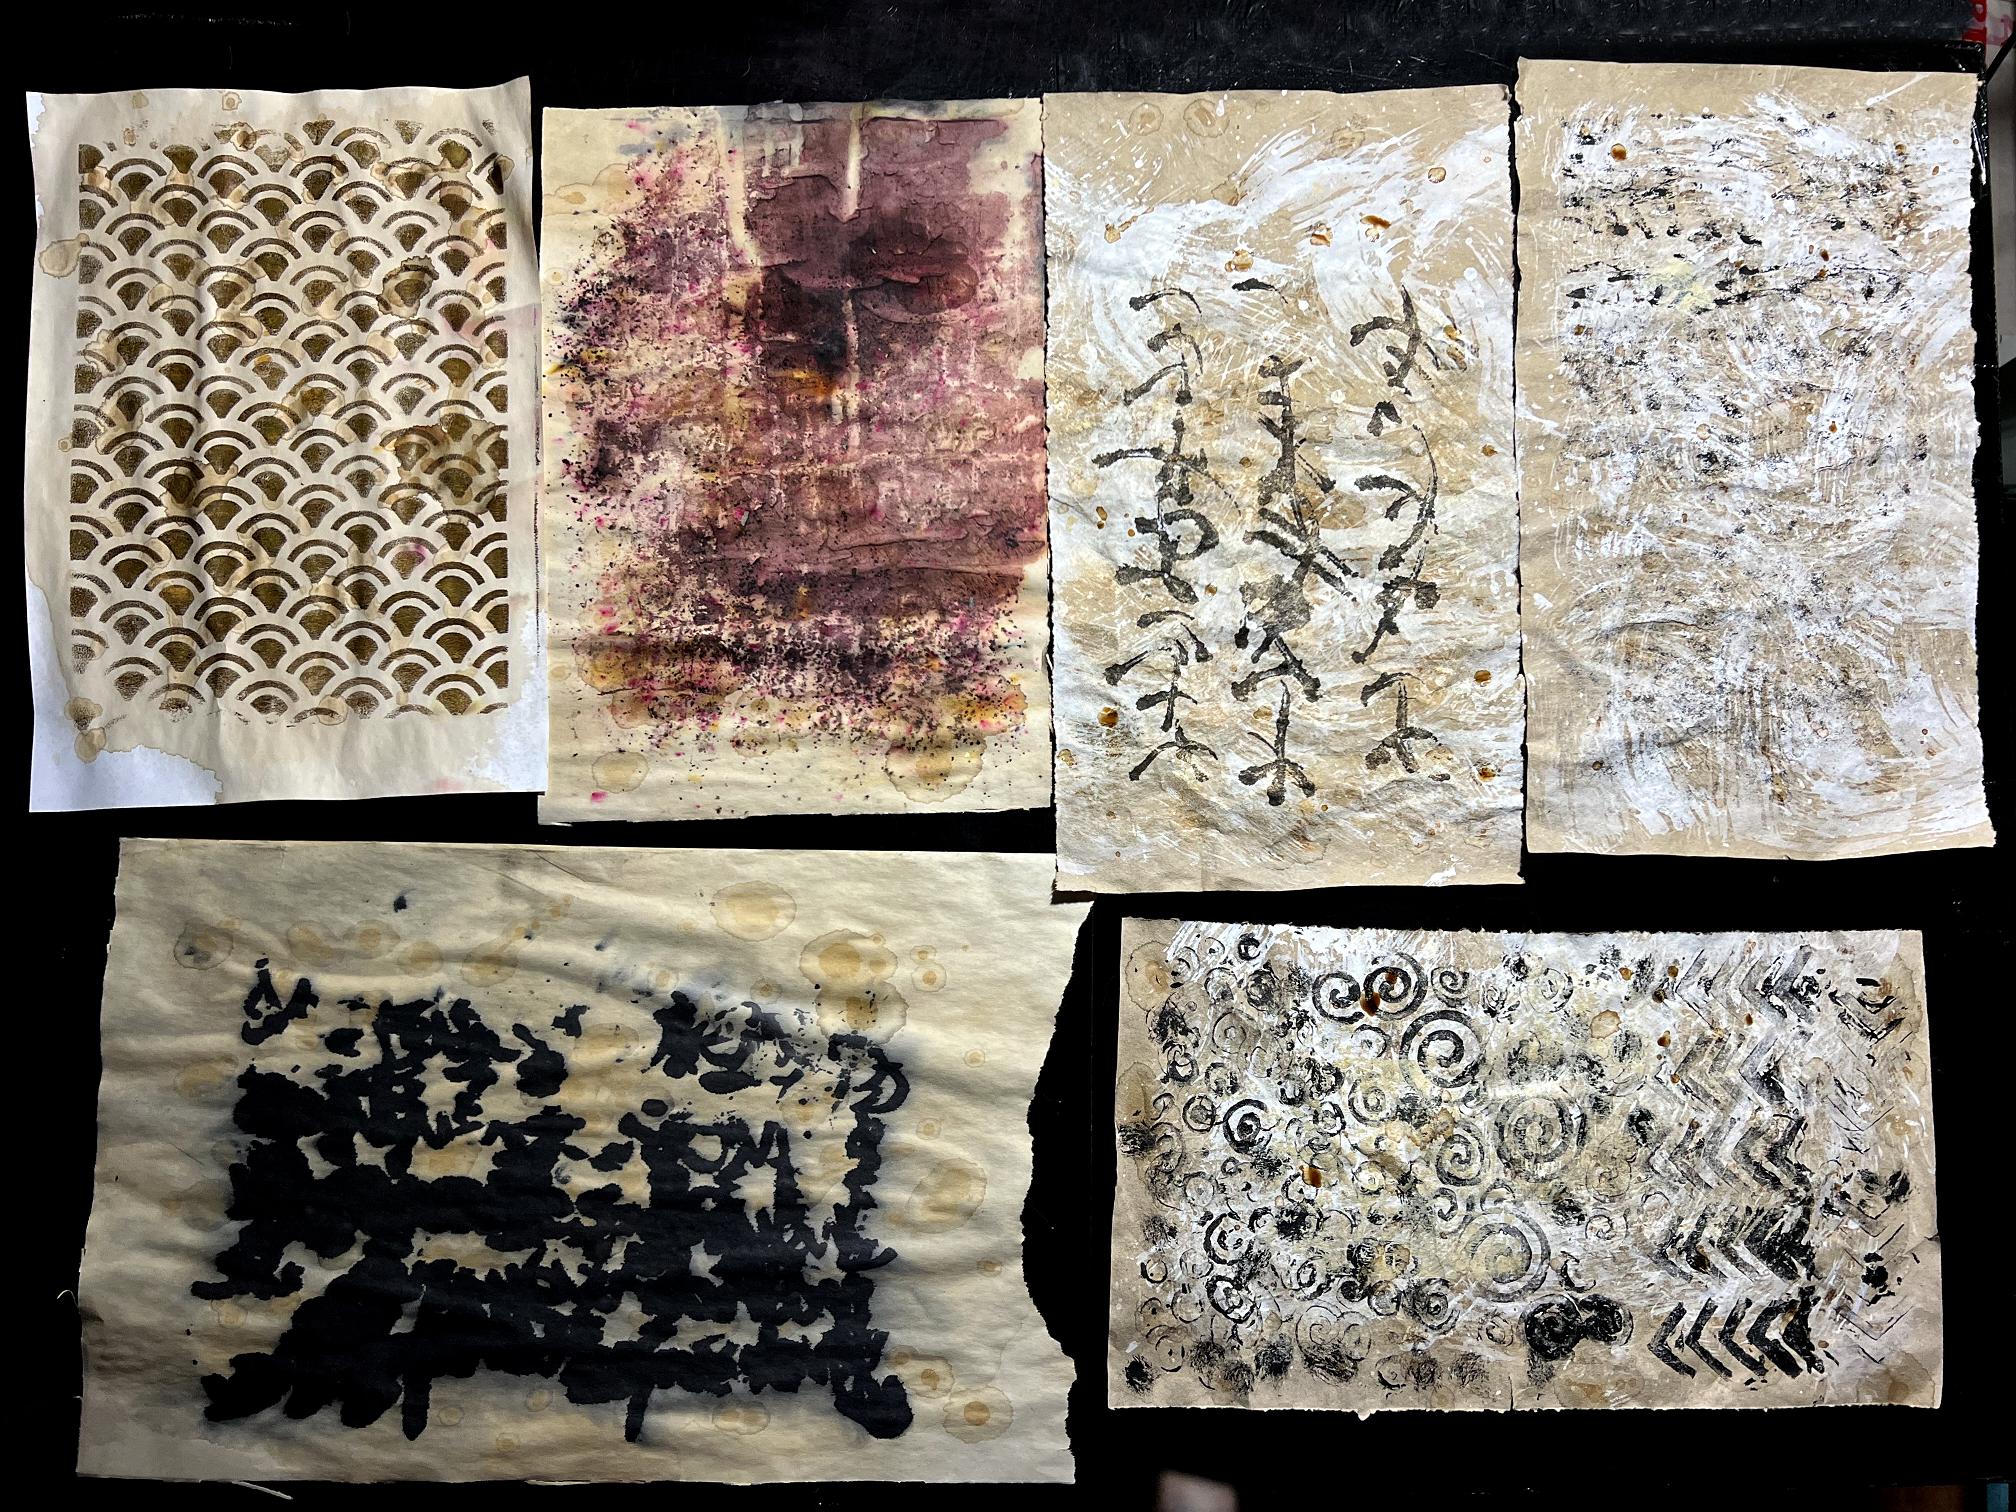
Some of these papers were blot-offs and mark-making, and the one at bottom right was a piece of packaging paper which I used to try out the foam stamps I’ve made recently. There are some white brush marks on some of the sheet and this paint is acting as a resist to the coffee. I shall be able to use all these sheets in my collage work.
New paints
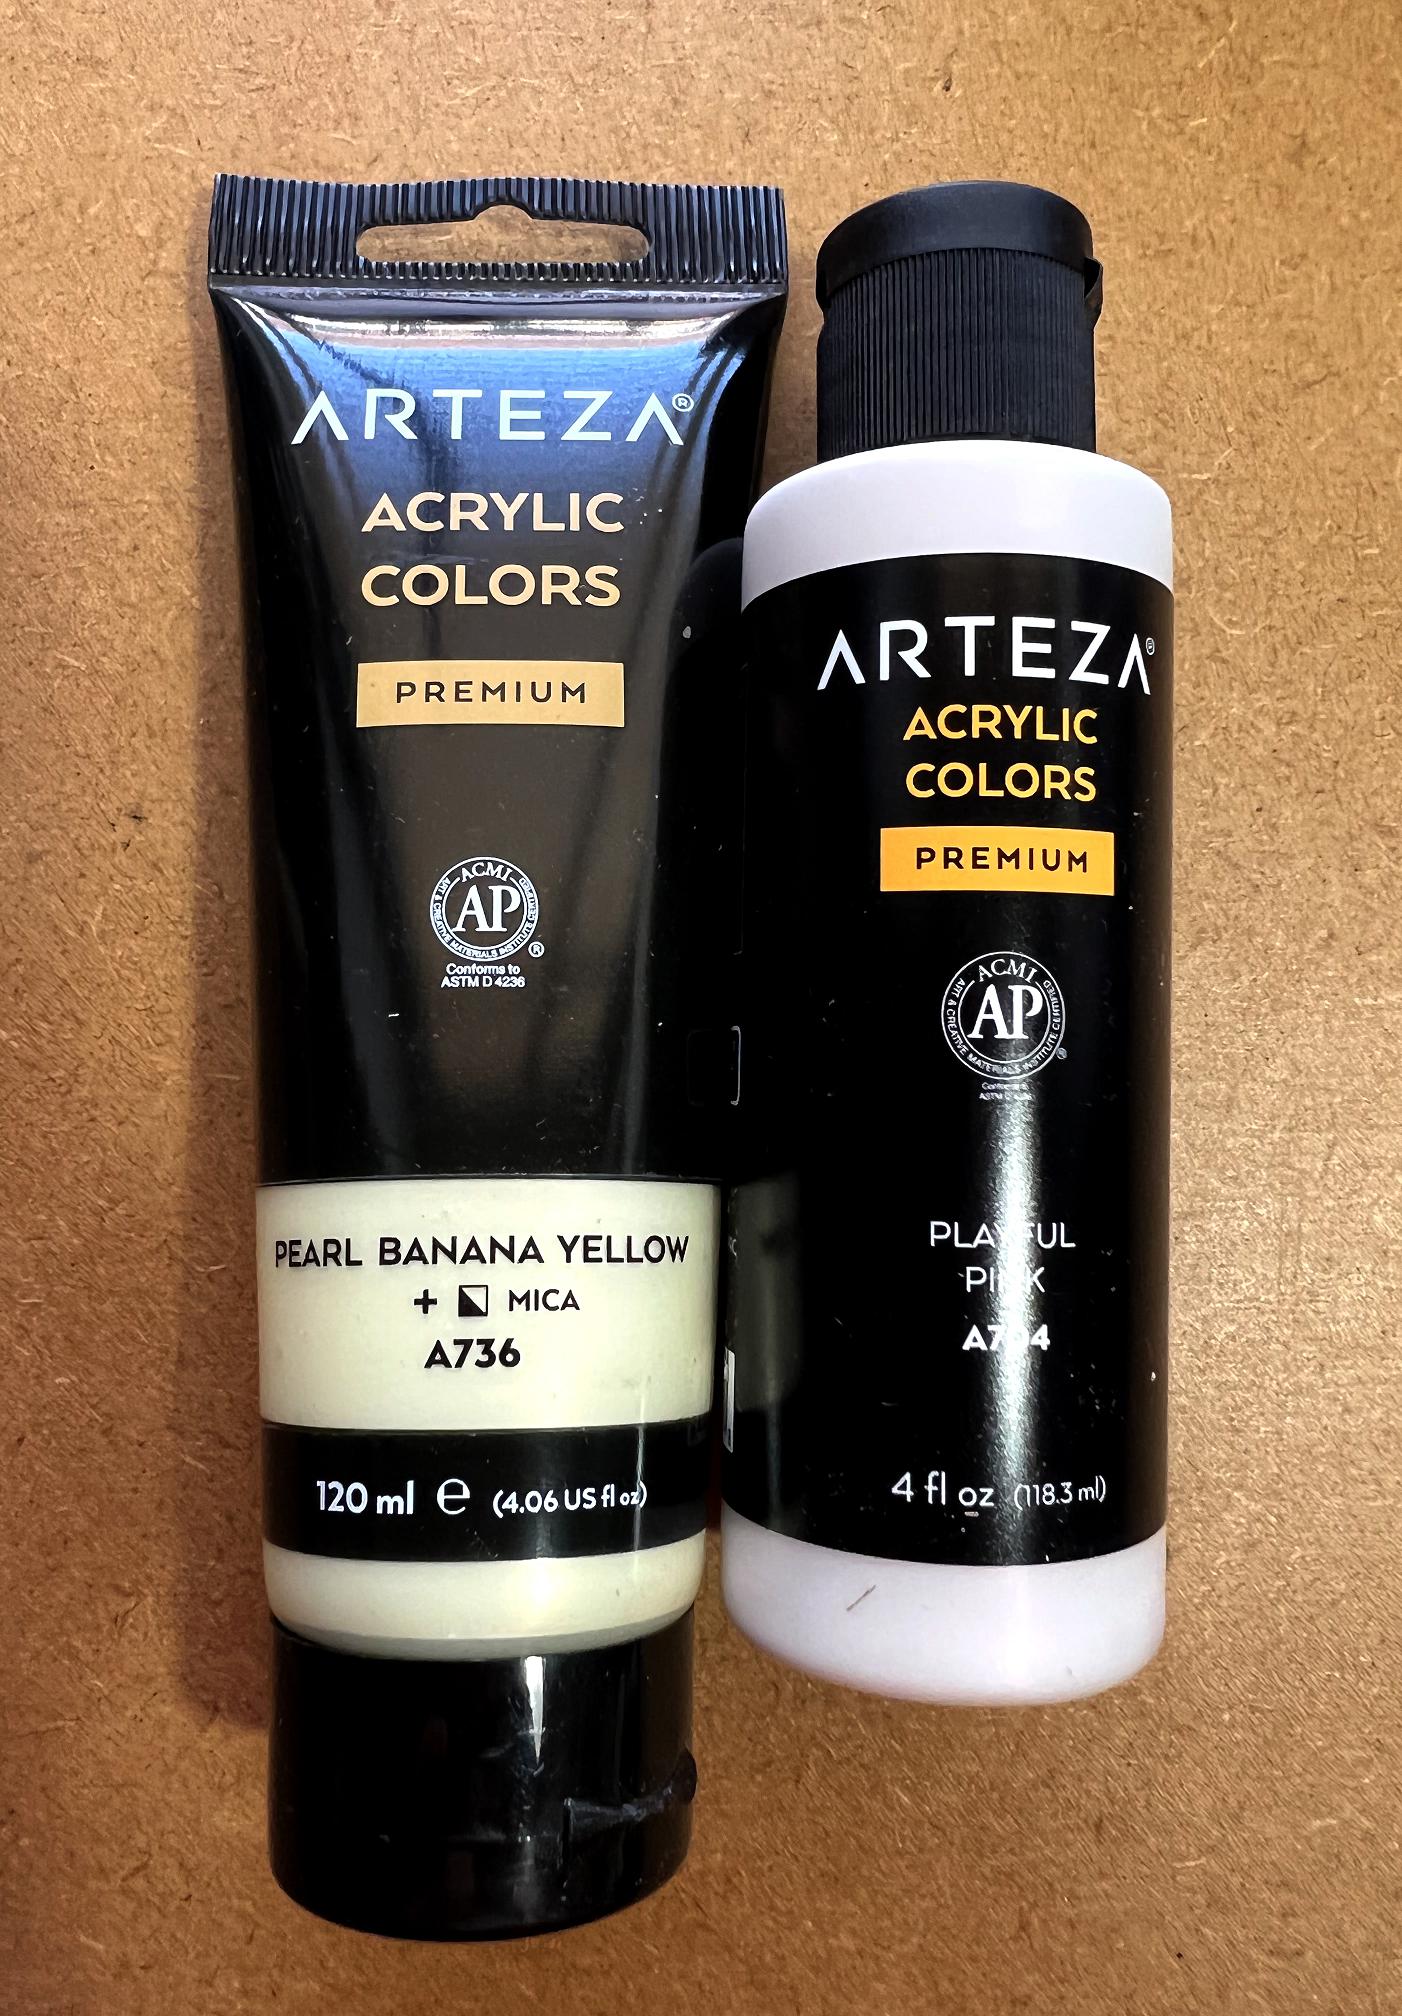
Robyn McClendon has also made some videos where she works with the beautiful Arteza metallic and iridescent acrylic paints on her gel plate. These are so shimmery and gorgeous! She says that the Arteza paints are as good on the gel plate as the much more expensive Golden brand, with plenty of binder and very rich in pigment. I found a set of 36 colours in the metallics (small tubes) on Amazon, and a couple of colours I want from the iridescent range, I have been able to buy individually. I also ordered direct from Arteza, a tube of one of their newer iridescent colours, graphically named “Pearl Banana Yellow” which is a beautiful subtle cream colour with a fabulous shimmer, which I think is going to rival Unbleached Titanium as a favourite pale background colour. All these paints have now arrived, with the exception of the black one which is due to arrive next week.
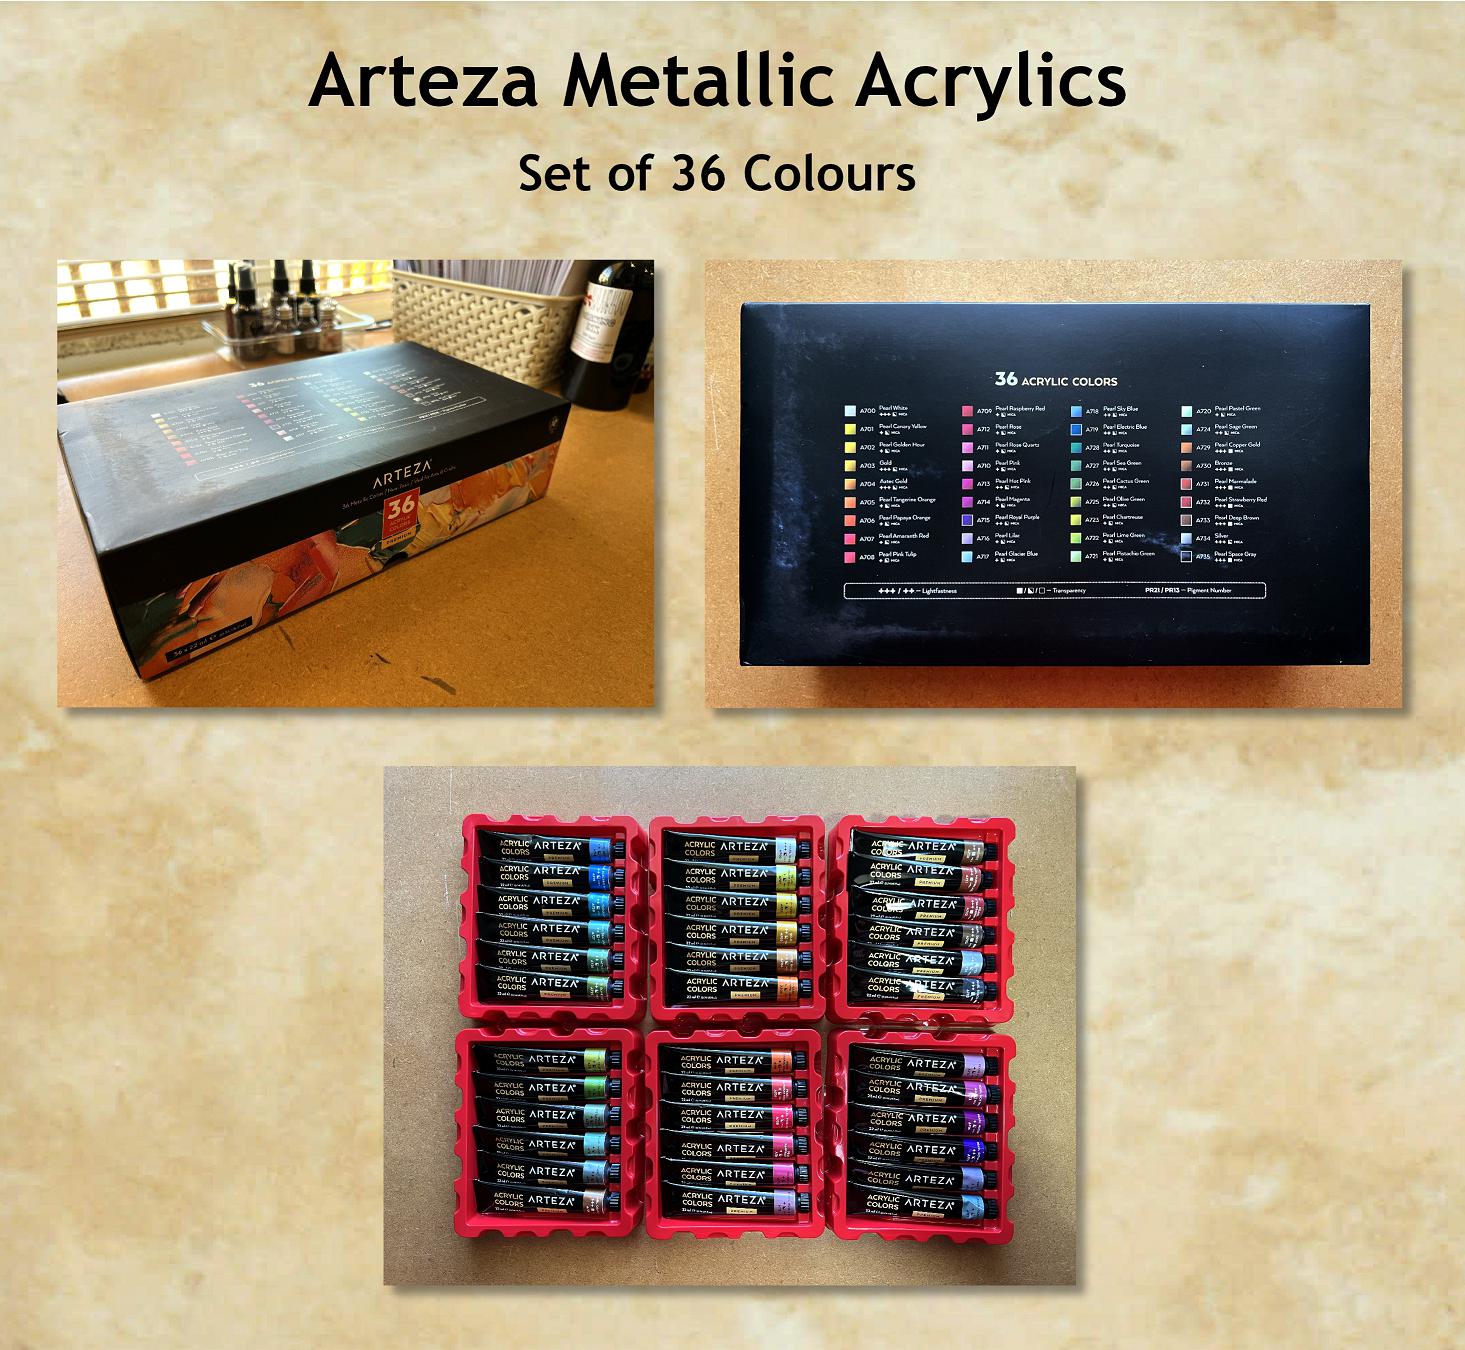
This paint collection comes in a sturdy storage box with all the colours listed on the lid, with their opacity as well. I am happy to see that most of them are semi-translucent, which is great for layering on the gel plate. Inside the box, the six plastic trays are arranged in three layers. It’s a very nice presentation.
The tubes are quite small. I expect I shall have some favourite colours which get used up more quickly, and I shall be able to purchase larger tubes of these colours individually. Fortunately one doesn’t need much on the gel plate.
Here are the two individual colours I bought. The Playful Pink is a very pale shade of pink, which is going to be gorgeous with black or brown. The black one still to come is called “Fancy Black” and is metallic. It spreads out to become almost a chocolaty brown. Like Payne’s Grey, this colour is going to be softer than pure black, and more subtle. Payne’s Grey has an almost blue-ish tinge to the dark grey colour and is cooler than the warmer brownish-black of the Fancy Black.
I am holding off playing with my sink mats until the black paint arrives! In the meantime I’ve been busy with the wet board, and coffee staining, and also making another page in my Organic Journal. I’ll be doing a post about that soon.