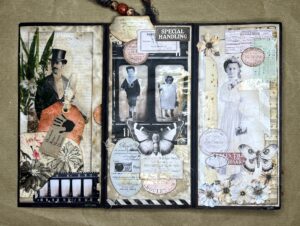
RECYCLED PAPER-GLASSINE BAG ALBUM – LEAVES FOR THE FINAL TWO FOLIOS
The final two folios of this album will be based on botanicals and trees. I had pretty much run out of ready-to-use leaves so it was high time I made some more. I do always have a number of uncoloured die cuts ready to go, but I wanted to cut some more, and ink them, and hand-emboss some of them as I used them. I made far more than I would need for this project but they will go in my stash and be ready for future use.
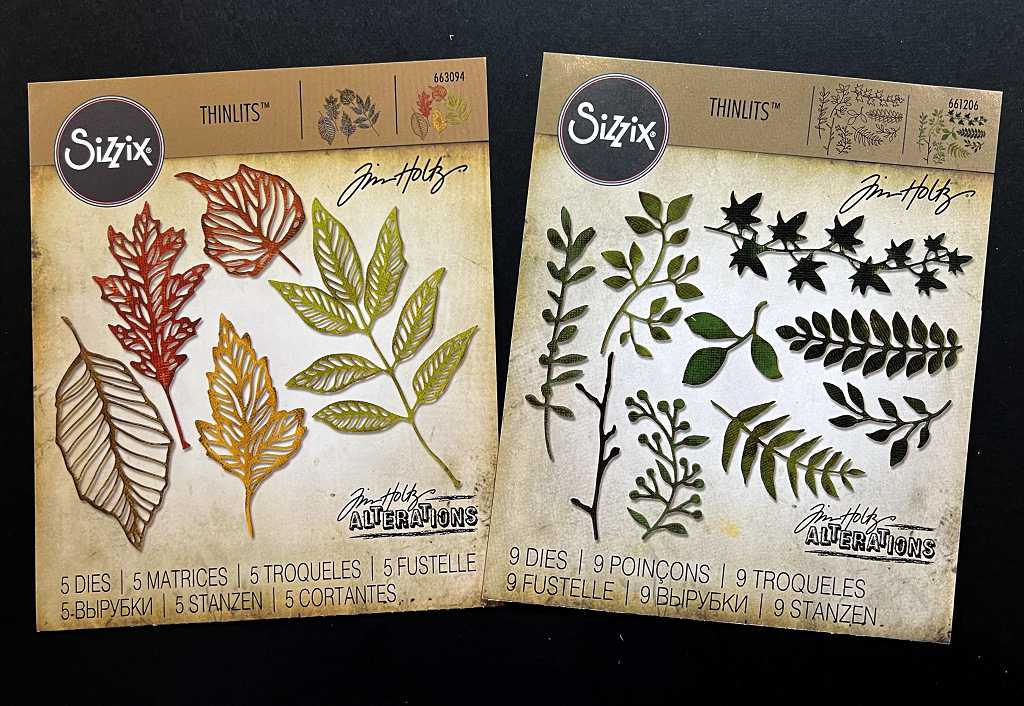
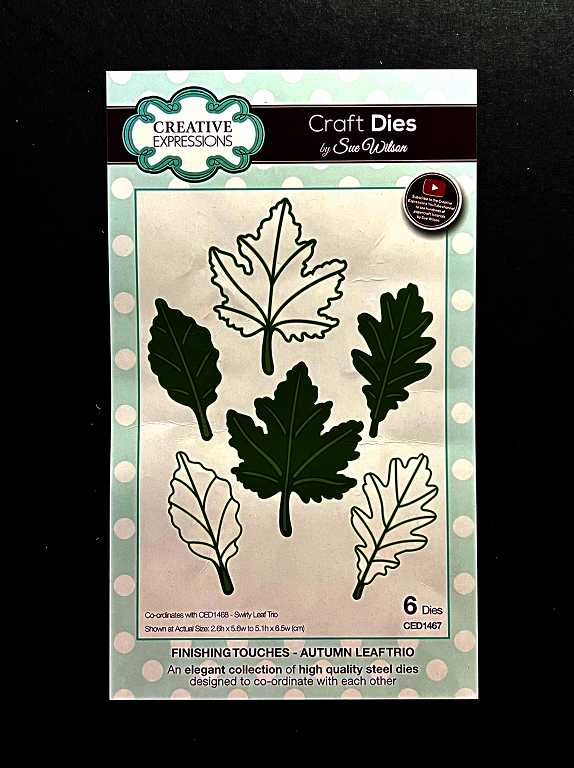
The dies I used
Cutting the leaves
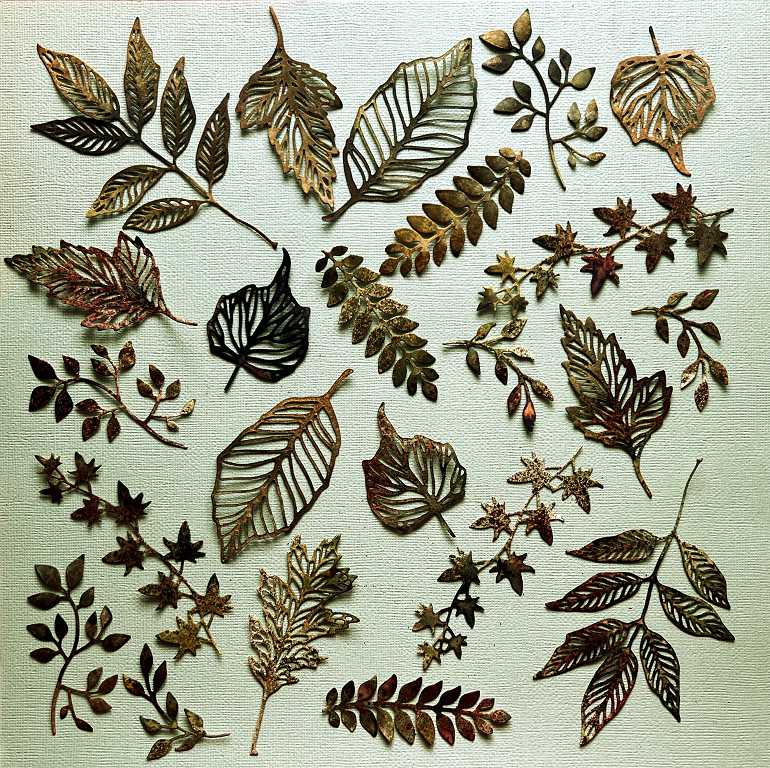
This is a representative selection of the die cuts I made. I cut several at a time, and in each case, cut three lots, so I have plenty of leaves to play with.
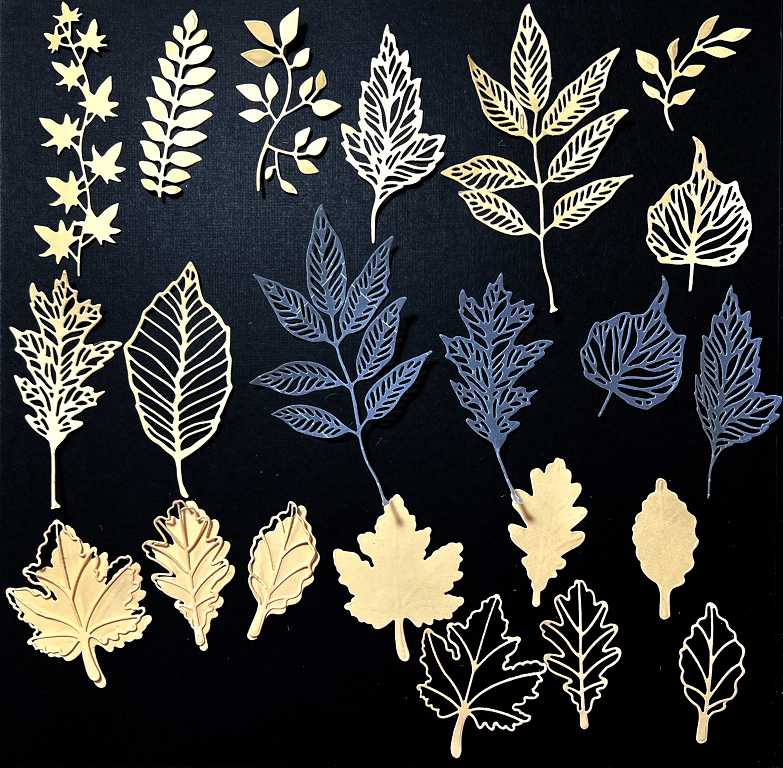
I had a terrible time initially, trying to get all the tiny bits out of the more detailed die cuts, until I remembered I have a little revolving stiff brush for this, which certainly helped, especially when used over a foam pad. Before resorting to this, I had a thought in the back of my mind that if you cut the card with a piece of vellum underneath, this facilitates removal of intricate dies. It didn’t help at all, but I ended up with some nice vellum die cuts which I shall certainly be using! (The grey-coloured ones in the above photo.)
With the Creative Expressions dies, I didn’t realise until I’d cut them that the “skeleton” leaf shapes are actually designed to overlay the solid shapes. You can see examples of these at the bottom of the above photo.
I cut all these leaves from rectangular scraps of cream card from my stash. These pieces are all the same size. I also found quite a large quantity of larger white card rectangles in my scrap box and I also used these – see below.
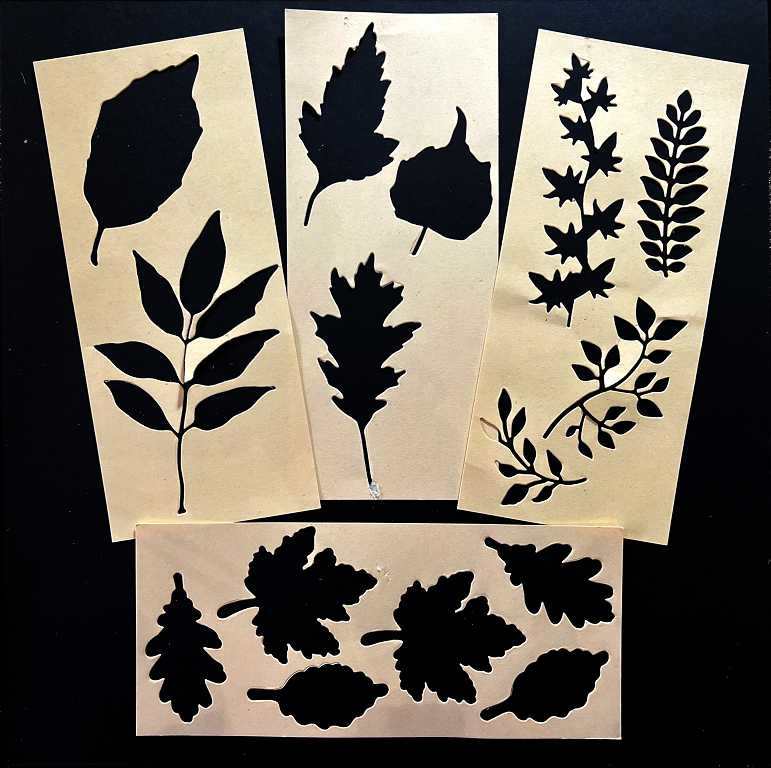
Here are some of the negative spaces left after cutting the dies. As always, I don’t want to waste anything and have an idea that these can be used in projects, so they received treatment as special as the actual die cuts!
Inking the leaves
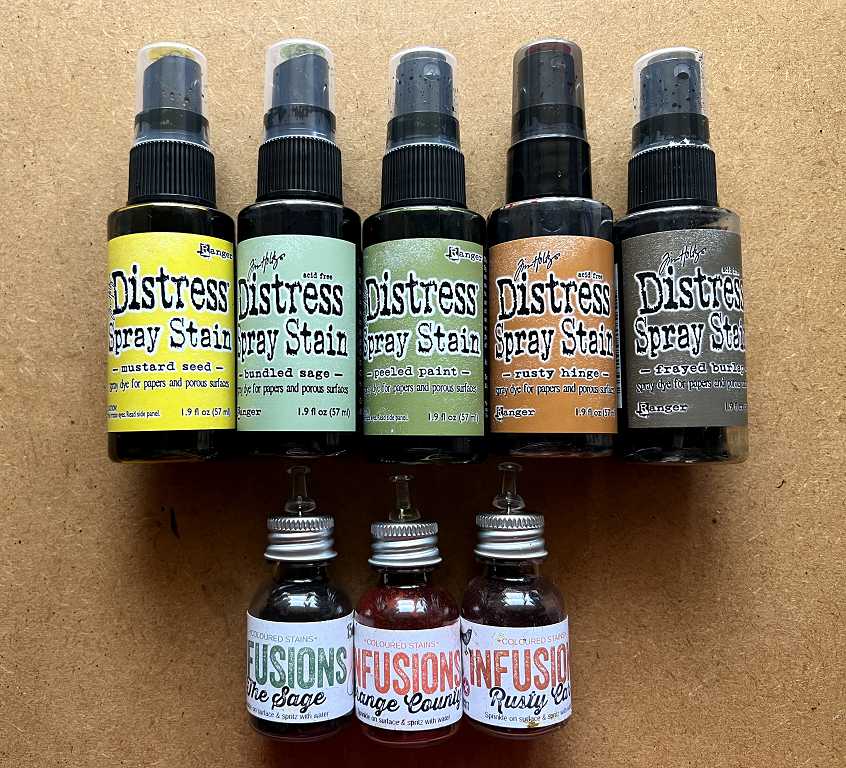
I wanted most of the leaves to be more or less brown, with hints of yellow, orange and green. Using my splat box to protect the surrounding areas, I sprayed all the die cuts and negative spaces with this selection of Distress Spray Stains, and added some Infusions powders at the end. It is a long time since I’ve used my Infusions and it was great to get them out again. They produce a gorgeous grungey speckled look, and on leaves coloured with shades of brown, they add to the effect of decaying fallen leaves.
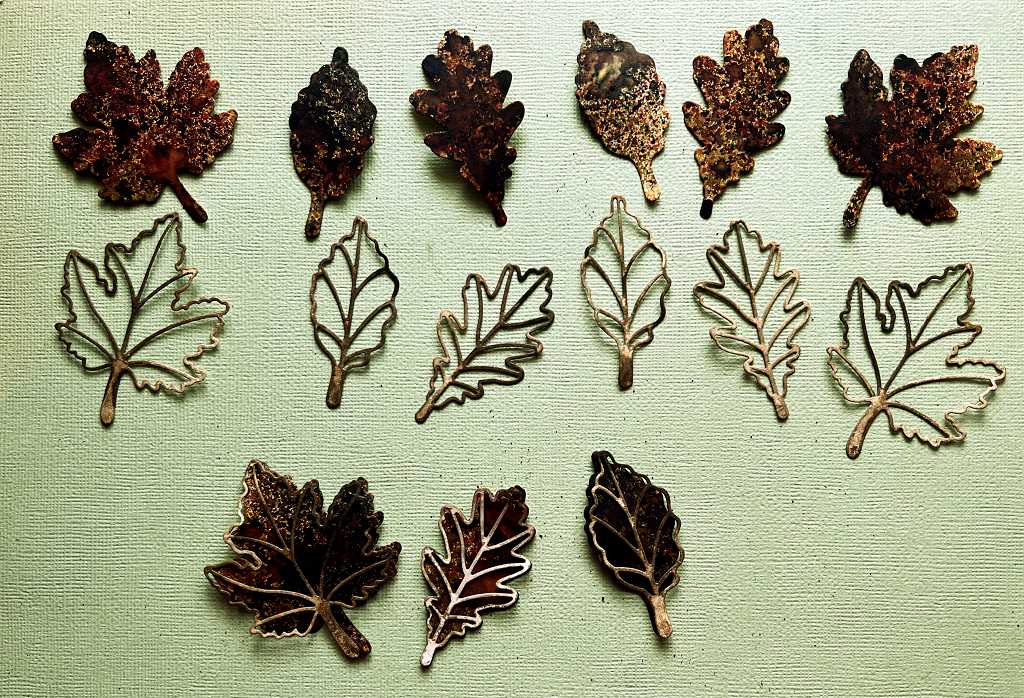
Again, a representative selection.
The double-layered leaves.
Stencilling and backgrounds created as a by-product
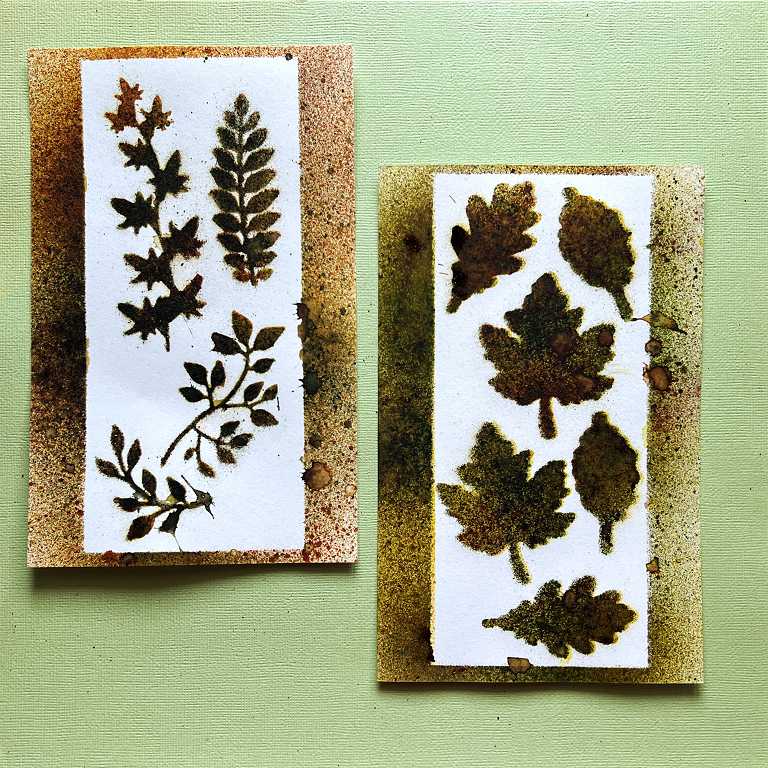
As always, I wanted to make use of every stage of the operation so I laid out the leaves on the larger pieces of white card before spraying them.
These are the backgrounds created by spraying the first lot of leaves. The paler one was formed by spraying the skeleton upper layers of the two-layered leaves. The ink tended to run off the thin pieces onto the background in this case, unfortunately. Where they were placed, a white stencilled image has been formed. I may need to smoosh these thin skeleton leaves in some more ink to colour them a bit better.
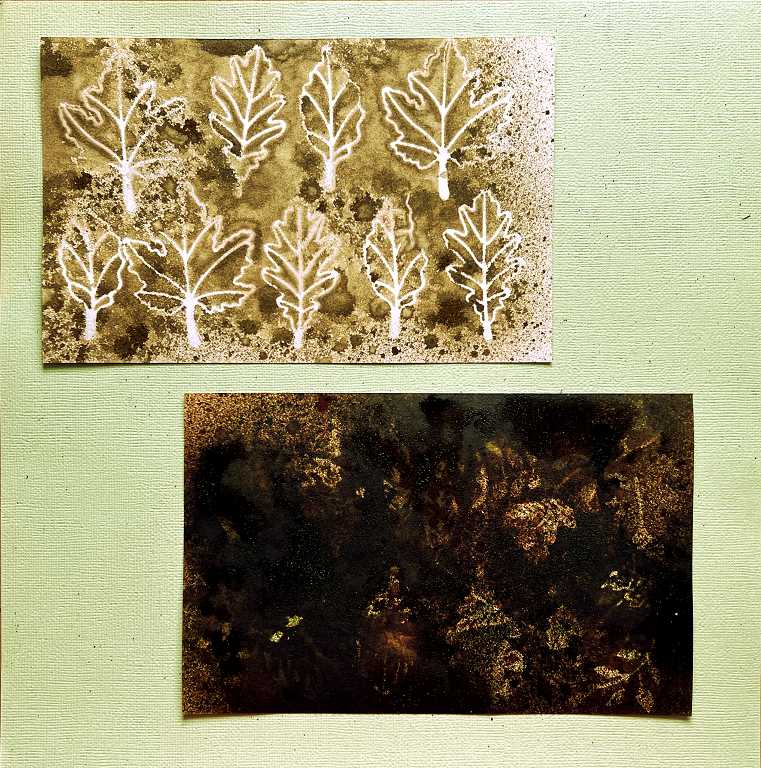
The one below wasn’t a great success – much too dark as I used it successively for many leaves, but it will probably be useable somewhere!
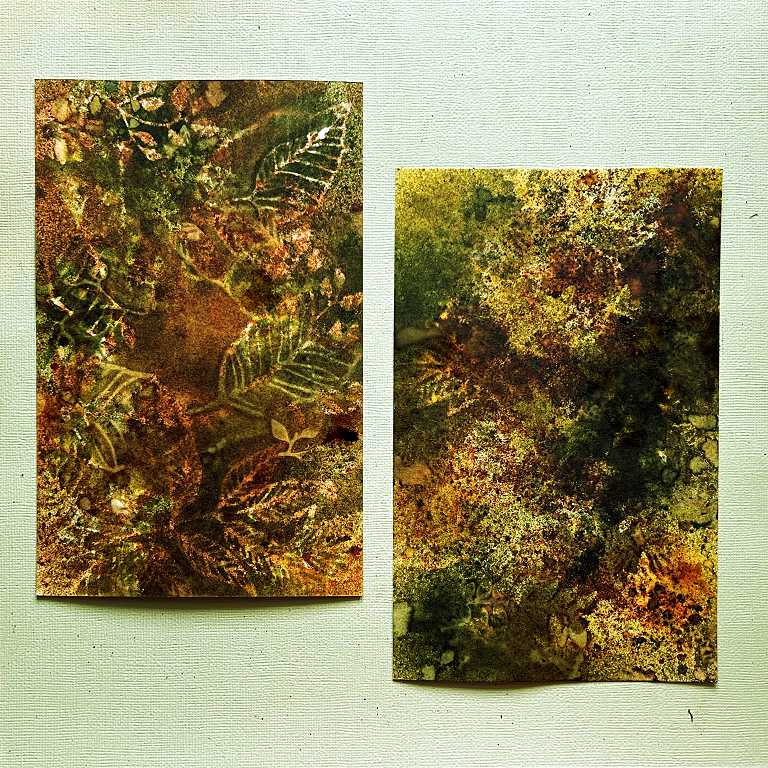
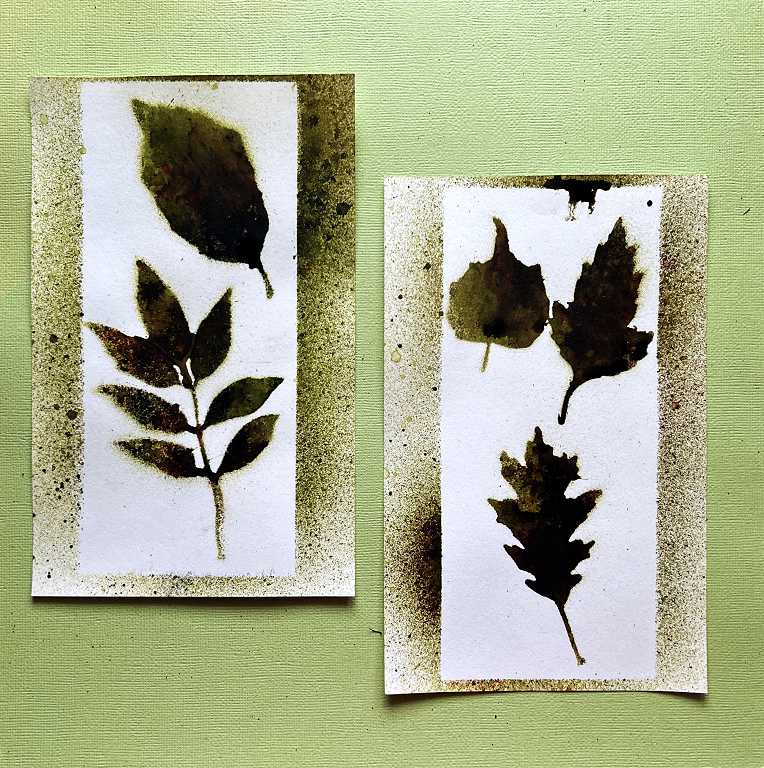
The other two backgrounds were more successful. I remembered my old “mask and spray” technique which I used years ago, moving the die cuts around on the background as you add more spray, until very little white remains. I did this with leaves I sprayed on both sides in the past, turning them and moving them so that while the leaves were being coloured (primary purpose), a gorgeous background would be created as a by-product.
These are some of the negative space pieces which I sprayed.
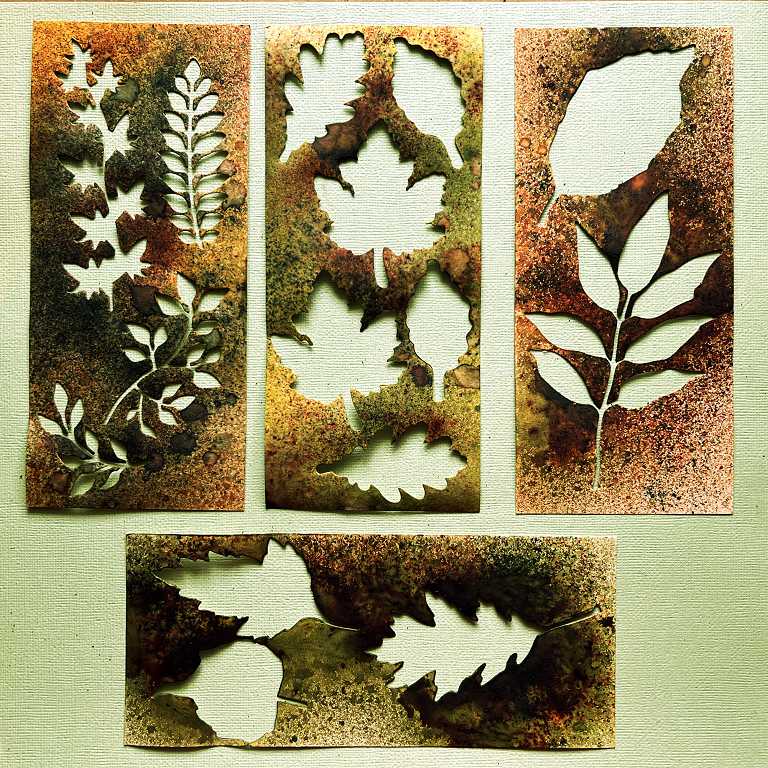
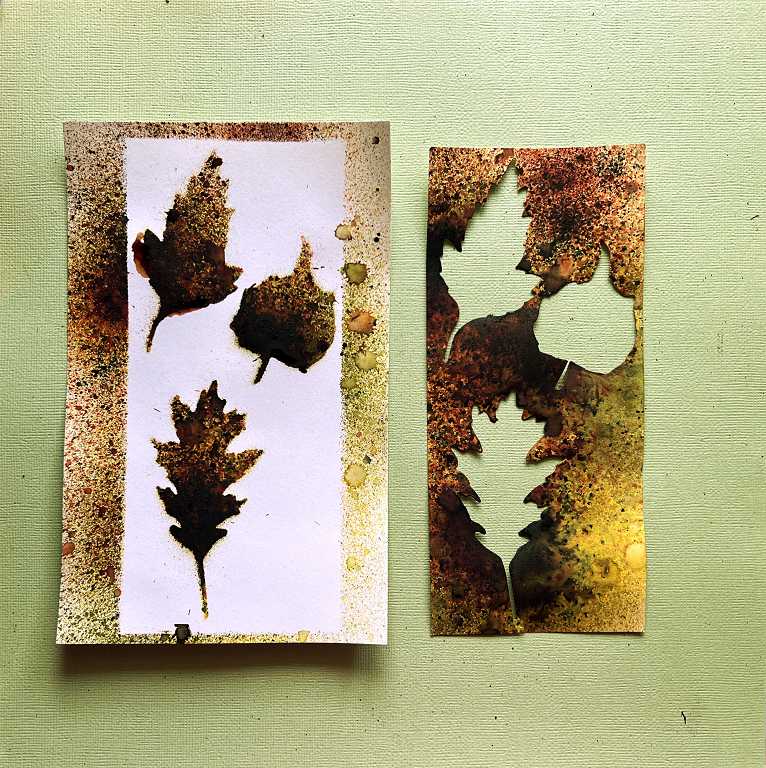
Again, I overlaid these pieces onto the larger white pieces so they would act as a stencil while being sprayed. This is the result.
I really like these, with their rather fuzzy edges, and the sprayed borders. If I want, I can always blend some ink onto the stark whiteness of the background.
A final one which got waylaid while I was producing the rest. The sprayed negative space on the right, and its stencilled result on the left.
Leaves cut with my cutting machine
I also selected some leaf cuts that I’d made with my elecronic cutting machine a while back, and coloured these. One started as plain green (cut from green card) but I wanted to add some more texture to this one. These will be used for the first page of the fifth folio of the album (botanicals).
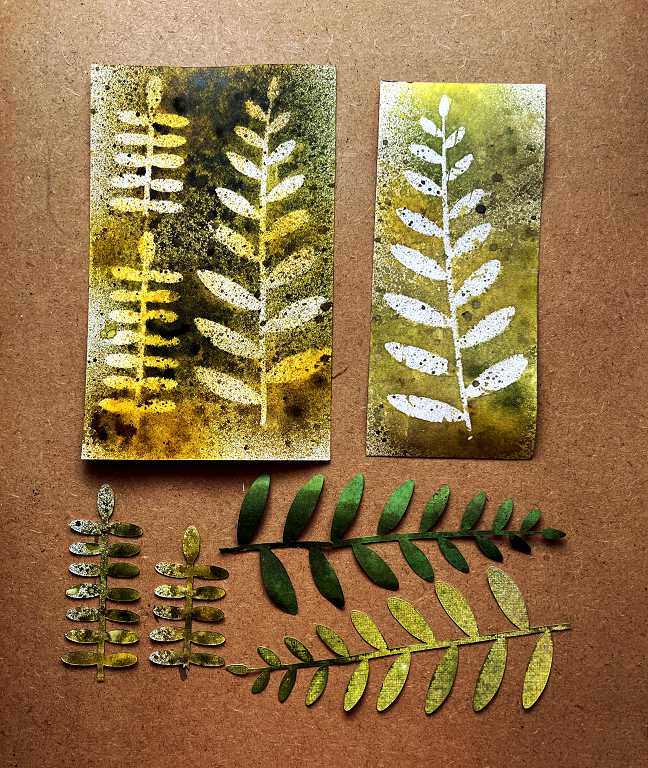
Again, you can see the die cuts at the bottom – the upper large one is the one that was originally plain green. Above them are the stencilled card pieces I used when spraying the leaves. I added a bit more spray afterwards.
I’ve now got plenty of material to be going on with as I create the final two folios. Some of the leaves will be hand-embossed for more textural interest.