RECYCLED PAPER-GLASSINE BAGS ALBUM – COMPLETION OF THE FIRST FOLIO
I have now completed the first folio, made from the first bag, of this recycled bag album. This has been a lot of fun.
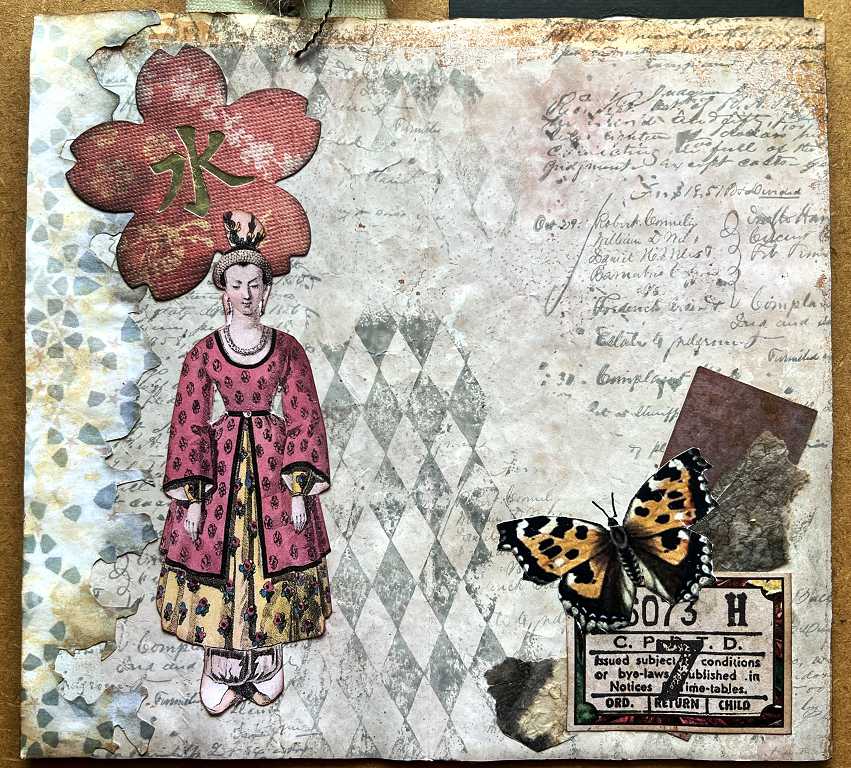
Completion of the centrefold
In my previous post about this album, I showed the photos of the centrefold, pretty much complete, but I felt it needed a figure on the left-hand side, to complement the Oriental motif at top left. I used one of the Graphics Fairy Premium Membership Site’s Oriental ladies that I had printed and cut out ready for my Oriental-style album – I still hae a lot of material ready to use for that project, which is now nearing completion.
Here is the completed centrefold.
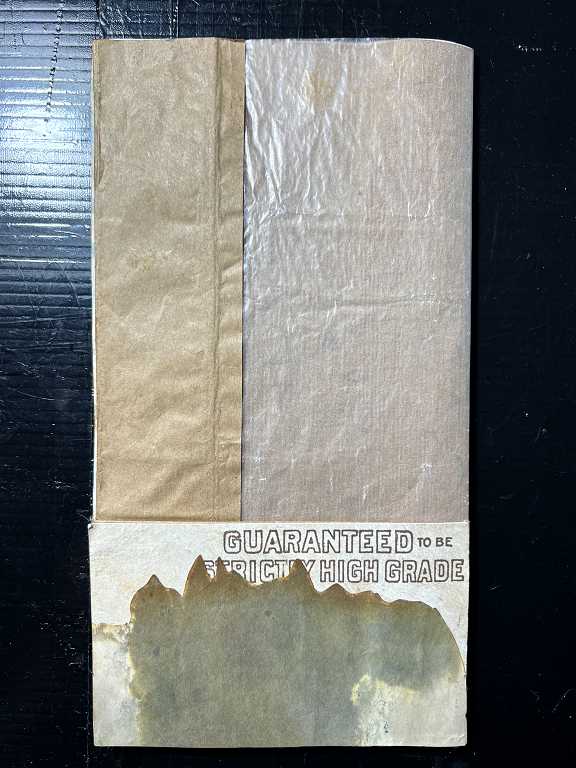
The back page
All I had done previously was a tiny bit of initial collage.
This project, like so many of my projects, seems to have a life of its own! I am not doing much planning at all, and have not decided how many folios will comprise each signature. Because of this, I have no idea which pages are going to end up next to each other so I am not planning any particular theme or colour scheme, but just winging it! Once I have done enough folios (I shan’t use up all the bags as I have a lot), I shall play around with them and decide how to assemble the album. I am hoping everything will come together OK and the whole thing won’t look like a total disorganised mess!!
Originally I had intended keeping the whole thing really brown and grungey but the back page has taken off with quite a bit of colour. This is the completed page. There is quite a lot going on so we’ll take it step by step.
The page with the tags removed, showing a calendar background through the glassine.
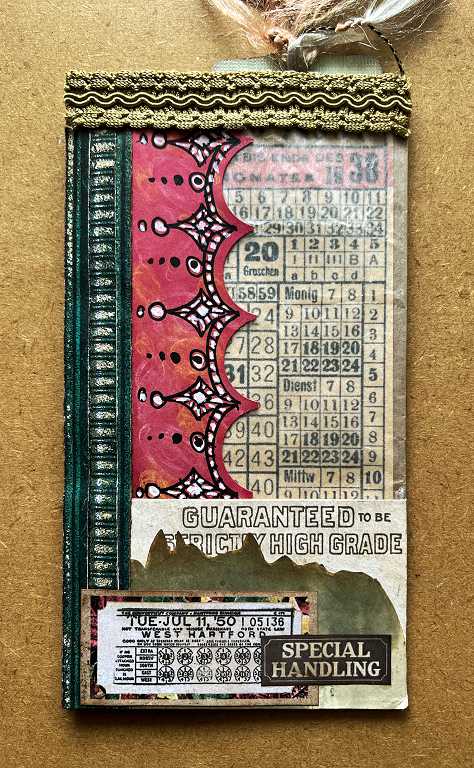
As with the first page, I have reinforced the edge, this time with a scrap of trimming from my stash. I covered the join between the paper and the glassine with a short length of one of my decorative strips. The dark green strip on the left-hand side is an offcut from a piece I printed recently.
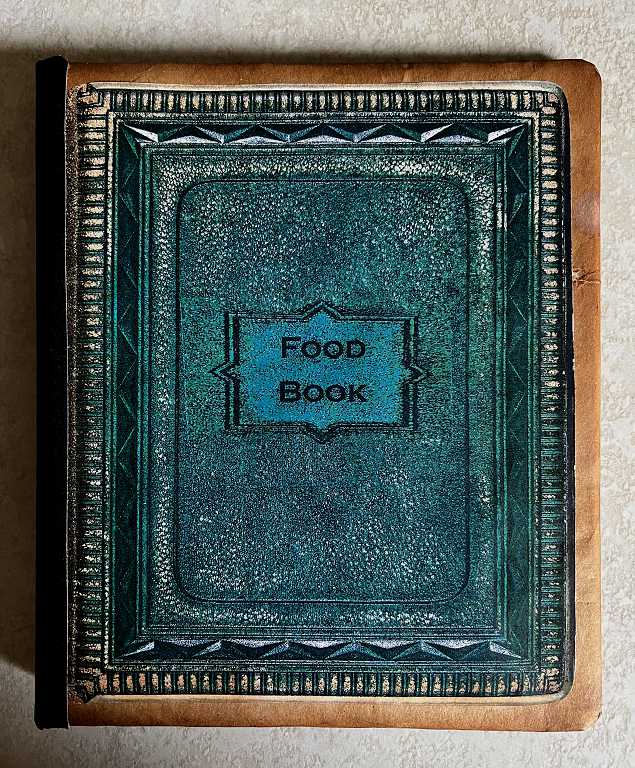
A brief digression – re-covering my food book
I have a small A5 ring binder for my freezer record and meal planning, and for months it has been falling apart and the spine was almost off, so a few weeks ago, I decided to cover it. I am still a bit of a novice with my new laser printer and I ended up printing my first attempt for the front cover much too large. I didn’t want to waste it so it went in my stash ready to be cut up and used. I used a vintage book cover image from the Graphics Fairy and altered the panel in the centre for my own purposes. My second attempt at printing it came out a bit too small, but rather than wasting any more toner, I used this version, and covered the book first with some Amazon packaging paper which I distressed. This is what the book looks like now (no picture of the “before,” I’m afraid, but it wasn’t a pretty sight!)
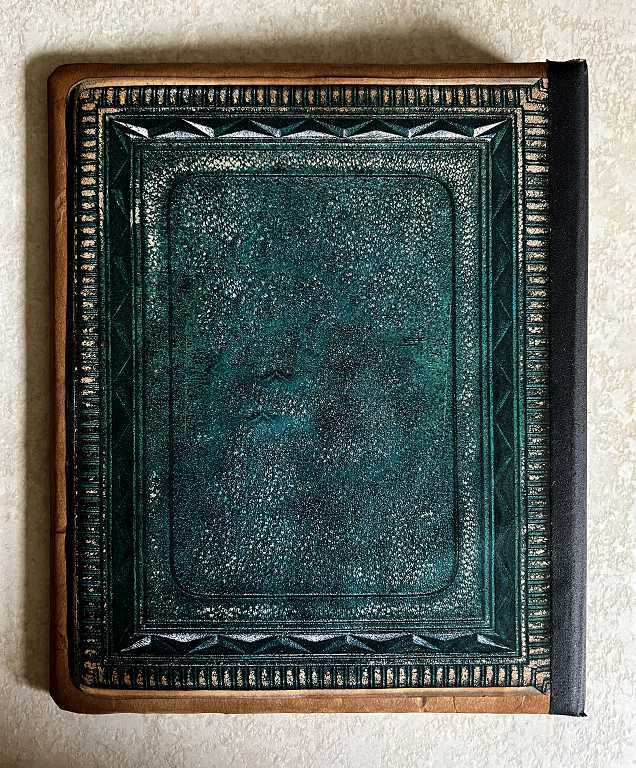
The back cover – almost the same, but a mirror image, and no title panel.
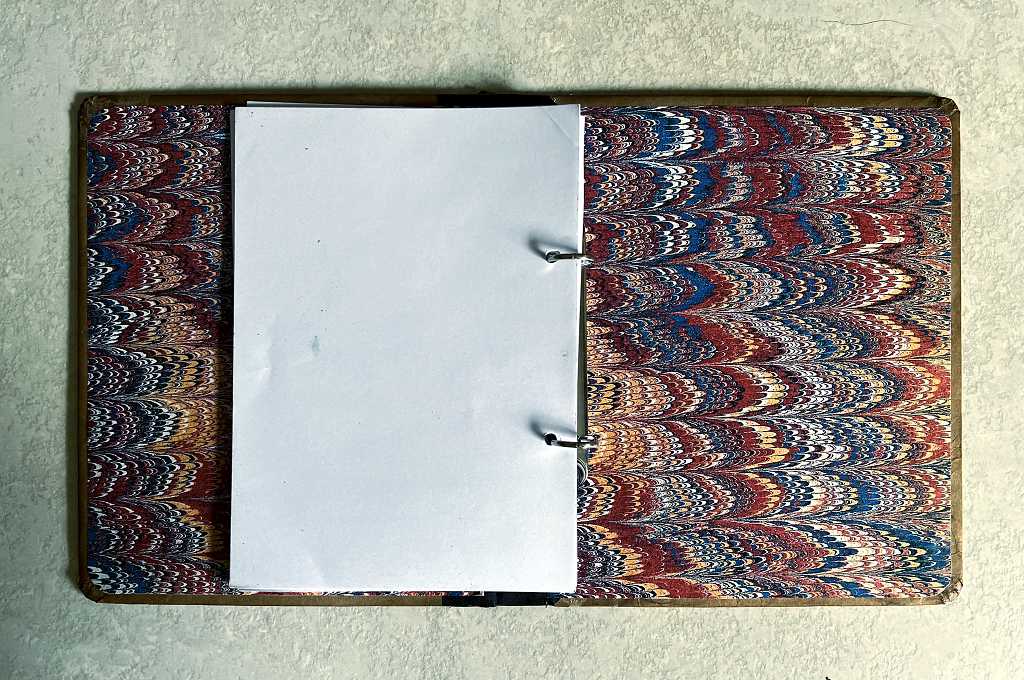
The endpapers were also from the Graphics Fairy – part of a bundle of marbled papers which I love.
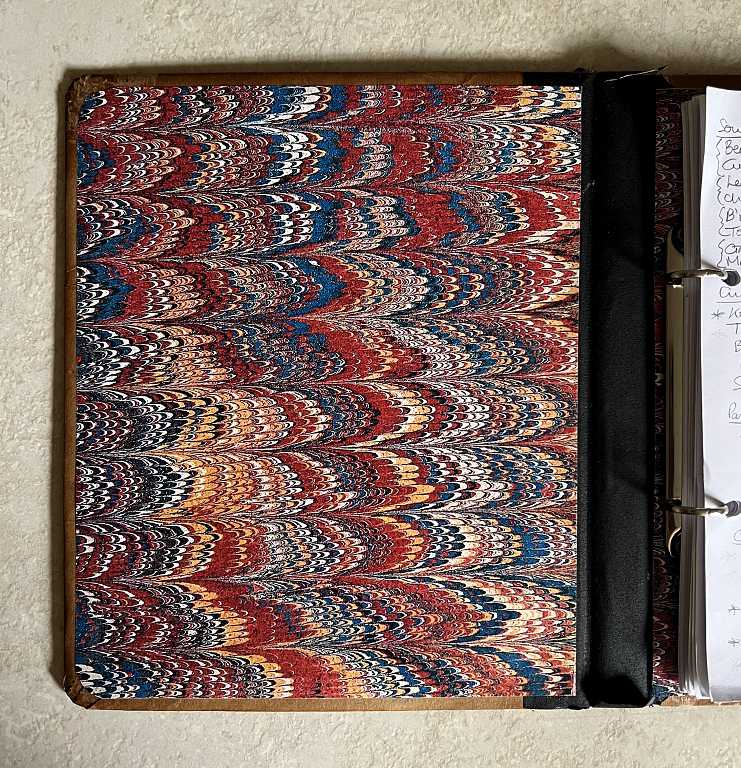
I covered the spine with some bookbinding tape. This stuff is horrendously sticky and difficult to handle! It is also rather thick, and I don’t think I shall be using it for many of my books made from scratch.
Returning to the paper bag album
A detail shot of the top of the page. You can see the green strip (actually a narrow one glued on top of a wider one) from the food book covering exploit.
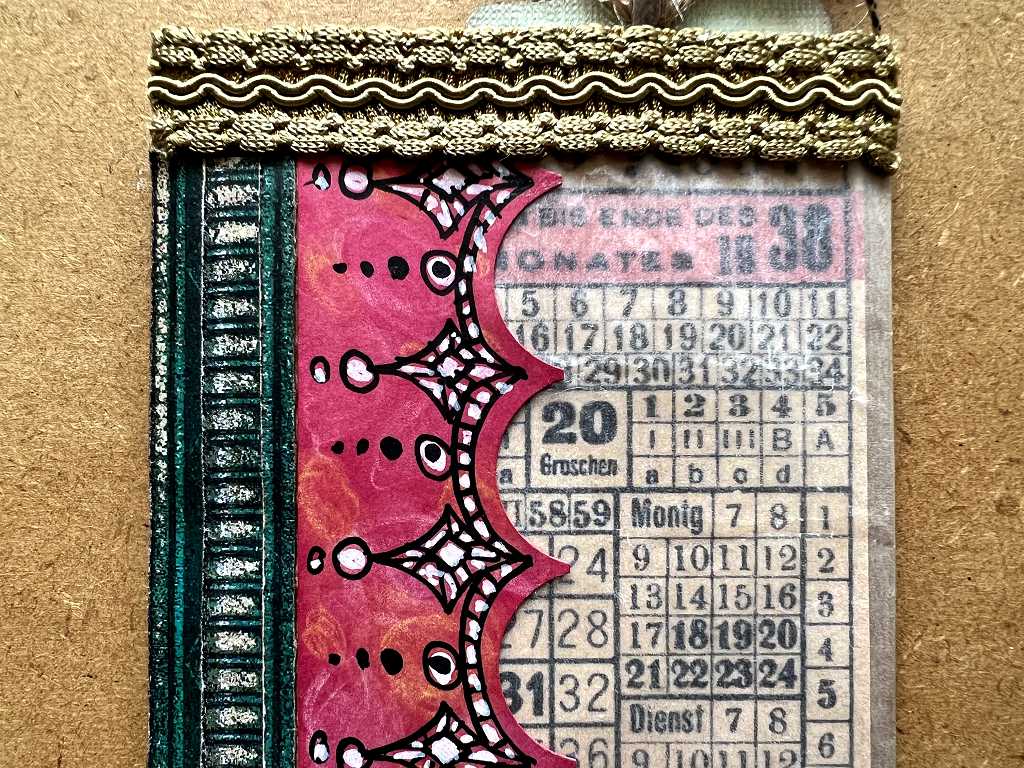
It was the little strip of red at the top of the calendar paper that dictated the rest of the colour on this page.
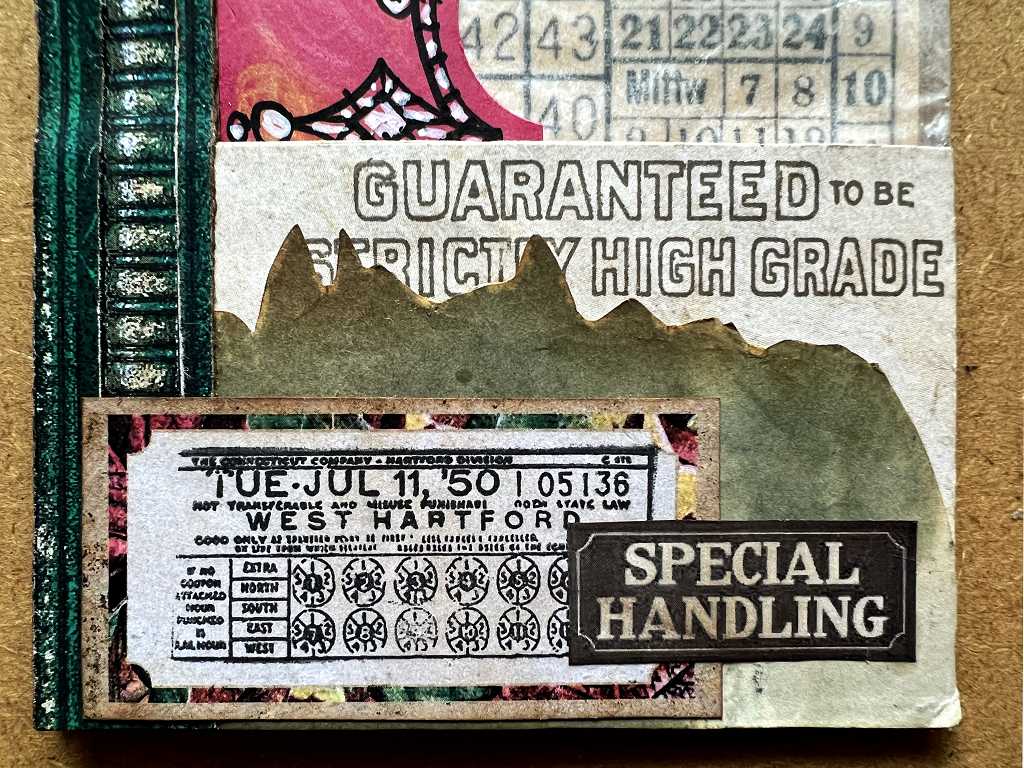
A detail shot of the bottom of the page.
The large tag
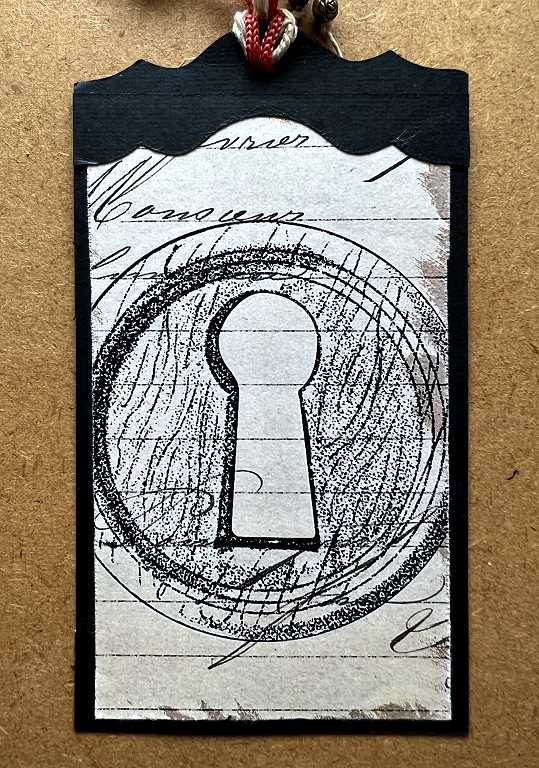
I made the tag from a scrap of black cardstock, and the main part of it was covered with another Graphics Fairy image to which I added a little red colour with a coloured pencil, to tie in with the theme.
I used an edging die to shape the top, which was covered with some of the awful scrapbooking paper which I’ve had for more years than I care to remember – it is nearly all used up now, and in small quantities, some of it is great. Where it joins the main image, I covered this with a really thin strip of gold mirror card (of course, it doesn’t look shiny in the photo), and another thin strip, an offcut of the marbled paper I used for the endpapers for my food book.
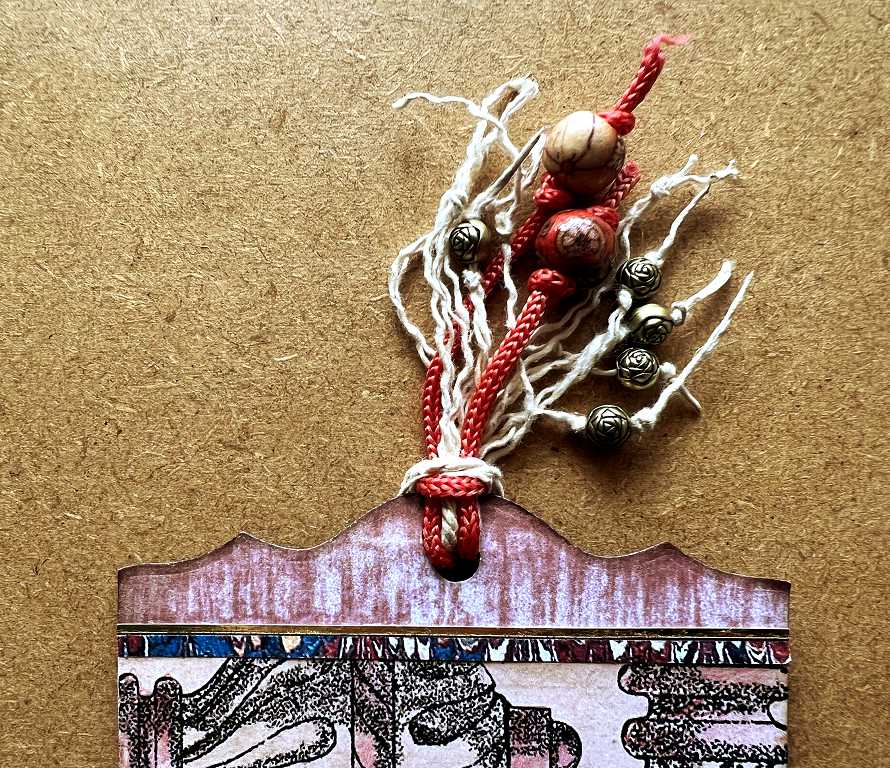
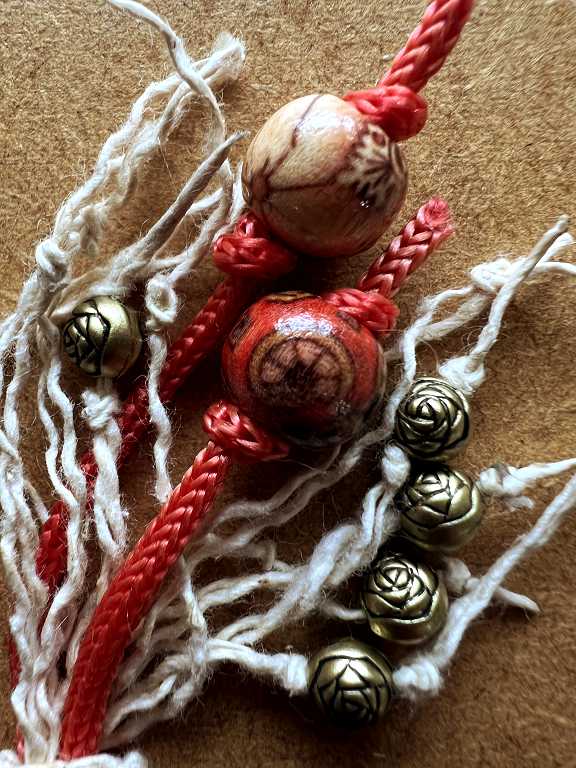
I had great fun with the tassel embellishment. This was a combination of a scrap of red cord from my stash, and some very ordinary parcel string which I unravelled. The beads were from my recent Temu haul. I love the painted wooden ones and really wanted to incorporate them into this project. I rubbed the ends of the string with glue between my fingers to seal them, and then threading the beads was easy. I had to fiddle with tweezers to tie the knots to anchor them in place, which took ages, but worth it in the end.
The back of the tag was covered with another image from the same bundle as the front of the tag. When I put the tag in the pocket, I noticed that the top of the image was visible, so I rescued the offcut from the border die from the bin and stuck it down.
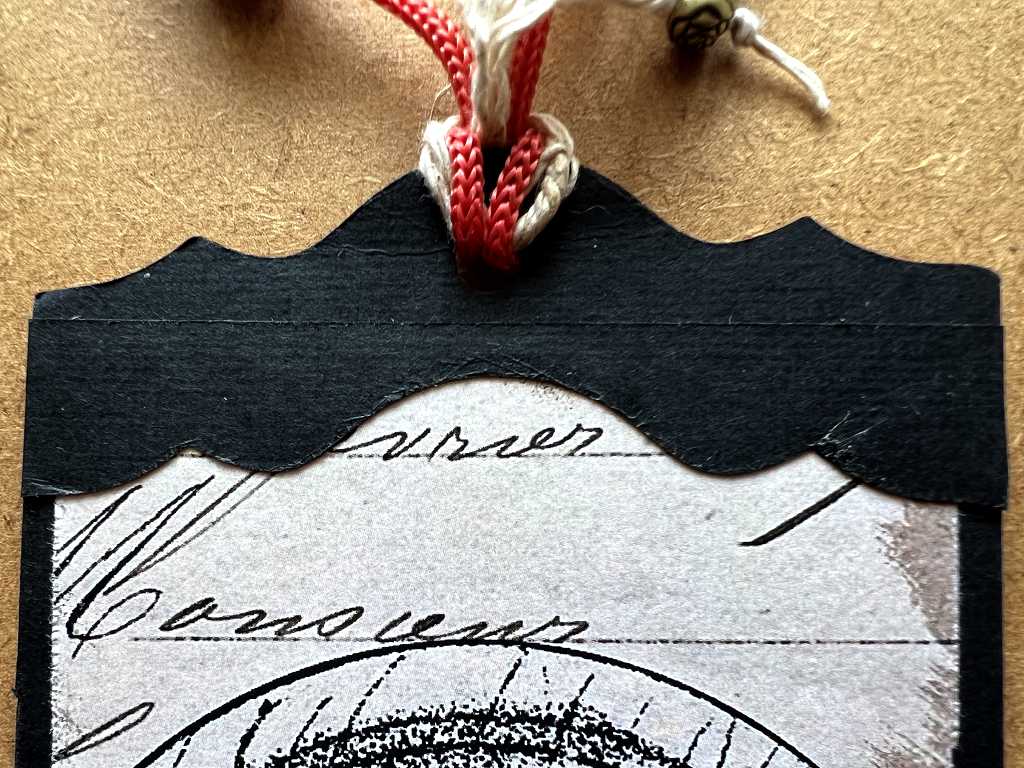
If you look closely you can just see the join. I think this really improves the look of the tag so I am being careful what I throw away now!
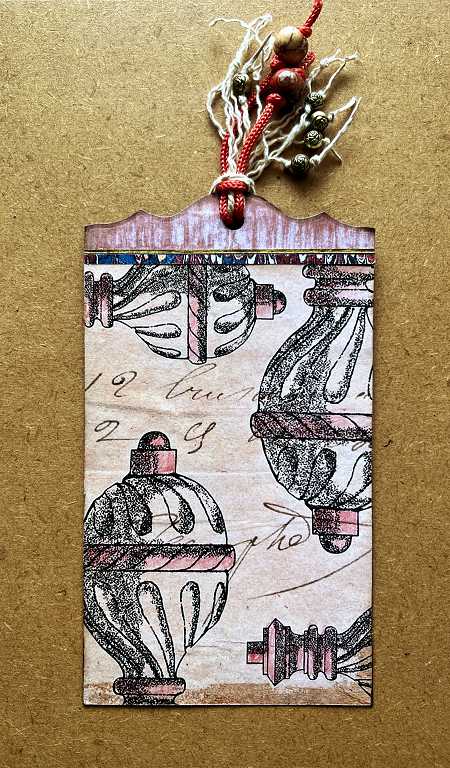
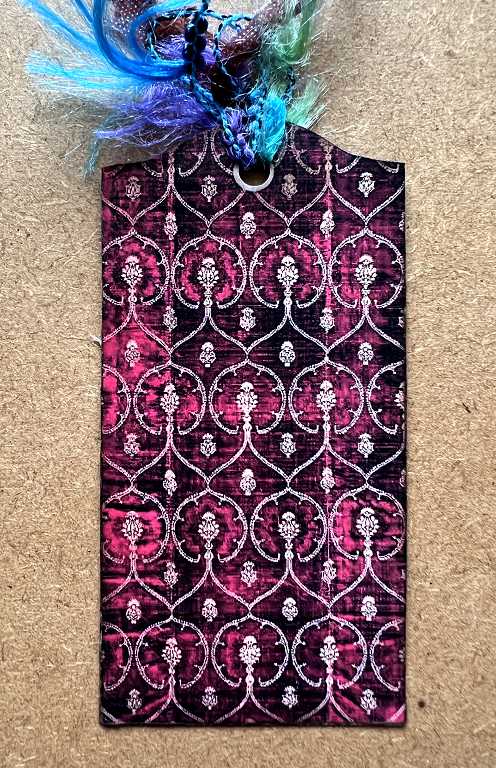
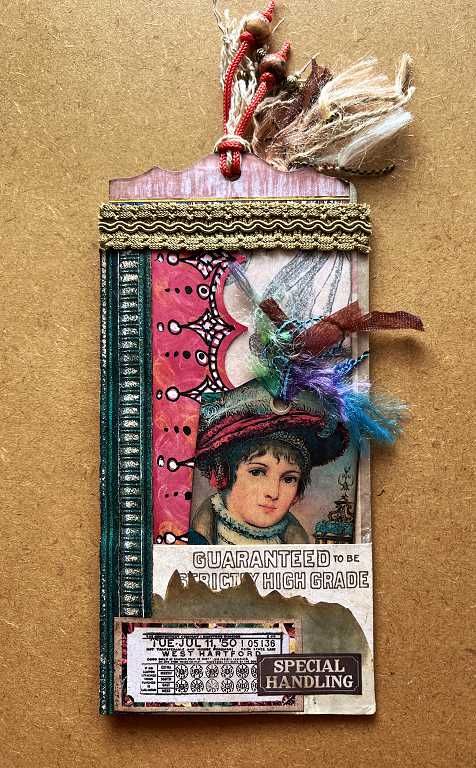
The small tag
This is the tag which goes in the pocket along the bottom of the page. I chose an image from a Mediaeval-style bundle from the Graphics Fairy. This was exremely brightly coloured, so I toned it down with Pumice Stone Distress Ink.
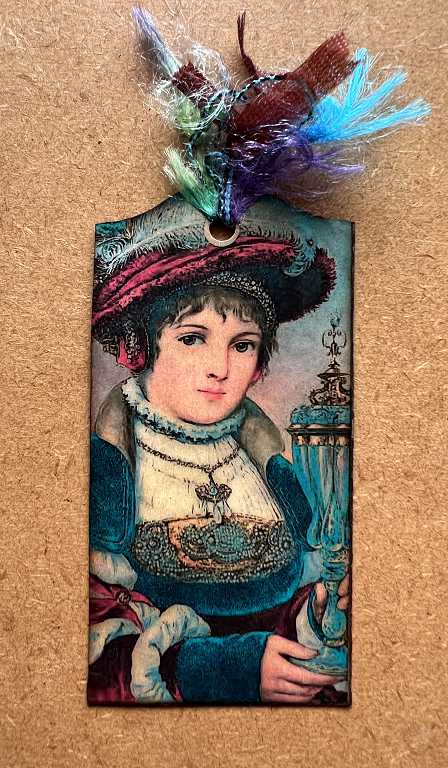
For the tassel on top of the tag, I used some fancy yarn from my stash. Years ago I bought several single balls of fancy yarns at a craft show. They are mostly multi-coloured so I can cut off short lengths of the colour that I want.
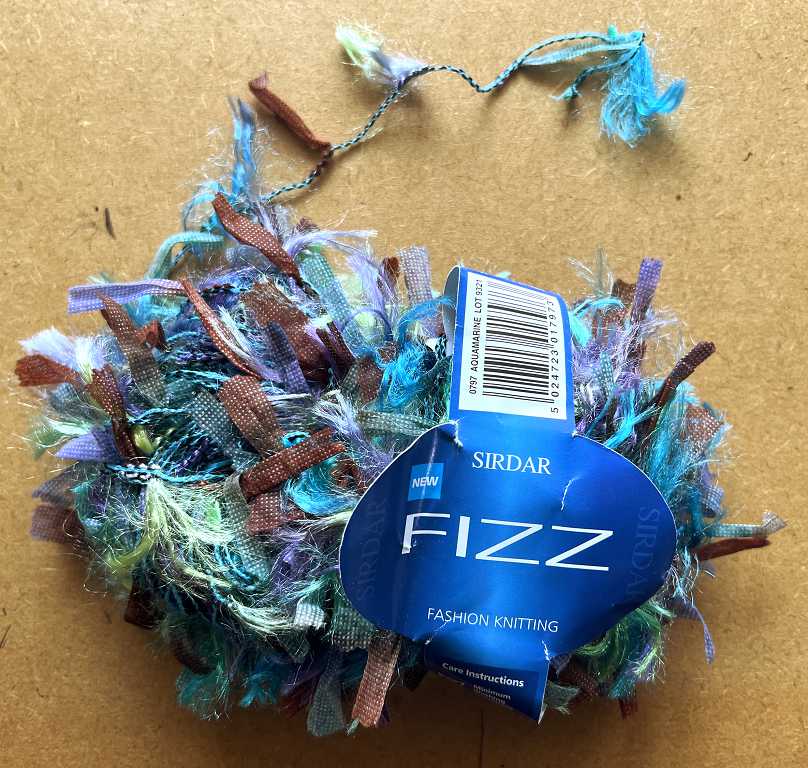
I cut off a short length and folded it into four, passing it through a hole I punched in the top of the tag. Rather than tying it, as this thread is so bulky, I just folded it upwards and secured it front and back with plenty of glue.
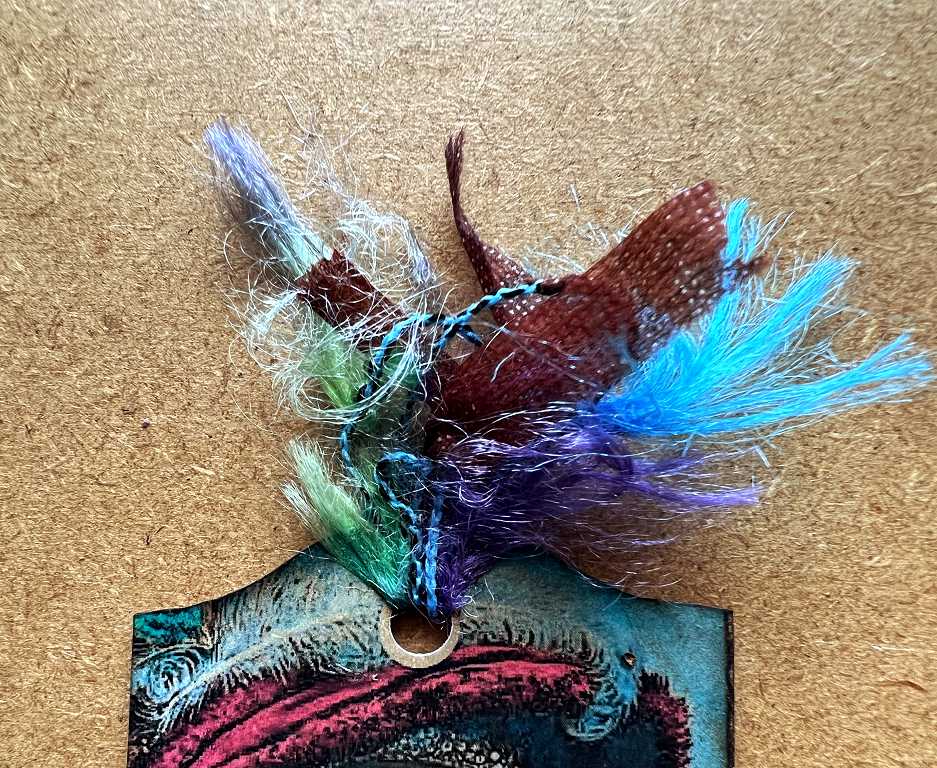
The printed circle on the tag to indicate a hole is slightly larger than my hole punch, and it looks like an eyelet.
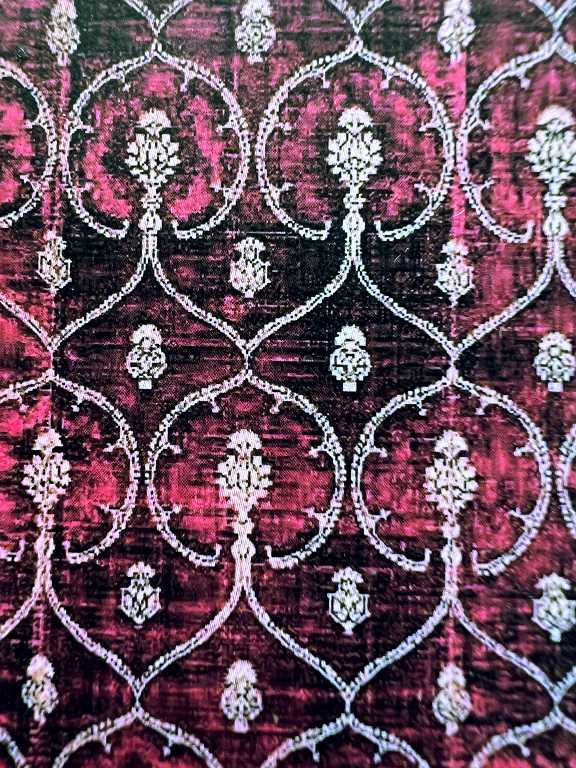
The back of the tag
This is another image from the same bundle as the Mediaeval lady. I didn’t tone this rich colour down.
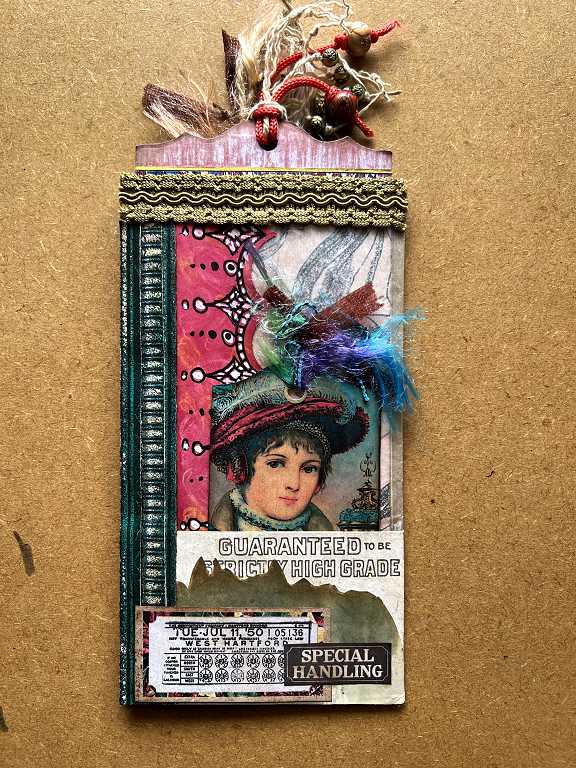
The completion of the folio, made from bag #1
This is the front page, with all the tags in place. You can see the shaped top of the back of the large tag on the back page, complete with its beaded tassel.
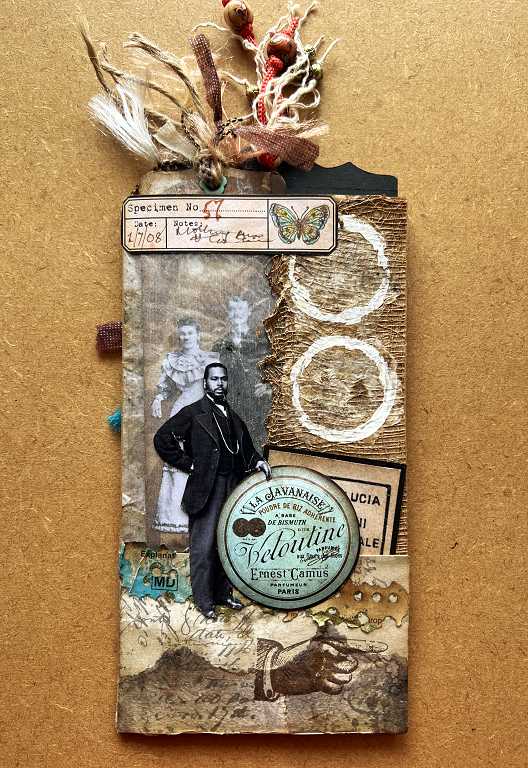
The back page, also with its tags in place. Again, you can see the tassel attached to the large tag on the front page.
I am super-thrilled with how the first folio has turned out, and I am already steaming ahead with the second one, which has some different elements.

This is so very clever! How original and unique. Never another one like it in the universe. You’re very talented Shoshi, it’s splendid.