MORE ON EPHEMERA
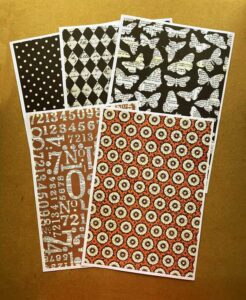
Yesterday I spent some time trawling through my downloaded Graphics Fairy Premium Membership bundles and selected various images and pdf printables in order to create some more ephemera. Working as usual with my desktop publishing software I was able to convert the US paper sized pieces to A4 and to arrange things as I wanted. This software will open and edit pdfs which is very handy. However, because it is very old, there is something not compatible with my new laser printer, and if I print directly from the software, the prints end up with streaks and lines. The way to deal with this is to export the various files as pdfs or jpgs and they print perfectly from within either Adobe Acrobat Reader or the printer’s own software.
Unfortunately everything came out much brighter and more yellow than was showing on the screen. I am not sure what is going on with this. The original small capacity magenta cartridge which came with the machine was running extremely low so I thought it might be something to do with this. I put in a new full-capacity cartridge, but it didn’t seem to make any difference. I am not sure whether there is an option in the printer settings to change this, but I could always open the images in my photo editing software and desaturate them a bit, perhaps.
Anyway, for now, I decided to apply something to try and tone them down a bit.
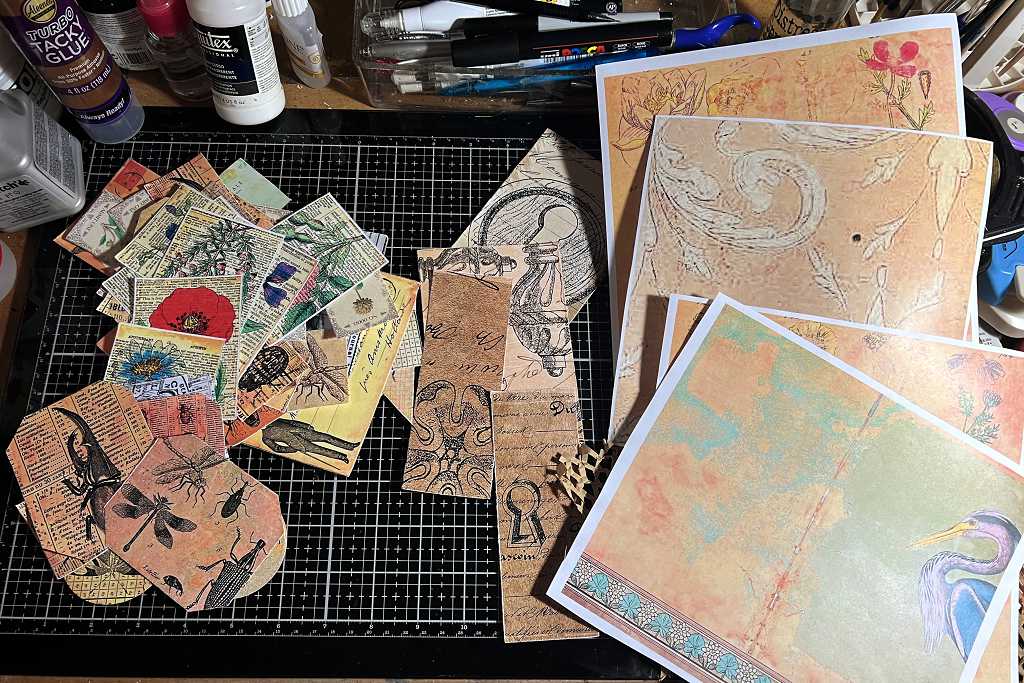
I printed several of what Graphics Fairy calls “journaling cards” from their downloadable printables section in each bundle, and painted on a thin layer of white gesso. This has toned down the brightness. If I wanted a more vintage look, I could always add some coffee or ink to the gesso. I look forward to experimenting with this.

I really quite like this effect anyway, regardless of any colour change. It has a nice almost velvety feel to it, and the slight gloss you always get from the laser printer is gone, which is great. I put these sheets under a pile of heavy books overnight and they are now flattened.
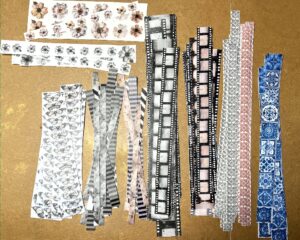
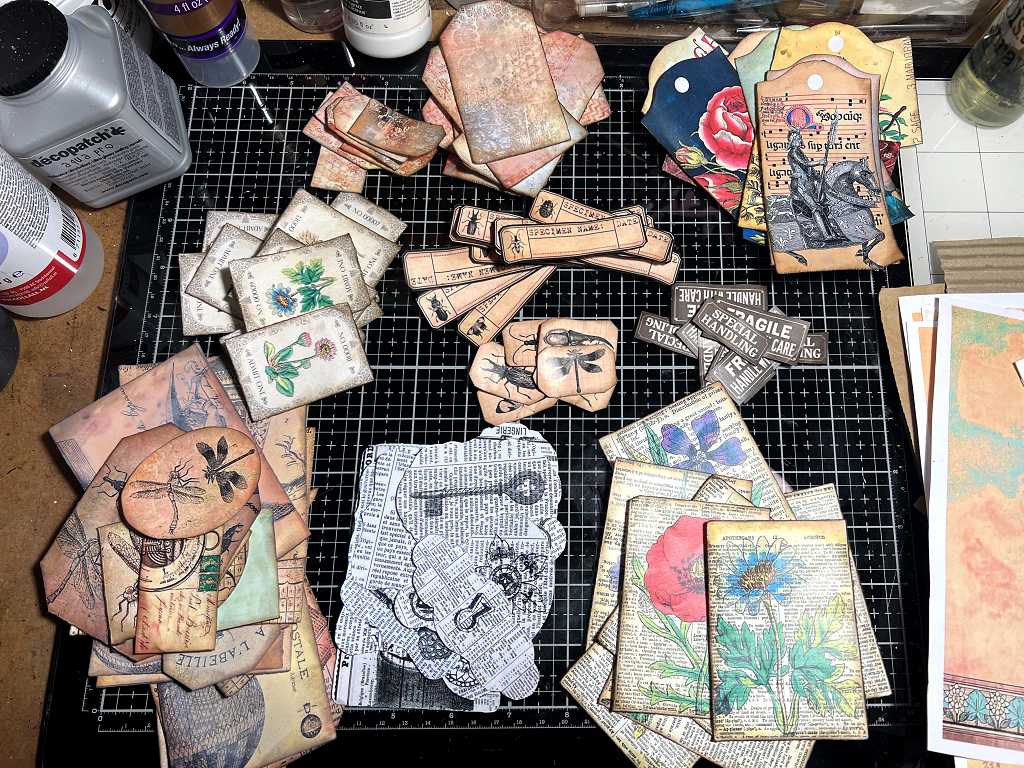
Here are the rest of the ephemera that I printed out. I tore many of the straight edges with my metal ruler, which produces a lovely soft and slightly distressed edge, which picks up ink really well too, and I spent the evening fussy cutting the smaller elements and different shapes. (My hubby has started complaining about all the tiny scraps of paper in the various waste bins!!) The large ones on the right are some of the Graphics Fairy journal pages which I have edited for size, to include as backgrounds for the centrefolds in my recycled bag/glassine album. I have inked all of them with Pumice Stone Distress Oxide at this stage so they are more muted.
Later, I inked around the edges with Walnut Stain Distress Ink. The only ones I didn’t ink were the black and white ones; I may want to add colour to these as I use them, and didn’t want to pre-determine any colour.
I found that even after drying overnight, the oxide seemed to want to rub off on my fingers. It has a slightly sticky feel to it. I rubbed over the pieces with a dry piece of kitchen paper and not much seemed to come off at all, but they felt a lot smoother, without much loss of the muting effect, so I think this is the way to go. The laser printing does produce a slight sheen which may be the explanation for this phenomenon.
I saw someone on YouTube recently who said she distresses a lot of things by sanding them lightly. This is something I want to try as well. It would definitely remove the sheen.
All these pieces that I made yesterday are now more or less sorted into piles, ready to be filed away in my new ephemera storage system.
Most of the pieces are quite small and are muted enough in their colours to be included in the recycled album. I now have plenty of material to draw on, but I want to make some more ephemera – birds, letters and numbers, steampunk, etc. The Digital People are now all fussy-cut and filed away. I have not bothered to ink the edges and will do this as and when I need to use them. I may want to try coffee-dyeing some of them but the slick surface may prevent this. I will have to experiment, and I may just ink them with Distress Inks.