SCRAP BUSTING – COFFEE-DYE STAMPED CARD STRIPS, AND A CONJOINED TWIN STRAWBERRY
While I decide how to embellish the centrefold of the current folio of my recycled paper-glassine bag album, I thought I’d do a mini-project with a dual aim – to reduce my scrap stash and to create some useful elements.
The problem with scraps
All of us who create with paper have this problem. Every time you trim down a piece of paper, you end up with a scrap. Some do go in the bin, but most of us tend to look at each piece twice before binning it, and it usually ends up in a folder for future use, and as the collection grows, it moves from a folder to a basket or a box. Eventually it threatens to take over and serious action needs to be taken!
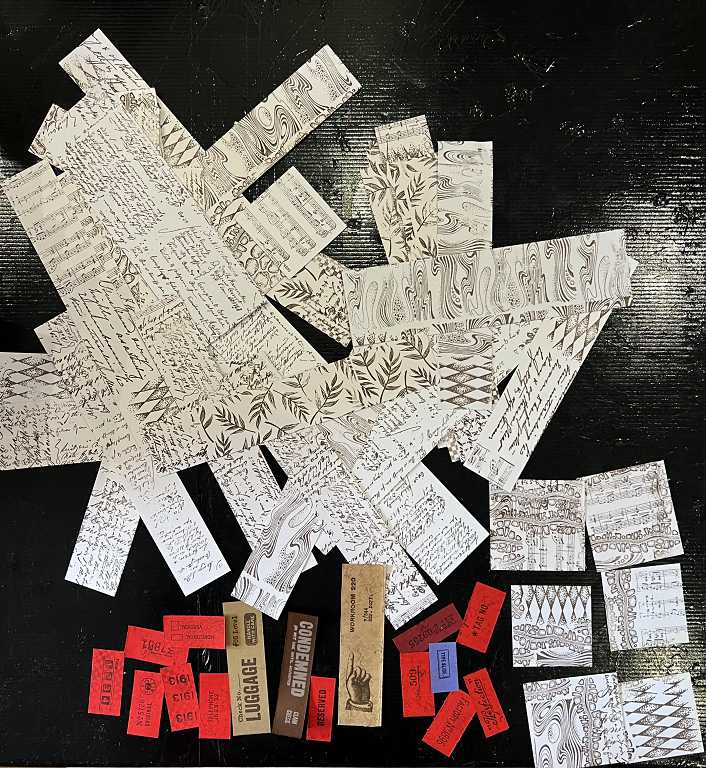
This is the state of my scrap box.
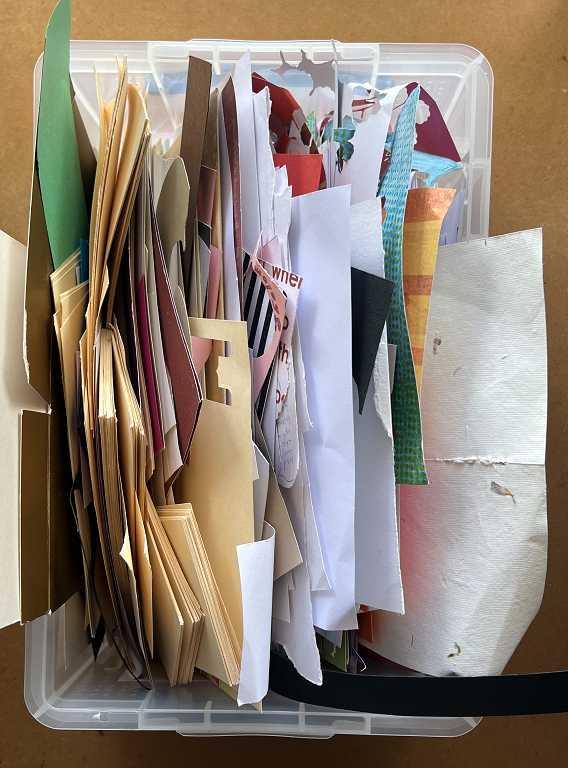
Far too much stuff, and there’s a lot more at the bottom of the box that you can’t see in the photo – mostly narrow strips. Definitely time to get tough. Most of the paper and card in this box is plain – white, black, cream and a few other colours. I also have a small box with smaller scraps of different coloured card and some speciality cards like hologram or mirror card, and some embossed offcuts, etc. It is time to get that lot sorted, too. Unlike many people, I don’t have a lot of scraps of decorative paper because I tend not to buy a lot of these pads.
Making small labels
I chose some small rectangular pieces of coloured card and stamped on each one individually using my new Tim Holtz “Eccentric” stamp collection.
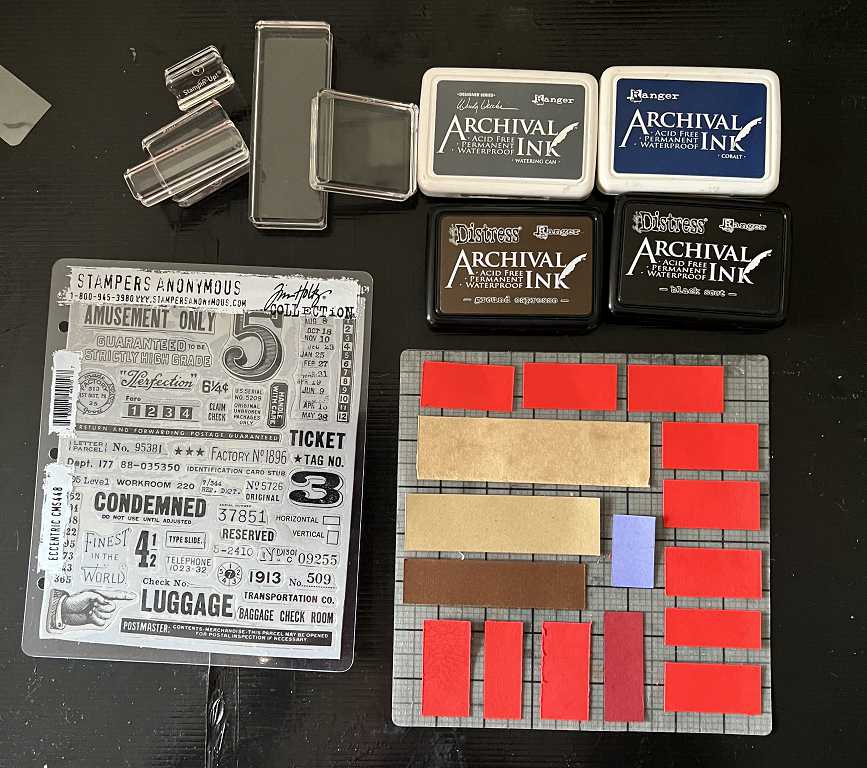
I laid the pieces down on my DIY sticky grid to stop them moving around too much while I was stamping them. This is pretty low-tack and you can see that some of the pieces are already liftng, but it served its purpose. This sticky grid normally lives in my stamping platform.
Choosing the stamps
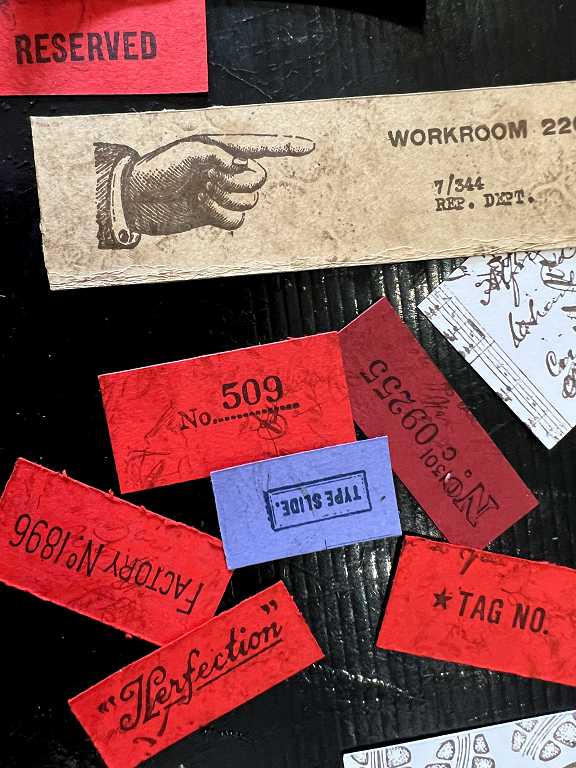
Some of the stamps in this collection are very small. I laid them all out where I wanted them, on the small scraps of card.
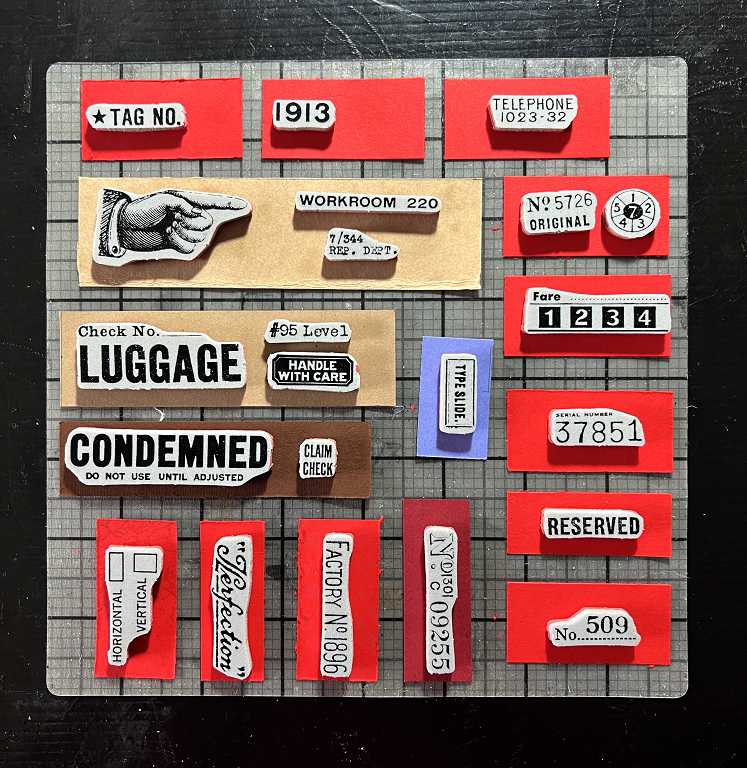
I stamped most of them with black archival ink. The blue scrap was done with cobalt archival ink, and I also used some Ground Espresso archival ink which is a very dark brown, and the “Condemned” one was stamped with white pigment ink. I later sprayed this with fixative as it is water-based and would reactivate if I got it wet.
Some of the stamping is slightly imperfect but that doesn’t really matter as it just adds to the general grungeyness.
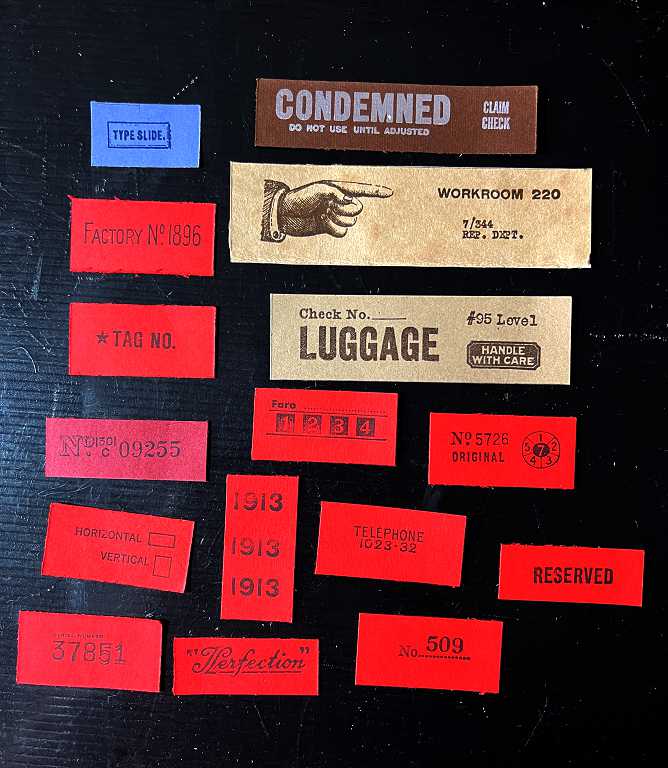
I have set these small pieces aside and will decide whether to die-cut them into fancier label shapes, or to draw borders, etc.
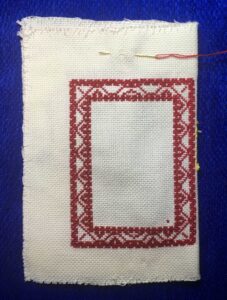
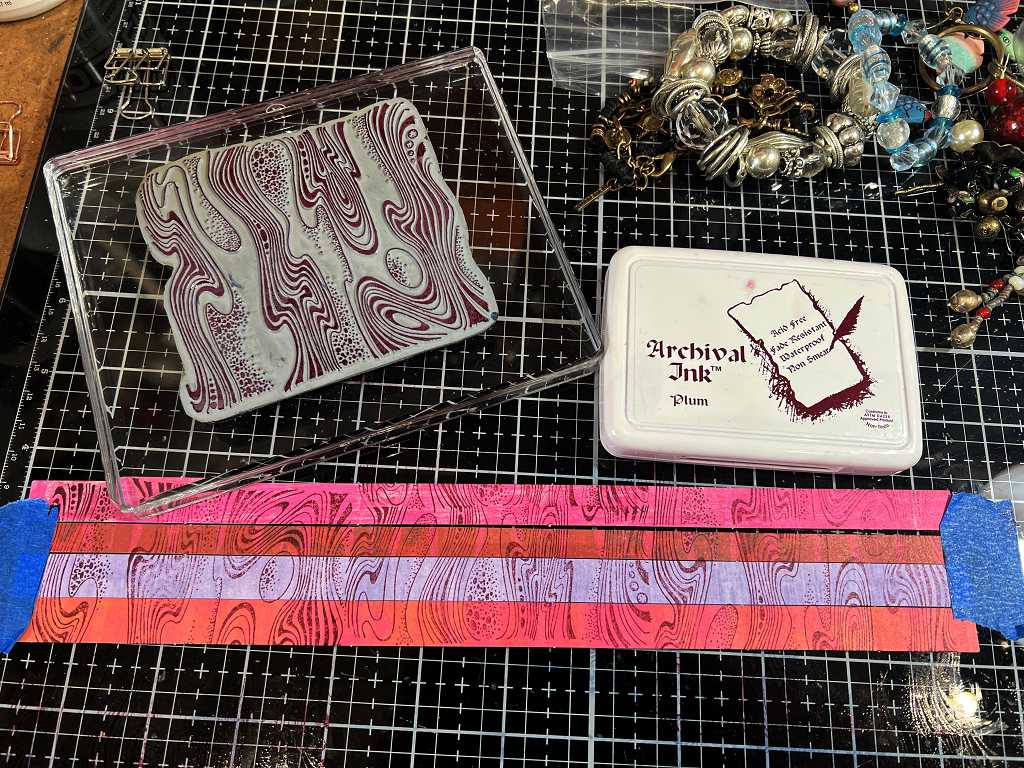
Stamping the white card strips
I chose quite a number of white card strips of varying widths and lengths, and a few squares and oddments, and laid them out so that they were touching but not overlapping. They wouldn’t all go on so I did the remainder afterwards.
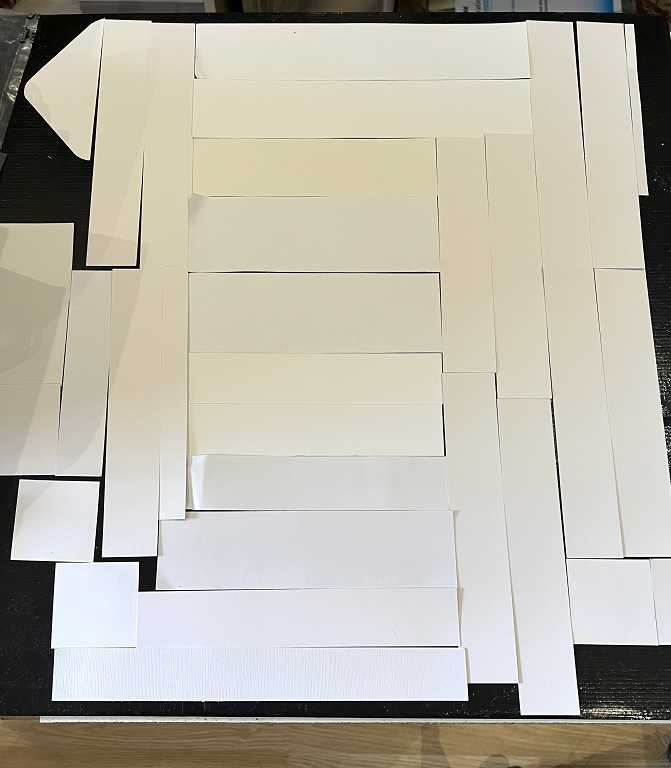
Stamping the strips. I used Ground Espresso archival ink throughout. I got out a lot of my background stamps and stamped randomly over the whole area of strips, trying not to overlap them too much, at the same time as trying to fill the whole area. In this photo I had moved some of them before I remembered to photograph it.

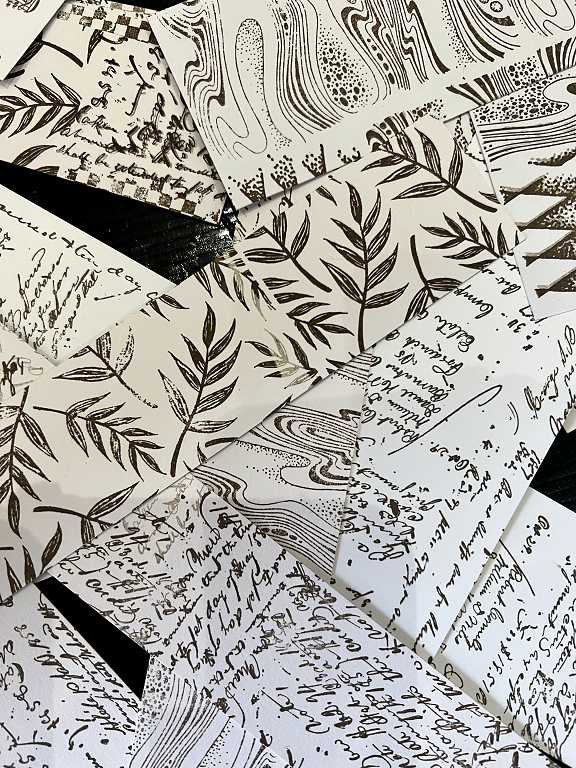
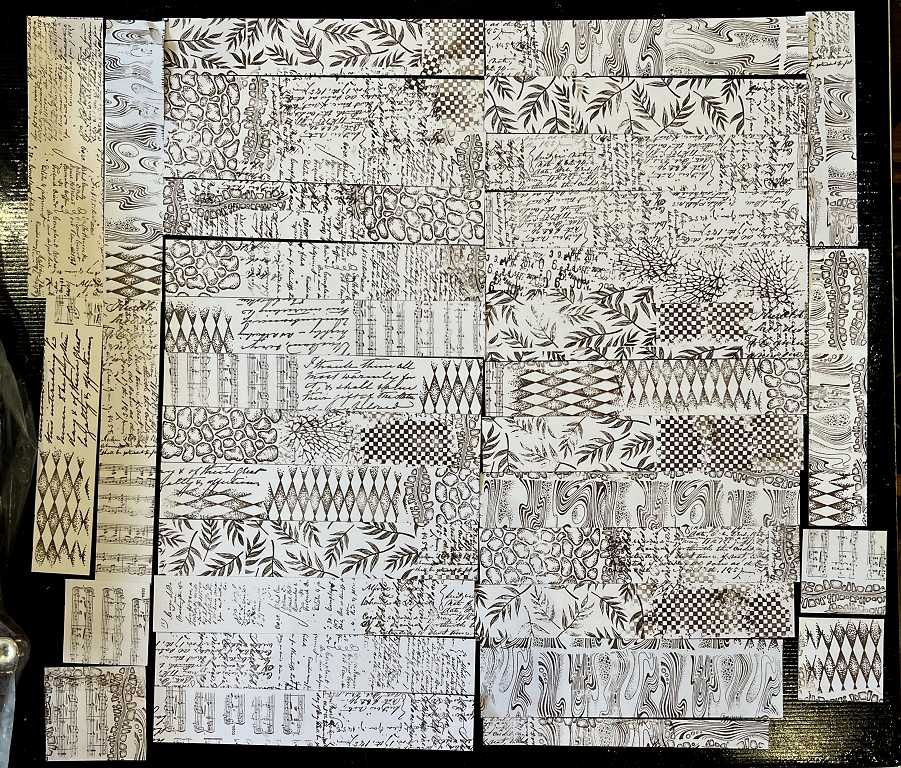
All the stamped pieces.
A closer look, showing the detail. As you move the strips and mix them up, you get the full random effect.
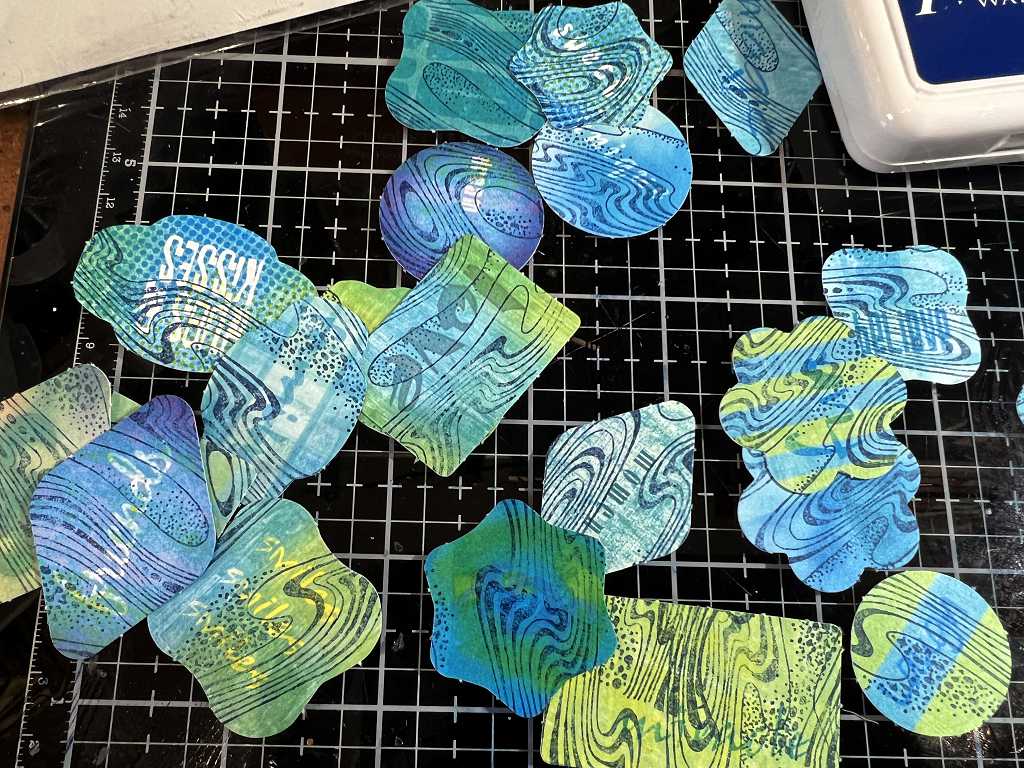
After I’d finished stamping the strips, I cleaned the stamps by stamping them randomly all over the little labels I’d created. Double whammy benefit – clean stamps, and nice textured backgrounds for my labels!
Some of the little squares that I also stamped.
I laid them all out again, touching but not overlapping, and coffee-dyed them. I keep a spray bottle of coffee with some rubbing alcohol added, to prevent the coffee from going bad, and it’s an easy job to dye small batches of paper.
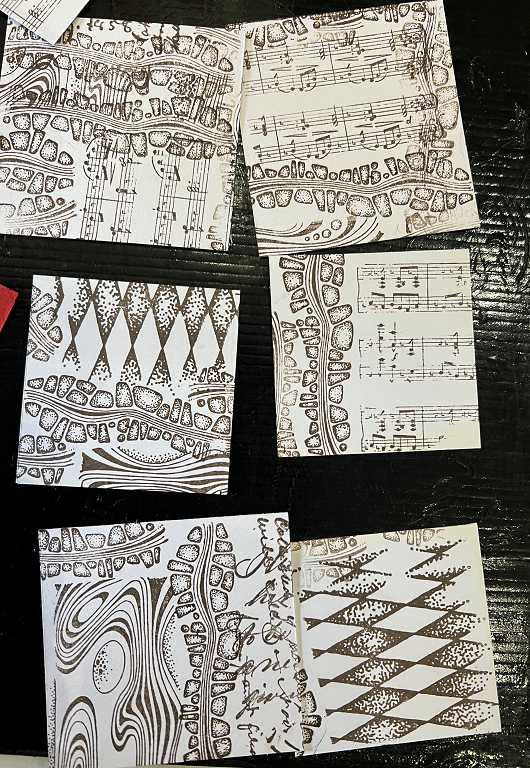
A few detail shots to show the stamping and coffee-dyeing.
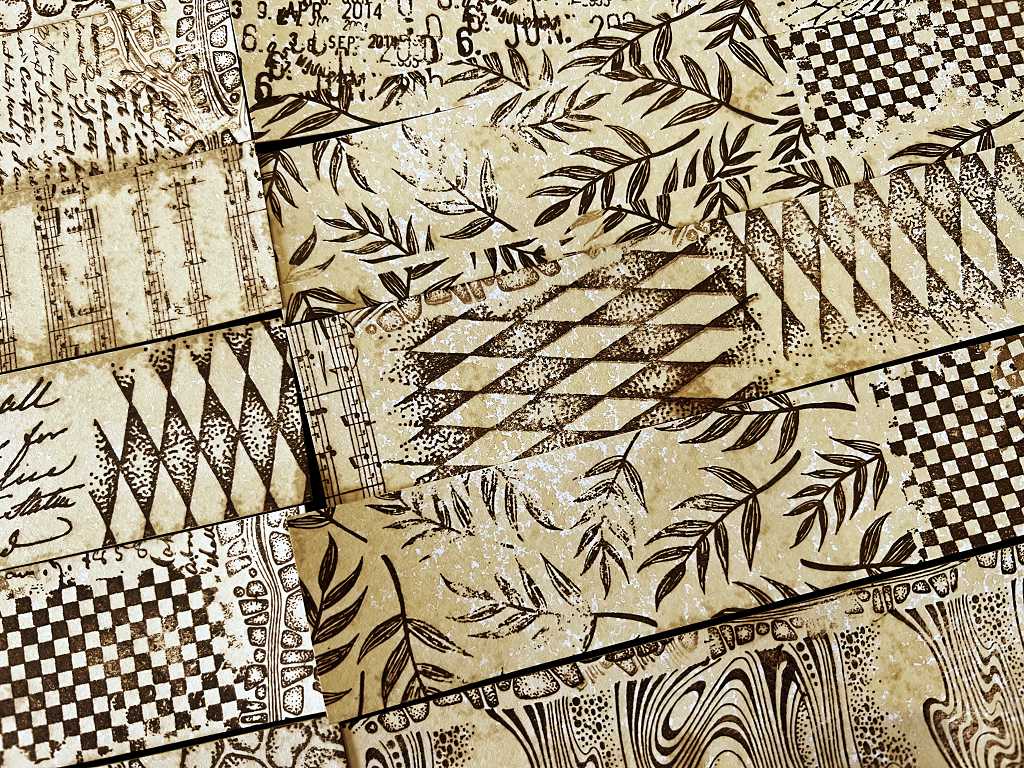
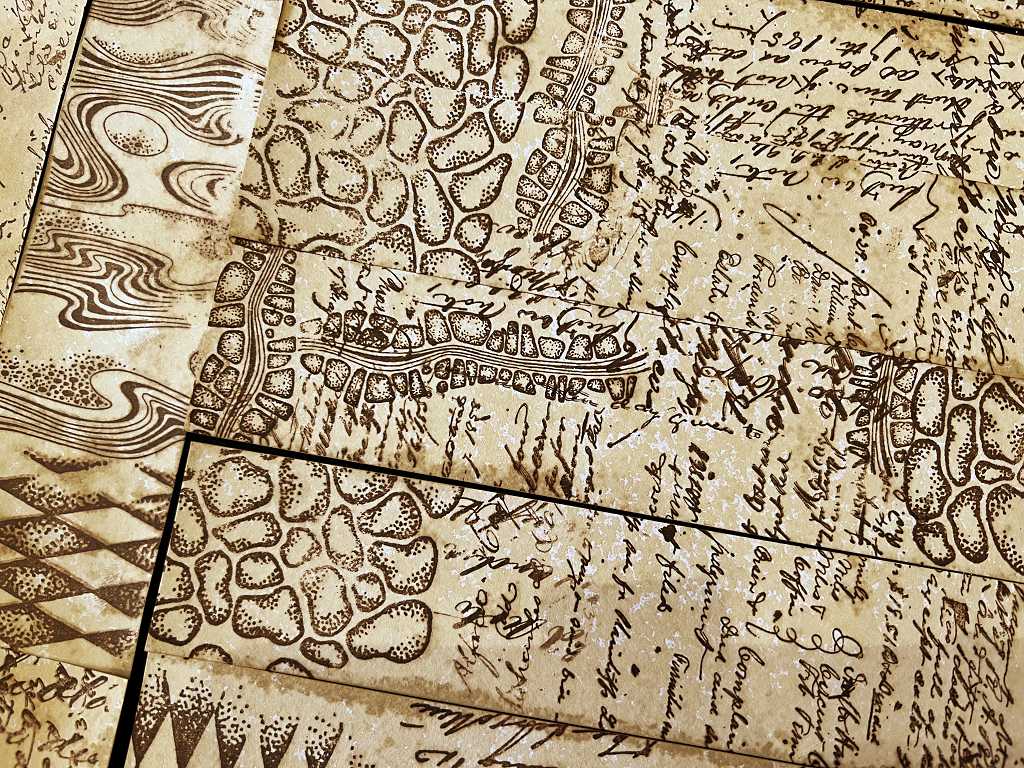
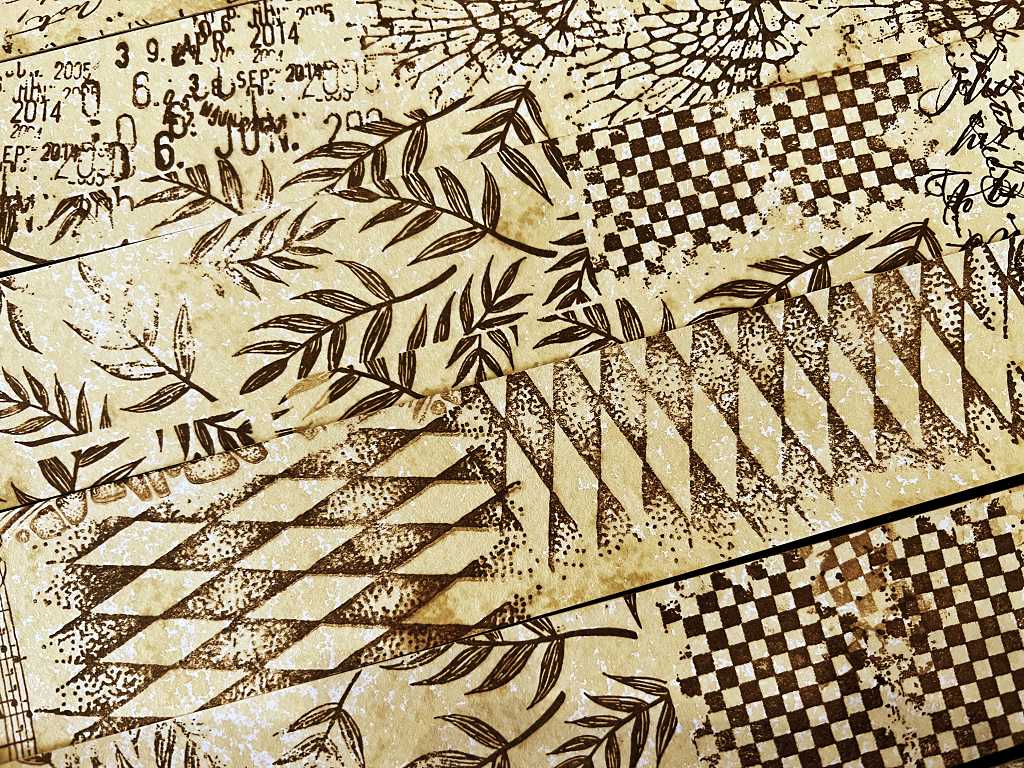
I love the effect. I shall keep some of the wider strips to make into small tags, pockets or tuck spots. Some of the narrower ones I may trim down further.
I now have a further stash of useable strips to go along with my brightly-coloured decorative ones and the DIY washi tapes I’ve made from various bits and pieces, and printed out from the Graphics Fairy Premium Membership site too. I keep all these strips in a long narrow Really Useful Box and I can tip out the contents and have a good rummage for what I want on any given occasion. I did a bit of random background stamping on some strips a while back, for my Oriental-style album; these were stamped on some of the ghastly scrapbooking paper that has continued to blight my life for over a decade! I bought it in my very early days when I didn’t really know what I was doing, or what I wanted to do, and I’ve made inroads into it over the years and repurposed it. Its surface is very unforgiving as it is slightly waxy and resists many water-based inks but with a bit of perseverence I’ve managed to alter a lot of it and put it to good use.
Here are some of the push-out elements from the back of the stack of scrapbooking paper, which I have stamped with a background stamp. A total transformation, and useable at last.
It just goes to show that you should never throw anything away. I’ve had that paper for so long, and in the old days I didn’t have the knowledge I have now to alter it and make it useful, so it just sat in the drawer. I never thought I would use those little push-out shapes, some of which had text on them that I disliked, but with a bit of layering and stamping, and being used as components in other things, they are perfect!
My big scrap box really doesn’t look much different after today’s little effort but I shall definitely do some more with the scraps. I shall make some layered clusters, tags and other elements for albums, and for greetings cards.
I have a polywallet for my collage scraps. These tend to be mis-shapen small pieces which vary from fairly thick card down to tissue paper. Many of these are offcuts of gel prints.
There are plenty of YouTube videos where people show how to put their scraps to good use, and I’m gaining a lot of inspiration and ideas, and with this knowledge under my belt I should soon be making further inroads into my overwhelming collection of scraps!
And now, as they say, for something completely different.
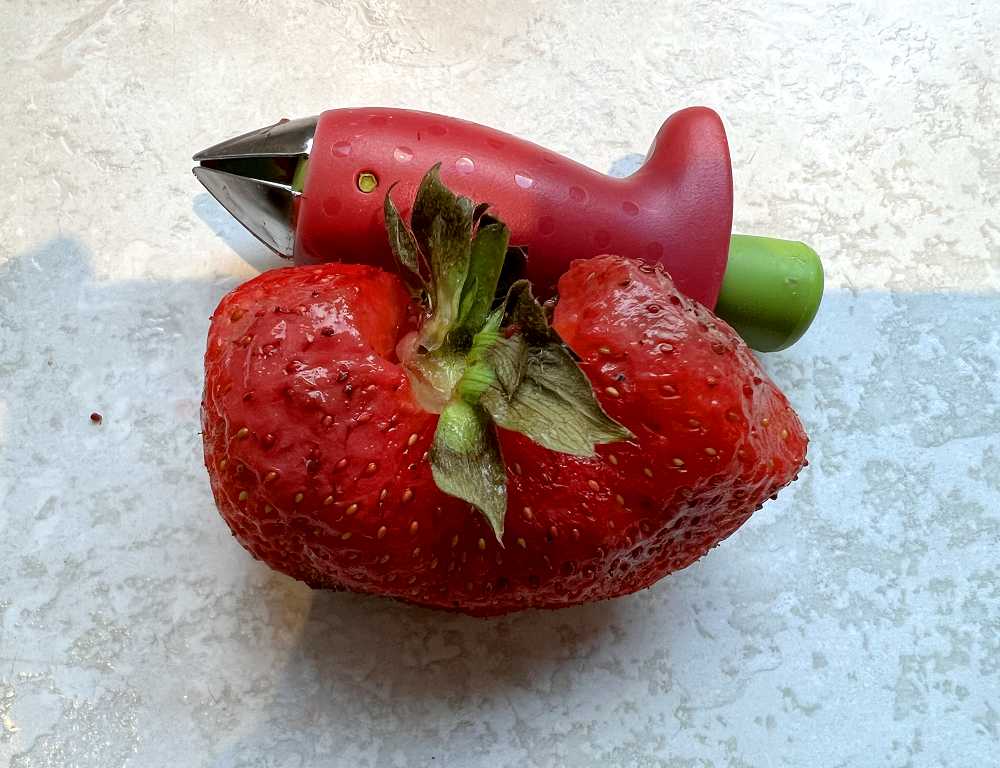
A conjoined twin strawberry
I posted some photos of what I call conjoined twin vegetables the other day. I don’t know the reason for this phenomenon but I seem to be getting more and more fruits and vegetables which appear to be two fused into one. Is there some sort of genetic effect from pollution or something? It is all rather bizarre.
Last week I bought a pack of strawberries and some of them were simply enormous. One of them seemed to have a cleft at the tip, and when I examined it more closely, the green bit at the top was double as well, so it was definitely another conjoined twin!
Very strange indeed. You can see my other conjoined twins here.