ORIENTAL STYLE ALBUM – A COMPLEX POP-UP, AND SOME VIDEOS AT LAST! ALSO KITTIES AND EASTER
I have been busy with the Oriental Style Album, creating more elements and working on some videos of the work in progress. Eventually I shall make a flip-through of the whole album, once the project is completed, but in the meantime I thought it would be good to do some videos of the more interactive parts, as these are hard to photograph to their best advantage.
Page 1 – The Waterfall Element
Full details of this can be seen here and here.
Here is the video about this page.
Page 2 – The Fan Pop-Up
Full details can be seen here.
The video:
Page 4: Complex Twisting Pop-Up
I had a great deal of fun working on this spread. The pop-up is under the flap on the right-hand page.
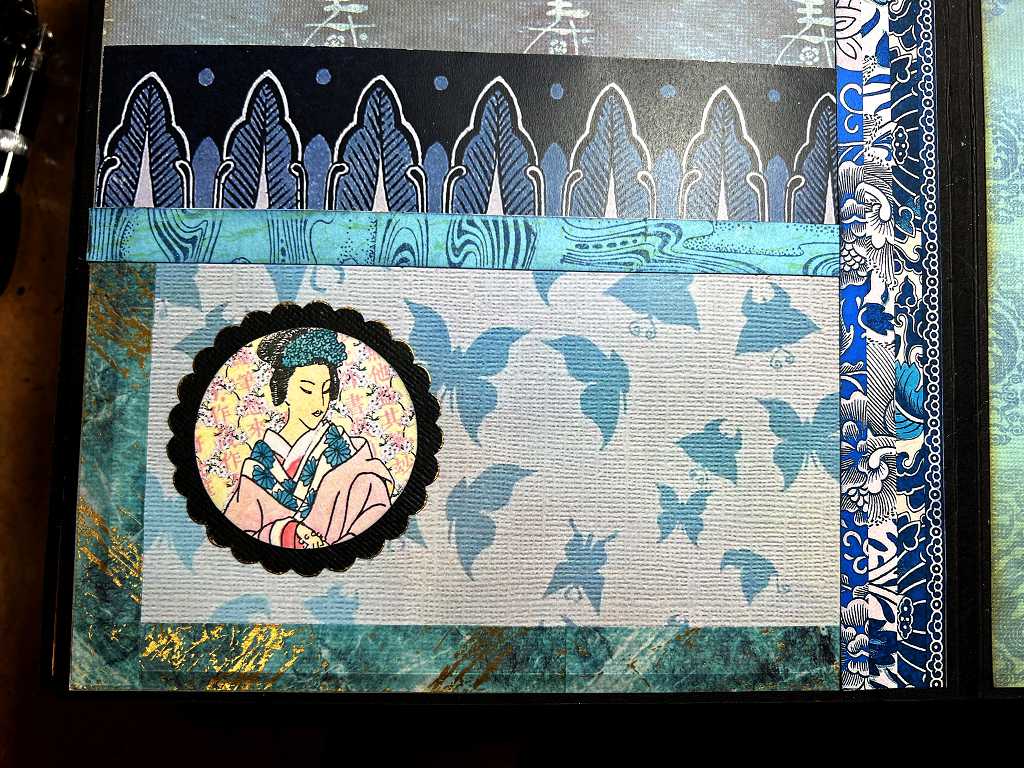
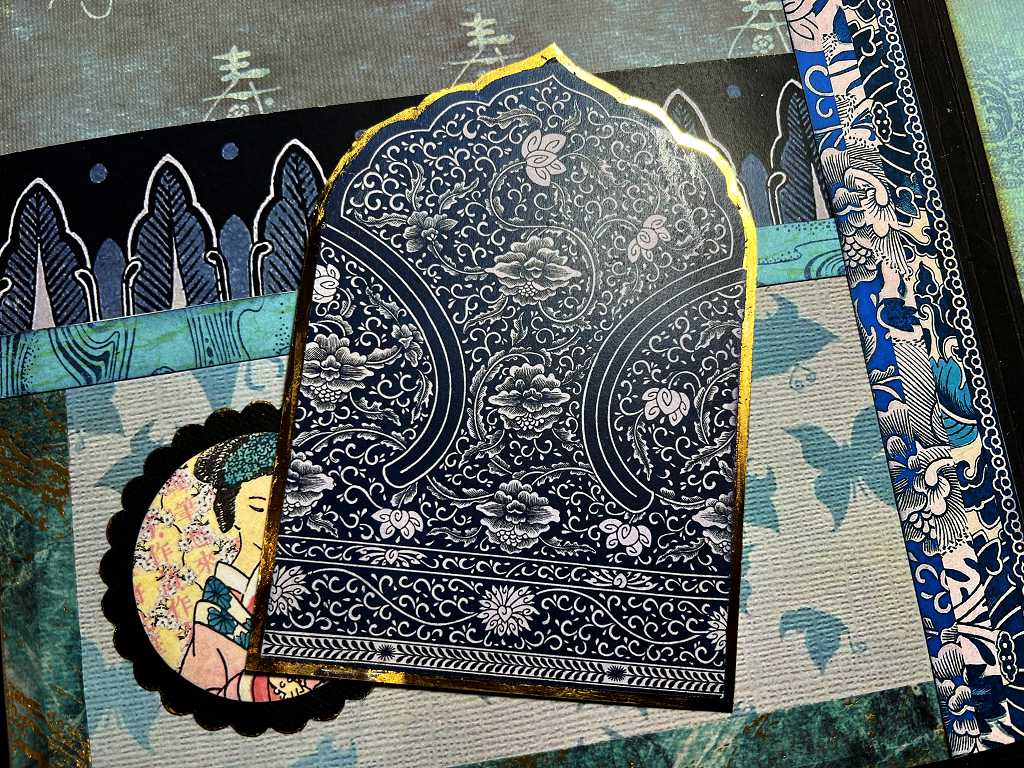
On the left-hand page, I created two overlapping pockets using a combination of DCWV paper stack papers and papers and elements from the Graphics Fairy Premium Membership site (I am so glad I began subscribing! There is an absolute wealth of material there and I am loving the quality and variety.) The page includes some of the Graphics Fairy washi strips that I printed and cut out, and stuck down with double-sided tape, and some genuine washi tape (left-hand side and bottom of the bottom pocket) – this has gold in it. The washi strip across the top of the lower pocket is one of my DIY ones which I made from a paper strip that I stamped on – these came out really well. You can see further details of these here.

The paper forming the front of the top pocket, and the papers for both the tags, are from the Graphics Fairy, as is the circular motif on the lower pocket. I backed the smaller tag onto black cardstock and left the back blank. After punching a hole, I reinforced it front and back with paper reinforcements cut from gold card. I have recently acquired a We R Memory Keepers hole reinforcer punch which works pretty well – my only complaint about it is that it is solid on the back, so you can’t see to line it up accurately on the card you want to cut the reinforcements from. Most punches have the mechanism exposed so you can see exactly where they are going to punch. I backed the larger tag onto gold mirror card which is shiny white on the back – I dabbed some blue Distress Ink onto this with a DIY blending pad to soften the effect of this.
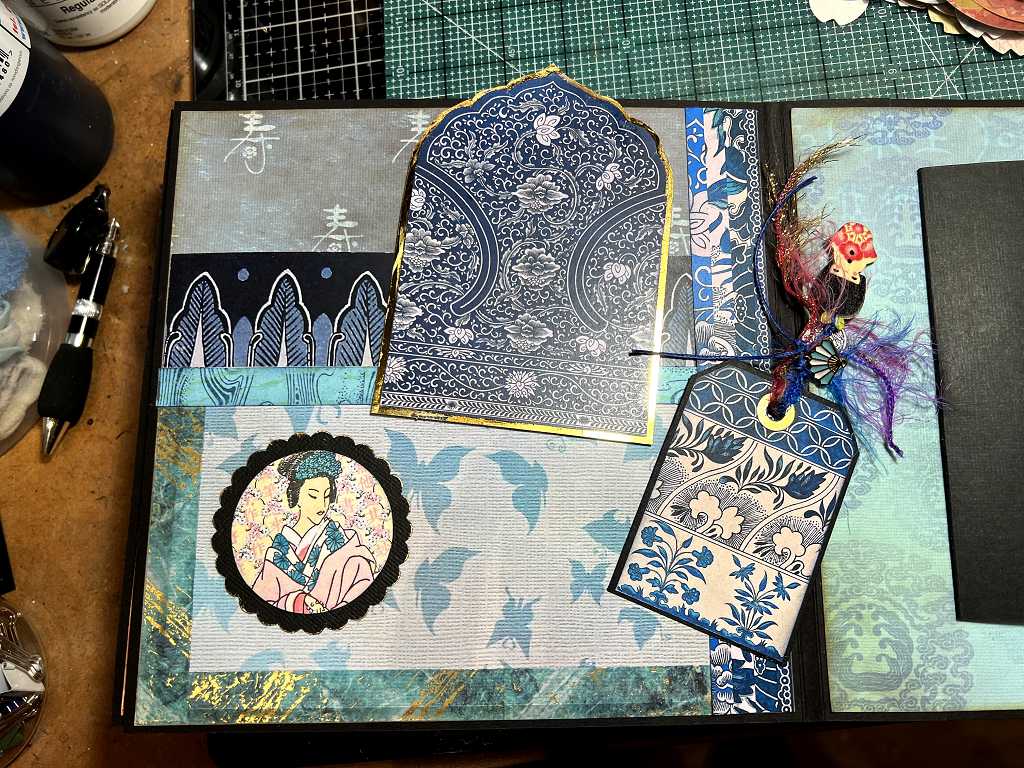
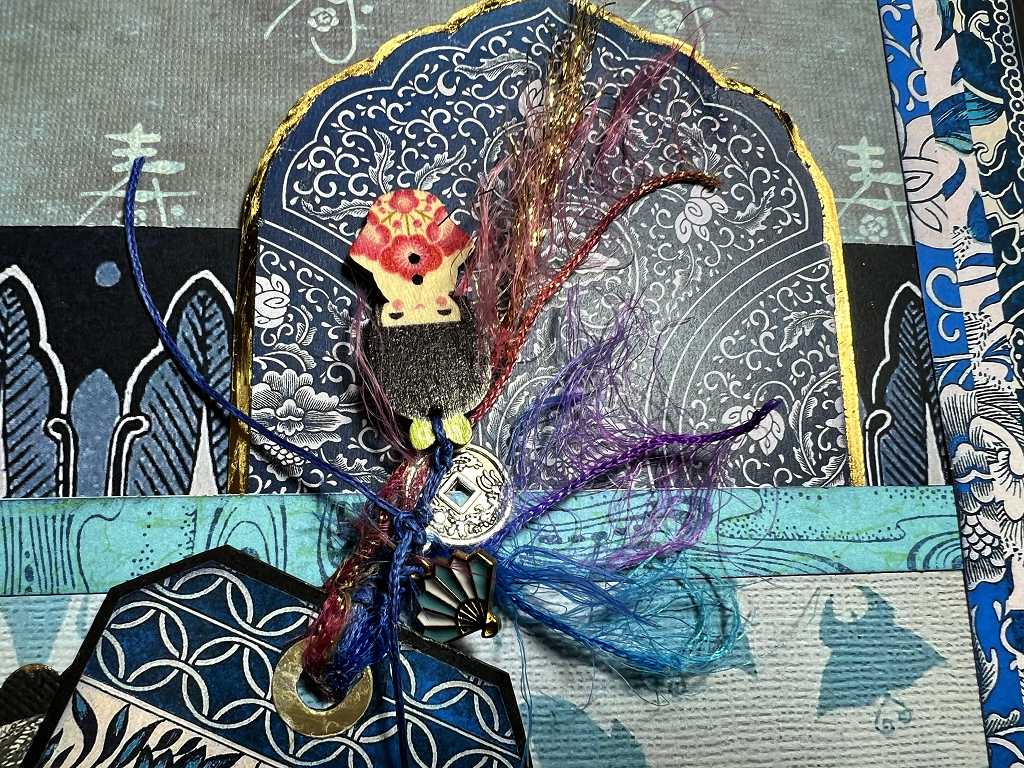
The top of the small tag has varius scraps of waxed thread and fancy yarn, and the addition of a small metal fan charm, a little coin, and another of my adorable little wooden buttons in the shape of a Japanese girl. I glued the back of this attachment to stop the various pieces coming undone but the glue has dried shiny and a bit too visible, which is a shame. (More about glue below.)
The embellishments on the top of the small tag are designed to stick up above the top of the page when the album is closed.
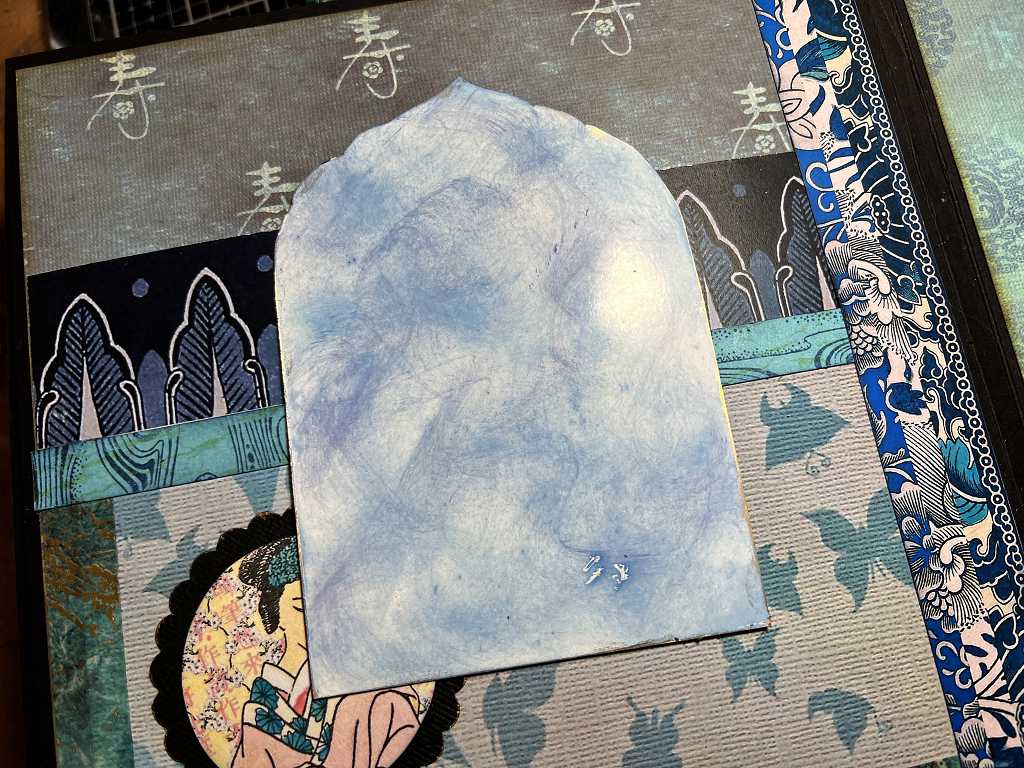
The back of the large tag, showing the random inking.
This is the right-hand page with the flap made from black cardstock, which is part of the pop-up. To the left of the picture (from the Graphics Fairy) are two washi strips; the blue one is a Graphics Fairy one, and the red one is another of my DIY printed ones. The flap is opened by a gold ribbon loop glued etween the layers of card, along with a magnet which secures the flap closed.
Here is the main part of the mechanism after I had just glued it in place. There were also some narrow strips added top and bottom for extra pictures, not yet attached in this photo, onto which additional pictures would be glued.

The card half-closed, showing how the mechanism twists.
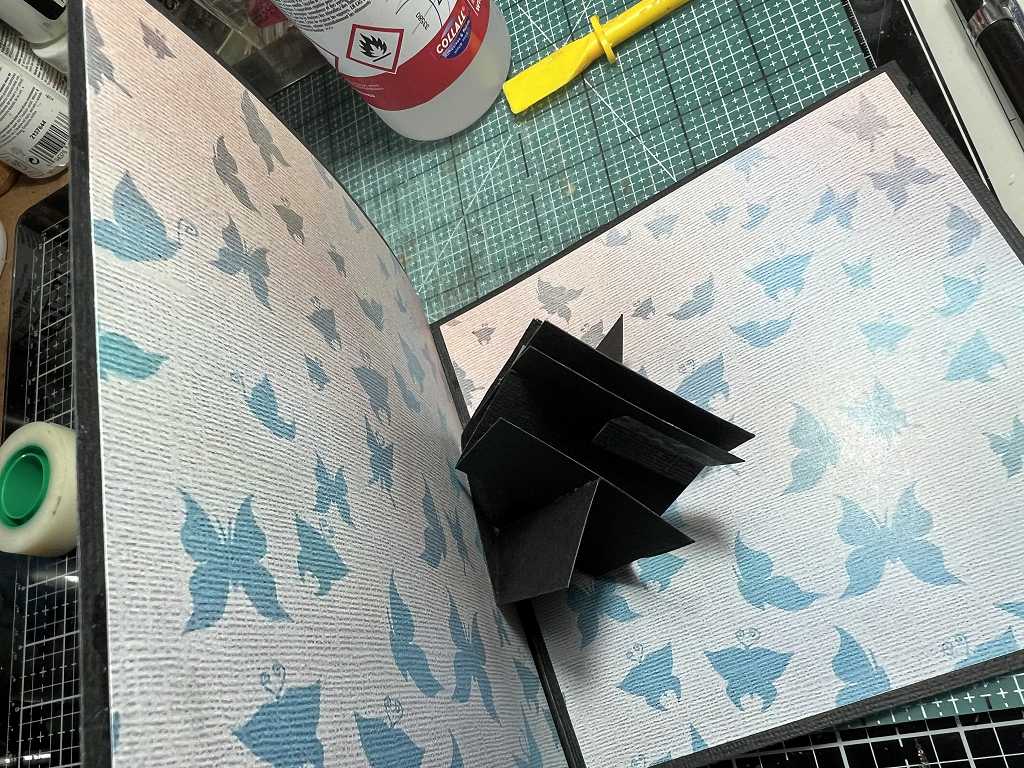
The completed pop-up.

This is an extremely clever pop-up. I am always amazed how pop-ups fold flat and are invisible when the page is closed, and spring to life when opened. The instructions for making this pop-up can be seen here on YouTube. There are plenty of videos of the same mechanism. Unfortunately this one was done with metric measurements which I really don’t like using, but I was able to translate them into inches.
The video of my pop-up, complete:
Quite magical, isn’t it!! It was a bit ricky to get the final two cards glued in place (the very top and bottom ones) so that they didn’t catch. I had to try to close the mechanism before the glue had dried, in order to make any adjustments, and of course every time it caught, the card moved. Eventually it was OK, and it worked perfectly once the glue was dried. With all pop-ups, you have to work them a few times to loosen everything up so that they work smoothly. I think this is the most difficult one I’ve made to date. Well worth the trouble, though, and it’s definitely one I shall be making again.
The pictures on the little rectangles are from the Graphics Fairy. The patterned papers are from my little pack of genuine Japanese embellishments that I bought several years ago at a craft show. For the two small pictures at left and right, I tore some red cardstock along my DIY deckle edge ruler which works very well, but being plastic, you have to hold it down very firmly when tearing against it, as things are apt to move.
You can see that I have added a couple more images from the Graphics Fairy either side of the pop-up.
I have plenty more ideas and inspiration for other interactive mechanisms for the remaining pages that I haven’t yet begun work on in the album, so watch this space!
Glue
Following on from my recent gripe about glues, my Aileen’s Tacky Glue in its upside down bottle duly arrived, and as expected, I had pretty much the same problems with this as before. The bottle is indeed quite hard to squeeze, as reported by Sam Calcott in her excellent glue review! It’s sitting on the desk and I shall probably get around to using it on occasion, but in the meantime, my triple-pack of Collall All-Purpose Glue arrived from Amazon – this glue was recommended by Sam as her first choice, and she isn’t wrong! This stuff is amazing. It is much more liquid than the other glues, but being solvent-based, it doesn’t wet the paper and cause it to buckle. The only problems with it are 1) it stinks (not much to be done about that! It’s acetone-based), and 2) the clever nozzle on the bottle, which you open and close by twisting the lid, which stops it drying in the neck, has a hole that is much too large for my taste. The first time I used it, a great blob of glue came out because I squeezed the bottle a bit too hard and didn’t realise how large the hole was!! Anyway, this latter problem is definitely a temporary one, because I’ve got some fine needle-tipped glue bottles on order. These are very cleverly designed with a pin fitted inside the lid, which automatically goes down into the needle tip of the bottle every time you put the lid back on, preventing drying in the nozzle. I am sure that once these arrive (there are 2 in the pack), I shall be well away with the Collall glue. I shall try putting some of the Aileen’s Tacky Glue in the other one but I think it might be a bit too thick for the nozzle.
Another slight disadvantage of the Collall is that it dries shiny. This is very visible on the back of my small tag (see above), but with the precision-tip bottle I should be able to do a much neater job in future and keep the glue only where I want it. As Sam said in her review, this feature can actually be an advantage, because you can use it a bit like Glossy Accents, to add a bit of shine to selected areas of work.
Kitties
The kitties have been out in the garden a few times now the weather is improving, but my hubby has been out a lot so they haven’t had much chance. We don’t let them out when I am here on my own, because once, I was here alone and one of them escaped into the next-door garden and I had a terrible job catching her and bringing her back, nearly falling on the steep steps. The defences are pretty good now and my hubby keeps an eye on them (we get occasional wind damage to the fence panels etc.) and the kitties seem to be happier to stay within the confines of the garden these days and not always be seeking a way out. Ruby was always the worst for this, but now they are nearly six (goodness!!) perhaps they are settling down a bit!
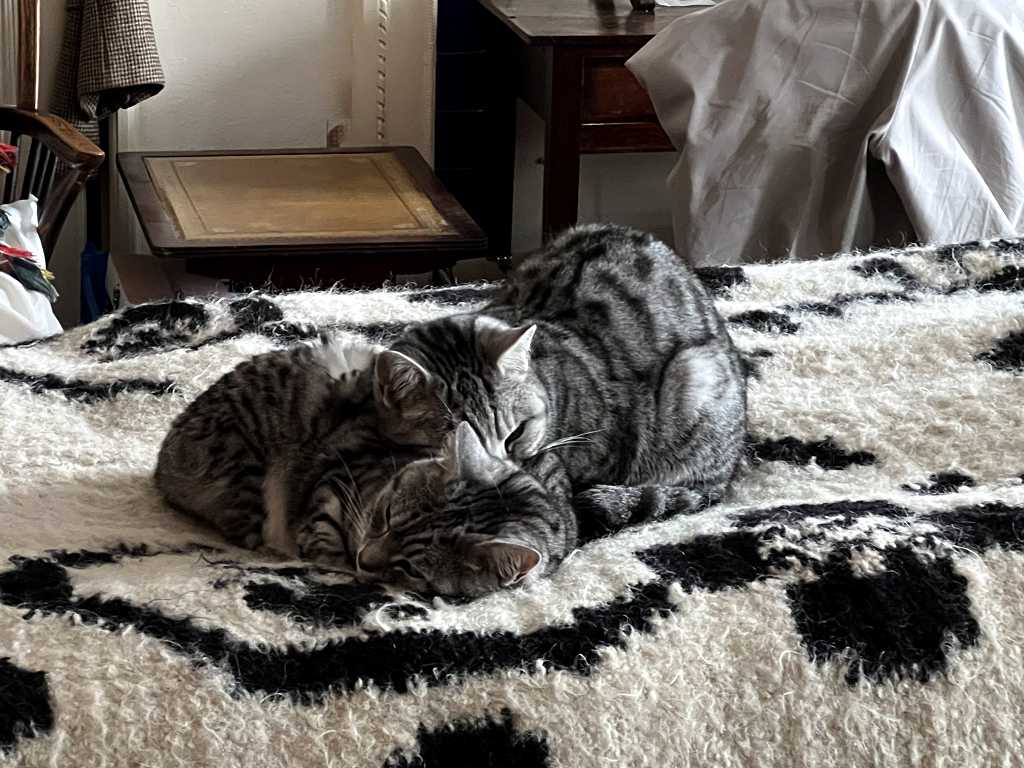
As usual they have been doing a lot of sleeping, and are so sweet when cuddled up together.
Lily absolutely adores my hubby, but she can’t stand books. She simply hates it when he’s reading, and definitely makes her presence felt. He’s such a softie with her that he always gives in to her wishes!!
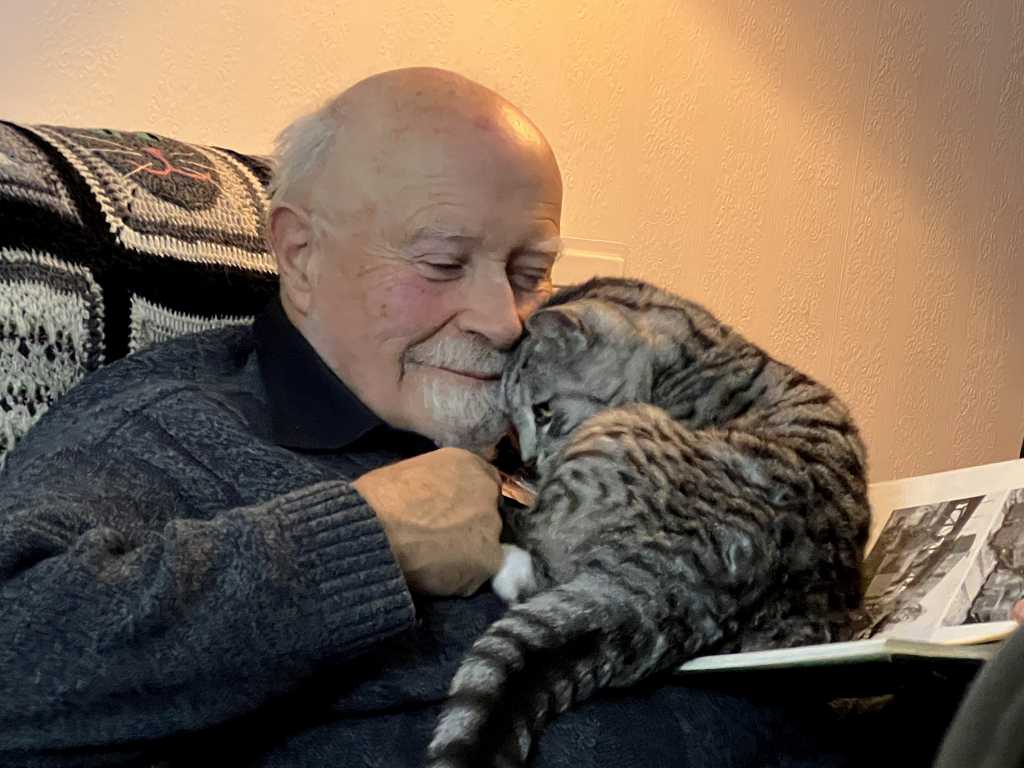
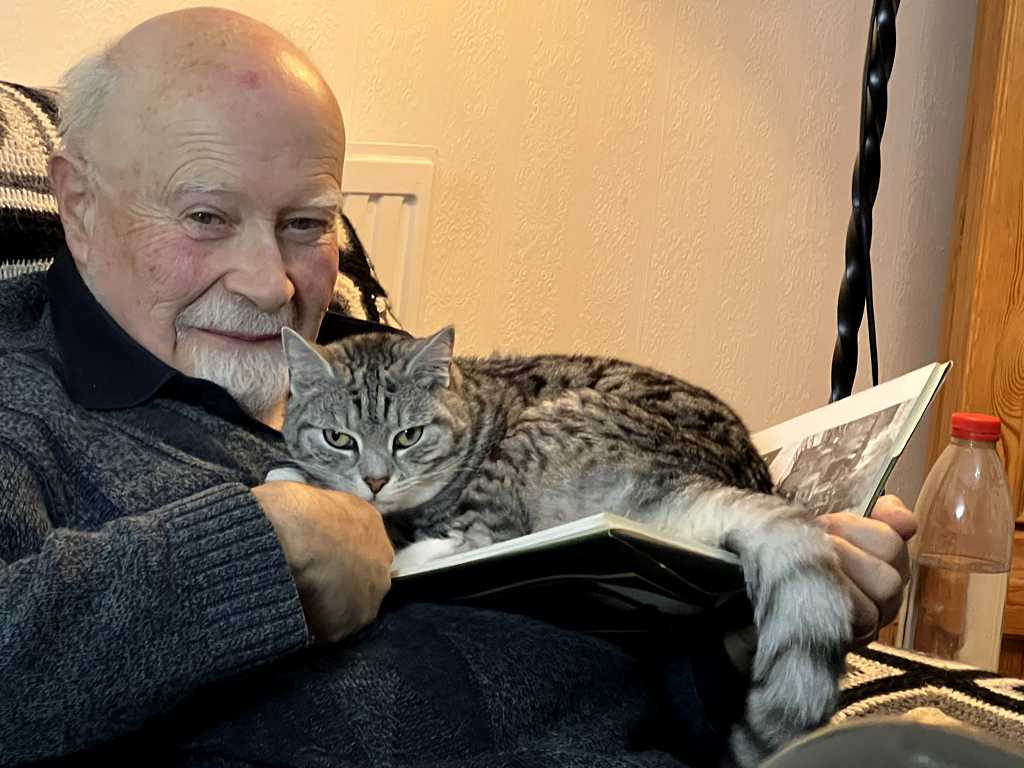
As you can see, not a lot of reading is going on.
Easter
We had a brilliant Easter. We went to a church some distance away – a beautiful little Congregational chapel which is a listed building with its original box pews with doors, painted organ pipes and some very pretty marquetry on the pulpit. The people there are so lovely and welcoming and friendly, and we all enjoyed a lovely service with lots of great singing.
We took a very elderly friend of my hubby’s with us. He is nearly 95 and recently lost his wife so he’s on his own now. He wanted to go to church so my hubby said we’d take him. Neither of his daughters was able to have him on the day and he was feeling very bereft and depressed about it. I do think it’s a bit hard that they left him on his own on the first Easter since their mother died… Anyway, we brought him back here afterwards and gave him lunch. It had to be a ready meal because I wasn’t here to do anything but I did manage to make a delicious chocolate pudding with only 3 ingredients – melted dark chocolate chips, Medjool dates and soya milk, all whizzed in my Vitamix, made the night before and left ready in the fridge.
He said that he had been expecting it to be the worst Easter ever, and it turned out to be the best Easter ever! We were so glad to have been able to give him a special day, and it made it more of a special occasion for us, too.
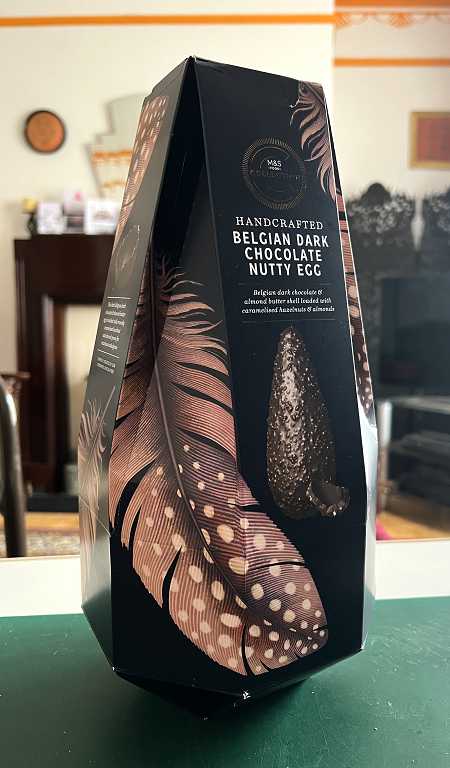
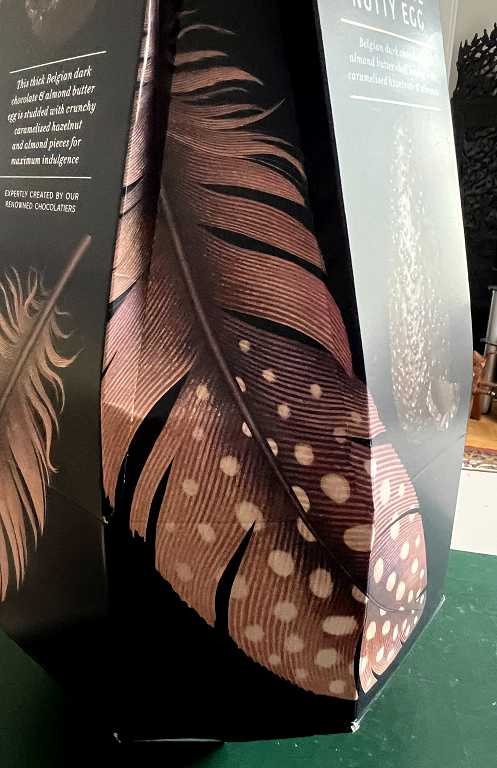
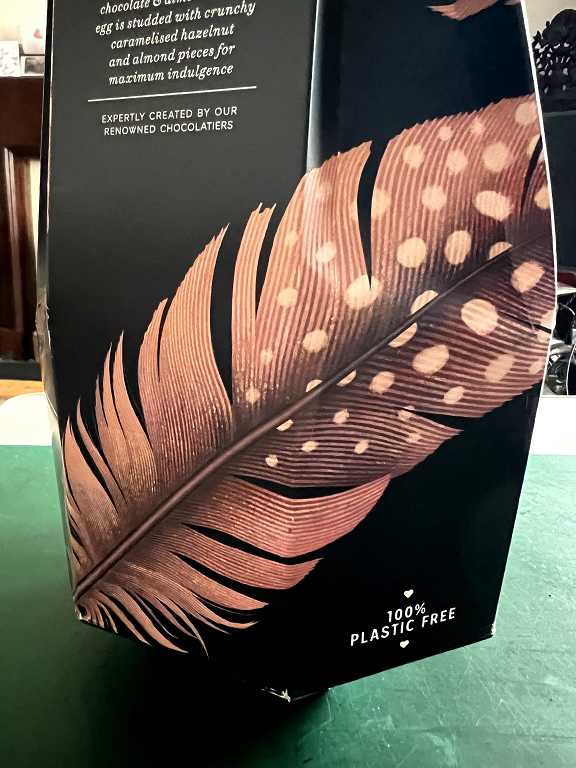
My hubby came up trumps with an Easter egg for me again this year. He always tries to find something a bit out of the ordinary. This time he found one in Marks and Spencer’s – dark Belgian chocolate with chopped nuts, in a fabulous box which I have now taken apart so I can keep the lovely feather pictures on it. (Unfortunately not one of them is a complete image but I will be able to make something of them, I have no doubt.)

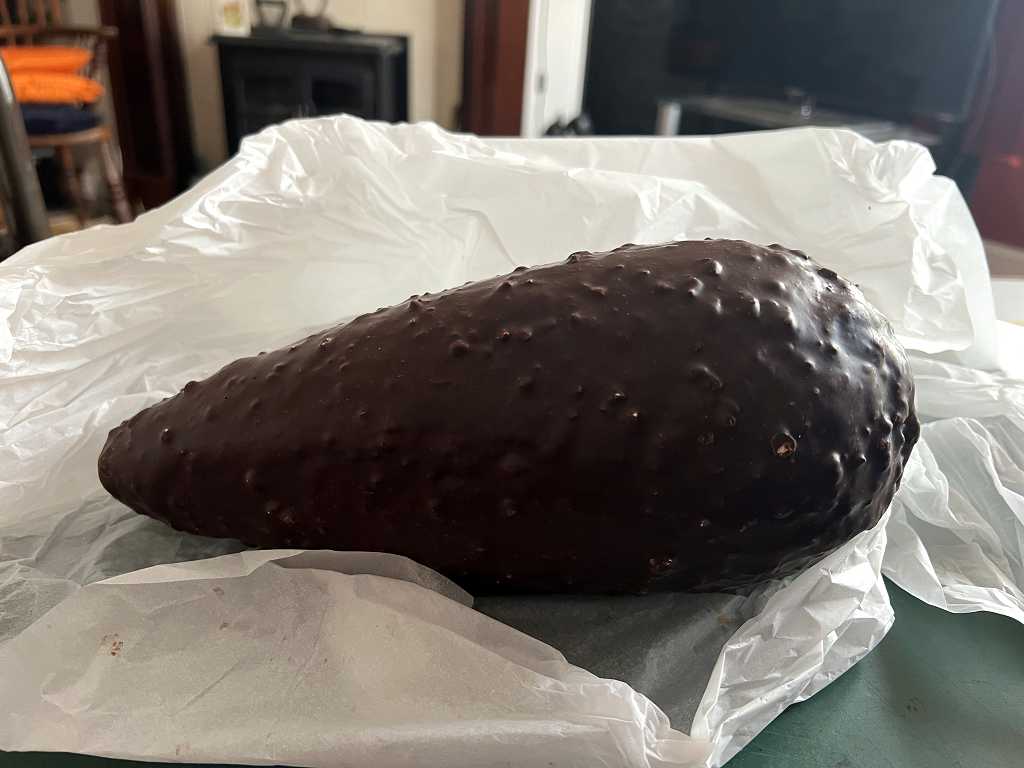
 Inside, the egg was simply wrapped in white tissue paper. Very classy.
 The kitties each gave me a small Nestle egg with Smarties. I’ve opened one of these and the box was quite cleverly constructed with folded pieces inside which will fold flat now the box is taken apart – hard to describe, but they have the makings of a pop-up mechanism if I can work it out!
I’ve been very abstemious for a week and a half – only one of the Smarties eggs has gone, and I’ve had probably about a third of the Belgian chocolate egg.