STUDIO HOUSEKEEPING, CURIOUS CABINETS, DECORATIVE STRIPS AND KITTIES
I’ve been pretty busy lately with a lot of cooking (why does everything run out at once in the freezer?) and various other domestic tasks, and by the time all that gets done, there’s usually no energy left for studio time which is very annoying. However, this has not stopped me being creative from the comfort of the recliner in the evenings.
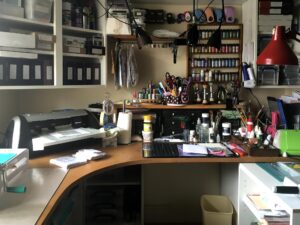
Some studio reorganising and tidying up
Not a lot of tidying up, I have to admit… I am really trying to organise things better. I’ve got a whole lot of really old stuff, and when I have obtained new stuff, it often gets put in different places, so I end up with bits of the same kind of thing in different locations, which isn’t very organised, and it makes finding things difficult. There is masses of old card and paper that I have had for years and I really must use it up. Now I am more skilled at altering things, and know how to use materials better, I will be able to change a lot of the truly horrible papers that I got when I first started doing this sort of thing and didn’t really know what I was doing, or what I wanted to do! A lot of the paper and card is very good quality but it just looks horrible, and no longer suits my style. All that is required is some paint, ink or gesso or a combination, and this stuff will serve as a useful substrate.
Staggering under the weight of it all, the shelf in one of my pull-out units where it is stored decided it couldn’t cope any more, and collapsed some time ago. These are just el cheapo kitchen units and the shelf supports are pretty pathetic and not designed for the mega weights I inflict upon them! For months I’ve suffered with this state of affairs:
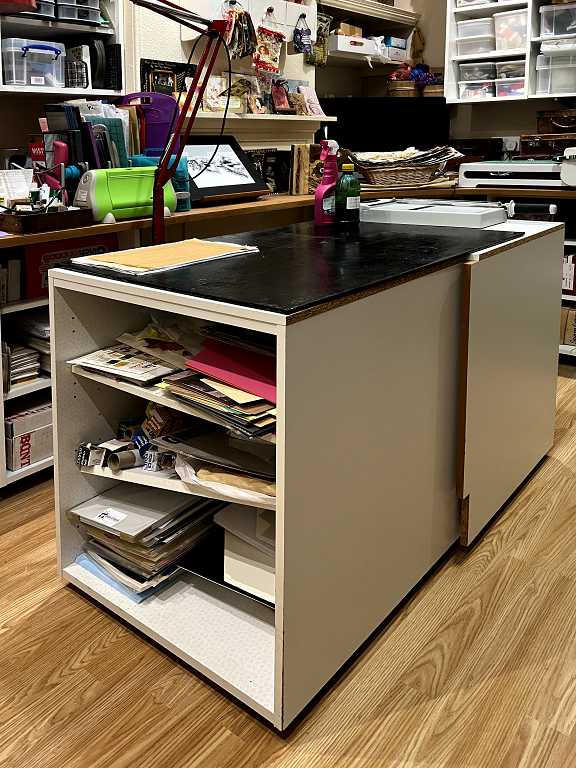
and recently it got worse and collapsed completely. It has made it very difficult to get anything out.
I decided to get rid of that shelf altogether, and do something different.
When I started gel printing, I made this:
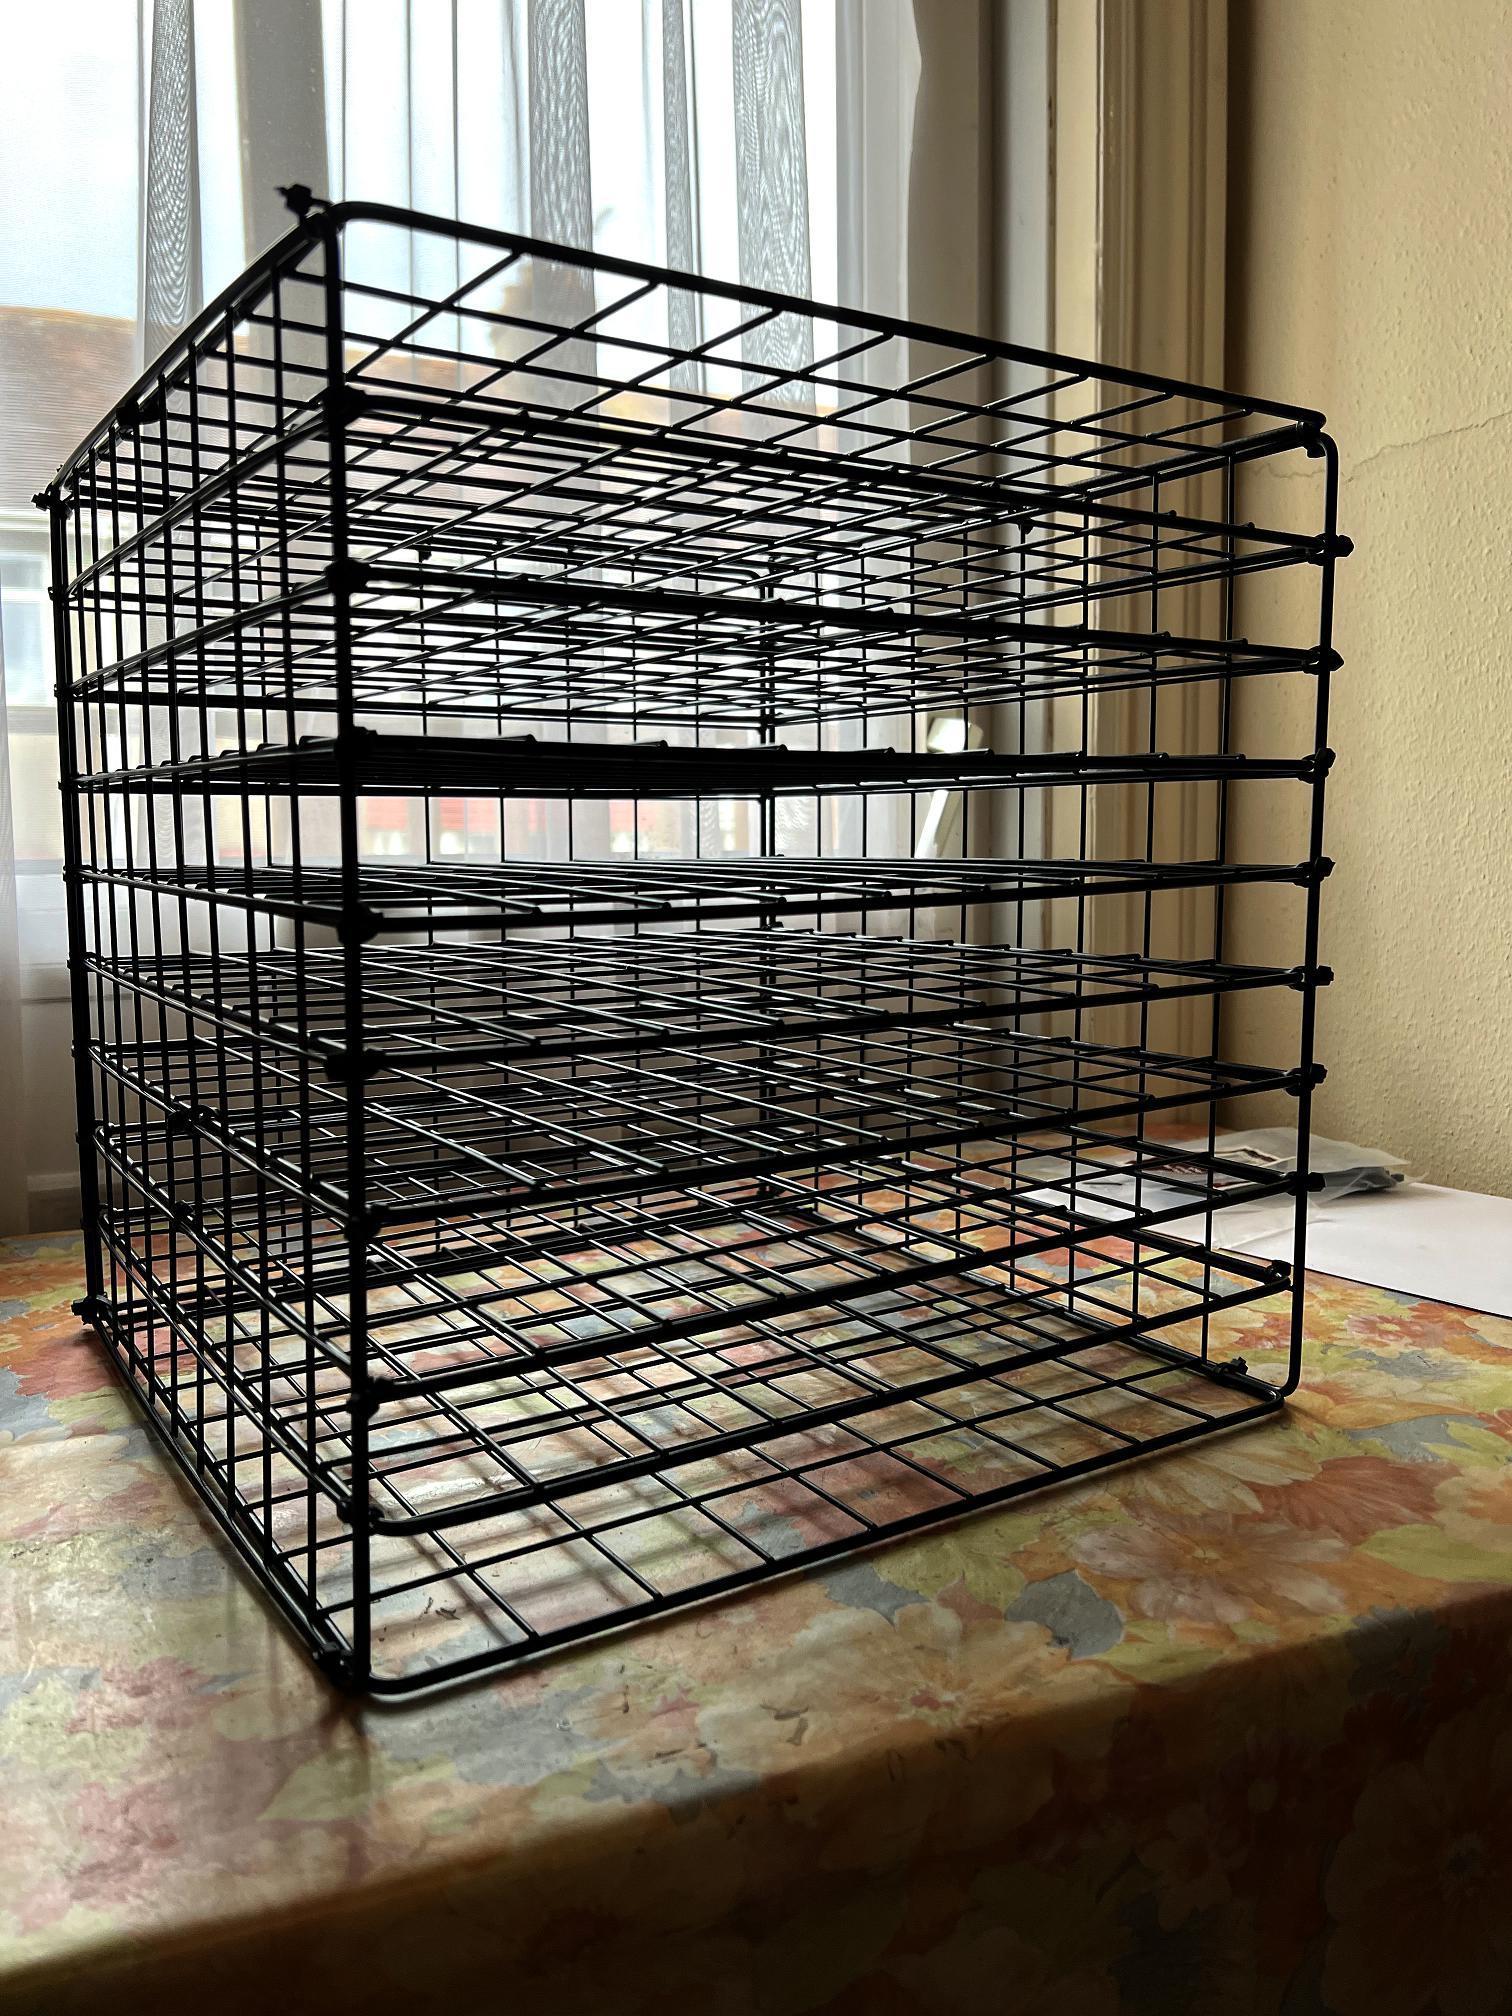
from wire panels, to dry my papers. I eventually removed some of the shelves because they were a bit too close together to get the paper in easily. I’ve got a lot of these panels because they formed part of my storage system in our old house.
I made another one to go in the pull-out unit.
It fits really well in the space, and there is room for some A5 and smaller stuff on the right-hand side. I may make something else for that space, to utilise it better.
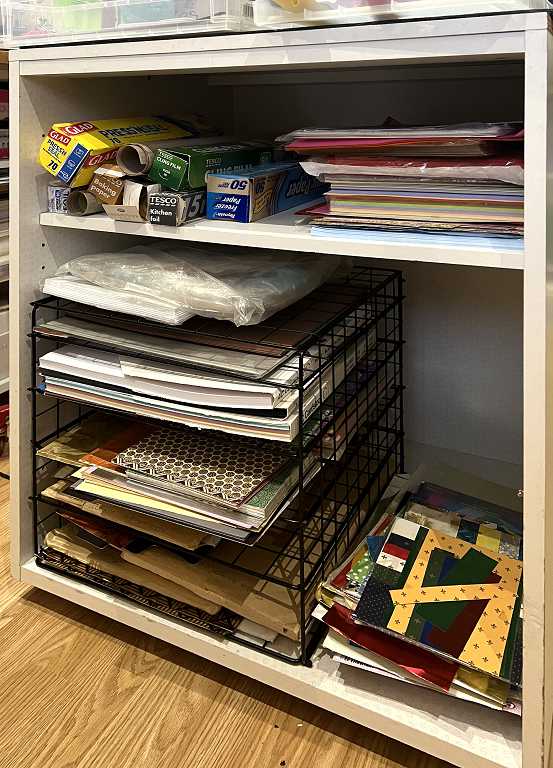
I’ve got another shelf under my main work area where I store a lot of cardstock mostly for card making, and quite a bit of the stuff from the pull-out unit has migrated over there.
The shelf that I removed may go back in the pull-out unit, resting on top of the wire rack, to give me a bit more surface to store things on.
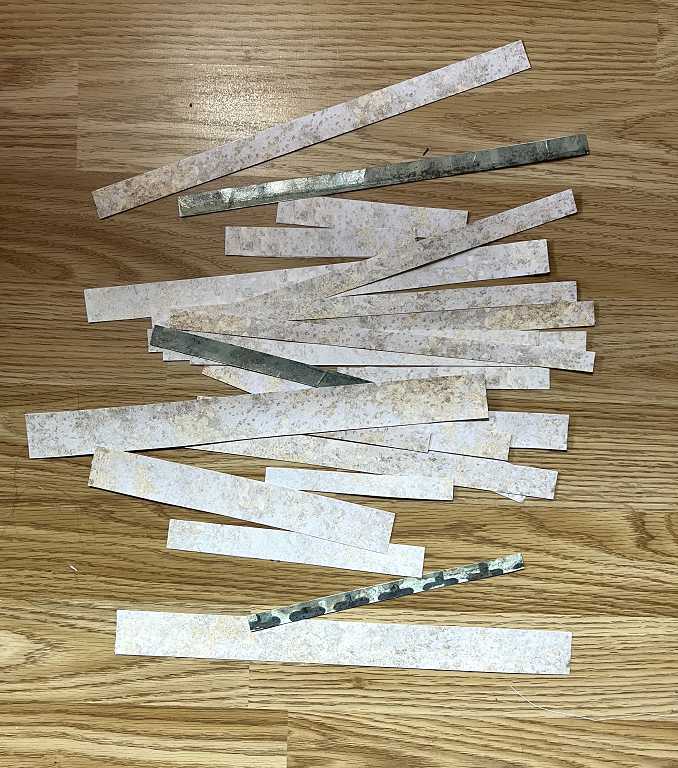
Decorative strips
While I was clearing out the contents of the unit, I found a pizza box with strips of thin coloured card which I have had for more years than I can remember. Someone (can’t remember who) gave them to me, I think from an office.
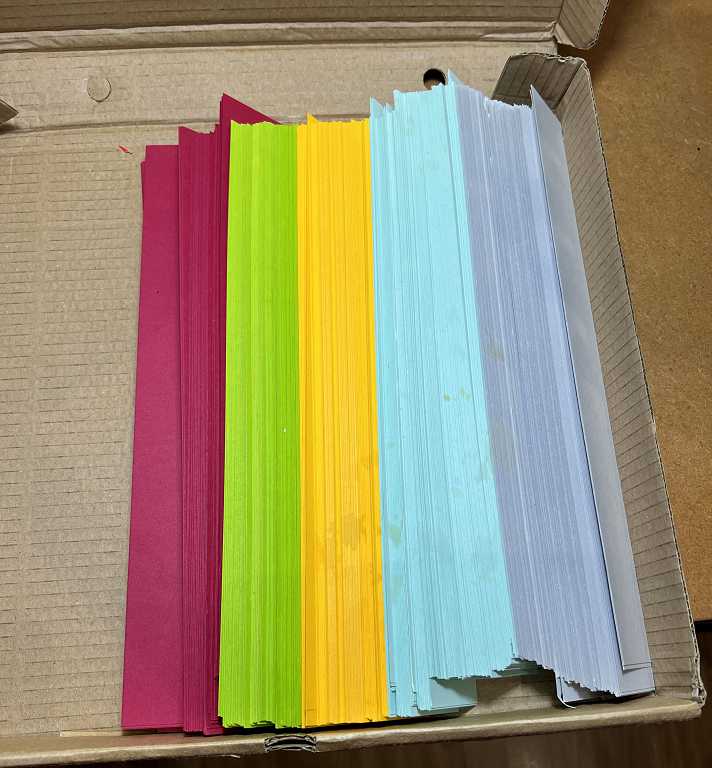
I’ve never really done anything with them, and then last week I saw a smashing video on YouTube with instructions on how to make decorative strips for edging pages in journals etc. Rather than cutting them from larger sheets as she did, I thought this would be a good use for some of those strips of card. I pulled out a selection from all the colours.
I don’t like a plain, dull background so the first step was to tart them up a bit. On the first batch, I scribbled with watercolour pencil and then blended it with a brush, and for the later ones, I smooshed Distress Oxides on them and I really preferred these. I love the effect of these inks. These ones were also spattered with a bit of Seth Apter Goldmine gold spray.
The designs were added with black Posca pens and various bits were then coloured with Sharpies. The final touch was some highlighting detail done with a Tombow Dual Marker blending pen dipped in Dr. Ph. Martin’s Bleed-Proof White (fabulous stuff) – you can read about this highlighting method here (original instructions suggest white gouache but I haven’t got any, and my hubby’s is all dried up!).
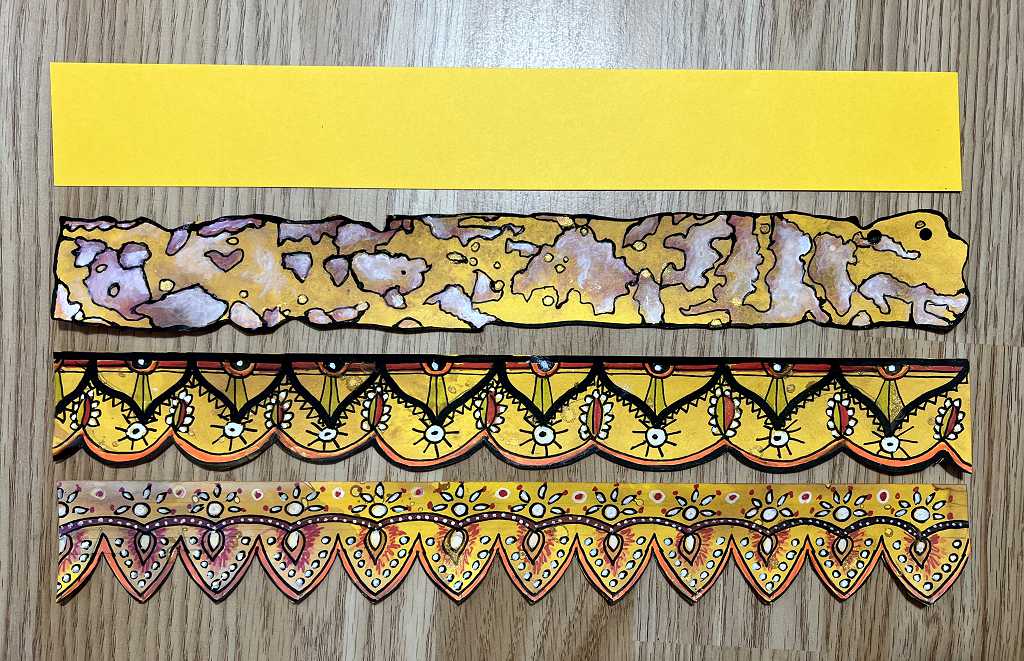
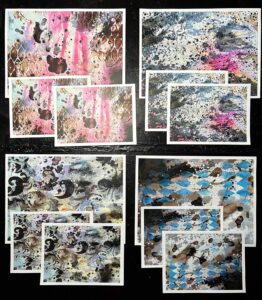
Here are the first ones, with the backgrounds done with the watercolour pencils.
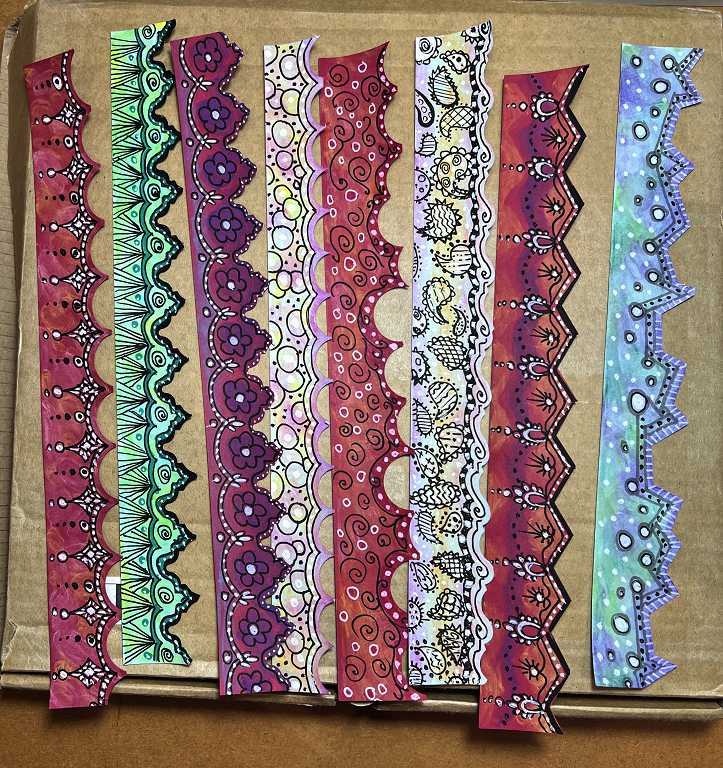
The edges of most of these were created using a variety of different punches. I have a Stampin’Up hexagon punch and I used this for the two on the right, the left-hand one using one of the points of the hexagon, and the one on the right, turning the punch randomly to get an irregular edge. The purple and pale green ones were done with another Stampin’Up punch with a Moroccan tile design – I lined up the edge of the paper half-way across the punch. The very pale pastel Paisley doodle one was done freehand, and the rest with circle punches, either regularly, or randomly. None of these strips have any gold on them.
Here’s a closer shot to show the detail.
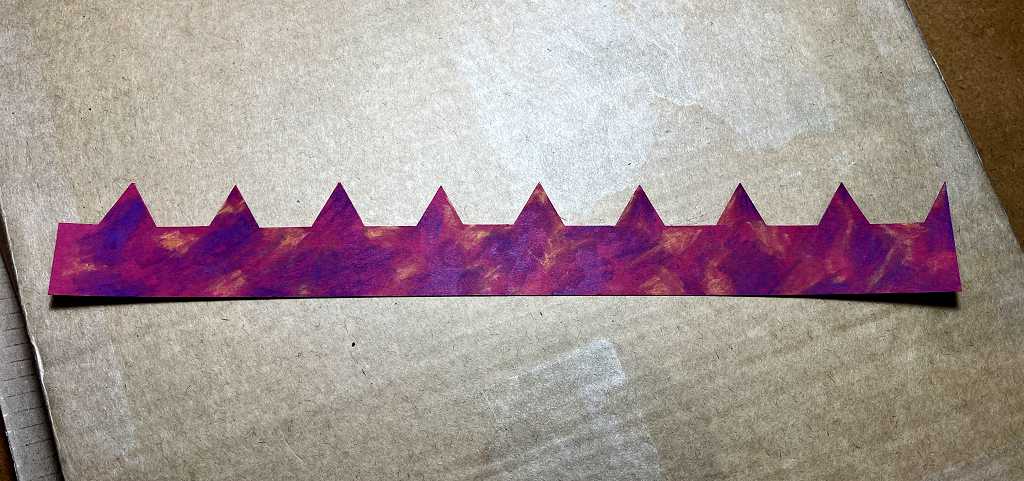
The next photo shows a red one as I was working on it. This was the first one I did with the hexagon punch and it created this series of triangular peaks. I wasn’t sure I liked it very much until I’d embellished it (it will appear in photos later in this post), when I ended up liking it a lot!
Moving on to the Distress Oxide ones, I did these backgrounds in the studio as it was more messy and I needed the desk. Again I chose colours that co-ordinated with the background colour, smooshing on the inks and drying in between each layer. Water spattering didn’t show, as the base card was coloured, so I abandoned that after the first trial, and turned instead to the Seth Apter Goldmine ink, using the tube from the spray bottle to spatter on the ink. The effect was gorgeous.
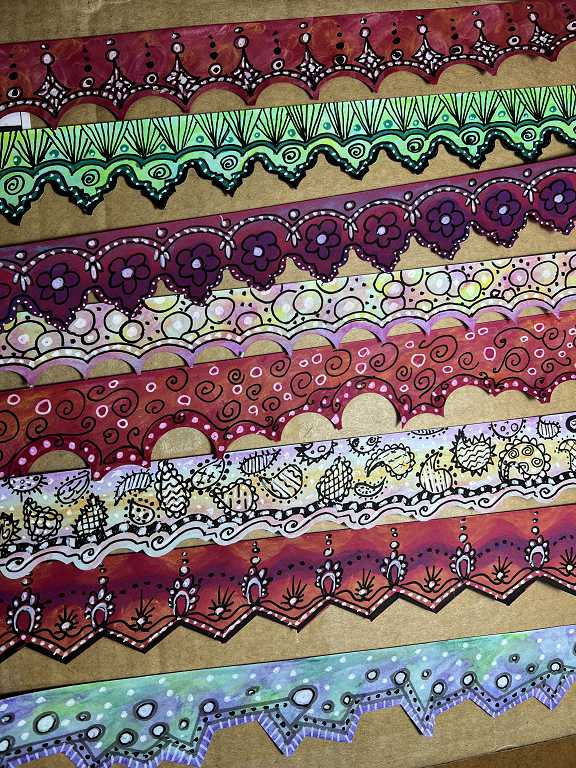
Here is the complete set of decorative strips, both watercolour pencil and Distress Oxide.
A closer look at the first batch:

and the second batch:
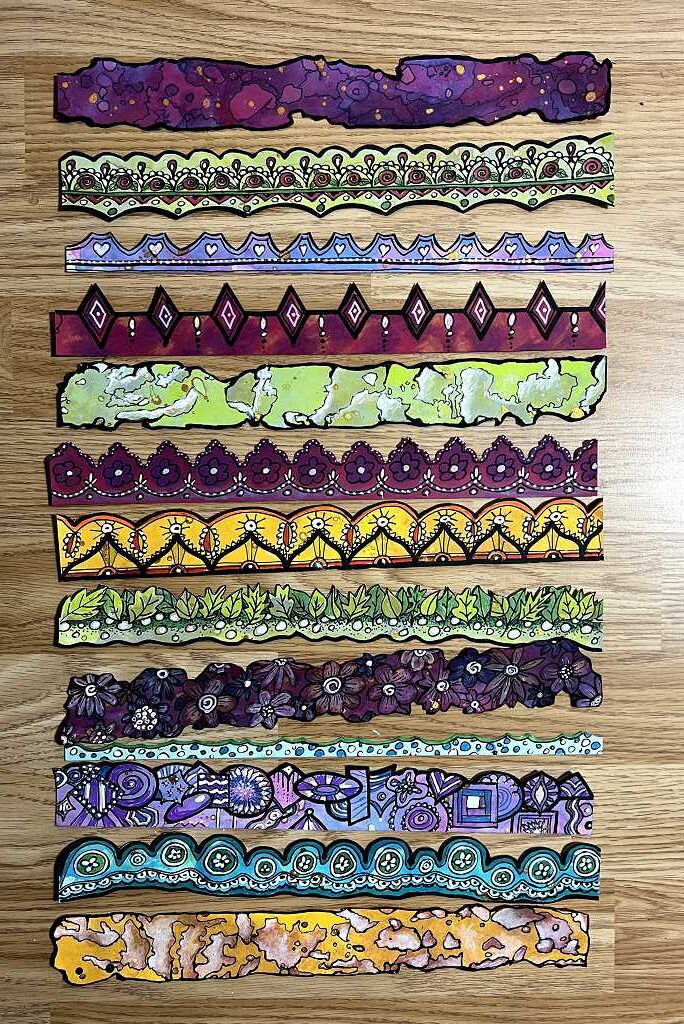
You can see that red one with the triangular points fourth down from the top.
On some of them, I outlined the patches created by the Distress Oxides with a fine black Posca pen, and added white highlighting. I really like the effect of this. I also trimmed away the straight bottom edge of some of them.
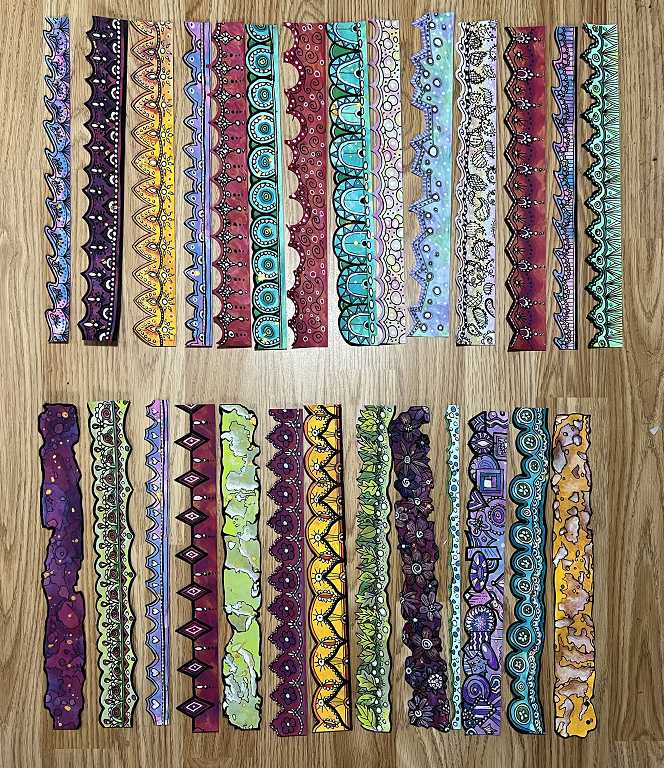
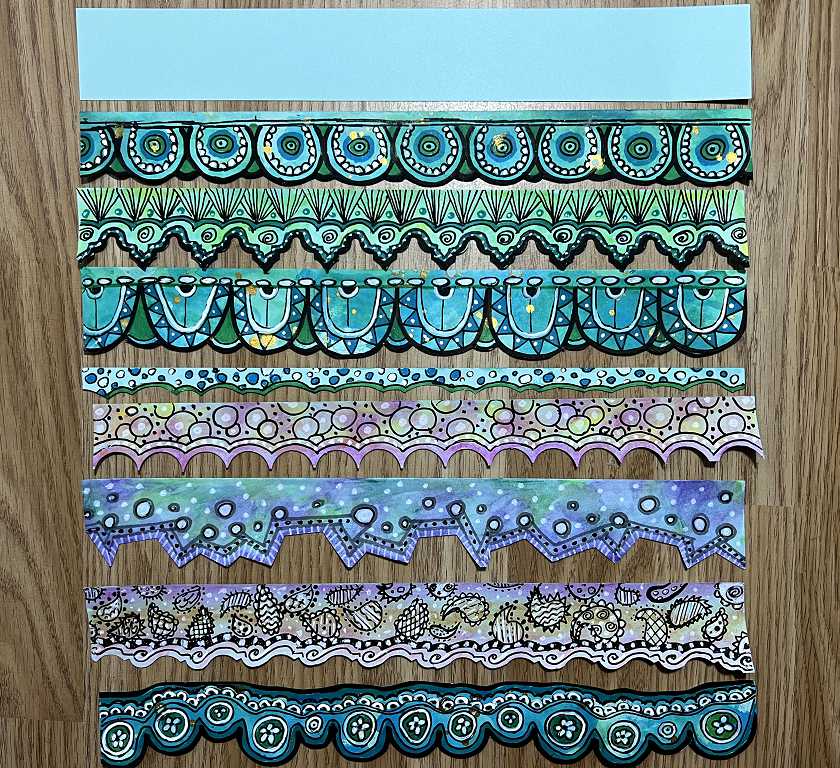
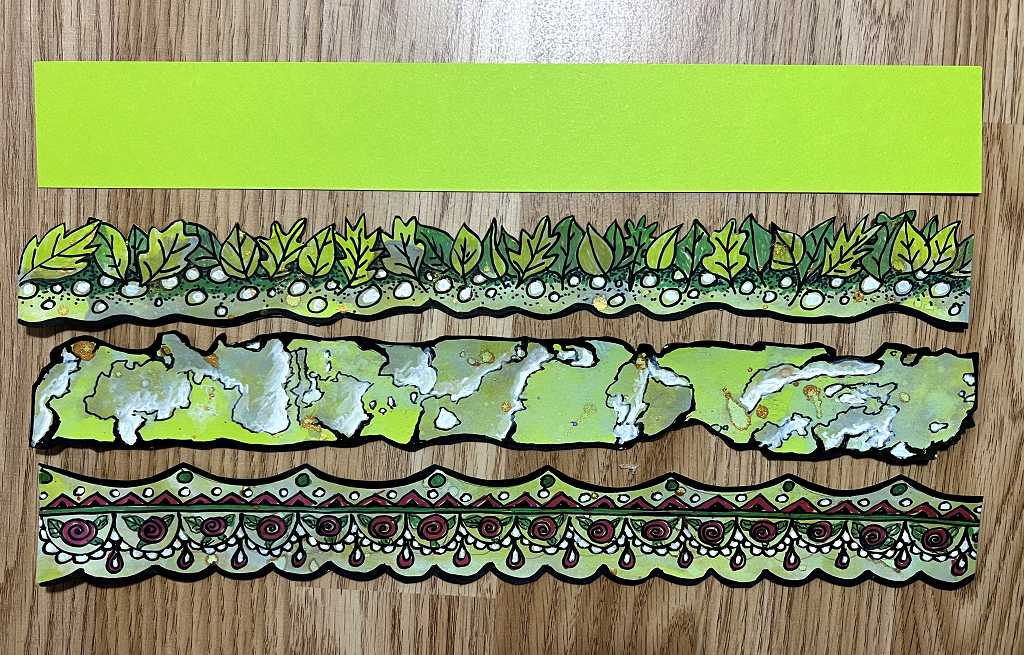
To show how different they look from the original card, the following photos are of the strips grouped according to colour, with a strip of the original card at the top. The first one is actually a very pale mauve, but this doesn’t show very well in the picture.
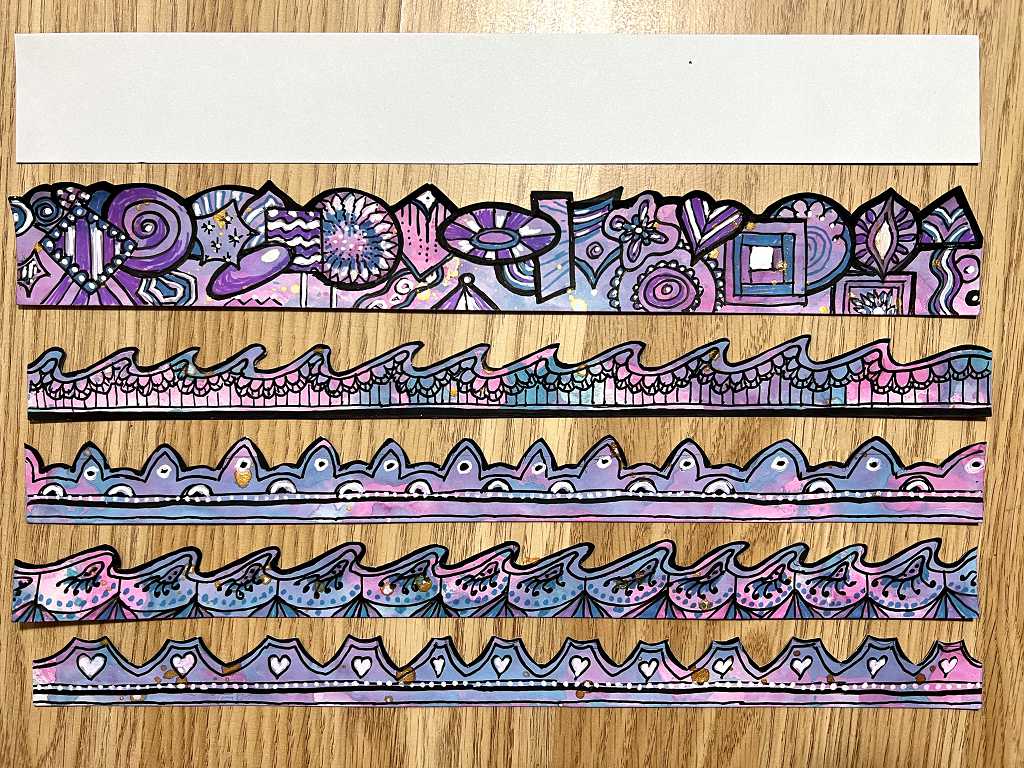
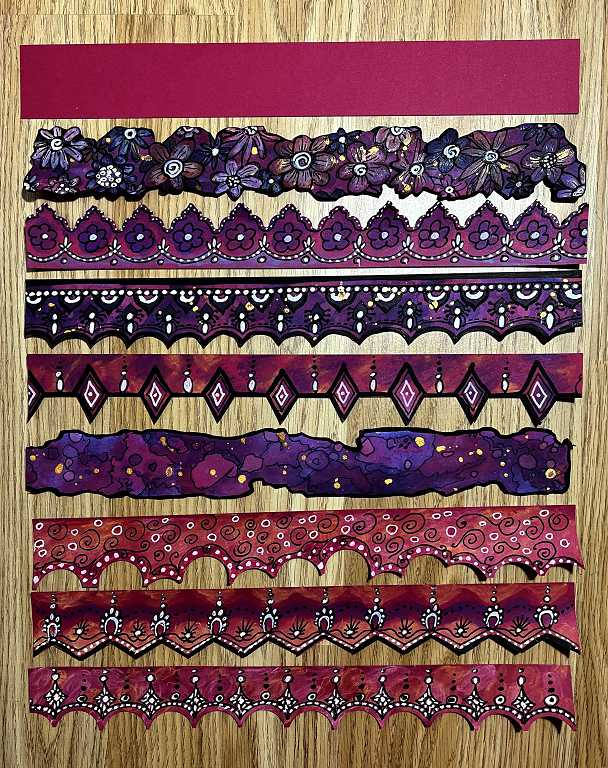
I think my favourites are the red ones, which is probably why I did so many of them!
When I was edging them with the broad black Posca pen, I did it on a piece of scrap A5 paper (the back of an old shopping list!) and as I continued with this, I realised that it was making some rather interesting marks on the paper, and I didn’t want to throw it away!
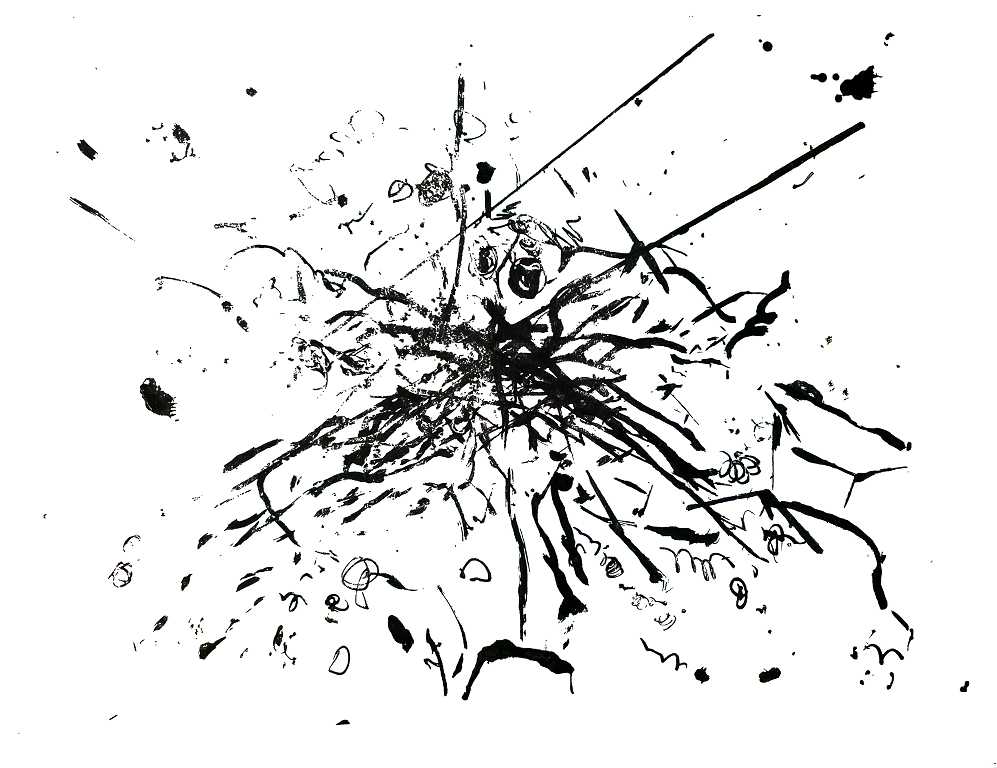
You can also see where I’ve scribbled a bit with the fine pen to make it work.
When I’d finished, I thought, “Why don’t I colour this with Sharpies?” So I did! A kind of Sharpie explosion!
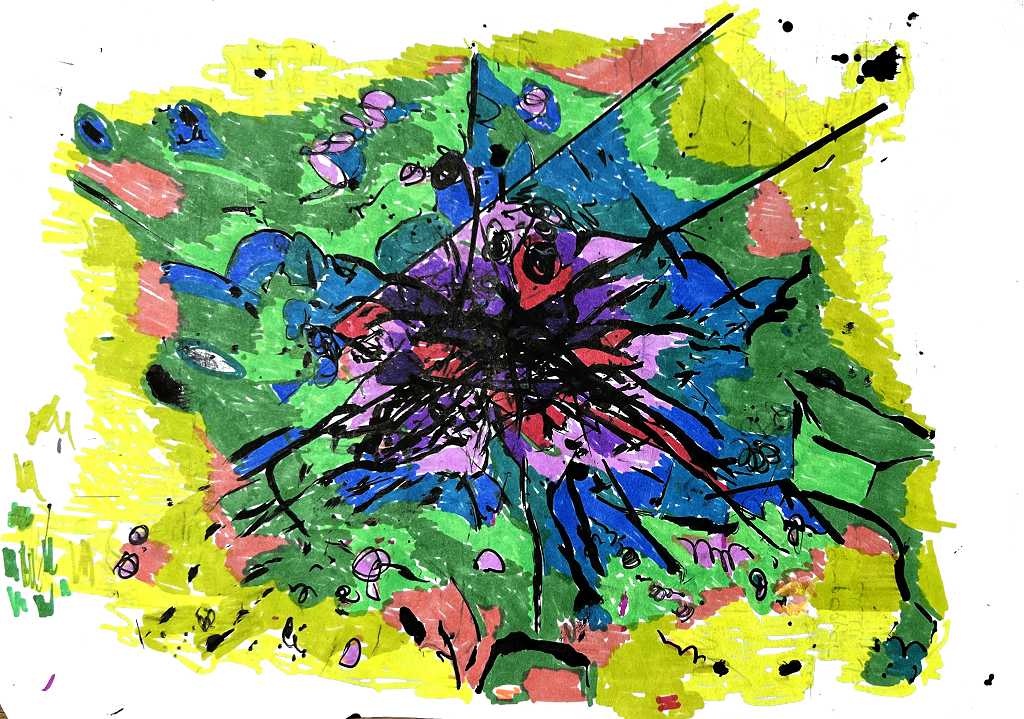
I might keep this as a single piece, or cut it into strips or sections for collaging.
DIY washi tape
A week or two ago, I collected together the offcuts from the VectoriaDesigns printable kits I was making (scroll down for details of these – I made several little books and folios) – these are bits of background, with two or three other strips cut from gel prints. I have stuck double-sided tape on the back of these, and voila – instant DIY washi tape! They’ve all gone in the box with the decorative strips, ready for use.
Renovated DIY blending pads
As part of my studio housekeeping, I finally got down to repairing some of my DIY blending pads that I use for Distress Inks, and creating some new ones.
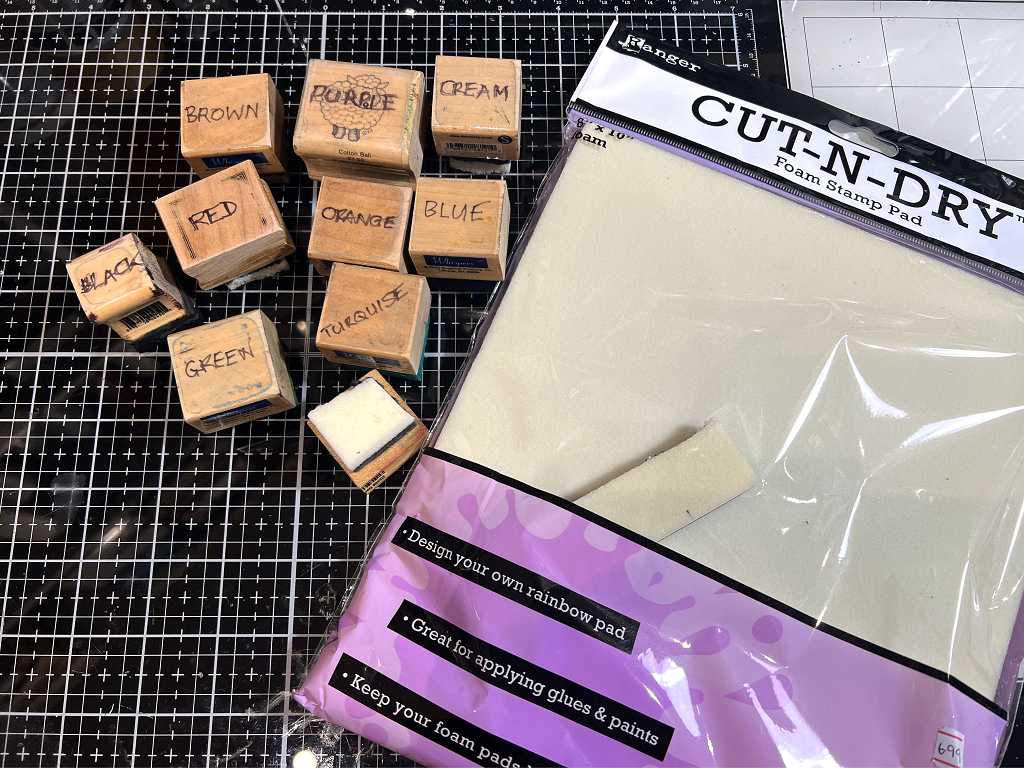
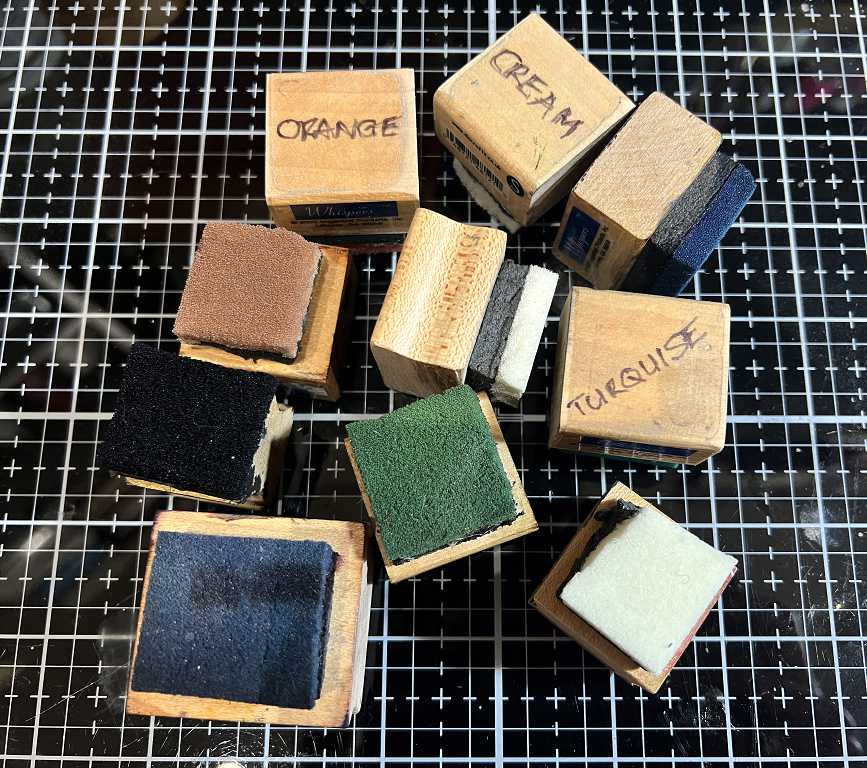
These small wooden blocks were from old wood-mounted rubber stamps. I cut a couple of the larger ones in half. I thought I still had some Cut ‘n Dry Foam for these but I couldn’t find it, so I ordered some more last week, and was able to complete this little project. This self-adhesive foam is really designed for making your own ink pads (you can get a felt version too). One or two of my DIY blending pads were falling apart, notably the brown one which gets the most use, so I pulled off the old foam and cut new squares to stick on the blocks. To help prevent me from picking up and using the wrong one, I have now labelled them all with each of the main colours.
To save confusion, and ruining them, I have another set of blenders for Distress Oxides – these are the regular blending circles attached to the Tim Holtz blending tool holder with Velcro. So different that I am unlikely to pick up the wrong one!
I also have two sets of blending brushes (make-up brush style) for both kinds of ink, the ones for the Distress Oxides being black, with a coloured dot to indicate which to use, and the Distress Ink ones being mixed colours, both kinds being stored in two separate jam jars.
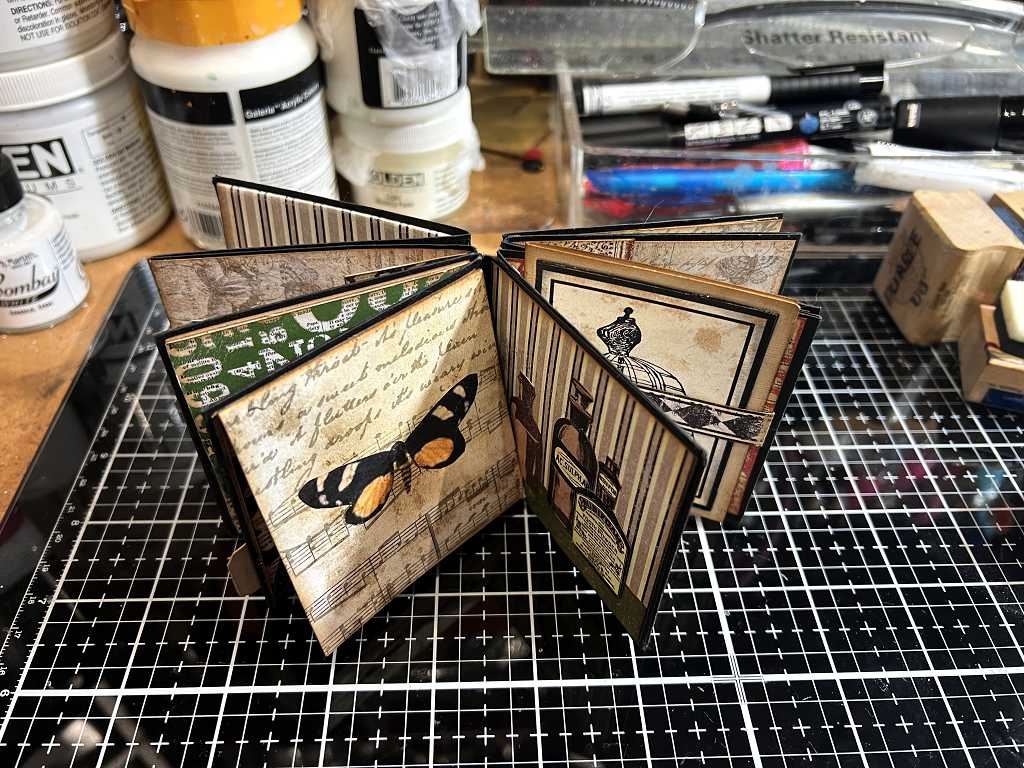
Curious Cabinets
This is the name I have chosen for my version of the discontinued Graphics45 “Olde Curiosity Shoppe” paper collection.
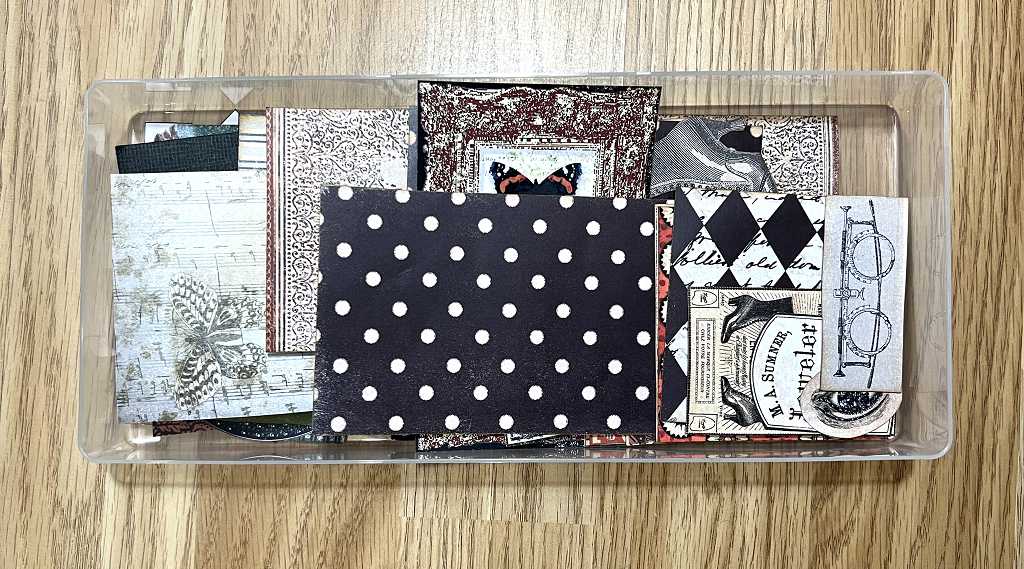
I am making the little 3 x 3 in mini-album from a single sheet of 12 x 12 in card. Here is a box of bits and pieces to embellish it.
I’ve been spending a lot of time while relaxing on the recliner, doing fussy cutting of my various print-outs of images suitable for this album and others in the same style.
I have now added everything to the pages of the album (mats, pockets,fold-outs etc.) with paper embellishments. All that remains to be done now is to make the tags for the pockets formed when you construct the album, and the cover. Hard to photograph so I’ll probably make a video once it’s completed, but here it is, work in progress.
Unfortunately some of the papers aren’t printed very well – I was having awful problems with my new colour laser printer not printing properly on card, with the toner tending to rub off, until I discovered that you have to set it for “heavy paper” which makes the paper go through more slowly, enabling it to heat up sufficiently for the toner to adhere properly. Some of the printing has rather a “distressed” look which I don’t mind too much as it fits with the style, but I don’t want any more to rub off. On pieces where the problem seemed worse, I sprayed them with some matte varnish in the hope that that will stabilise the surface.
This first album is by way of a trial run, and I might make another one later, making sure I get everything right. I have made a few miscalculations with my measurements for the embellishments and had to redo some of them, and amend the templates on my desktop publisher. I shall definitely want to make this tiny book again, and it will lend itself well to many different styles.
One thing I really dislike about hand-made books is when there isn’t enough room to add embellishments, and you end up with the dreaded “crocodile mouth” album that won’t lie flat and close properly. I was a bit concerned that the same would happen with this little book, but the construction is a wonder – as you add more stuff, the spine simply expands! I shall most likely cover the spine once the book is finished and I’m working on the cover, just to stabilise it.
Finally, some long-overdue…
Kitty pictures

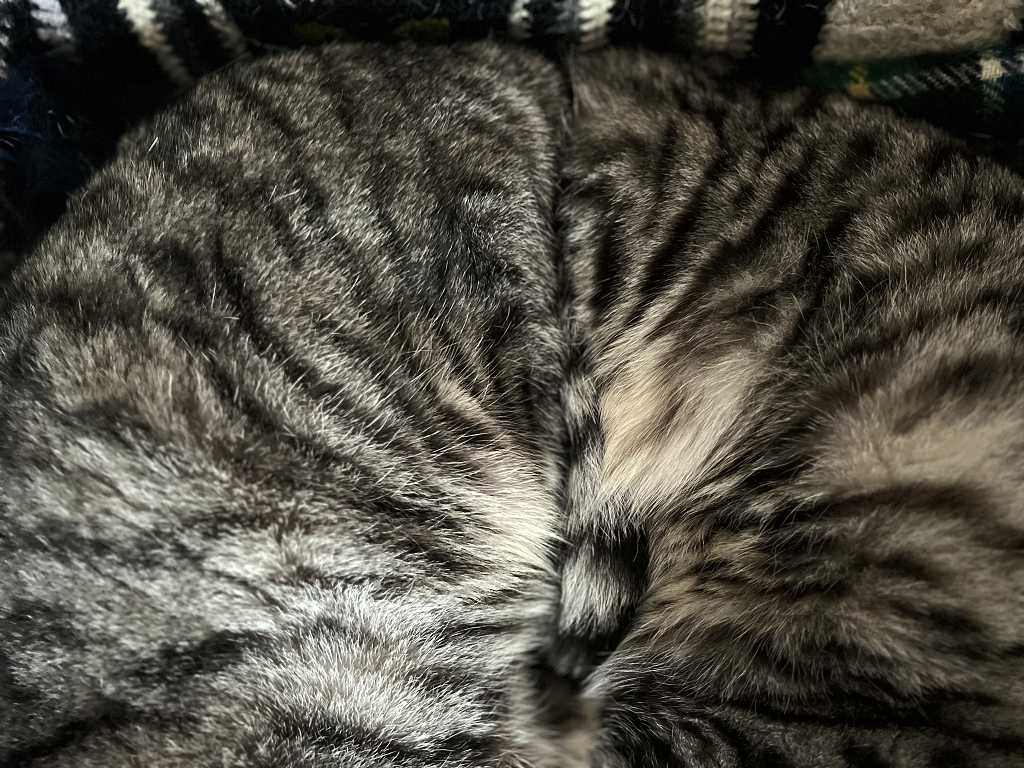
I took a close-up after taking the above picture, to show how the fur on their backs is almost welded together!
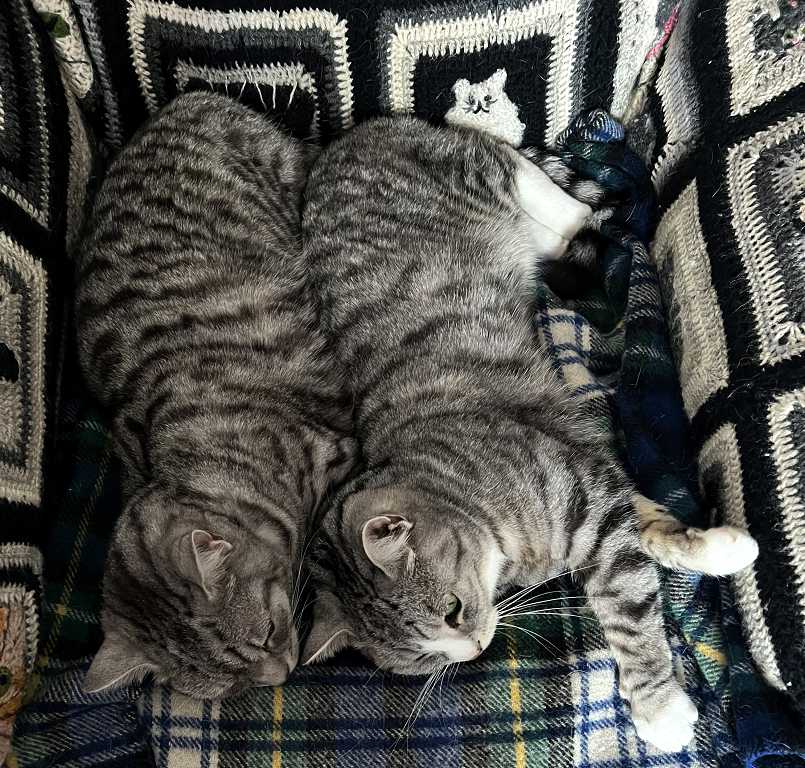
Ruby likes to sleep on top of gorgeously soft Lily.

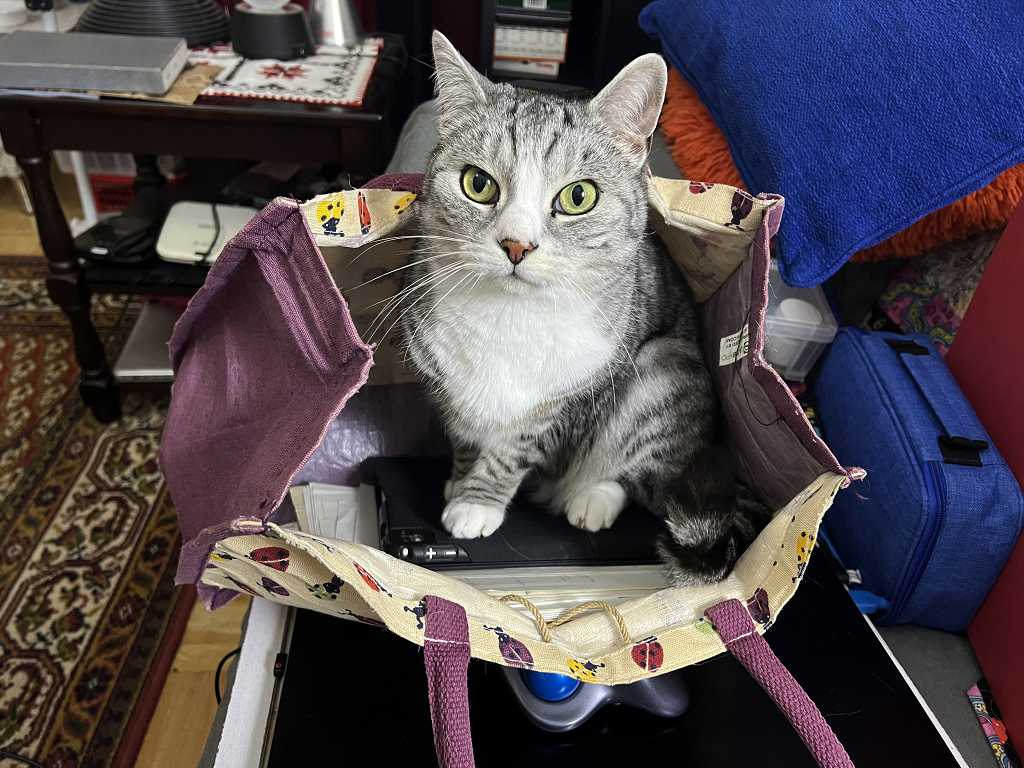
Now some of Ruby being a bit more active. That kitty really loves being in things, particularly boxes, and just recently she’s developed a passion for getting into my bag! I get it out each evening to put my stuff in to carry upstairs, and often turn around and find she’s climbed in first!
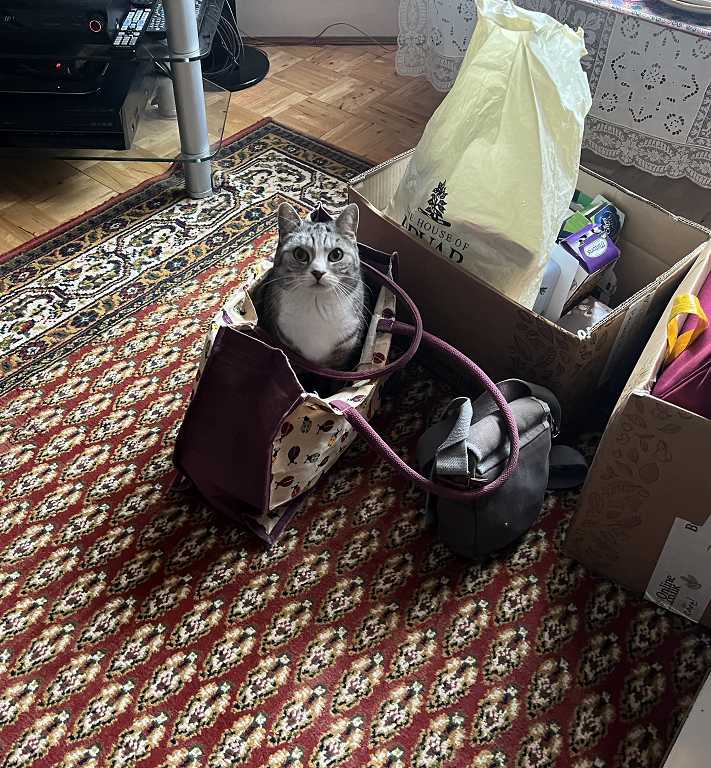
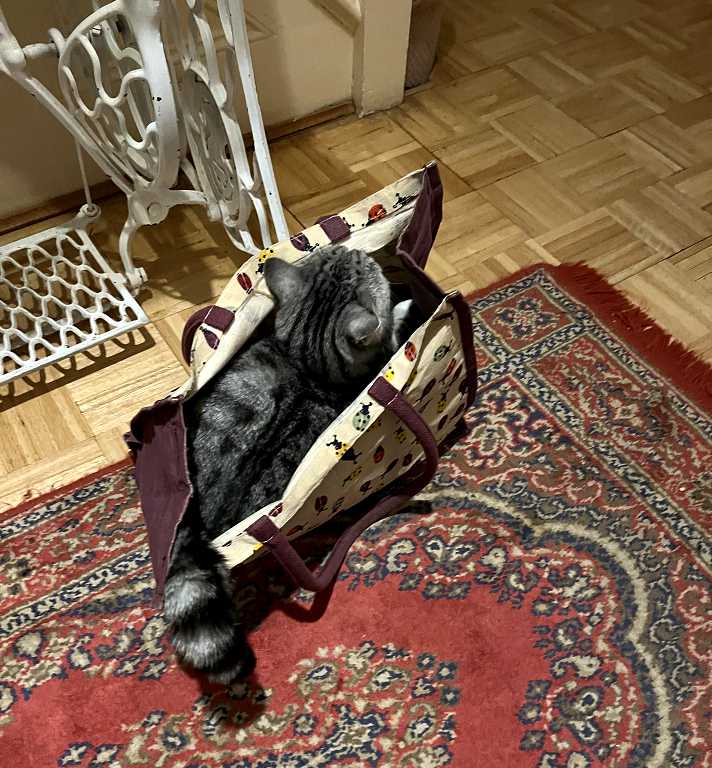
Taking possession of my iPad inside the bag.
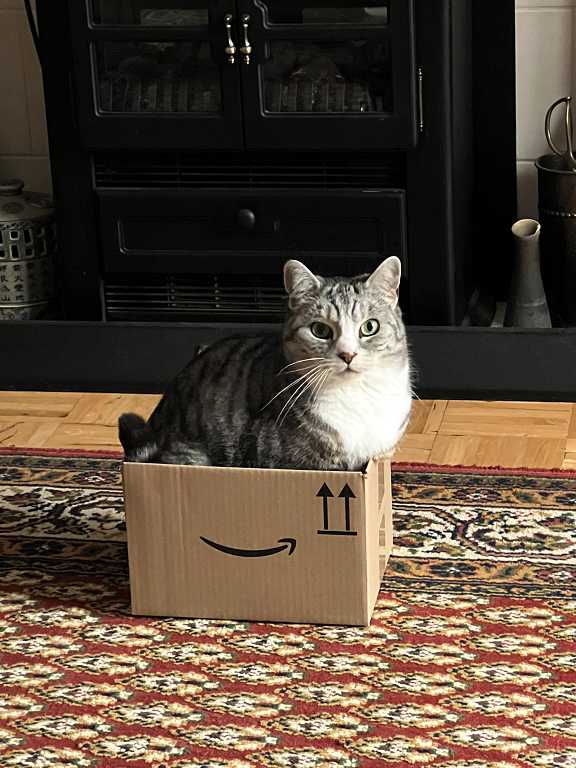
She can never resist an Amazon box so I always leave the latest one out for her to climb into.
These small ones are a bit of a tight squeeze with not much room for her tail, which she often leaves hanging out. (Note the arrows pointing up at my precious girlie!)
I had an email last week from someone who’s just moved house and she said she was still struggling with all the boxes. I told her I’d send Ruby up to her and she would help with the boxes by sitting in them for her.
Wow the decorative strips are phenomenal I absolutely LOVE them! What gorgeous vivid colours. And how amazing you found them sort of quite by accident and have had them so long! Whoever gave them to you would be delighted! The kitties are phenomenal too – I love the one of them like two peas in a pod like twins!