EXPERIMENTING WITH MY NEW LASER PRINTER, FOILING, STENCILLING AND A NEW PUNCH TOOL
Discovering new features on my laser printer
I’ve been having some fun and games with my new laser printer. The first prints I made came out beautifully, but when I attempted to print on 160 gsm card, the toner was rubbing off and the prints were very poor quality. After doing some research online, I discovered that I needed to set the printer to print on heavy paper. This would mean that the paper would go through more slowly, allowing the heat to penetrate and set the toner. Great. However, working on the computer, I could find absolutely no settings for different types of paper apart from the basic ones. I was very disappointed, because I had bought this printer on the understanding that it would print on virtually anything!
I then discovered that you had to dig deep into the menus on the small control panel on the printer itself, and lo and behold, there was the complete list. Problem solved. However, these successful prints were very dirty on the back, with quite a bit of smeared black toner. I can only suppose that this was a result of the failed earlier prints, depositing toner on the roller which was then transferred onto my subsequent prints. Later prints on regular paper seemed to be fine on the back so I am hoping the problem is now solved.
Curious Cabinets mini-album
Continuing to work on my one-page wonder 3 x 3 inch mini-album, using my own version of the now discontinued Graphics 45 “Olde Curiosity Shoppe” papers, I made up several sheets of individual images from the Graphics Fairy Premium Membership site and printed them out. (The first prints were the ones with the problem with the toner rubbing off.)
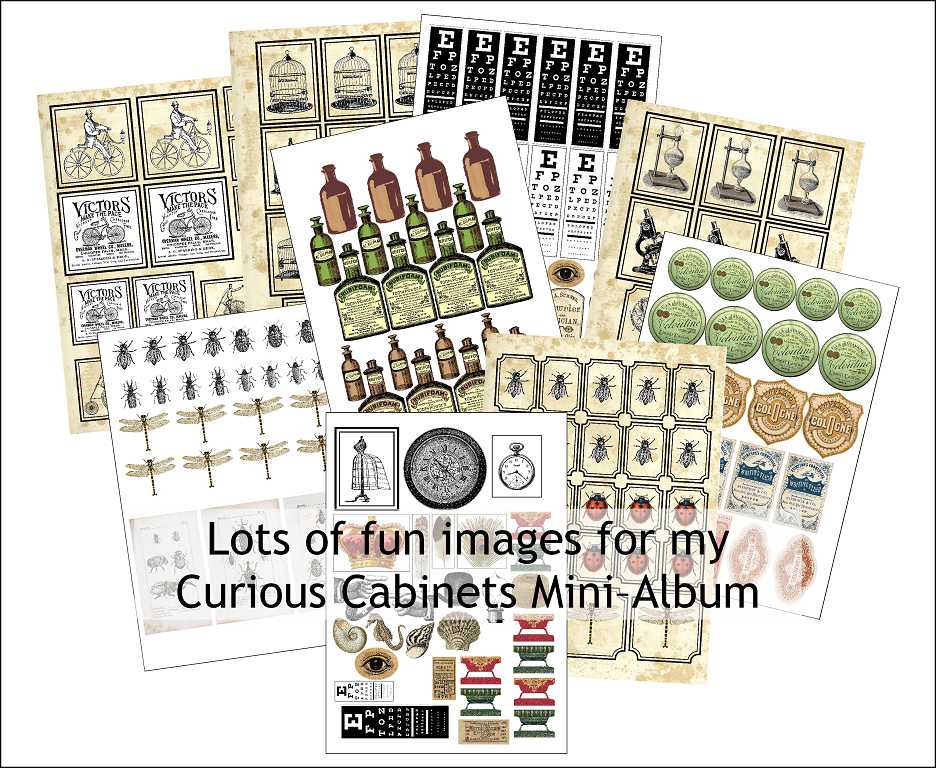
I spent a happy couple of evenings fussy cutting. Lots of images to choose from for the mini-album, and the rest to go in my stash.
I’ve started sticking some of the backgrounds and interactive parts into the mini-album. Photos will follow in due course.
Adding mixed media to printed backgrounds
I wanted to try adding some stencilling to some laser prints, so I created a series of backgrounds using material from the Graphics Fairy Premium Membership site. I chose a basic dark brown background and extended it to fit an A4 sheet, and then proceeded to manipulate it, lightening the colour, and adding layers of script.
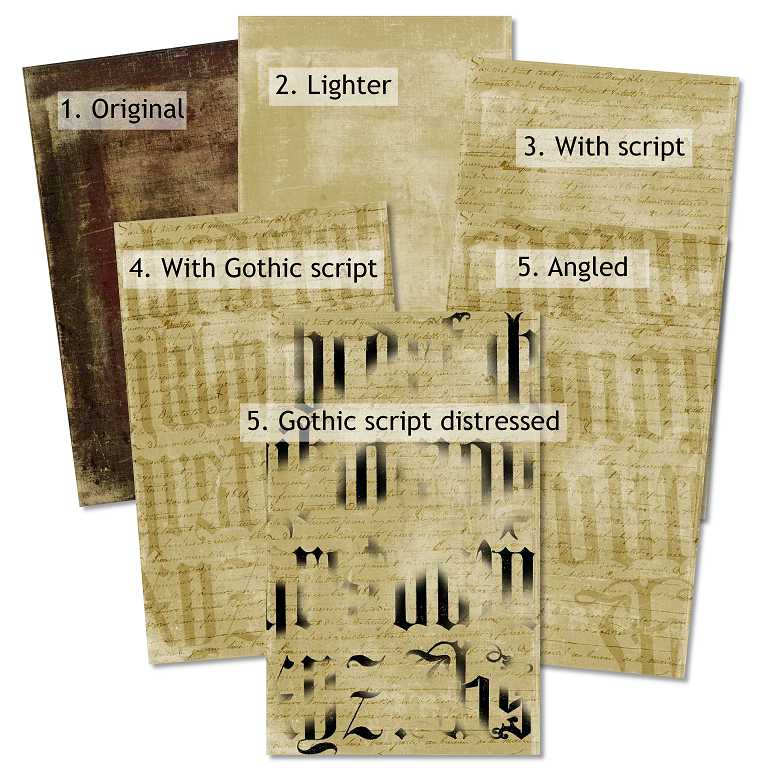
Ooops. Just noticed – I can’t count! The final sheet should be 6, not 5!
Foiling
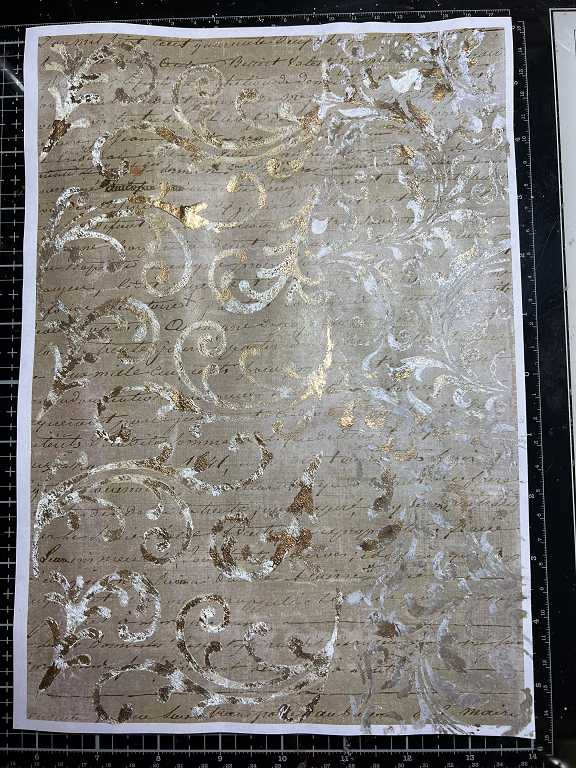
I also wanted to experiment with some foiling using the laminator. I haven’t got very much gold foil left, and I have more foil on order, but I did have quite a large sheet of gold which had been fairly extensively used already, so it had lots of “holes” in it. I thought this would create a nice grungey effect. The sheet with the distressed Gothic script was designed for foiling so I left the Gothic script black, and using a soft brush in Photoshop, I gently erased away certain portions.
The result of the foiling was interesting. I had not anticipated the foil sticking to anything but actual black toner, but while the Gothic script did pick up most of it, there was an overall gold shimmer across the whole sheet which has turned out gorgeous.

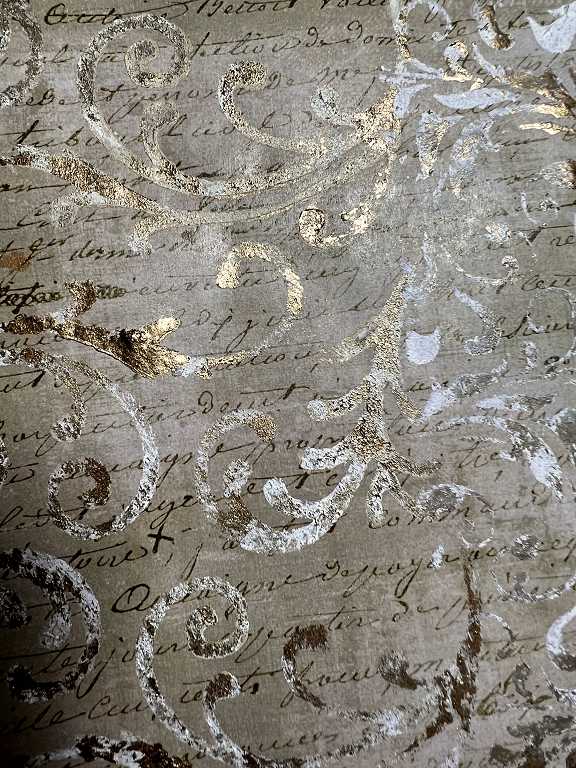
As usual, the photo doesn’t do this justice. The letters are not so black in reality, but quite gold. Here are some detail shots.
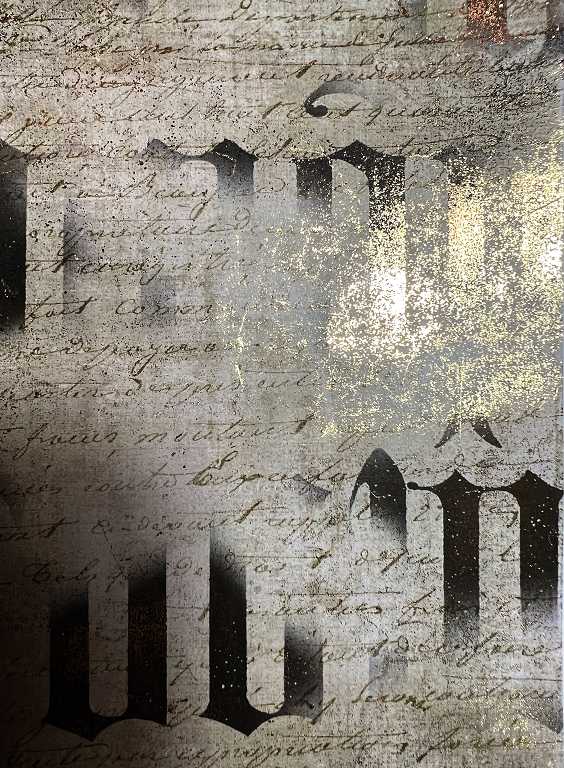
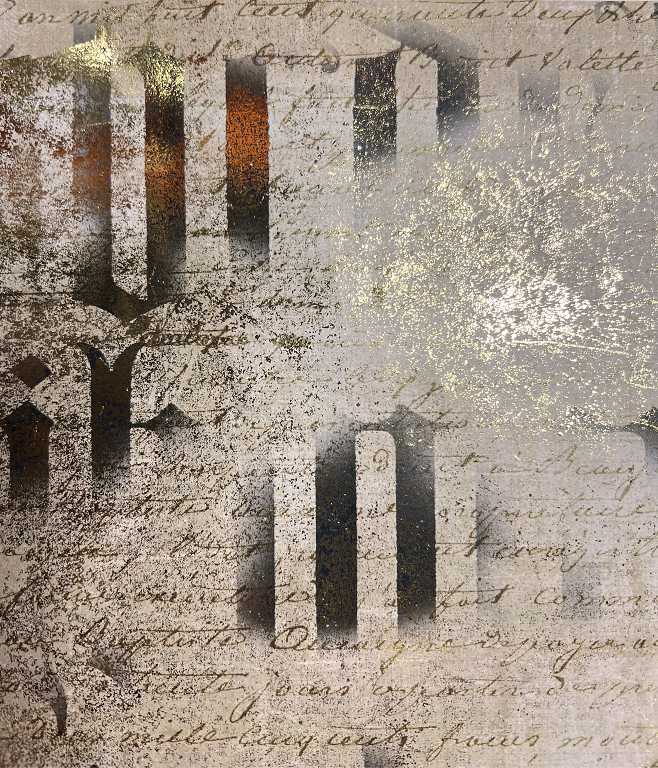
The small script has picked up quite a bit of the gold, too. I just love the result.
Stencilling
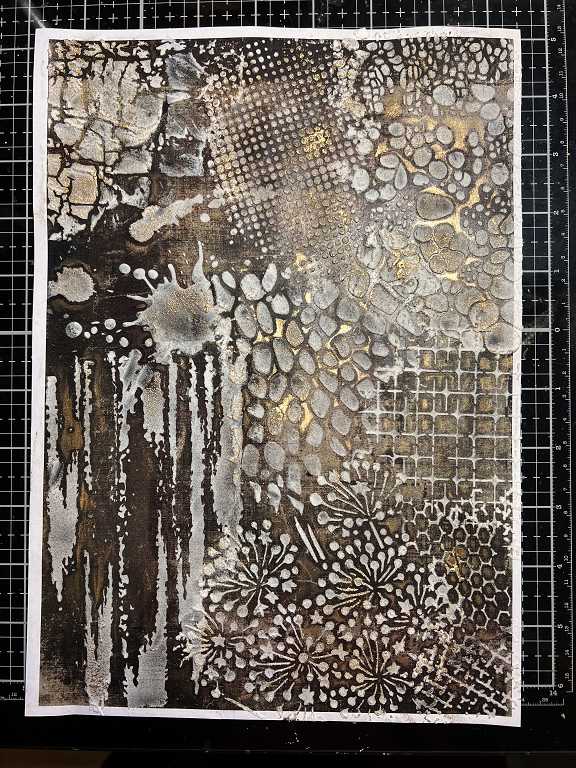
I took the original dark brown background sheet, and selected a number of stencils, and covered the whole sheet using soft moulding paste.
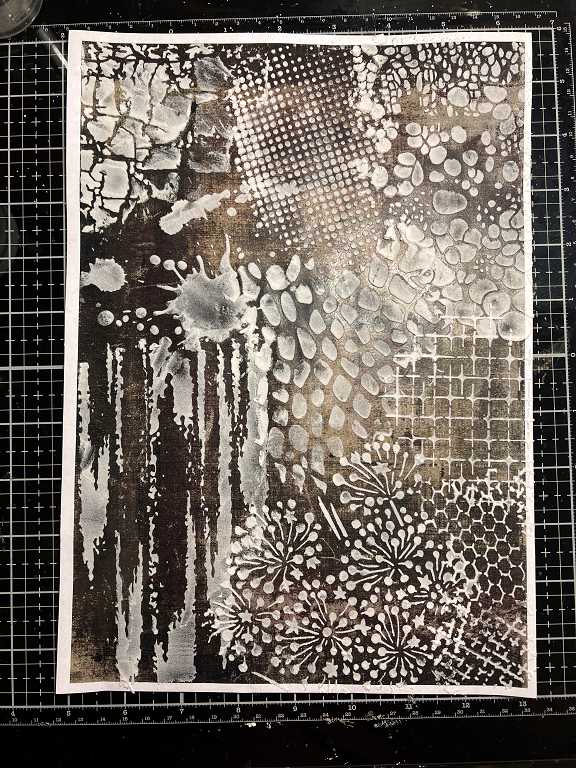
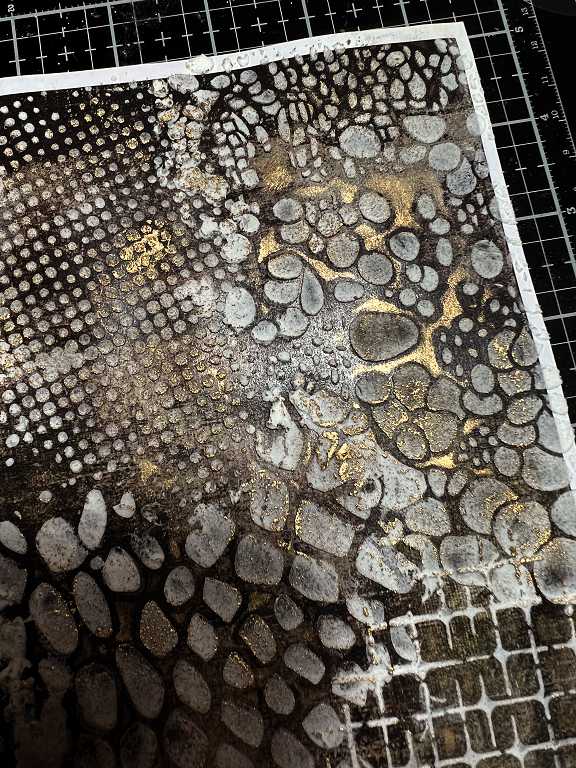
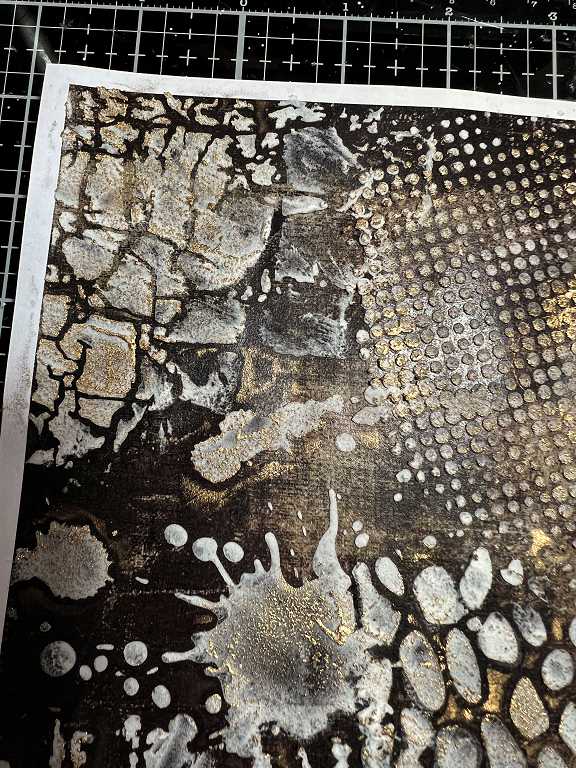
Once this was dry, I went over it with gilding wax. I had hoped that the wax would stay on the raised moulding paste areas but for some reason it refused to stick, and most of it ended up on the background! However, the effect is still quite nice.
A closer look.

I then moved on to the lighter background with the script overlay, and used a couple of swirl stencils. I initially chose unbleached titanium white acrylic paint for this, gently stippling it on with a stencil brush, but the colour was very similar to the background, so while it was still partially wet, I went over it again in patches with titanium white, and finished it off with a little gold.
I am quite pleased with how this turned out.
To use up the remaining paint, I selected the plain lighter version of the original background (no script) and used a distressed harlequin pattern stencil, this time just using the titanium white and gold.
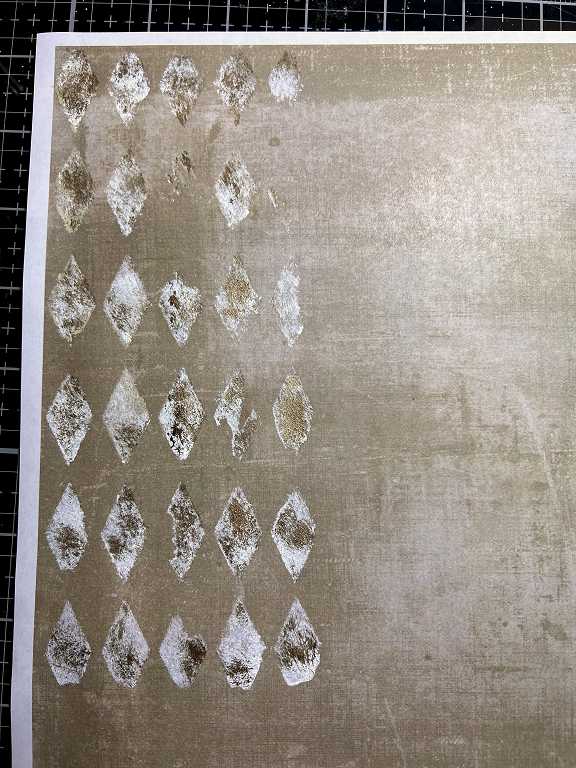
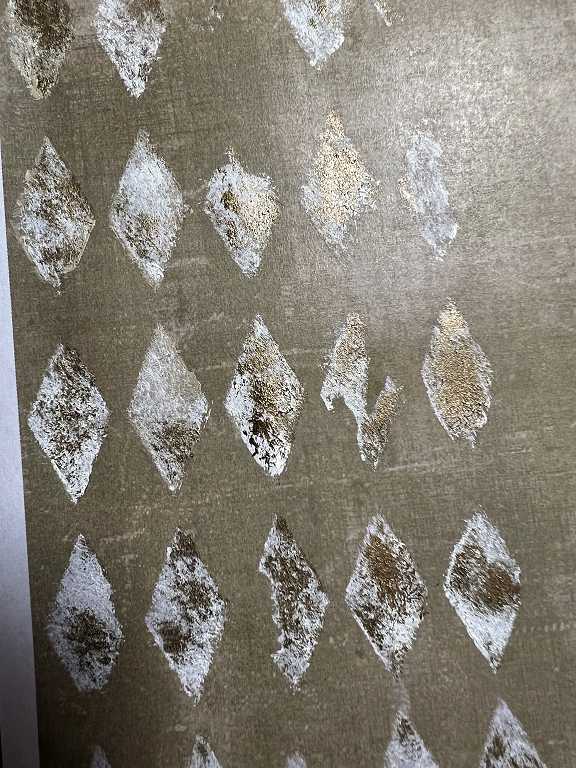
All these papers are eminently useable, and I intend cutting them up into smaller pieces. Watch this space.
They were all printed on regular 80 gsm printer paper and held up well to the treatment. As anticipated, the laser printing was not affected by the moisture, which is its great benefit.
A new tool
The other day I watched someone binding an album on YouTube, and she used a nifty little tool for punching the holes in the spine for the binding – a Japanese screw punch. I’d never heard of such a thing, and was very impressed with the speed, and ease of use, and the clean result. If you use an awl, it pushes apart the fibres without removing anything, so you always end up with a bump on the other side. This tool has a metal tube which is screwed through, removing a tiny plug. It is also a lot less hard work to use.
I do have a Crop-a-Dile which will punch through virtually anything, but it only has two sizes, both of which are too big for this purpose, so I decided to invest in one of these screw punches, which comes with six interchangeable tips of different sizes. Reading various users’ recommendations, they did not advise buying the cheapest ones as they tended to fall apart fairly quickly, so I opted for a medium-priced one, which duly arrived.
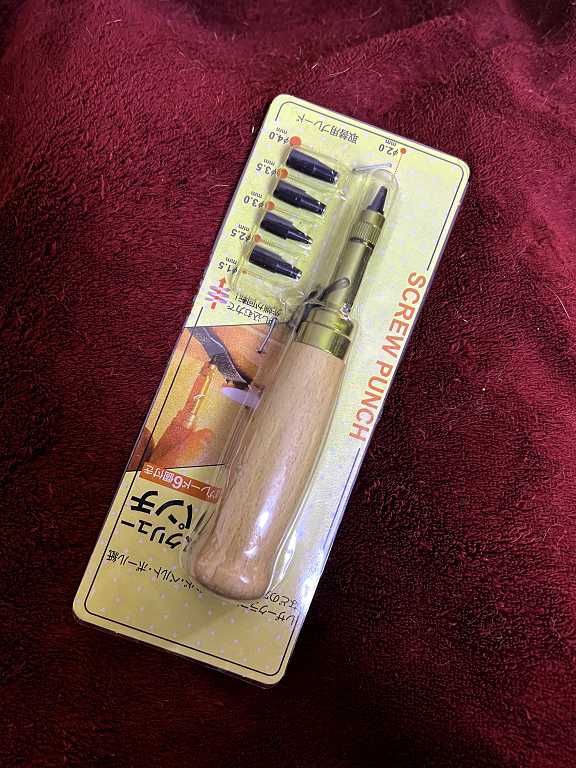
I showed my hubby, who was impressed – I told him he was welcome to borrow it if he wanted. I told him there were some useful directions for use on the back of the pack.
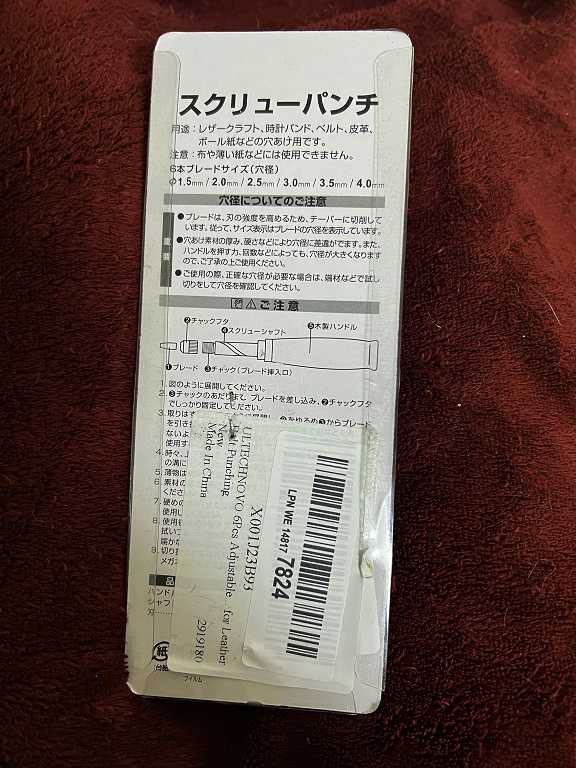
Hmmm…
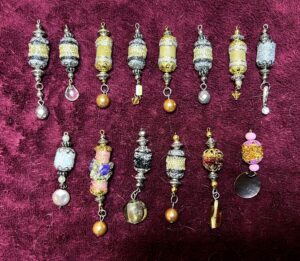
Really lovely work Shoshi!! I love the foiling and the stencilling, the gold adds such lustre. The curious cabinet sounds such fun, would love to see that when we next meet up!