STUFF FROM MARGARET, KITTIES AND MORE MINI-EMBELLISHMENTS
Our neighbour Margaret has obviously been having a clear-out. She has now given me several bags of bits and bobs from her crafting days, and with the last lot, I thought I really should do something with them! Some of the earlier stuff has been put away and amalgamated into my general stash so it is not easily identifiable now, but with this current box-full, I decided to make her a little hanging, made entirely from stuff she has given me.
Here is a selection of the things.
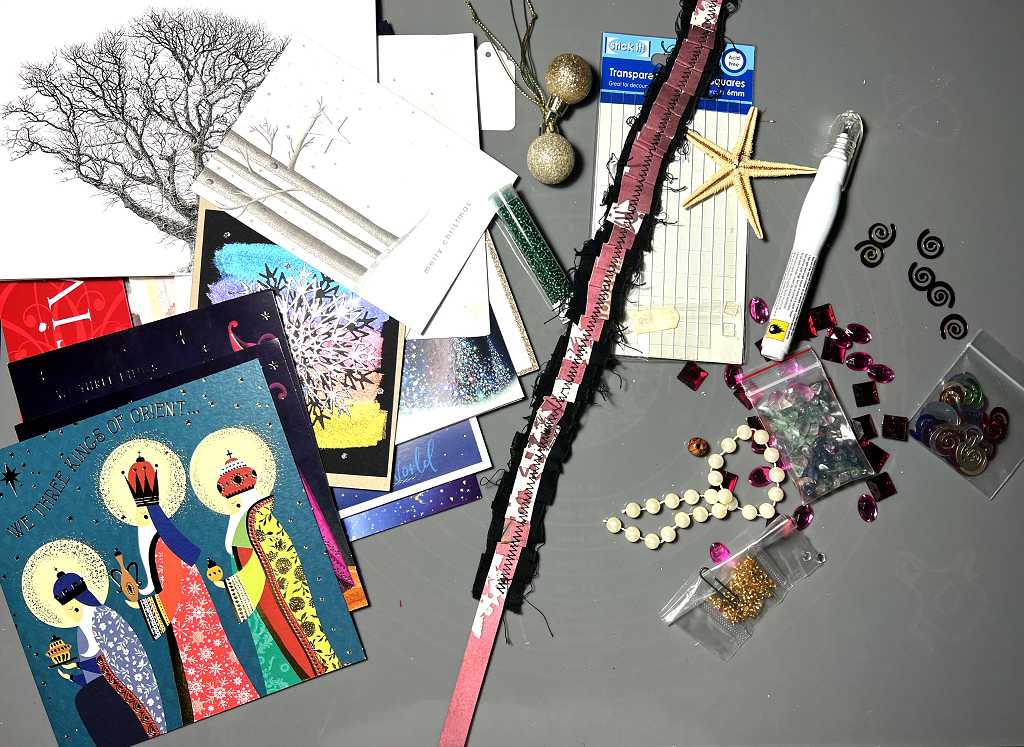
There’s a lot of other stuff besides – some wadding, quite a bit of interfacing, sewing and embroidery threads, some fabric and felt, and a lot more old Christmas cards.
In the above photo are the cards with either whole pictures or elements that I thought I could use. See below for more details of the pink and black strip in the centre. Under this is a pack of adhesive foam squares, and there’s a Tipp-Ex pen. There is quite a selection of beads and sequin-like things (lovely little spirals!) and quite a few gems. I have put some of the beads away.
Regarding the old Christmas cards, my heart did sink a bit at first glance, as I’ve already got several boxes of my own! Some years ago I made an entire album out of recycled Christmas cards and hadn’t got much further than that, concerning ideas for using them, but this time I decided to cut some of them into strips, and cut or tear out parts that could be used for collaging. The card itself is always good firm quality and can be used as substrates. I’ve already cut out a two or three frames from some of the cards.
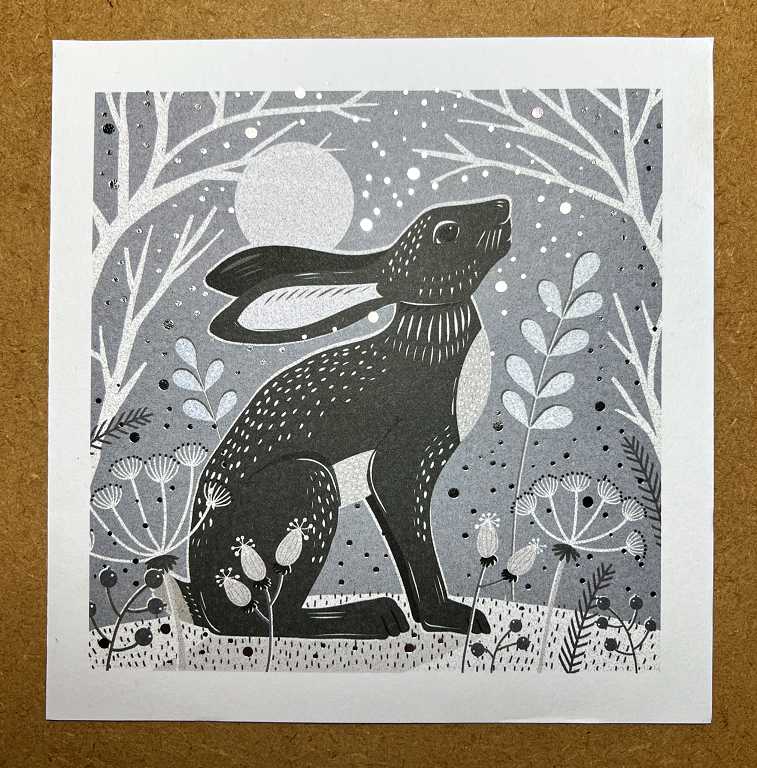
I love this image of a hare which looks a bit like a woodcut. I shall use this in its entirety in a project.
The fragments of card with leaf designs on them came from the back of a card. The torn pieces were taken from a winter scene – I dispensed with the house in the centre. Without the focal point they are quite abstract.
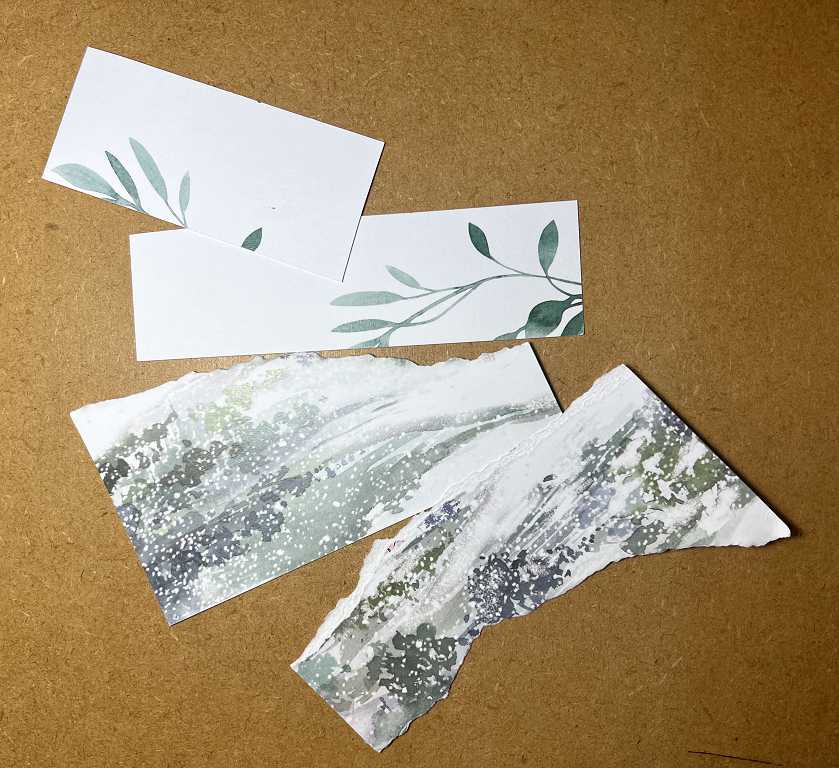
They look even more abstract when placed vertically.
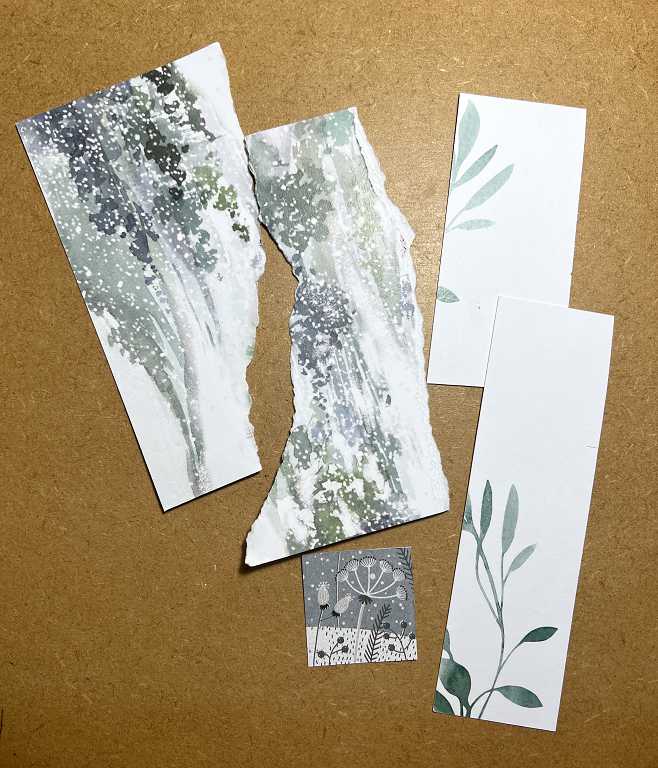
The small square fragment at the bottom was cut from the back of the hare card.
Returning to the black and pink strip in the first photo:
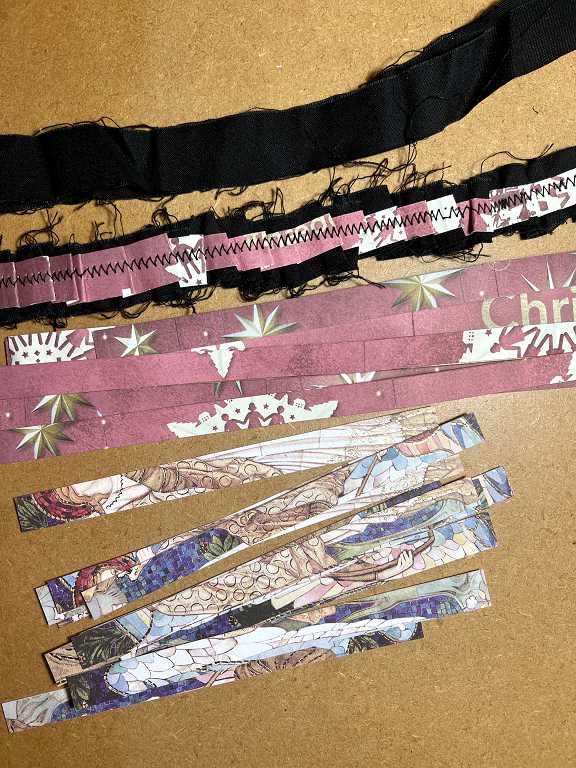
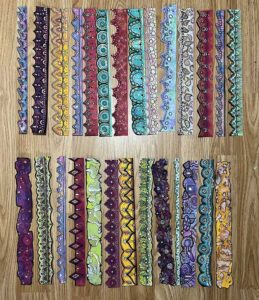
There was a rather boring pink and white Christmas card with stars and snowflakes on it, which I cut into strips. The patterns immediately became much more random and abstract. She also sent two narrow strips of black fabric with frayed edges, and I followed a YouTube video showing how to make paper ruffles, using one of the fabric strips for the base layer, and the pink card for the top. I didn’t manage to get the ruffles very evenly spaced – it proved a lot more difficult than it appeared on the video – possibly because I was using fabric. It’s the first time I’ve had my sewing machine going for ages, and for once I was able to thread it without having to refer to the book!!!
The strips at the bottom of the photo were cut from a Christmas card featuring a picture of several angels. Not showing up in the photo is quite a bit of gold embossing on the card. The colours are gorgeous, and arranged randomly, all semblance of angels or anything else completely disappears! I shall definitely be using these strips in one form or another.
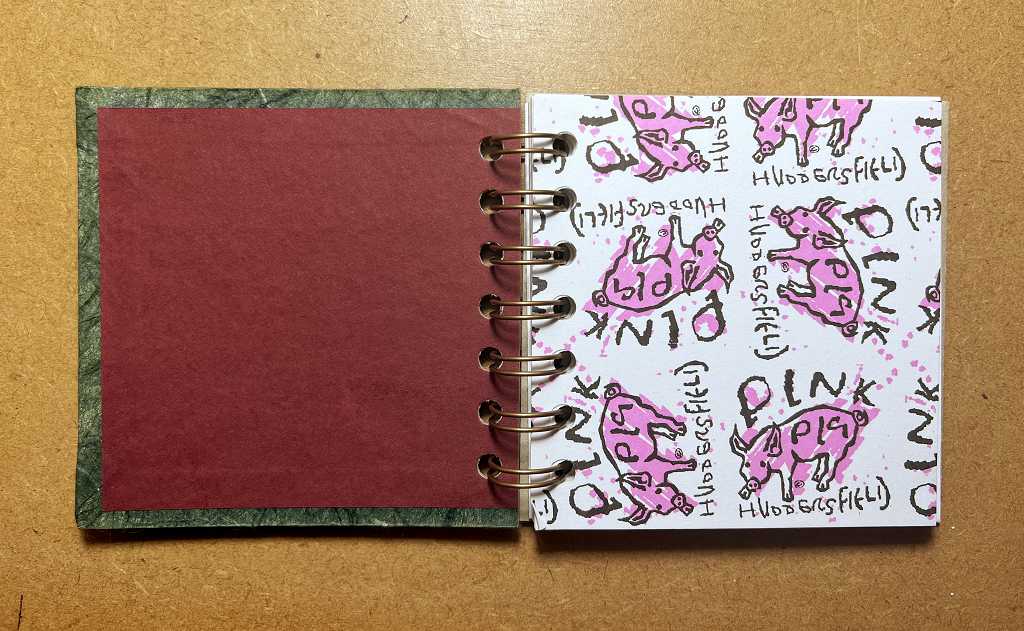
Featured finally in this blog post is this sweet little 4-inch square spiral bound sketchpad. I wasn’t sure of the significance of the Huddersfield Pink Pig so I looked it up – it is apparently a company in Huddersfield in the North of England which manufactures paper products and stationery. The back cover of the book is plain heavy duty chipboard and the front is covered with Thai paper – plain green with some texture to it in the manner of most hand-made paper. The endpaper at the front is as you see it – plain dark red. There is no endpaper at the back of the book.
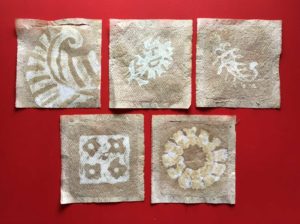
Amongst the stuff Margaret gave me was a square of fabric, onto which had been sewn a skeleton leaf. She (or someone else) had started doing some beadwork at the tip of the leaf, and the thread was still hanging loose. The leaf was attached only down the centre and the edges were unprotected and vulnerable to damage. There were no beads in the stash to match those at the top, so I selected the small pack of little gold beads, and completed the work. When stitching the leaf onto the blue fabric, it had also been stitched through onto a piece of plain white paper on the back to stabilise it. This was not affixed in any other way. I continued to sew through both the fabric and the paper, placing the beads along the veins of the leaf in a random fashion. This is the result. The beads are, of course, a lot more gold and shiny than in the photo.
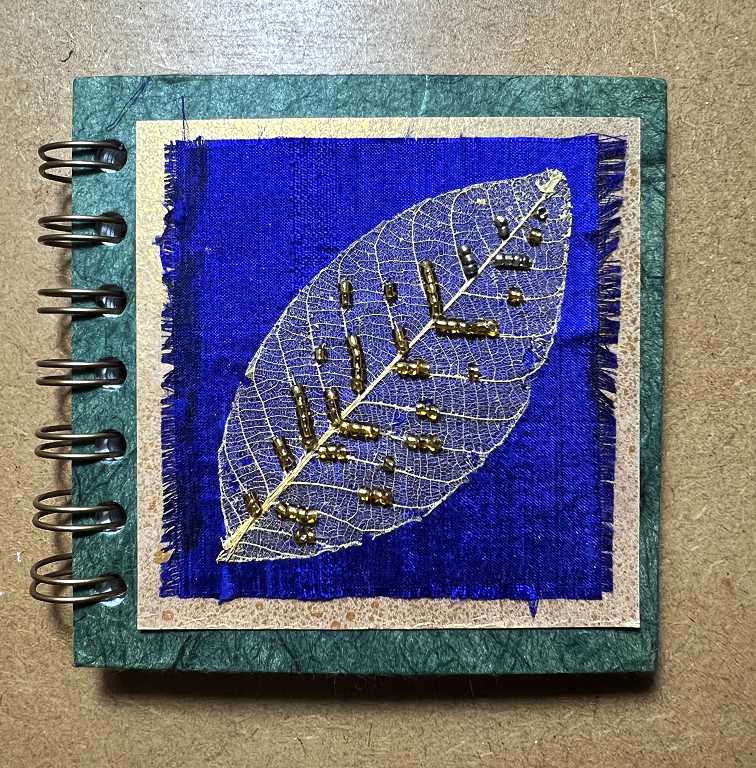
When I had completed the bead work, I went around the whole of the outside of the leaf, stitching down the edge with invisible couching stitches with the same fine thread I had used for the bead work. The leaf was then much less vulnerable to damage. I was able to cover some damage to the very edge in a couple of places. It is now nice and flush with the fabric, which I have left unfinished, with its frayed edge. I used my Giotto glue stick to adhere the blue fabric to the paper underneath, peeling it back to where the leaf stitching began, so that the whole thing would lie flat on the book cover, and not lift up. I didn’t want to use a wet glue for this because I thought it might soak through the blue fabric and stain it. The Giotto glue stick is a lot stronger than most office or craft glue sticks.
I spent some time deciding what to mat this onto. My original thought was to use gold mirror card but this was much too shiny. I tried spraying various scraps but the colour wasn’t right. In the end I chose a dark kraft card scrap and sprayed it with Seth Apter’s Goldmine Izink. In the photo it just looks like mottled brown, but it is actually a lovely shimmery gold. The end result is much more pleasing and subtle.
This little book is obviously fairly delicate with the leaf and beadwork. There are 35 pages made from heavy cartridge paper. I think I shall fill it with leaf-themed art, and featuring fragments of special papers and ephemera. I may also use some of the pressed leaves from our garden. It will just be a little treasure, for ornamental purposes only, and not be used for journaling or anything like that – actually I have never got into journaling and just like making books!
I am gradually accumulating materials for making a junk journal, although I hate the term. I know it denotes a book made from stuff one would normally throw away, but there is nothing “junk” about it in the end! Some junk journals look a bit messy, in my opinion, and I have my own ideas how I want to make my book. There is a wealth of material in all the old Christmas cards to add to the stash for this! I shall practise further on the paper ruffles and hope to get some better results, but I shall definitely be using some of my first one on the project for Margaret.
Kitties
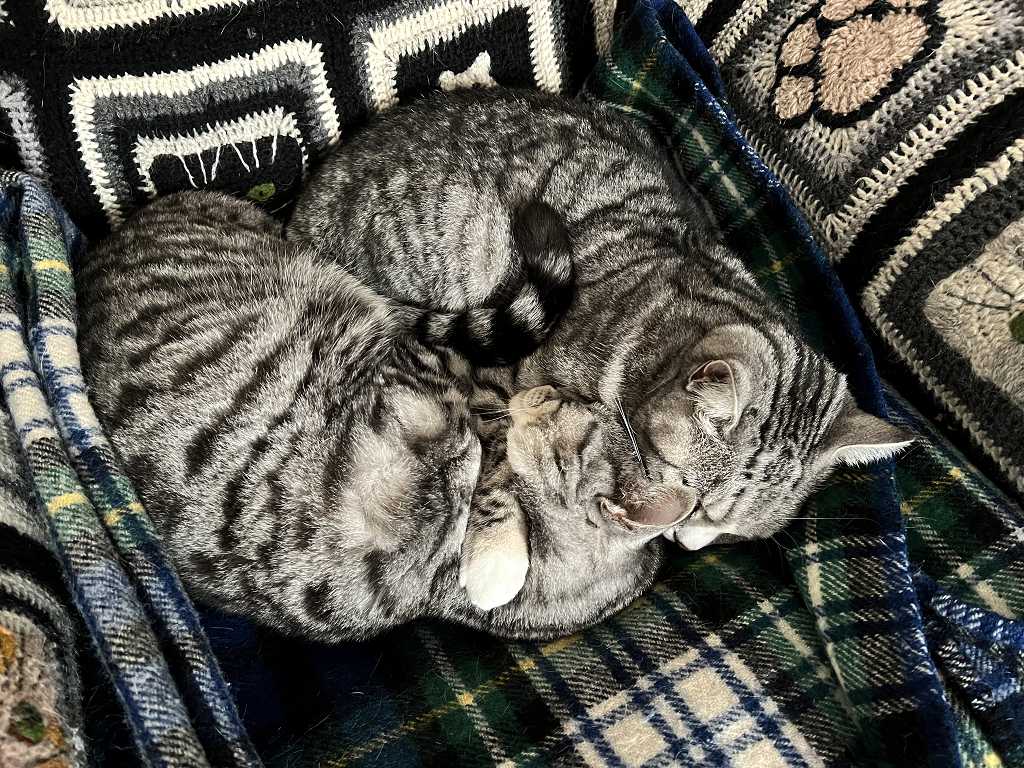
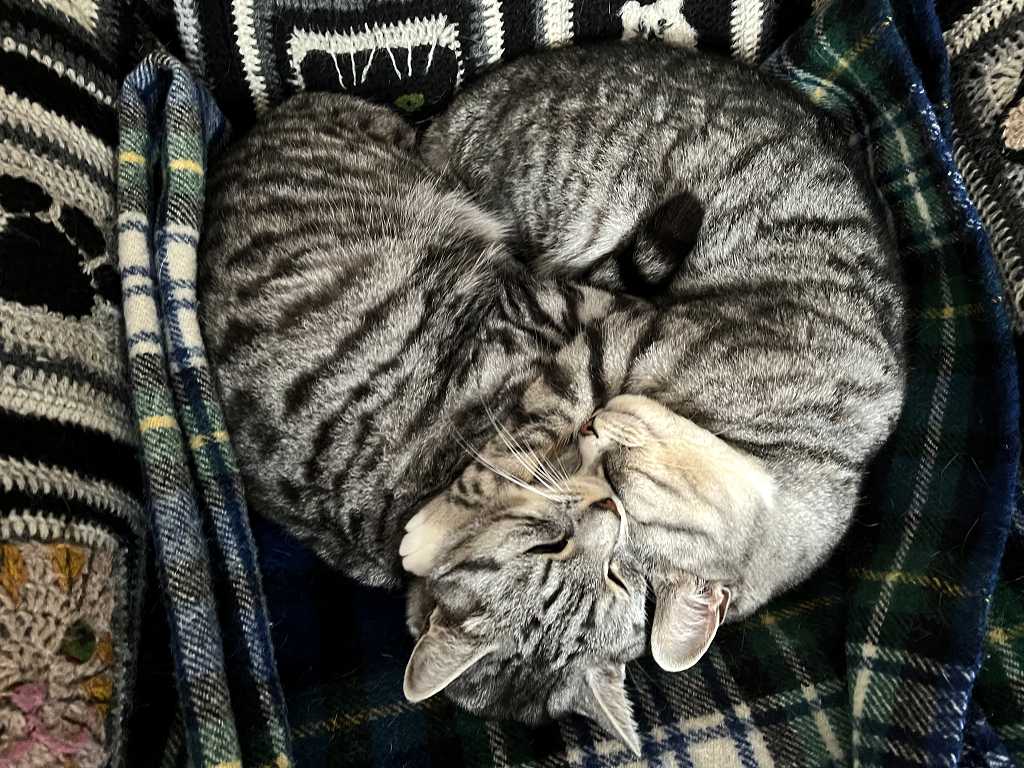
The kitties have been cuddling up together to keep warm. Here are a few photos of them, enjoying the comfort of my hubby’s chair. He often has to sit on the hard chair so he won’t disturb them! However, if he does, this is what usually happens with Ruby – she gets bundled up in the blanket. She never seems to mind this, and often gets transported across to my lap like a little parcel!
![]()
Alseep in the chair. Ruby often has her arm around Lily.
More book page fragments
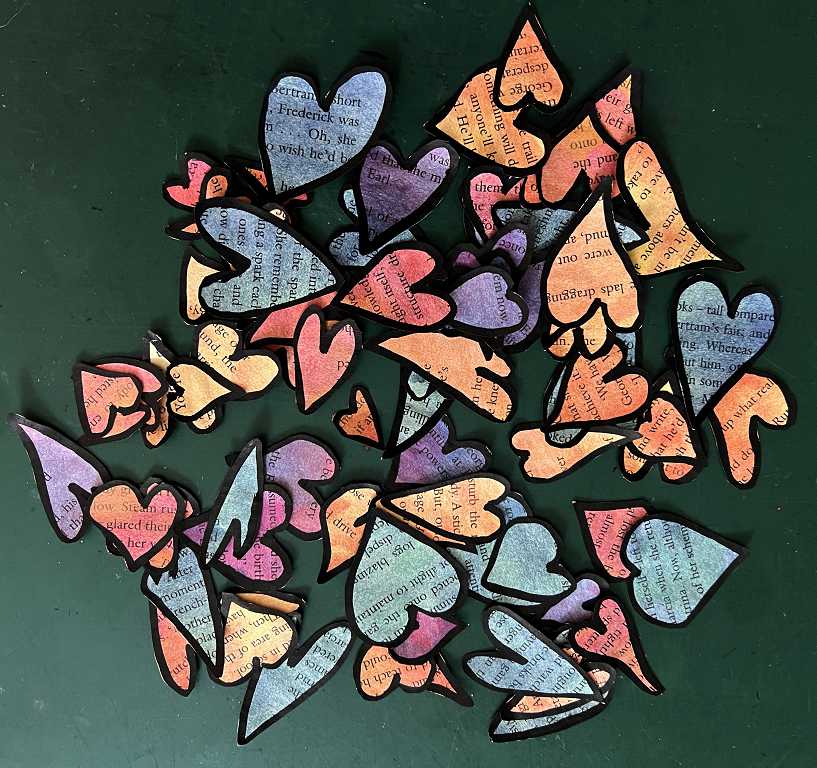
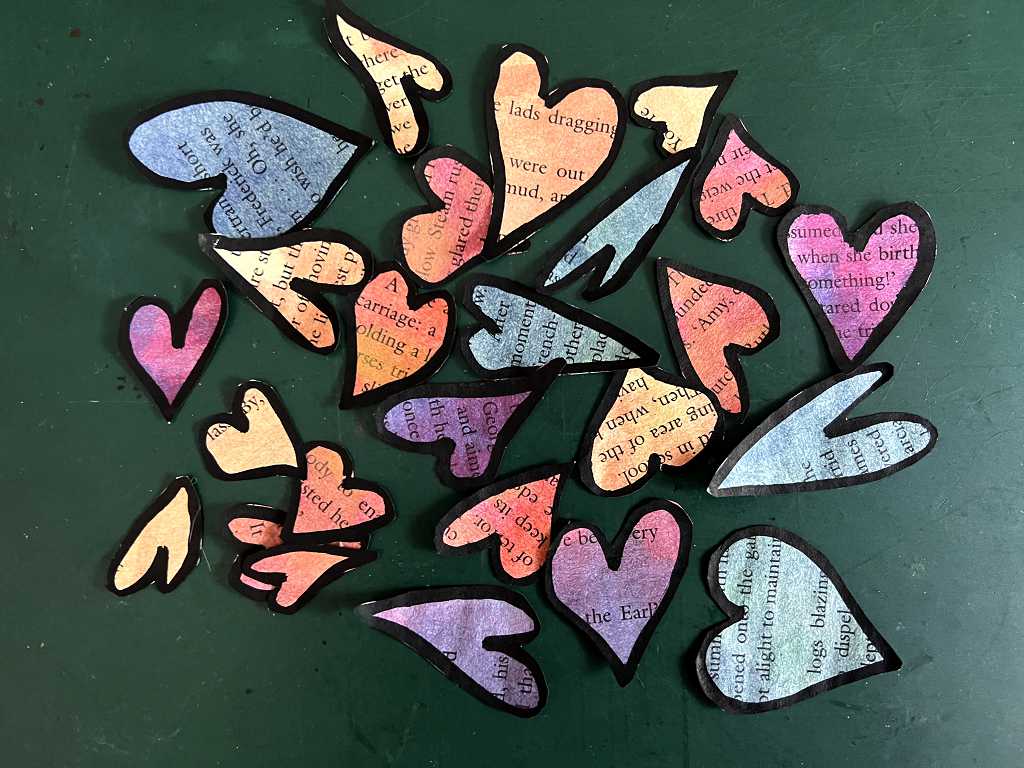
Following on from the flowers I made the other day, I have now made a collection of hearts from watercoloured book pages, outlined with black posca pen. I made these a bit darker than the flowers.
I also made a few swirls.
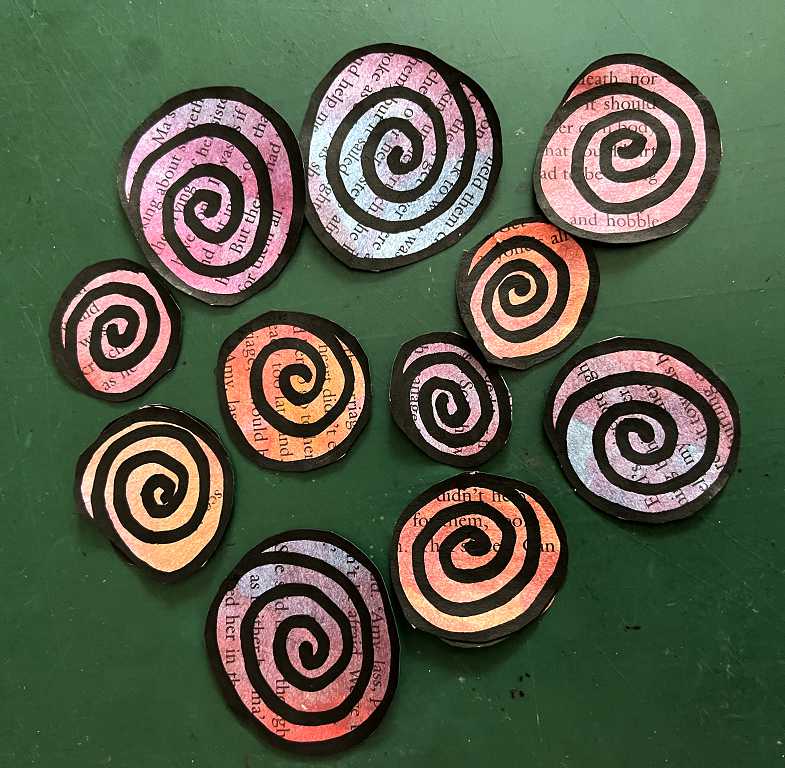
I can see these co-ordinating with my DIY foam stamps. I made several different sizes of spirals.
Spare watercoloured book pages left over.
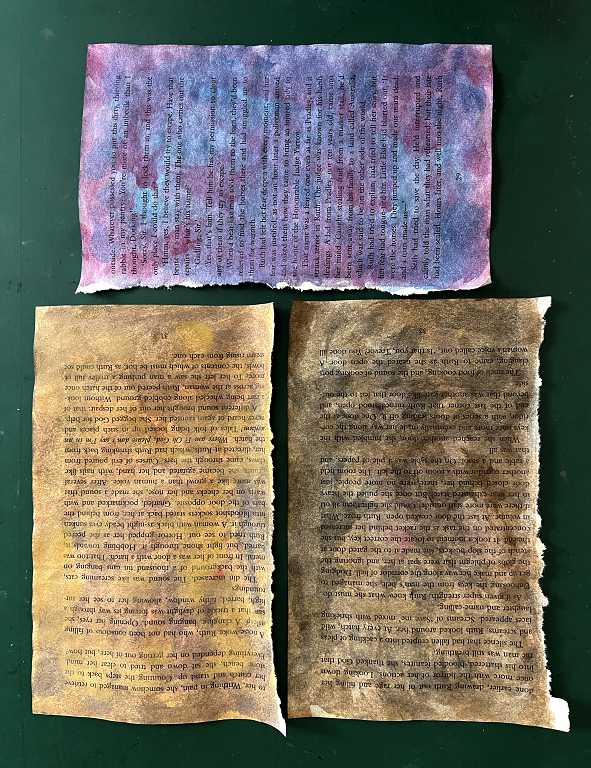
For this batch of papers, I put on a lot more paint. The text is still visible, but the colour is definitely richer