VINTAGE BUTTERFLY MINI-FOLIO, AND A LITTLE BONUS
Another gorgeous free download from VectoriaDesigns! I made this lovely little project yesterday, with a few extras this afternoon.
Vintage Butterfly Mini-Folio
Here is the YouTube video with the tutorial on how to make this.
As with the Forgotten Library Accordion Folder, I had to make one or two adjustments because I use A4 and not 11 x 8 1/2 in paper. I found the best way to avoid problems was to print out the background sheets for these projects as a whole sheet, with the “borderless” option in the printer settings, thus avoiding unprinted areas on the backs of certain pieces. Everything else was printed on the “fit page” setting which meant that the result was very slightly smaller than the original, but that isn’t a problem.
Anyway, to business. This is a most attractive little folio with lots of interactive bits, and plenty of spaces for little cards and tags. It has a charming vintage feel, and who doesn’t like a surfeit of butterflies?
Preparing the papers
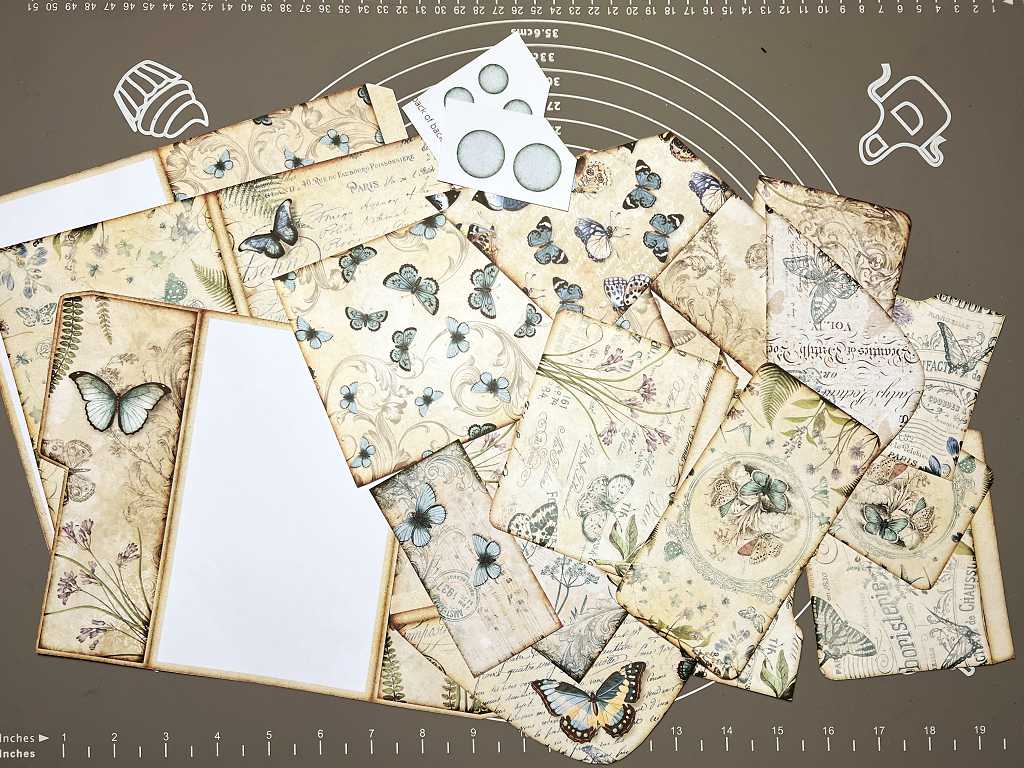
Printing, cutting out the pieces and inking the edges all takes quite a long time.
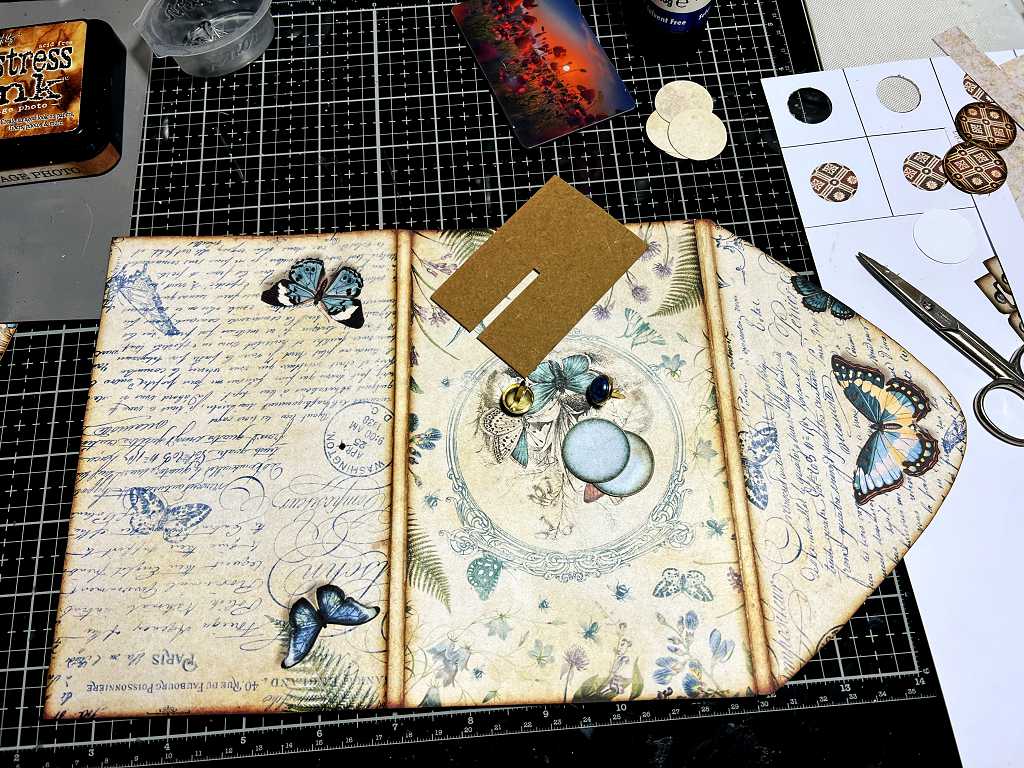
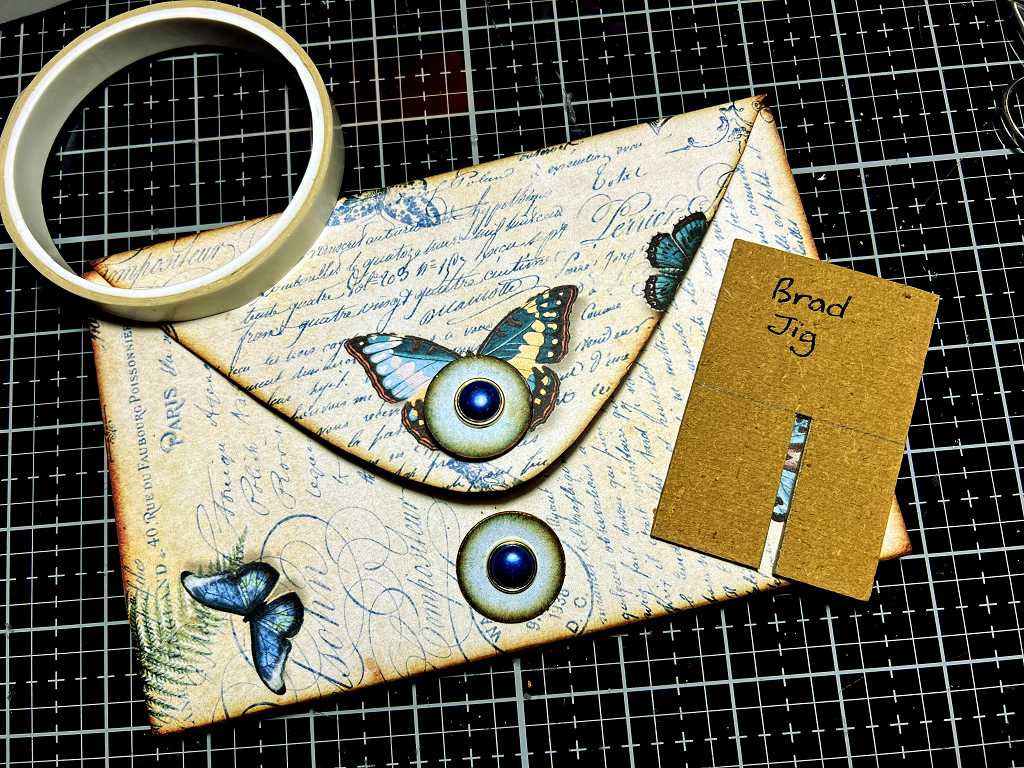
Assembling the cover from two pieces. As with the previous project, you have to add the closure at this beginning stage, so that the inside of the brads is covered up later. You can see Tinne’s “brad jig” (as I call it) in the centre of the picture. You slot the brad through this before inserting it through the project, so that when you spread the brad legs apart, you have created a gap between the brad and the surface, allowing for the thread or twine to be wound around the closure.
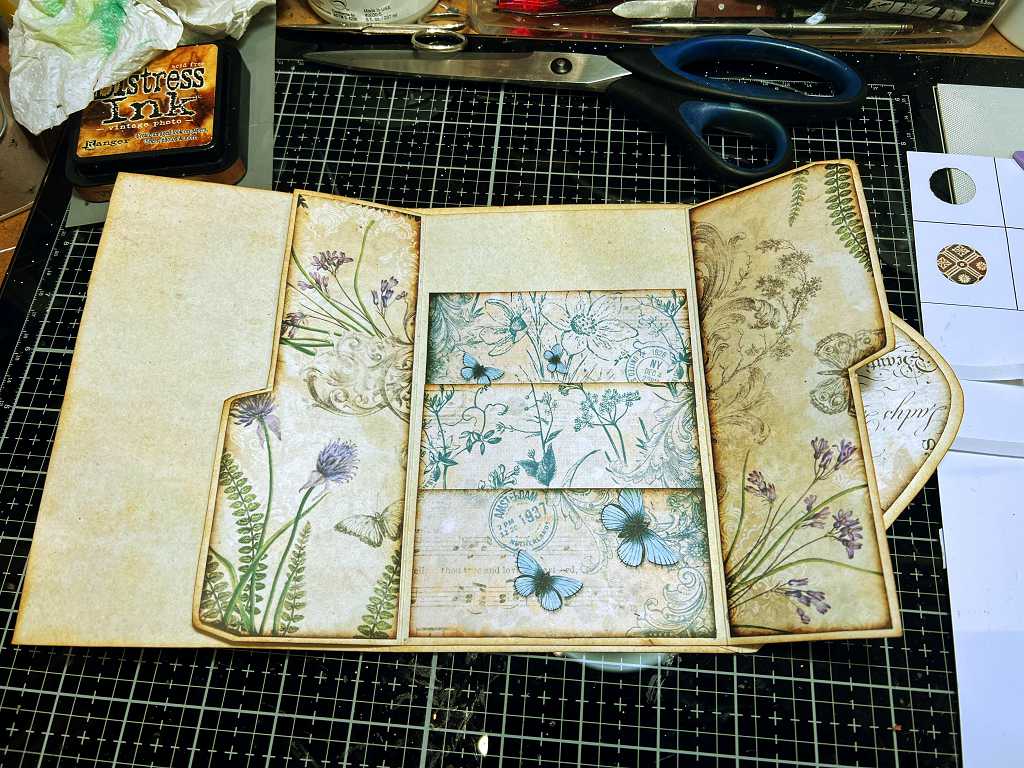
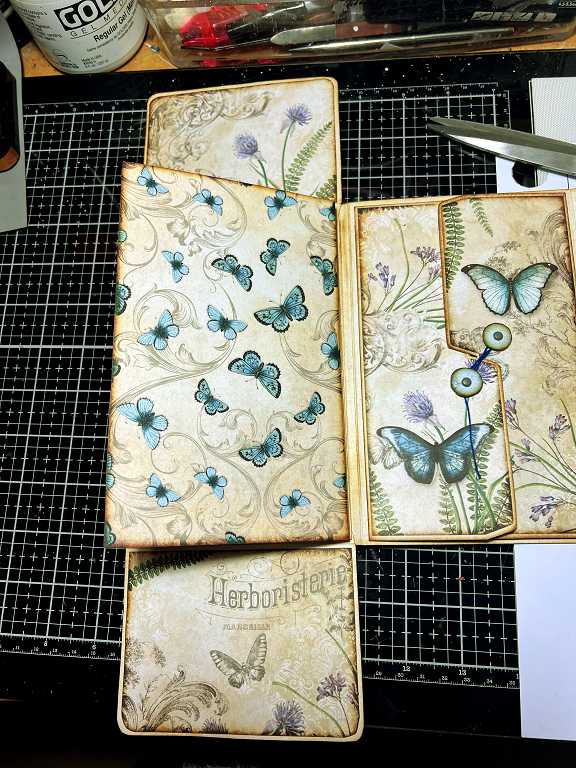
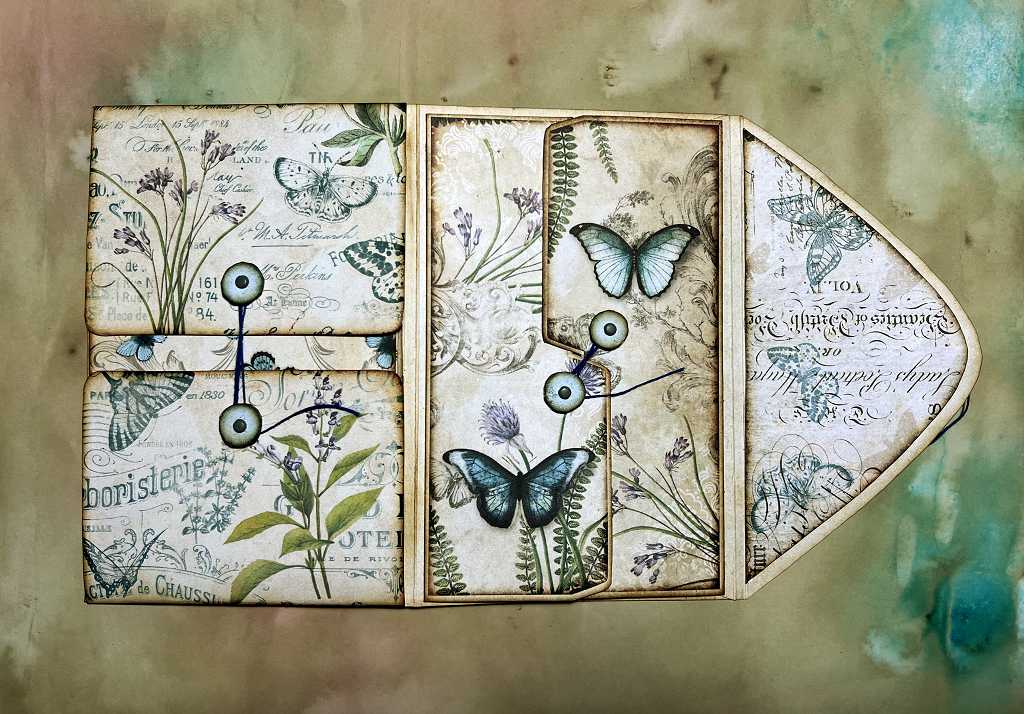
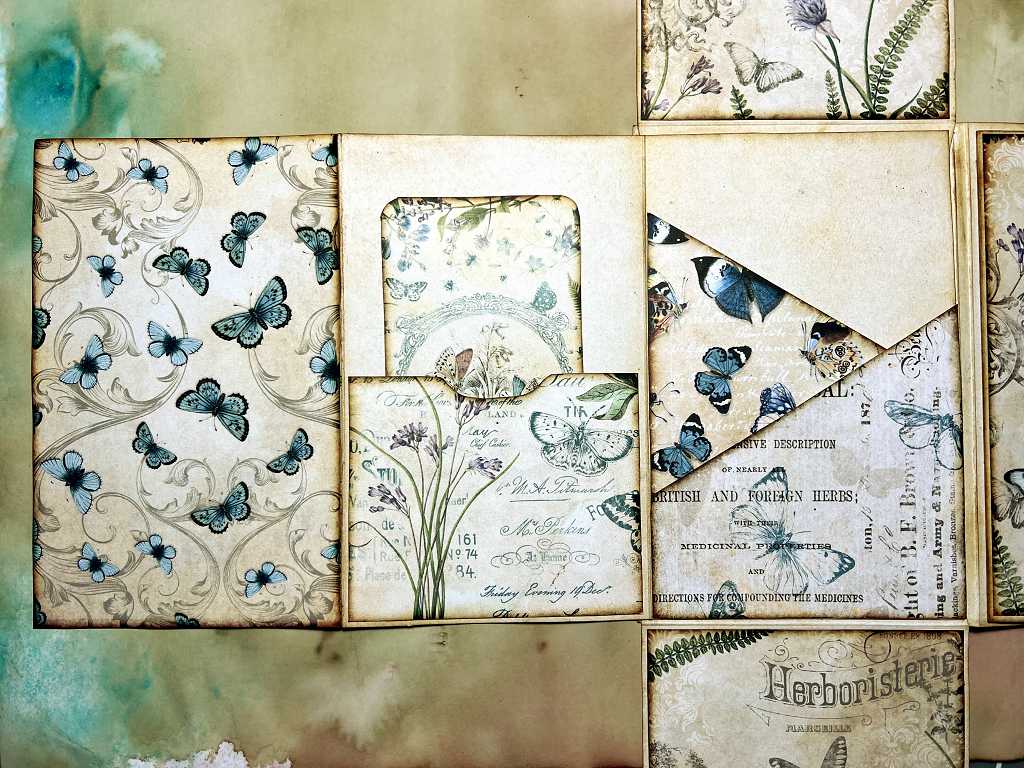
Inside the folio, on the right-hand side, is a kind of gate-fold arrangement, with two flaps that interlock.
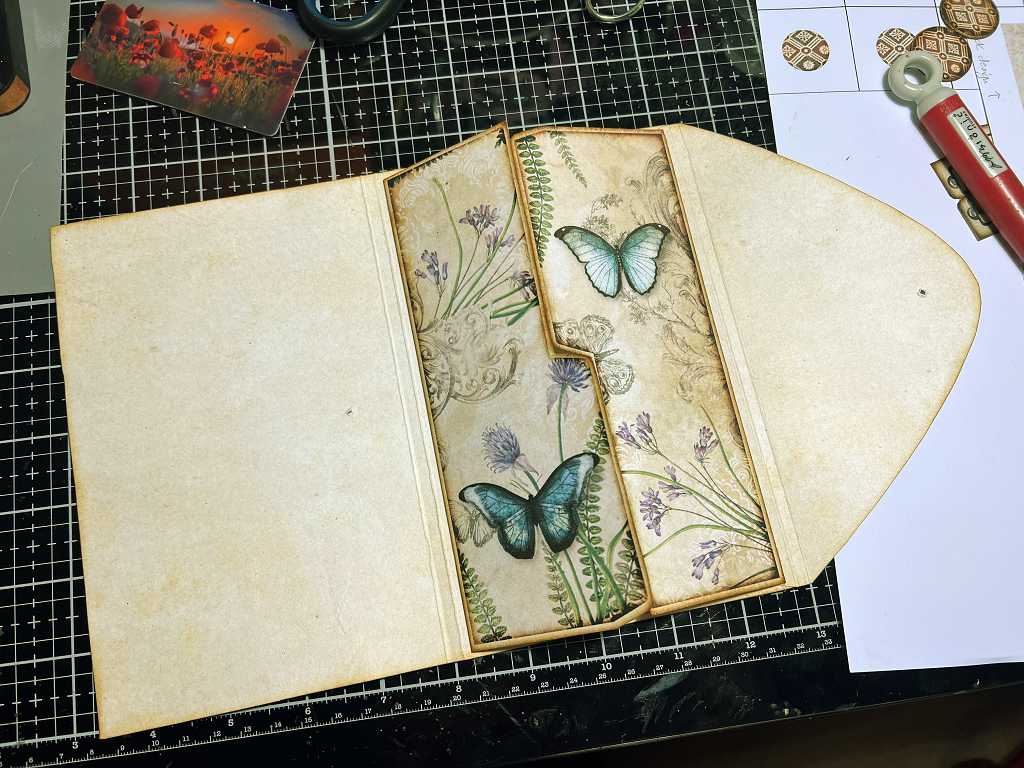
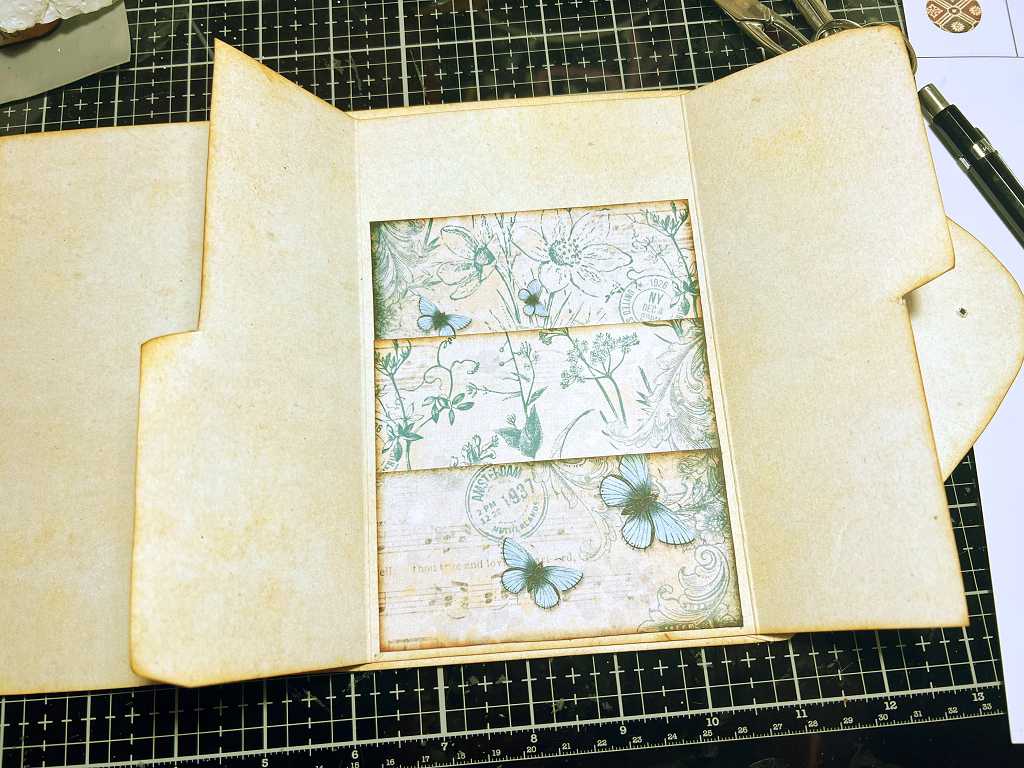
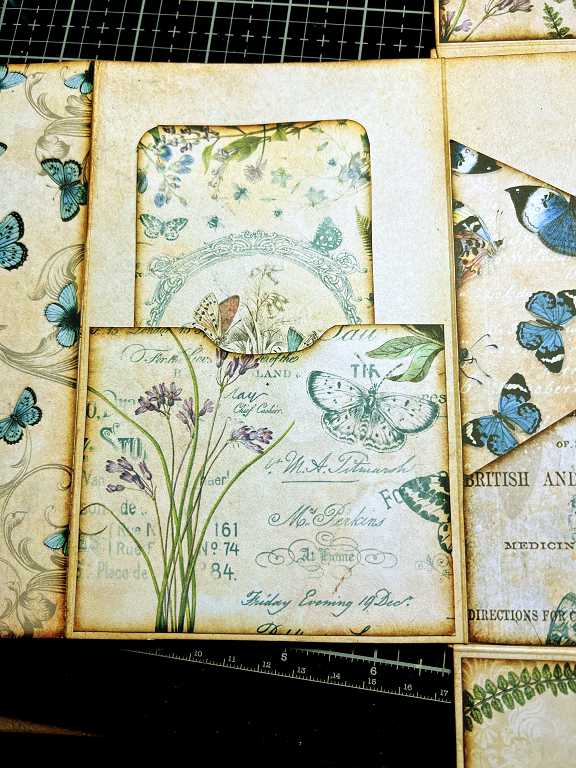
Opening up the two flaps, there are three overlapping pockets.
Again, it is necessary to add the closure for the gate-fold at this early stage, so that the inside can be covered up. There are some smaller circles in the kit for this. I used some grey brads from my stash to attach them.
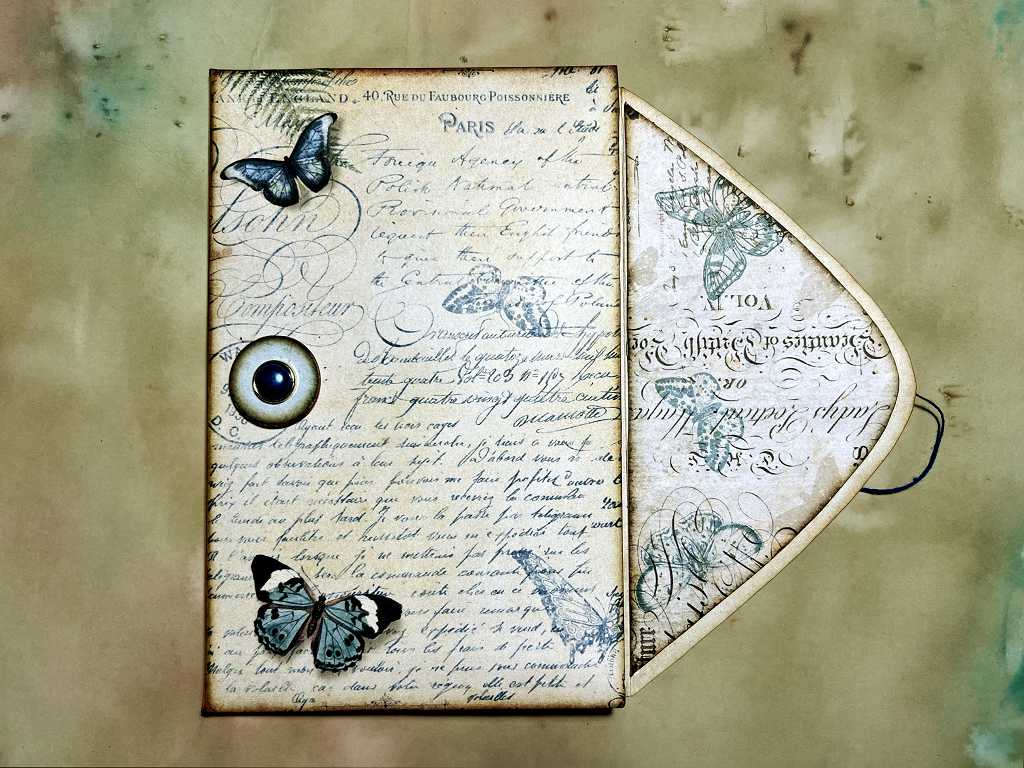
The closure on the front cover attached, using the two larger circles in the kit. For these, I used some larger blue and gold brads from my stash.
The panels attached to the insides of the gate-fold flaps, covering up the fastenings. I managed to stick the wrong one on first, so it was upside down! Fortunately I realised in time, before the glue set, and I was able to peel it off. Phew…
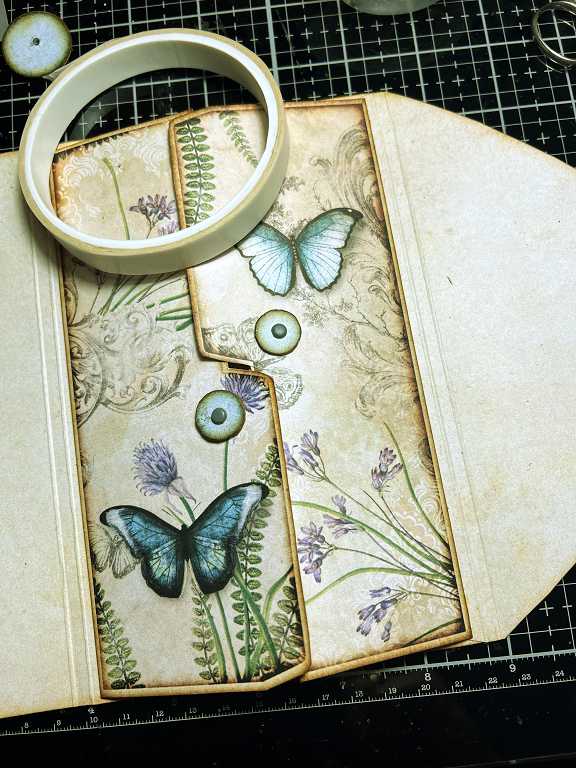
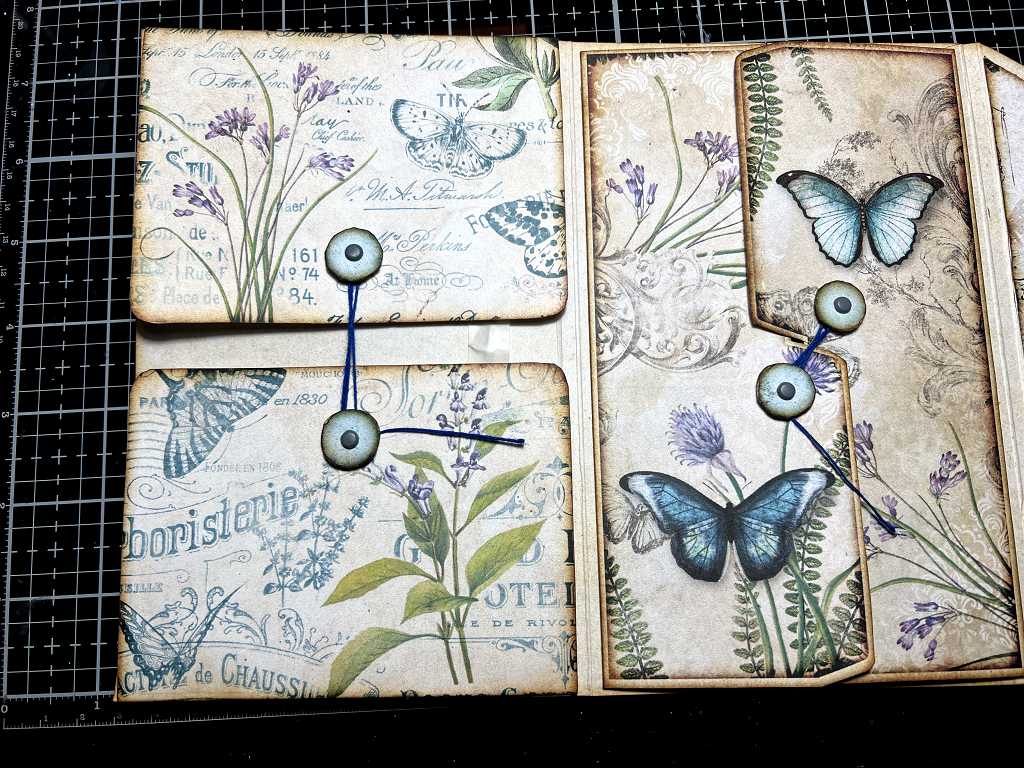
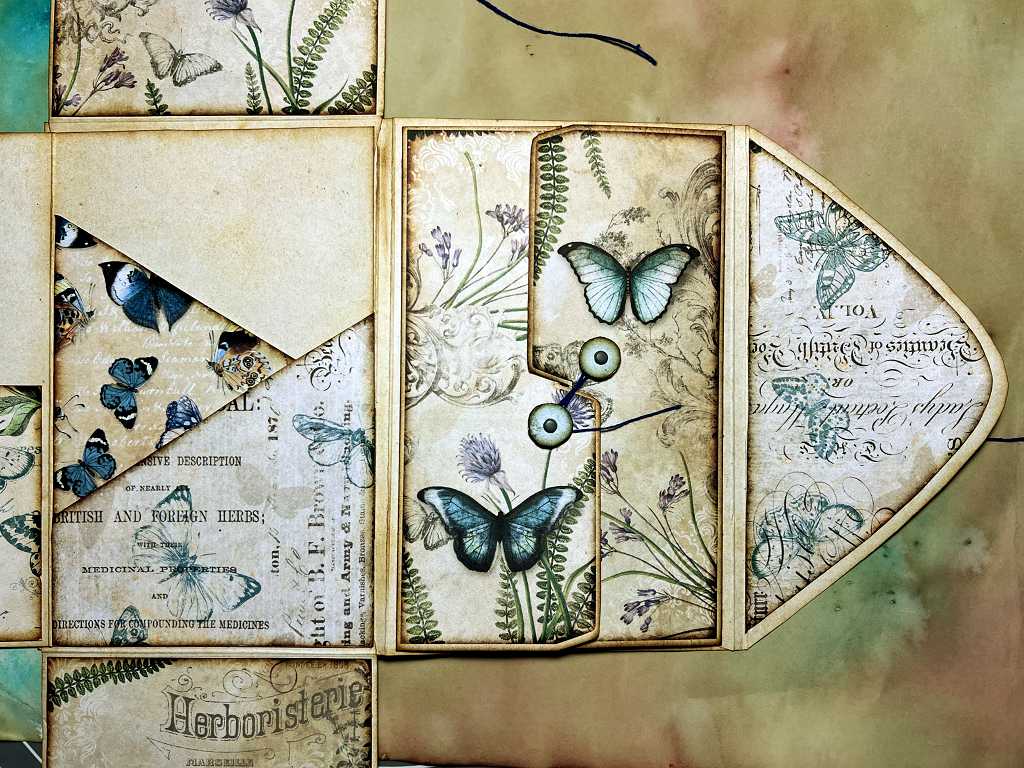
Here is a detail shot of how the closure works, fitting diagonally across the gate-fold interlocking part.

You can see that I have also added the panel inside of the front cover flap, which also covers the back of the fastening.
After I had stuck this down, I noticed that the printing was upside down. The glue was still wet so I immediately pulled it off, in order to turn the piece around, when I realised that of course if I did this, the point would be in the wrong direction! I had to replace the piece. I think this is an error on Tinne’s part. This project can be held in two directions – when it is closed and the front is facing upwards, it is like a standard envelope, i.e. landscape orientation. As you will see later, the back panel is portrait orientation, as are all the details inside the folio, which you open in a horizontal direction.
I opened the image in my photo editor and flipped this panel vertically, so that when I make this project again, the panel will be the correct way up. It’s a small point and probably most people wouldn’t notice, but it bugs me a bit!
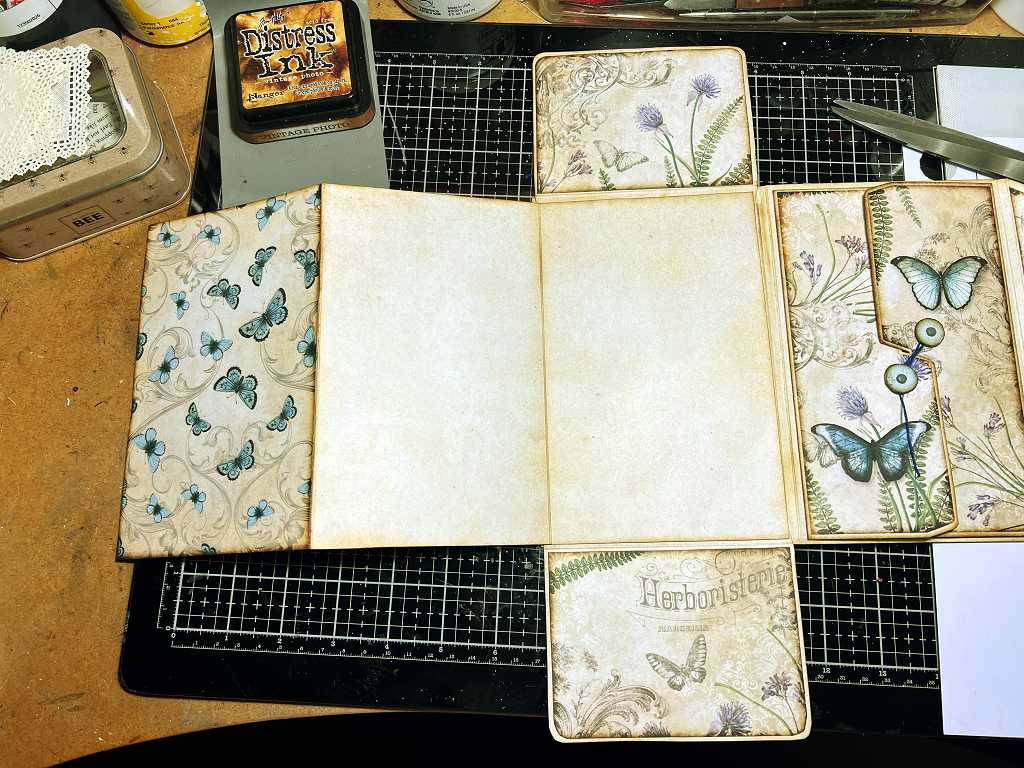
Moving over to the left-hand side of the inside of the folio, there are two flaps to be attached, hinged at the top and bottom of the piece. There is another fastening here, which again, has to be added at this early stage in order for the backs to be covered.
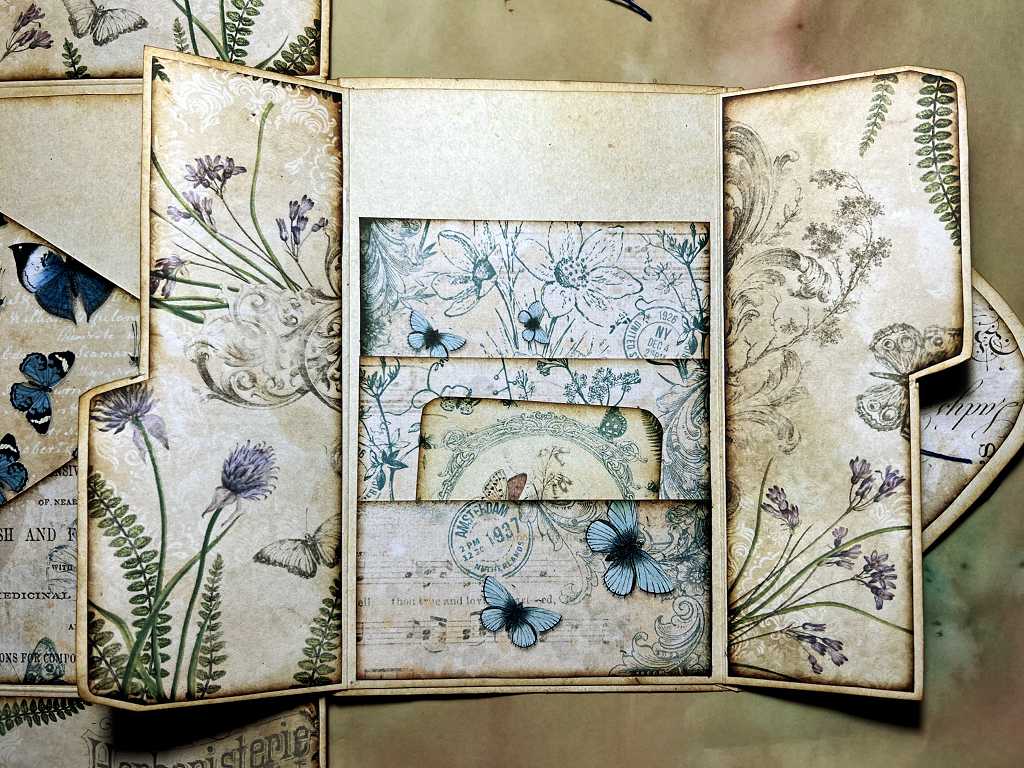
What goes underneath these flaps ia an accordion fold-out. I got a bit confused with this and glued one of the pieces in the wrong place, but fortunately I was able to pull it apart before the glue was fully dry! No harm done. You do have to concentrate a bit, to get all the elements correctly placed. As you can see in the following photo, the flaps at the top and bottom have panels glued to the insides.
This is the accordion fold-out closed, with the two flaps open.
The flaps closed over the accordion fold-out.
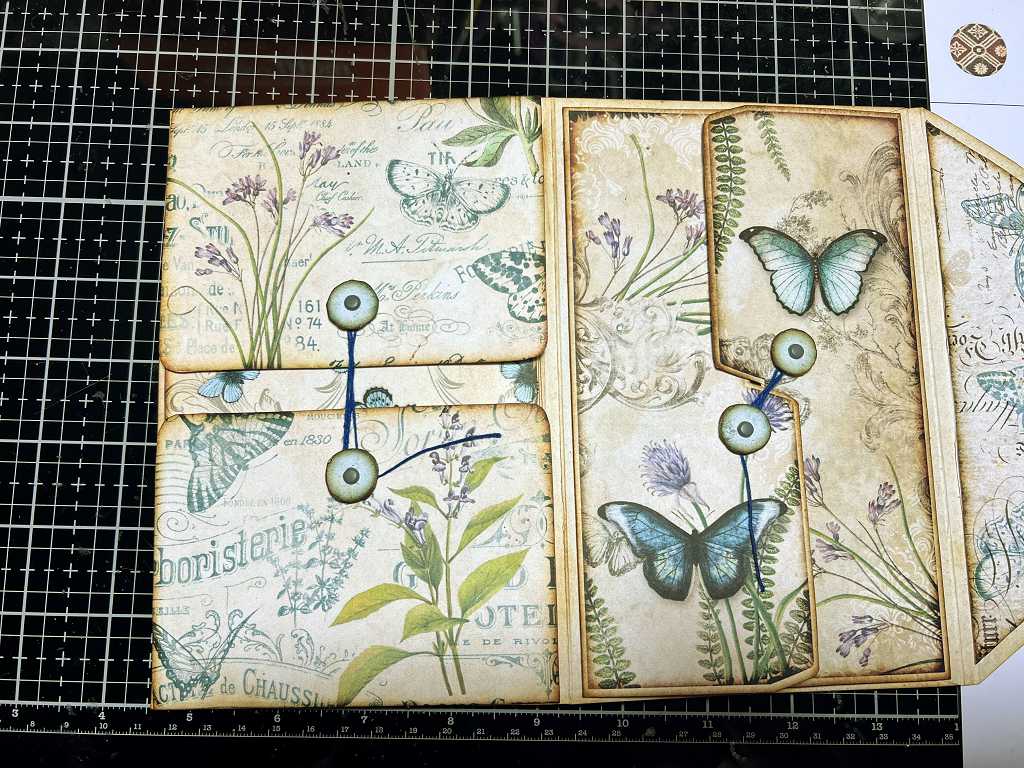
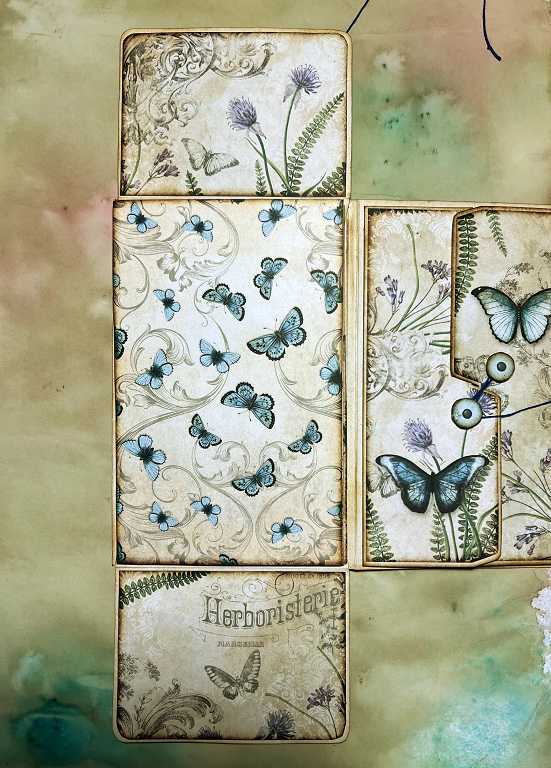
When you flip the whole accordion fold-out over to the left, underneath are two diagonal pockets.

Here is one of the small cards tucked just into the top of one of the pockets under the gate-fold.
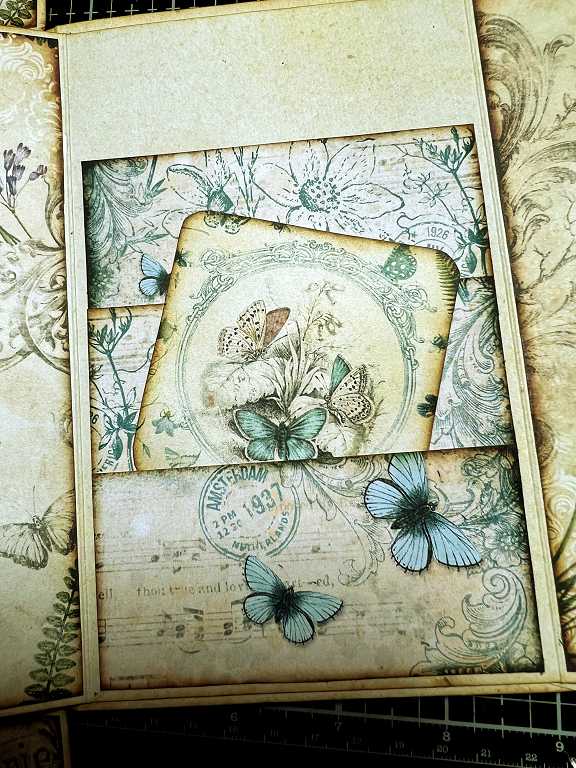
The card pushed right in.
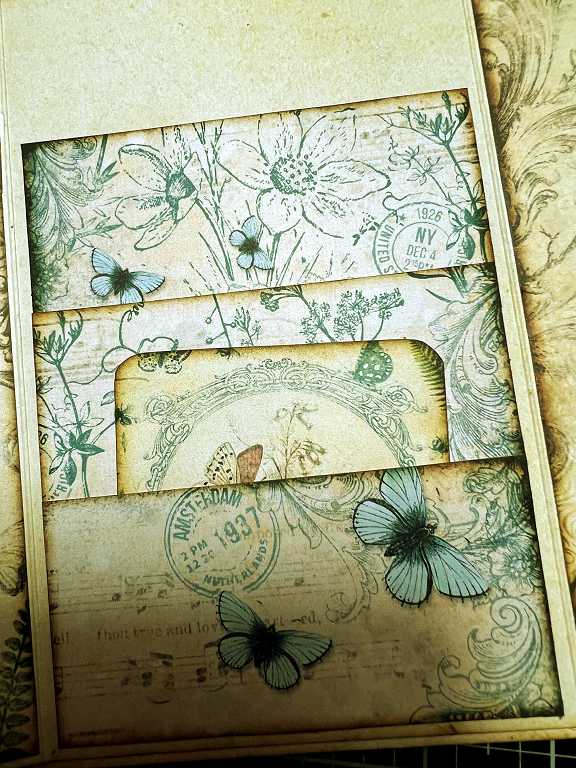
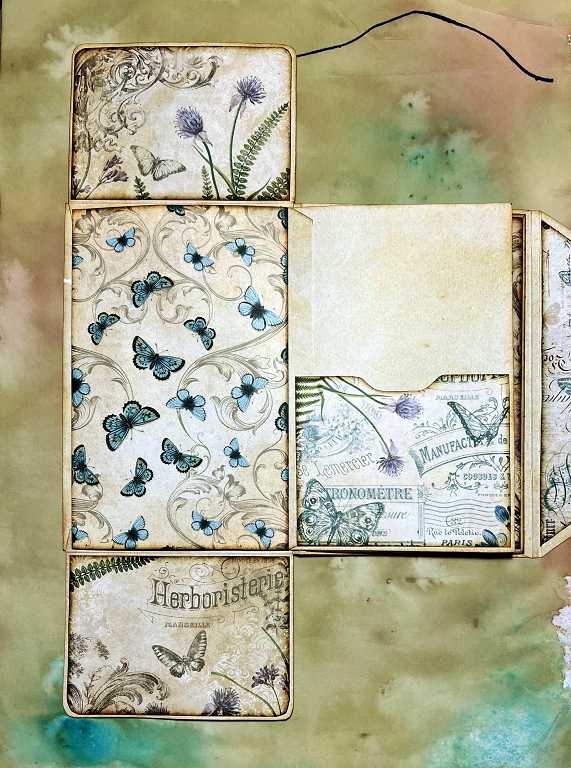
Here is one of the large cards laid on top of the pocket on the underside of the accordion fold-out.
The card slotted into the pocket.
The completed folio, front cover.
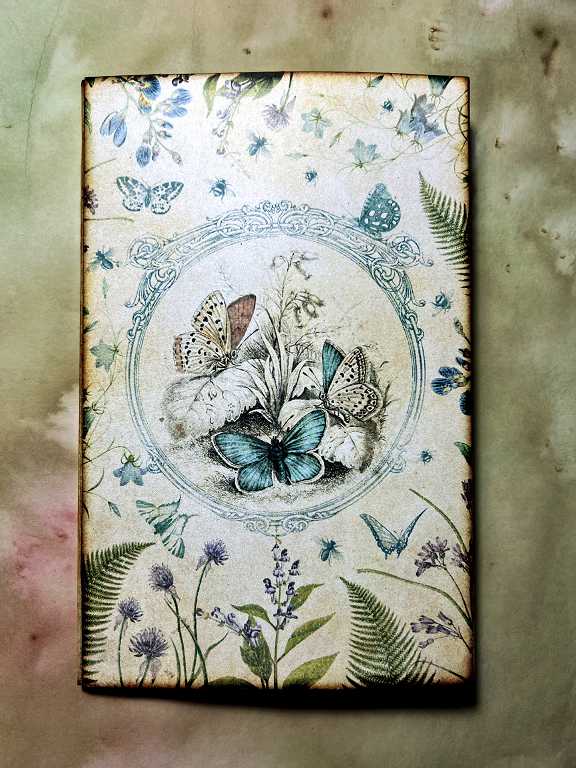
The back cover.
Opening the front flap.
Opening the folio.
Opening the accordion fold-out flaps.
Opening the first stage of the accordion fold-out.
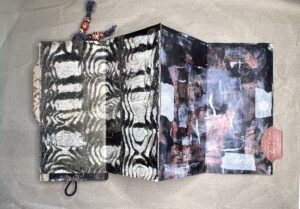
The accordion fold-out fully opened.
The right-hand side of the opened folio.
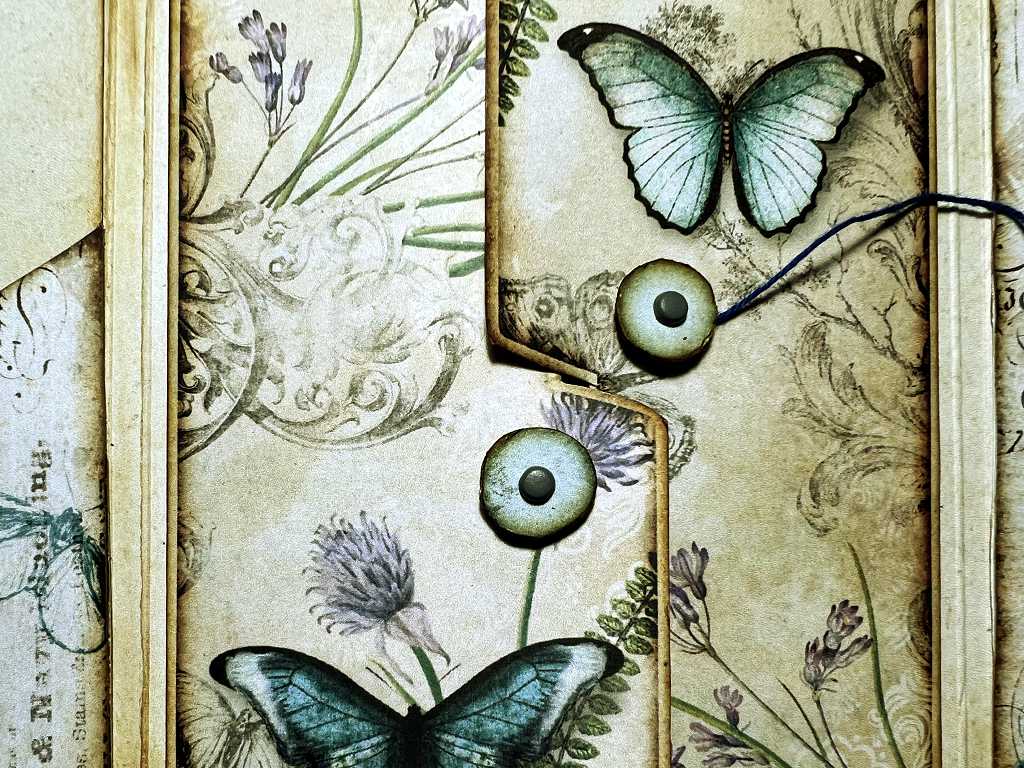
Detail of the gate-fold closure, showing how the two flaps interlock.
The gate-fold opened.
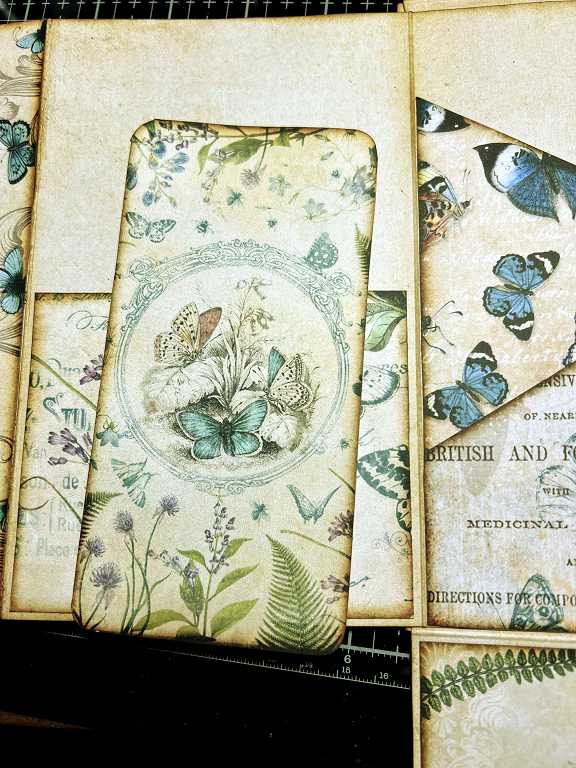
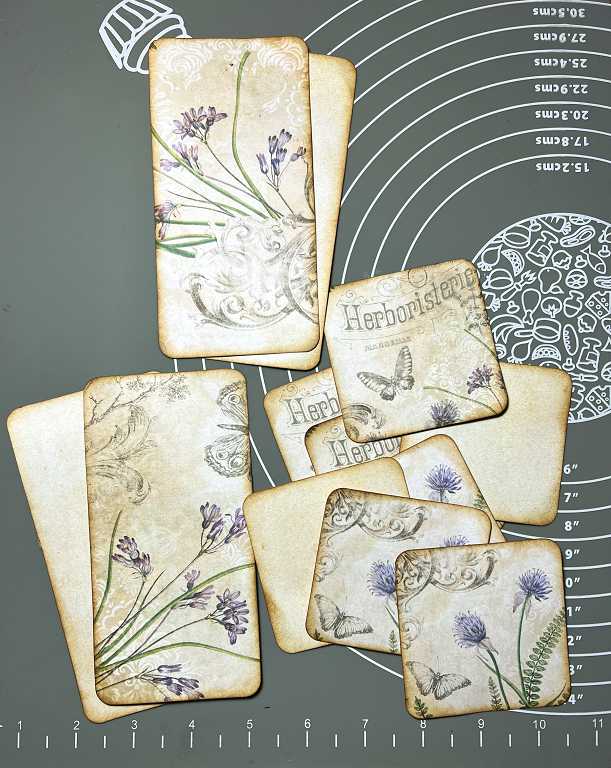
The additional cards that I printed out this afternoon – two large and two small, showing the reverse side of each.
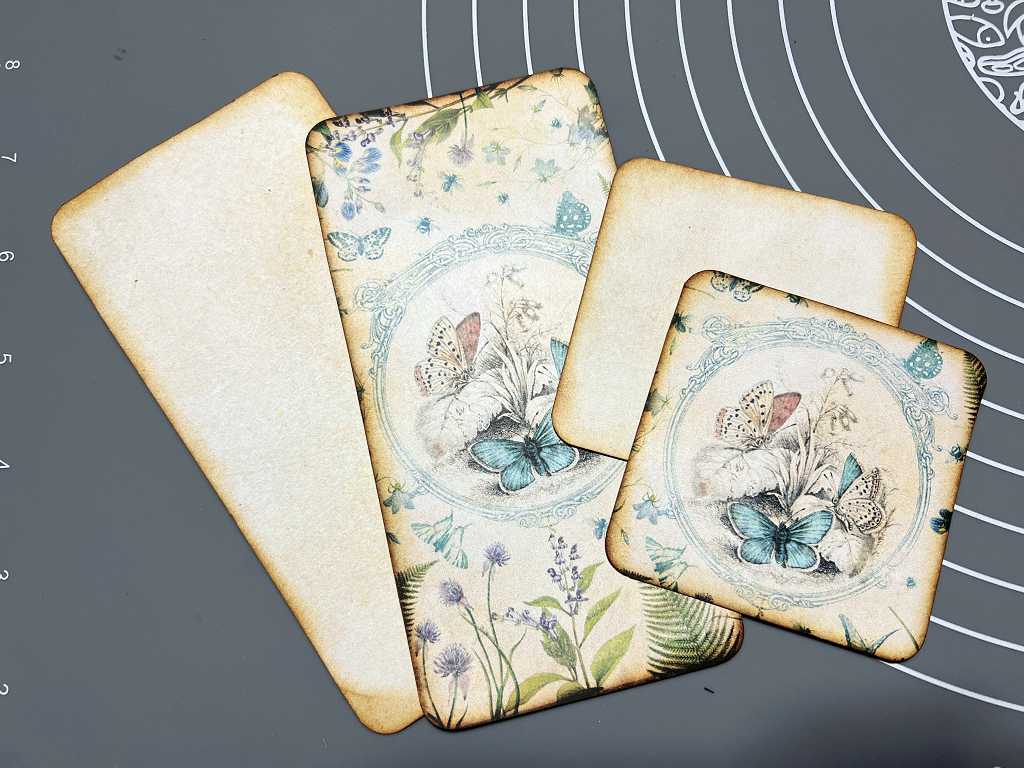
I also made some additional cards the same size, from papers in the kit. I had to manipulate them a bit on my photo editor to get them to look right on the cards which I made the same size as the originals.
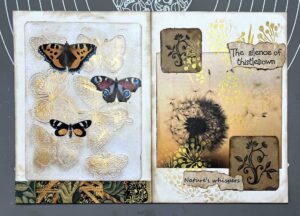
A final shot of the opened folio, with additional cards added.

I think you will agree that this is a very lovely little folio with plenty of interest.
A bonus project
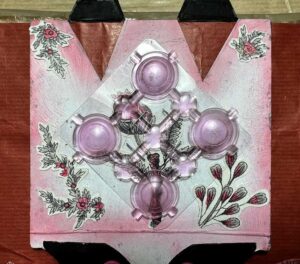
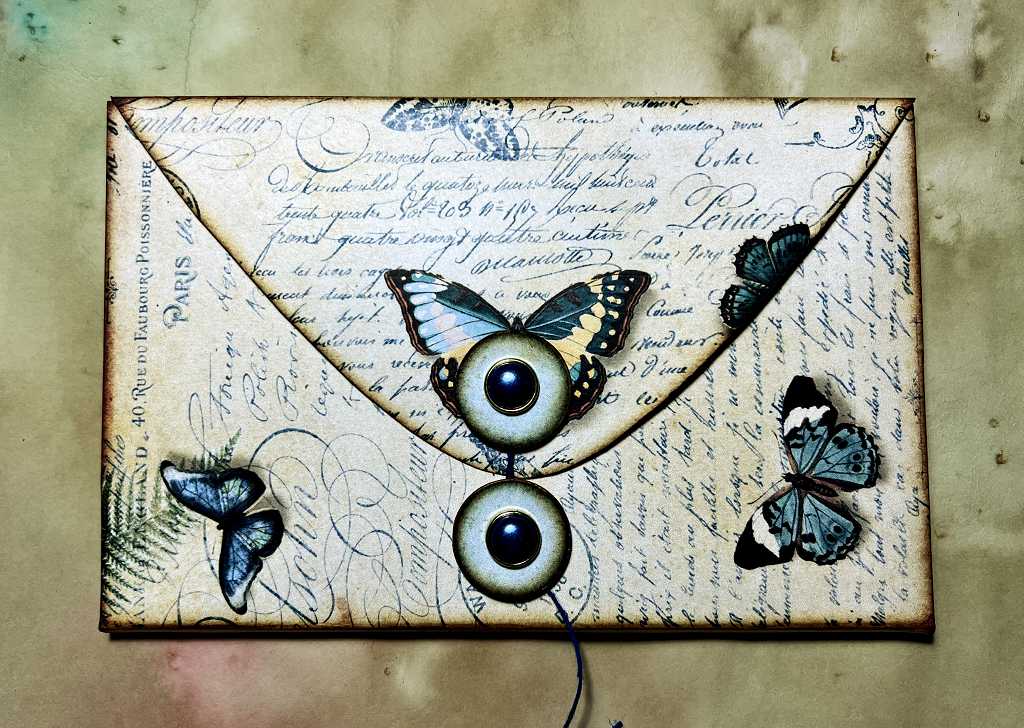
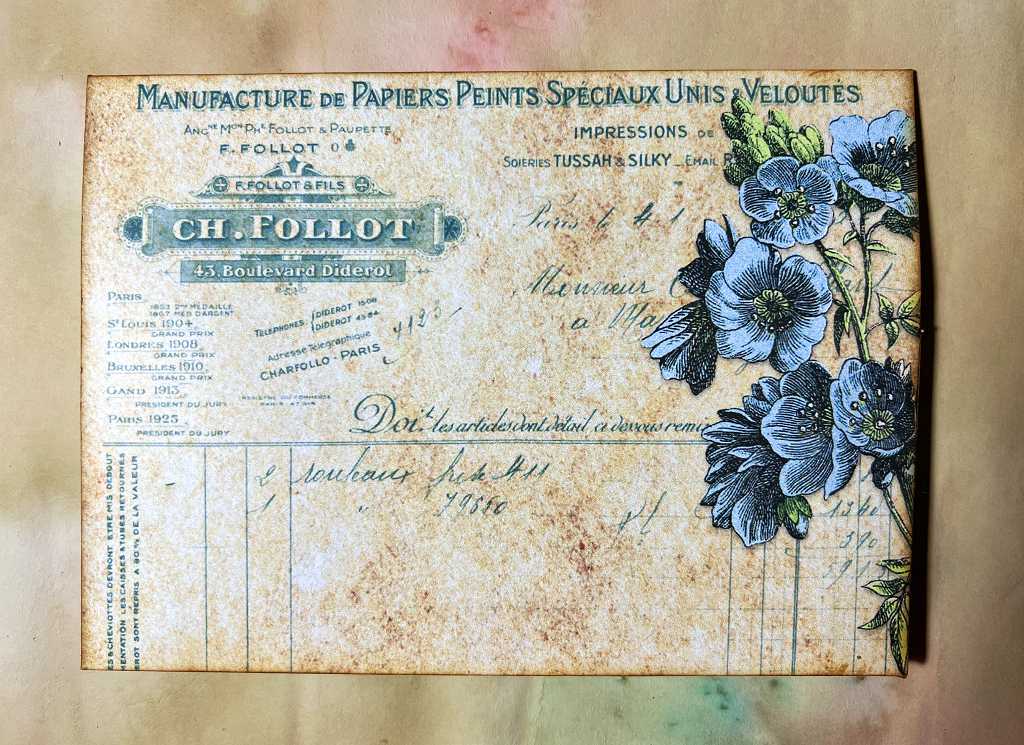
When I signed up to receive Tinne’s newsletter, she gave me the link to this little free project – “Botanical Envelope” – a very pretty French shabby-chic style envelope, which I made up in double-quick time.

The back of the envelope.
The inside.

What a lovely way this would be to wrap a shop gift card, for instance. For the closure, I added an eyelet and some georgette ribbon.