“FORGOTTEN LIBRARY” ACCORDION FOLDER – AN EXCITING NEW PROJECT USING PRINTABLES
I haven’t ever done very much with downloadable printables in the past – just some small images for collage and things like that. It is only recently that I have ventured into downloading kits and collections. This is something different from my usual approach which is to design as much as possible myself, and it is very relaxing to do an “assembly job” with someone else’s design once in a while! It does involve quite a bit of creativity, though, because you are usually free to add what extra embellishments you choose. It is certainly great fun.
“Forgotten Library” Accordion Folder
A few days ago a simply fabulous video came up in my YouTube feed from VectoriaDesigns, and I fell in love with this beautiful project. The lovely lady was offering the downloadable printables for free! I just had to get them.
Subsequently, I also bought the associated collection from her Etsy shop.
This design is so vintage, so charming, and yet not flowery and feminine, and would make an ideal male gift. I am going to make two initially, one for my hubby for Valentine’s – he might find it useful to put bits and pieces in. He always has lots of bits of paper lying around and it might help him to be more organised with them! I shall also make one for myself, and since I now have the digital files, I can make the project again any time I want, to give away as gifts.
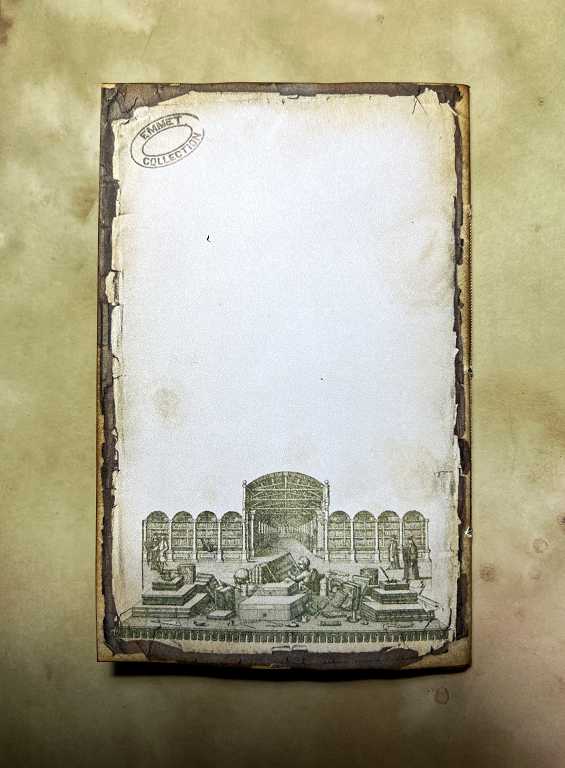
When I print the ephemera from the Etsy collection, I shall store them in my own folder. They will be a useful resource, not only for when I make the project again, but also for other projects. The backing page is also a useful background for other projects, and certain elements could definitely be used for cards, book pages etc.
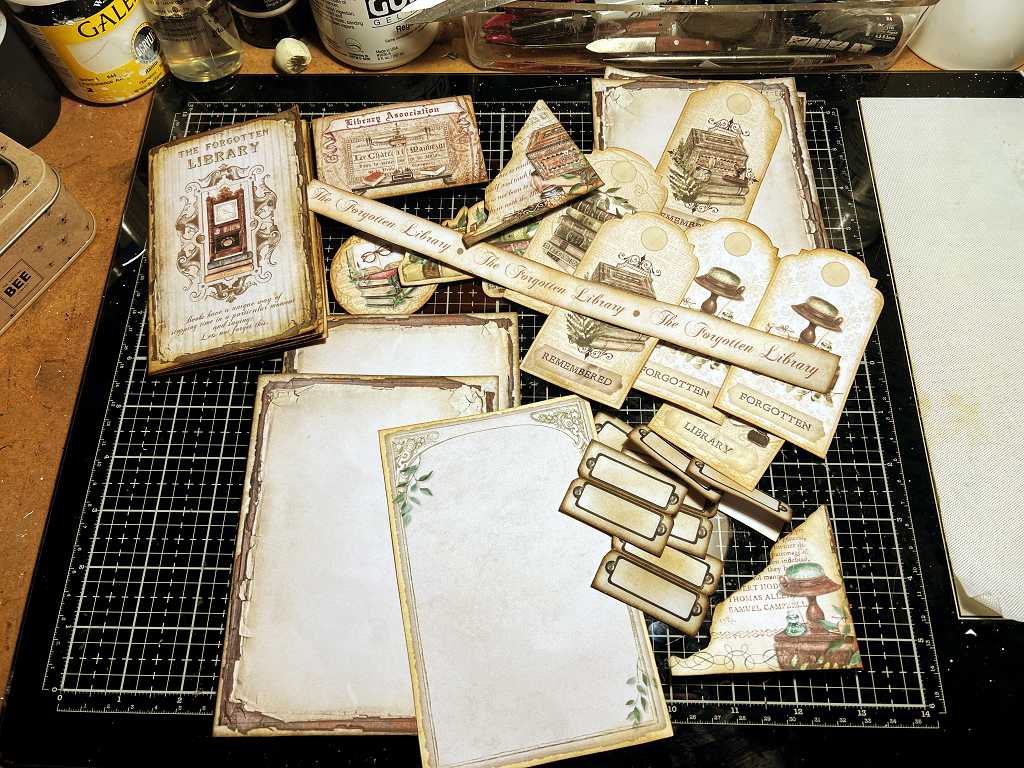
Printing and cutting the pieces
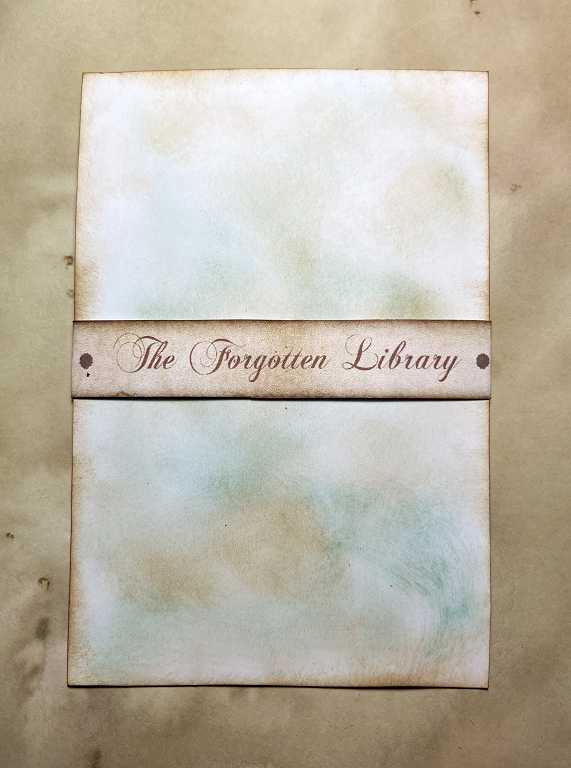
Here are all the sheets printed out. Some of them have a full page background printed on the back. You will see this in later photos.

All the pieces cut out, ready for assembly into the folder.

Making the cover of the folder
Each piece needs to be inked along the edges to cover the cut white edge and to add a bit more distressing and aging to the project. For this I used Vintage Photo Distress Ink, as she did in the video. I used a combination of double-sided tape and glue stick to assemble the pieces, and a little tacky glue.
Here is the cover being assembled.

In the above photo you can see that there is some text printed on one of the pieces – this is the page number, and it will be covered up eventually. The flap on the right shows the all-over background printing.
The panels for the three sections of the outside of the cover glued in place.

You can see that I have already added the fixings for the closure. This has to be done before the lining pieces are added, so that these cover up the backs of the brads.
The inside of the cover. The lining piece for the flap has a different design from the front, although they are interchangeable.

Here is a detail shot. You can see that there is no visible evidence of the front flap fastening on the inside.

A detail shot of the front and back cover panels and the spine. The shading on the printing, accentuated by additional inking along the edges, gives this a real 3-D look. You can see the second brad on the front panel.

Tinne, who designed this project, has invented a nifty little gadget for adding brads for book closures. It is often difficult to avoid attaching the brad too tightly, so that there is insufficient room for the twine used for the closure to be twisted around it. In the above photo you can see that I have used the printed disc (somewhat reduced in size) with a jewelled brad in the centre.
The tool she has invented is a simple piece of fairly thick cardboard with a slot cut into it.

You place this on top of the hole through which you pass the brad, and when you turn the piece over and splay the legs of the brad, the “jig” acts as a distance piece. Once the brad is secured, you simply remove the jig and the brad is perfectly placed, with space for the twine to wrap around. Clever, isn’t it!!
Here is the more-or-less completed outer cover. All that remains to be done is to add the twine to the closure.

Construction of the accordion insert
Time to work on the inside, which is really clever. Here are all the pieces scored, folded and inked, and ready for assembly.

The accordion piece complete. Assembling it is quite tricky as you have to be careful to line everything up as accurately as possible, but Tinne’s directions on the video are very clear, and if you take your time and check that everything is the right way up, it works a treat.

The flaps at the sides are the extra accordion pieces which attach the insert to the inside of the cover.
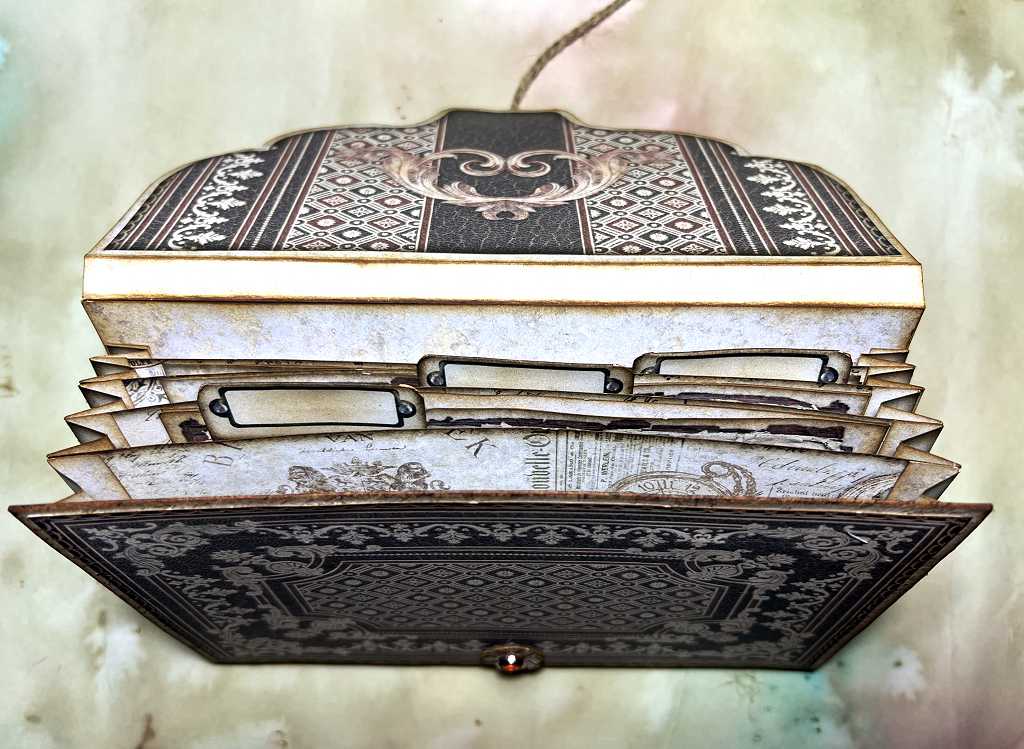
This is the completed accordion insert seen from above, ready to be attached to the cover.

Here is the folder, complete with the accordion insert. Again, this is a bit fiddly to do, but with a bit of care, it goes in just fine.

Another view, from directly above.

Embellishments and contents of the folder
The embellishments, cut out, inked, and folded where necessary. Most of the embellishments came from the purchased kit but the larger sheets, the six tags and the file folder tabs came with the free set.
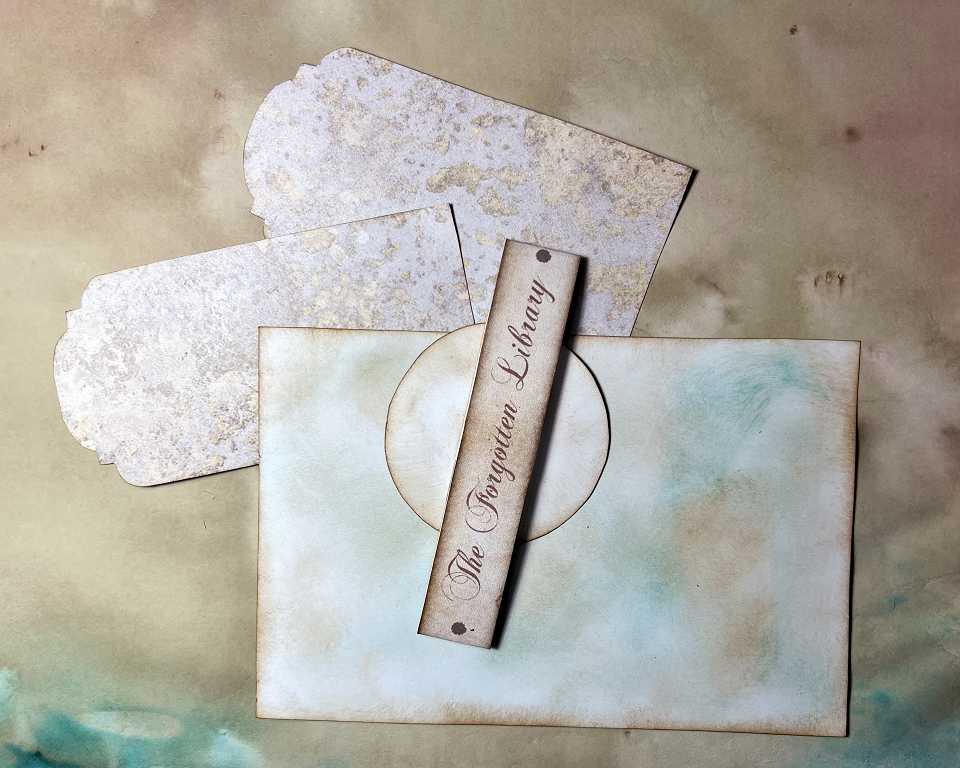
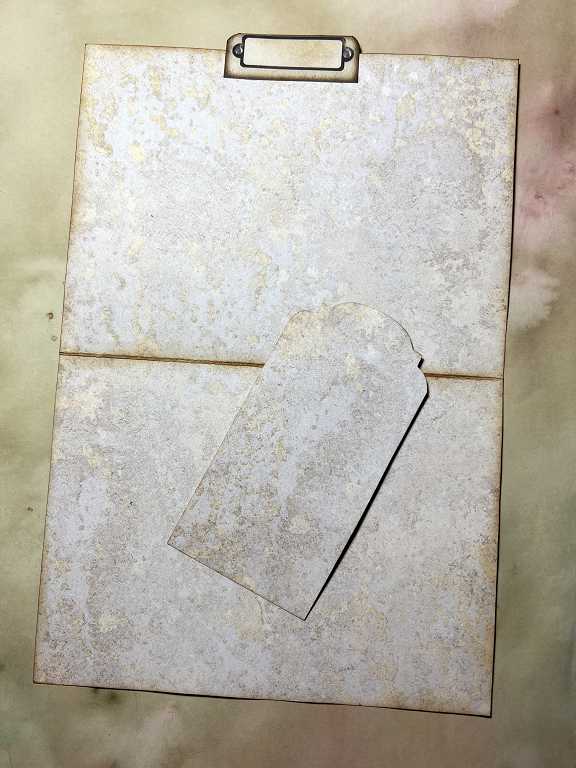
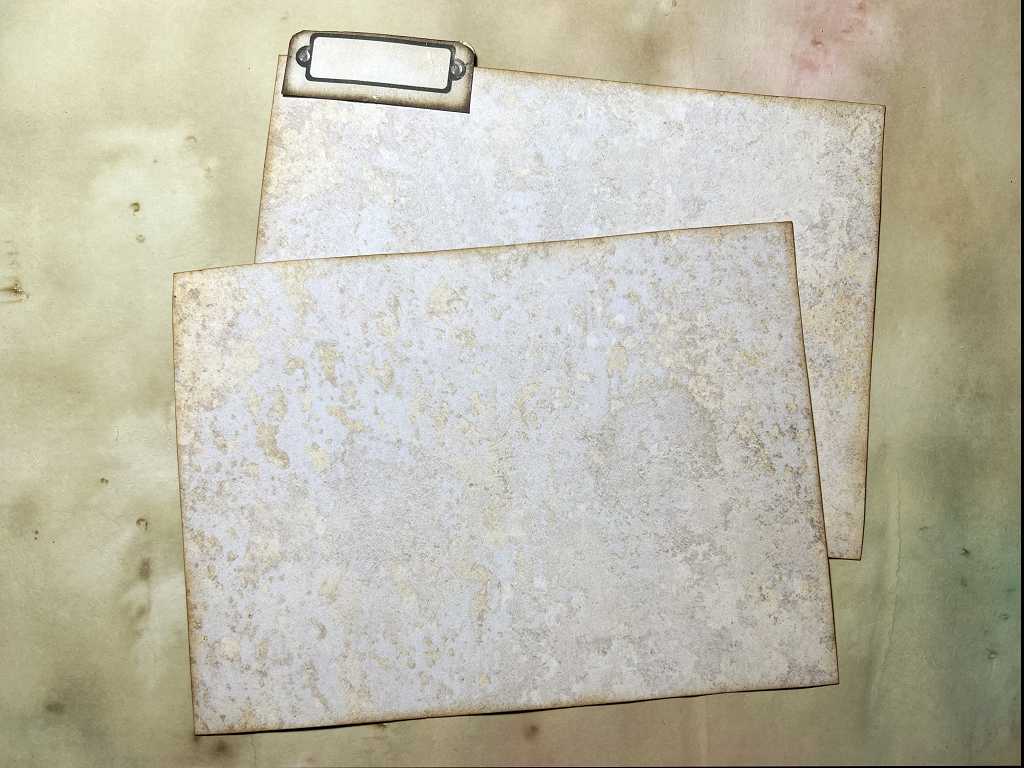
This double sheet, when printed out, could either be folded in half as it is here, to create a file folder, or cut in half to make two single sheets. The back is printed with the all-over background.
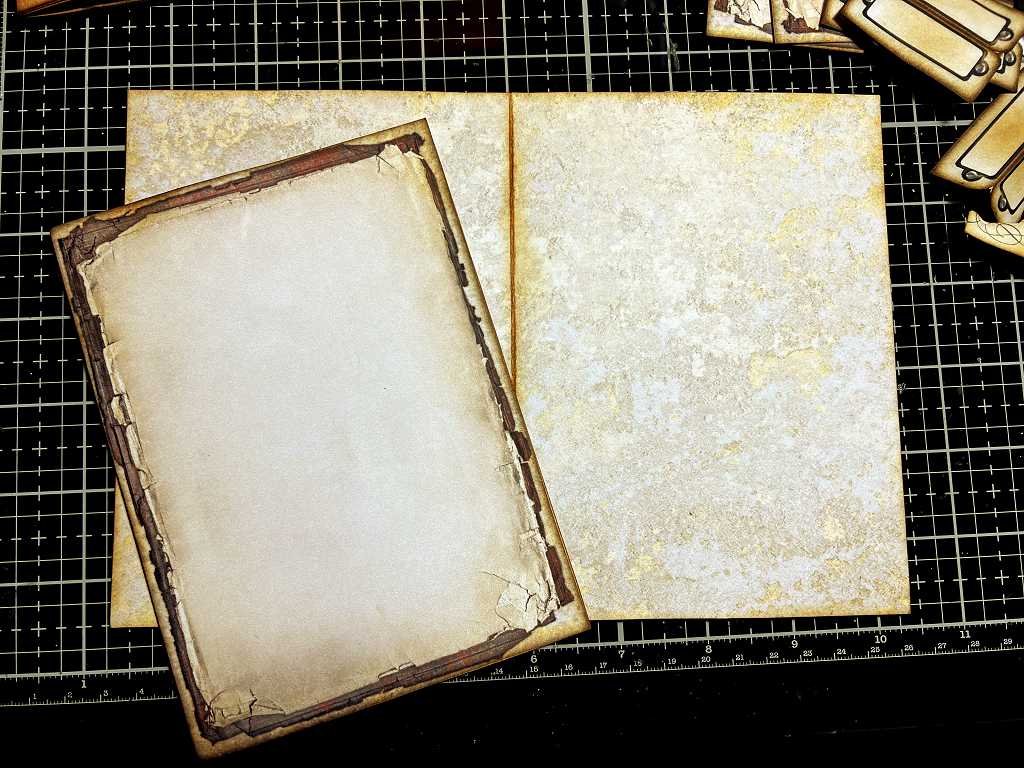
This one was cut in half after printing, to make the two separate sheets.

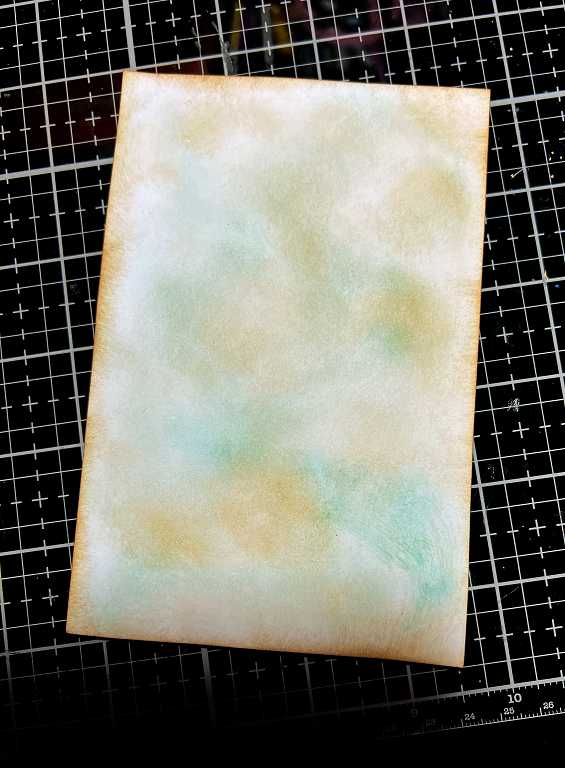
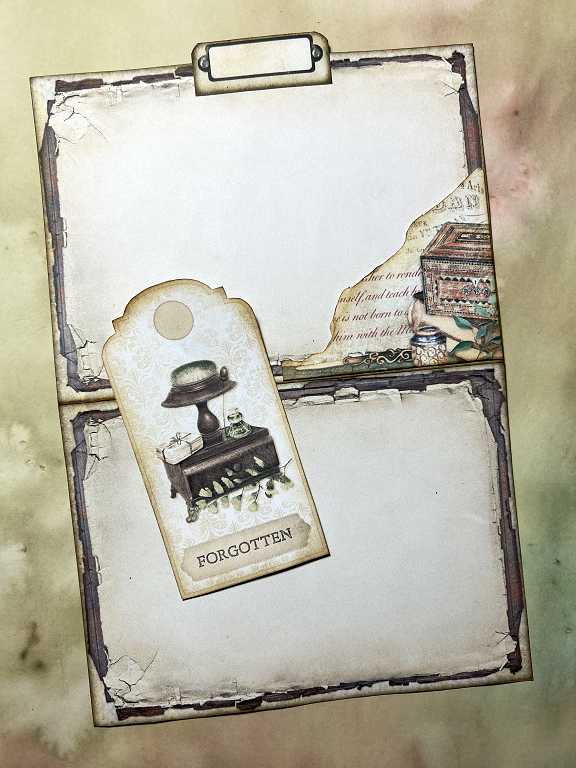
This single sheet came from the purchased kit.
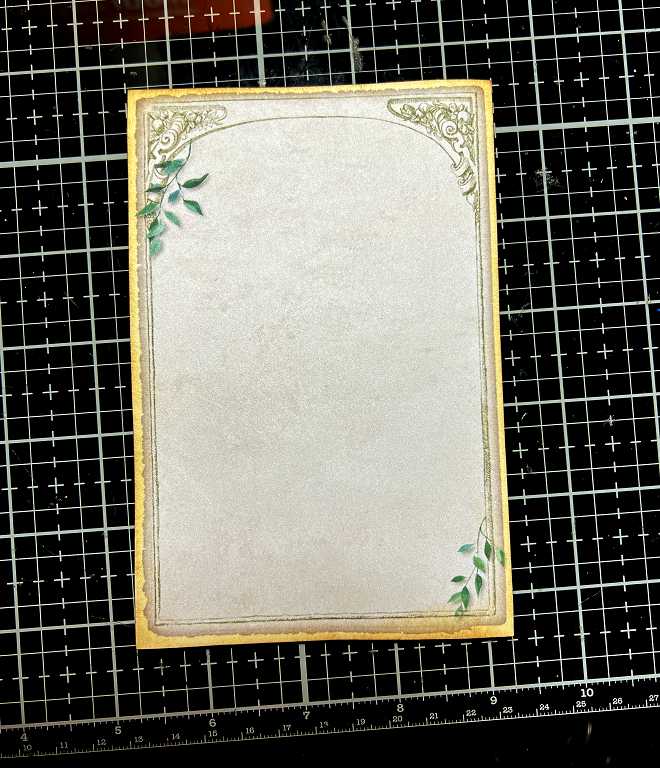
I didn’t print it with the background on the back, but inked it with Vintage Photo and Iced Spruce Distress Inks.
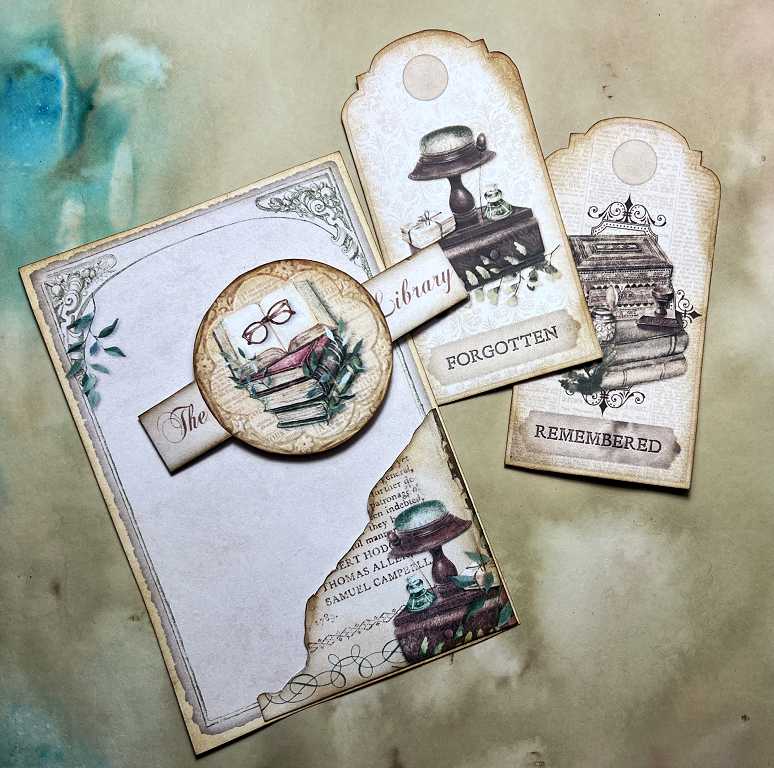
These are the smaller embellishments, inked, folded where necessary, and ready to be attached to the various elements. I edited the size of the long strip to create a belly band that would fit the smaller of the separate sheets and the text would fit. The circular embellishment is to go on this.

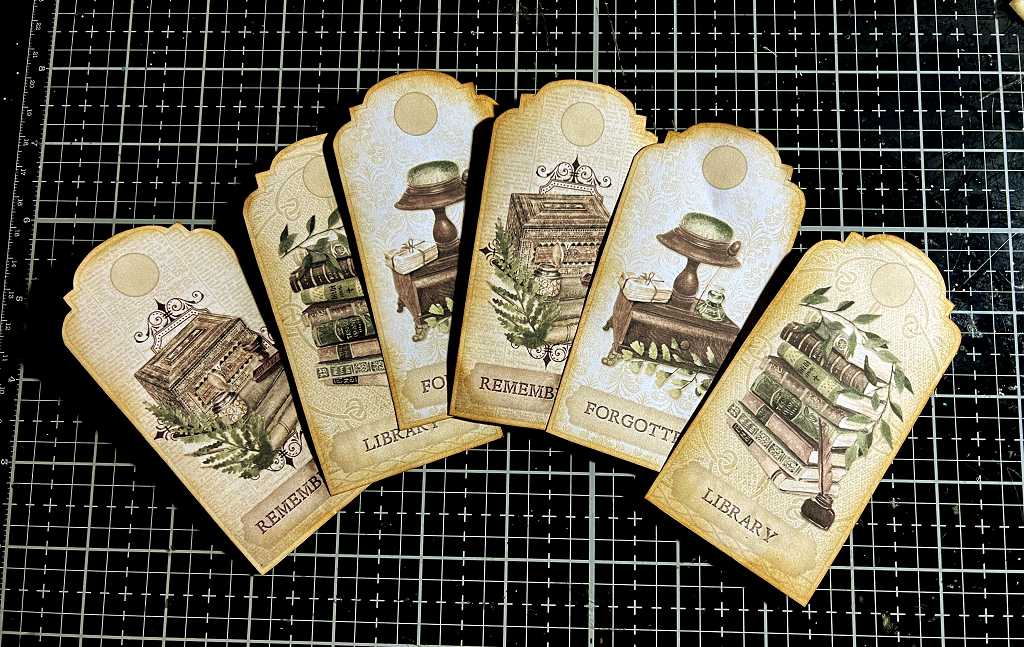
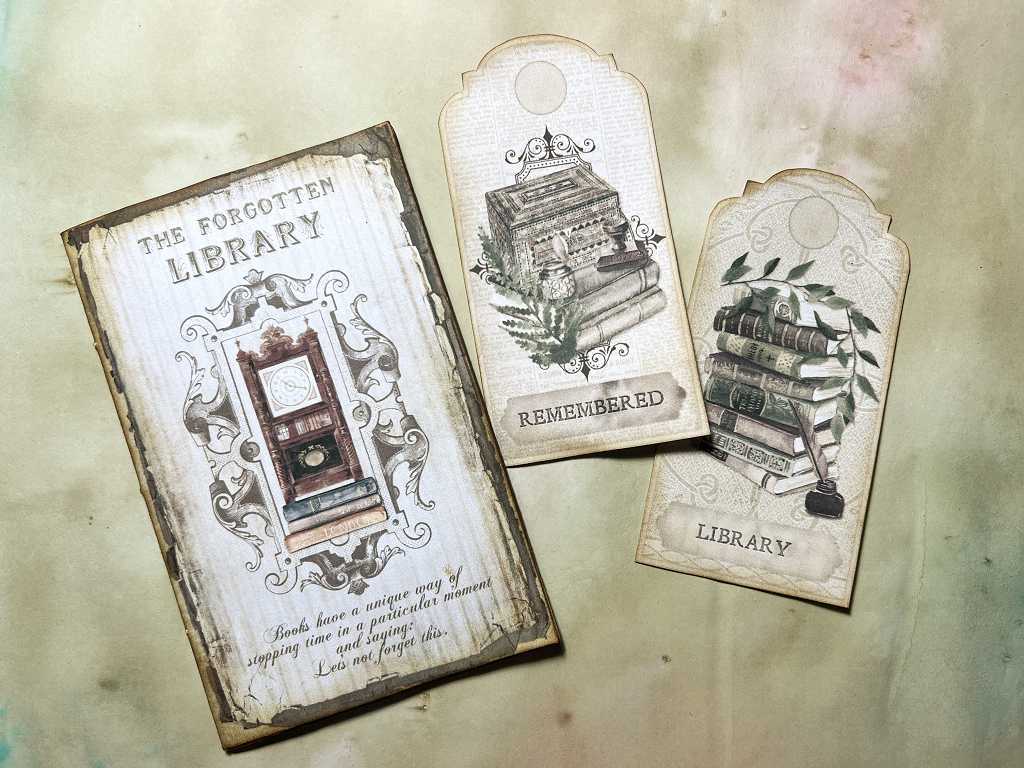
The six tags that came with the free kit. All I did with these was to print the background on the back of the sheet, cut them out and ink the edges.
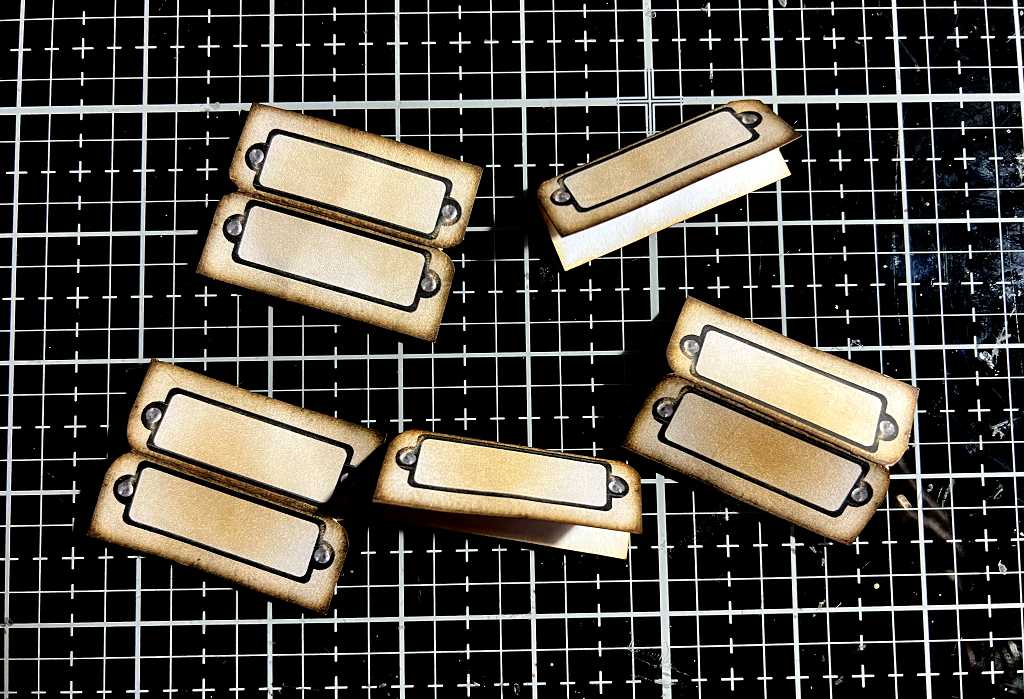
The file folder tabs. I only used three of these. I added more ink to distress them a bit more.
The notebook
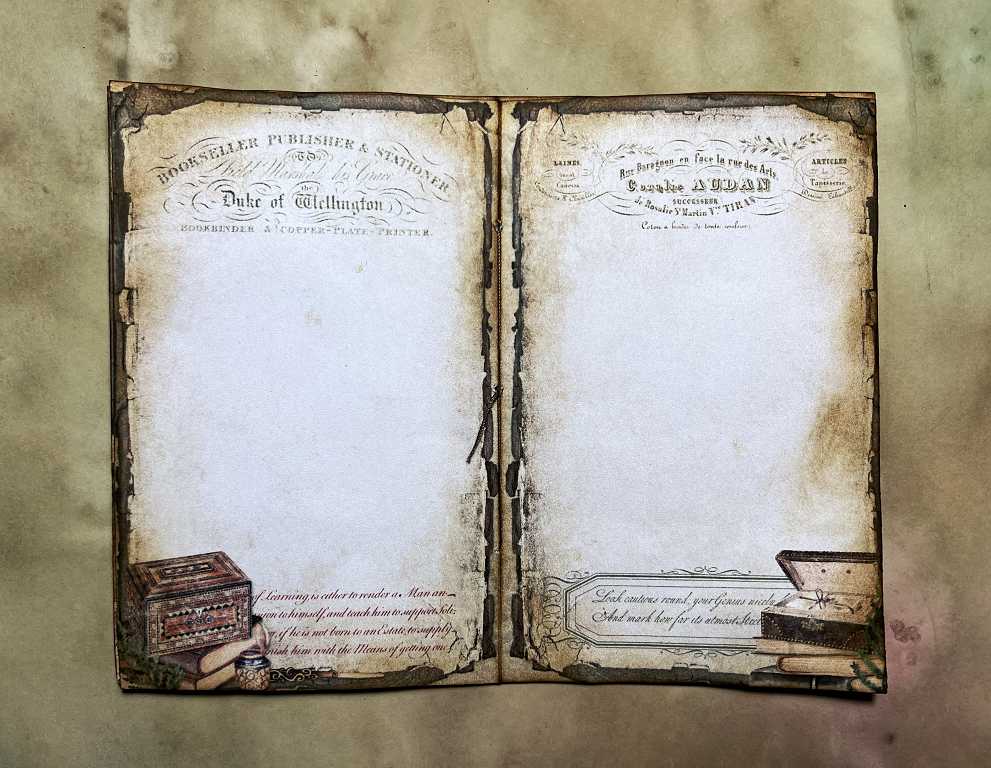
There was quite a large collection of double pages in the purchased kit, to make into booklets. I chose several of these. I lined them up very carefully in my desktop publishing software, making sure they were all the same size, and printed them out, hoping that the reverse sides would line up exactly with the fronts, but unfortunately this wasn’t the case. Printers can be a real pain sometimes! However, the differences were small, and I was able to trim the pages down a bit, and with plenty of inking around the edges and in the gutters, the effect wasn’t too bad in the end. The only alternative I could think of, to make sure everything would be precisely aligned, would be to print on one side only, cut them out, and stick the pages back to back. I may try this next time.
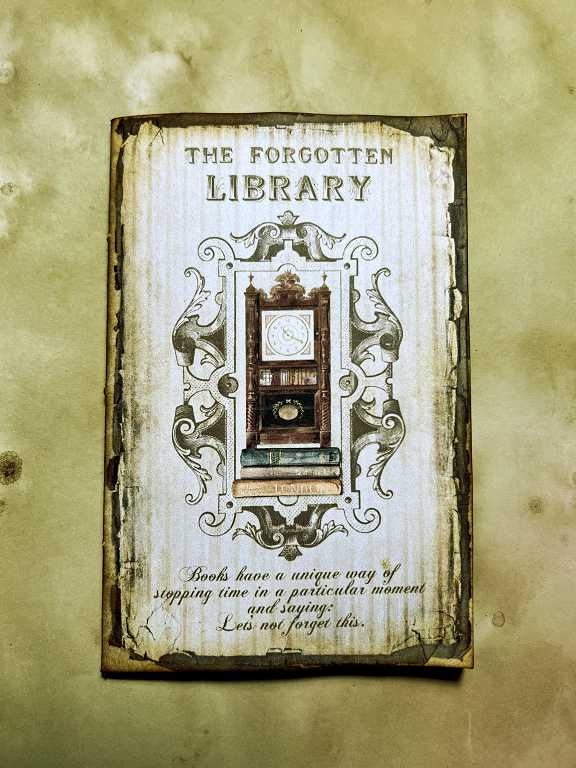
Here is the front cover.
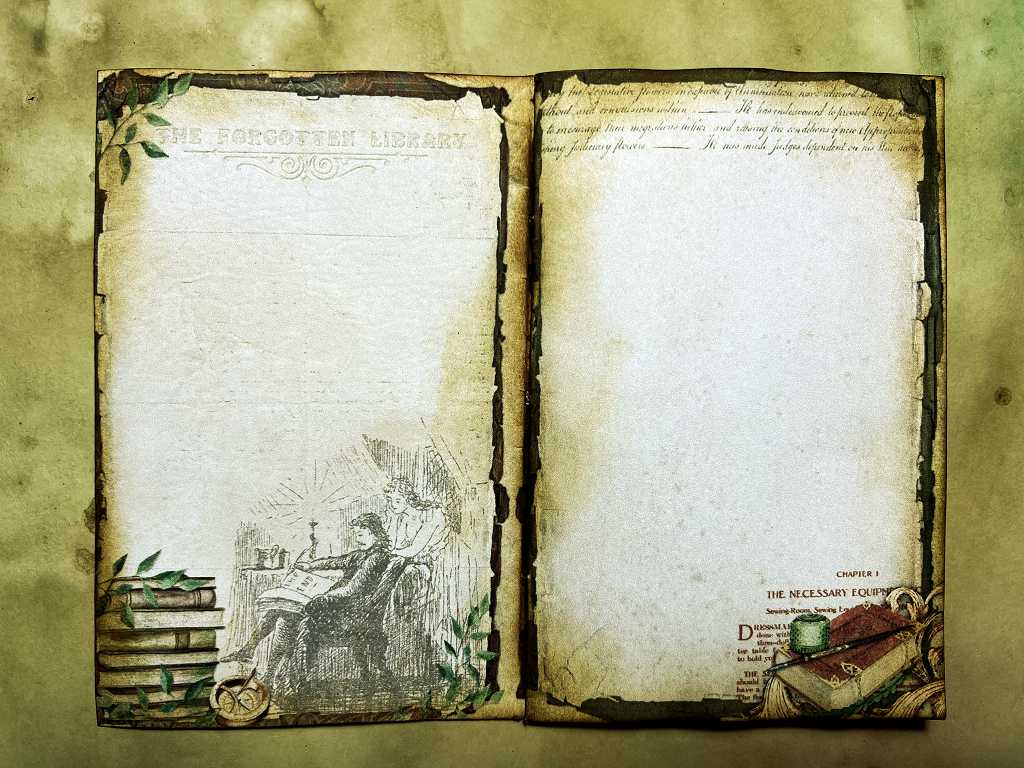
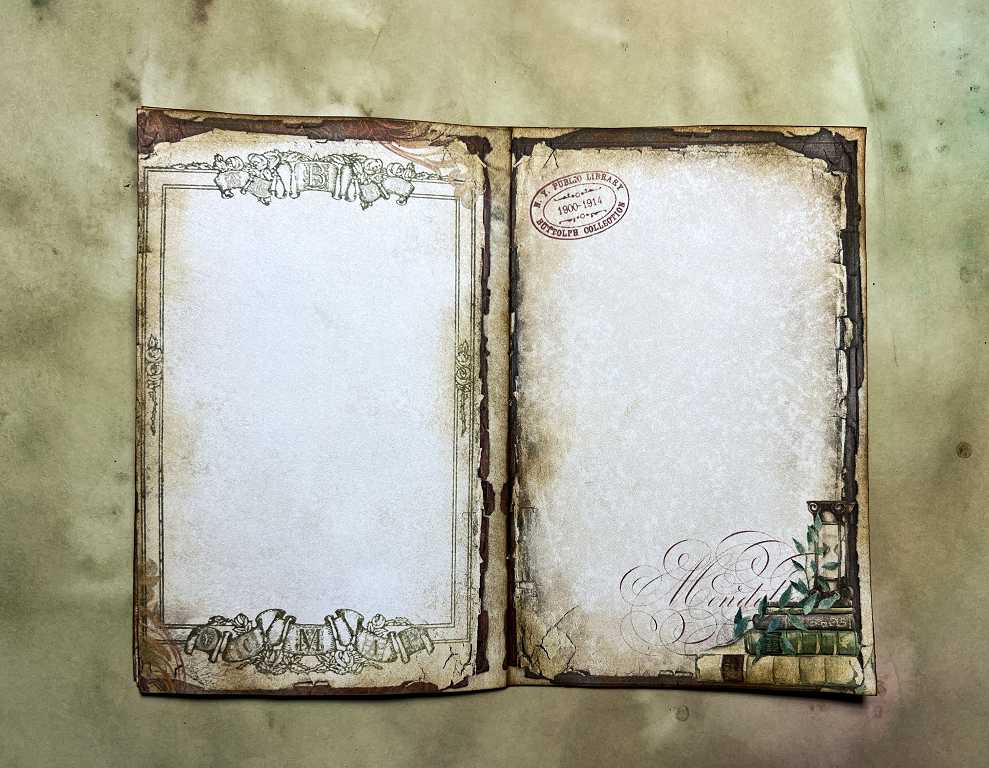
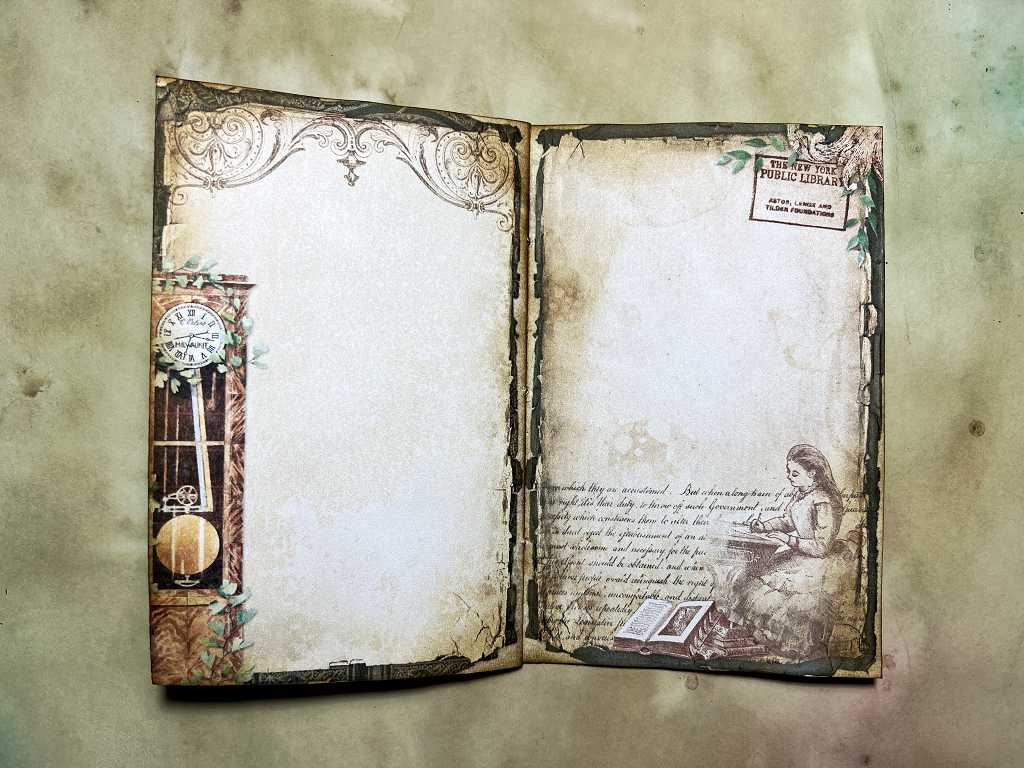
The page spreads in order, ending with the back cover.
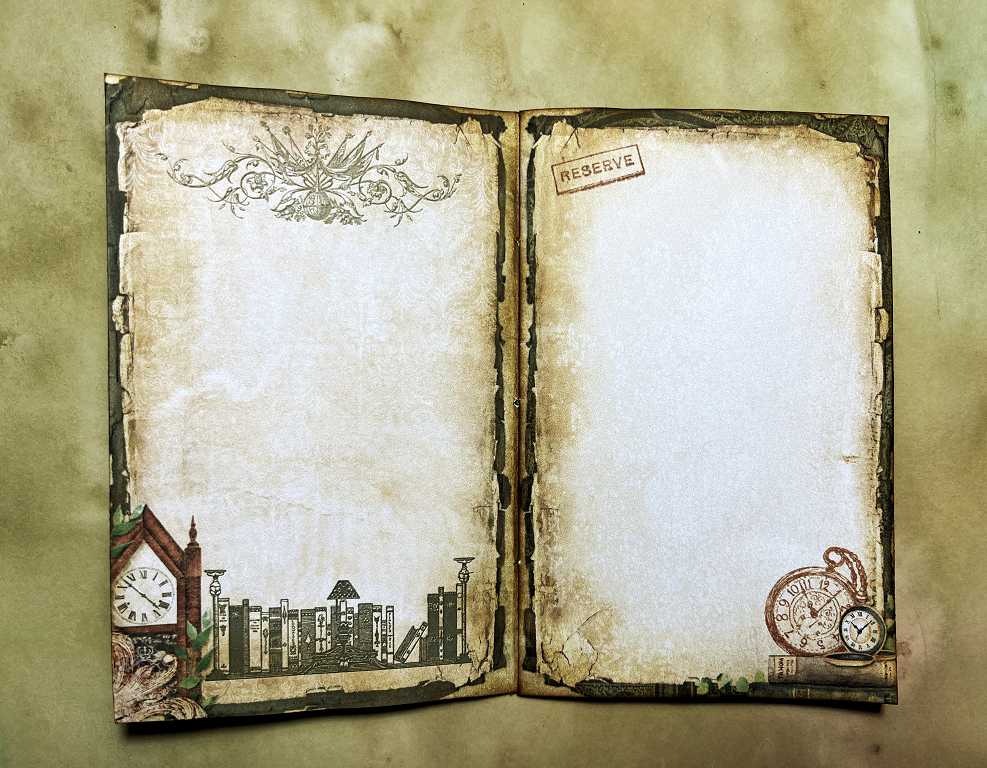
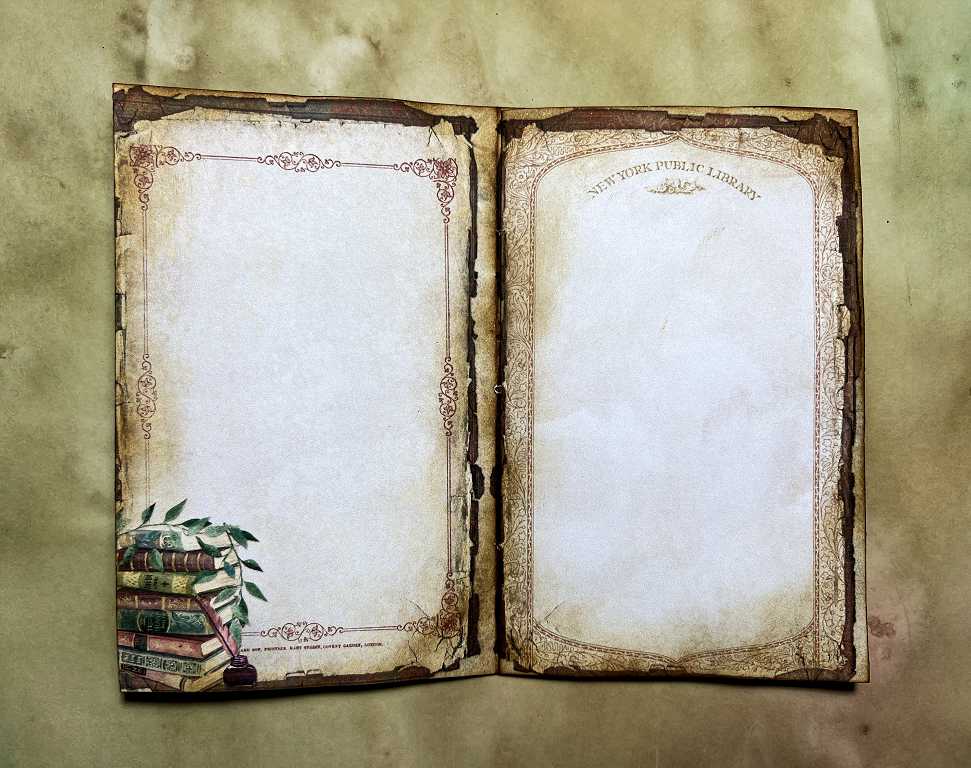

There is plenty of room for adding one’s own notes or journaling on the pages. I bound the booklet using a three-hole pamphlet binding, and brown buttonhole thread.
The completion of the project
You can see that I have added some twine for the closure. I tied it firmly around the top brad, and the length can be wound around both, to keep the folder closed.

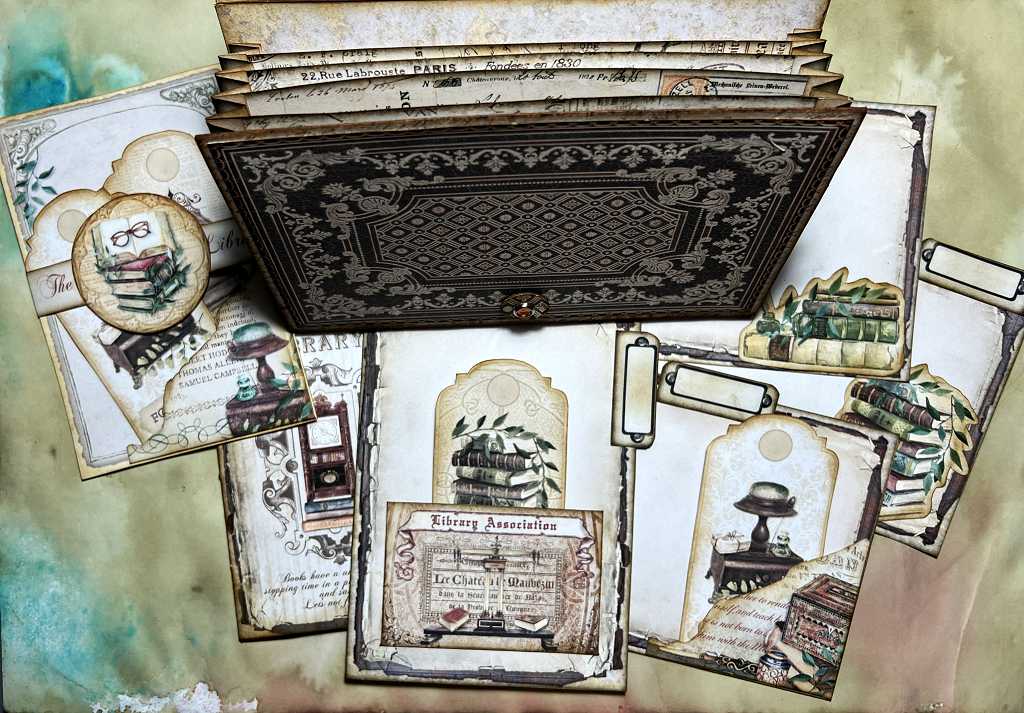
The open folder, showing the contents. You can see the three file folder tabs that I used.
The completed contents, removed from the folder.
The smaller single sheet from the purchased collection, complete with its belly band, a corner tuck spot and two tags.
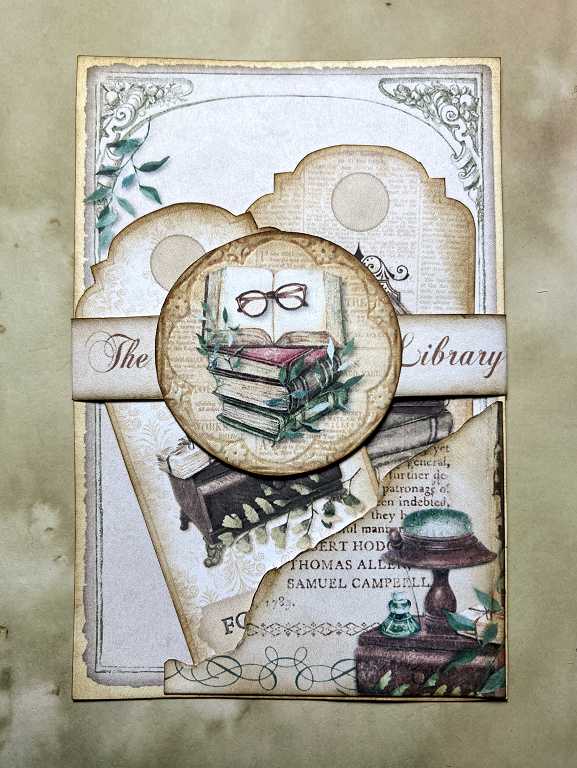
The back. You can see that I was able to align the text so that it read “The Library” on the front, and “The Forgotten Library” on the back.
The various elements in this particular piece.
The backs of everything.
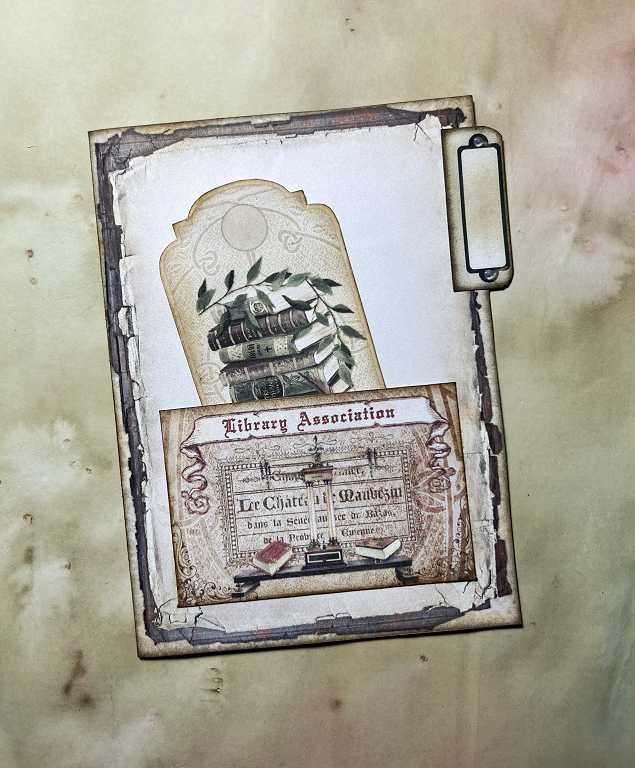
The first file folder. I added a pocket and a tag.
The file foler spread out, and the reverse side of the tag.
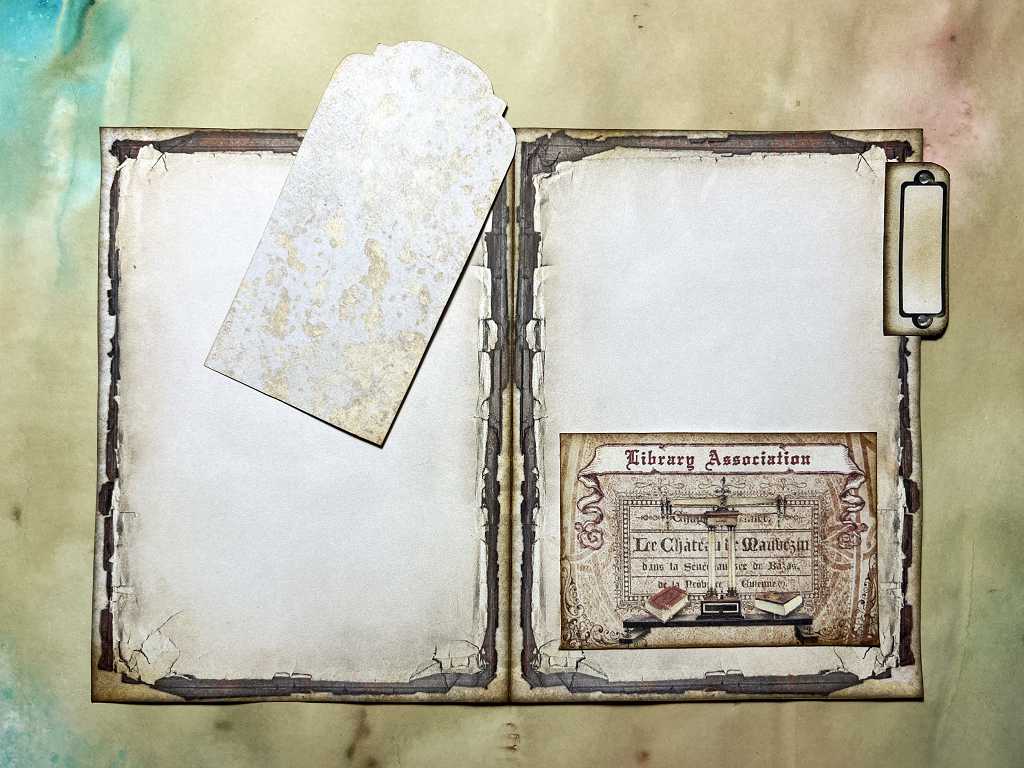
Inside the folder showing the whole tag.
The notebook with two tags.
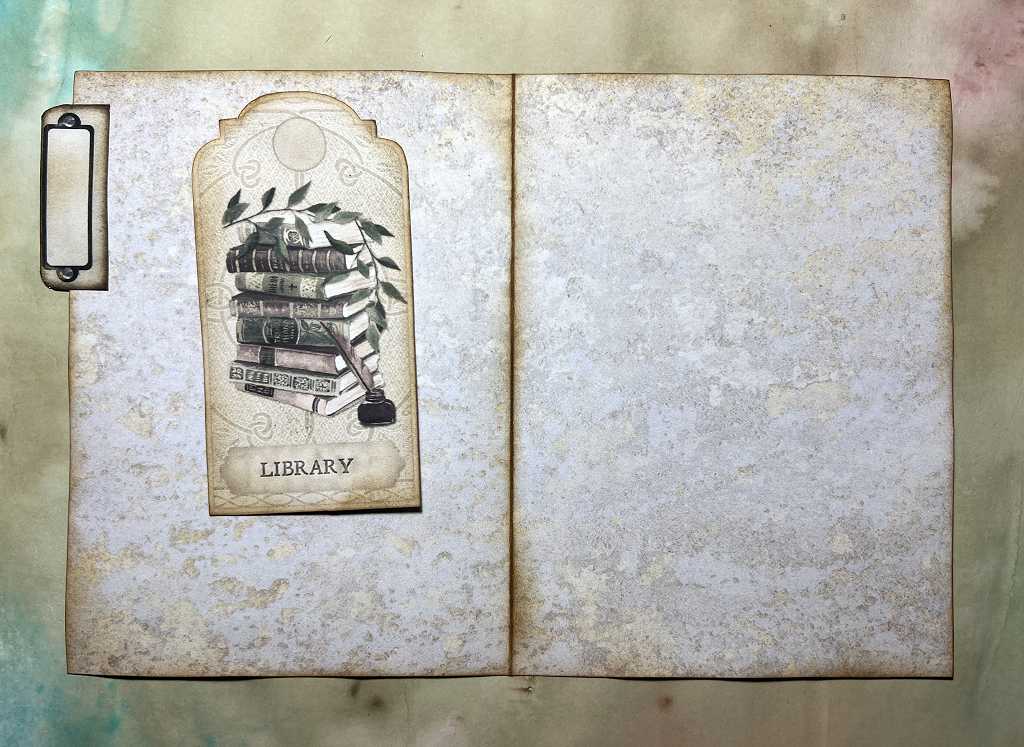
The second file folder, complete with tab. This has a corner tuck spot and a tag.
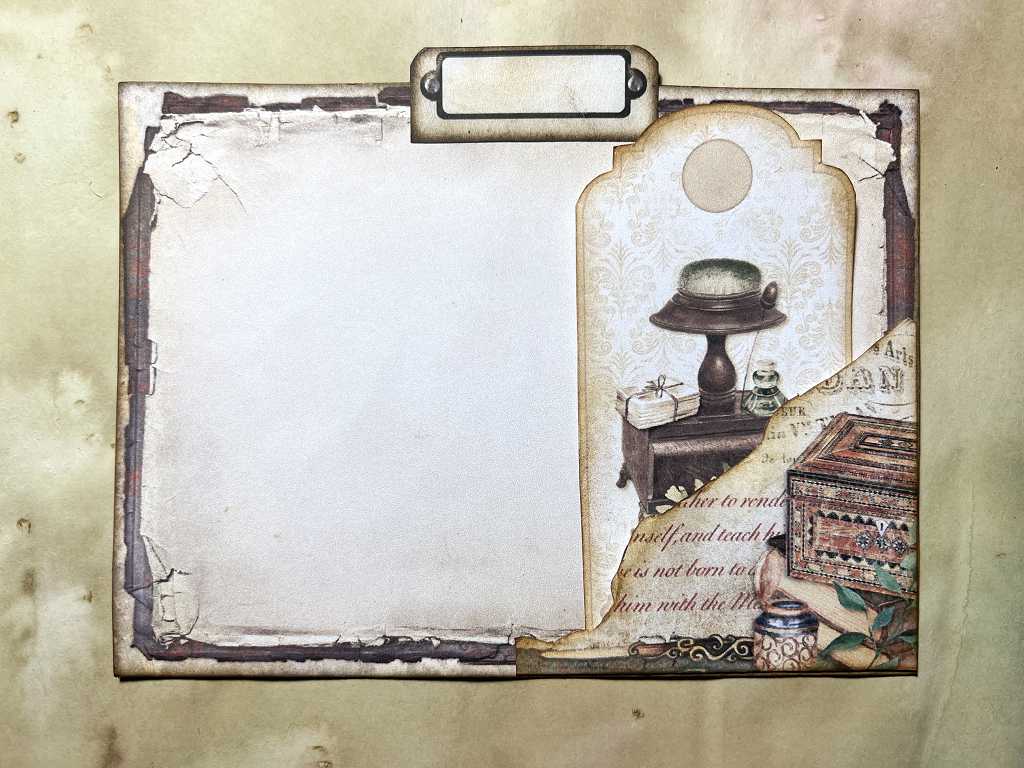
Inside the file folder, and the reverse side of the tag.
The file folder spread out, and showing the whole tag.
Two single sheets, one of which has the final tab, and both having fussy-cut images glued down.
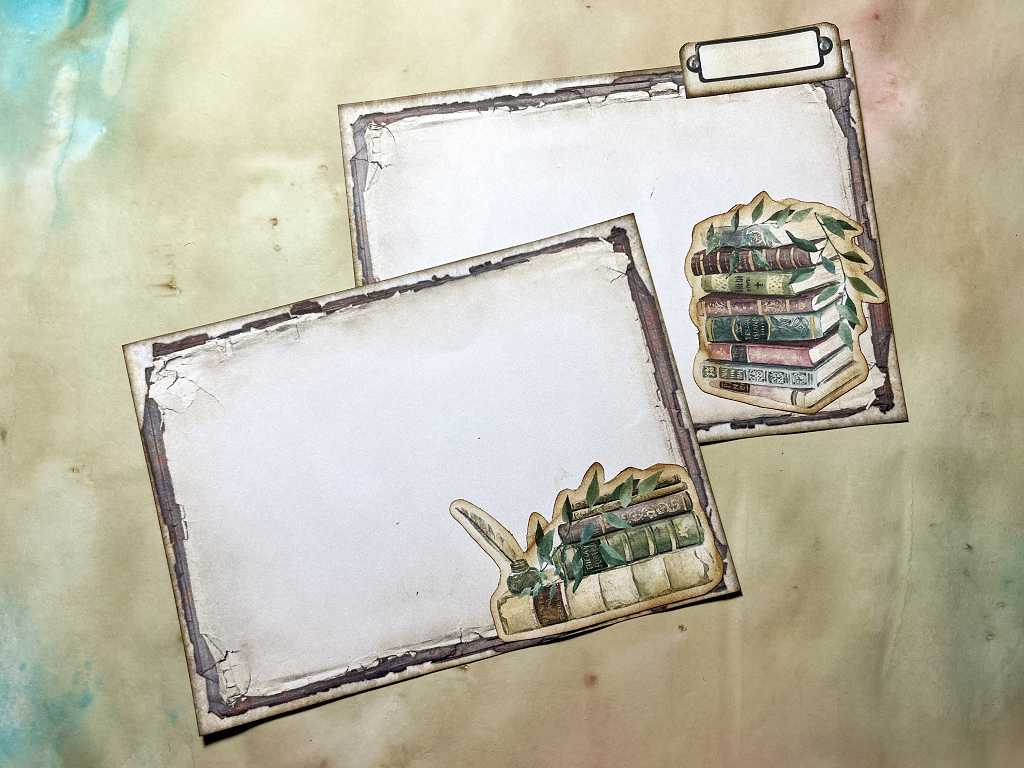
The reverse side of these two single sheets.
A final look at the completed folder once more.
I hope you have enjoyed this charming project – quite grungey and vintage. Not only is it very attractive, but it is also a useful little folder for storing small things. What I have put into it hardly makes a dent – there is plenty of room. My hubby always has lots of odd bits of paper and notes and what-not, and I think he might quite like this little folder to keep things more tidy and organised! He can write notes in the notebook and on the sheets if he wants, and I can always make more for him if he needs them. When I make my own version I shall use it for storing embellishments.