JUNK JOURNAL – MAKE A JOYFUL NOISE PART 15
Having decided there would be too many pages for a single signature, I had a rethink on the order of the pages and the need to create a second signature.
Because the arrangement of the signature is a bit complicated, I’ve decided to show each folio in turn from now on, rather than page spreads. These will be shown when I do a flip-through once the project is finished.
It’s complicated because I’ve added in a few extra bits and pieces which are not large enough to form whole signatures. I’ve also had to glue a couple of large pages together to sandwich the edges of those small pieces invisibly.
The first folio
The outside of the folio forming page 1 on the right, and page 4 on the left.
The inside of the folio, pages 2 and 3.

Looking at the four pages in a bit more detail
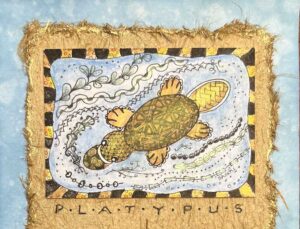
The first page
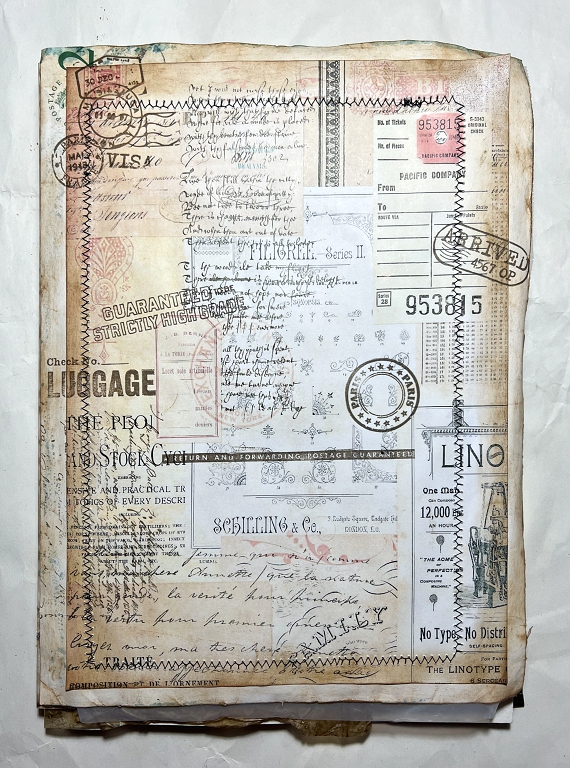
This was a collage sheet from an image bundle from the Graphics Fairy Premium Membership site. I added some stamping and inked the edges with some Distress Ink. The machine stitching is that which is holding down the music page overleaf. I really like this page.
The second page
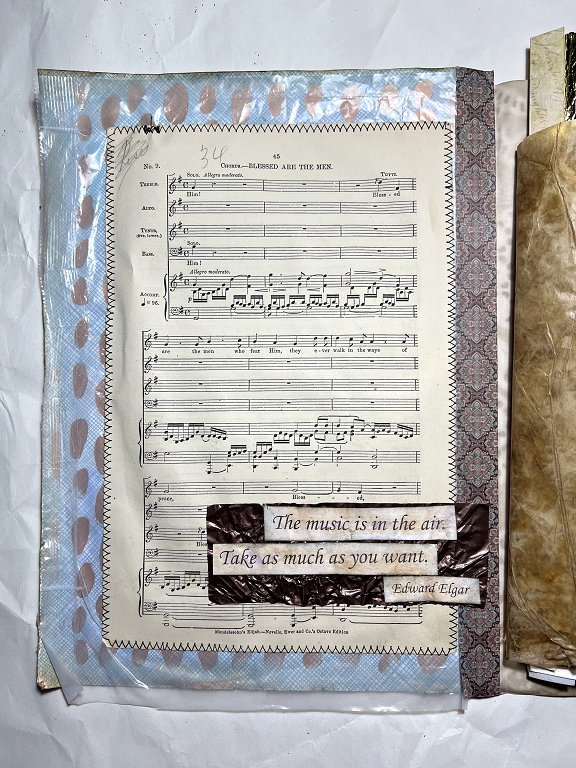
The base of the page is the inside of an envelope printed with those blue patterns that make the contents of the envelope invisible. I had decorated this page with stencilling. A piece of cereal box liner is laid over the page with its edges left free so that it can be crinkled.
The music page is from a dilapidated copy of Mendelssohn’s Elijah which was totally unusable because several of the final pages were missing. I didn’t do anything to age this music paper as it has a natural, genuine patina of age. I love how there are still some pencil anotations by some unknown singer. It brings back happy memories of my choral society days. I stitched this page down with the sewing machine, and it is this stitching which shows on the first page of the folio. The text was printed on the computer, distressed and layered over a piece of crinkly chocolate wrapper.
To reinforce the hinge of the folio, I laid down a piece of washi tape, applying some glue stick as the adhesive on washi tape isn’t very permanent.
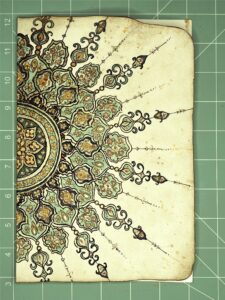
The third page
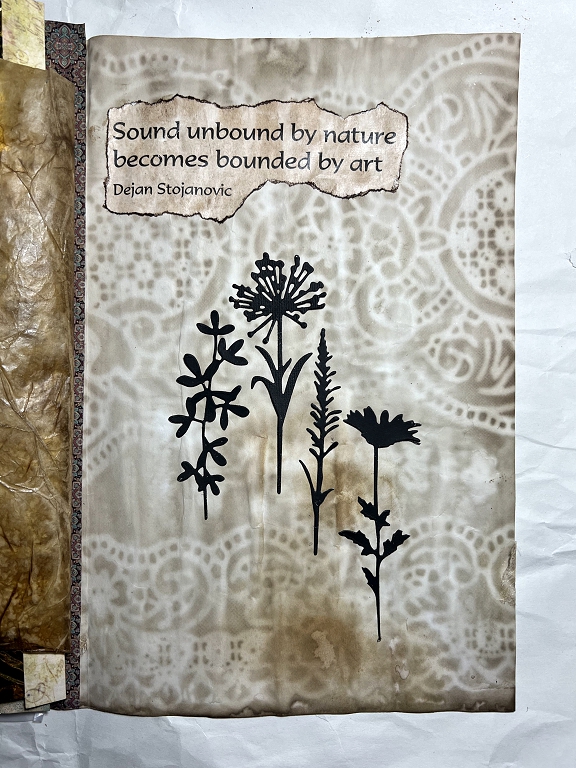
The third page of this folio is a piece of coffee dyed paper which had been layered with other sheets, and a plastic lace table runner to create the lacy pattern. The text was again done on the computer, and I added some black die-cuts from a favourite set of dies by Tim Holtz.
It is amazing how much detail is transferred from the plastic lace to the coffee-dyed paper when you dye the paper in this way. The addition of inking around the edge of the ripped text piece, and some tinting with Distress Ink, really age the paper and give it a more substantial look. It was originally just normal copy paper. There is also some distress ink around the edge of the coffee-dyed paper, and some rather attractive irregularity along the bottom edge which was caused during the dyeing process.
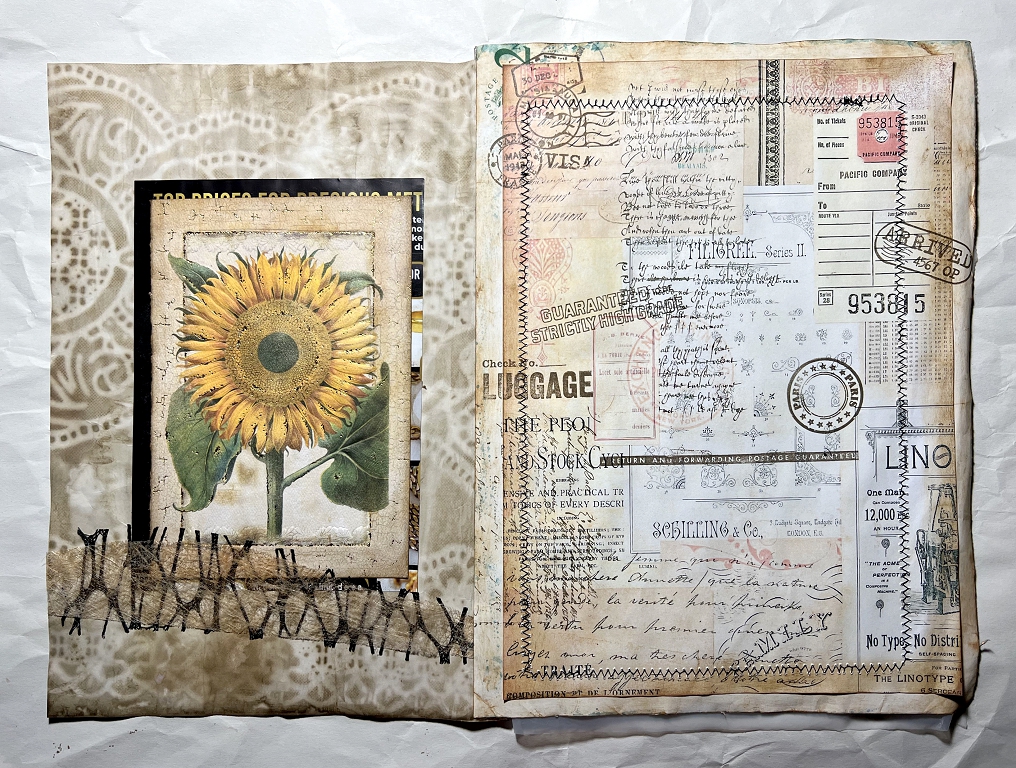
The fourth page
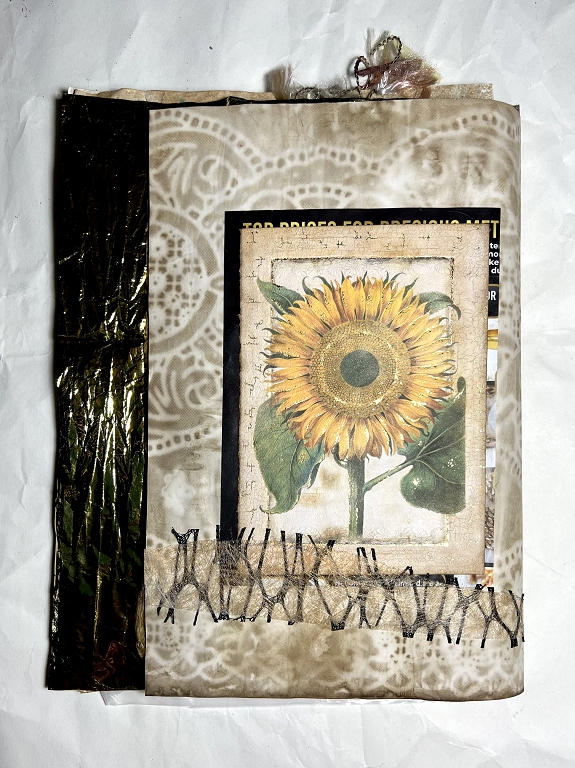
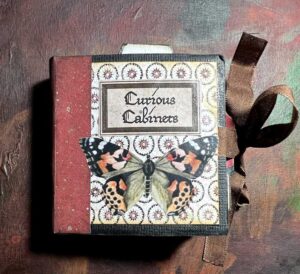
Here you can see the reverse side of the lacy coffee-dyed paper. The sunflower image was cut from a greetings card and I matted it over a piece of junk mail – you only catch a glimpse of the edge of this and it is not possible to see what is printed on it, but it gives an interesting random frame to the piece which is more interesting than a simple plain paper mat. The final touch was to add the scrap of black plastic mesh and the fragment of fine gold florist’s mesh.
This page will be the final page of the whole album.