ISLAMIC ART ALBUM – FIRST PAGE – GREEN SHAMSA
I began this small project primarily to demonstrate my new “Divide and Rule” drawing instruments, which I bought for the purpose of drawing concentric circles, radiating and parallel lines for my art projects. They are proving very easy to use. The Circle Tool and Rule in particular is excellent. It has a tiny brass stud to anchor one end for drawing circles, and unlike a regular compass point, this does not enlarge the hole in the paper with repeated use.
Drawing the shamsa template
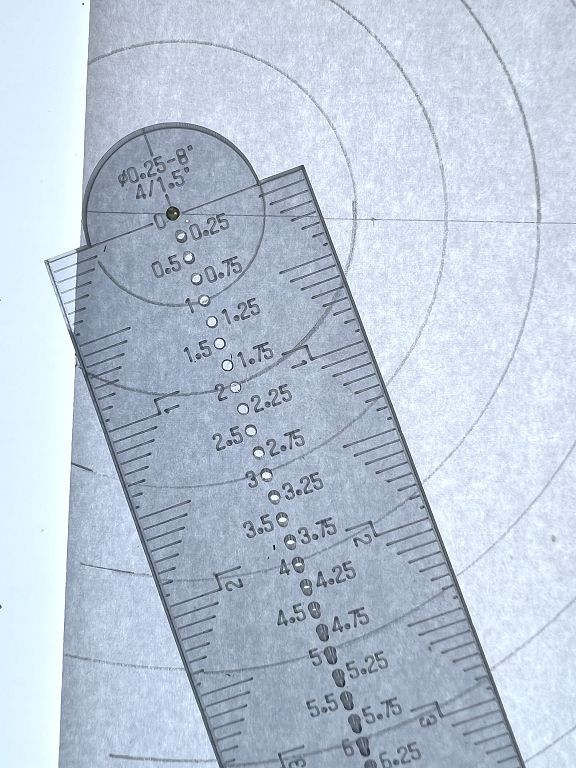
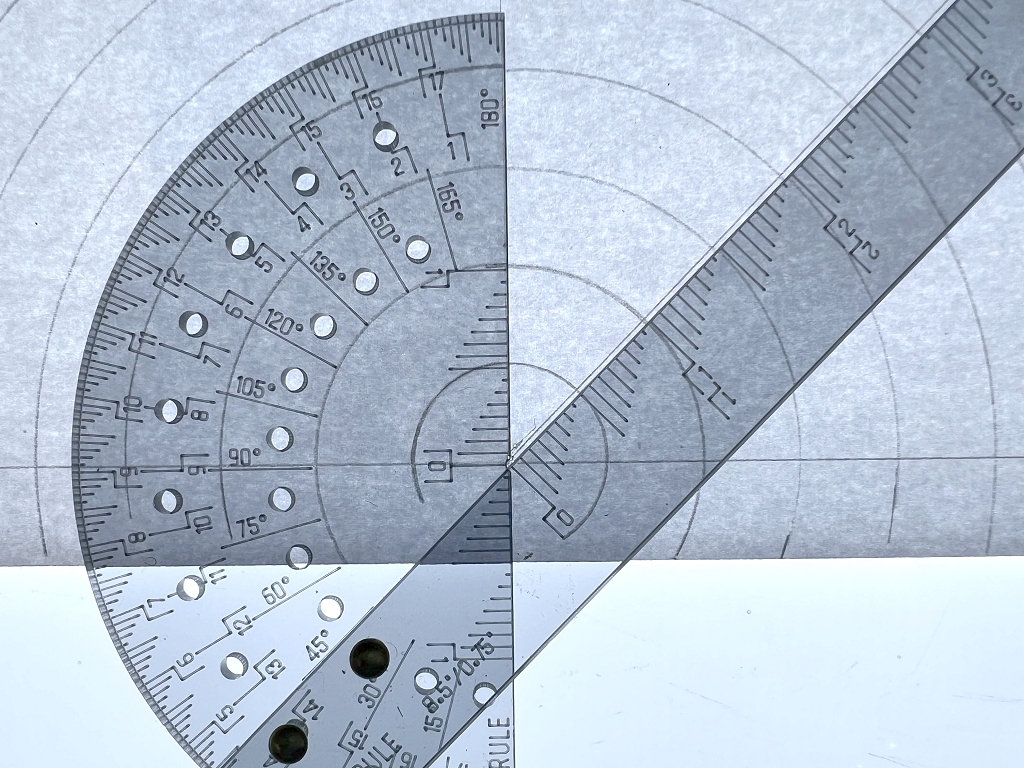
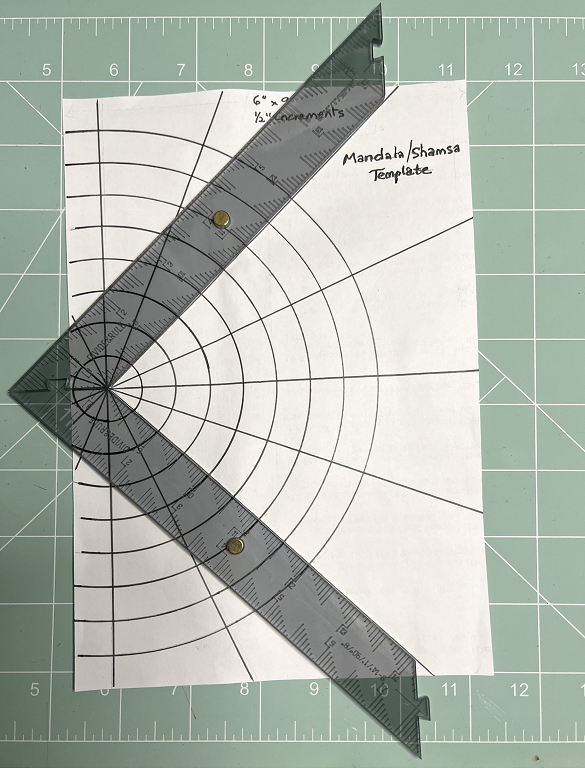
The Dovetail Rule, above, is very useful when set up as a set square for drawing accurate right-angles.
Drawing the design
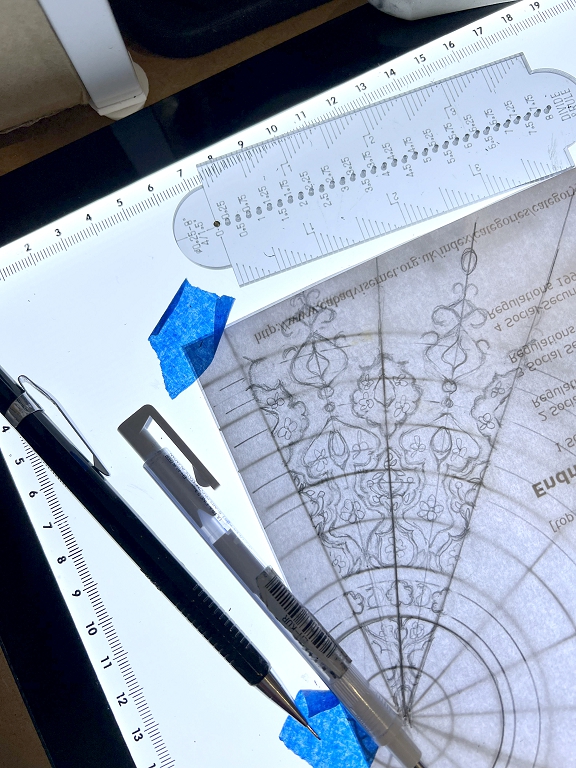
The instruments all work really well on the light panel. I began by taping down a piece of scrap printer paper over the template and drawing a pattern repeat. During the process I added some additional circles.
I removed the design and traced it onto tracing paper. You are supposed to fold the tracing paper repeatedly, tracing through until you have the full design but I forgot how to do this, not having done it for a while, which meant I had to do a lot more tracing than was necessary, but I got there in the end.
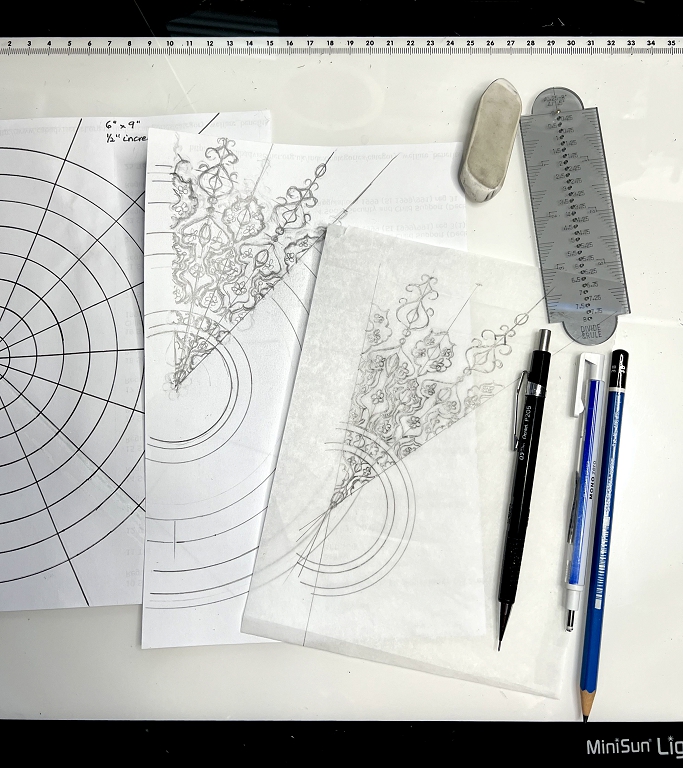
The next step was to transfer the traced design onto the final paper.
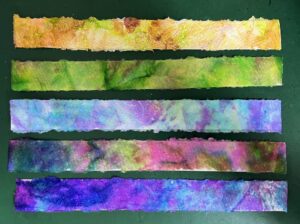
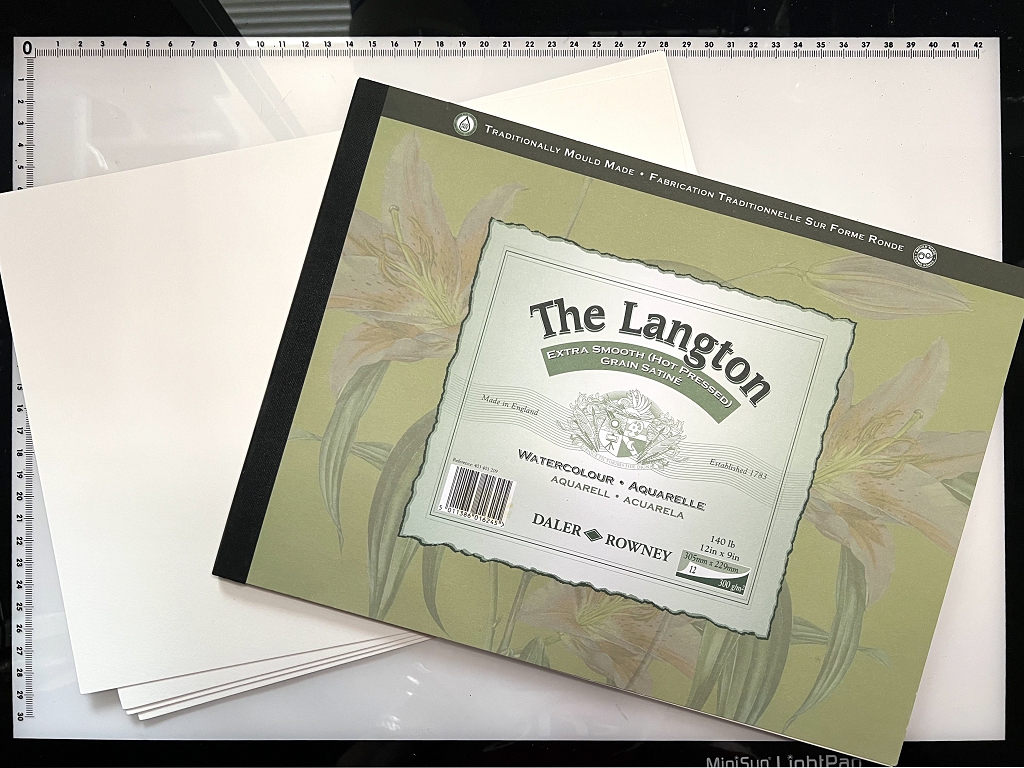
I used 300 gsm 9 x 12 in hot pressed watercolour paper which has a nice smooth surface for this kind of work.
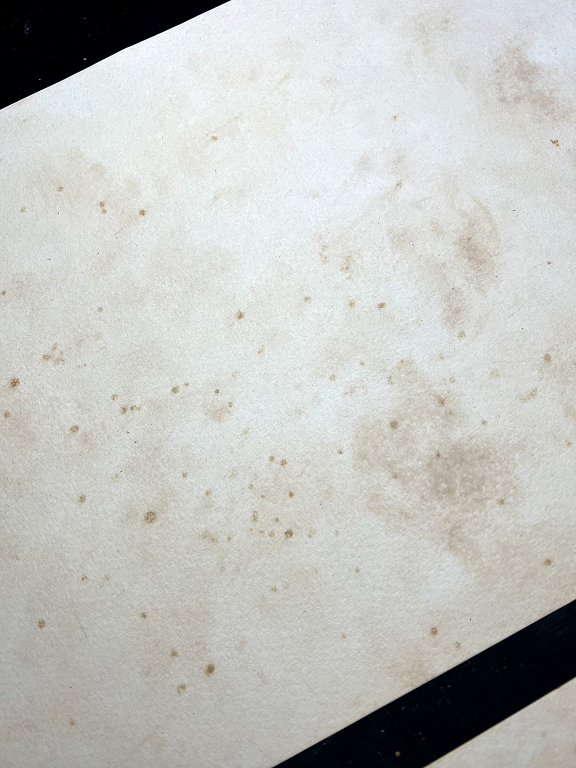
Not liking the stark white of the paper, I aged it by tea-dyeing it and adding some instant coffee grounds while it was still wet. I blotted them off and added more tea until I was happy with the result.
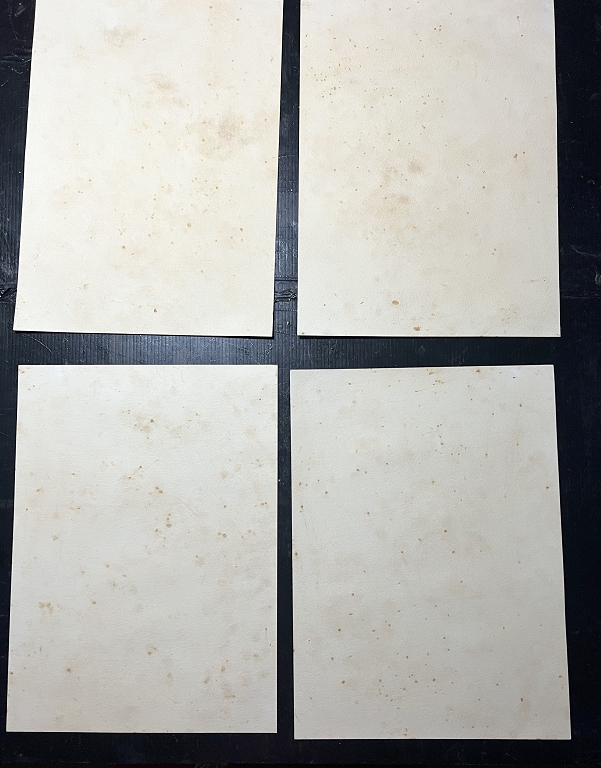
Once these papers were dry, I put them under some heavy books overnight to flatten them. I folded them in half to create the signatures for the book, and I was ready to start drawing.
Transferring the design to the paper
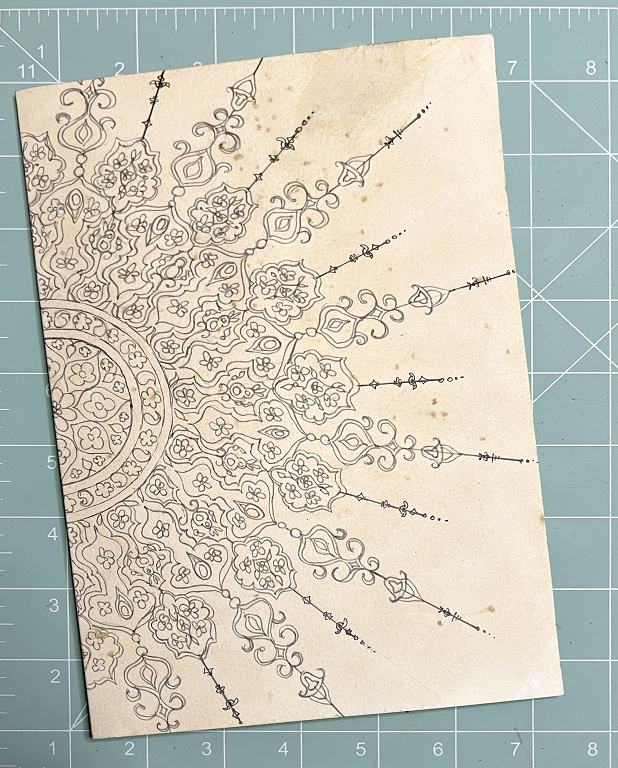
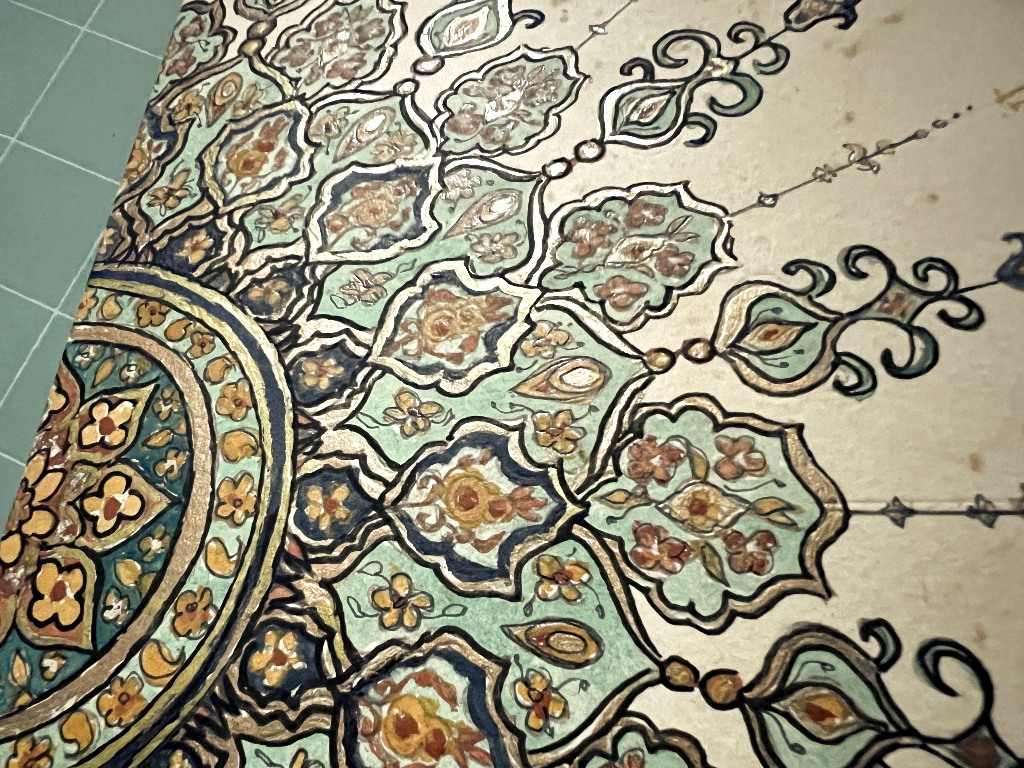
“Shamsa” is Arabic for “little sun.” These traditional designs with their sun rays radiating from the centre, are often highly elaborate and decorative and usually feature gold.
![]()
The transfer of the initial tracing is always a bit of a mess and there are missing parts. Once I’d tidied it up, I went over all the lines with a fine grey archival permanent marker and rubbed out the pencil lines. This is the finished drawing, ready for painting.
The painting
I used my Kuretake Gansai Tambi watercolours for this, and also Golden’s iridescent bronze fine fluid acrylic for the gold, touching up the final painting with a gold acrylic marker pen. I went over the outlines with my finest black Posca pen but this was a bit thick unfortunately. My normal permanent black archival markers would not write well over any gold paint. You are supposed to paint the black outlines with a very fine brush but this takes a huge amount of skill and practice and my efforts in that direction have been less than satisfactory, so I have resorted to pens.

The final touch was to cut the paper edge to an irregular shape. I sanded it, and inked the edge to age it.
It was extremely difficult to get the colour right in the photos, and to get the gold to show at all – in the above photo, many of the areas that appear white are actually gold. I took a number of additional photos with the artwork propped up to try and capture the gold, and this was the best effort from the collection.
To show it to its best effect, I shot a short video, moving the painting so that it would reflect the light.
I shall be drawing a selection of Islamic-style designs for the rest of this small book, some in the Arabesque style like this shamsa, and others in the geometric style.