DOUBLE TRI-FOLD JUNK MAIL FOLIO PART 2 – COVERING AND DECORATIONS
I have done further work on the basic covering of the panels in this folio and can now start on the embellishing and decorating. I am going through my various folders of papers and scraps, and I am determined to use as much as I can from my existing stash, which is now substantial. In this session I am concentrating on the second of the two folios.
Centre panels
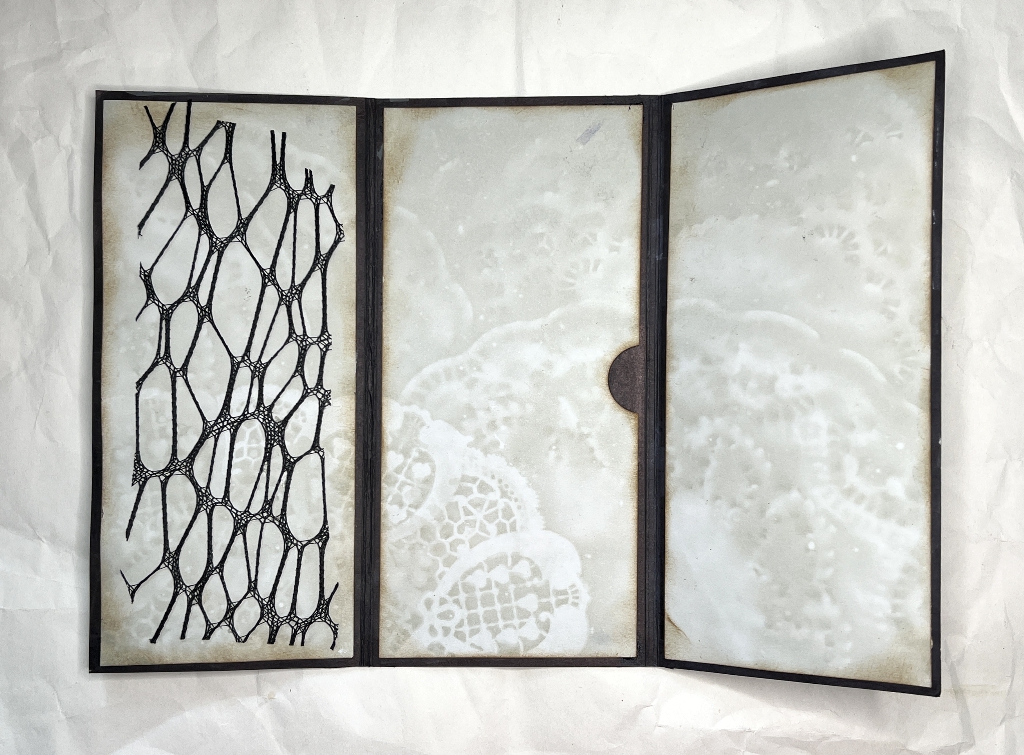
I’ve got quite a lot of the plastic mesh stuff you can see in the above photo. This scrap just happened to be the right size so I used it! I stuck it down with spray adhesive.
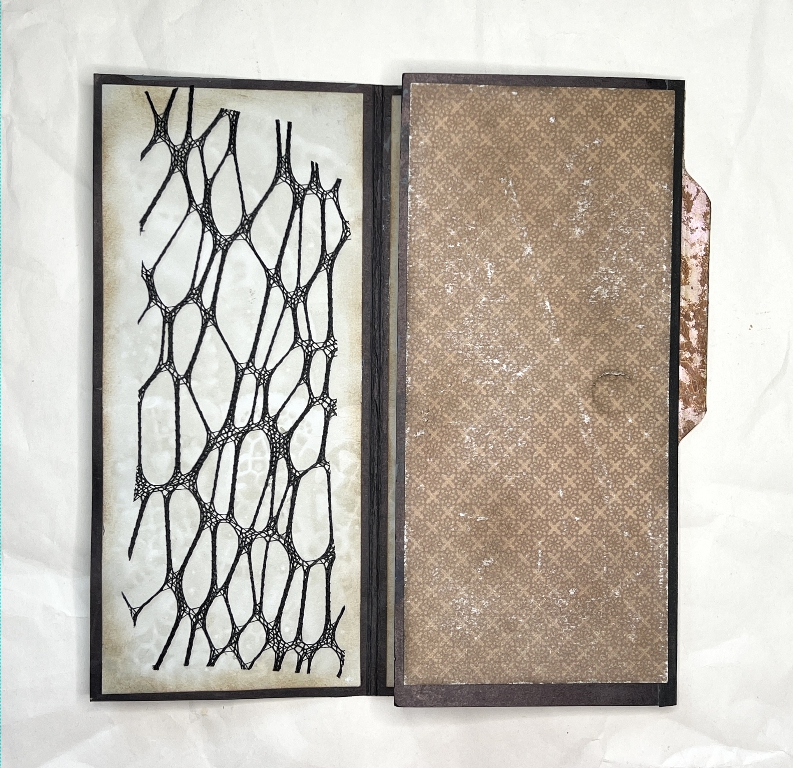
Closing the right-hand panel reveals another panel which I have now covered. I inked and distressed this brown patterned paper to give it a more interesting texture. You can see the page tab on the right which is part of the back of the folio – more later.
Back panel
The undecorated panel on the right will be stuck to the similar panel on the first folio. I just made sure I went round all the edges with a black Sharpie just in case anything showed.
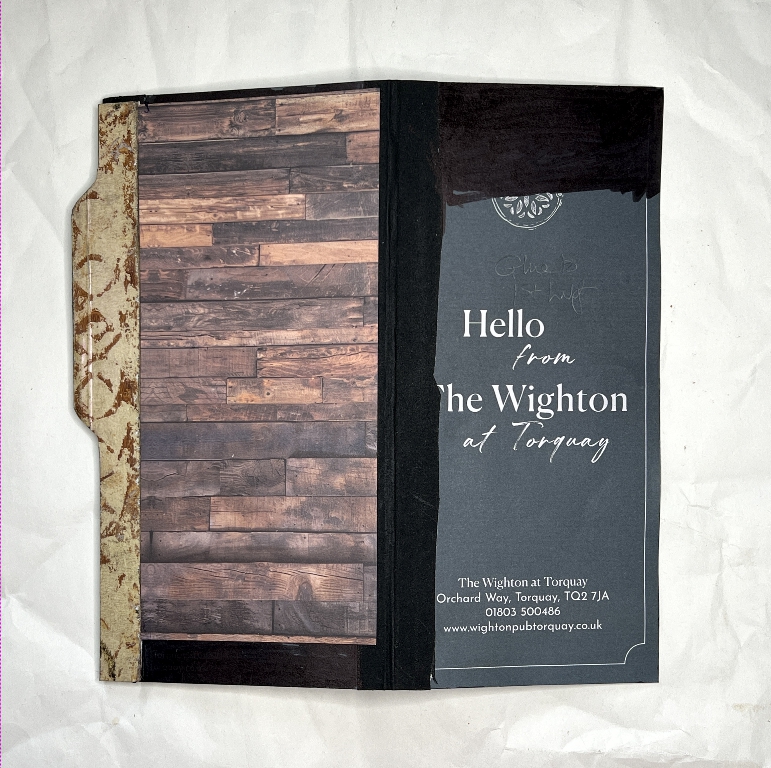
I decided I really wanted a long page tab such as those made by Crafty by Toni. I had this scrap of wood planking in my stash left over from a previous project, and it was just too small. It is not tall enough so I’ve left a gap at the bottom which will be covered by a pocket. The page tab covers the gap where it isn’t wide enough. I intend decorating this quite richly with ephemera.
The page tab
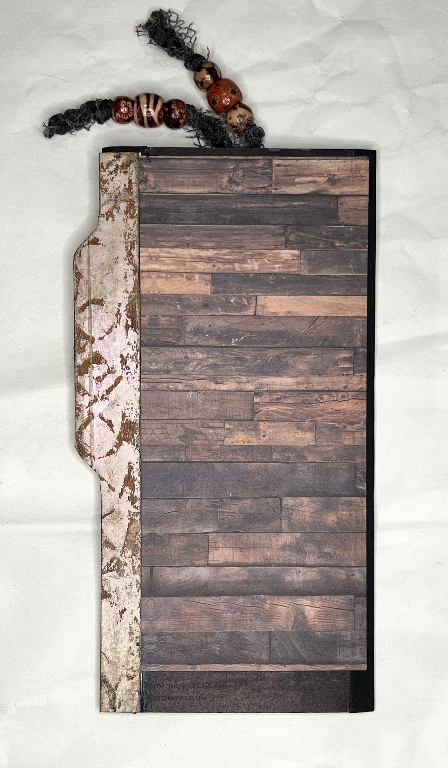
I have a folder stuffed with “failed” gel prints. It’s funny how something can look a mess when it’s a full A4 sheet, but small pieces of it improve no end in appearance. Most gel prints end up with a raggedy bit around the edges, but these look amazing when you trim them off – another way of making DIY washi tapes! This is one reason why I never throw anything out – even “failures” because you never know how they will turn out in a different setting and when you cut or tear them. The photos don’t show this paper very well – it is quite shiny and shimmery in places.
I stuck the folded tab only onto the wood plank piece because the left edge of that panel happens to be a fold between two panels and it wouldn’t open with the tab attached to the edges of both panels.
Decorating the outside of the right-hand panel
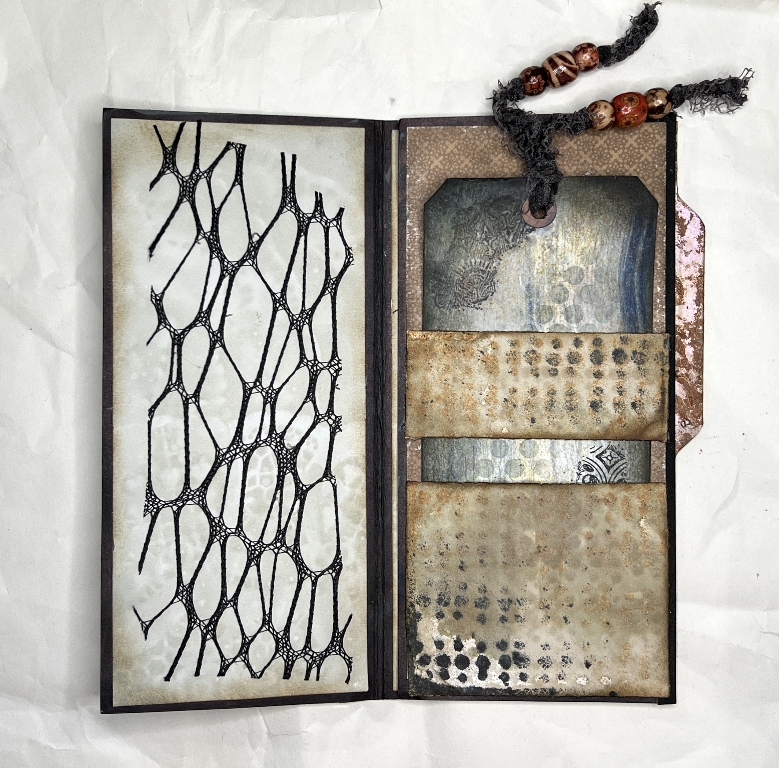
The paper for the pocket is one of several that arose when I used my punched medication leaflet paper as a stencil. This may have been a gel print but I can’t remember how I created most of the old papers in that folder! I backed the pieces with scraps of card to reinforce them and stuck them down – a pocket at the bottom and a matching belly band above, both of which hold a tag.
The tag removed.
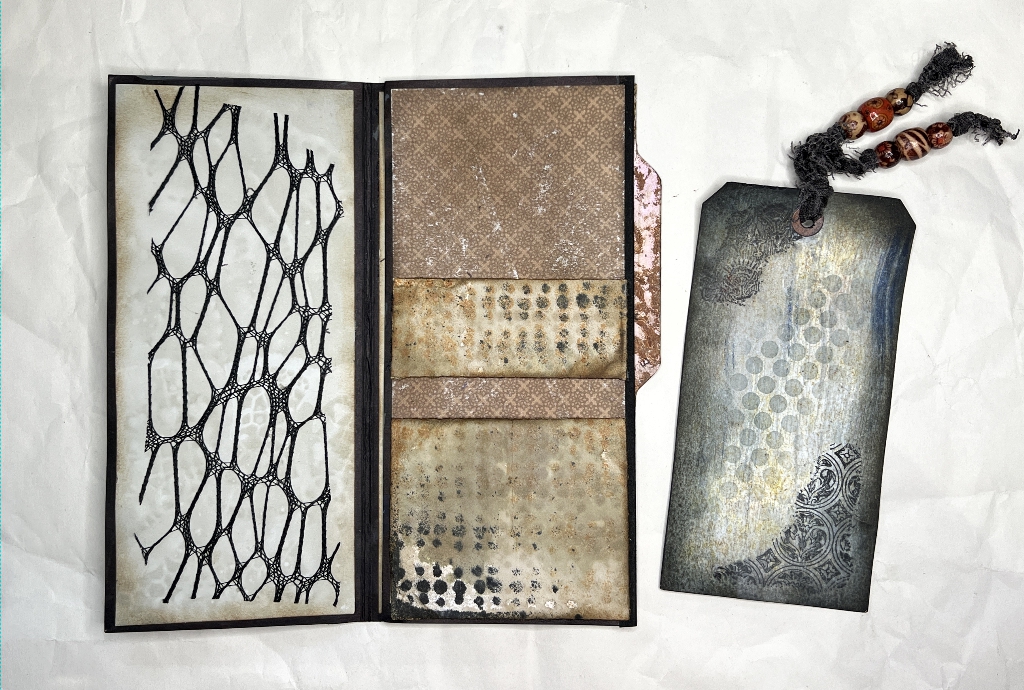
The tag
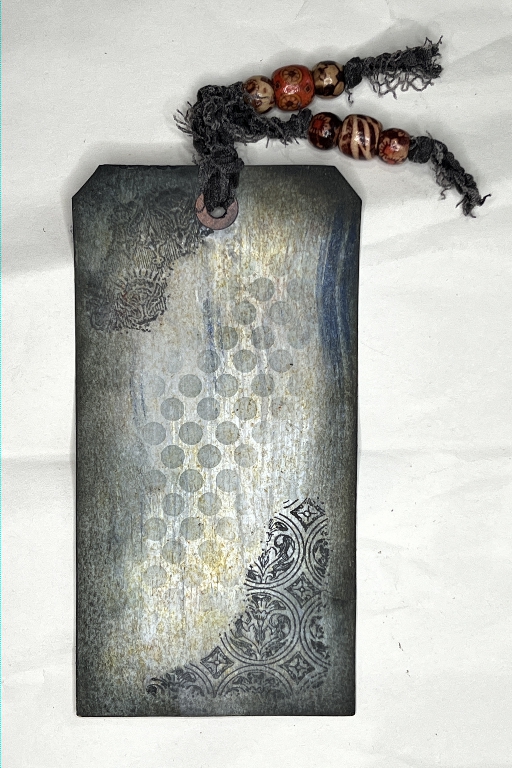
This is one of a small stack of identical tags which I cut some time back, some of which are already decorated. This is officially the back of the tag! Originally it was a bit of a mess. I added stamping, stencilling and inking to dull it down, and then because it was too brown and not contrasting well enough with the background, I painted on some Payne’s Grey water and some circle stencilling in the mid section. In the end I preferred it to the front! The tag topper is made from a fragment of stretchy lacy stuff, to which I added some beads which will show over the top of the completed folio. I used my own die-cut hole reinforcers, one on each side of the tag.
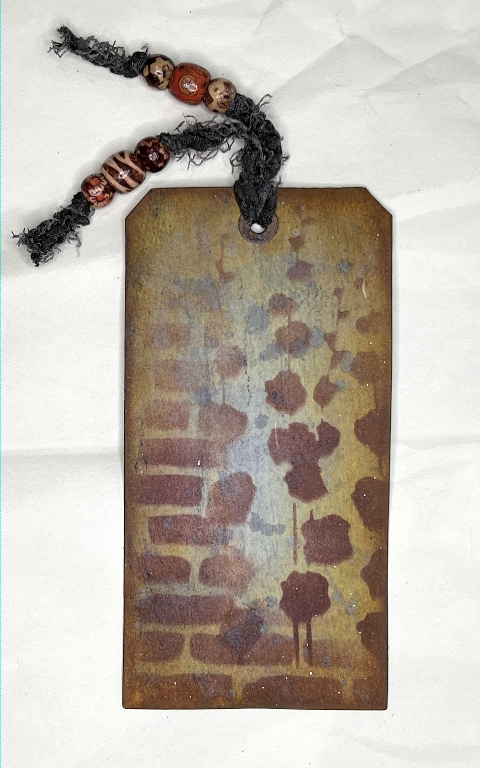
This was officially the front of the tag. It was very orange so again I toned it down with Payne’s grey water and some rust water, and further spattering with the Payne’s grey.
A tuck spot
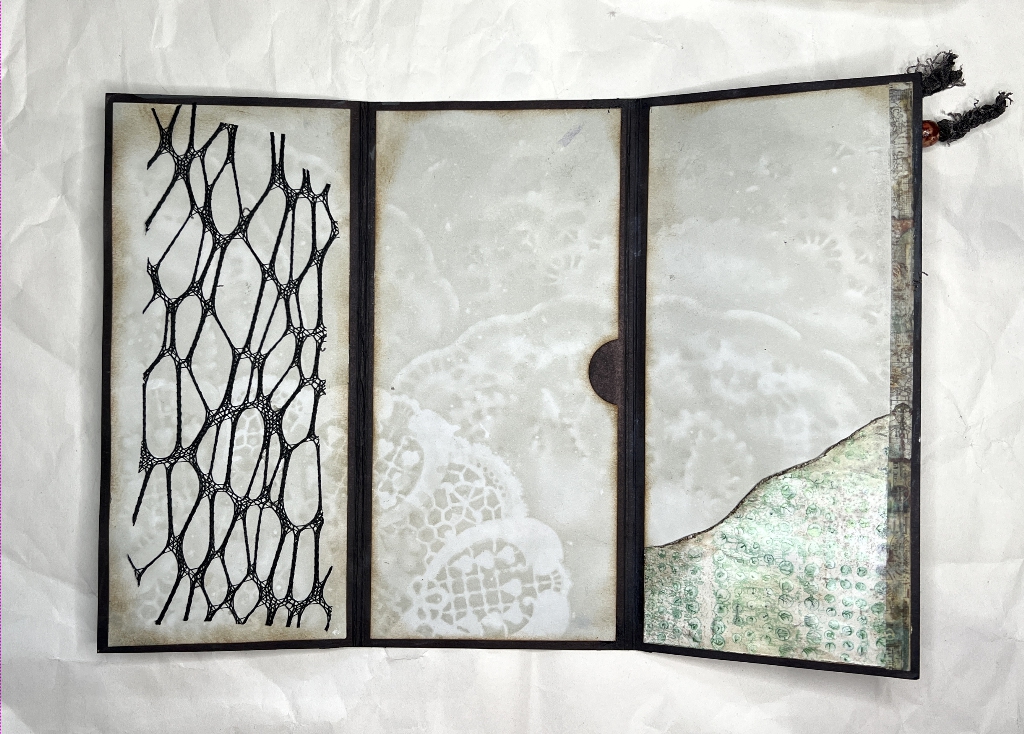
I probably won’t add anything further to the centre panel which is a pocket – I really like the lace pattern on it, and how it continues over onto the panels either side. A final embellishment to complete the studio session was the addition of a corner tuck spot. Again, this was torn from a less-than-successful gel print using my punched medication leaflets, but torn smaller and in this context, it is fine. With inking on the edges and a narrow strip of washi tape up the side, the covering of this panel is complete, and ready for ephemera to be tucked into the tuck spot.
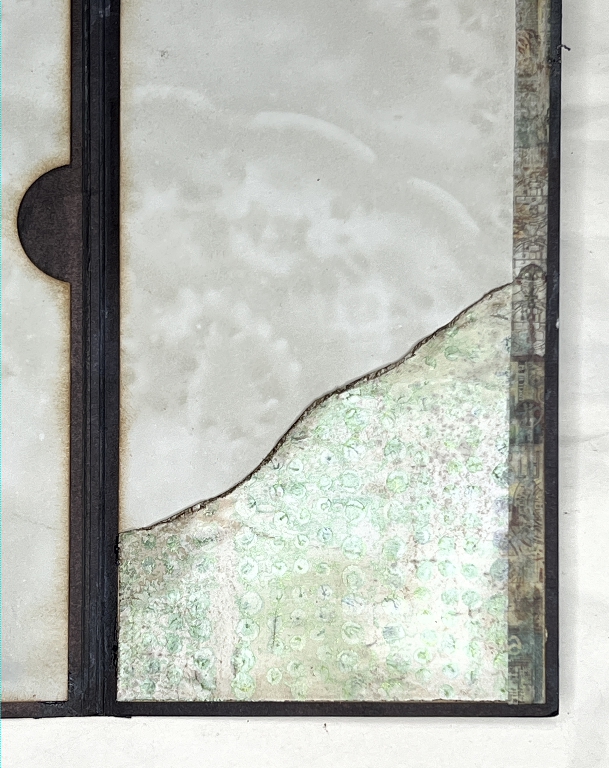
Again, the paper is quite shimmery.
Conclusion
I am pleased with how this is coming together at this stage. In the next session I shall begin the decorating in earnest with the addition of clusters, collage and ephemera. It is very satisfying using up papers that have been sitting in my stash for years.