ISLAMIC ART – SHAMSA PART 1 – THE DRAWING
A second-hand frame
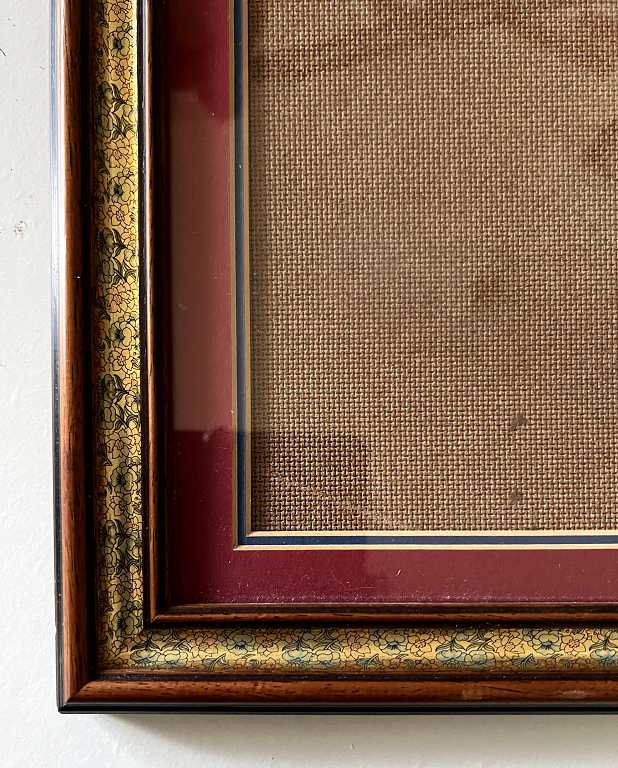
At the recent village fete we attended, my hubby bought a large square picture frame. I immediately saw potential in this for my own work and begged it off him – he gave it to me a little reluctantly! None of the watercolours he does are anything like big enough for it and I said I could put it to good use.

When I examined it, I discovered that it is, slightly annoyingly, 1 inch taller than it is wide. It would have been perfect if it had been exactly square but it just meant a little extra calculation to work out the size of my paper and design. The frame comes with a very narrow dark red double mount. This is much too narrow for the proportions of the frame. I do not know what the original picture might have been but it has a label of a professional picture framer on the reverse.
The detail in the gold part of the frame looks very much like the biomorphic embellishment in traditional Islamic art, so I think it will lend itself very well to my design. It has a nice vintage look to it as well.
I do not have any paper large enough for this frame, but I had an unopened block of cold pressed paper which I must have bought many years ago because the label shows the name of the shop, which has been closed for several years now. It was a wonderful art shop which had a picture framing department upstairs, and they had great personal customer service and would order things for you. It was a family business with great staff loyalty and they got to know their regular customers over time. It is very sad to see such businesses closing.
I have worked out the size of the mount I require, and I shall be ordering this from my favourite online picture framer in due course – dark red again, but with a gold inner mount if I can get it. If not, I shall paint the inner mount myself.
The initial design of the shamsa
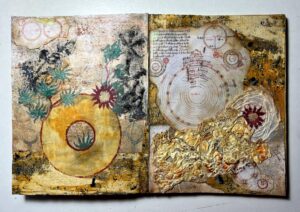
Shamsa is Arabic for “sun.” These circular designs with radiating rays are inspired by the sun, and are often very ornately decorated with flowing biomorphics and embellished with gold. I am interested in the word, because I know from my studies that the word for “sun” in Hebrew is shemesh – clearly from the same root in both cognate Semitic languages.
I drew my first one when I did the online Domestika course on Islamic art a few months ago.
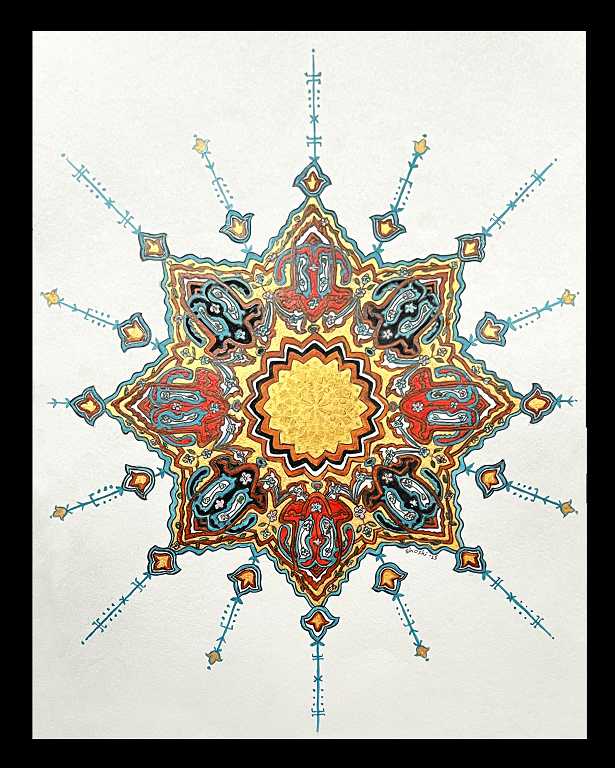
For my current one, I have combined ideas from several different shamsas which I have found online. The colour scheme will be predominantly dark red and gold, with dark blue as the seondary colour. This colour scheme will fit very well with the frame, and also with our living room decor.
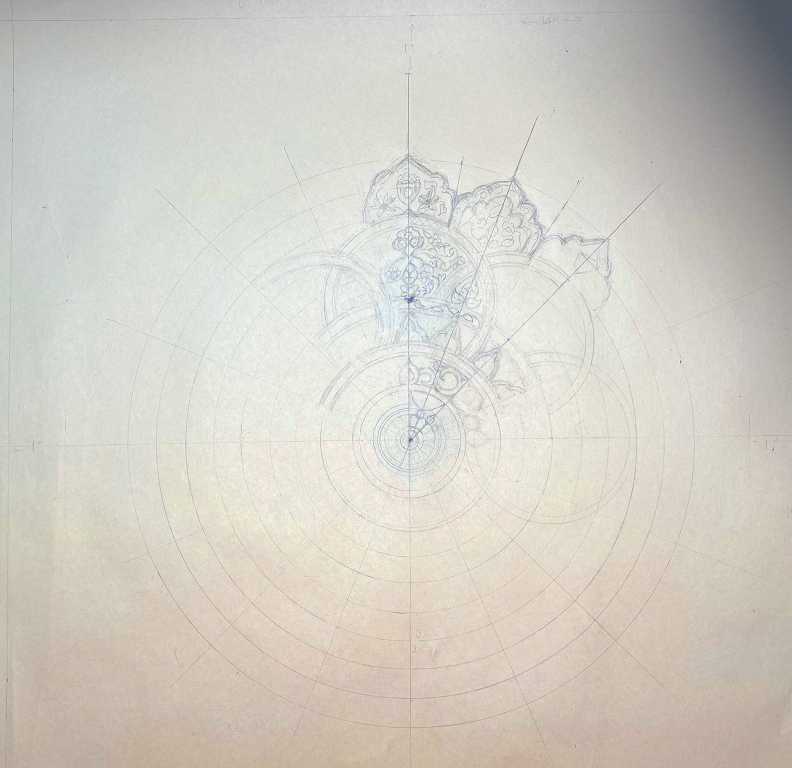
I began the drawing on newsprint. I only needed one pattern repeat, which in this case was 1/16 of the octagonal design.
Tracing the design
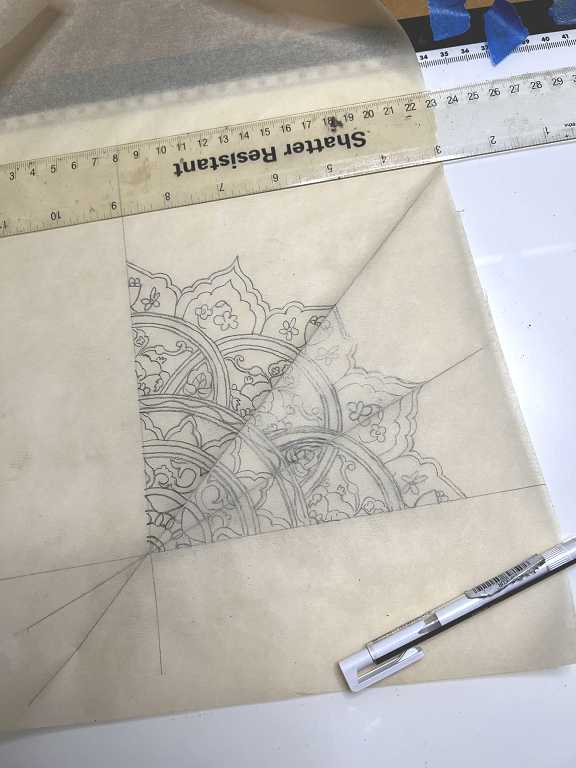
Here is one-quarter of the design traced. You do this by folding the tracing paper over and tracing what is underneath, until you have as many sections as you want.
Transferring the tracing
The tracing transferred onto the final paper, completing one quarter at a time.
![]()
A closer view.
![]()
This was still pretty rough and would need quite a bit of work before I would be ready for painting. I have the original drawing to refer back to. The circle portions will be overlapping in the final design.
Completing the drawing
I rolled my kneaded eraser over each section as I worked on it, to remove the excess graphite. Using my HB mechanical pencil with its .5 mm lead, I worked on tidying up the design, one section at a time. I began with the overlapping circles, and progressed to the concentric circles in the centre, and finally the outline. After this, I worked on the major embellishments, and finally completed this stage of the drawing with the finer details. There was a fair amount of smudging and loss of detail but I was able to see enough, and also to refer to the original drawing.
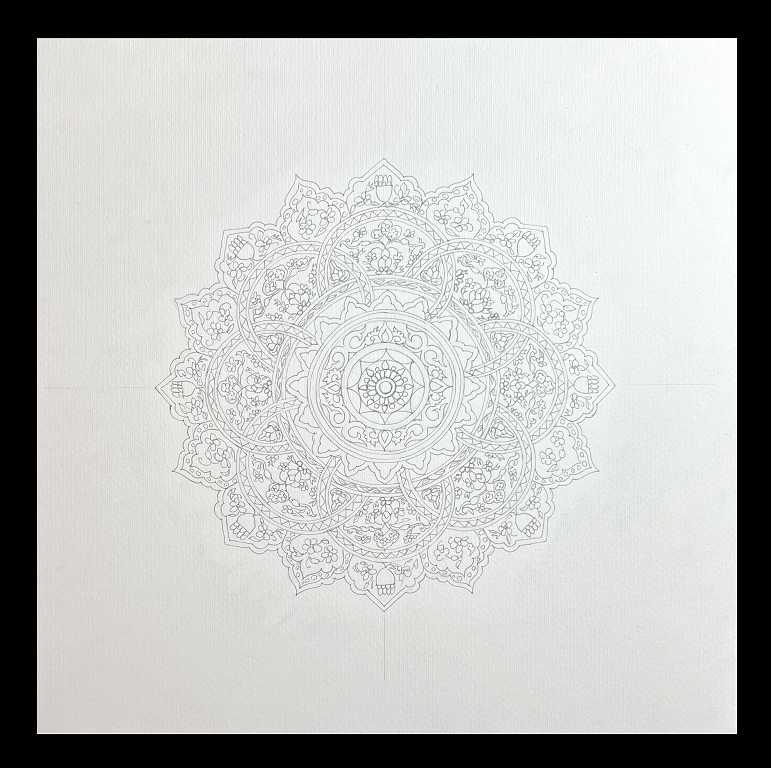
Once the design was tidied up in pencil, I again rolled the kneaded eraser over it, section by section, and removed sufficient graphite so that I could see enough of the design to draw over. I went over the whole thing with a fine grey archival permanent marker, as I did on my first shamsa, above. This method is hardly traditional but you have to do what works for you! All these inked lines resemble pencil, but are permanent, and there is no danger of further smudging. The lines will be completely covered by the final painting. After this I went over the whole design with a regular eraser to remove all traces of pencil marks.
Here is the completed drawing.
Obviously there will be more contrast and definition once I begin adding the colour.
Here is a closer view.

Finally, a quarter-view close-up.
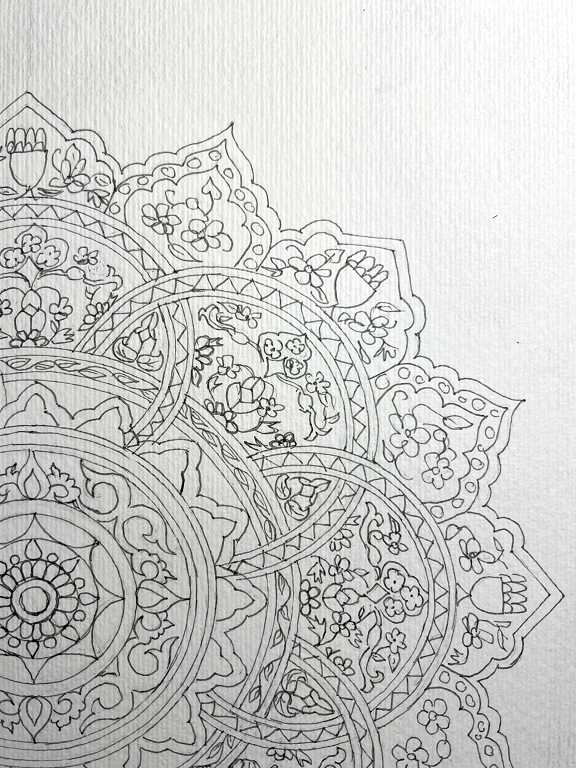
You can see that there is a texture to the paper. This isn’t ideal, but this was the only paper I had that was large enough. I would have preferred to use my hot-pressed watercolour paper which is super-smooth, but I don’t think it will matter once the colour is down.
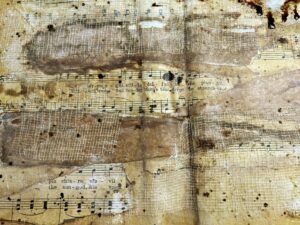
I have yet to decide whether to add any tea dyeing and ageing it with some spots before I begin. The photos were hard to edit to show the bright white of the paper without losing the definition of the drawing, which looks darker than it actually is. This is a very heavy weight paper and I do not anticipate too much warping if I do go with this. I quite like the vintage look after some distressing, but this is something I shall have to sleep on before coming to a final decision.