TYPEWRITER ALBUM PART 15 – TUNNEL PAGES 2
This section of the album is like a small folio in itself. It is proving to be quite a challenge, but as long as I can get the concentric circles of the tunnel to line up when the book is being bound, all will be well.
Arranging the papers in Signature 3
For the purpose of the photos, I have clipped the pages in place using the quilter’s clips – these are the best clips I have yet found for book binding. They are long and the compression area is flat and extends almost to the hinge of the clip. Perfect for the purpose for which they were not designed!
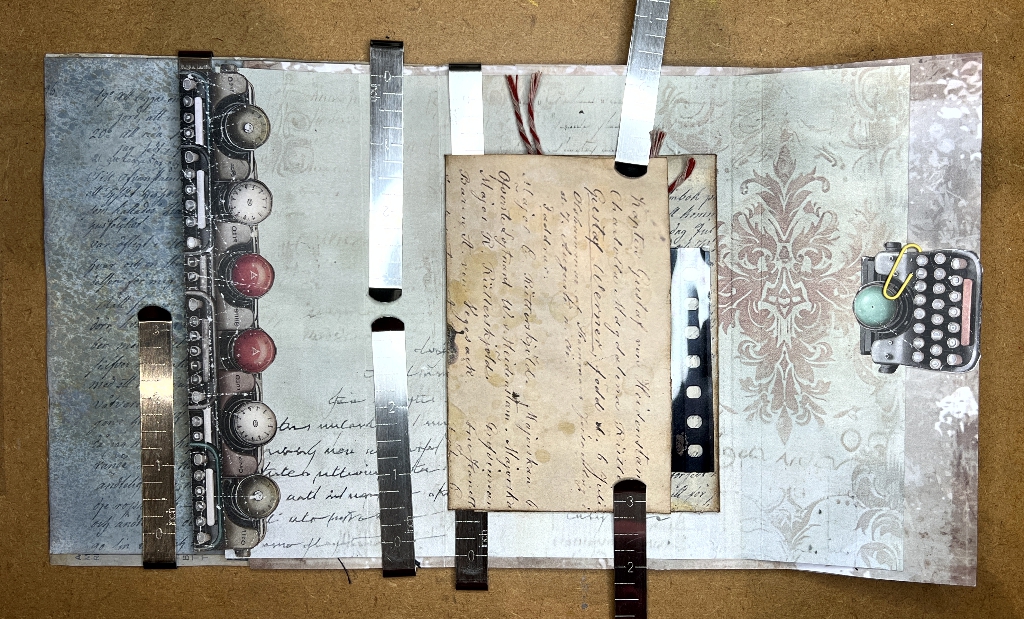
I have had to re-jig the papers in the signatures a little, because I wanted this small folio of tunnel pages to occupy the centrefold. The above photo shows the folio closed. There is more work to be done on this front page.
Altering the inside of the folio
Opening the folio, you can see part of the paper where I folded up the bottom of the page. This folded up part extends the full width of the sheet on the inside of the folio. On this page and the final one, I have glued this flap to create two pockets. I shall come to the right-hand part that you can see in the following photo in a moment.
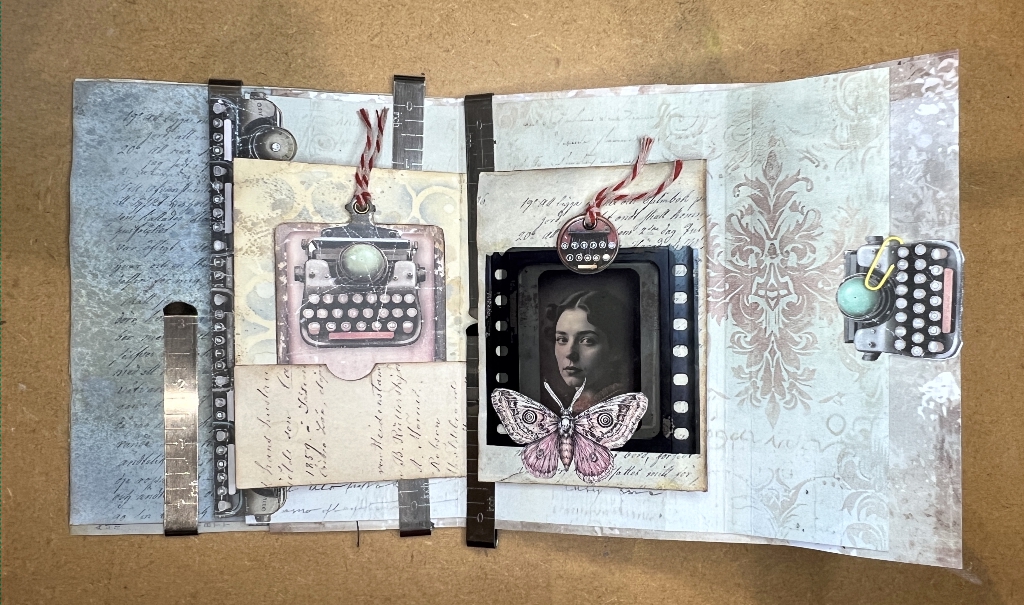
The background of the inside of this folio was pretty boring – just plain cream card, so I Shoshified it by adding a bit of Frayed Burlap Distress Oxide smooshing (rubbing the ink pad on an acrylic block, spritzing with water and dipping the paper randomly into the ink and drying between each layer). I then stencilled on some Faded Jeans Distress Oxide ink with a circles stencil from Tim Holtz.
The right-hand piece
This shows the back side of the folio, folded in towards the binding fold.
I glued down another of Margareth’s vintage Photo frame transparencies on three sides to form a pocket, and added a fussy-cut moth.
The tags
I put a vintage lady portrait inside the photo frame transparency pocket, backed onto some black card. I made the pull tab from a couple of circles from Luise Heinzl’s Vintage Typewriter Ephemera Pack, reinforcing it with some more card between. The bottom of the tab on the front is not glued down completely, to allow the front of it to extend over the edge of the transparency.
The tags removed
I inserted a tiny eyelet at the top of each one and tied on short lengths of butcher’s twine. This was originally red and white and I dyed it with some Worn Lipstick and Tea Dye Distress Inks to tone better with the spread. The typewriter tag (from Luise’s kit) on the left was far too long for this page, so I cut off the bottom and re-stuck the bottom part so as not to lose the printed border.
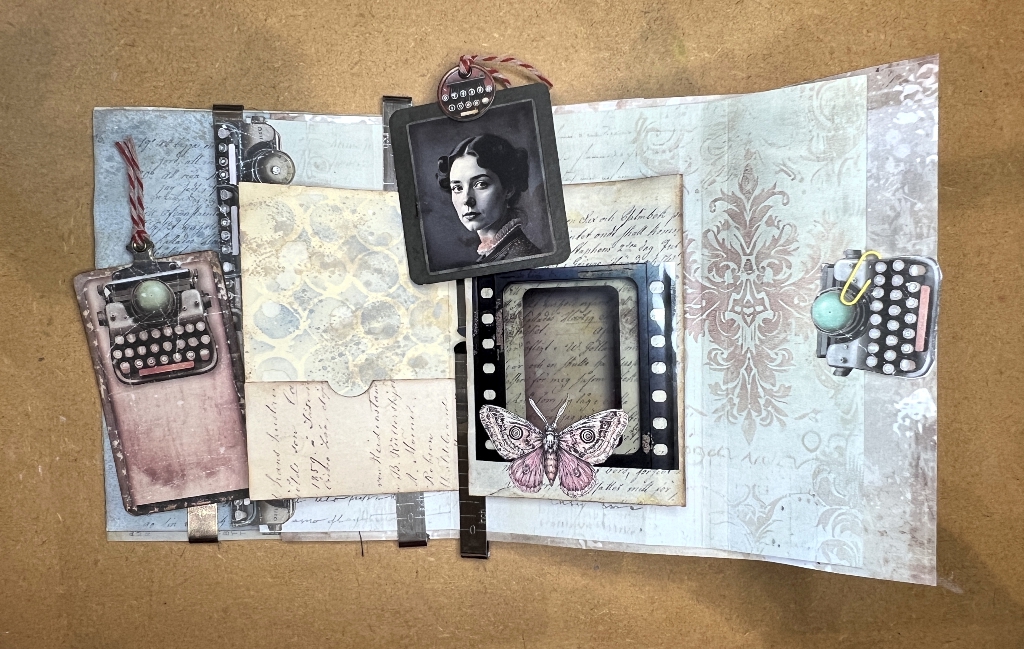
Close-ups of the tags
Front view:
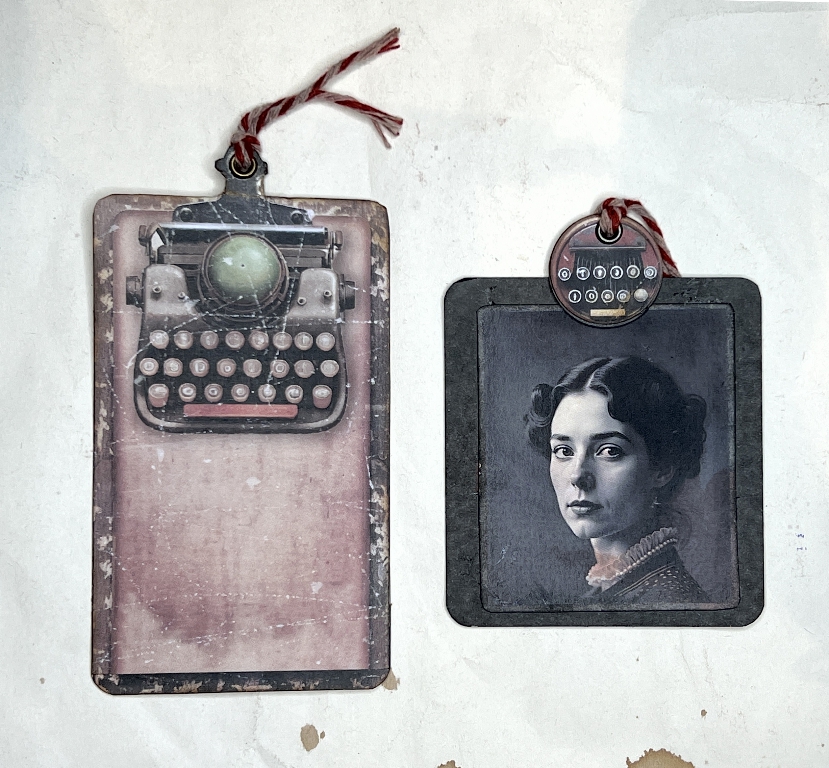
and the reverse.
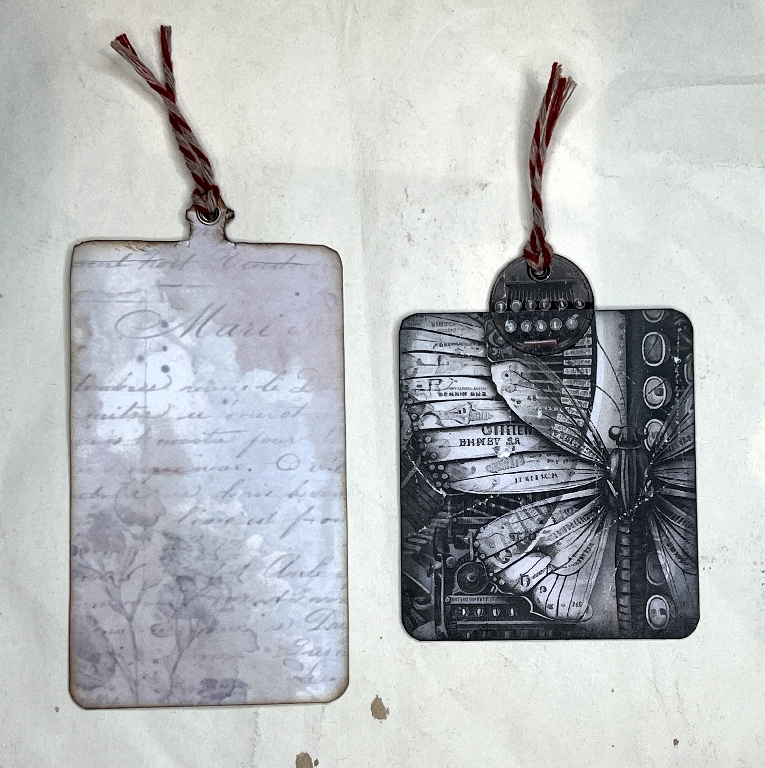
I am pleased with the effect of this folio so far, with the small pink accents bringing it together and the blue stencilling tying in with the larger pages behind.
Decorating the tunnel
My previous post describes how I cut the holes in the three papers to create the tunnel. Now it was time to decorate it.
I chose several images from the Graphics Fairy Premium Membership site from one of their “Digi People” bundles. I needed to scale them so that the figures in the foreground would be larger than those further back, to create the illusion of depth.
Many years ago I purchased Serif PagePlus, a desktop publishing program which has never found any equal in my opinion. It is no longer available and there are no updates. It will not run on Linux. I have it installed on my studio laptop which is the only one still running Windows, but disconnected from the Internet to avoid the current awful Microsoft shenanigans. I do a lot of designing with this software, and when I am happy with it, I can export it either as a jpg image or as a pdf, copy it to the external hard drive which I then plug into the Linux laptop in the office and print it off. It’s a bit tedious but it is a system that works for me, and I am secure in the knowledge that my PagePlus software will continue to operate and not be vulnerable to any Windows updates.
I created this sheet in PagePus and saved it as a jpg to print out.
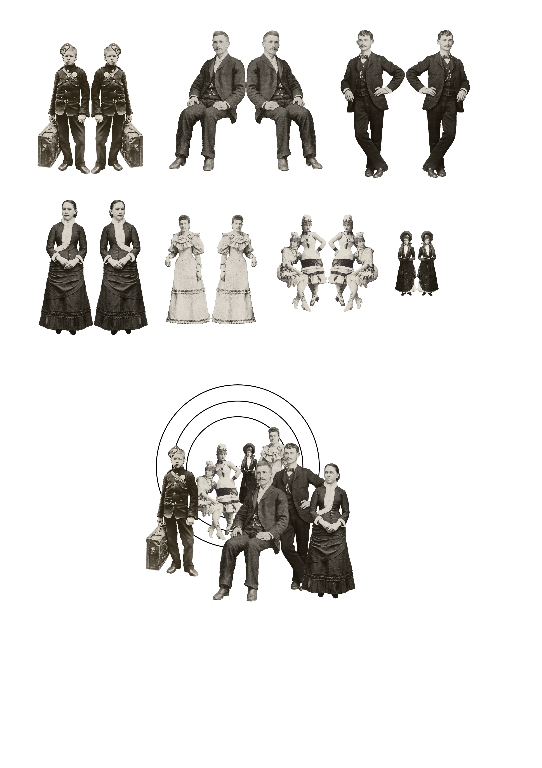
At the top you can see that I have scaled the images of the figures. I copied and pasted each one, and reversed one right-to-left (mirror image). At the bottom of the page is a mock-up giving me an idea of the placement of the figures on the tunnel pages.
After printing out the images I fussy-cut them, which was a fiddly job as some of them were extremely small. I didn’t use the tiniest lady in the end because there wasn’t a suitable anchor point for her on the final tunnel hole.
First view of the tunnel
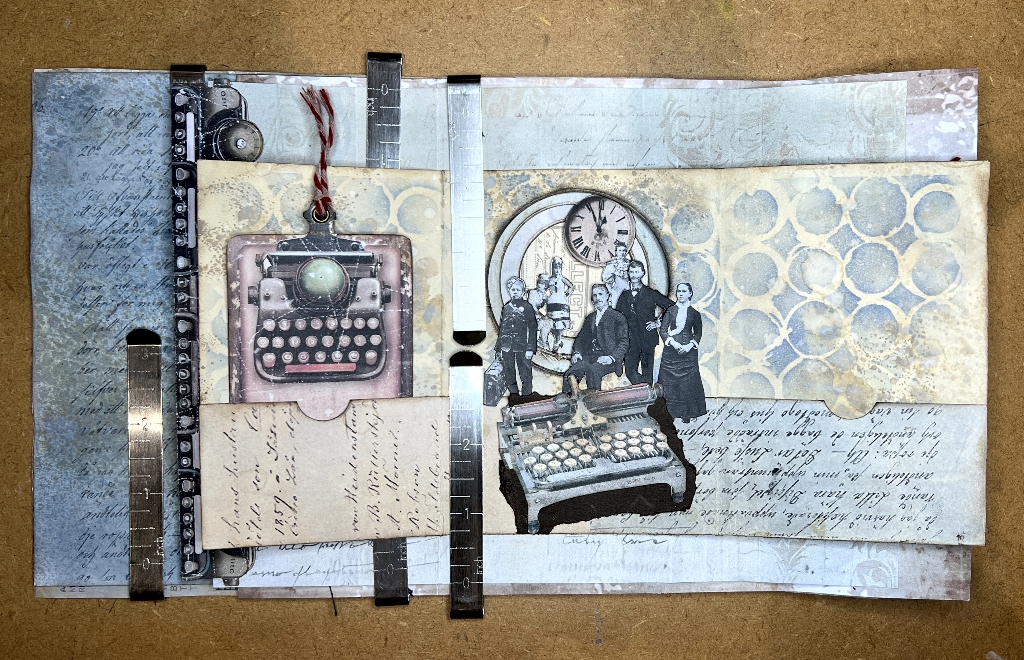
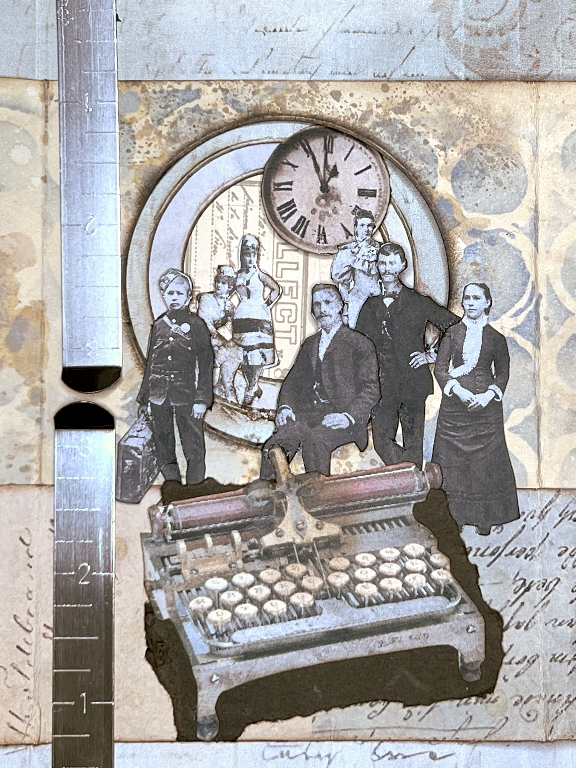
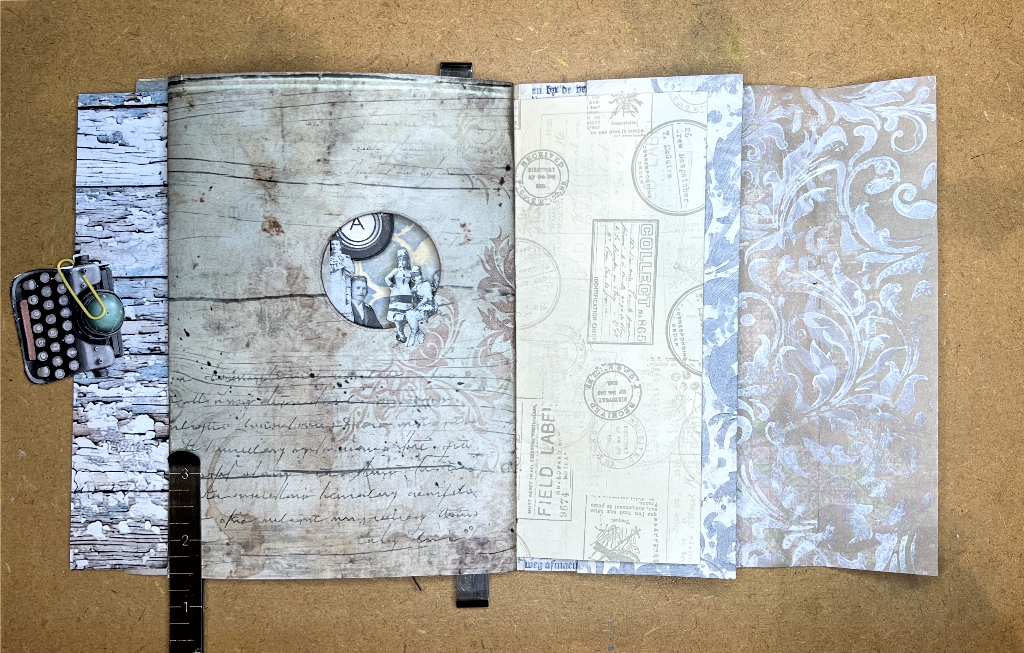
Opening up the folio by turning the right-hand page, the centre panel is revealed. It is rather fun when you open that right-hand piece because when it is closed, you have no idea what a surprise is underneath – the tunnel! The centre panel is where I have created the top layer of the tunnel. I stuck down the larger figures, and also a vintage typewriter image which I fussy-cut and mounted on a scrap of dark brown card to create a bit of contrast with the background. Inking around the tunnel openings made them stand out better and created more sense of depth.
On the right-hand side is the fold-out piece which has the vintage photo frame pocket on the back. You can see the folded up part at the bottom, which I have used to create another pocket. I have yet to make a tag to fit this.
Here’s a detail shot of the entire tunnel.
The second level of the tunnel
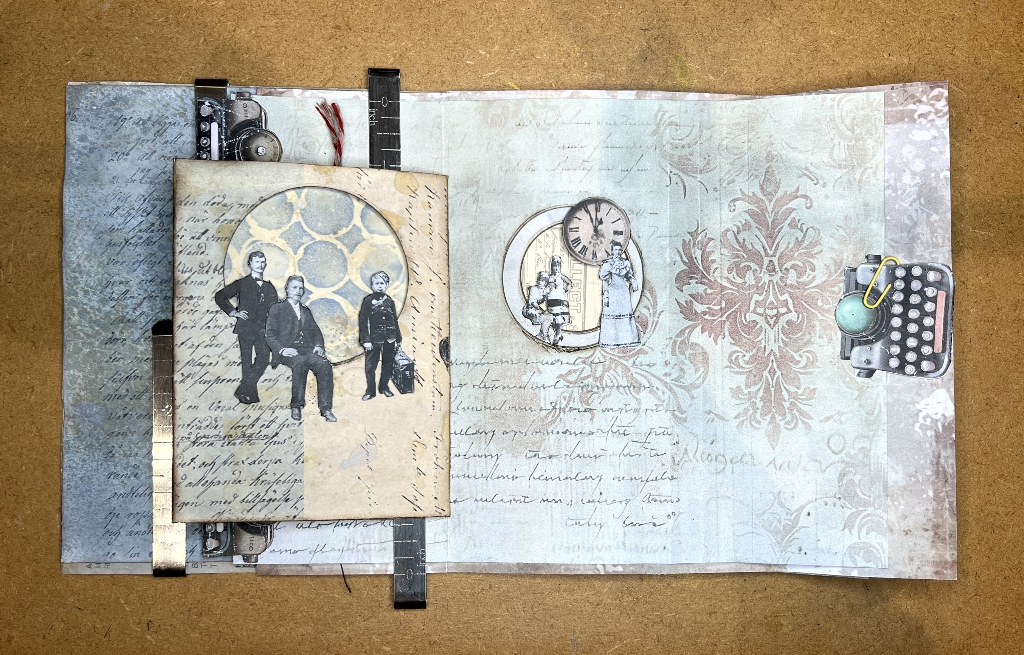
As with all this interactive stuff, it is hard to describe in words and photos – video is far better.
On the back of the first (largest hole) part of the tunnel, I have stuck down the mirror images of the figures, exactly lining them up with their counterparts on the front. This not only tidies up the back (which looks weird without them), but it also makes the parts of the images that project into the aperture more sturdy.
To the right, you can see the second level of the tunnel, which is cut into the following (larger) page. I attached the figure of the lady on the right, and to give her a bit more security, I also attached a clock face to the top, to which I have glued the back of her head. (The pair of figures is on the next layer.)
The third level of the tunnel
Turning this page, you can see the reverse image of the lady on the other side. To cover the back of the clock, I glued down one of Luise Heinzl’s circle pieces from her Vintage Typewriter Ephemera pack. I cannot stick more reverse images of the other figures down to complete them, because this would glue the two pages together. They just have to be looking at us through the window.
On the right-hand side is the final aperture of the tunnel. I have just stuck down the pair of girls so that they are sitting on the edge. You can see the background of the following page through this aperture. Both these pages needs further embellishment.
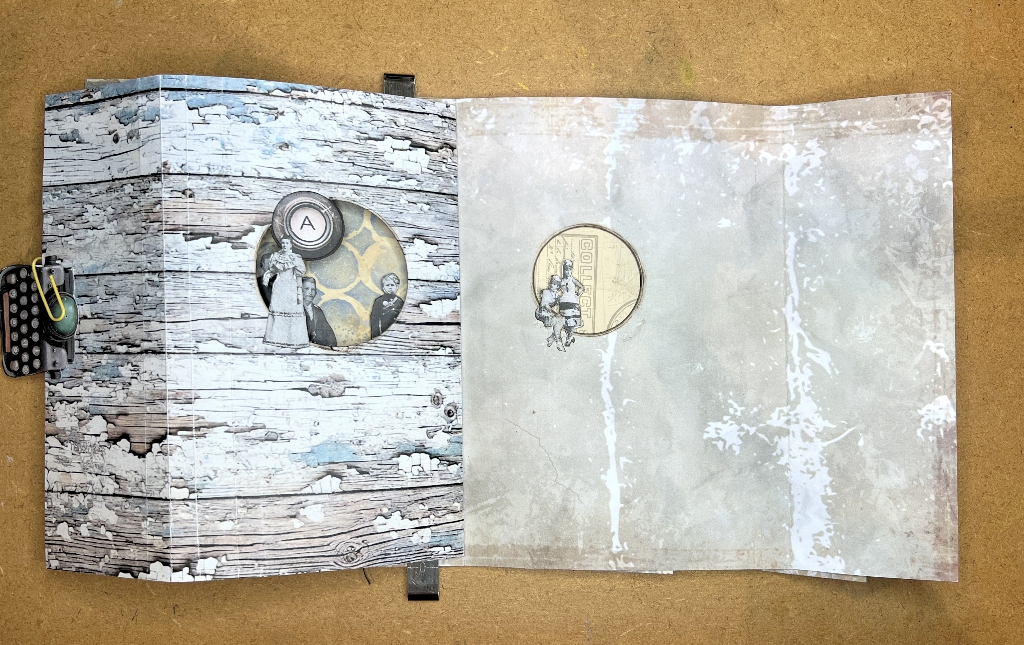
This is what you see when you turn the final tunnel page. Again, I don’t think I can add anything other than the mirror image of the two girls. The page will need further embellishment as the back of the tunnel looks a bit lost! I have yet to work on the next page, and decide what I want to show through the entire tunnel.
Conclusion
There is obviously quite a bit of work remaining, to complete these tunnel pages, but the tunnel itself is complete. My friend calls this “paper engineering”! I hope you have enjoyed this bit of Shoshification.