TYPEWRITER ALBUM PART 14 – TUNNEL PAGES 1
I love a project in which one learns new skills. I have wanted to make a tunnel book for many years and never got around to it. I decided to add a mini-version of this to my album, in this case involving just three pages.
What is a tunnel book?
A tunnel book is a book with holes cut in the pages, with the largest hole on the first page, and successive pages having ever smaller holes. This gives the impression that one is looking down a tunnel. Each layer can have something of interest peeping into the tunnel, giving a real 3-D effect. At the end of the tunnel is whatever is on the final page.
It takes a bit of planning because the circular holes have to line up, and you also have to be aware of what is on the other side of each page. This is because as you turn the book, the back of the page becomes visible, and if you have stuck fussy-cut figures on the back of a hole, for instance, you are going to see the backs of them.
Planning the tunnel pages in my book
Looking through all the pages of the three signatures, there seemed to be only one place suitable to add this feature. This was on the final pages of the third signature. The tunnel involves four pages – the back page which has no hole cut, and whose decoration is going to show through the whole tunnel, and three pages layered on top, each with a hole of increasing size.
I have chosen some rather difficult pages because the selection involves pages of different heights. This means I had to be especially careful where I would cut the holes as only the third one is full-sized and the others are not so tall. When I come to bind the book it is going to be all too easy to misalign them and then the holes will no longer be concentric. My plan at this stage will be to staple those pages together top and bottom when I come to bind them, so that they cannot move at all. Normally I line up the pages and secure them in position with long clips but I can’t guarantee this would be accurate enough in this case. Once the book is bound, it will be simple to remove the staples and I don’t think the small holes left will be noticeable. If they are, it will be simple enough to add further decorations to cover them up.
Die cutting the holes
I had to plan carefully where I would cut the holes so that the tunnel would look good on every page, front and back. I have a large set of nesting circular dies with small differences in their sizes, and was able to select three that would have good proportions. I made a couple of mistakes and had to re-cut two of the holes to make them larger, and then I was happy with the proportions.
When I was crafting in the early days, the proprietor of our local craft shop (now sadly closed for many years) recommended the Cuttlebug as the best die-cutting and embossing machine. This little machine has served me well for many years.
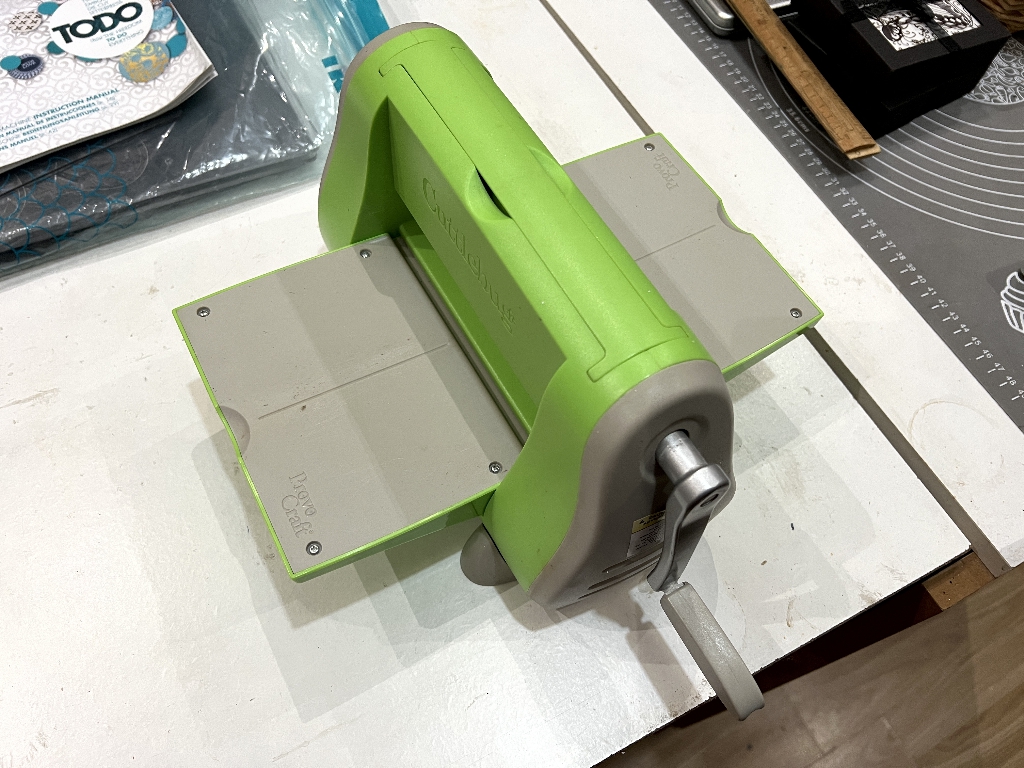
You make a “sandwich” with various plates and your chosen medium (card etc.), the cutting die or an embossing folder, and turn the handle to force the sandwich between rollers which compress it and enable the cutting or embossing to take place. For normal use this is absolutely fine, and I was able to cut my first hole easily with it, as the page is not very tall.
When it came to the larger pages, however, they were not going to go through the Cuttlebug.
Many years ago someone on a forum I was on gave me her ToDo machine as she no longer wanted it. This was an incredibly generous gift as this is quite a monster of a machine and it will do a lot. Plugged in, you can heat the metal plate and do hot foiling on it. It can also be used for regular die-cutting and embossing, and for intaglio printing.
It works on a different principle from the Cuttlebug. The Cuttlebug moves the sandwich between the rollers as you turn the handle, and the ToDo moves the whole roller carriage along the bed as you turn the handle, so that it passes over the sandwich to do its job. You can see that there is a knob on the top of the carriage and this is calibrated from 0 to 12, with 0 being no gap between the roller and the bed, and 12 being the largest distance between them, with resulting lower pressure. This is a tremendous advantage because you can vary the pressure according to what you want to do. Some projects require more or less pressure, and they can be a variety of thicknesses too – if you are cutting heavy card for instance, this would need the roller to be set higher than if you were working with paper.
Most die-cutting machines work on the same principle as the Cuttlebug, with a fixed distance between two rollers. People have broken their machines by putting stuff through that was too thick, and to get the pressure exactly right it sometimes involves the use of card shims, and a lot of trial and error. The ToDo has a chart in the book with recommended settings but you have to test it for your own particular circumstance at the time, so the chart is merely a guide.
The cut circles
After all that preamble, here are my pages stacked to show the concentric circular holes cut in them.
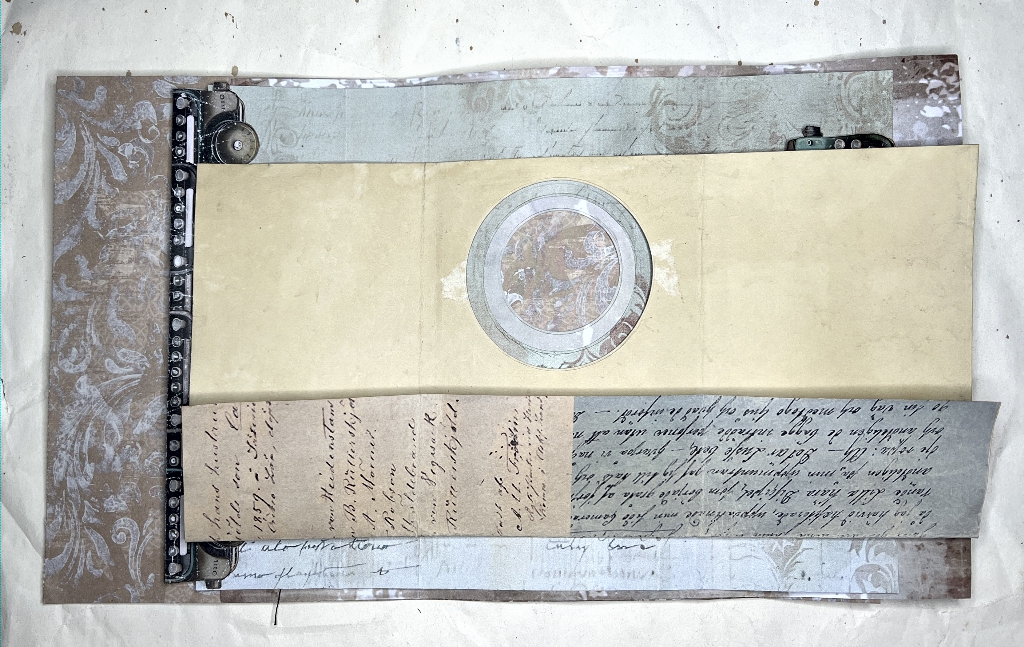
A normal tunnel book would probably have greater distance between the holes and a smaller hole for the central one, but I wanted more of a framing effect for my pages. In the above picture, the first fold from the left-hand edge is where the spine of the book will be. The left-hand pages, apart from the darker one with the swirls, are therefore shorter pages. There is another fold to the right of the cut circles where the pages will be folded in to form flip-outs or pockets. I haven’t made plans for these yet. You can see that the smallest error in aligning the pages at the binding stage would ruin the effect of the concentric frames. This whole project may end up being a total disaster but we shall see!
Here’s a detail shot.
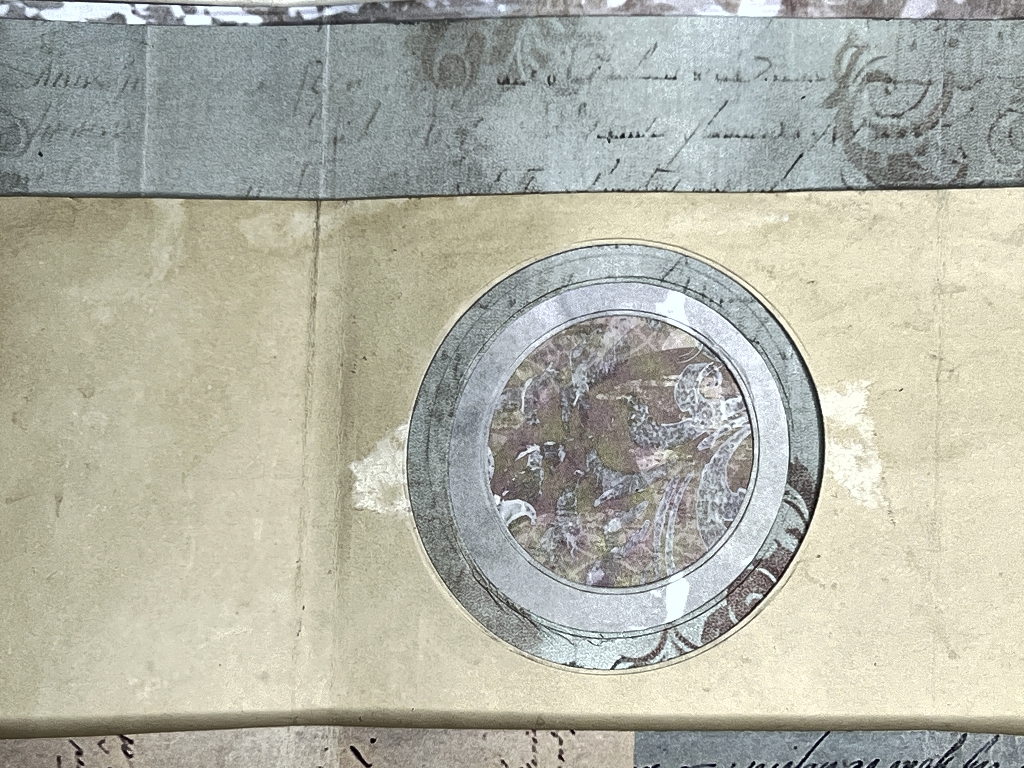
The pencil lines will be erased eventually. You can see where the masking tape I used to secure the die has damaged the surface of the top layer (which isn’t very good quality paper to start with) – this isn’t a problem as there will be further layers and embellishment added.
This feature is an interesting interactive element in a book. I have yet to decide how to embellish it, and whether or not to add acetate to any of the layers. My main concern is maintaining the symmetry at the binding stage.