This week I have been experimenting with a couple of techniques demonstrated by Jennifer McGuire on YouTube. My results have not been stellar so far, but I’m on the road to success!
Distress Ink Transfer
The first was her Distress Ink Transfer technique. I was intrigued by this and thought her results were just gorgeous so had to give it a try. She used background stamps and stencils to achieve the effect.
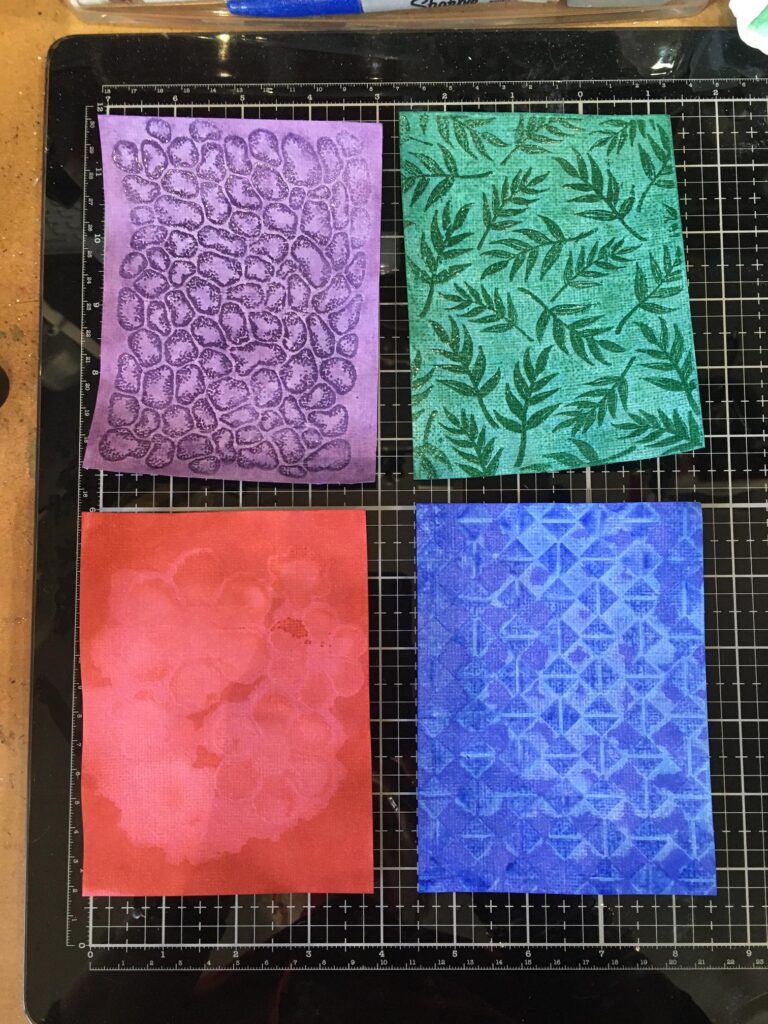
I began by inking up several small background pieces using Distress Inks direct to paper, to give good coverage, choosing dark and vibrant colours as she did.
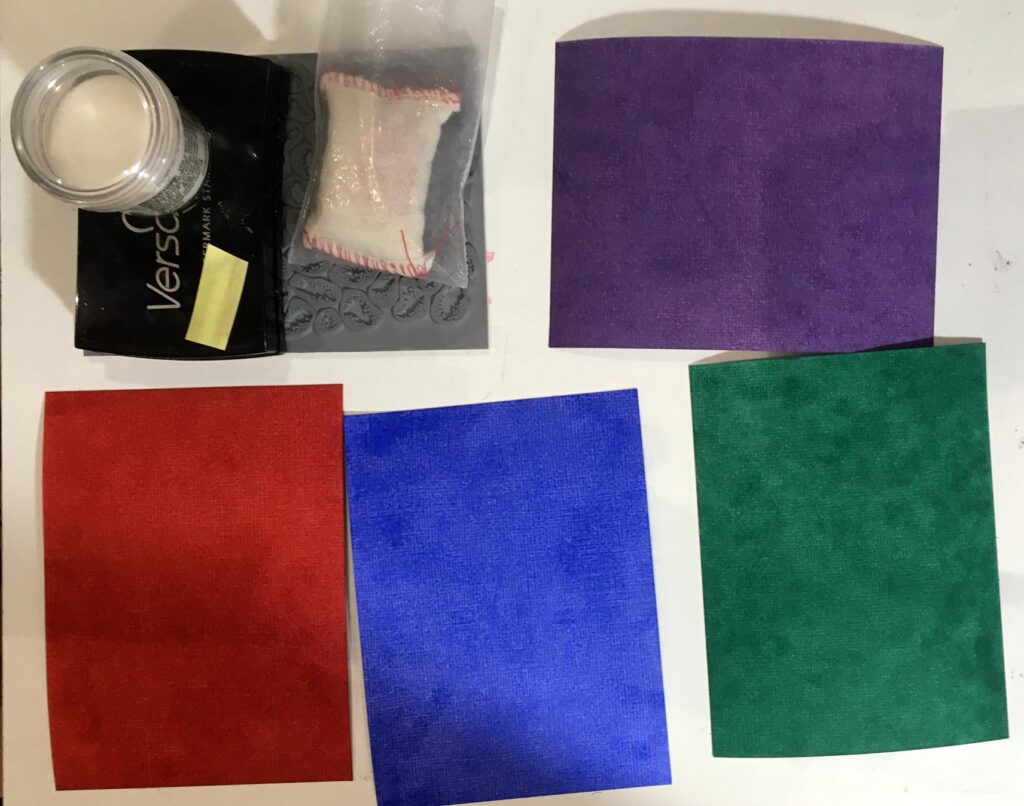
Starting with the stamped version, I heat embossed two of them with background stamps and clear embossing powder and proceeded to the next step, which was to spritz well with water and lay a second piece of card over the top, to enable the ink not covered by the embossing to be transferred over, resulting in two backgrounds.
The trouble is, I didn’t have nearly as much success with my efforts as Jennifer did! It was only later, when I watched her video again, that I realised I’d left out a step.
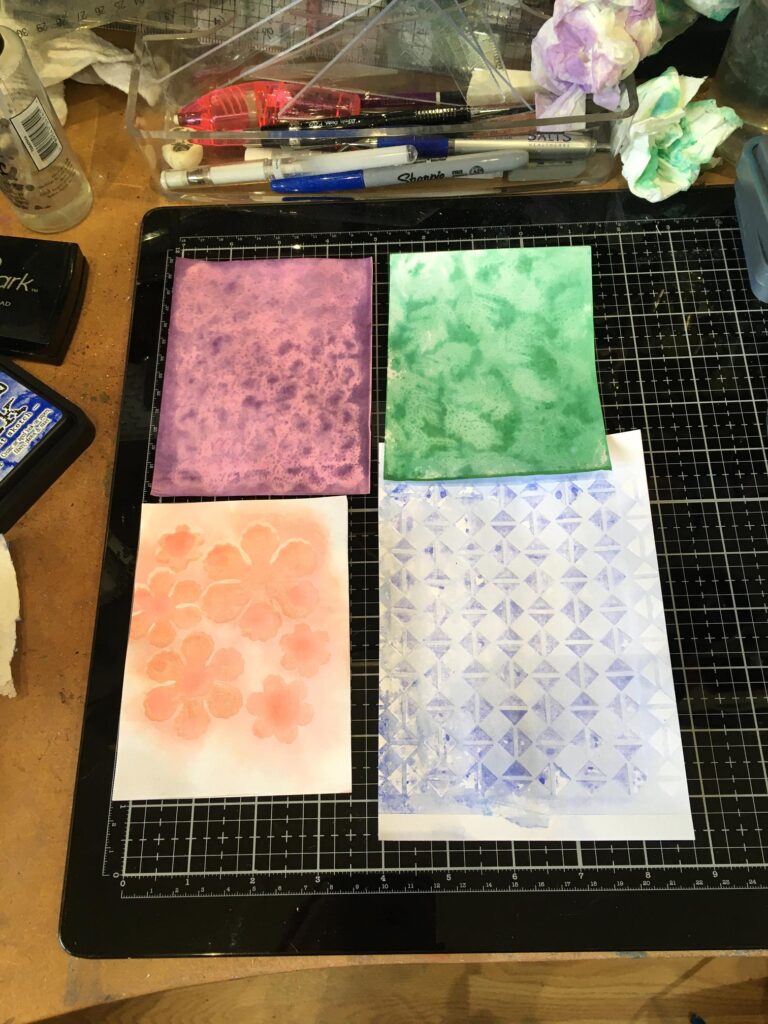
My stamped failures.
A wet blurry mess! What I forgot to do was to put the whole thing through the die-cutting machine to press the two sheets together to give a good impression.
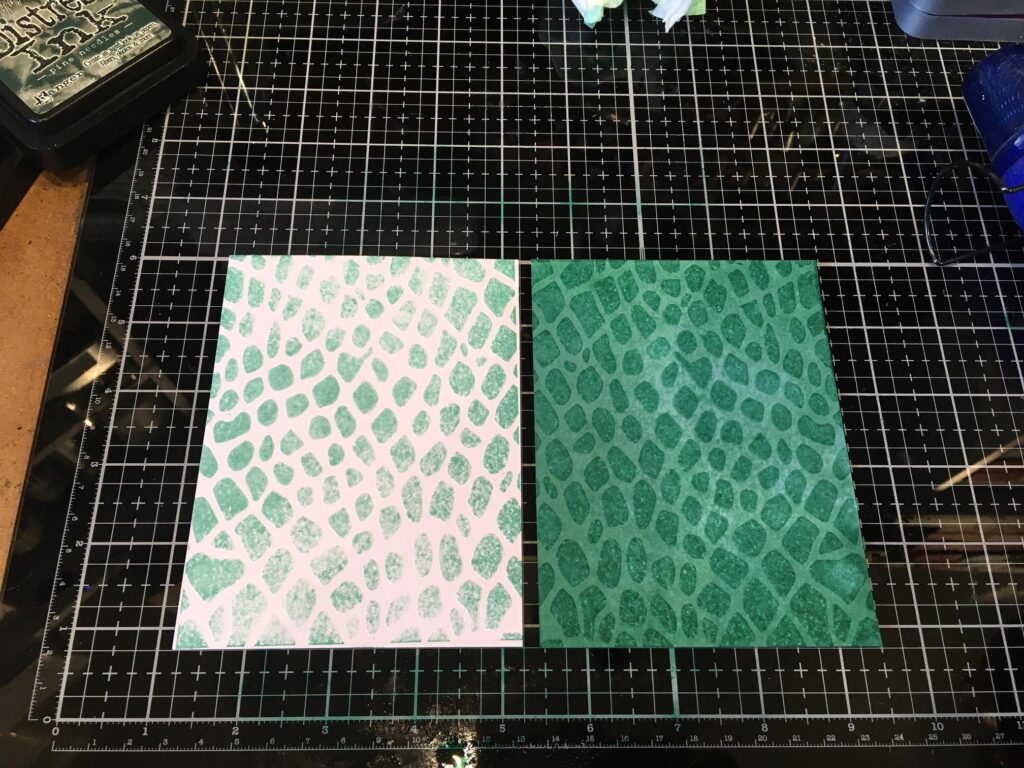
Moving on to the stencilled version of the technique, my first effort wasn’t too bad. For this, I did do the die-cutting machine step.
![]()
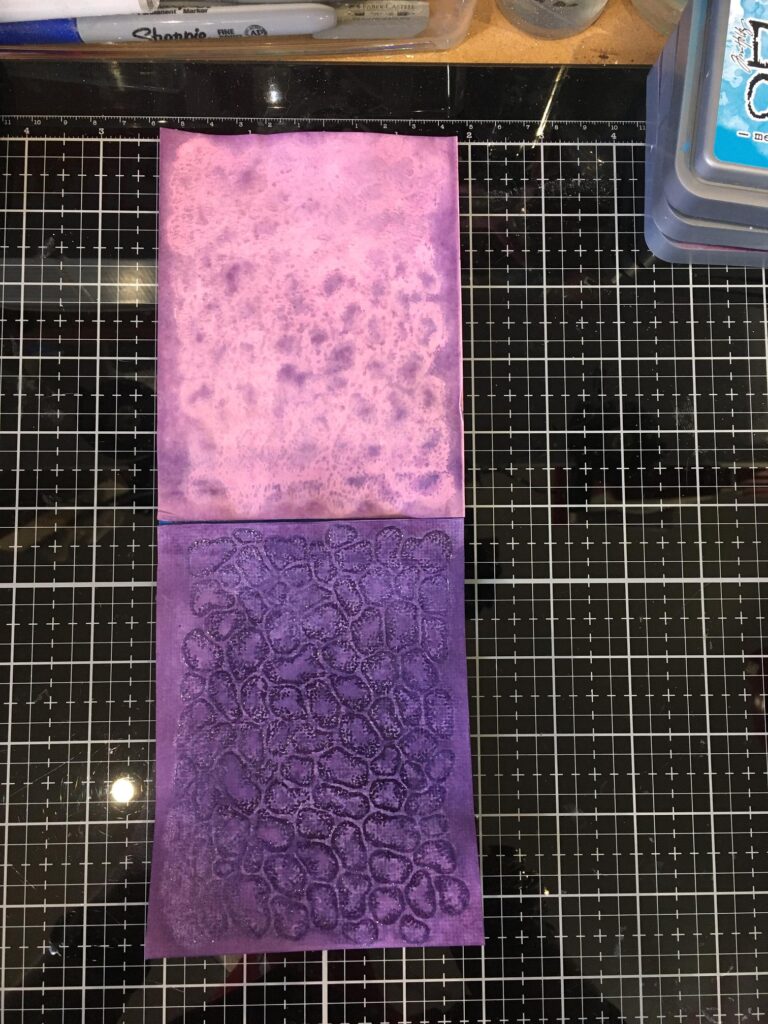
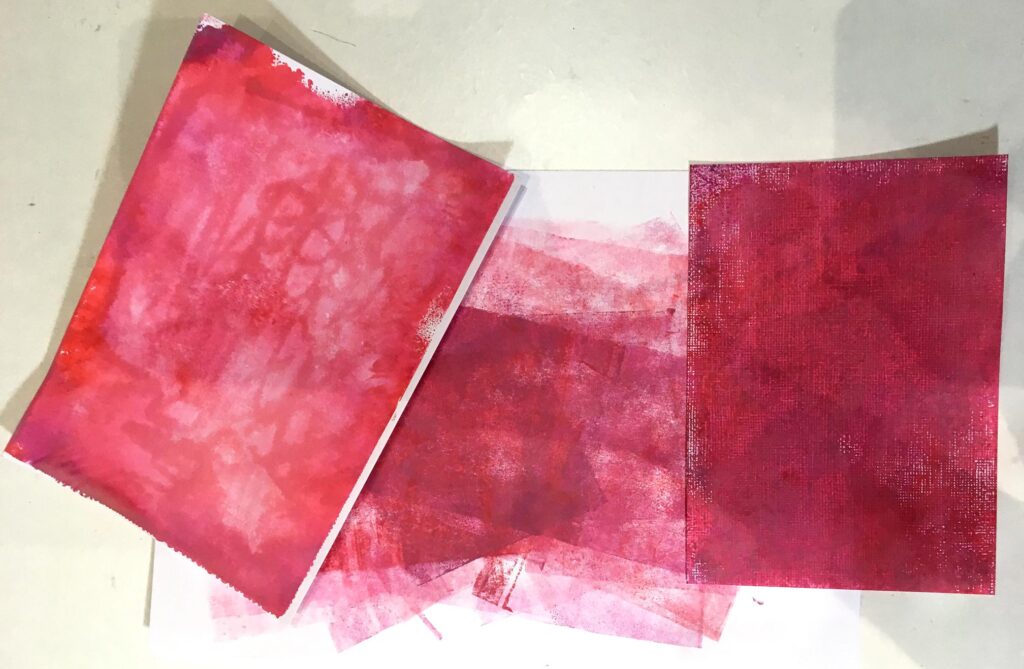
For this I used my Small Circles stencil that I cut myself, using my Cougar cutting machine some years ago. The primary sheet (on the right) came out more or less OK, but the secondary sheet, on the left, had some white parts where no ink had transferred, so I went over these bits with more of the same colour using a blending brush. The larger sheet behind is a piece of scrap that I used to blot off the stencil, which is definitely useable.
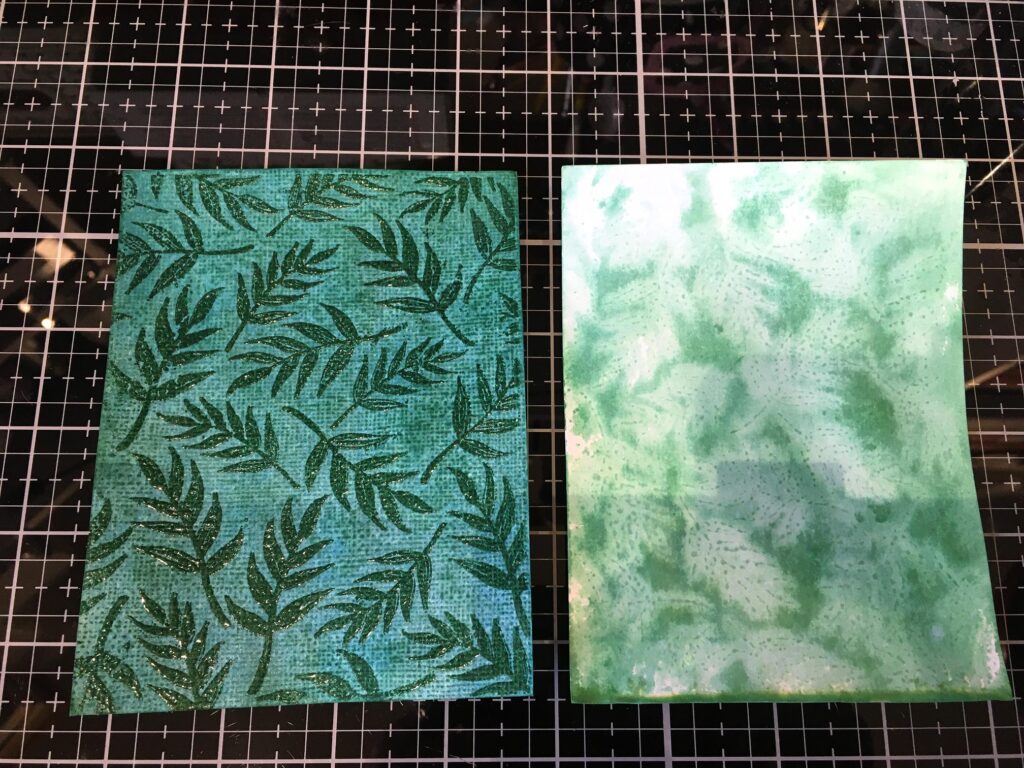
The second stencilled one was semi-successful. The other thing I forgot to do was to repeat the process of spritzing and putting through the die-cutting machine, so that more ink could be transferred. I think both these pieces are usable, though.
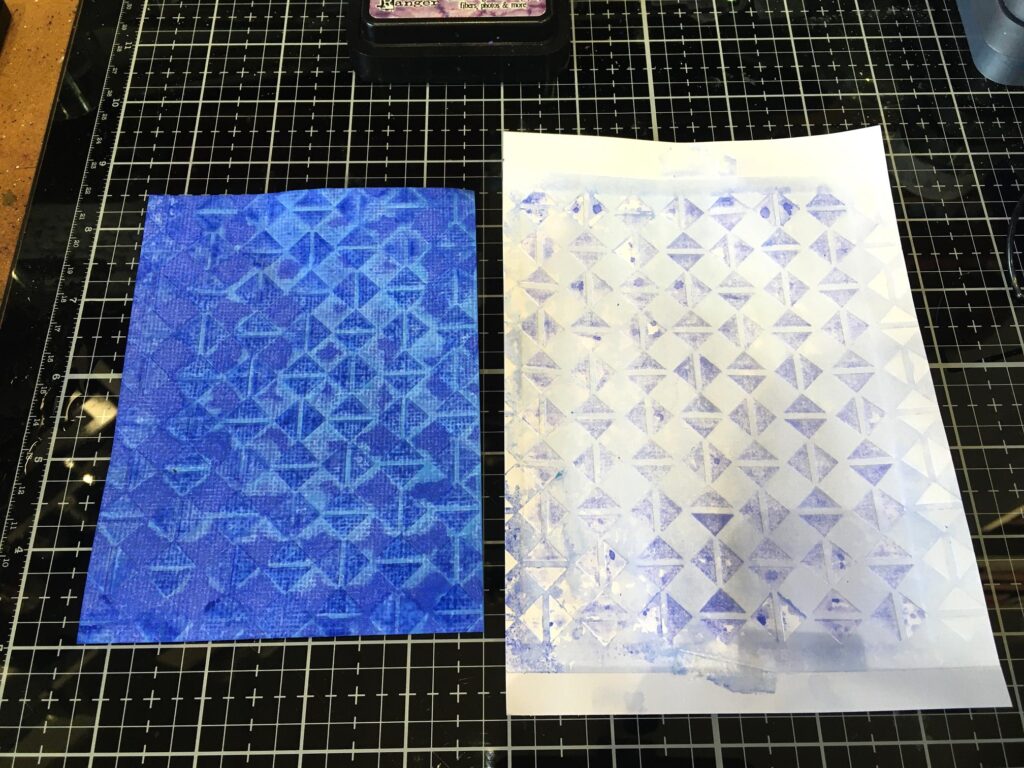
I did another stencilled one, using a negative space piece of card that I kept after die-cutting some flowers some time ago.
The primary sheet, on the left, ended up as a wet mess, but the secondary sheet onto which he ink had been transferred, was definitely better.
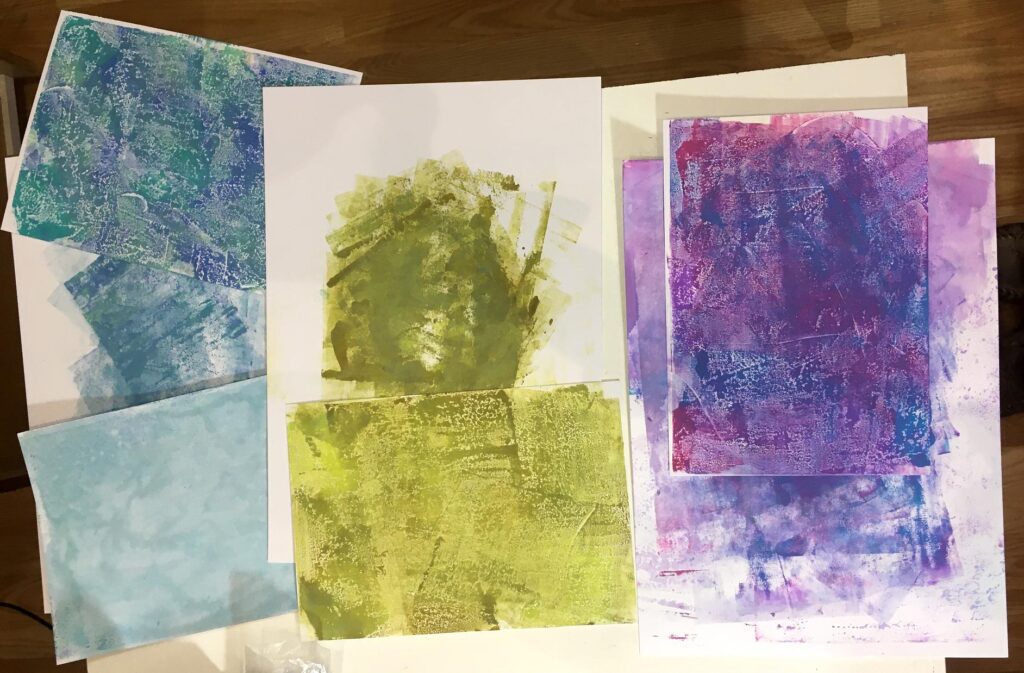
The next photo shows the primary sheets, with the stamped ones at the top, and the stencilled ones below. In order to produce something that was passable, what I did with the stamped ones was the spritz the primary sheets again and lift off as much ink as I could with kitchen paper. This gives the result I should have achieved had I done the technique properly.
You can either leave the clear embossing on the card for a glossy finish, or you can iron it off between sheets of paper or card for a smooth matte effect. Both look great. I have done this in the past with heat embossing; if you use cardstock and line it up carefully, the embossing will transfer nicely onto the second piece and you can use it – you can even get a second inpression on another piece, but with each successive transfer, you lose some definition. You can end up with a lovely subtle effect. You can do it on white or coloured cardstock and add more ink, just as you would with “first generation” heat embossing. Nothing wasted!
These are the secondary sheets, again with the stamped ones at the top and the stencilled ones below. I can certainly use these as the basis for further backgrounds, even if they didn’t turn out exactly as anticipated.
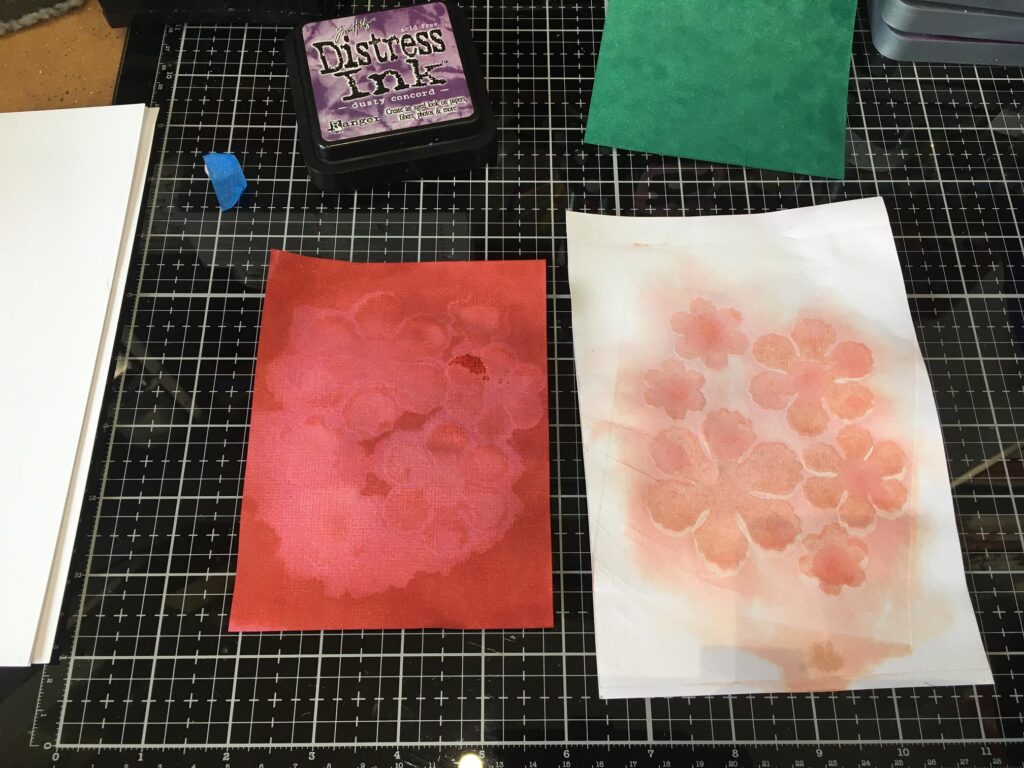
My final effort was a little more successful, but would have been better if I’d repeated the spritzing and putting through the die-cutting machine. This is a stencilled one.
The stencilled technique is lovely, because not ony do you get the ink transfer effect, but when you put it through the die-cutting machine, the stencil makes an impression in both sheets, which gives more emphasis to the design.
The other thing I could have done to improve my results was to use a heavier cardstock. She did recommend this in the video, as it needs to stand up to quite a lot of water.
What I should have done was to watch the video again before attempting this, or even watch it while I was doing it! Relying on my memory alone wasn’t too clever.
In her video, Jennifer added a very useful tip which will be handy to remember for all sorts of projects: if you end up with a warped piece of card, insert it in a folded piece of printer paper and put it through the laminator and it comes out flat. If it has heat embossing on it, this shouldn’t be a problem, but you can pass your heat tool over it just to re-melt it a little if it looks a bit blurred.
Distress Oxides on the gel press
This was her other technique that I was keen to try. Again, I was less than successful!
In each case, the smaller piece of card on top is the print, and the larger piece underneath is the sheet on which I cleaned off the brayer.
I couldn’t get the colours to show up as Jennifer’s did. I found the ink tended to bead up on the gel press, giving less than successful results because I had to over-use the brayer to get the ink to spread properly, and it blended the different colours too much. I looked this problem up online and found out that a new gel press needs to be “primed” rather like a new clear stamp. I have washed it (and the small shaped ones I bought at the same time) with warm soapy water and left them to dry, to see if this helps. It was also suggested to rub over the surface with a cloth, which I have done. I shall try again and see if I am any more successful.
If you are not familiar with Jennifer McGuire, I do recommend her videos, which I find inspiring and very relaxing to watch. She makes the most beautiful cards, and her demos are very well put together. She is an excellent teacher, and shares all sorts of really useful hints and tips that she has learnt along the way, which save time and give good results. She does have a huge amount of stash, and appears to own practically every die and stamp under the sun (it is her work, after all), but she always says you don’t need to have everything she has, and encourages people to use what they have. She will often give alternative methods of doing things if you haven’t got the particular equipment she uses.