My apologies again for visiting so few people last week. I’ve been so busy, and I was keen to spend some quality time in the studio being creative. Only so many hours in the day, and those hours seem to get shorter by the day!
What’s On Your Workdesk this Wednesday?
I have spent quite a bit of time just playing in the studio this week, which is a rare occurrence for me – I’m usually focusing on a particular project such as a birthday card for a specific recipient. Just having fun is a luxury! I’ve been making use of my newly organised card making supplies to make some cards, I’ve tried out my layered stamps and matching dies, and I’ve also been producing sentiment strips from the latest digital images I made and doing a bit of Inkscape drawing.
Sentiment Strips
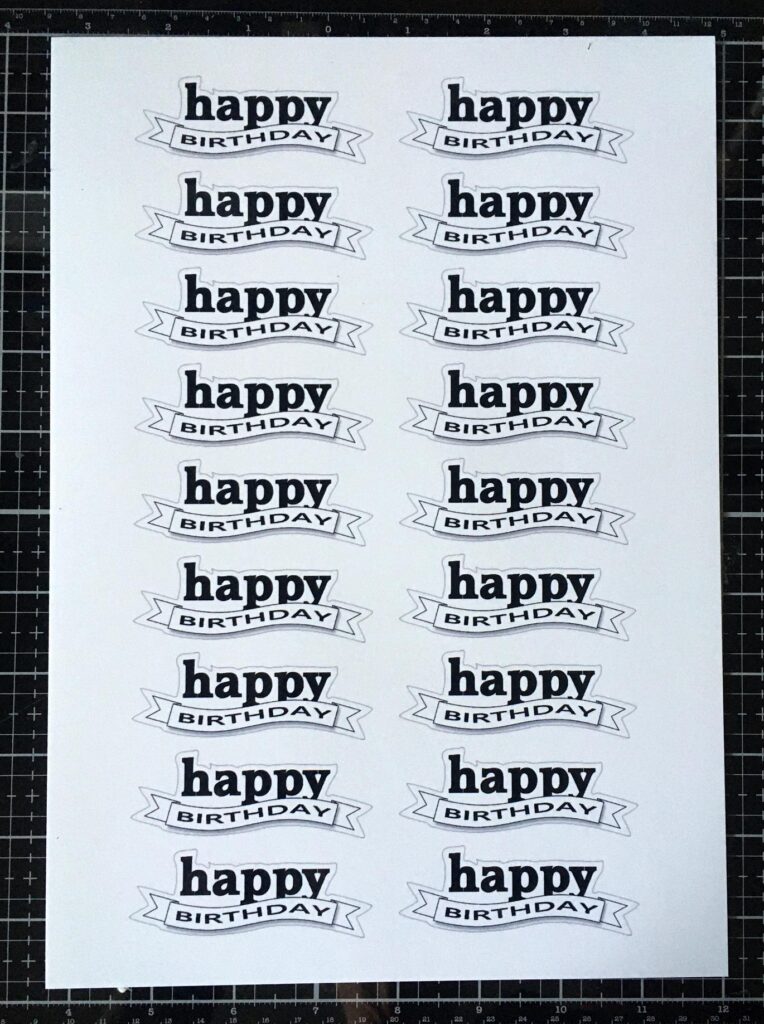
Using my desktop publisher, I created a whole A4 sheet of the happy birthday banner sentiments so that I could print them and fussy cut them out. Before I could do this, I needed to create a shadow layer around each one to make it easier to cut. I opened the image file in Inkscape and traced it in order to convert it into an svg file so that I could edit it. I found a useful YouTube tutorial which showed how to create an instant shadow layer with the “Outset” button. This creates a larger outline. If there any “holes” in the centre these can easily be removed. I duplicated this shadow layer and saved it on its own as an svg file for when I can get around to learning how to do “print and cut” in Sure Cuts a Lot (SCAL), the software that sends the design to the cutting machine. If I can master this, I will be able to print out sheets of sentiments or images and get the machine to cut them out. In the meantime, I have to be satisfied with fussy cutting.
I printed the first sheet on normal printer card and they came out a bit grey looking. I tried using glossy photo paper and high quality printing, and the results were brilliant.
One of the sentiments, fussy cut and ready for use.

It looks very good with the shine of the photo paper.
Birthday card
I had great fun, putting my storage system to good use when making this card. I was able to look in my card making supplies basket and choose a 4 1/4 x 5 1/2 in card base and a couple of mat layers. I had trimmed quite a few patterned paper sheets as I really need to use some of these which I have had for ages.
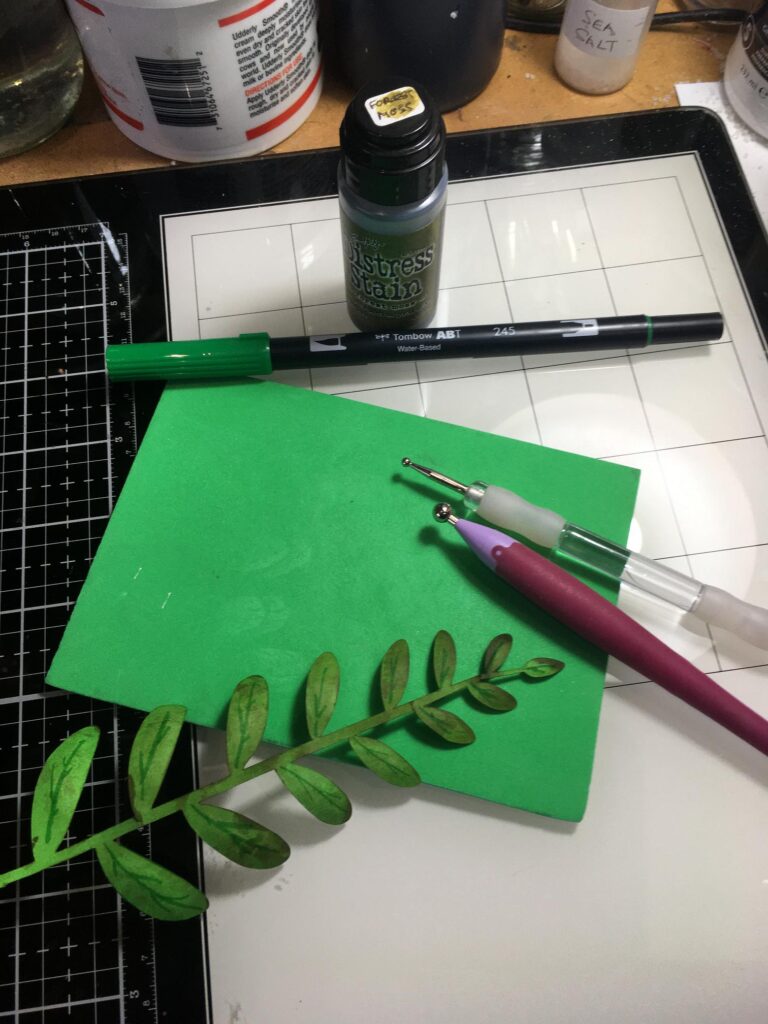
I then had a rummage through my die-cut and Sheba cut motifs. (Sheba is the name I gave to my cutting machine.) I chose one of the large leaf trails cut in green card, and added some Distress Stain in Forest Moss to make the leaves look a bit more natural. Once it was dry, I hand-embossed the leaves from behind, and than added some improvements with a Tombow dual marker. Before attaching it to the card, I trimmed off a few of the lower leaves as the whole leaf trail was too large for this size of card.
I chose a mat layer cut from a piece of patterned paper, and one with an oval die cut window. This latter one was trimmed down by 1/8 in on each side. I chose some flowers from my stash and one of the new sentiment strips on photo paper, and assembled the card.

To finish it, I added centres to the flowers with bisque liquid pearl, and then highlighted the leaves and petals with some Perfect Pearls to add a little shimmer, from the watercolour palette I made with these gorgeous iridescent powders.
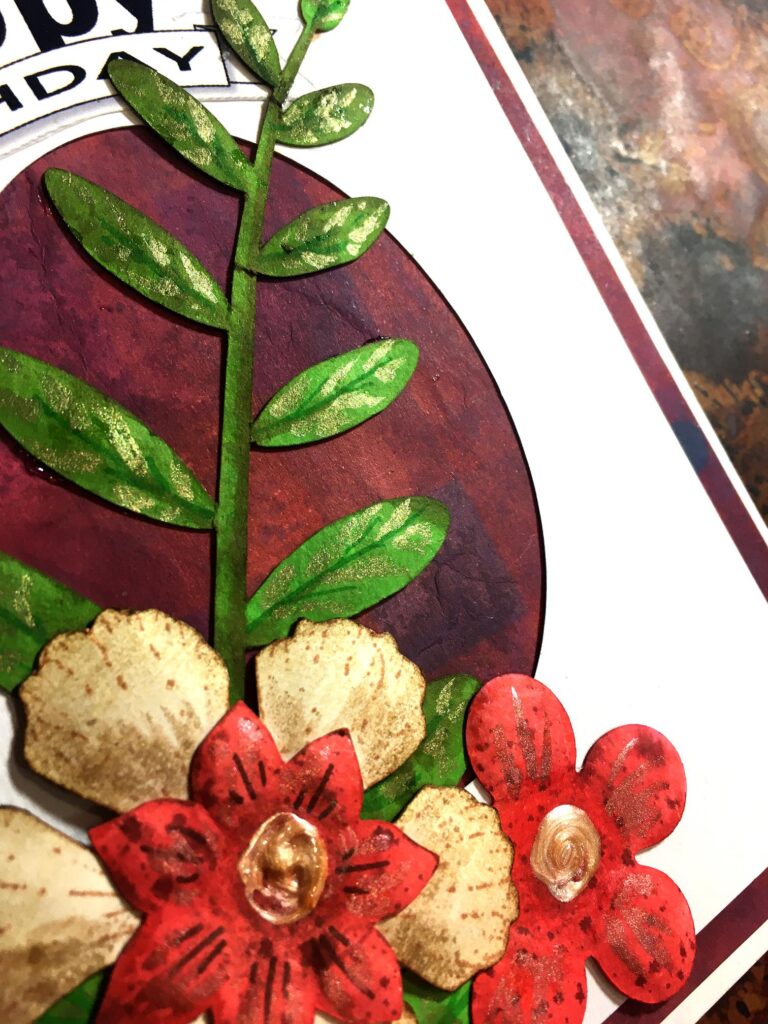
A little shading added with a Tombow marker and the card was complete.
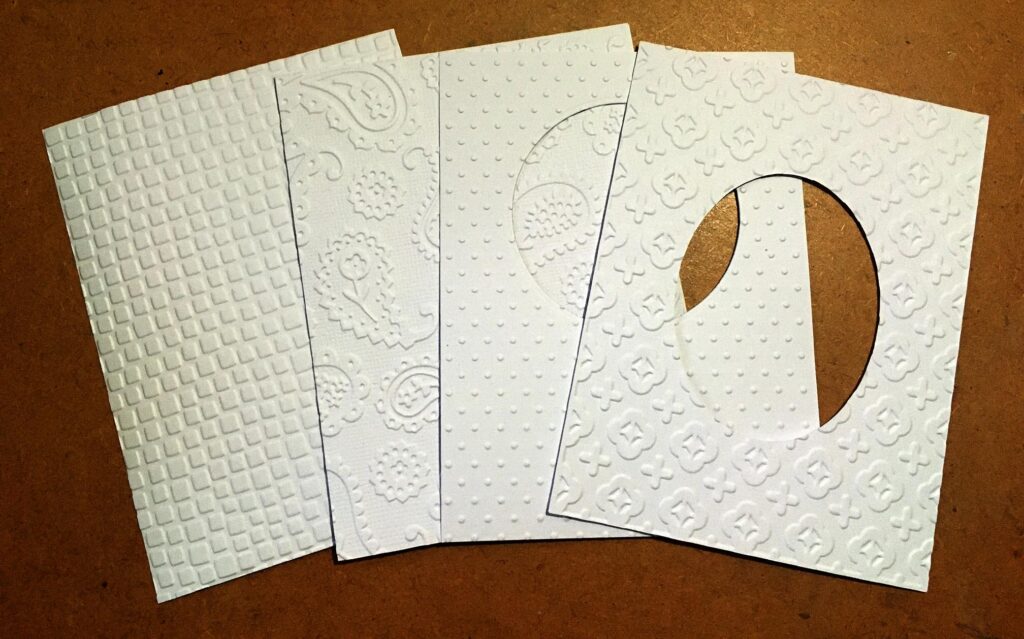
Looking at it afterwards, I thought the plain white background could have been improved with a bit of texture, so I took some of my other mat layers, and embossed them with embossing folders, ready for future use.
Playing with Inks
I’ve been watching Jennifer Mcguire on YouTube and longing to try out a couple of her techniques. Please see this post for details. Neither project was that successful, but having made an attempt, I think I know the reasons why, and they can be rectified. The first was:
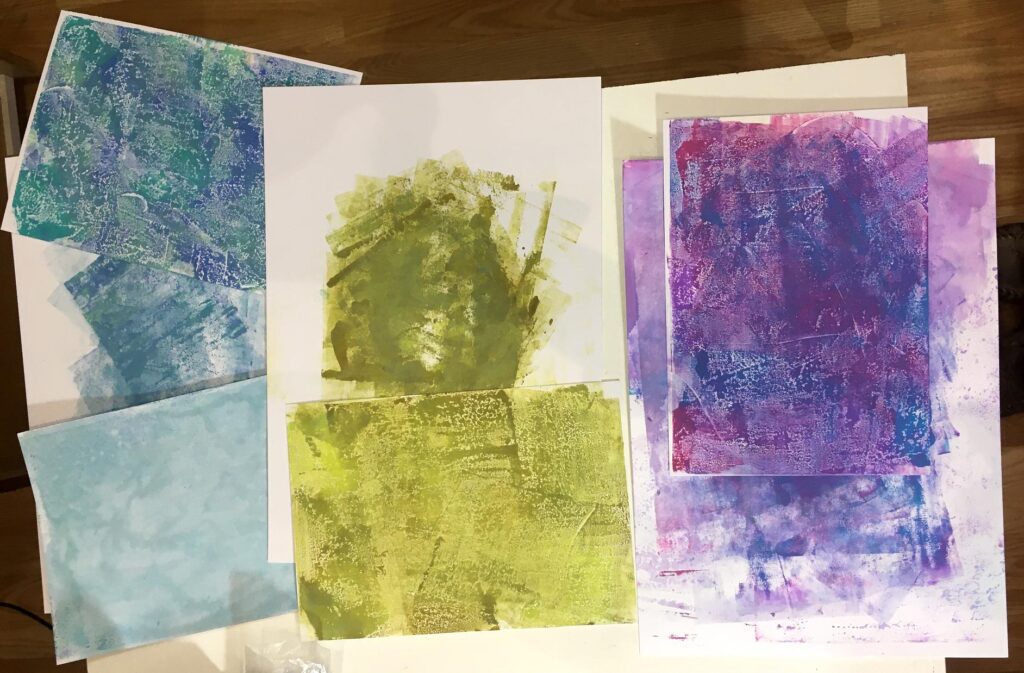
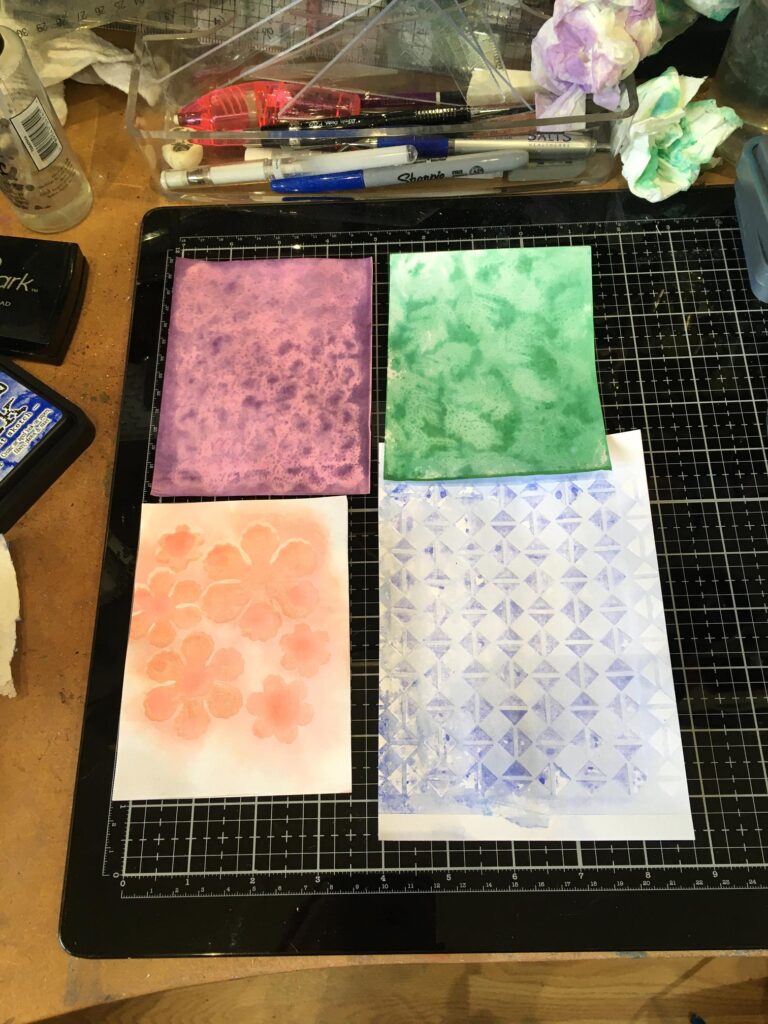
Gel Press with Distress Oxides
The larger sheets underneath in each case are the ones I used to clean off the brayer. Once I’ve built up enough colour on these, they can be used for projects as well. The results were not outstanding but I think I can improve them with layering, and more practice.
The second project was:
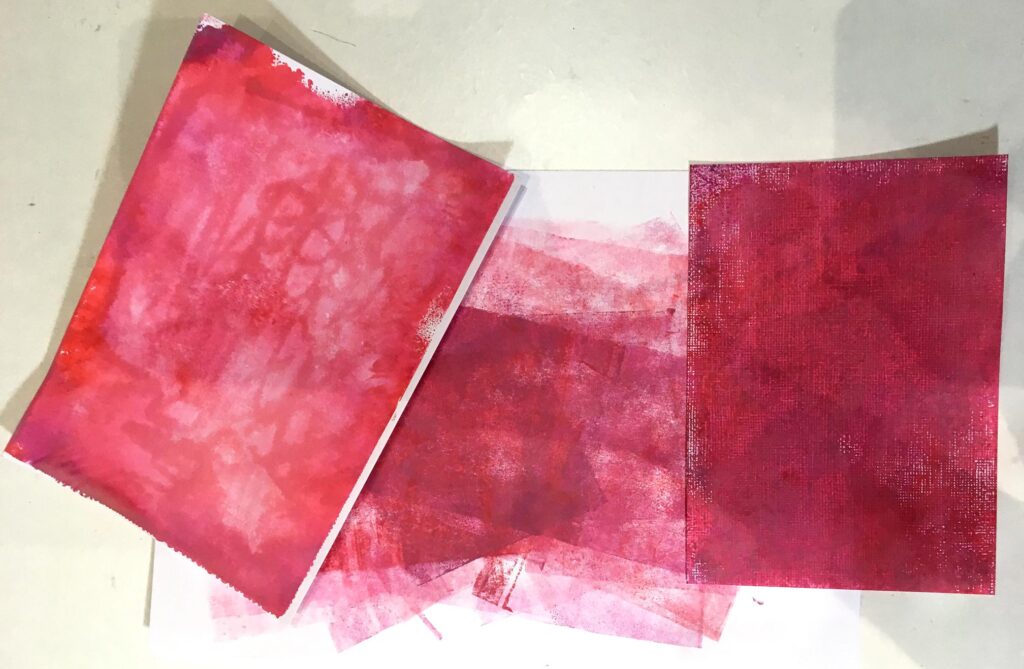
Ink Transfer technique
This is Jennifer’s favourite Distress Ink technique and certainly her results are gorgeous. For me, the inking of the first pieces of card was about the most successful stage!
They can either be stamped, or stencilled.
My first attempt with a stencil, which was the best of my whole production.
![]()
Not great results on some of the others! However, I think I know what to do now, so watch this space for future, better ones.
More butterfly cards
I had a much more productive time the following day – details here.
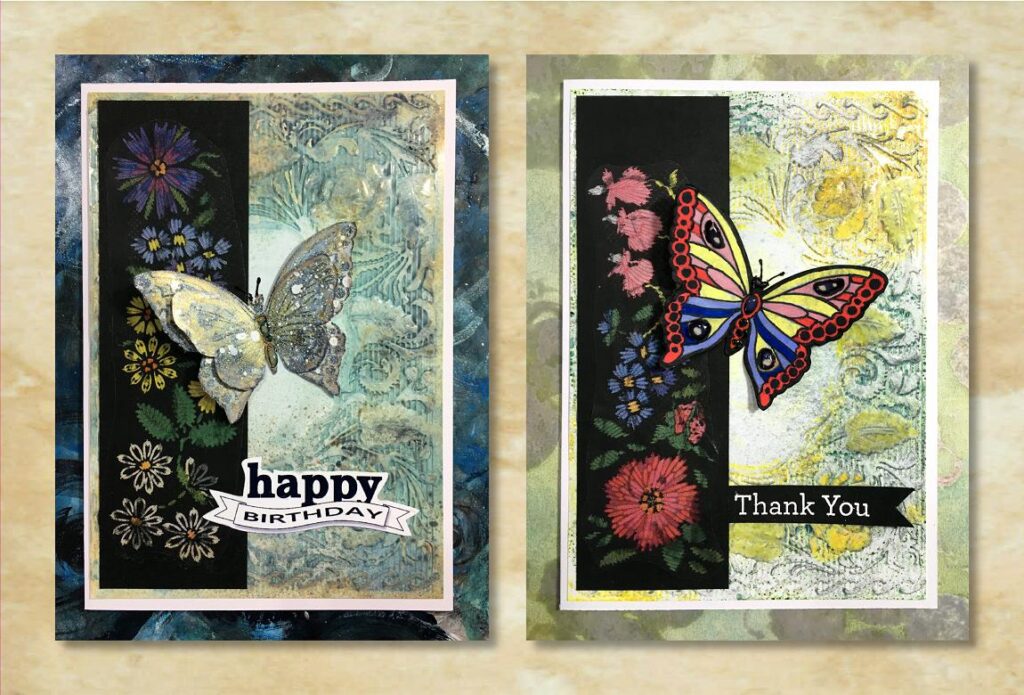
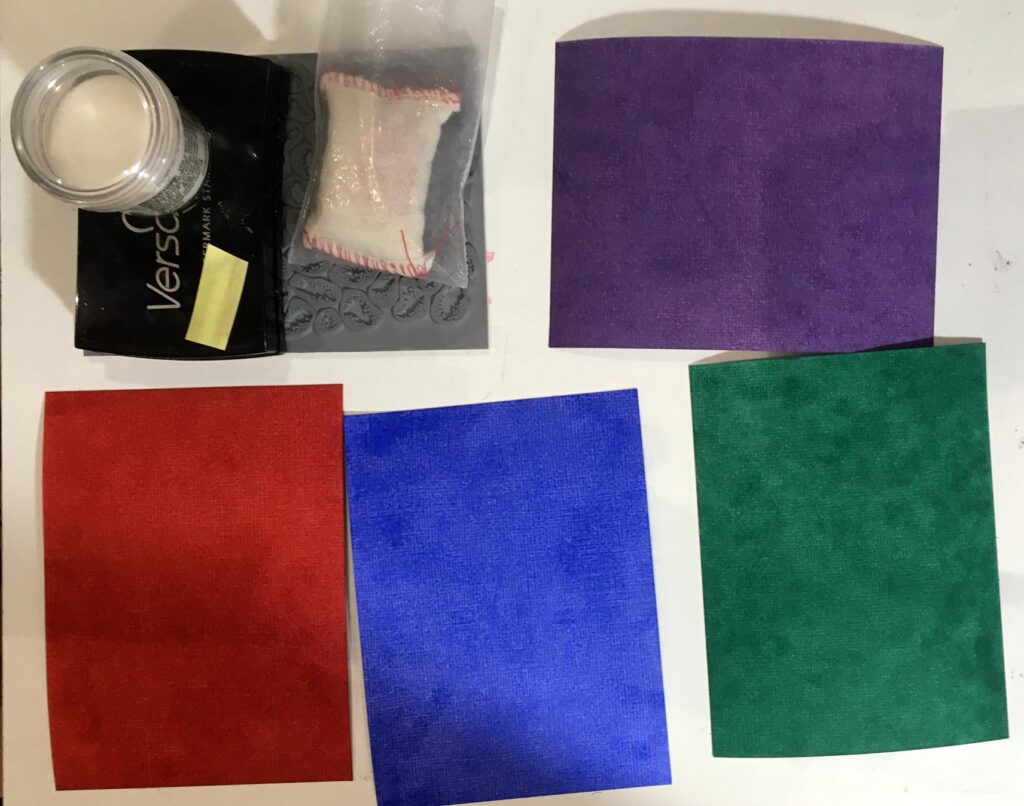
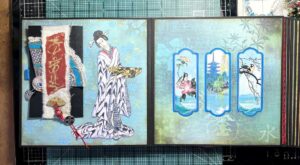
For these cards I used some of my embossed glossy photo paper backgrounds, and also some strips of laminated napkin, a technique I have been keen to try.
This was a spin-off from something elese I was doing – making a sticky mat for my stamping platform. Details of this are on the same post.
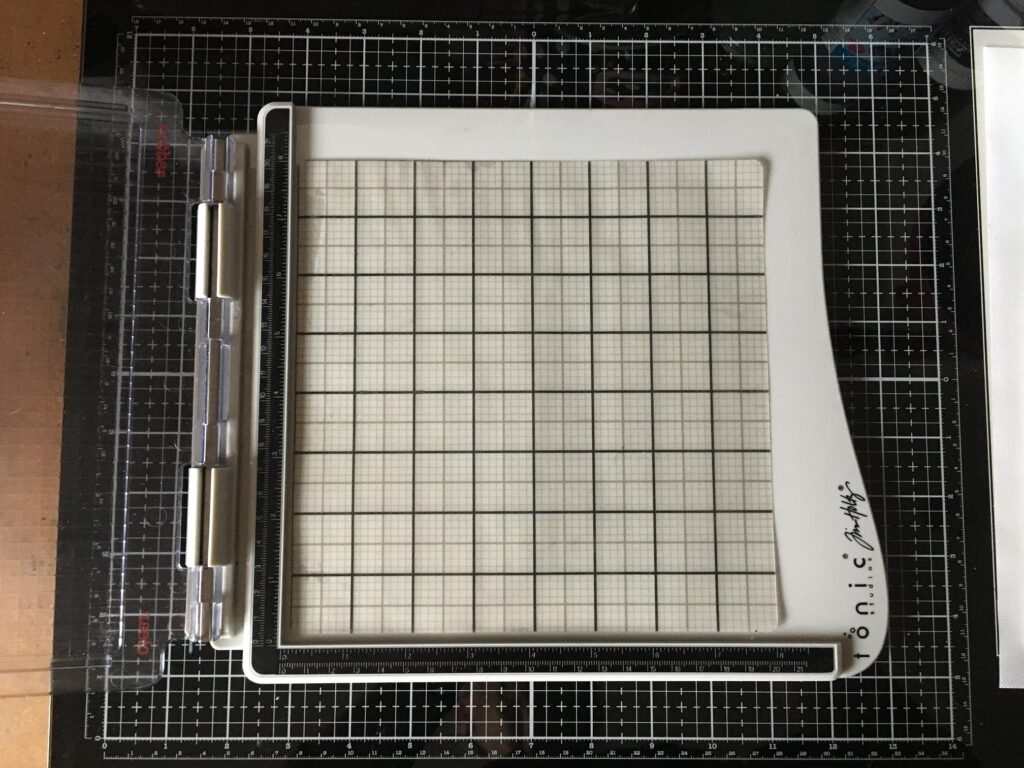
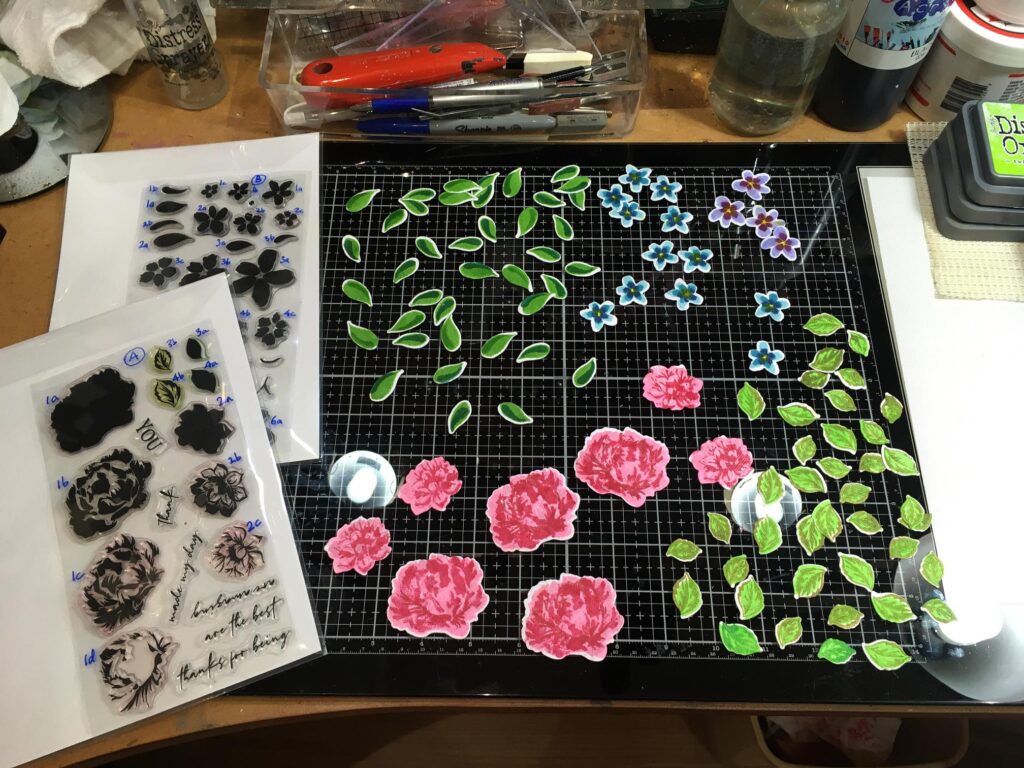
Layered stamping and die cutting
You may remember a while back I got three sets of layering stamps with co-ordinating dies. These were el cheapo Chinese ones and came with no picture or instructions, and I had to spend ages trying to sort out which bits went together, and in what order the stamps should be used. I marked the carrier sheet and the dies with a Sharpie pen once I’d worked it out.
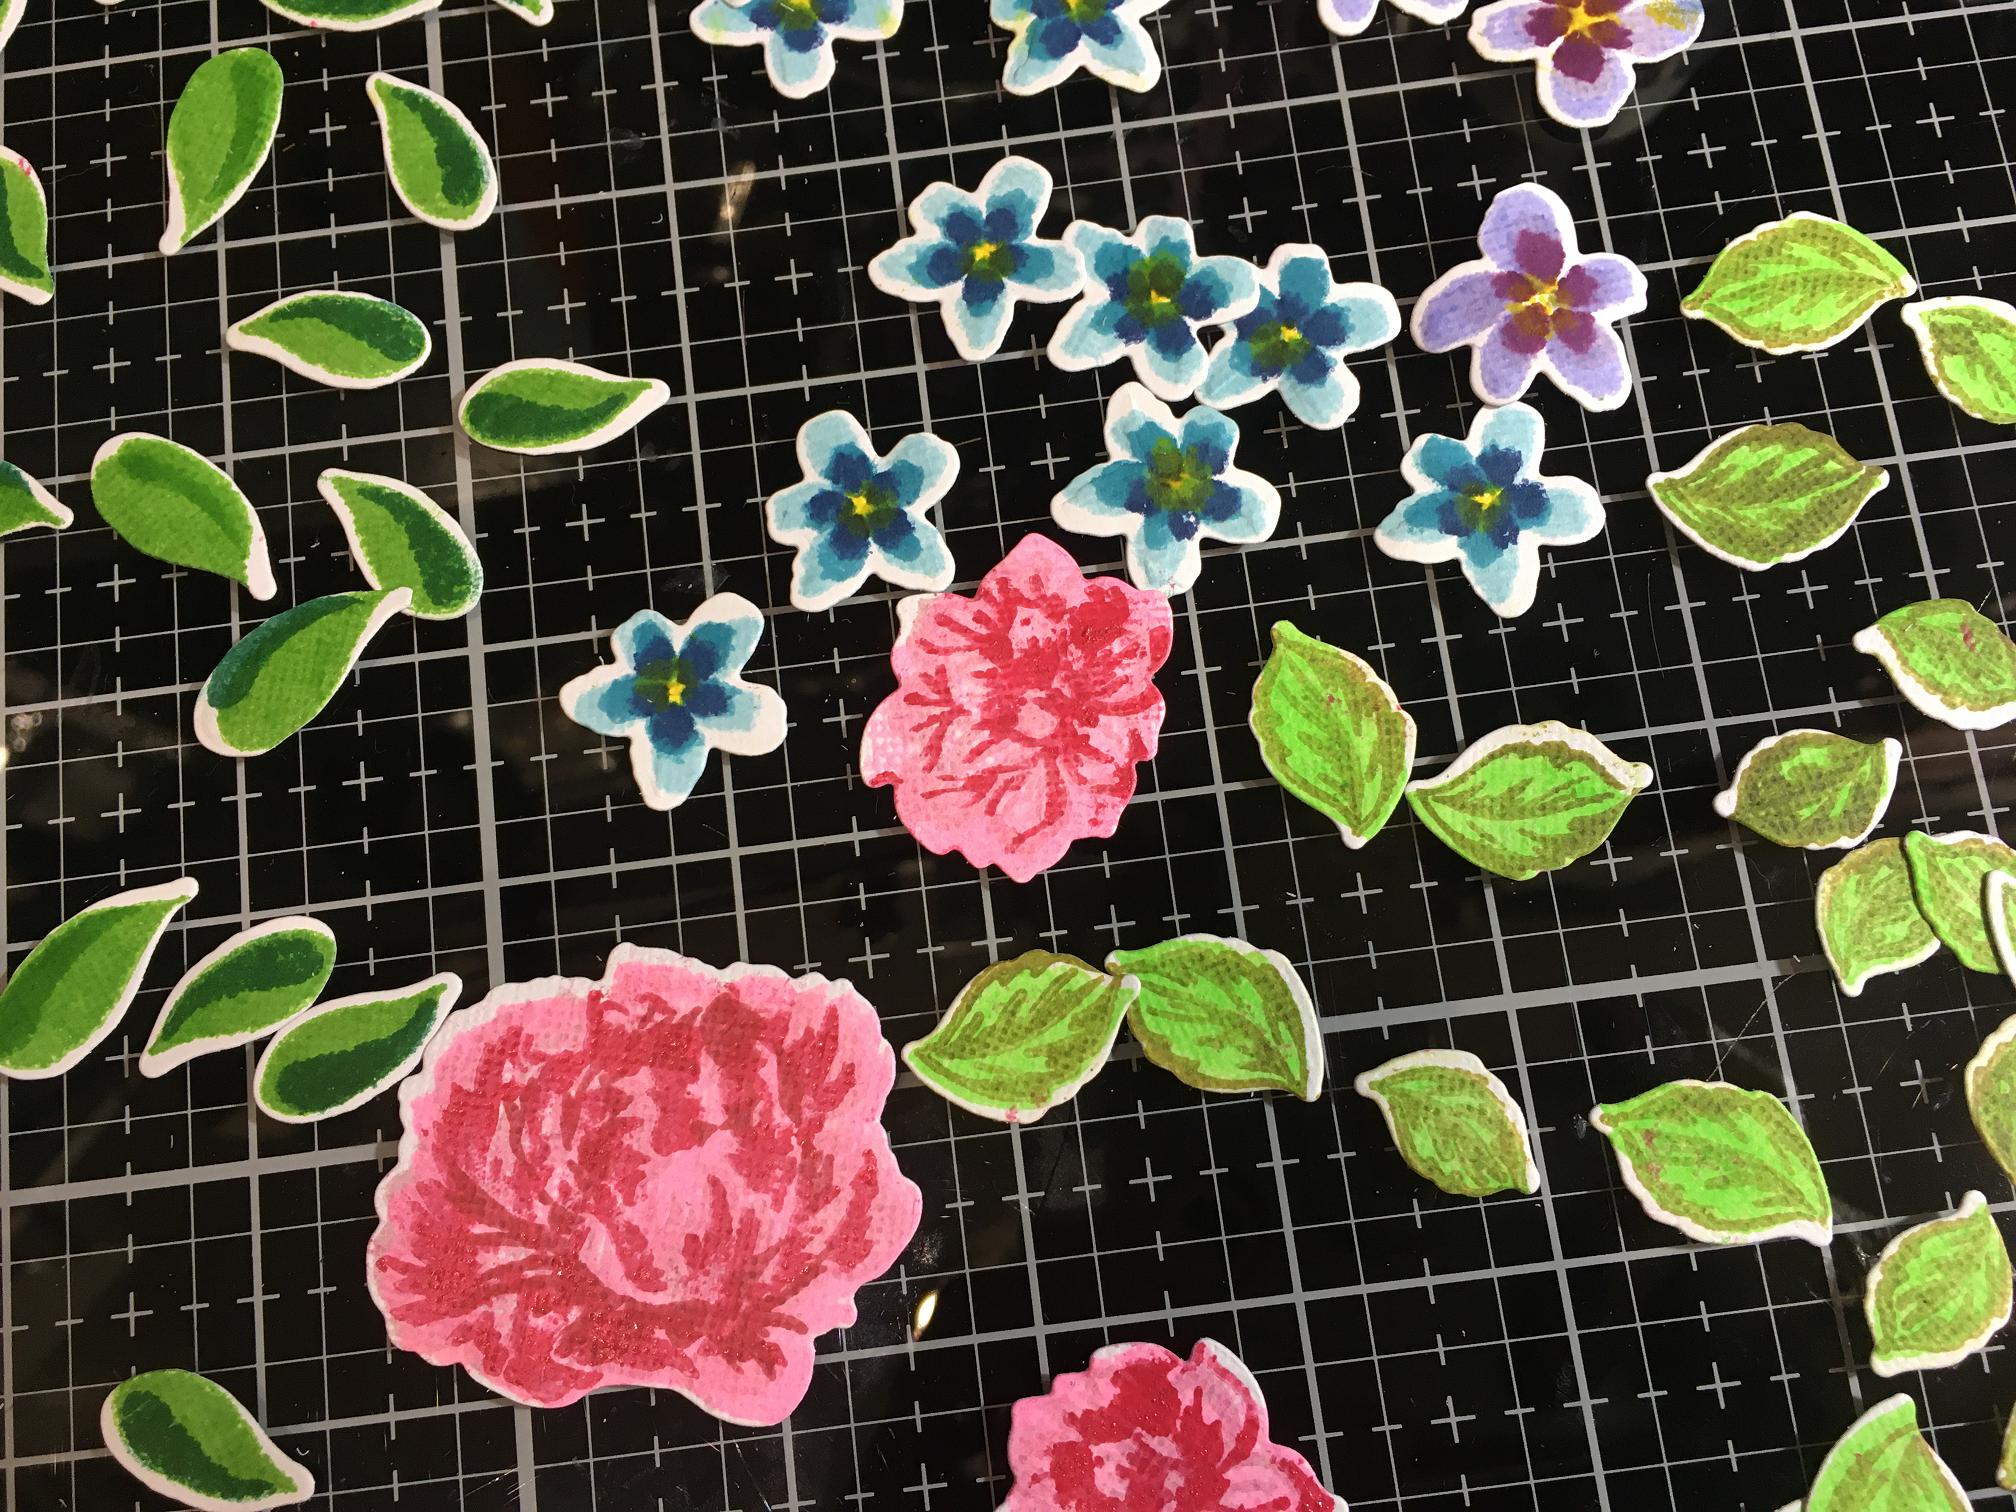
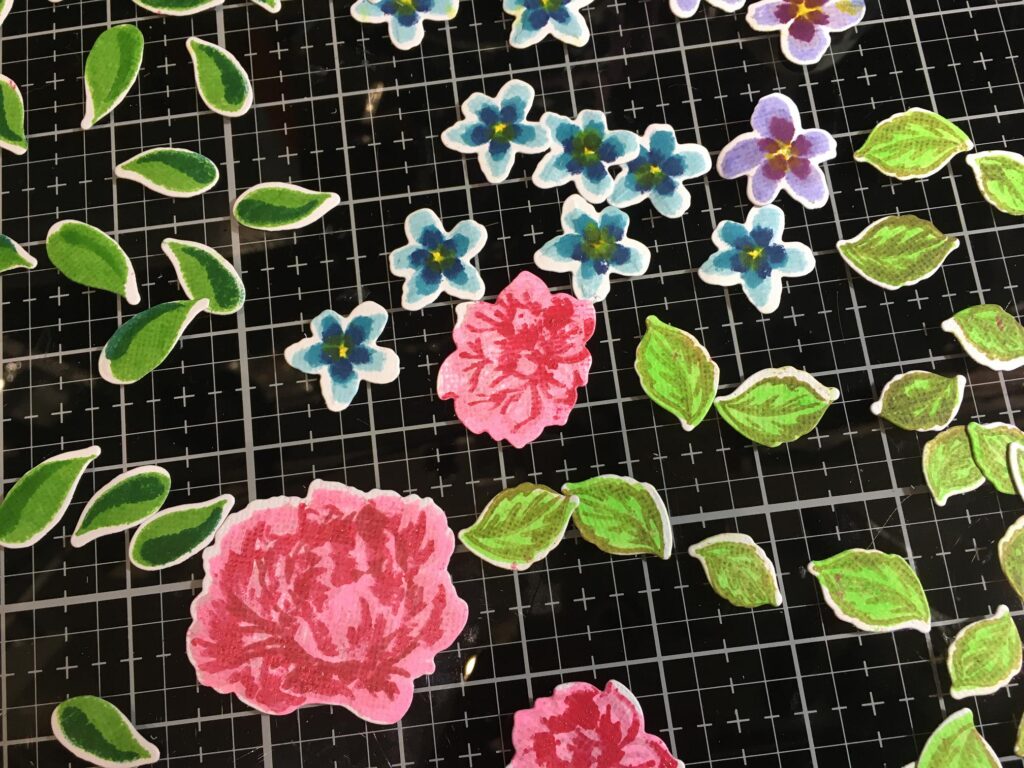
Last night I decided it was time I tried them out. I put an 8 x 8 in piece of cardstock in my stamping platform and started a production line, stamping and rotating, stamping and rotating the card until it was filled. I had a terrible time with Set A because a) it was really hard to tell how to layer up the stamps and b) I resurrected an ancient set of mini pigment ink pads that I bought cheap on Ebay many years ago when I was first starting and didn’t really know what I wanted to do – I have hardly used these because I always felt the colours were far too intense. Some of them worked OK but unfortunately the pad on some of them has deteriorated and started breaking down. I think the time has come to chuck them out – my hubby came in at that point and he said he could use the plastic lids at least, on his model boats! These inks have sat in my stash for years being unused. The ink was really sticky and messy. For Set B (which I didn’t complete as it was getting late), I decided to use Distress Inks instead and this was a lot more satisfactory. Here is the result. Set A are the large pink flowers and leaves with veins, and Set B are the pansy-like ones with the plainer leaves. Still to be done are the larger sized flowers in Set B, and then I shall have a go with Set C.
Jennifer McGuire has a wonderful technique for building up a design with die-cuts and making a production line of it for making lots of cards at once, so I’m going to try this once I’ve cut enough.
When I first stamped the flowers I thought they looked pretty awful, but they are improved by die-cutting. It was hard to line up the dies exactly which is why some of the white borders are a bit uneven, but I don’t thnk it matters – it gives a more hand-done effect! I think Jennifer has a tip about this – using the negative cut out to line them up, but I need to check this out.
It was a fun technique to do, and something quite new for me.
Inkscape
On one of Jennifer’s videos she had a fabulous frame die so I thought I would attempt to draw it. It took me a long time but I’m pleased with the result. I have yet to try cutting it.

The one in question had an image connected to the separate inner ring. I thought the plain one would be more useful, but I can add whatever image I choose at a later stage – it will just be a question of editing the inner frame accordingly. I’ve made it to fit a 5 x 5 in card but of course it can be resized to whatever size I want. I’ve got a gorgeous set of hot foil plates which will foil and emboss a pattern on a range of circles, and I thought they would be fun to try with this, too.
I’m afraid I haven’t had time to cut any of my lattices this week, but watch this space – I’ll get to it eventually.
New stash due to arrive – in duplicate!
On Monday I put in an order to Amazon for some stamps, hot foil plates and various other bits and pieces. When I pressed the “pay now” button I got a page saying something had gone wrong and apologising – the problem was at their end. I reloaded the page and it came back, so I pressed the “pay now” button again. Yesterday I got emails in duplicate from Amazon detailing the progress of my order(s). It appears I’ve ordered everything twice – and paid for it twice, too! I tried contacting them but their stupid bot (is this supposed to be “artificial intelligence”?) wouldn’t give me any options that related to the problem so I tried the phone option. My mobile number came up and I clicked the button for them to phone me but the call was immediately cancelled. I tried several times, same result. I tried entering the land line number, and the phone rang, but there was no-one at the other end. I went back to the mobile and was told the call was connecting. This page remained for a couple of hours and then it said there was a problem with my call which had been cancelled. Why is it these days that you can never talk to a real live person about a real live problem? I think the only thing I can do is to wait for everything to arrive (they are from different sellers) and make a return for each of the duplicates. Huge amount of work and really annoying. If a real person had been dealing with the order and not some Artificial Stupidity bot, they would have realised that I had put the order through twice, and questioned it. But no, slavishly process it twice and slavishly send two identical emails for each item! Most websites have a “contact us” page but there is no longer a nice friendly little box where you can type in your message and get an email reply. It’s just multiple choice suggestions, none of which are relevant. That is NOT “contact us.”
Rant over. For now.
Food
I have been making juice again. Here are the ingredients prepared and ready to make my favourite combination – the core from a pineapple, celery, apple and carrot. This is the only time I enjoy celery!
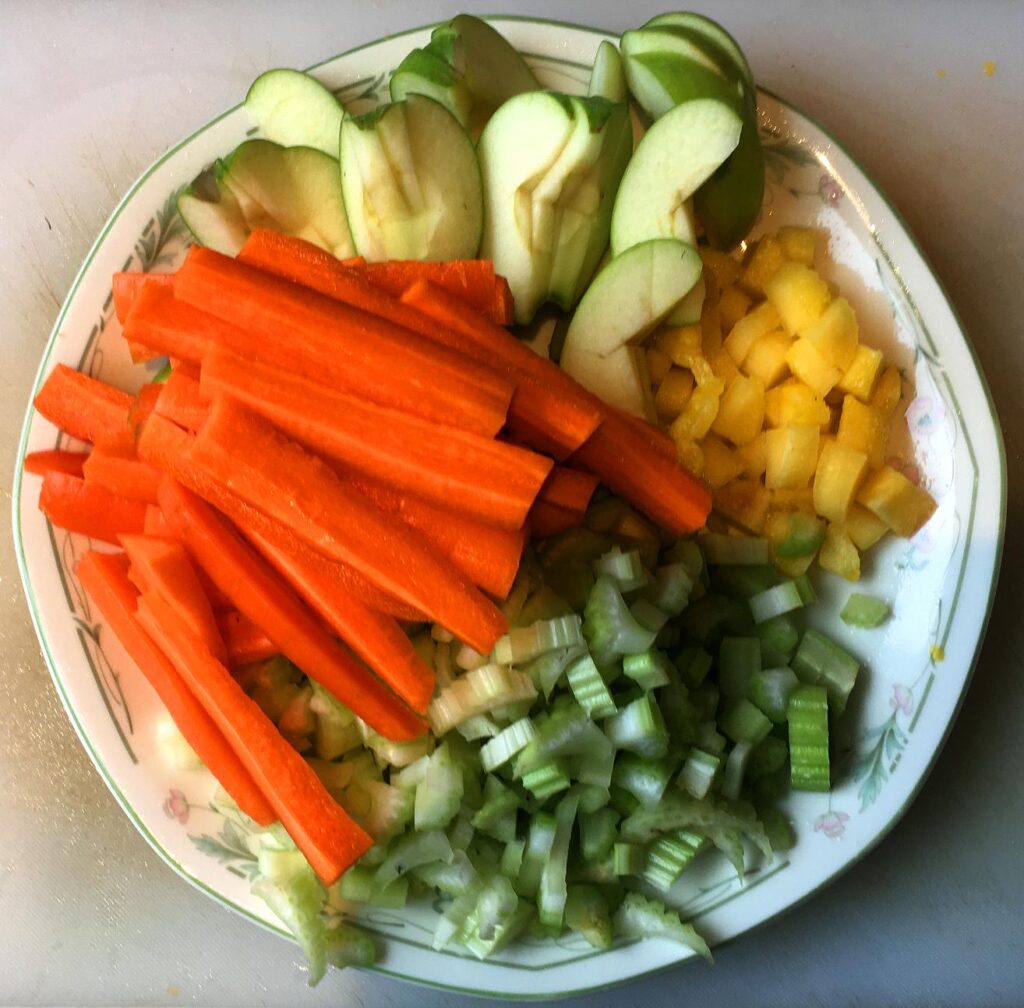
You have to cut up any fibrous foods like celery quite small or it will jam the juicer. However, this doesn’t take long with my fabulous chef’s knife and the knife skills I learnt on YouTube! Alternating the produce as you feed it through the juicer helps, too, especially the carrot which seems to keep things moving!
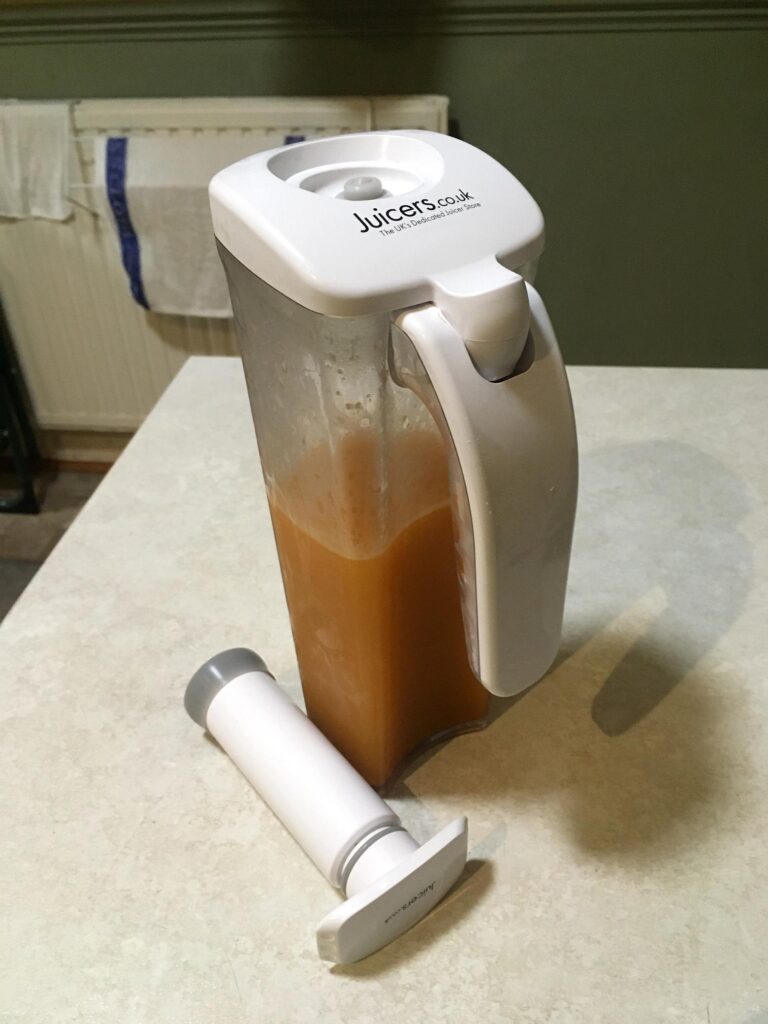
The pulp that remains goes in the freezer with my other scraps and offcuts ready to make stock once the bag is full enough. The fruit adds a little sweetness to the stock which is great. No waste!
The juice goes in the special juice jug that came free with the juicer. It has a valve on the top and you use the vacuum pump to extract as much air as possible, which slows down oxidation and keeps the juice lovely and fresh for several days in the fridge. The jug is narrow enough to fit in the fridge door.
Recipe of the week
Afghan Tofu
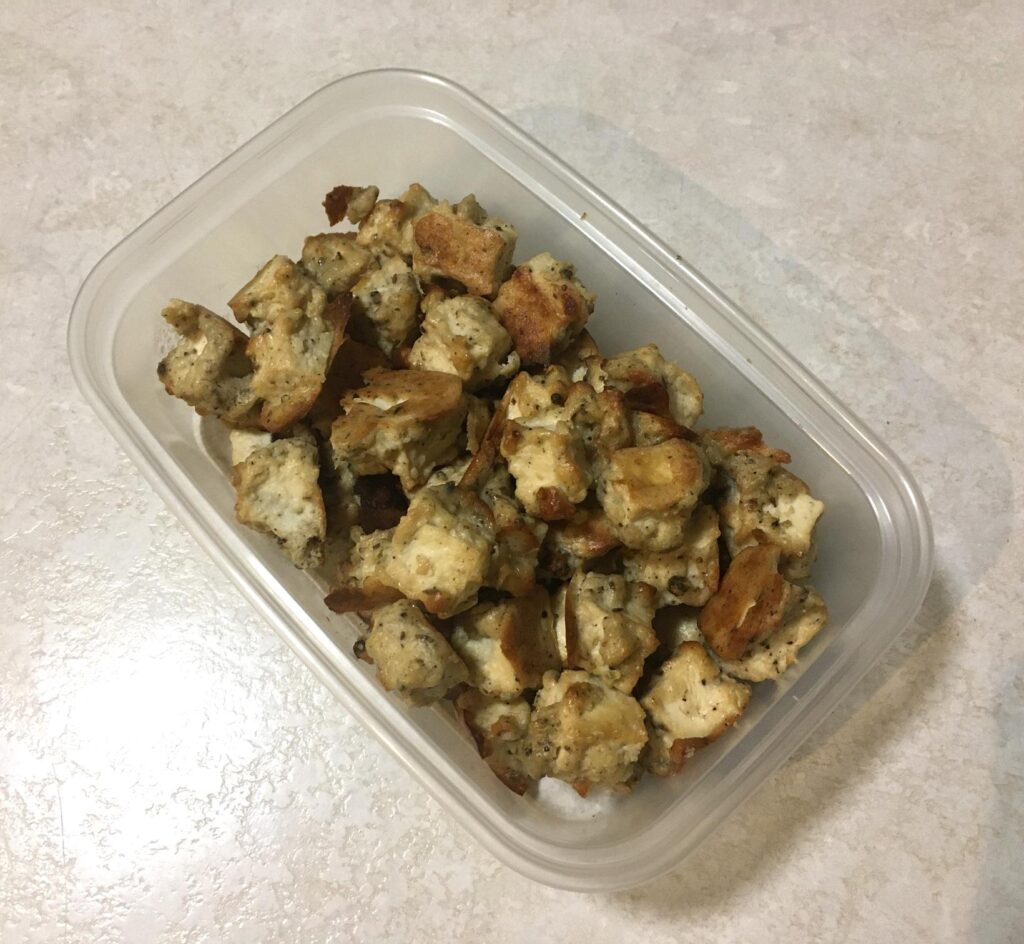
I promised I’d post this. It is my adaptation of the original recipe which has more going on. I just wanted the marinated tofu – I eat half a dozen chunks of this with each meal to help stave off the effects of low oestrogen levels from my hormone blocking treatment. It’s absolutely delicious – really spicy, and the tofu chunks have the firm texture of chicken. It makes a lovely healthy snack.
1 block of tofu, cubed – I cut the block right through horizontally first, and then chop into chunks. Before this, it needs to be wrapped in a cloth and pressed for at least half an hour to get the excess liquid out. You can see how I do this here. I no longer make the tofu from scratch (far too much faff) but I use the same pressing method with a block of purchased tofu, which isn’t expensive, and widely available in supermarkets.
Dry ingredients
1 tsp cumin seed
4-5 whole green cardamom pods
1 tsp whole black peppercorn
1/2 cup cashews
Wet ingredients
1/2 cup soya yoghurt
2 cloves garlic, peeled
1 small piece fresh root ginger, roughly chopped
2 tabs lemon juice
1/2 tsp salt
Directions
1. Toast the cumin seed and cardamom pods on med-high heat until they are a shade darker and fragrant. (I have now toasted a whole spice jar of cumin seeds to save time, and no longer bother to toast the cardamom pods as I don’t think it makes any difference.)
2. Transfer them to Vitamix small bowl [or spice grinder], and add the peppercorn and cashews. Pulverize until you have a powder, then place in medium-sized mixing bowl. If using the Vitamix, don’t over-process or the cashews will turn into nut butter! I tend to grind the spices first, and then do the nuts separately, using the pulse function.
3. Put the yoghurt in the Vitamix small bowl [or food processor or blender] with the garlic, ginger, lemon juice and salt. Blend until smooth.
4. Add to the bowl of dry ingredients and mix well, using a balloon whisk to break up any lumps.
5. Toss the cubed tofu in the marinade to coat it well. I do this with my hands, gently separating the chunks and making sure they are all coated and not sticking together. Marinate for 30 minutes, or up to overnight in the fridge, or you can cook it immediately.
6. Preheat oven to 200 deg C.
7. Spread out the tofu cubes on a lined baking sheet and bake for 30 minutes.
Note
Make a small pancake from the excess marinade!
After cooking the tofu, spread the excess marinade into a flat disc on the baking sheet and return to the oven for a few mins. Turn the oven off, turn the disc and return it to the oven for a further few mins till it is cooked through. It’s delicious – too good to waste! If you cook it for a bit longer, it turns into a biscuit!
Kitties
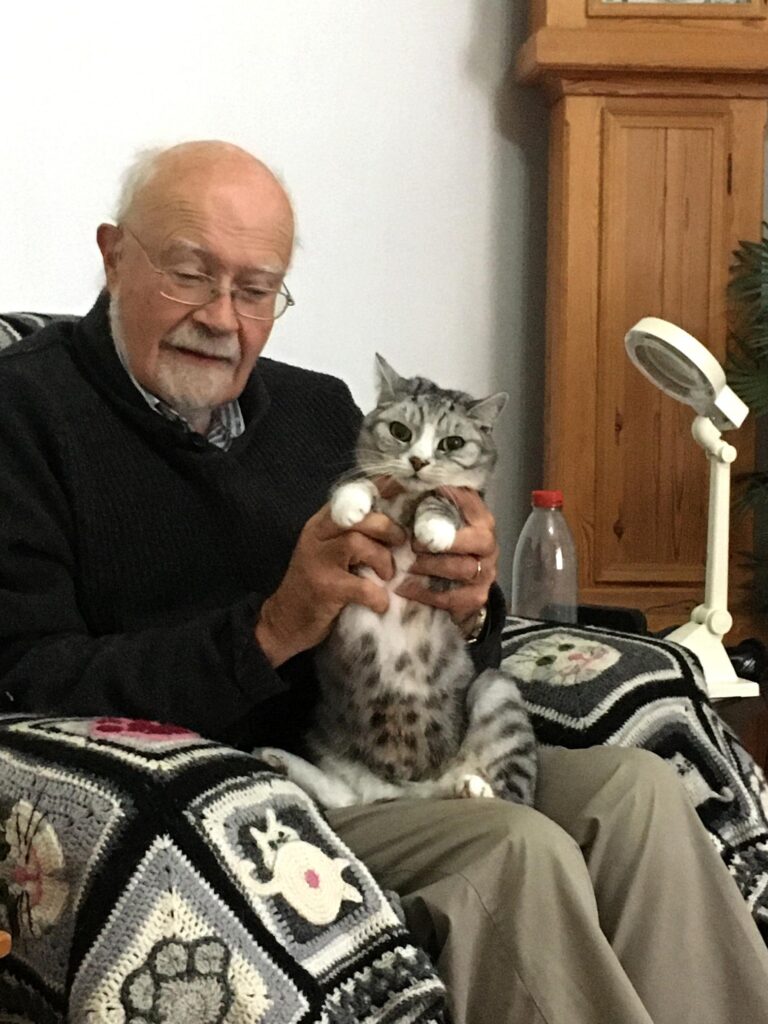
Ruby having her tummy displayed. She doesn’t show it very often, unlike her shamless hussy of a sister.
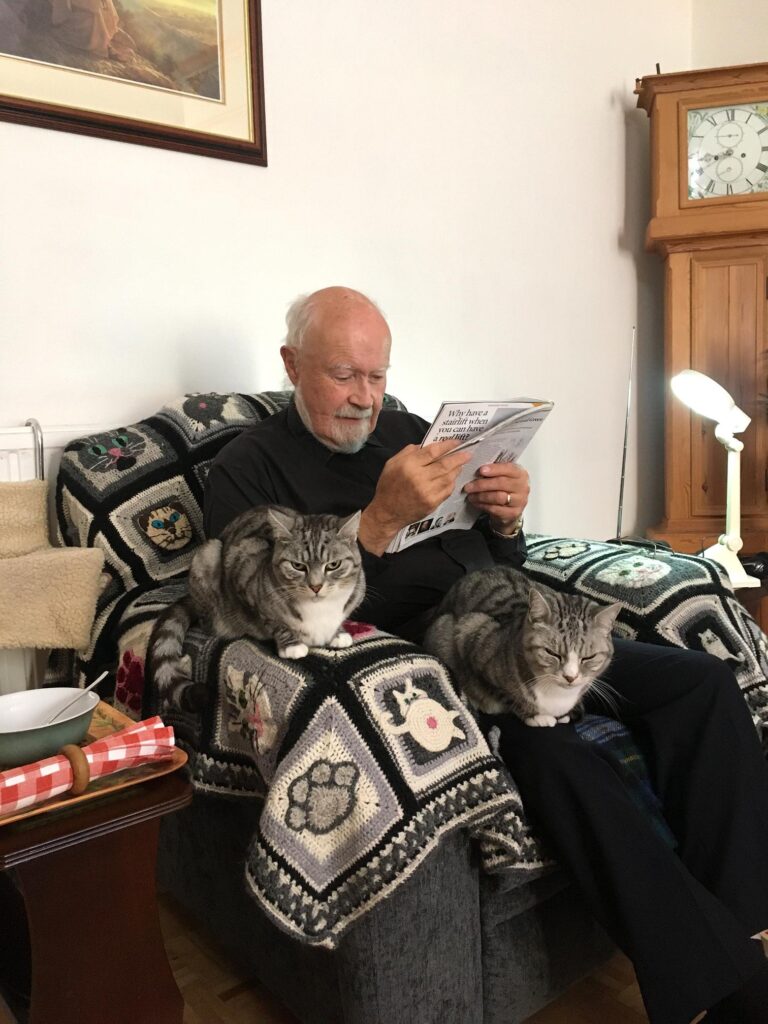
Enjoying a quiet moment with my hubby reading his magazine. We all continue to enjoy the kitty throw – the majority of the family sitting on it, and yours truly looking at the others sitting on it.
Health update
On Friday I noticed a distinct improvement in the condition of the skin under my breast. It was still red and sore but for most of the day I was unaware of it as the itching had more or less subsided. Over the next few days I’ve noticed the redness diminishing somewhat. It’s definitely on the mend now, which is a relief. I think the colour of the whole breast has altered a little – I was warned it might turn darker and it has a slightly grey tinge to it compared with the other one! Anyway, the skin is now very much better and I’m hardly aware of it. I am continuing to moisturise it well.
I am relieved all round, that the only skin problem was in that one relatively small area. The general tenderness I experienced seems to have cleared up too. I think I’ve got off very lightly with the after-effects of the radiotherapy.
I have also noticed no difference in my normal fatigue levels. In fact, over the past few days I seem to have had more energy than usual, and as you can see, I have been spending time fruitfully in the studio as well as doing my usual necessary tasks. All in all, it’s been a pretty good week.
First to address your comment from last week – it will shock no-one to hear I am using a Mac from 2009 and running El Capitan. I can’t bear to lose my Intaglio nor my old original SCAL running with my 1st gen Cricut 🙂 Like I say, Queen of Old Tech, me. Love the JM nk play – she is super inspiring, isn’t she? And a hint for the grid/graph paper. Incompetech.com has loads of downoadable papers (grid, graph, dot, etc) and some tools to specify the spacing, etc. Might be useful for the next time you want to do this 🙂 Queen of Lazy too, me 😀
Hi there, Your Majesty, Queen of the Empire of Old Tech!! I’m a bit like that with some of my old clothes, so old I can’t actually remember when or where I bought them, and can’t bear to part with them! I kept a lot when I went through my fat years and everybody said, “Get real, get rid of them, you’ll never fit into them again,” but I did! New lease of life. I think we are creatures of habit and don’t like change! These days every time they change anything, it seems to be a change for the worse, and also change for change’s sake, so I am sure you are wise to stick to your old favourites. Thanks for the heads up on the Competech site – I may folow that up, but I’ve got what I need for now on the other site. I don’t think you are Queen of Lazy – your work is very prolific and doesn’t shout laziness to me!
Happy WOYWW,
Shoshi #13
My goodness, your energy levels are back with a vengeance – you have been busy and such a lot of loveliness to show for it. Yes Jennifer is one to go to if one wishes to know how to do something, she has lots to watch and inform. I’ve not done any Altenew flowers for ages which is a shame as I bought the three sets of coloured ink in about three shades. About time I got them out again and used them. I find it fun doing them and love how they go from light to dark.
Lovely butterfly cards Shoshi. Those backgrounds are a delight.
Look at Ruby showing her sleek tummy, love seeing them both and the next photo was lovely with them looking so settled on hubbies knee/chair. Good to see the lovely blanket you made too.
Glad you are feeling better with the skin problem you had, keep on moisturising.
Don’t get me started on trying to resolve a problem on the phone. It’s a complete nightmare isn’t it. So frustrating, especially if you are number ten and when you finally get there you still don’t get a human.
Sometimes we don’t need progress.
Hugs, Neet 9 xx
I really enjoyed seeing the cards you’ve made this week, the autumnal colours of the first are gorgeous and so are the butterflies and other flowers too. Really beautiful work. I use an ancient version of Corel an awful lot to create sentiments, cards, leaflets, posters….I’ll be very sad if it ever stops working!
HUgs LLJ 6 xxx
You have been busy !~ Enjoyed all your photos Hoping to try your Tofu, I’ve always liked it with tasty things but now it’s hard to find. The world we live in !!!!!!!! No doubt on a ship that can’t be unload because no one wants to work. Have a good week, stay healthy, enjoy a Happy WOYWW kind of day.
Hi Shoshi! I am so happy to hear that things are clearing up and that you are feeling better, and have more energy! Wonderful! You certainly are showing it in all your experiments and card making! I love the butterfly cards, so beautiful! The tofu sounds delicious, though it seems a lot of work to me! Nice to see the kitties sitting with hubby, what a contented family. Have a great week, hope things continue to go well, Lindart #23
SO glad to hear that the redness has disapated SHoshi and that you are feeling less tired. Good to see that all that prep work has paid off with speeding up card making and allowing you to play and have fun with different ideas. Meow to the kitties. Stay safe and happy WOYWW. Sarah #3
Glad to see you’ve been busy crafting! I love the birthday banners, they will be really useful and a great idea to have lots ready. Really pleased to hear you’re feeling better too and the redness and soreness is reducing. Have a good week Helen #2
Hi Shoshi, I’m well behind this week just been busy with family stuff but like to try and get round everyone if I can. Loving the techniques you’ve been using and the card too. Always nice to see the kitties too. Have a lovely belated woyww, Angela x16x
I am very glad you have had a good week, looks like it was a busy week too. Love the butterfly cards. I have not done much with inks – on my to do list of course. Glad the soreness is going away and your energy levels are getting better. Have a great weekend Angela #8
Happy Belated WOYWW. I will come back and comment again once I have read through the whole post, but just wanted to say that you can easily cancel any Amazon order (even after it has been dispatched in some cases – worth a try anyway to save you having to return items). Just go into the Orders section on your account and click on the items you want to cancel. That is one thing I love about Amazon; it is so easy to sort out orders/returns etc. This may well have come too late for you this time, but worth remembering for the future. Ali x #4
Gosh it’s great to see that you’ve had time in the studio this week, and with a chance to just enjoy some doing instead of having to do something! Lovely stuff, I like the inked and stencilled piece, bet you’re planning to get back to those.
A very belated happy WOYWW. This week has flown by! Spending a lot of time with my daughter as she is not well. You have been very productive with your crafting. Hug the kitties for me. Angela #8
You have been a busy bee. I admire your ability to create those banner sentiments. Thanks for showing hubby & the kitties. Always good to see them. Sorry about the Amazon order. and these things are supposed to make our life more simple. There are days I feel like Ma & Pa Kettle and the new house LOL Sometimes, things don’t need improved on… just people who actually want to do their job! LOL Hugs Kelly #22 (?)
yes…I got muddled! this one is last week and the other one is now! I should be in bed sound asleep, so my head’s a bit foggy! You have been really busy, I usually do my sentiments on the laptop…put them in Word and move them about. It’s suprising, in all the stamps I have I only have two anniversary stamps and they are both rubbish! Great photos as always. Happy WOYwtW… I think I was #25