COLLAGE FRAGMENTS, RECYCLED PAPERS, AND A QUIETLY PERFECT CHRISTMAS DAY
A few days prior to Christmas and a couple of days subsequently, I have found time to be in the studio. Much of the time was spent organising things and trying to tidy up a bit (an ongoing struggle!) but I have did achieved some finished results on the creative front.
Recycled greetings cards and other papers
Before Christmas, I pulled out a box of old Christmas cards and other greetings cards and finally got around to sorting through them and deciding what was worth keeping, and what was worth cutting up for elements.
Bonnie Books
Back in 2014 I made an album about Dad for our niece, his only granddaughter. I made it entirely from recycled materials and a few bits and pieces from my stash. I suppose you could have called it a “junk journal” (at the time I’d never heard the expression) but I really hate this term – it seems to denigrate what is, after all, a piece of art, and the result of imagination and creativity. I love how Natasha calls hers “Treasure Books” (also the name of her YouTube channel), although she always refers to them as junk journals in her wonderful tutorials. Not wanting to purloin her gorgeous title, I have to think of another name which I can use in preference to “junk journal” (also, I am not into journalling but I do love making books). For the moment I have settled on “Bonnie Books” as a nod to my Scottish ancestry, meaning attractive, pretty or good (originally derived from the French bon/bonne, meaning “good”).
I am also not a fan of the somewhat untidy look of most junk journals – I know this is what they are supposed to look like, so that you can see the random “junk” pieces in fairly raw form. I prefer my books to have a more uniform and finished look. In the album about Dad, I trimmed the old Christmas cards down to size, so that each signature consisted of the largest one on the outside, and the smallest in the centre, and I added borders to each layer so that they were visible behind the smaller pages. If this doesn’t make sense, take a look at the pictures on the link above. All the pages were painted black so it was not evident what they were made of.
Sorting the large cards
From my more recent stash of old greetings cards, I selected the largest ones – they were mostly square, but I will be able to cut the few rectangular ones down to squares as required.
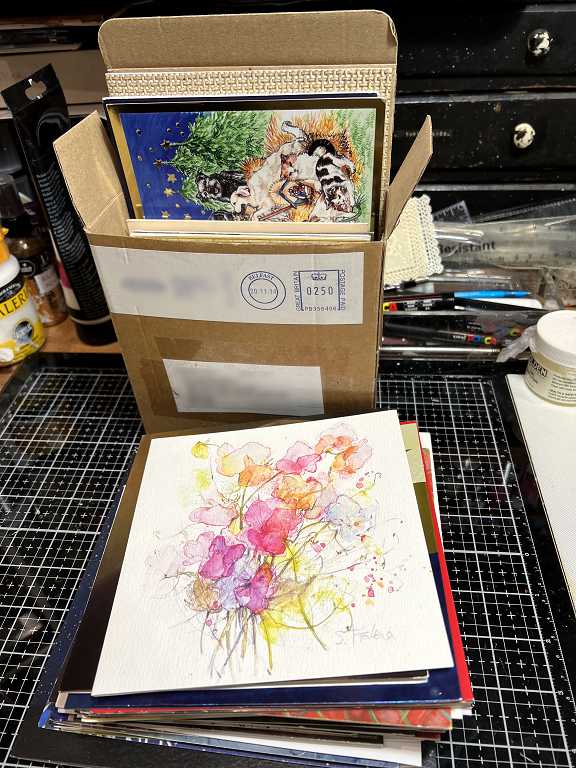
They are now all sorted into three main sizes from large to small, the largest ones being too wide to fit in the little box which contains the medium and small sized ones. They will all be trimmed down to several exact sizes eventually, and formed into signatures for books.
The smaller cards
I went through all of these and set aside the ones that had nice pictures that I could use, and another pile with elements that could be cut out and re-used, with some sentiments as well. Some of them had Christmas designs in the centre, but around the edge there was perhaps a circle or background of metallic sparkles, snowflakes or stars, so I set these aside to be cut up and the centres discarded. There were quite a few which had very nice frames, so I removed the centres for these.
There were several cards which consisted of a grid design of small pictures separated by white frames, so I cut the pictures out with a Stanley knife and metal ruler – some of the little pictures will be useable as collage elements – and the frames can be used either as-is, or painted, and repurposed. I die-cut some of them using my circle dies – for instance the floral one that you can see in the centre of this photo.
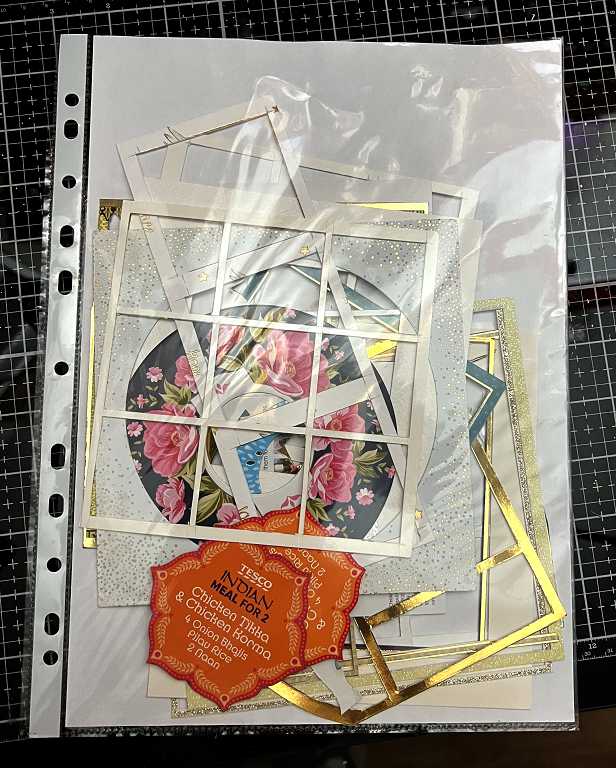
The orange shapes at the bottom of the picture were cut from some packaging I saved years ago when we used to buy complete Indian meals from the supermarket.
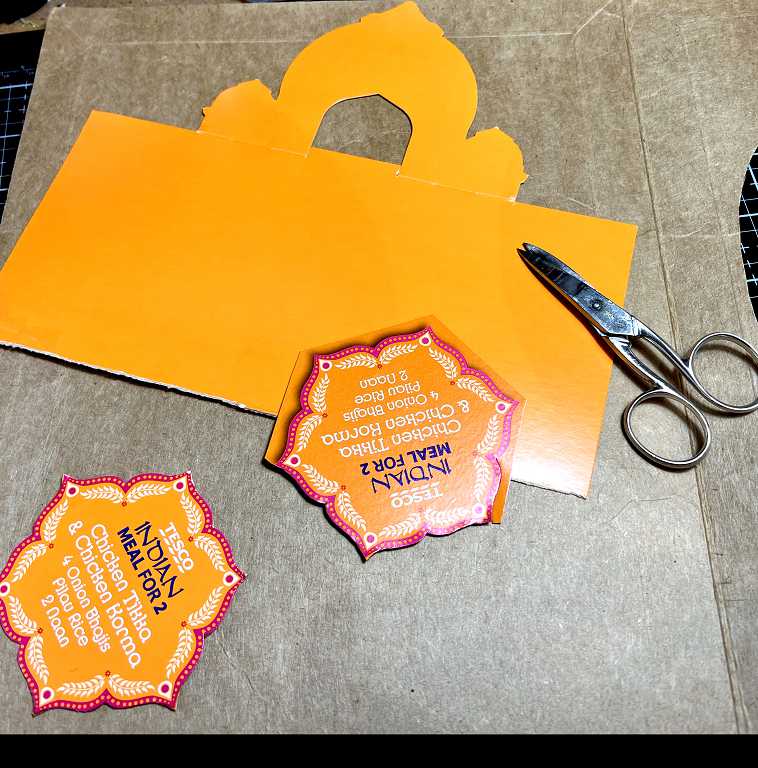
The handles on the boxes were such a lovely shape that I couldn’t bear to throw them away! I haven’t cut the centres out of the hexagonal motifs because I can easily cover them with something else.
I have been very tired since Christmas so it has been nice to relax on the recliner and do lots of fussy cutting! We had some nice wrapping paper and I’ve been cutting out the little motifs from this, as well as cutting the shapes from the old cards. Once we’ve gone through all the cards we’ve received this year, I can make a start on those as well.
Sorting the cut-outs
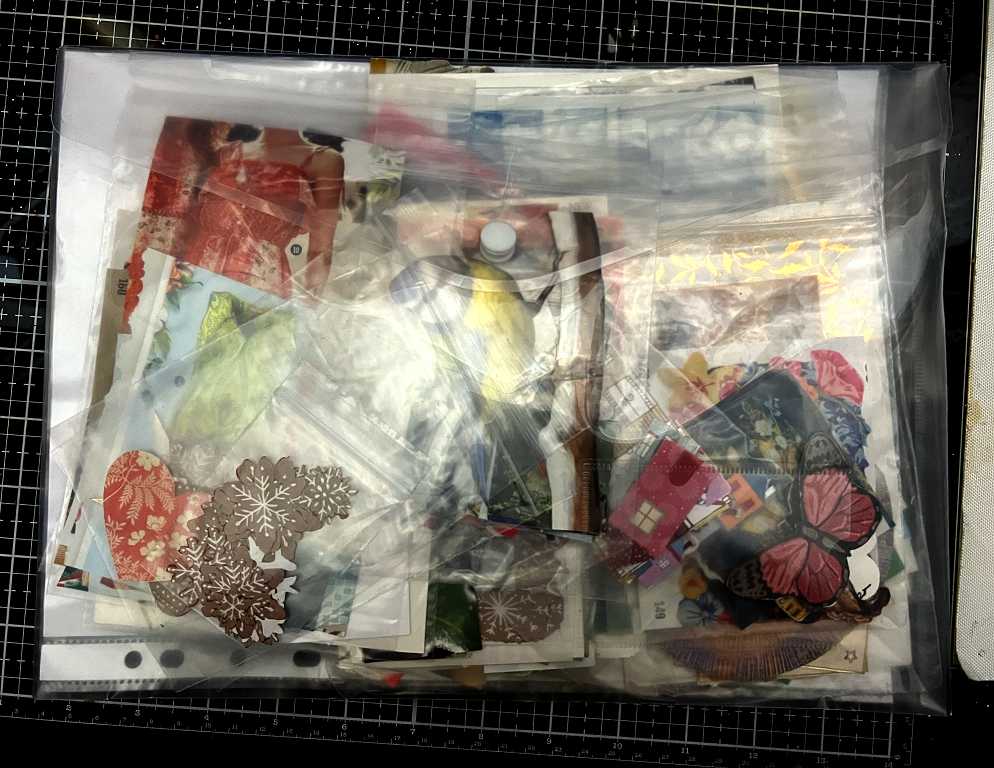
I have sorted all the cut-out pieces into categories and put them in clear plastic baggies which will make them easier to access, now that I am getting so many.
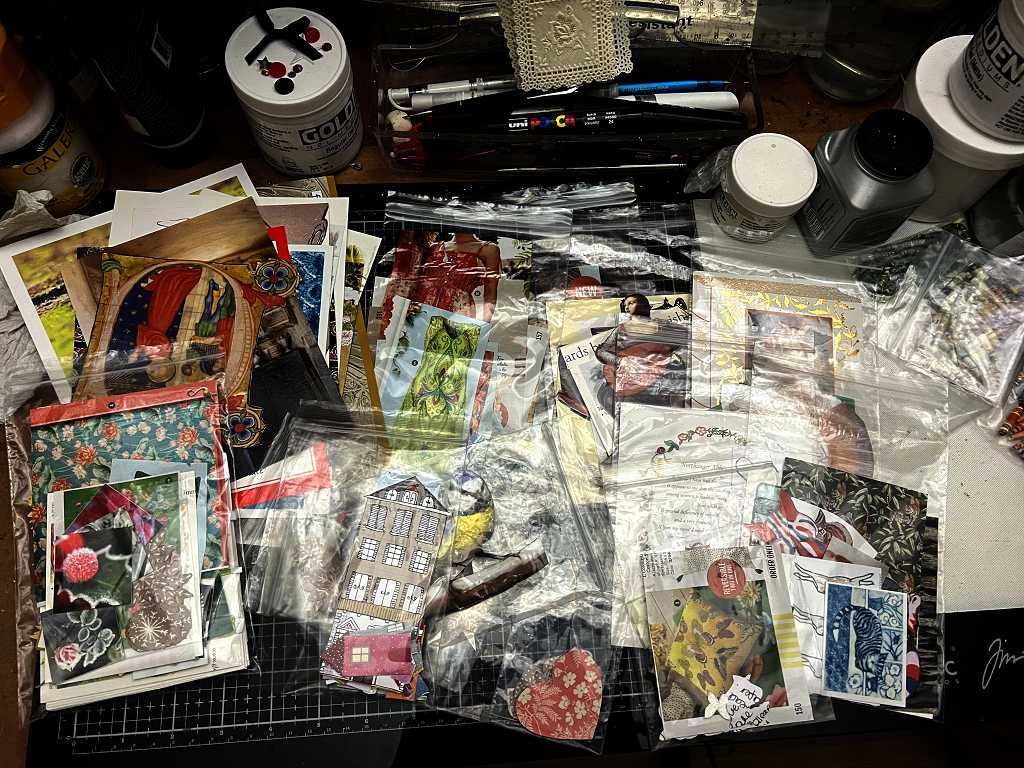
The pictures at top left are too big to fit in a baggie so they will remain separate. I have chosen categories such as birds,butterflies, flowers, houses, hearts, animals, miscellaneous shapes, patterns, borders, complete pictures, etc.
Here they are, all stowed away in a polywallet ready for use.
Collage fragments
Following an idea by Natasha of Treasure Books, I made some collage fragments, beginning before Christmas, and putting the almost complete pieces under some heavy books to flatten them, until I was ready to complete them after Christmas.
You may remember a while back that I made some freehand flowers from book pages that I watercoloured and outlined with a posca pen.

The collage fragments measure approximately 6 3/4 x 4 3/4 inches, and their bases are cut from Amazon packaging cardboard – those flat envelope-like packages they send small items in. This stuff is brilliant, being quite strong cardboard, and not corrugated.
This is one in the planning stage, using some of my flowers, a torn piece of book page, some crumpled tissue paper and a scrap of tissue with gold paint on it, in layers.

Here are the six fragments with the main elements in place – the one at top right still not glued down.
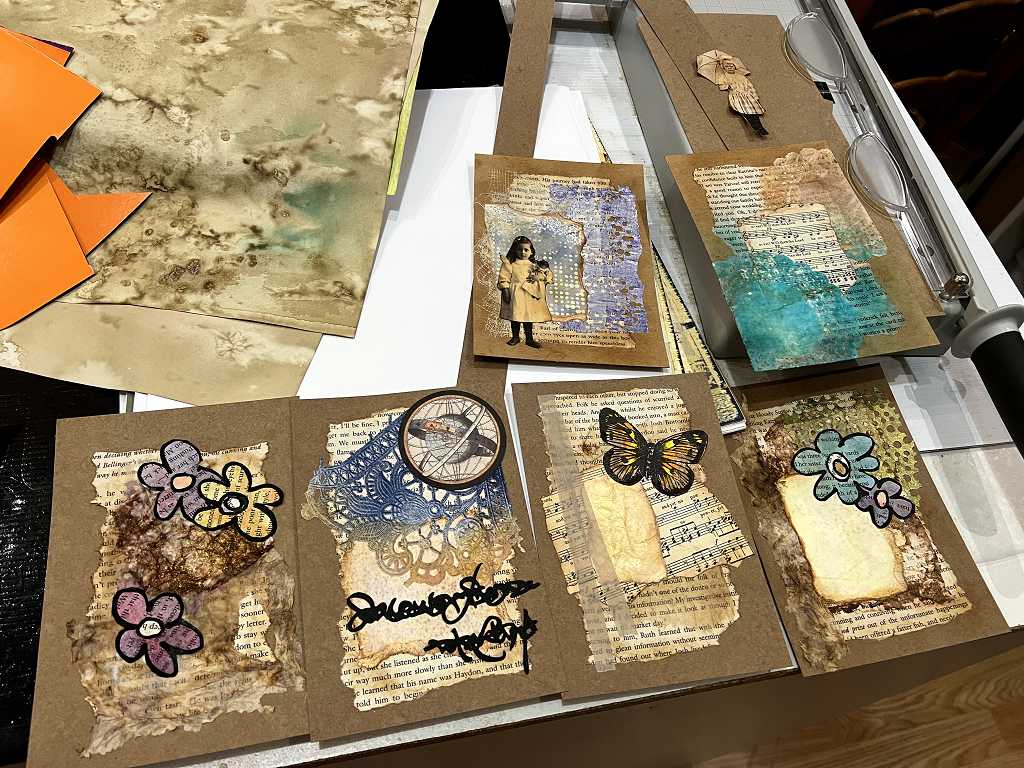
The one with the buterfly ended up as a birthday card, and I forgot to photograph the finished result. I also added some stems to the flowers and various other small details such as additional fussy cut pieces and shading, to add further interest, and I rounded the corners and inked the edges of the base pieces..
Once the various layers and focal images were glued in place, the pieces went under the heavy books to dry and flatten.
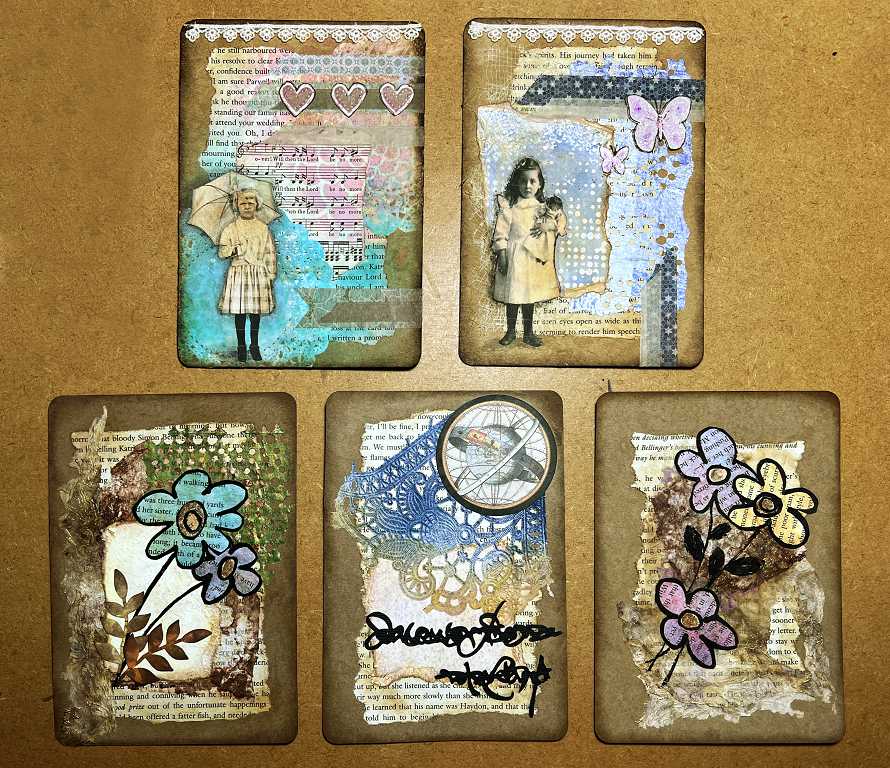
This afternoon I got them all out, and completed the details. Here are the five remaining pieces, now complete.
Now for each one in detail.
Floral fragment #1
The first layer is a torn piece of book page with its edges inked. On top of this is some scrunched up tissue paper with gilding wax added to the creases, on top of which I laid some of my pierced paper from a medication insert.
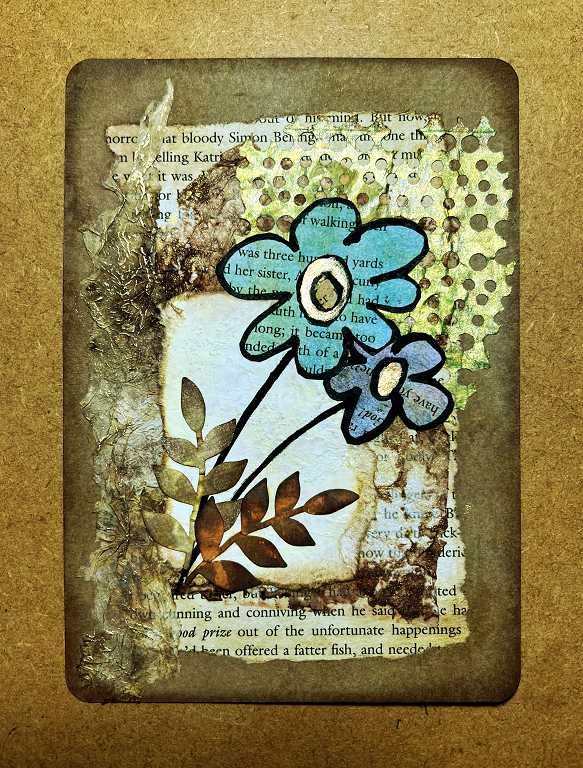
A torn and inked fragment of slightly textured paper was added on top of this, and finally the flowers, which have gold centres (which don’t show up on the photo). The stems of the flowers were done with a thick black Posca pen, and I added a couple of inked leaf trails from my stash, that I had cut with my cutting machine.
Floral fragment #2
As with all the pieces, the first layer was a torn piece of inked book page. This fragment is very similar to the first, with the scrunched up tissue paper with gilding wax, and gold centres to the flowers. I added a piece of inked and gold-painted tissue paper in the centre, and drew in the flower stems and leaves with the black Posca pen.
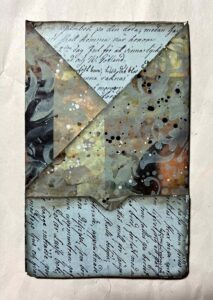
“Astronomical” fragment
I gave it this title because I used a circular motif from my recent Taperlogy purchase – they had very kindly tucked in a few freebies in the pack, including a packet of these circular pieces with star charts and so on.
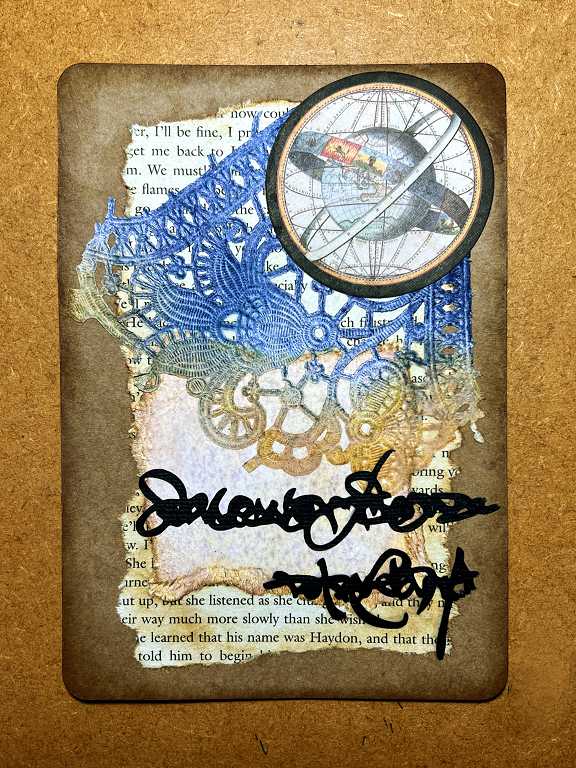
Over the inked book page I placed another fragment of the inked textured paper, which had a gorgeous torn edge to it. The blue and brown lacy piece is a fragment of a doily from my stash, which I had used at some point as a stencil, and it still retained the ink stains on it. Placed under the circular motif, it is somewhat reminiscent of a comet’s tail. The text is a couple of lines of “stacked journaling” which I had cut with my cutting machine from black paper. I like how the black mirrors the black frame of the circular motif at the top.
Little girl fragment #1
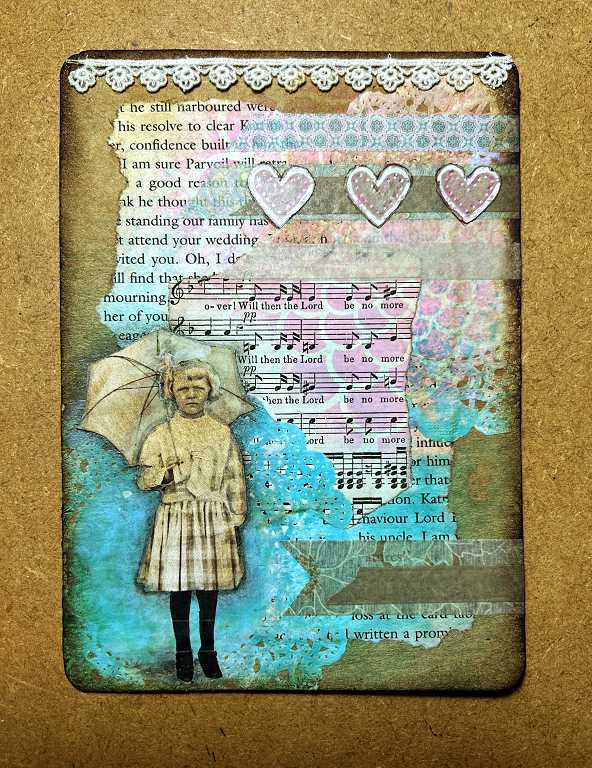
Both of these last two fragments feature vintage images of little girls, printed and fussy cut. This first one has a piece of music paper laid over the book page, and I have used some pink Distress Ink (Worn Lipstick, I think) through a stencil. The piece also has two fragments of doily, sprayed with Peacock Feathers Distress Spray stain and then with water and blotted off well as the colour came out much too strong! I added some strips of washi tape to this one. I wasn’t very happy with the result until this afternoon when I outlined the figure a little more definitely (in addition to the shadow it already had), and added the fussy-cut hearts from some Christmas wrapping paper. I added some pink fineliner to the spots on them and then instantly rubbed them with my finger to add a pink tint to the beige hearts, and outlined them with a brown fineliner pen. The narrow piece of cream lace adhered with fabric glue completed the piece, and I thought that with these later additions, the result had a bit more punch.
Little girl fragment #2
This piece was a lot more satisfactory from the beginning.
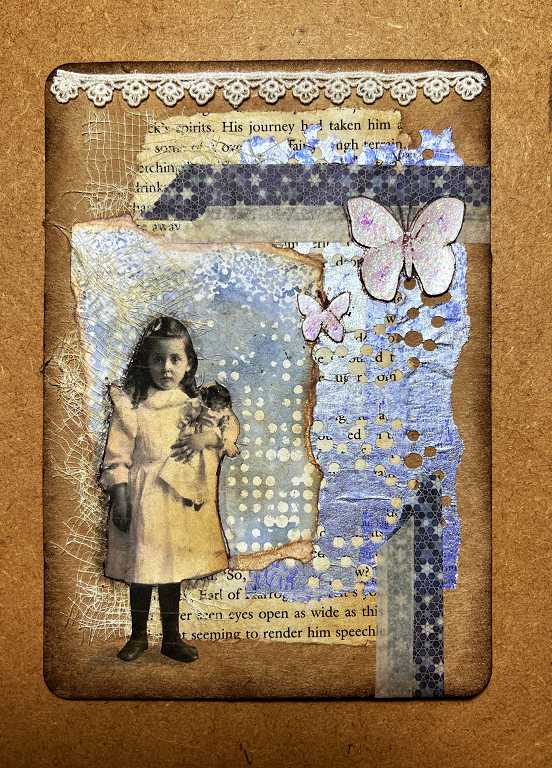
Over the book page I stuck down some scrim, and added more of this in a more random fashion over the piece of torn paper with the stencilled circles on it – gorgeous torn edge which I inked. Under this, to the right, is another piece of my punched paper, this time the blue one with circles of holes punched in it, and again I added washi tape, and more outlining to the figure to make it stand out a bit more. The final touches were the sparkly (yes, they are sparkly – not visible on the photo!) butterflies, which were just plain silver glitter (cut from an old greetings card), outlined with brown fineliner, and with some pink and purple fineliner rubbed onto the wings. The details (veining, antennae) were also added with the brown fineliner pen. I stuck some more of the cream lace across the top of the piece.
The complete set once more
I like the grungey brown backgrounds, the rounded corners and inked edges, and all the torn edges of the paper fragments, and the texture of the pierced papers and doilies, the muted colours and the various focal images. It is a shame that the shine and shimmer on some of them simply doesn’t show on the photos. All of them, with the exception of the “astronomical” one, could also have sentiments added to them.This has been a fun project to do, and they don’t take long, either. They are a brilliant way to use up scraps of this and that.
I am intending to make more of these, utilising some of the images I have recently cut out from the old greetings cards and wrapping papers, and adding fabric, lace and ribbons and other stuff from my stash, and also some of my gel prints, especially the ones that didn’t work so well; as collage elements they will blend in nicely. I want to make some small square, rectangular and circular ones as well.
All these collage fragments can be used to embellish book covers or pages, or be made into greetings cards, or as stand-alone images.
Teabags
Also while relaxing on my recliner, I have been emptying teabags again. I have soooo many teabags, and every now and then have a blitz on them, making a small slit near the edge, and tipping out the tea into a large bowl – this tea eventually ends up in the compost to go on the garden. Once the tea is removed, the bags take up a lot less room so I should free up some of my boxes soon!
Before Christmas I emptied a few more of my fruit tea bags. These are the folded ones with the string – I much prefer these for art work because once they are unfolded, they yield a much bigger piece of teabag paper, of a more useful rectangular shape. The fruit tea stains them such a pretty pink, too! I am keeping the tea from these, as it will make a nice texture when mixed with gel medium. The ones in the box on the left are Lapsang Souchong ones – from the more expensive packs with the strings on the teabags. These stain the bags brown, of course.
![]()
Finally…
A gorgeous Christmas gift
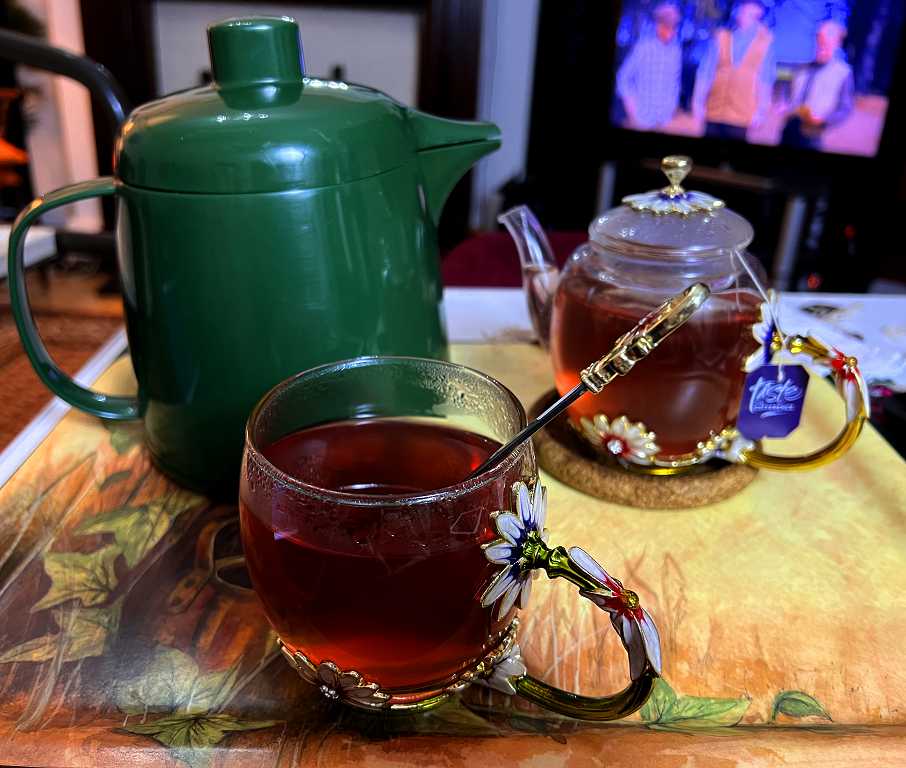
You may remember that recently I posted some pictures of the absolutely beautiful tea cup and spoon which my friend in Brazil sent me:
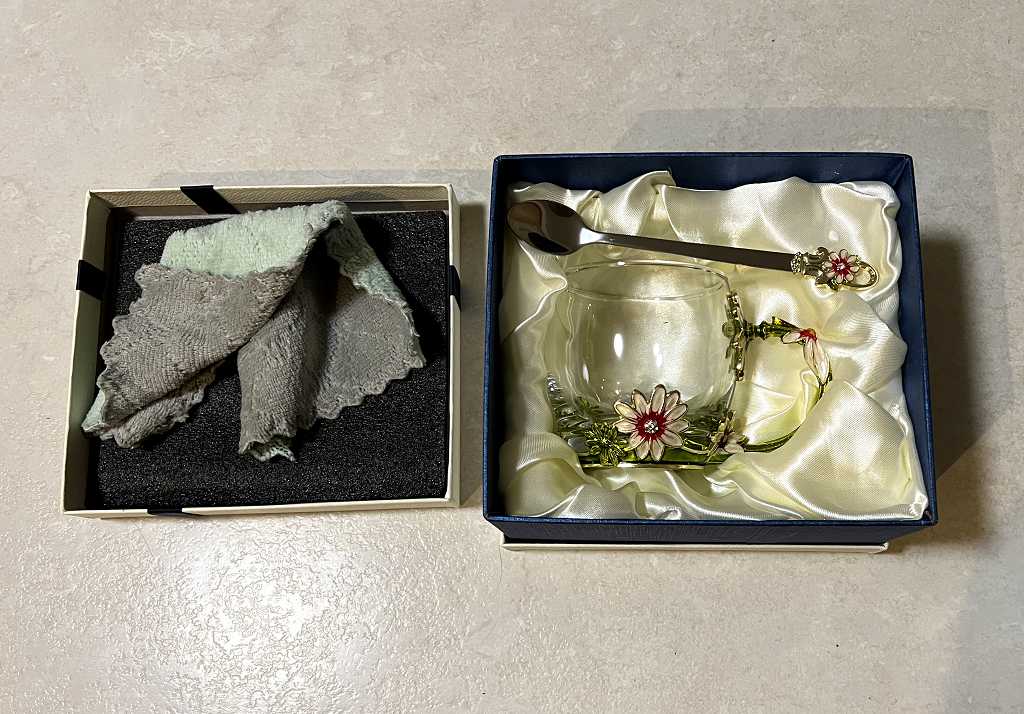
Well, my hubby surprised me on Christmas day by giving me the matching little teapot! Here it is, with the cup, filled with my favourite fruit tea. (The green insulated jug is filled with hot water ready to top up my tea in the pot.) Just gorgeous!
I hope everyone had a good Christmas and was able to spend quality time with family and friends. Ours was quiet – just the two of us and the two kitties. I cooked a delicious vegetable nosh – gorgeous rich nut roast with an equally gorgeous rich and flavoursome gravy, roasted vegetables (sprouts, carrots and parsnips) with cranberries and chestnuts, and crispy roast potatoes. On the side we had my old Scottish family recipe – mealy stuffing, made from medium oatmeal and onion. For dessert we had a Tesco’s finest Christmas pudding (double the size I ordered as they’d run out – but for the same price! – so it lasted us 2 days!) served with my mum’s best rum sauce. Deeeelicious. Coffee, choccies and the King to finish it off, and then pure light-hearted and heartwarming entertaining from the movie “Paddington 2,” courtesy of my hubby, who had bought the DVD at the recent church Christmas fair. Perfect.
Loved reading this post! So much of interest and the fragments are fantastic!
Thank you so much, Susan. I am so glad you enjoyed the read, and that you liked my fragments!