DIGITISING MY MIXED MEDIA PAPERS
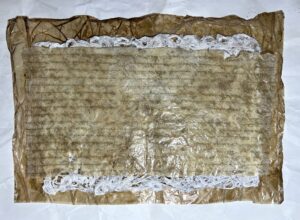
To get more use out of my recently created papers, I decided to scan them and digitise them.
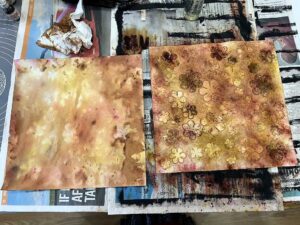
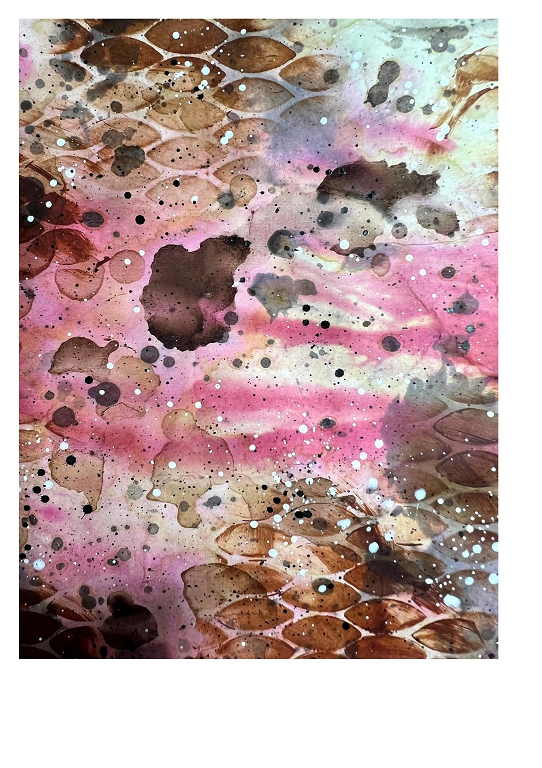
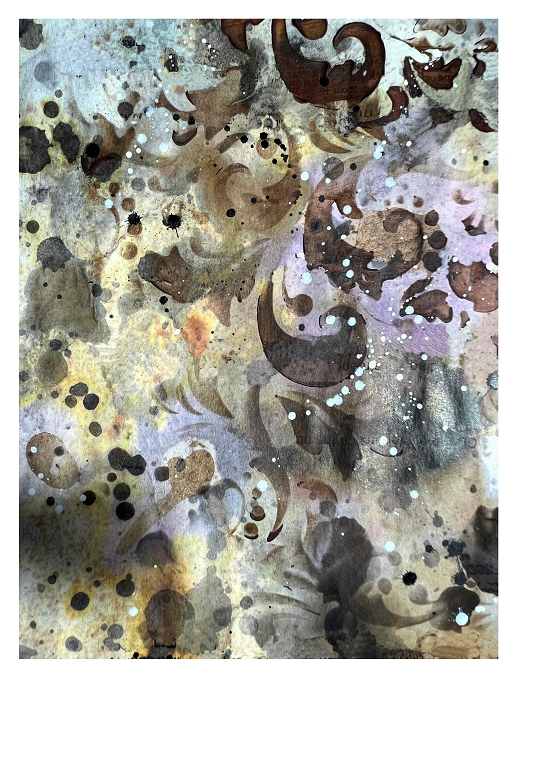
I really liked the detail shots I took of the papers, and decided to digitise these too. For a different and somewhat cleaner look, I made the rather rash decision to edit out all the original computer printing on them. This took me absolutely hours of work but in the end I was glad as I really liked the result. The papers look a lot brighter – I can edit them for a more tea-stained look in future if I want.
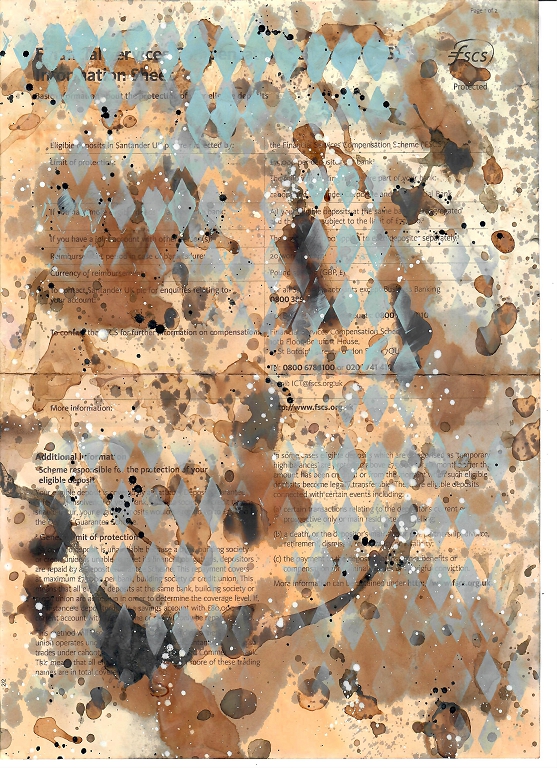
I am having a slight problem with my printer at the moment, in that it prints two narrow bands of lighter colour down one side on every print. I hadn’t used it much recently and thought perhaps that the toner had settled, so I removed each cartridge in turn and shook them gently to redistribute the toner. I also cleaned all the drums. The colour was coming out a bit on the pink side so I also replaced the yellow cartridge. All to no avail – the bands persist.
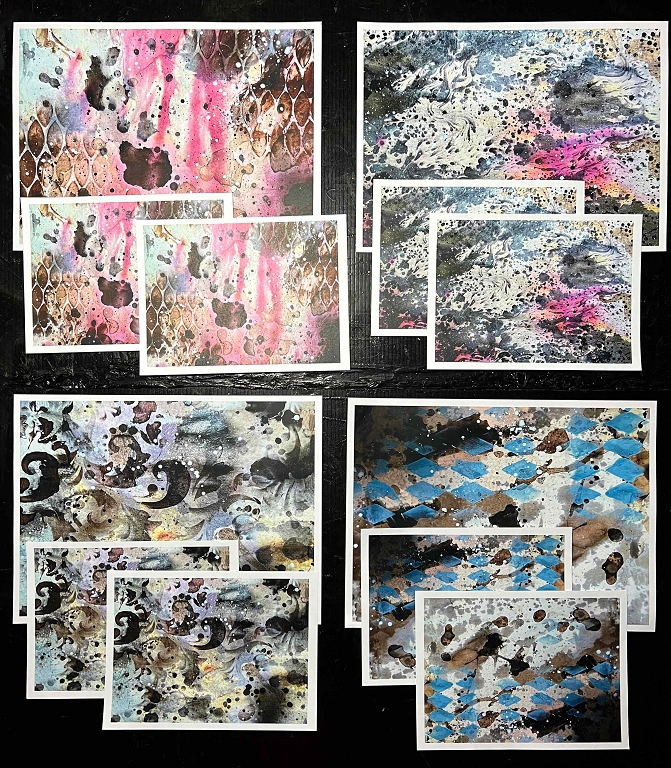
Rather than printing out faulty results, I therefore edited each print layout, making the images slightly smaller and moving them to the side away from where the bands were appearing. I am very pleased with the result. I have printed out one per sheet of each one, and then two (smaller) per sheet. All these papers will be useful.,
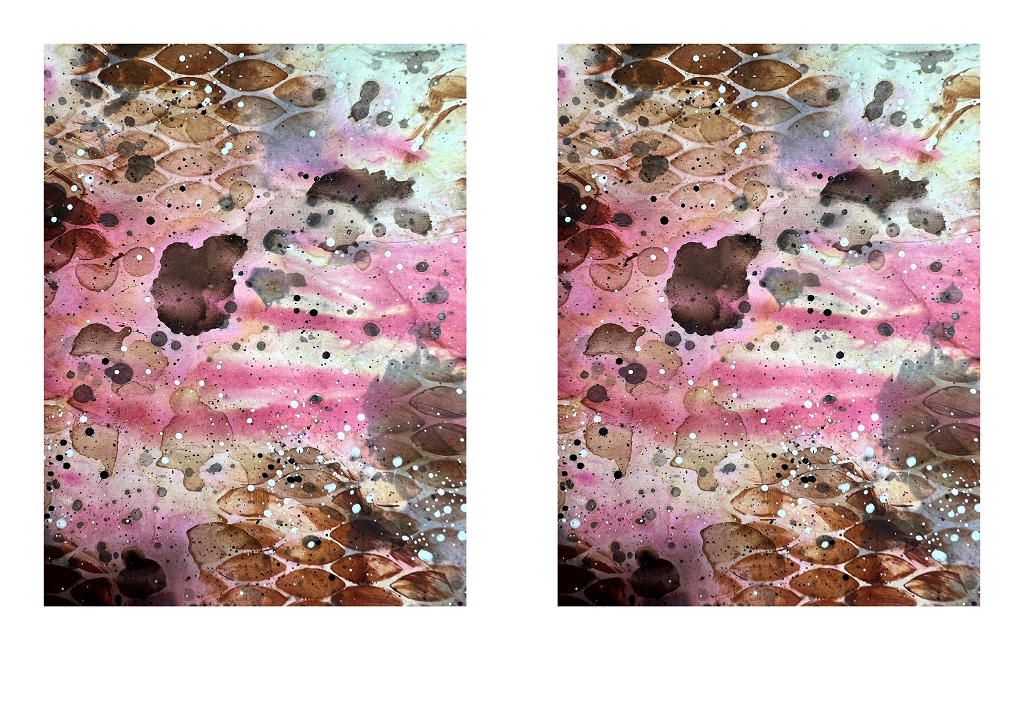


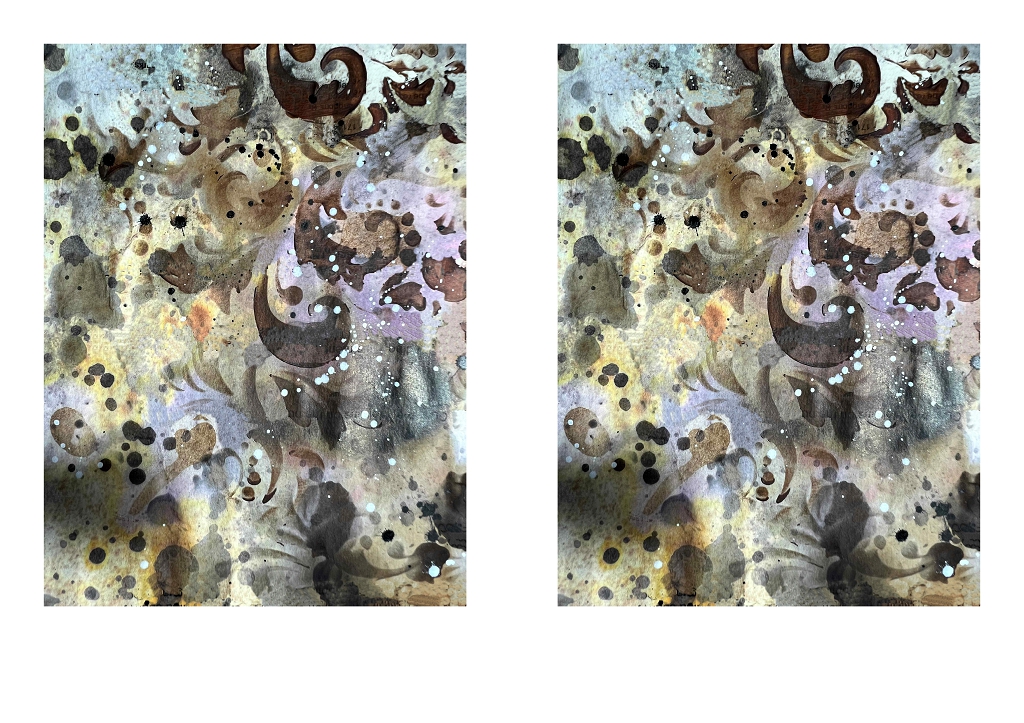
After trimming them down, this is how they look:
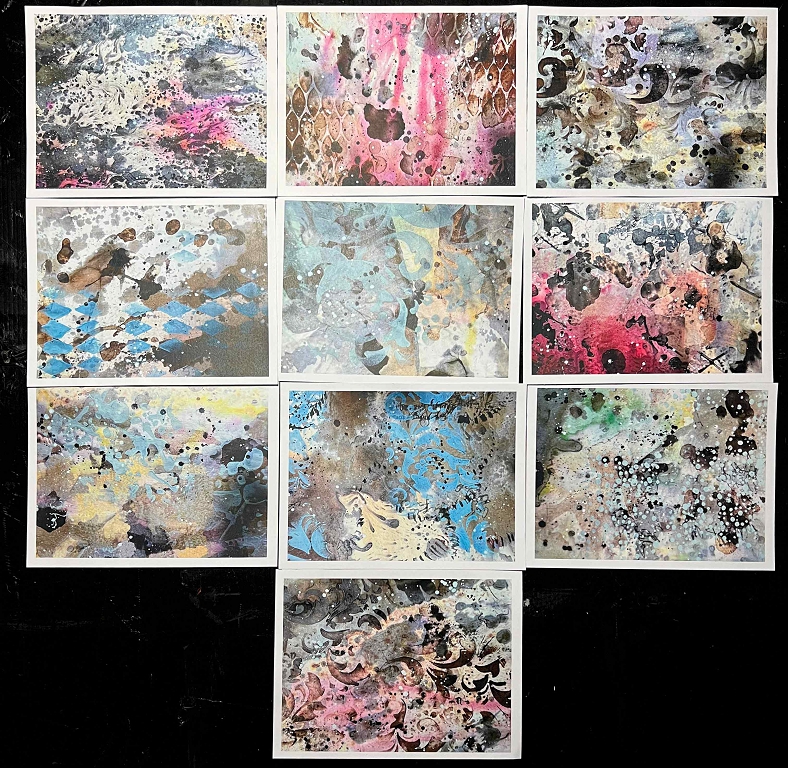
Here are all the smaller ones.
Eventually, if I can sort the printer problem, I shall edit the files so that they are whole (A4) and half (A5) sheets, but in the meantime I now have quite a few really nice papers to use. The effect is quite different from the original mixed media papers, which I have already started using.