UV RESIN – SMALL CIRCULAR DIGITALS
Shoshi is resinating with a new art form!
I’ve done a bit of UV resin work with a small starter kit, but the lamp proved rather inadequate. I have now bought a new one which is much better.
Some time ago I downloaded some digitals from Dragana of Saacibo on YouTube. Included was a sheet of small circular black and white images. I began by colouring the floral ones with coloured pencils.
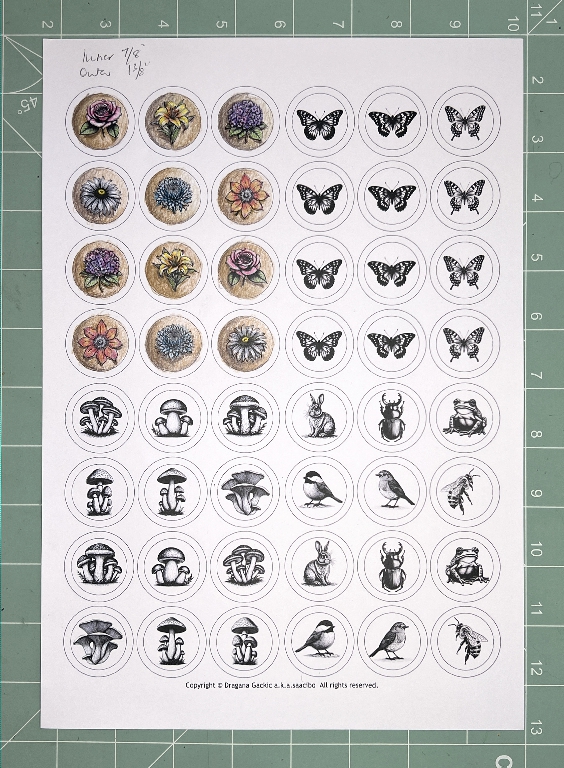
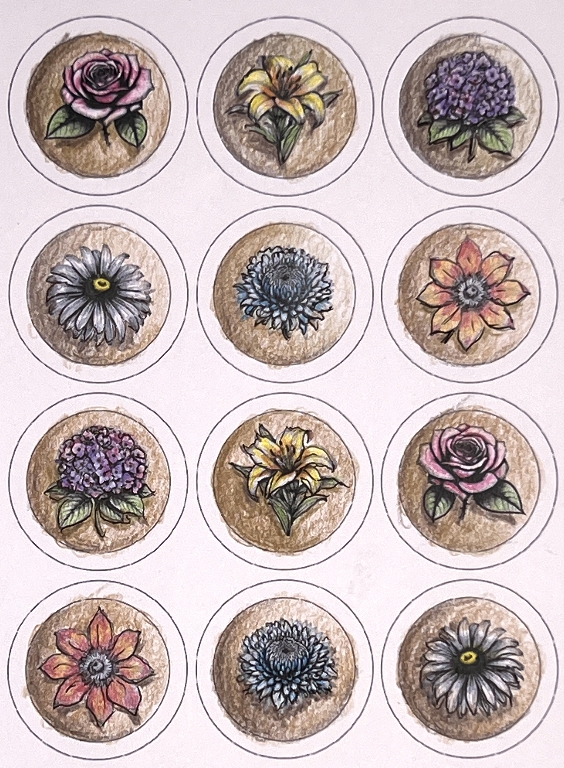
I cut them out with a circle punch, and coloured the backs with gold marker pen.
I recently got some new resin equipment, including a small silicone mould for making circular medallions. I originally intended to use the largest circles for this project.
Preparing for resin
I put two of the circular images in the mould and added the resin.
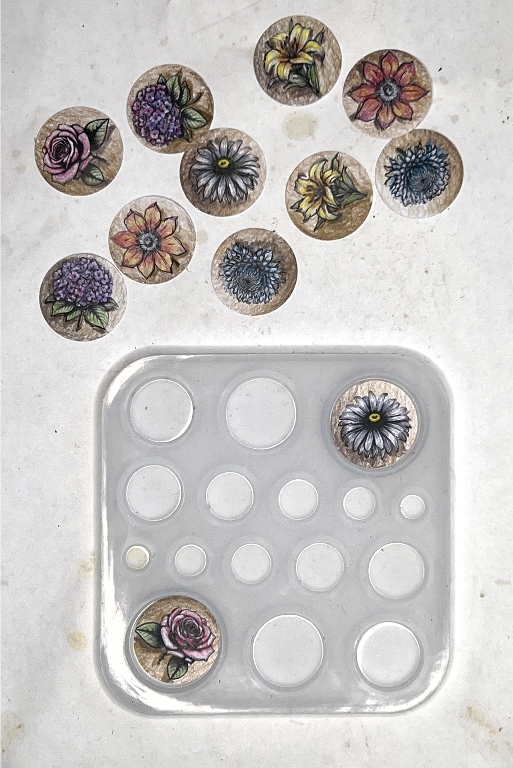
Unfortunately this was not a success. The backs were unevenly covered and the whole thing was lumpy, and I had to trim off the excess with scissors. I discarded the mould and simply added resin to the circles which I’d placed on the transparent shelf that came with the new UV lamp I bought (more about this in a different post).
They did warp a little so for the second batch I put them on the sticky tape you use with resin. I wish this tape was double-sided so that it would lie flat, but I had to attach the ends with masking tape. Sticking the discs down did help a bit with the warping, but once I’d applied resin to the backs and a further coat to the tops, they were much better.
This is the result.
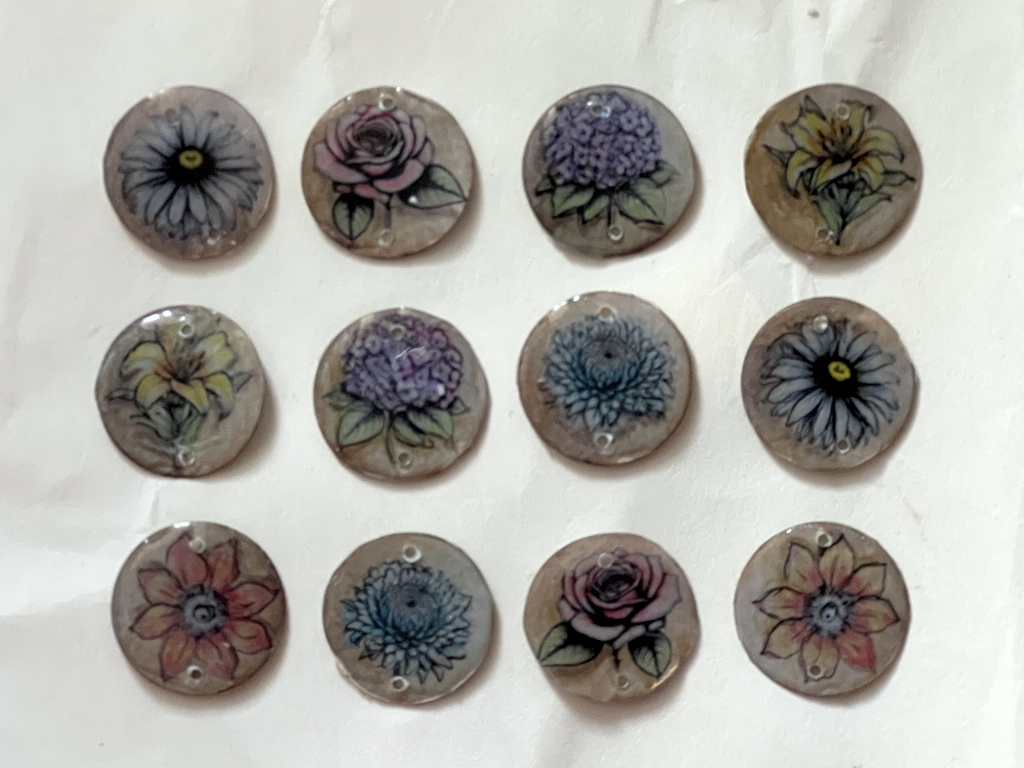
The gold backs.
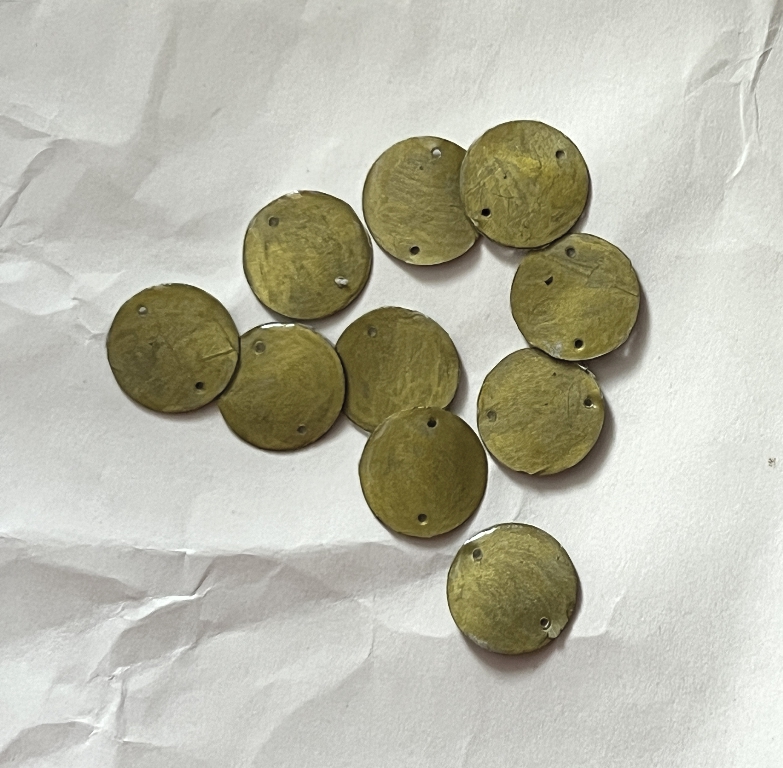
You can see that each one now has two holes. Previously, I have had to get out my mini electric drill to make holes in resin charms, but another recent purchase was this:
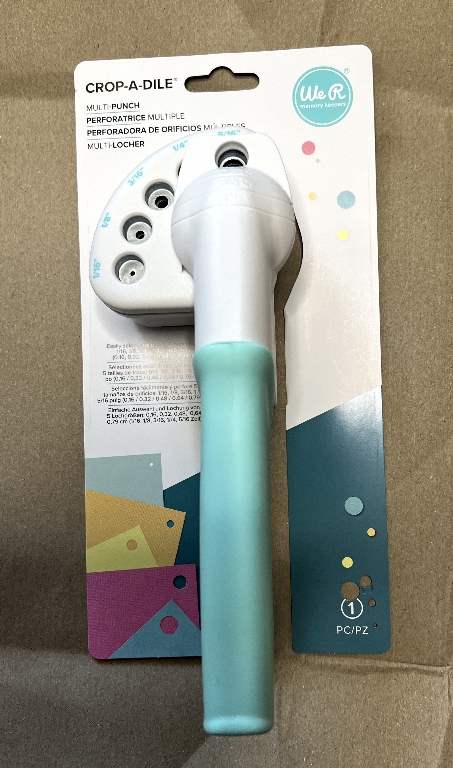
The Crop-a-Dile range from WeR Memory Keepers have the reputation for being able to punch through anything! I was hoping that this tool would punch through my resin pieces, and I was right. To use the tool, you rotate the white part at the top until the size of hole you want is at the top. Most punches are open on the underside so you can easily line things up, but this is the second punch I have had from this firm where this is not the case. You have to mark the place where you want the hole, and look carefully down the hole on the top surface of the punch until you can locate your mark. With the 1/16 in hole, this is far from easy! Also, there is a limit to the thickness of the material that will physically fit in the punch, but fortunately my little discs were OK. I had to tape each one to a piece of card in order to insert it into the punch because without this, there was nothing to get hold of as the pieces were so small.
The next two pictures show my experiments to make sure the process would work. I used one of my existing resin discs with a gold coloured ring surround which just fitted into the punch.
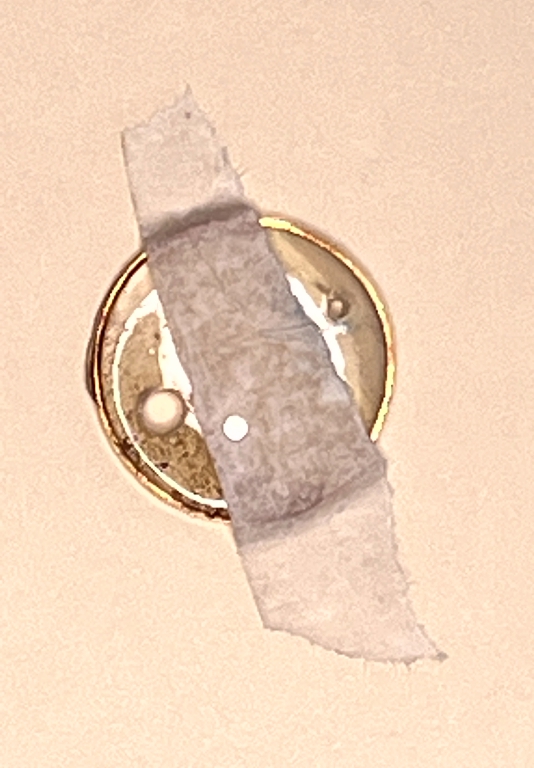
I punched two holes – the top one is 1/16 in and the bottom one is 1/8 in. You have to squeeze pretty hard but it does work, and the resin was not cracked. Being able to do this will also enable me to insert an eyelet in a project if I want. If this punch works, no doubt my main Crop-a-dile punch and eyelet setter will also do a good job.
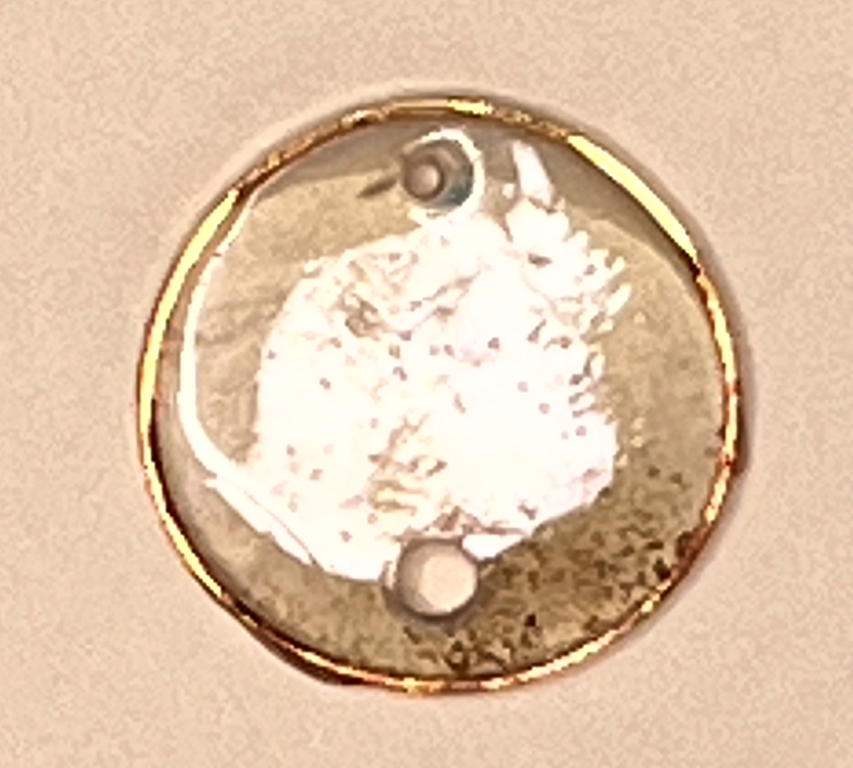
This is a relief to know because it’s going to save a lot of time, rather than having to use the drill.
Once all the resin work was complete, I punched the holes and added jump rings to the pieces, in readiness for the addition of embellishments, and to form an attachment to wherever I will ultimately use them.
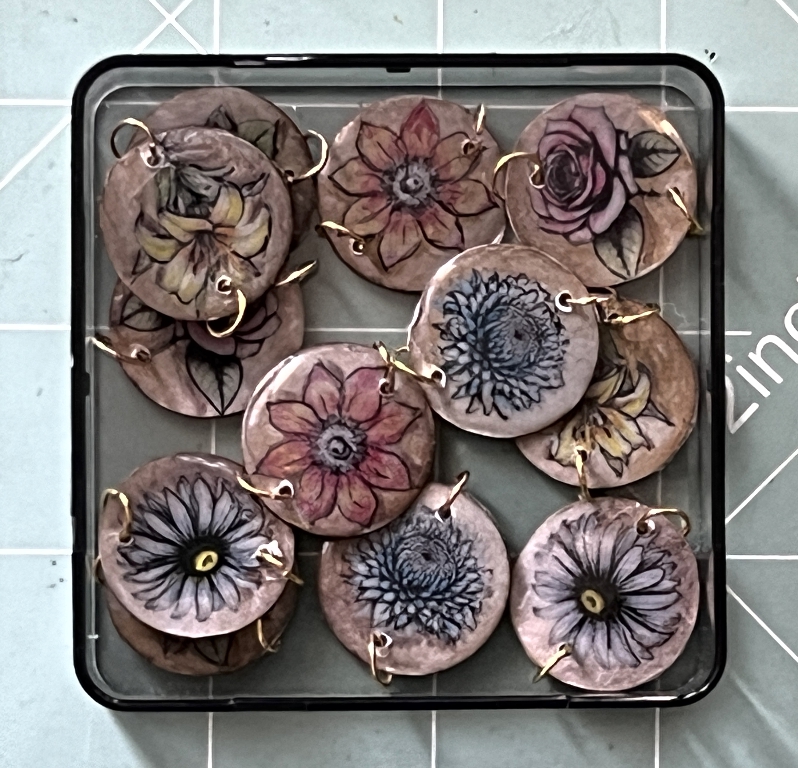
I shall be doing a further post about the completion of these charms.
Embedding objects in resin
I chose two leaves and the gorgeous little fragment of green lichen that I picked up on a previous sketching day at Dartington. I really wanted to save this piece in particular in perpetuity. I chose some large metal rings to form the frames for the medallions and filled them with a layer of resin. I cured this, and then glued down the specimens onto the surface by painting on a little resin, and then added more resin to cover them. They took quite a while to cure but with the extra lights shining up from underneath, it wasn’t too bad.
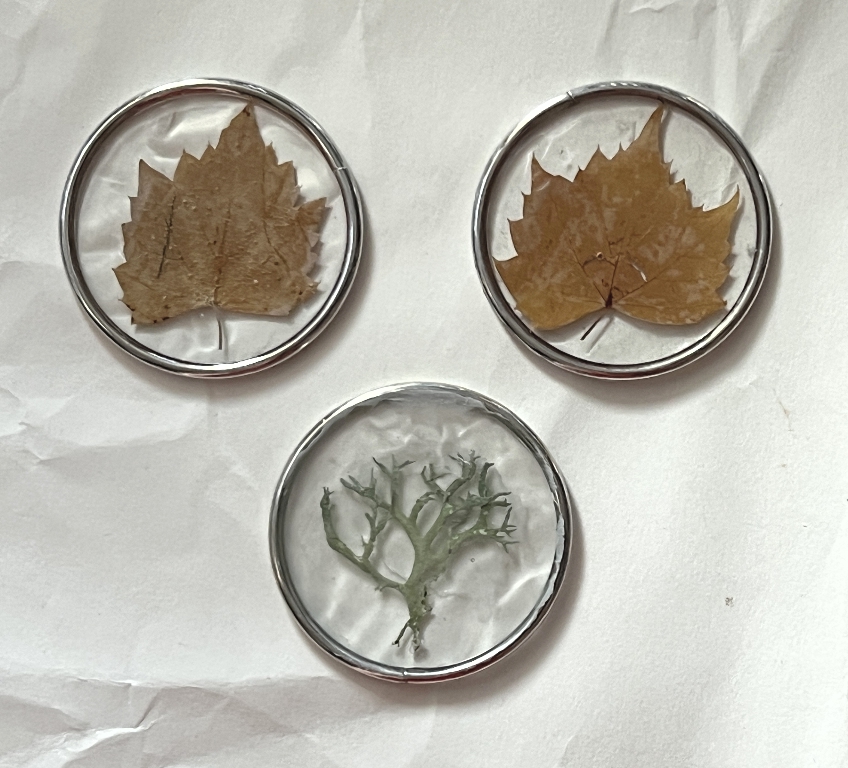
I over-filled the lichen one a bit because it was rather thick. Some of the resin spilt out beyond the frame and this had to be trimmed away. I sanded it a bit, and unfortunately managed to dull the shine of the resin on the surface. I applied metal polish and rubbed and rubbed, and the result was certainly better. The worst of it was on the back, anyway. The whole thing was more lumpy than the leaves, which came out OK.
I am not sure what I am going to do with these yet but they may form an embellishment on the cover of a nature journal. They feel gorgeous and have some weight to them because of the rings. I definitely want to do some more of this kind of thing.
Future plans
I am definitely going to make charms from the other circular pictures on the digital. I also have some stuff on order from Ali Express. I have discovered a whole world of goodies in nail art – I am not into that particular art form at all, but their materials and equipment could prove extremely useful for the things I do. I ordered some nail art stickers which can be turned into charms with the aid of resin. I have some gold coloured metal rings which will do for those. I had intended to use them for the current project but none of them are large enough.
Watch this space for more resin fun. Does this resinate with you?