JUNK JOURNAL – MAKE A JOYFUL NOISE PART 22
The cover
I have now more or less completed both signatures. All that remains are some additional embellishments once the book is bound. The cover needed work before I could proceed with the binding.
Cover construction
This soft cover is made from a large gold bubble wrap envelope which I had already covered with brown packaging paper,

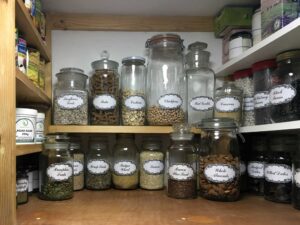
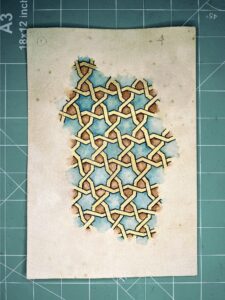
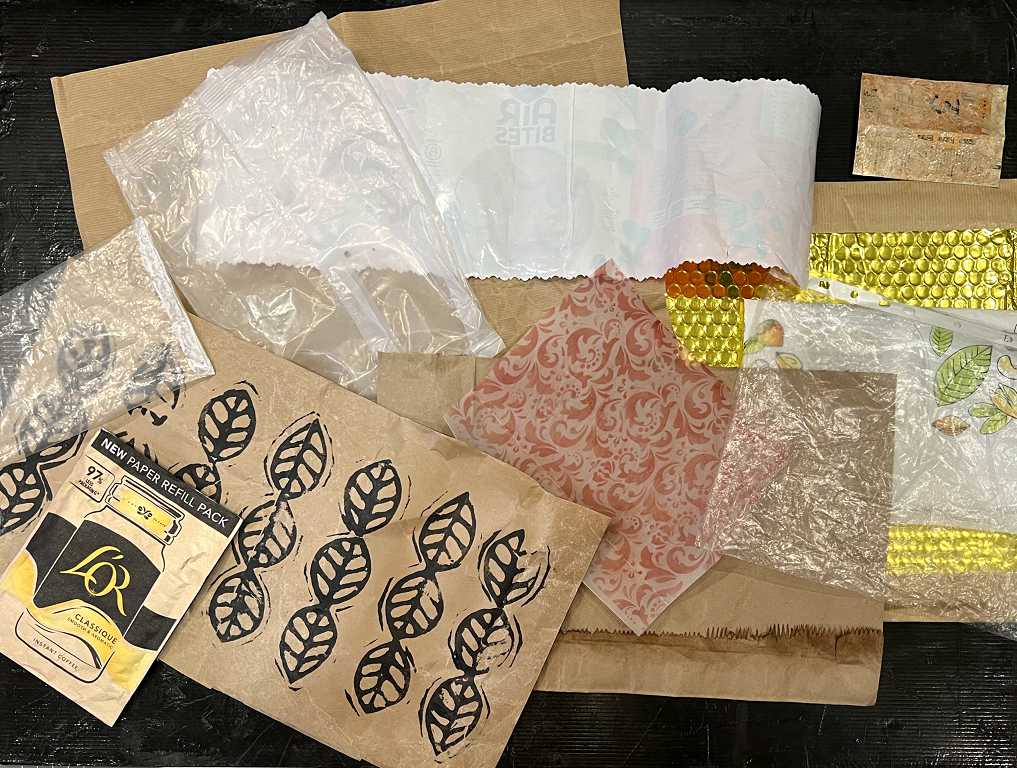
I had already decided how to line the inside of the cover, and had chosen a thick piece of packaging paper which I had embellished with stamping, using one of my DIY foam stamps and black acrylic paint, seen here with a selection of other papers which I’d brought out for the pages.
My original plan was to use the existing opening of the bubble wrap envelope as a pocket for a large tag inside the front cover, but I have abandoned this idea and decided to keep it simple.
Unfortunately the stamped piece is just too narrow, and a little of the gold was going to show top and bottom. I decided to use it anyway, and to cover the gaps with washi tape. The stamped piece would not stick down on its own very well because of the slick nature of the gold bubble wrap – a problem that has plagued many stages of this book with its variety of shiny surfaces on the pages. I chose a wide brown washi tape with black printing on it, and added glue stick to help it stick more permanently – washi tape adhesive isn’t very strong and isn’t designed to be permanent.
There was immediately a problem with this very bulky cover. If I laid it out flat and lined it, when I folded it to form the cover, there was nowhere for the bulk to go and it all wrinkled up and became uneven and ugly, and the washi tape started to peel off, despite the glue. If I glued on the lining with the front and back of the cover in the closed position, it would not lie flat. I had to compromise, and make it slightly curved. It is fairly flexible and would give quite a bit, especially in use, so I am hoping this arrangement will prove good in the long run.
To reinforce the cover so that the movement wouldn’t unstick the lining, I decided to stitch around with my sewing machine. I was not sure whether my new “baby Brother” machine would tackle this at all, as the cover is very thick – layers of paper, plastic and bubble wrap. I took the stitching very slowly, helping it by hand over the thicker parts such as the corners, and it worked just fine! There were a number of missing stitches but since this is a junk journal, full of irregularities anyway, this wasn’t going to matter.
The inner edge of the washi tape covering the edges of the stamped lining paper were also at risk of coming unstuck, so I ran another line of machine stitching around, creating a kind of frame. This has reinforced the cover quite a bit, and stabilised it. I am quite pleased with the result as it adds interest to the outside.
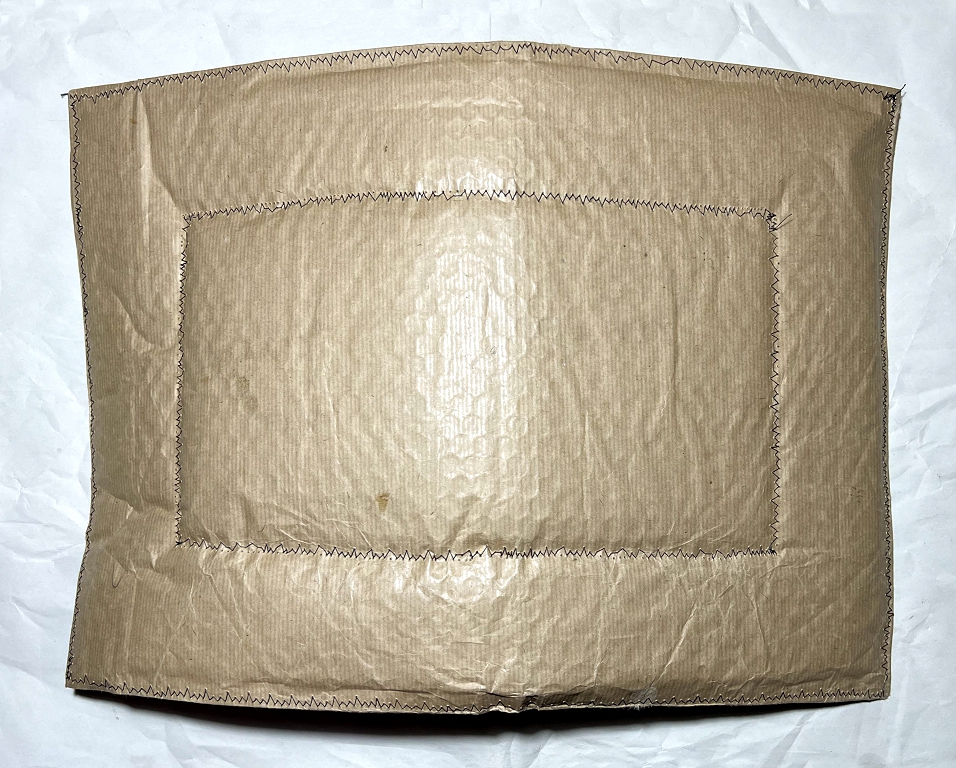
You can see the curve in the cover. It is also interesting that the pattern of the bubble wrap is showing through the brown packaging paper covering it. I like this added texture.
Here is the inside.
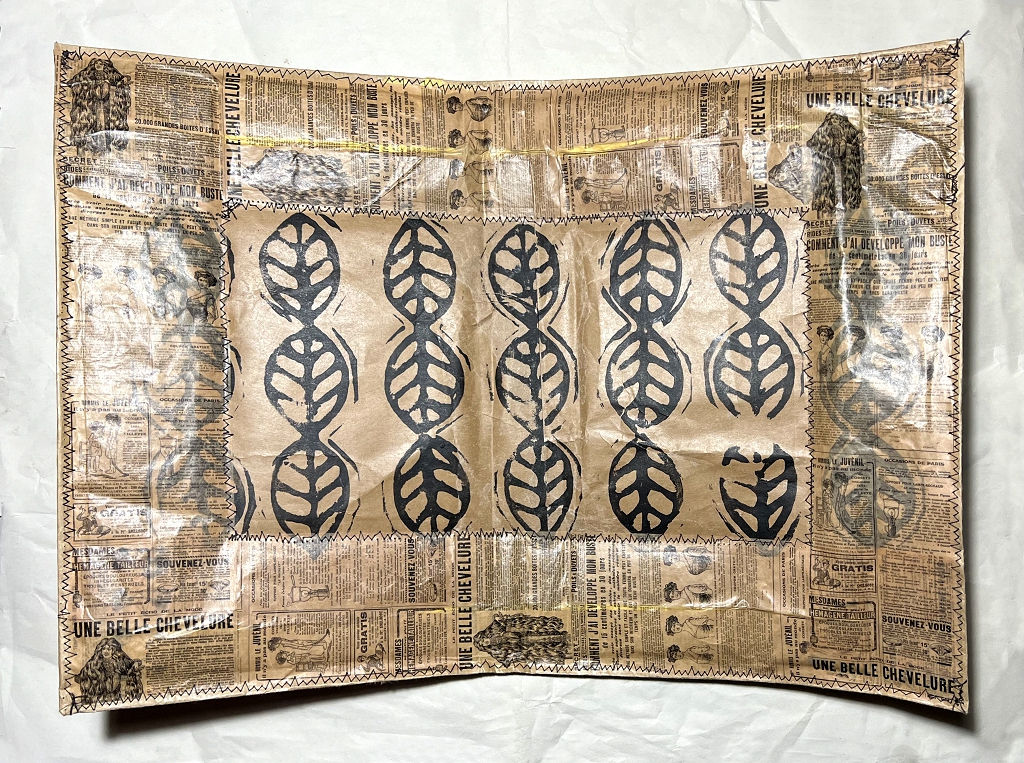
To start with, I was worried that this cover wasn’t going to be big enough to cover the now pretty bulky two signatures, but it all seems to be OK when I press them well into what will be the fold of the cover. I want things to stick out anyway, and shall be adding further tabs and dangles, and regularity and perfection of finish are not the watchwords for a project like this, after all!
The closure
This was also going to present a problem, because the topper for the front comes almost to the edge of the cover, and I can’t do anything fancy which would interfere with the noise-making elements on this. I originally wanted to do something interesting and fun for the closure but this would definitely not work wth the cover topper. I could have stitched some ribbon between the layers of cover envelope but didn’t think of it at the time, and it would have involved cutting an opening in the further end of the envelope which I didn’t want to do.
In the end, I have decided to add a ring pull front and back, using the same method I used for the envelope flappy embellishment towards the end of the book. I shall make the closure after the book is bound, because otherwise it’s going to get in the way when I’m trying to line up all those uneven pages in the binding process! I’ll be attaching the ring pulls with a large brad as before. The legs of the brad are going to show on the inside of the cover and will need to be covered. I shall probably glue a fabric trim down the insides of the edges of the cover, to hide these and to add further interest. I have dug out a piece of wide strong red ribbon from my stash, which will be threaded through the ring pulls and the ends will tie in a simple bow to keep the book closed. There will also be an attachment on the outside of the top of the spine for the addition of a removable dangle.
The cover topper, with its six different noise makers, will be glued down to complete the cover. I would really like to have stitched this, but there is a limit to how much the sewing machine will tolerate!