RECYCLED PAPER-GLASSINE BAG ALBUM – COMPLETING THE THIRD FOLIO
The third folio of this recycled album is now completed, with its steampunk theme. So far I think this is my favourite.
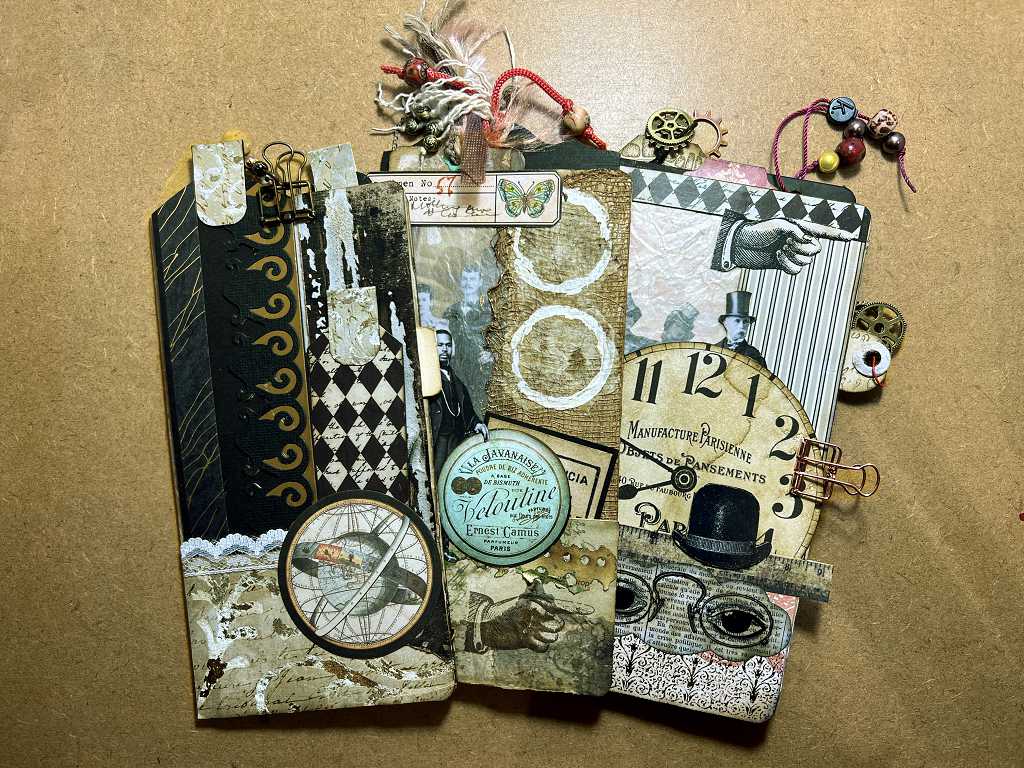
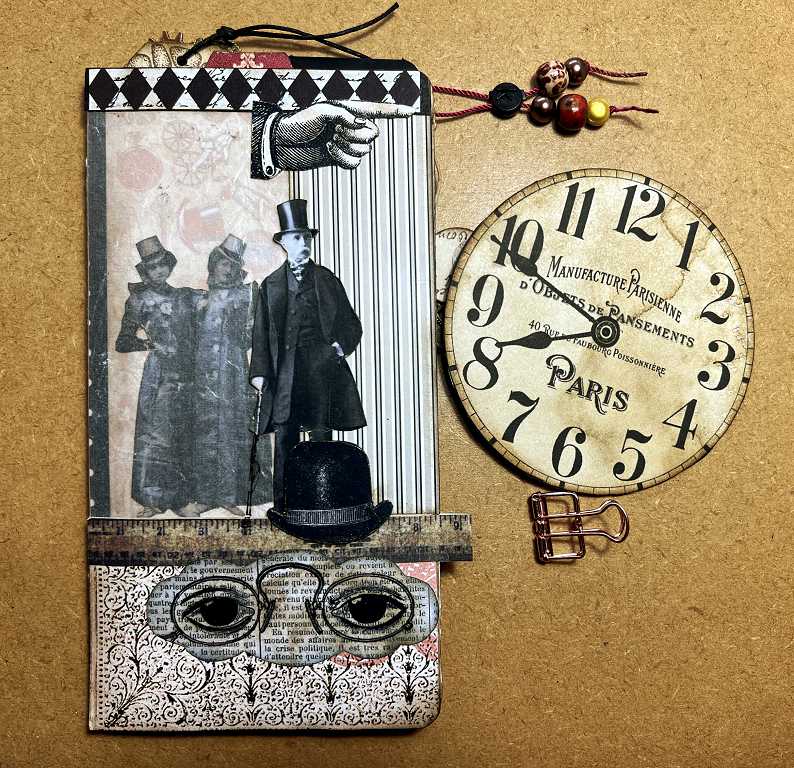
The front page
Most of the images are from the Graphics Fairy Premium Membership site, but many of the papers are my own, created when I was making my Curious Cabinets album, inspired by the Graphics45 “Cabinet of Curiosities” paper collection which is sadly no longer available. I printed these various papers to three different scales so that they could be used in different applications.

The large clock face is tucked into the bottom pocket and secured in place by a wire clip. It is very slightly wider than the page, so it has to be held in place or the page won’t turn properly.
When it is removed, the glassine window and the figure in the centre are fully revealed. The background papers are all my own, from the Curious Cabinets album set.
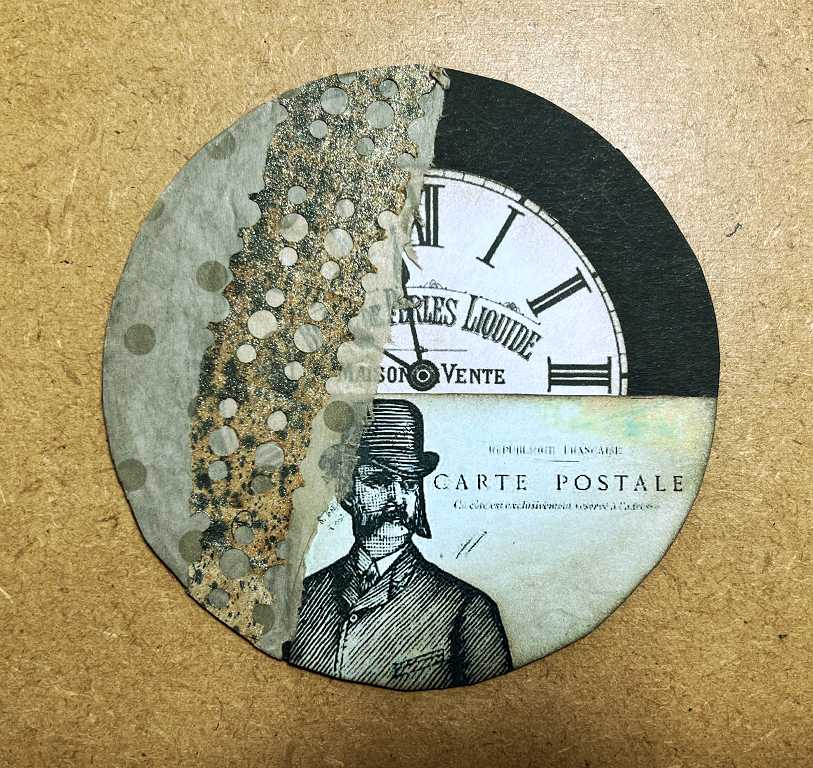
The reverse of the large clock face. I backed the printed clock face with black cardstock and added another clock face and some collaging. The spotted paper is tissue, and the piece on top is one of my pieces of pierced medication leaflets. I glued them down and then trimmed them off to the edge of the circle.
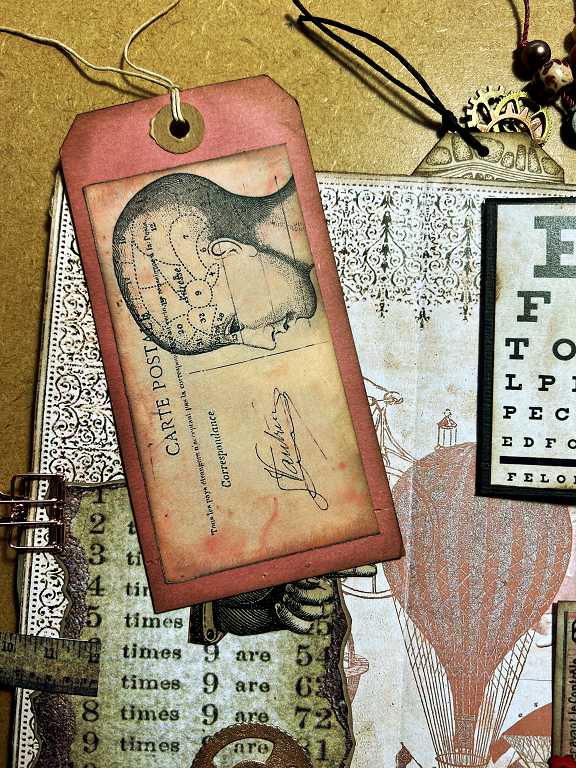
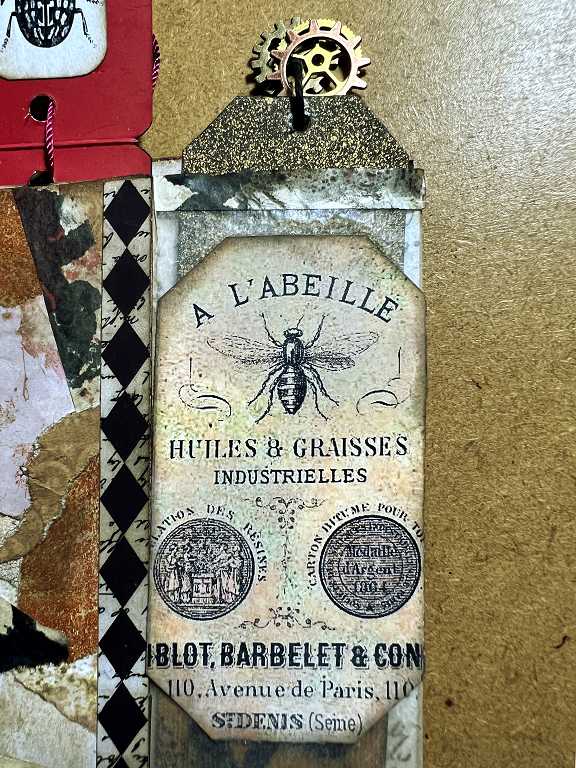
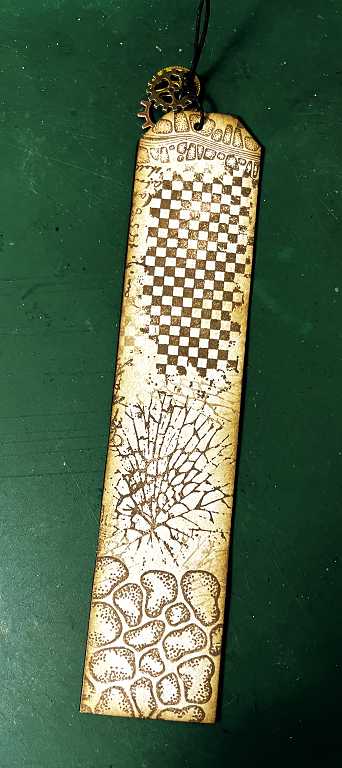
When the tall tag with the two steamunk ladies is removed, the eye chart on my spotted brown background paper is revealed. I added a small tab to the top of the tag.
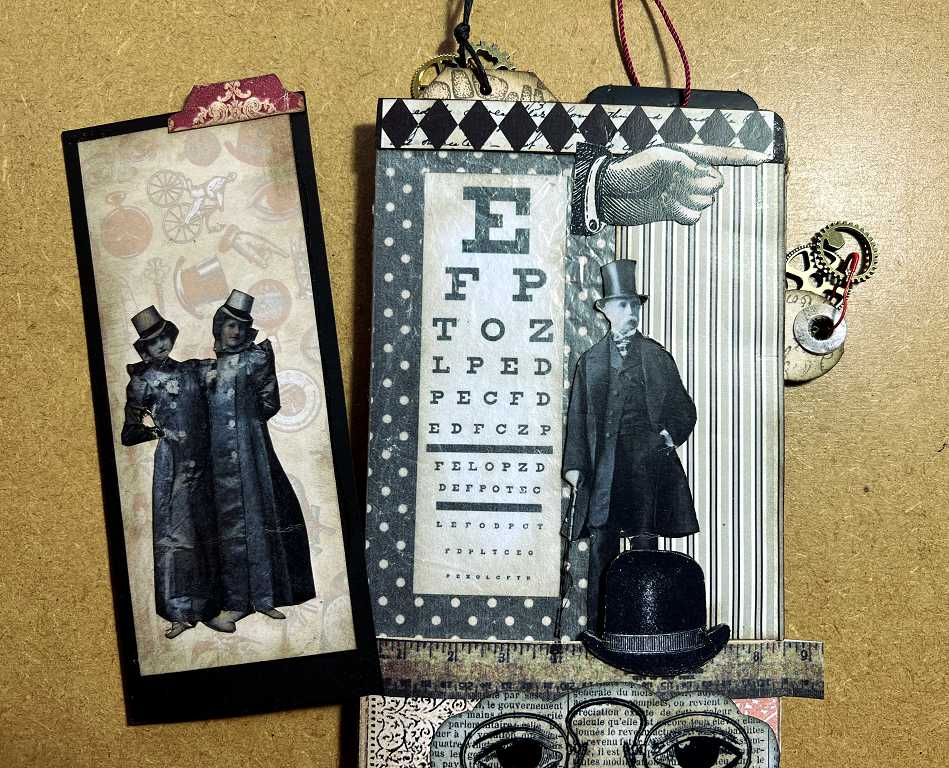
This tag was backed with one of my stamped and coffee-dyed card strips.
Here is a detail of the bottom part of the page with the clock face in situ. The background paper at the bottom is a corner of the large steampunk themed sheet I created with a fancy border, overlaid with one of the Graphics Fairy steampunk images. I had had the ruler in my stash for ages, and I think it was from an old Tim Holtz paper stack. I decided not to cut it to size but extend it beyond the edge of the page and fold the excess over and glue it in place, to create a tab, and also a bit of added interest on the following page.
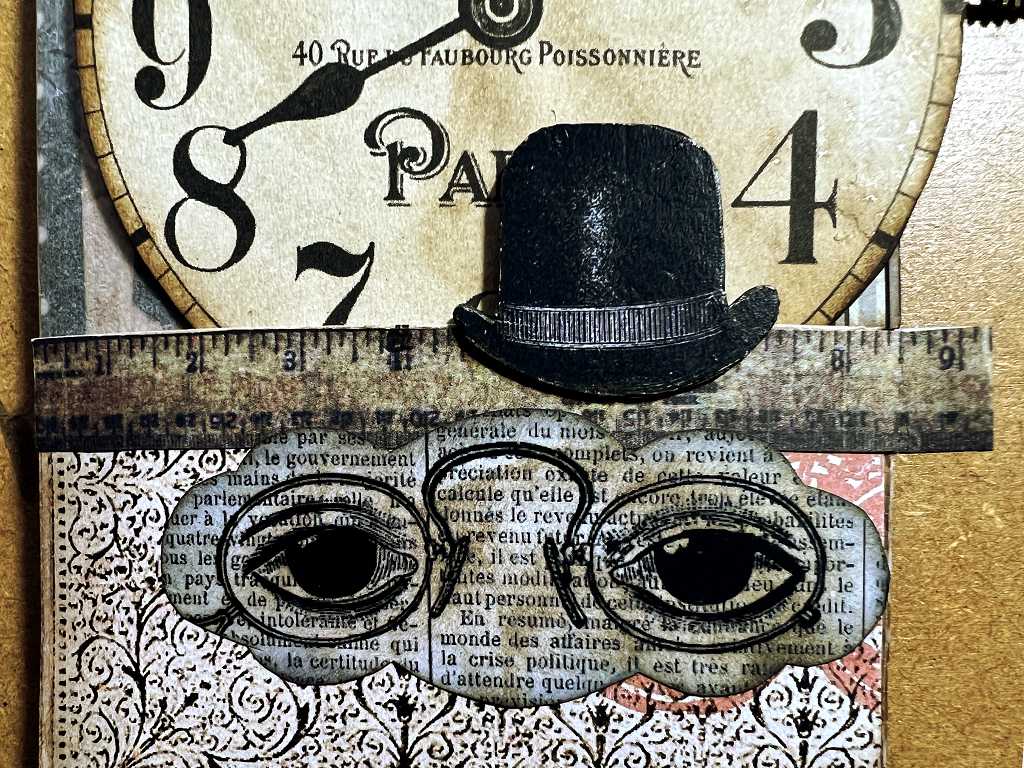
The hat contains a surprise!
Remember our gentleman in my previous post, whose head had to be resized to a precise dimension? Here’s why!
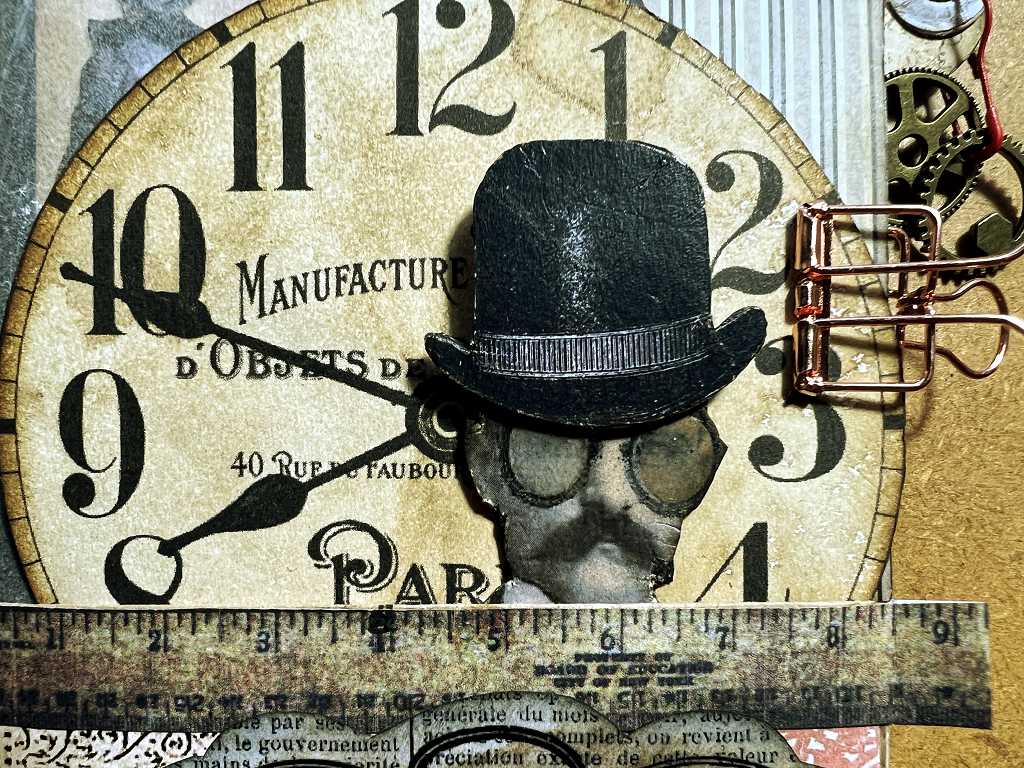
Pull up the hat, and he emerges.

Because I had to make his head so big, his body below the shoulders had to be removed because it was much too large for the page. His goggles are quite shiny with the addition of Glossy Accents.
The hat was stuck to the very top of his head only, to allow the hat to rest on the outside of the pocket while the head was inside. Today when I returned to the project I realised that with constant pulling in and out, this join was not secure enough, so I backed the whole thing with black cardstock and it’s now nice and sturdy.
The centrefold
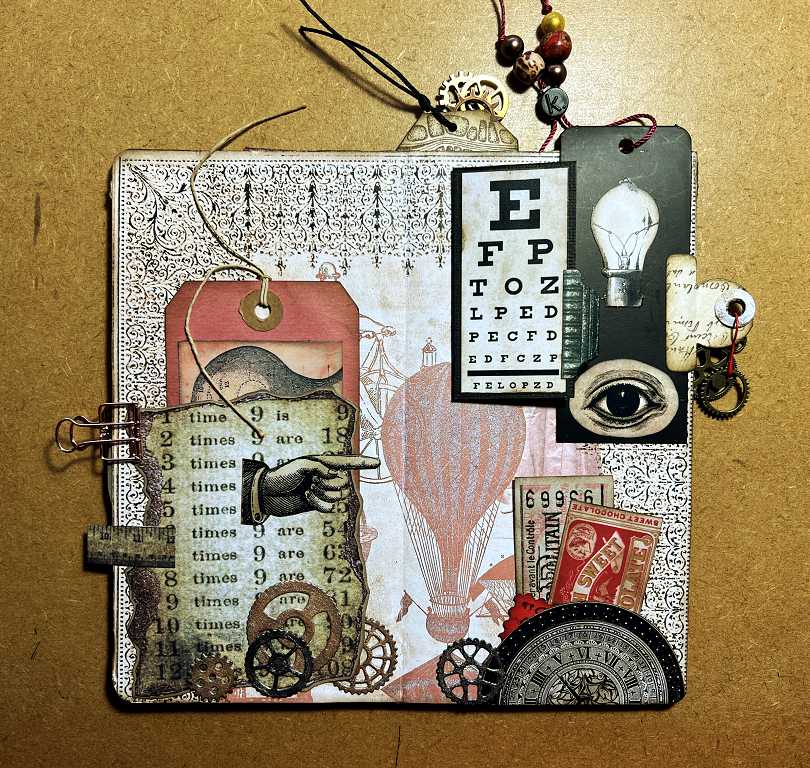
I covered a lot of this in my previous post, but I’ve added a few more details.
Originally I was going to replace the original string on the top of the pink luggage label, but in the end decided to leave it as it’s quite fun to have it in its original state. In this photo you can see the end of the ruler coming round the edge of the page and glued in place to form the little tab.
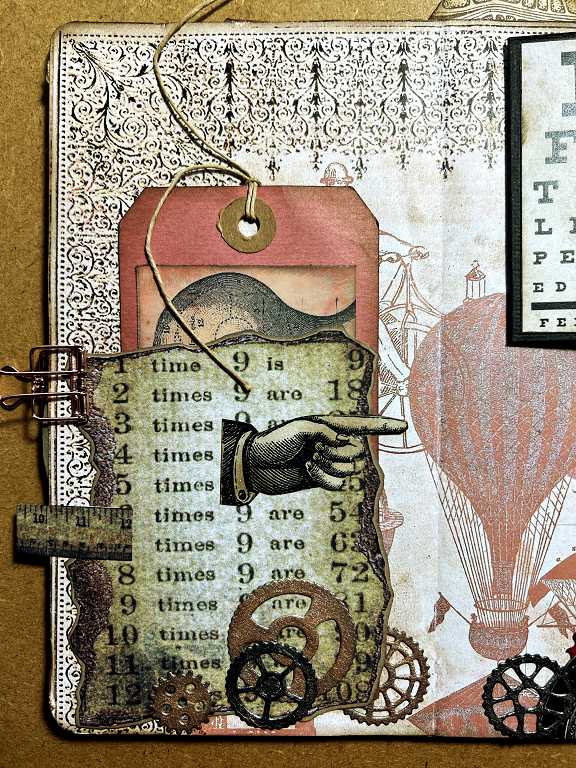
The luggage label removed from the tuck spot. Again, nice to leave as much as possible in its original state so that it is recognisable. All I did, apart from adding the image, was to ink the edges to distress them. You can see the fancy border of my steampunk background sheet, which was echoed on the pocket on the front page.
I added some collage onto the back of the label. The larger piece is a fragment of a gel printed sheet done with my plastic bath mat – I just love the pattern this makes with its suction pads!

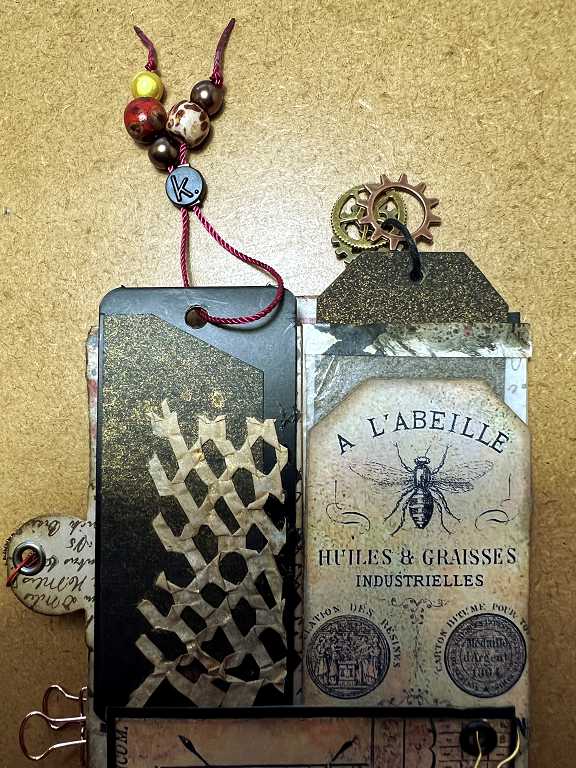
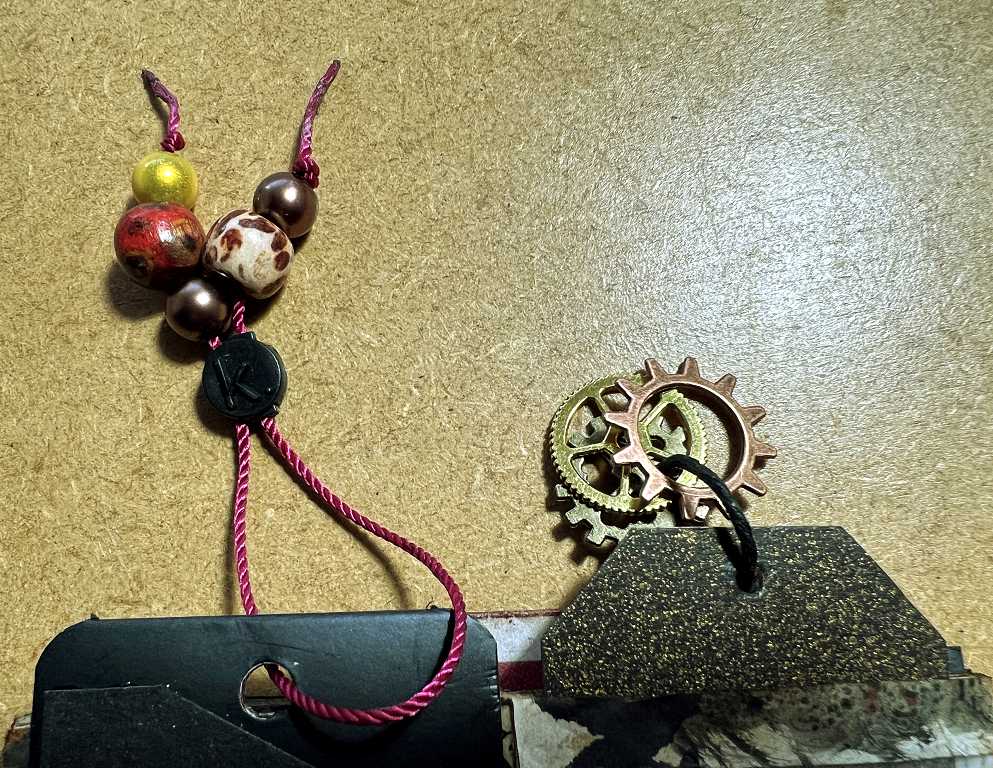
The clothing tag on the right had some beads added to its existing string, which was not removable unless I cut it, which I didn’t want to do. There is a small plastic seal thingy which joins the cords together into a loop.
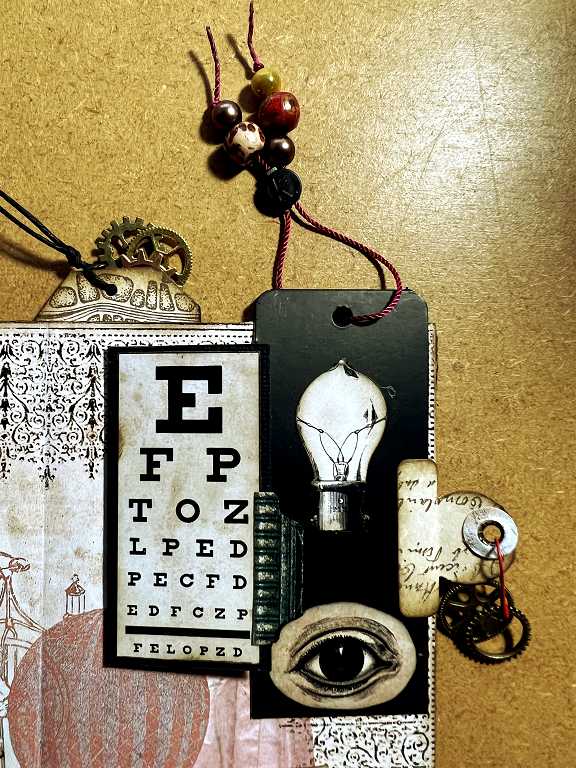
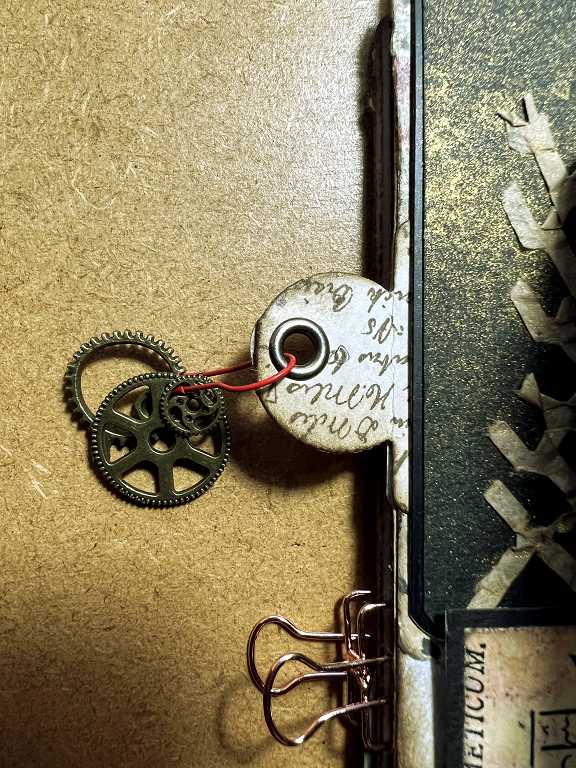
On the right of the clothing tag, which forms a tuck spot for the folded tag, I added one of my die-cut tabs cut from one of the stamped and coffee-dyed strips. This has an eyelet, and on this side, I have covered the not-so-attractive back of the eyelet with a hole reinforcer cut with my new We R Memory Keepers punch. Through the hole is a red bulb pin and some metal gears.
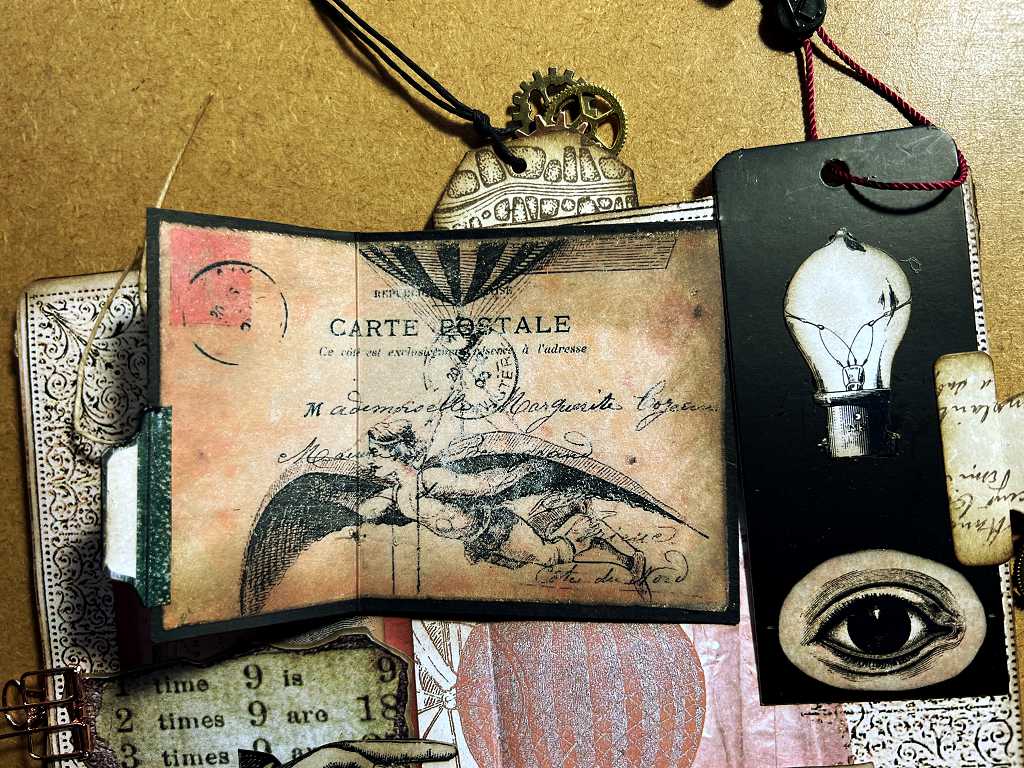
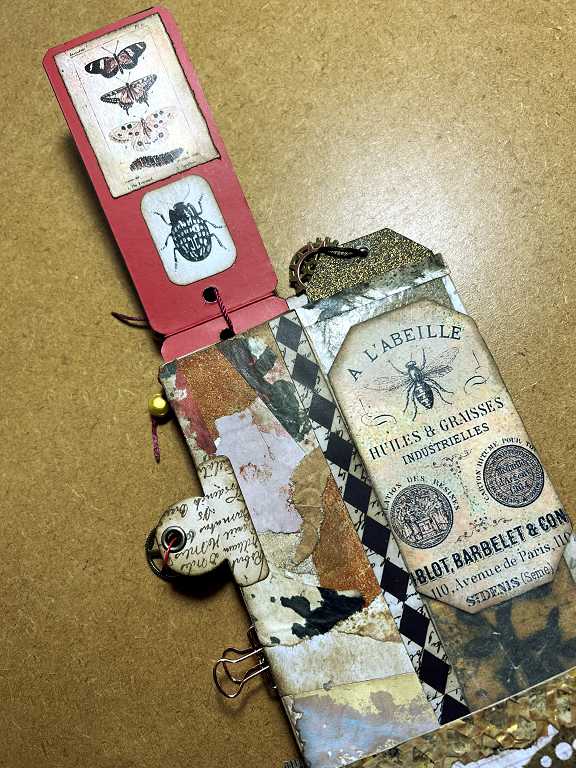
Another view of the folded tag opened up to show the image of the flying steampunk man. Again, I have added a tab to the side of this tag.
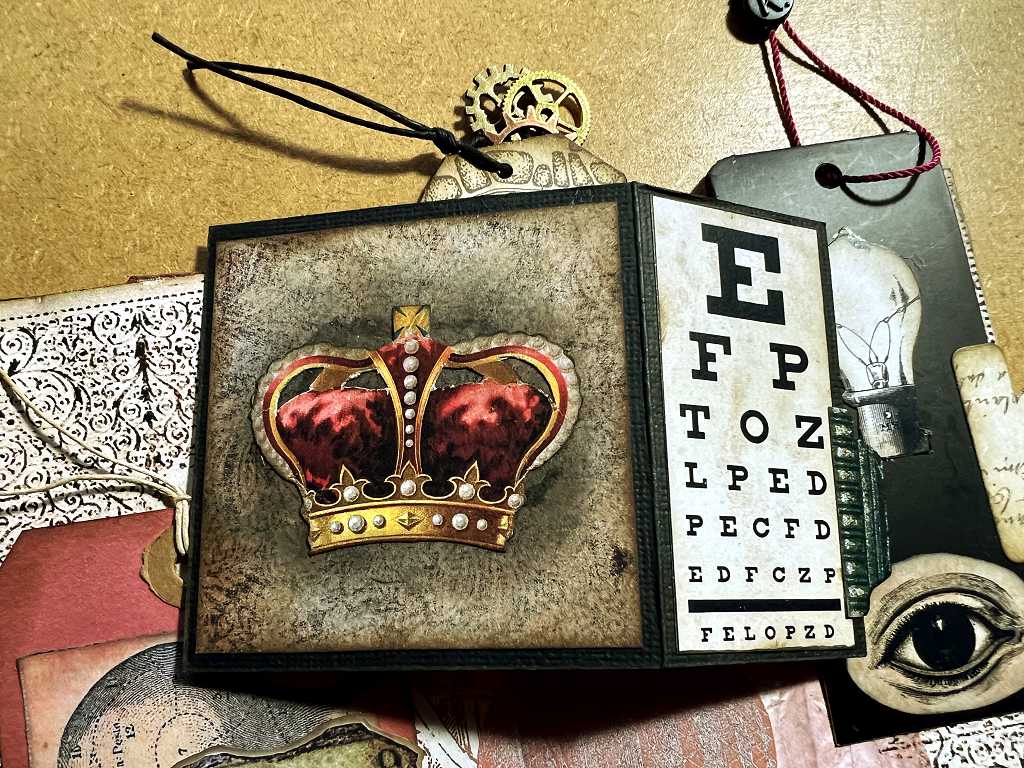
The reverse of the tag with its crown and distressed background.
At the bottom of the centrefold, I made a little ticket cluster to put in the half clock face tuck spot.

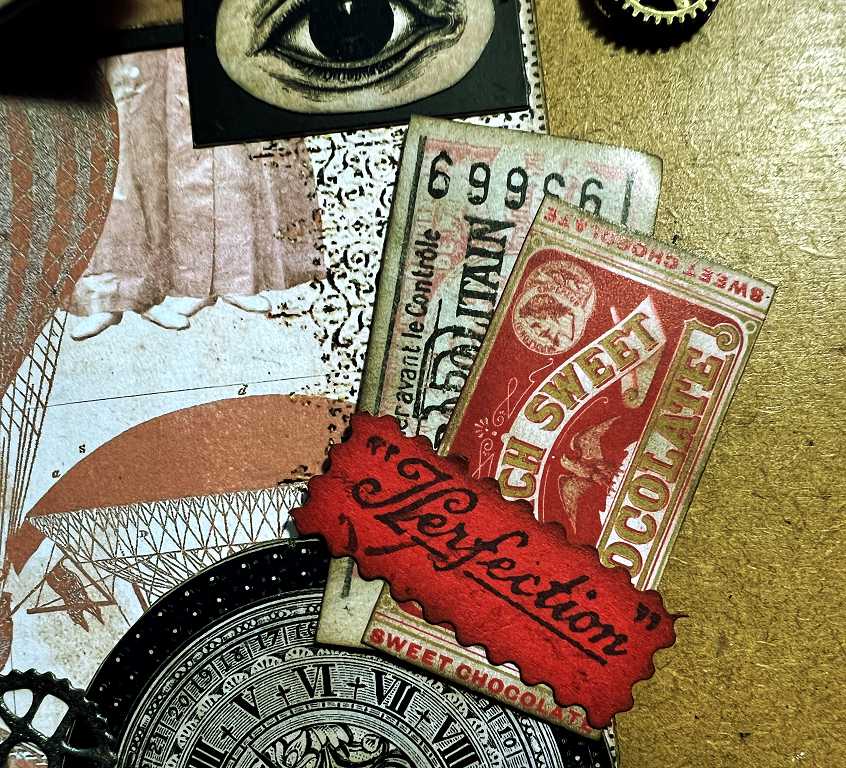
I inked the edges with Walnut Stain Distress Ink and then randomly added some Fired Brick Distress Ink in the centre, to give a distressed and vintage look, and to pick up the colour scheme of the page.
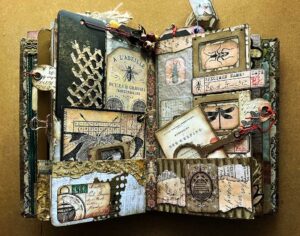
The back page

You can clearly see the little black plastic seal on the clothing tag in this photo. I threaded a short length of black cord through the hole in the top of the other tag and tied on three metal gear wheels.
The top of the glassine window has been reinforced by a scrap of one of my experimental inked papers. You can see the circular tab on the left of the photo with its eyelet. I covered up quite a bit of the glassine window on this page with the label.
A detail of the tag embellishments – beads and gear wheels.
The circular tab complete with its red bulb pin and gear wheels.
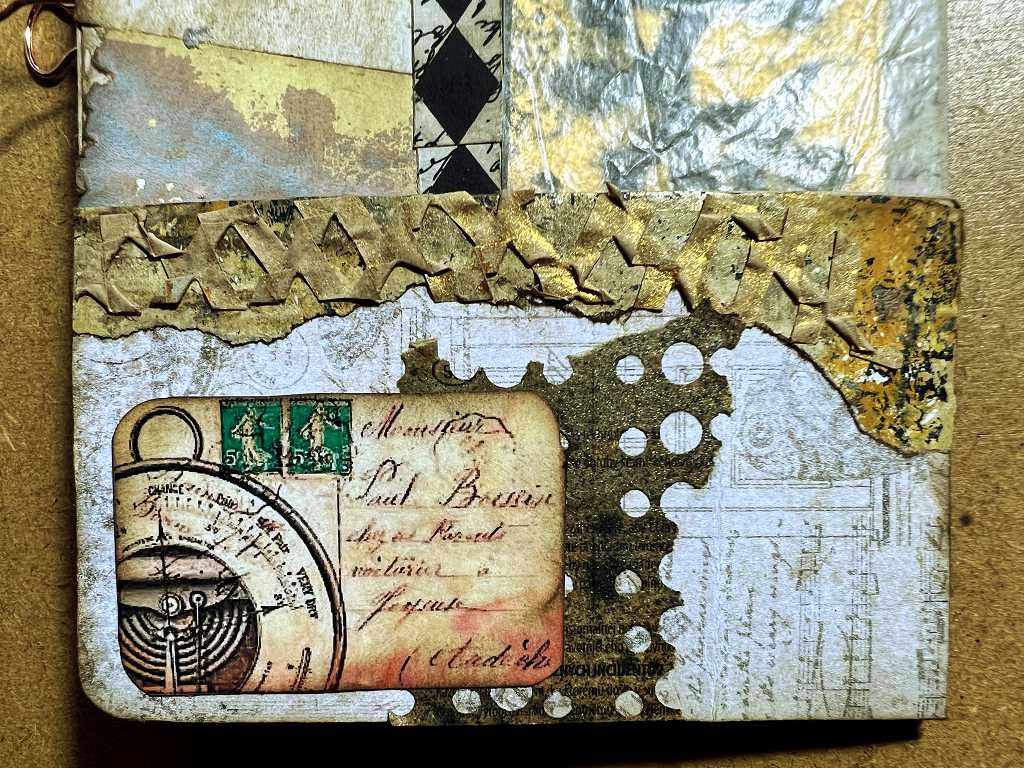
The bottom of the page. Onto the background paper I added a gorgeous fragment of paper which had been the edge of a gel print. When attached to the print it looked merely like a really messy edge that needed to be cut off, but on its own it was really textured and too good to throw away! It is overlaid with a scrap of paper mesh (used for packaging) sprayed with gold, which doesn’t show up too well in the photo. Below this is a small postcard image and a scrap of punched and sprayed medication leaflet.
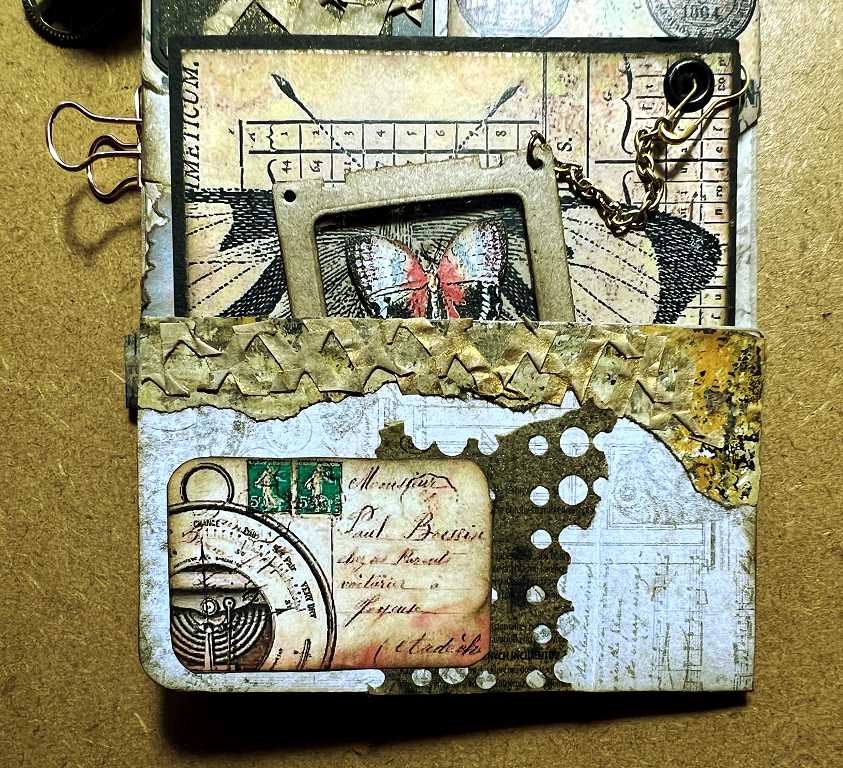
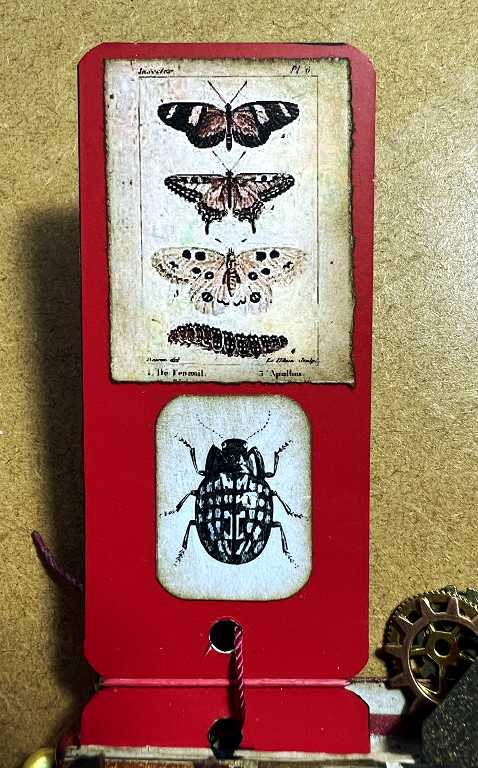
Returning to the top of the page, here is the clothing tag opened up, complete with its insect images. The other side of this tag forms the tuck spot on the centrefold. Beneath this tag, covering the paper bag, is one of my collage strips that I made several months ago – sticking down random pieces of torn paper in a crazy patchwork. To cover the join between the paper bag and the glassine window, I have stuck down a strip of harlequin paper from my Curious Cabinets collection.
You can see the tall tag through the glassine window at bottom-right in the photo.
A closer look at the inside of the clothing tag. I love how it’s red!
A closer look at the centre part of the page.
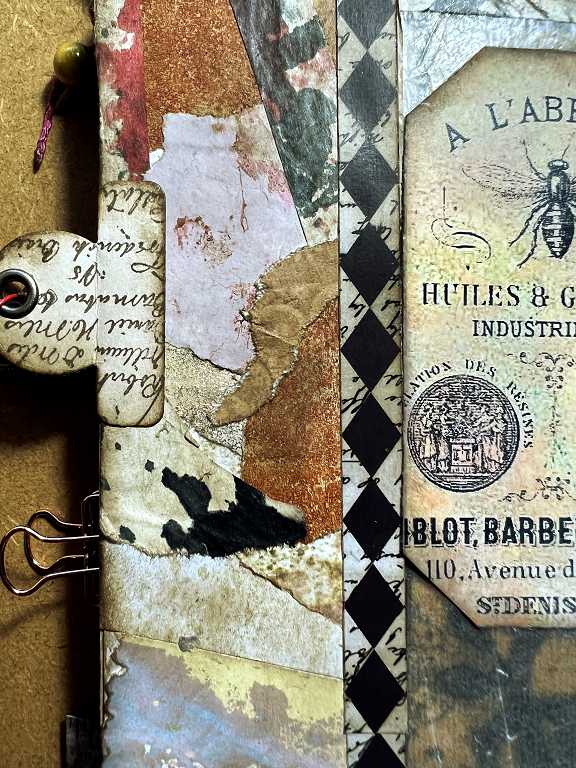
The label stuck on the front of the glassine window.
The bottom pocket once more. You can see the gold spray on the paper mesh a bit better on this photo, and also the tag showing through the glassine window. I love how the text on the medication leaflet is still visible despite the paper having been sprayed. It all adds to the texture.
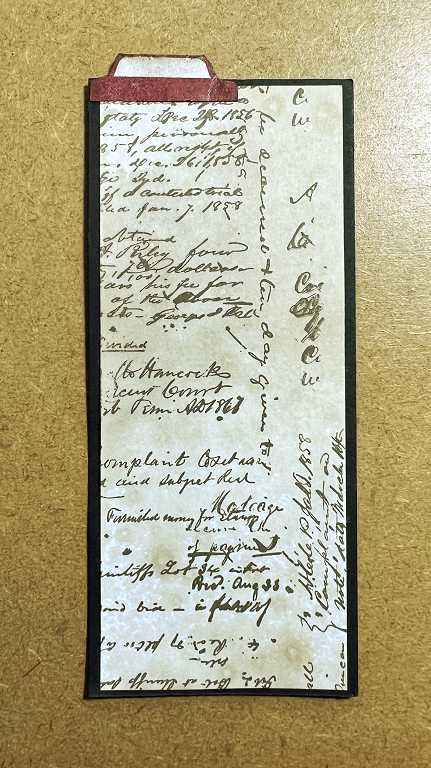
The tall tag from the glassine window.
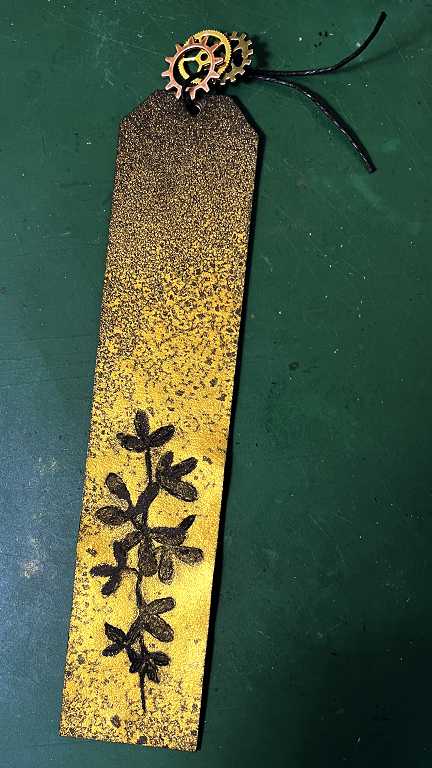
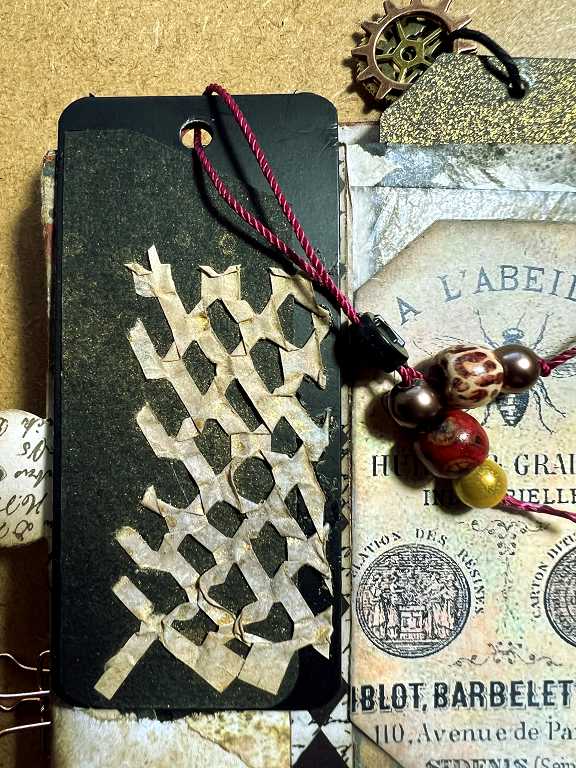
When I spray anything in my splat box, I like to put a piece of card or something underneath so that the object I am spraying acts as a mask. This way, the overspray is not wasted, but can be turned into something useful. This was the case here. The die cut was used on one of the tags in the second folio and I thought this “negative space” version would fit nicely on the third folio.
On the reverse, I stuck down another piece of my stamped and coffee-dyed card strips.
The front of the closed clothing tag complete with its beaded cord and more paper mesh sprayed with gold. It’s a bit difficult to see, but the fragment of black card with the diagonal cut at the top which is underneath the paper mesh, also has a light dusting of gold spray.
The large tag which fits in the bottom pocket. This now has an eyelet at the top corner, through which I have put a gold bulb pin. I raided my junk jewellery box and found a suitable length of chain, from which I removed a short length, added a jump ring and attached it to the corner of the specimen slide.
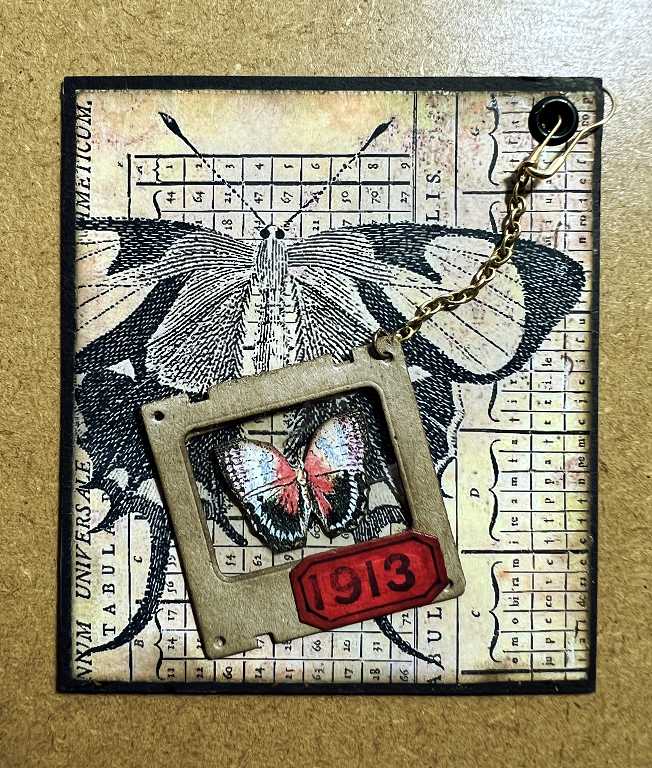
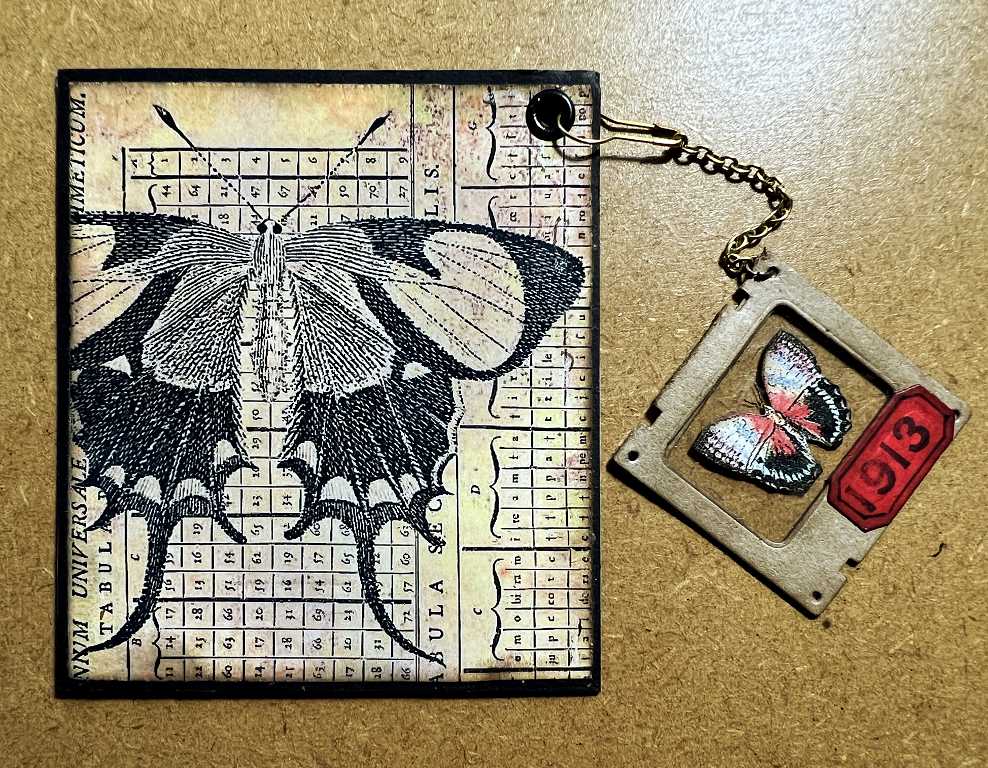
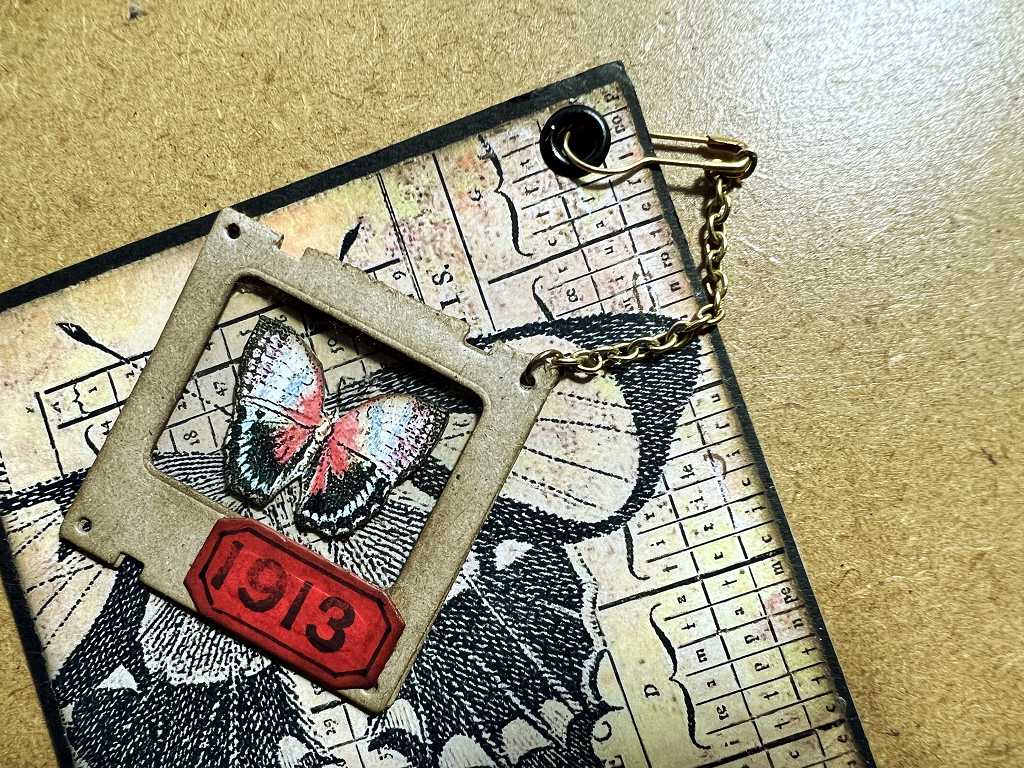
You can’t see the plastic film in this slide in the photos but it gives a nice shiny effect. The double-sided butterfly is trapped between the two layers so the slide is double-sided too. I stuck one of my DIY tickets on the front. The die used to cut the slide is great because it also creates the embossed line around the window which gives it a nice finished look.
The tag in place in the pocket.

The specimen slide tucks into the top of the pocket as well, safely attached with the chain.
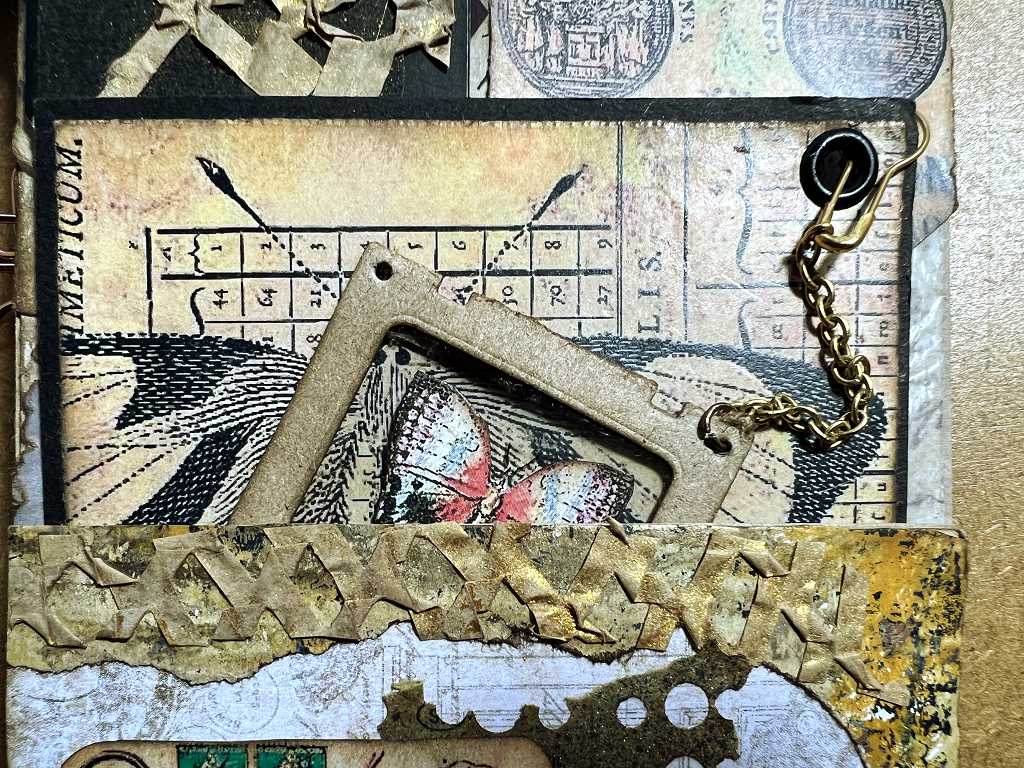
When the large tag is in situ in the pocket, it holds the bottom of the clothing tag in place.
The back of the large tag.
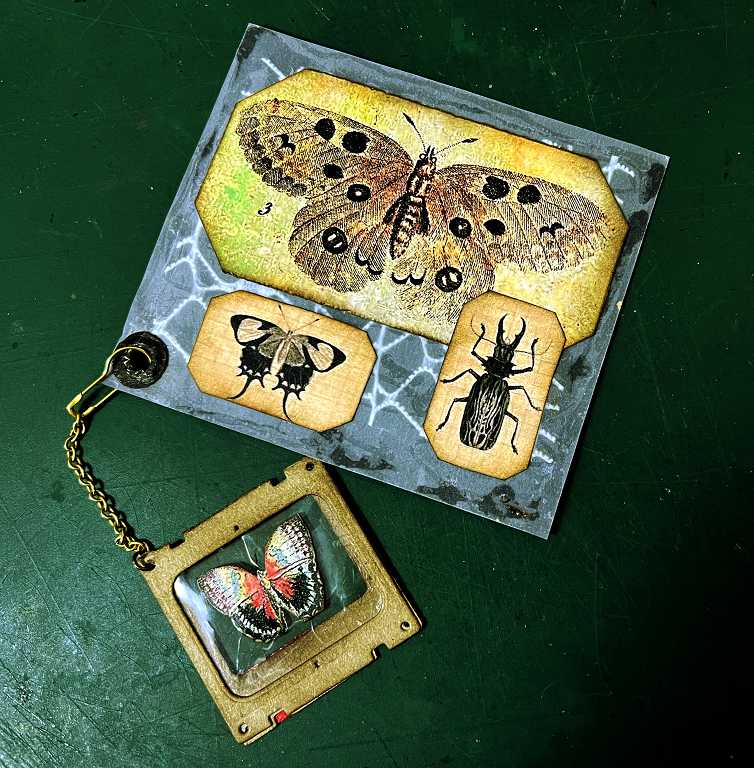
I stuck down a piece of white mesh-like stuff – I’ve got loads of this, and it’s very decorative, but an absolute pain to deal with. It’s plasic, and has a life of its own, and it’s a job to stick it down. In this case, it was too stark white, and another problem with it is that you can’t ink it. I suppose I could have painted it with acrylic paint to dull it down, but as it was, I covered it with a piece of vellum. The image on the front of the tag was backed onto some black cardstock to make it sturdy. On top of the vellum I added three more insect images, and again, covered the back of the eyelet with a paper reinforcement. The vellum has a nice smooth feel. This album is certainly very tactile!
In this photo, you can see the plastic film in the specimen slide – I’m glad that eventually one of the photos at least showed this!
On the back page of this folio, there are quite a few butterflies and other insects, and a bit less steampunk. There was a little bit of planning involved in this, because as I was doing it, I decided that the theme of the fourth folio is going to be entomology.
Three folios completed!