ORIENTAL-STYLE ALBUM – PUZZLE PAGE
Out there in YouTube land, I found a wonderful interactive album on an Alice theme by Rosa Kelly, and she included a puzzle page with flaps that could be lifted to reveal a second picture hidden underneath, a bit like an Advent calendar. I loved this idea and knew I had to incorporate it into my album.
Puzzle page
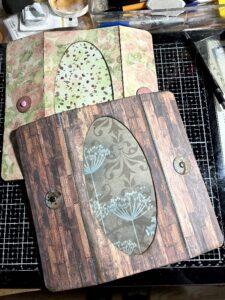
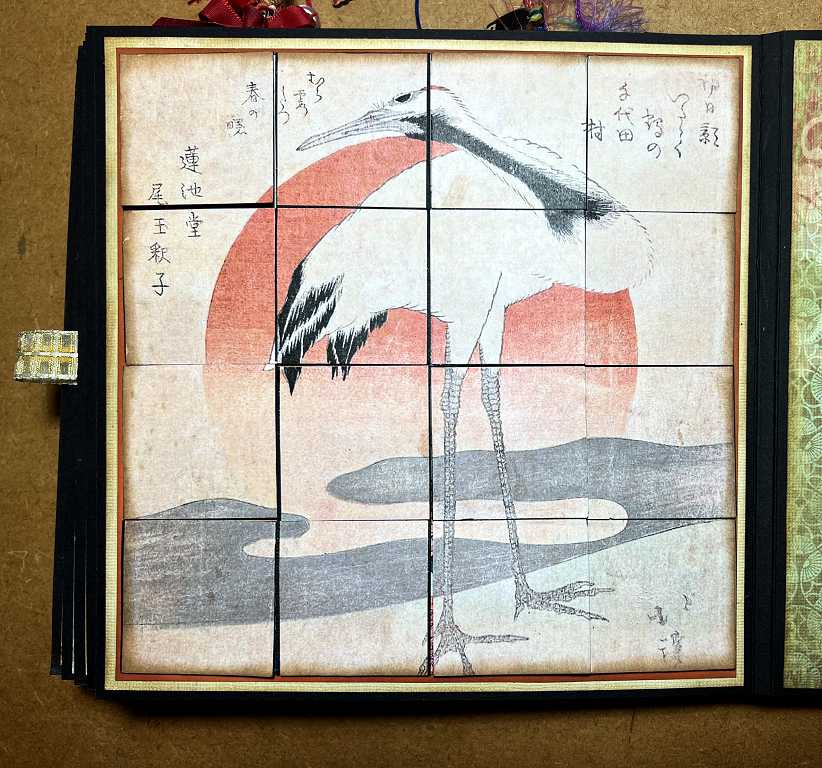
Because I knew this interactive element would cover pretty much the whole of a page, I deliberately chose a page which had an almost plain background.
I began by downloading a couple of copyright free images of Japanese art from the Internet.
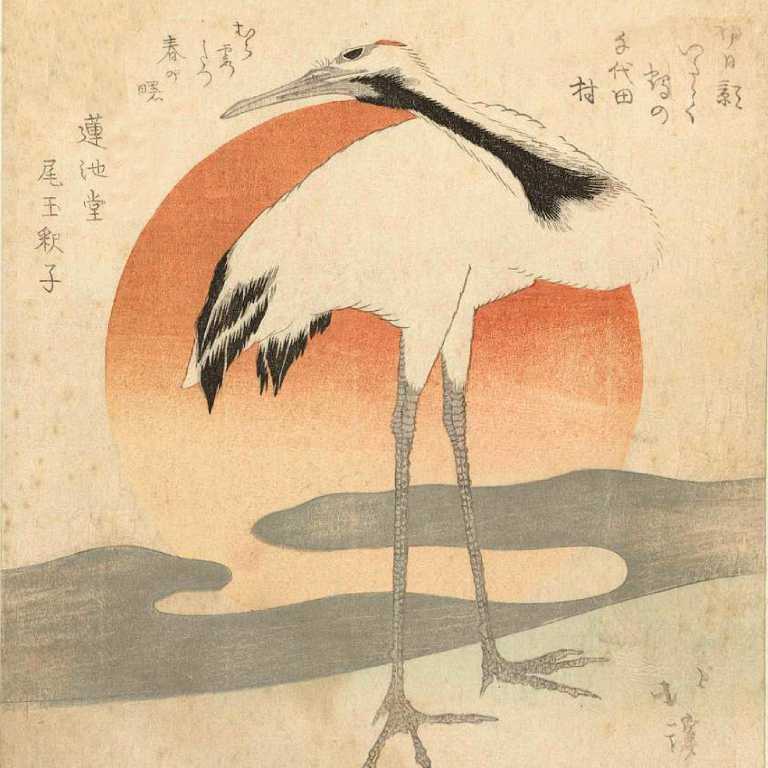
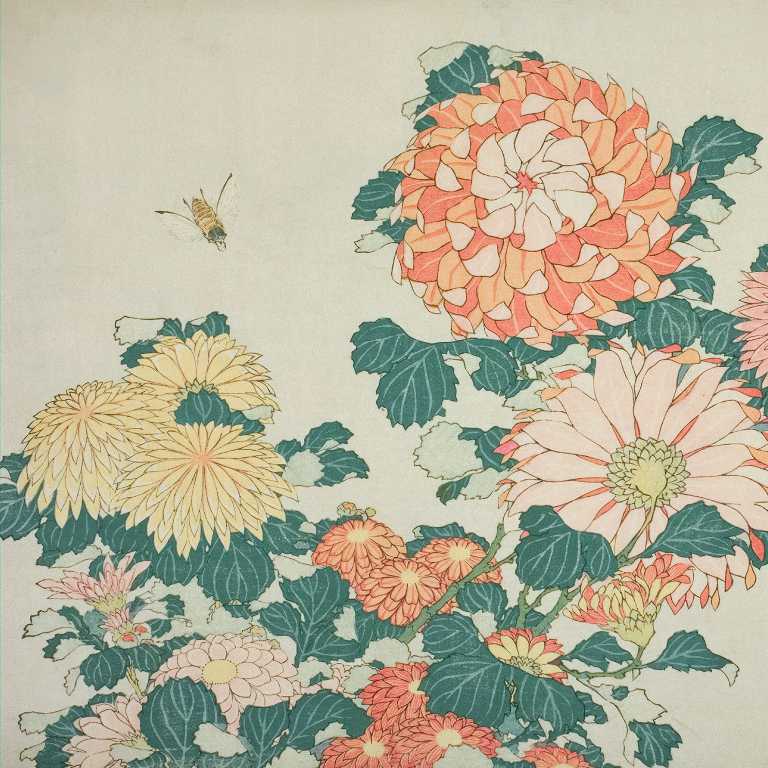
I had to edit them a bit in order to make them into square pictures to fit on my page. The chrysanthemum picture didn’t present too many problems and I was able simply to crop it, but the crane image needed a bit more work, in order not to lose the calligraphy.
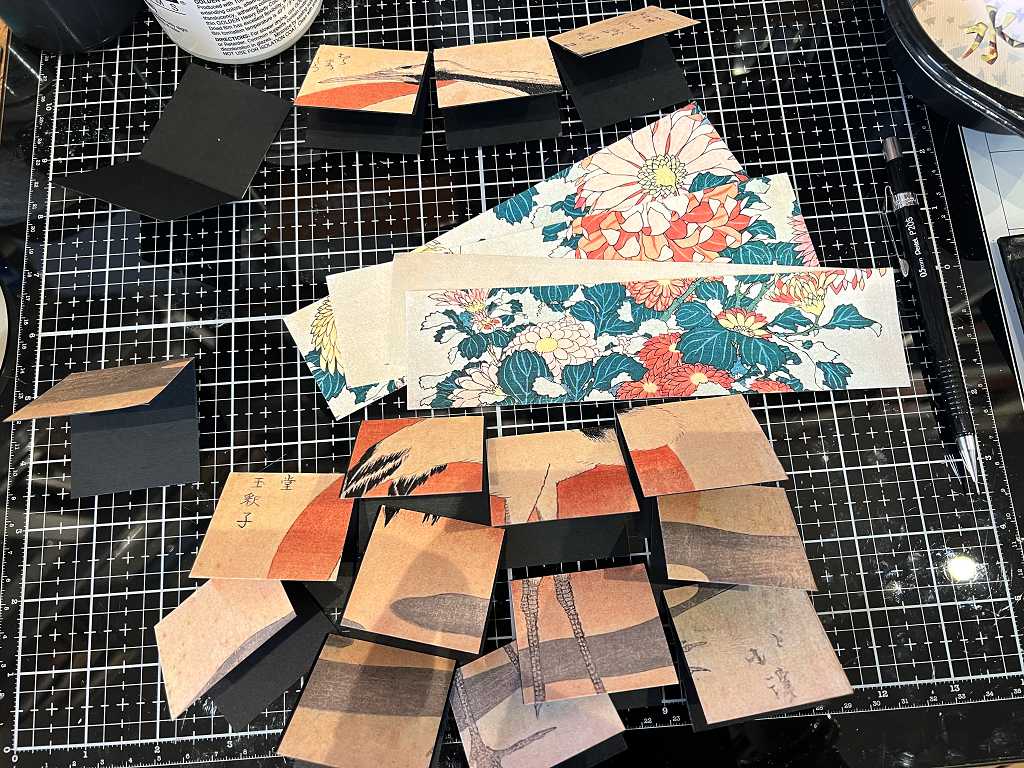
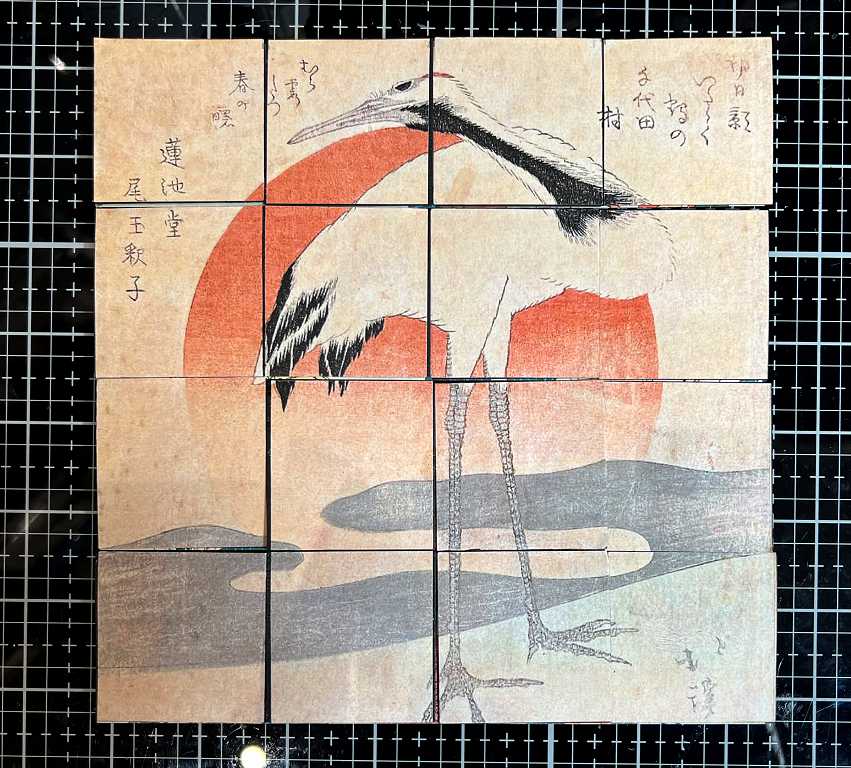
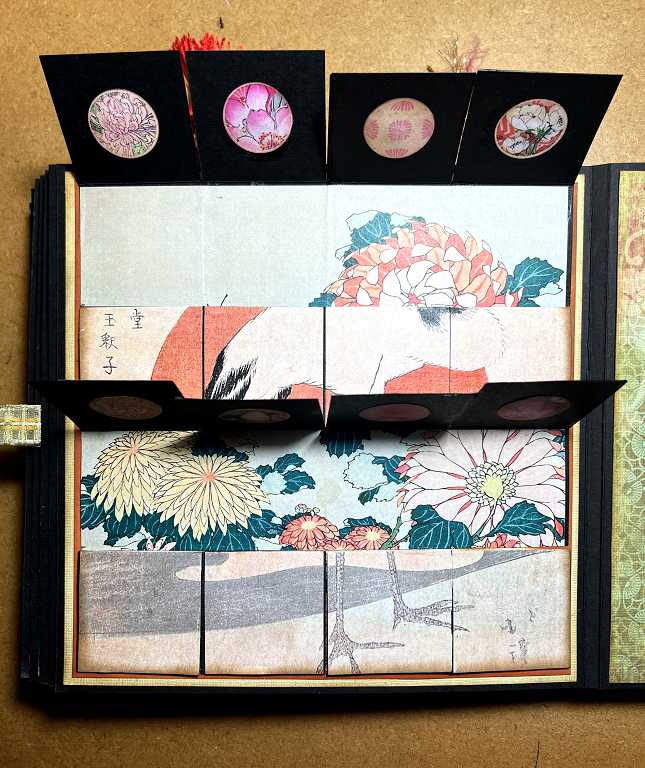
I began by cutting the top picture into sixteen separate tiles, and sticking them down onto small tent-fold cards cut from black cardstock – all of these were cut from scraps.

I cut the bottom picture into four horizontal strips. Here they are with the top picture flaps.
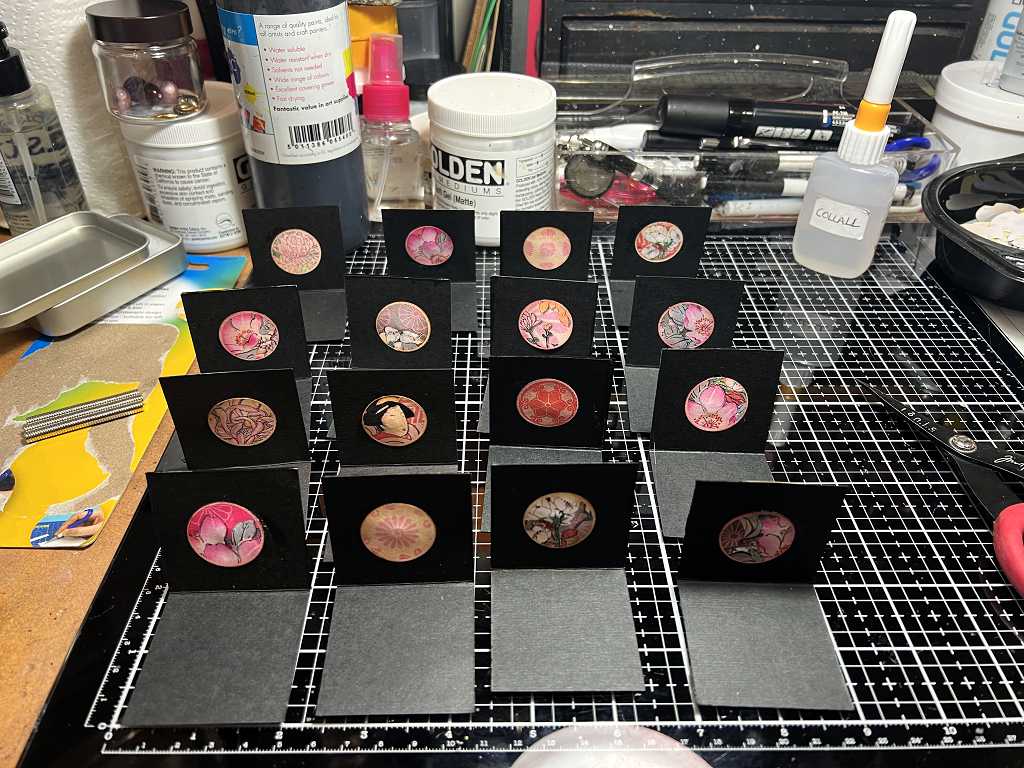
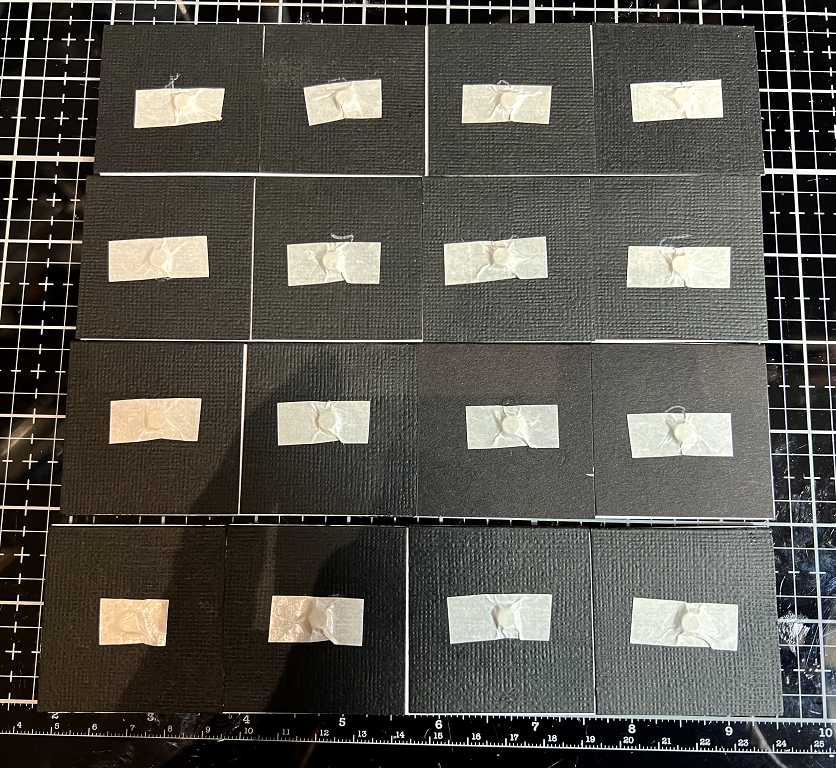
Rosa Kelly used a magnet on each flap to keep it closed, so this is what I did as well. I stuck my small magnets in the centre of the flap so that I could cover them with the small circular pieces from the Graphics Fairy Premium Membership site.

All the magnets in place, together with their covers.
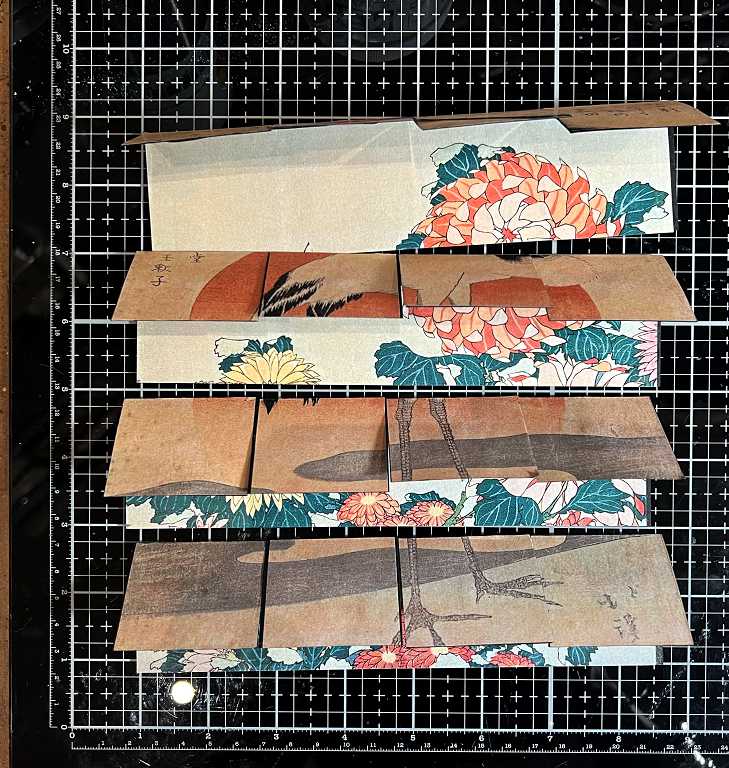
I made a point of numbering each part so that I would not inadvertently glue the pieces together in the wrong order and ruin the resulting pictures!
The next step was to glue the bottom part of each flap to the underside of the bottom picture strips.

All of the flaps in place. You can see the pictures beginning to take shape.
Now it was time to stick the other magnets to the underside. I placed a magnet on the glass mat, and holding the flap closed, turned the strip over and held it over the loose magnet, which immediately clicked into place with its pair. I was able then to tape it into place on the underside of the strip.
Turning the whole thing over and lining up the strips, this is the result – the top picture arranged as a series of tiles.
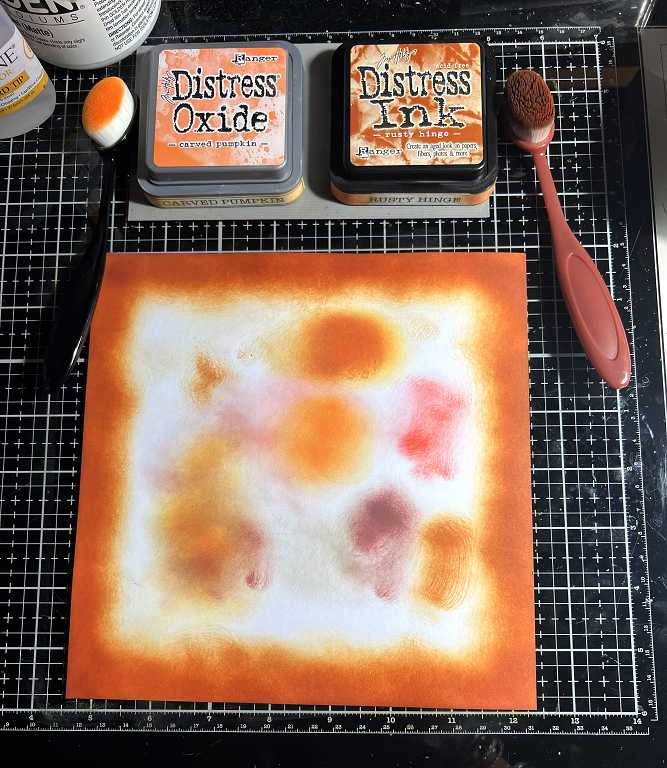
In order to produce a nice neat finish, I wanted to mount this on a mat before glueing it to the album page. I didn’t have any cardstock of the right colour, so I inked the edge of a square of white cardstock. I had to experiment a bit in the centre (which would be covered up) before I found the right blend, which was Carved Pumpkin Distress Oxide and Rusty Hinge Distress Ink.
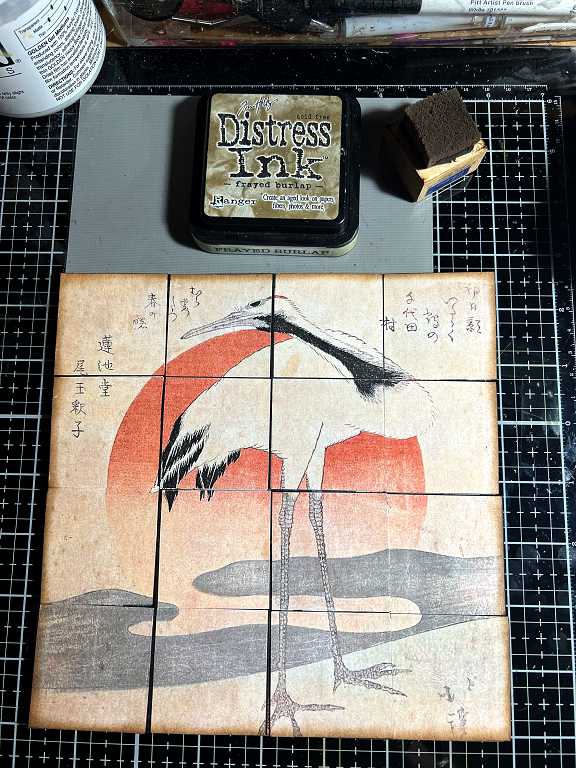
Before mounting the tiles on the mat, I inked around the edge with Frayed Burlap Distress Ink. I chose this rather than the usual Vintage Photo as it is a more greyish brown which I thought toned well with the grey in the image.
The whole thing glued to the mat and stuck down on the album page. I think the mat sets it off nicely and gives a better finish.
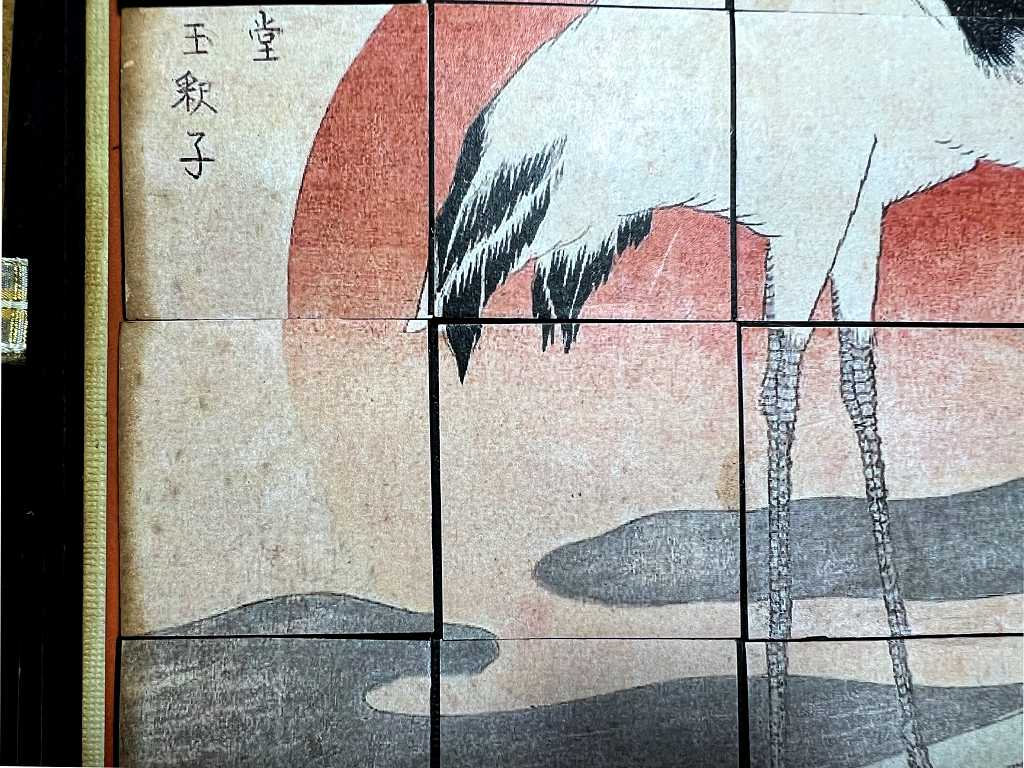
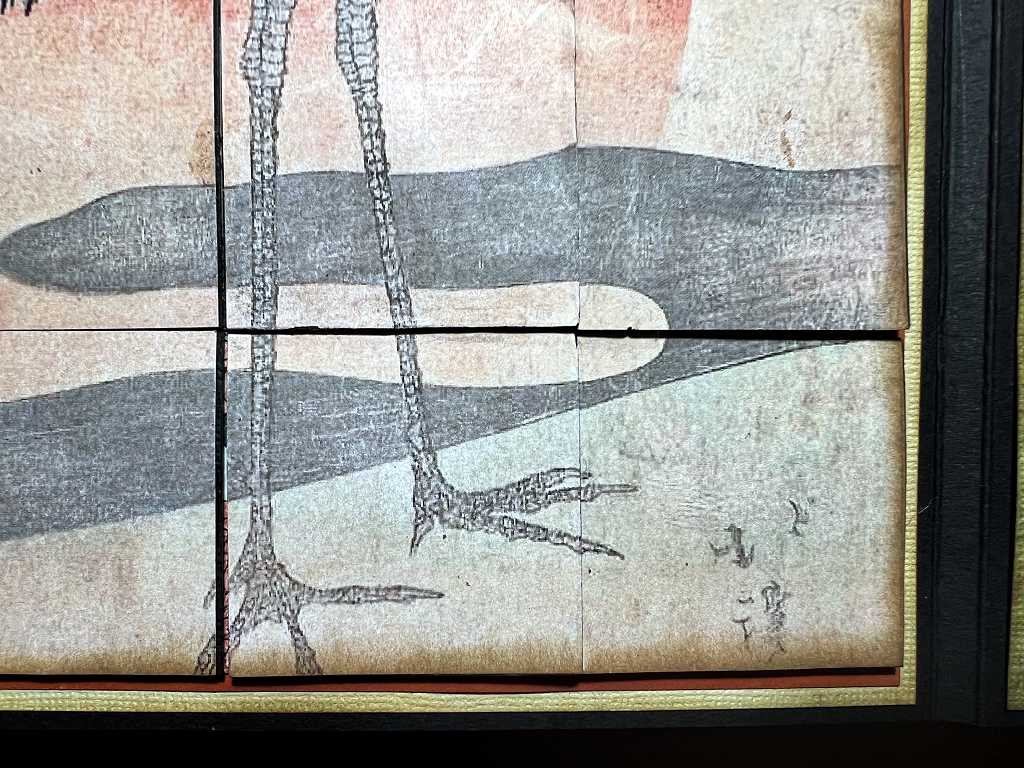
A few detail shots.

Beginning to open the flaps to reveal the hidden picture underneath.
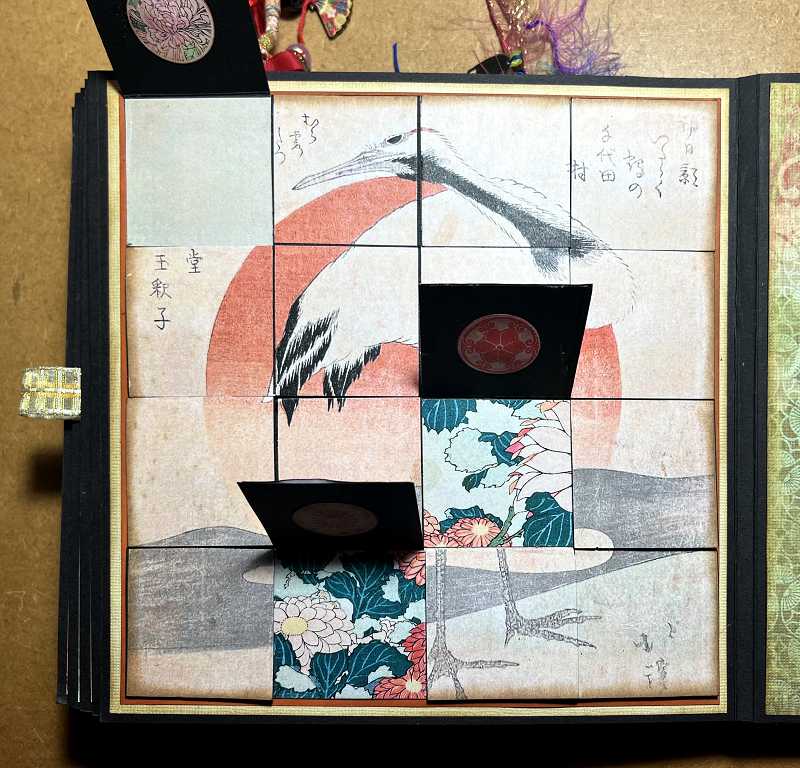
All the flaps open.
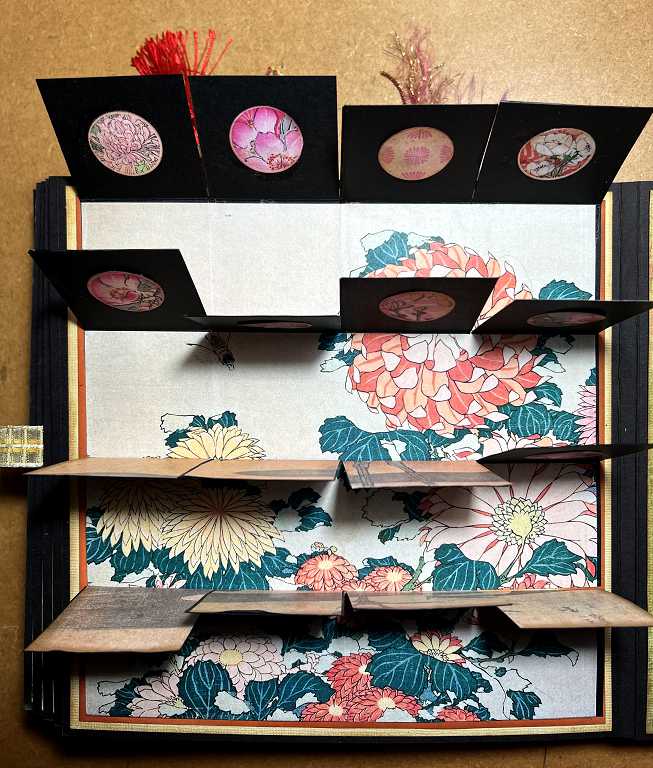
This is a fun page, and the flaps make such a satisfying “click” as the magnets snap them shut.
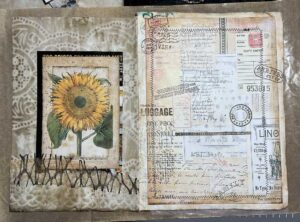
The corresponding right-hand page of the spread is predominently green. Unlike most of the other spreads in the album this one is not going to be so closely matched. The original colour of the left-hand page was more yellow (you can just see it in the border) but what I have added has made it quite a bit different. I have begun selecting elements for the right-hand page, and chosen some with the orange colour-scheme in order to tie things in. I haven’t decided on the details of that page yet, and have set it aside for now, as I felt the urge to do some more collage in between – look out for subsequent posts on that.