ORIENTAL STYLE ALBUM – IRIS SHUTTER PAGE
It’s been over a month since I did any work on this project. I have been mulling over doing an iris shutter interactive element and kept putting it off as it involved getting myself organised, tidying the studio and making room for my downstairs laptop so that I could work the cutting machine. The Sure Cuts A Lot (SCAL) software which the machine needs in order to read the files, unfortunately can only be installed on one computer – a bit old-fashioned these days when you usually purchase a licence for several devices.
Assembling the iris shutter mechanism
The other day I cut several of the iris shutter mechanisms in two sizes, some from white, and some from black cardstock. Today I selected one of the larger black ones to assemble.
I followed the instruction video shown on the linked post above.
Sorting the various elements, and sticking down the small attachment pieces. I used my new Collall All-Purpose glue in the brilliant fine liner bottle which works a treat – never have I had such glueing control!! With the needle applicator, you can get maximum coverage from minimum glue, with no seepage around the edges.

The small pieces have little perforations to show you where to fold the “legs” upwards, and the leaves have small slits to show where to line them up and stick them down.
All five leaves attached.

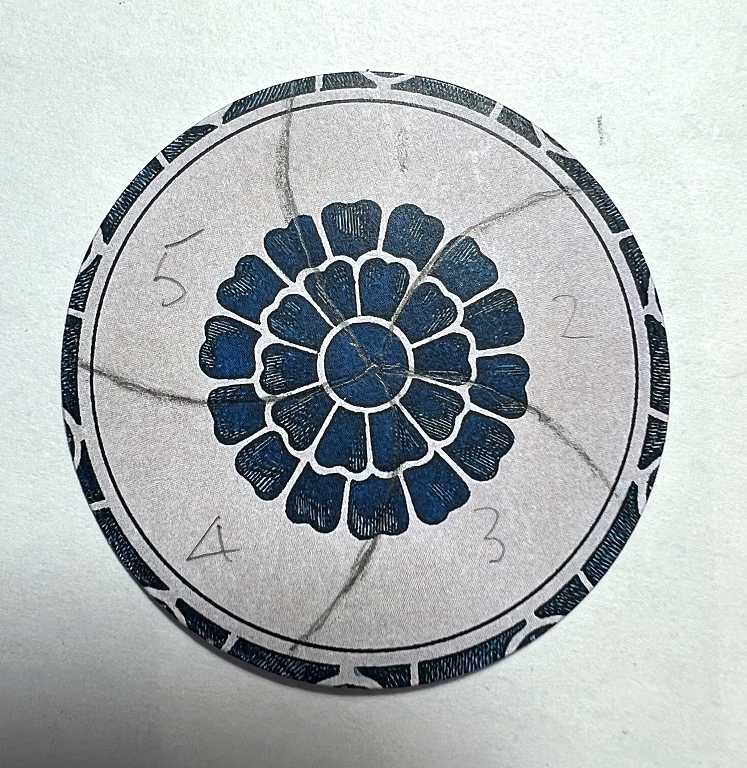
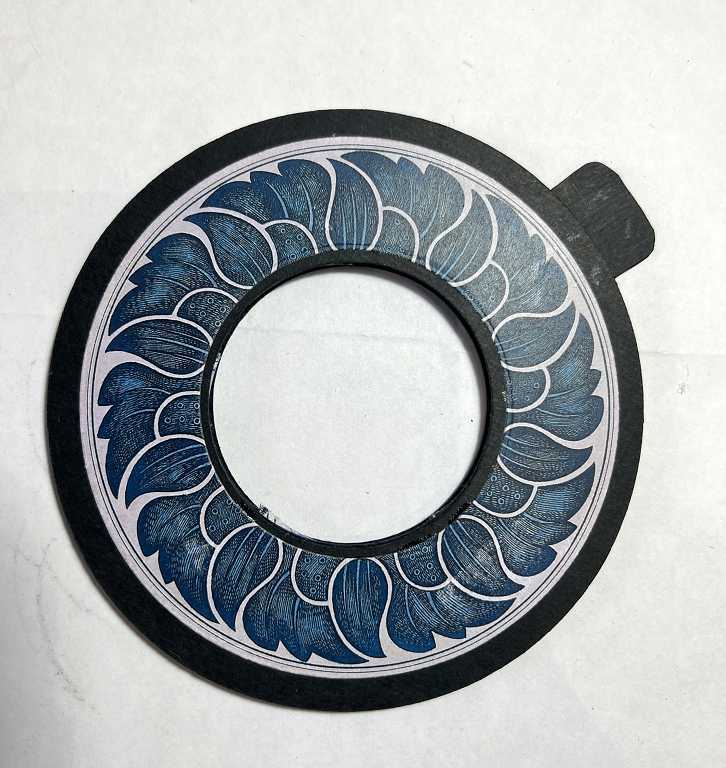
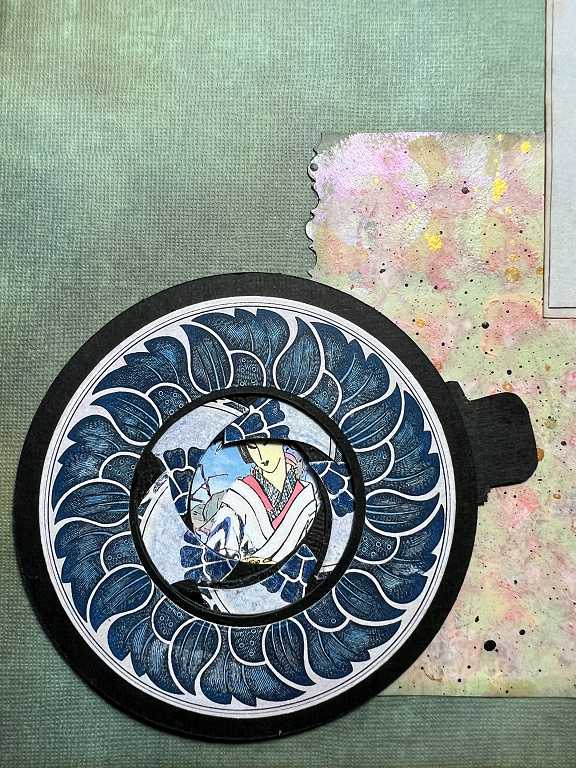
Perhaps I was over-ambitious with the very first iris shutter mechanism that I’d made. I wanted to have a picture or image on the iris leaves, surrounded by the circular frame, so that there would be something interesting to look at while the iris was closed. One of my Graphics Fairy Oriental roundelles was almost exactly the right size for my iris shutter so I die-cut the centre part out with a small border so that it would be large enough to be covered by the iris shutter frame. This did mean I lost a little off the centre part of the design on the outer ring.
I gave a lot of thought to how I would cut these decorative elements to fit on each leaf of the iris shutter. In the end I took a small piece of greaseproof paper and taped everything down. I traced around the shape using a soft coloured pencil rather than my reguar pencl which I thought might tear the paper.
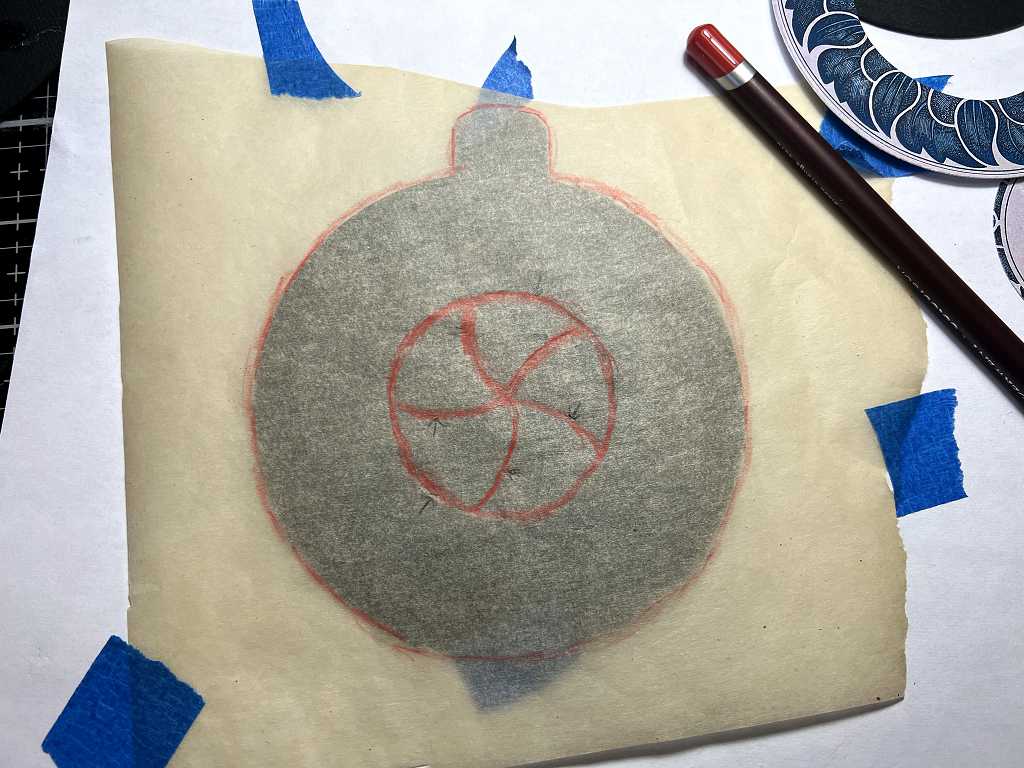
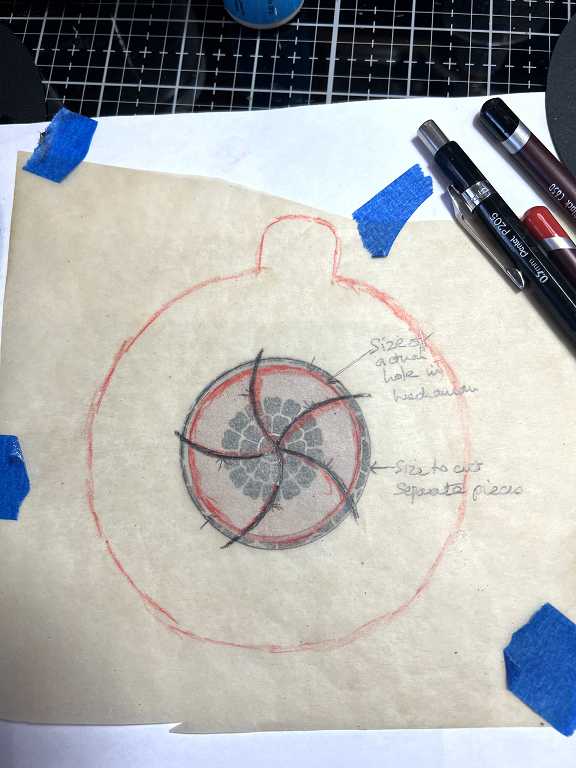
I marked each leaf with consecutive numbers so that I would be able to assemble them in order. If I didn’t do this, the picture in the centre would not be correct.
It was then just a question of cutting along the lines in order to separate the leaves. Having them numbered really helped.

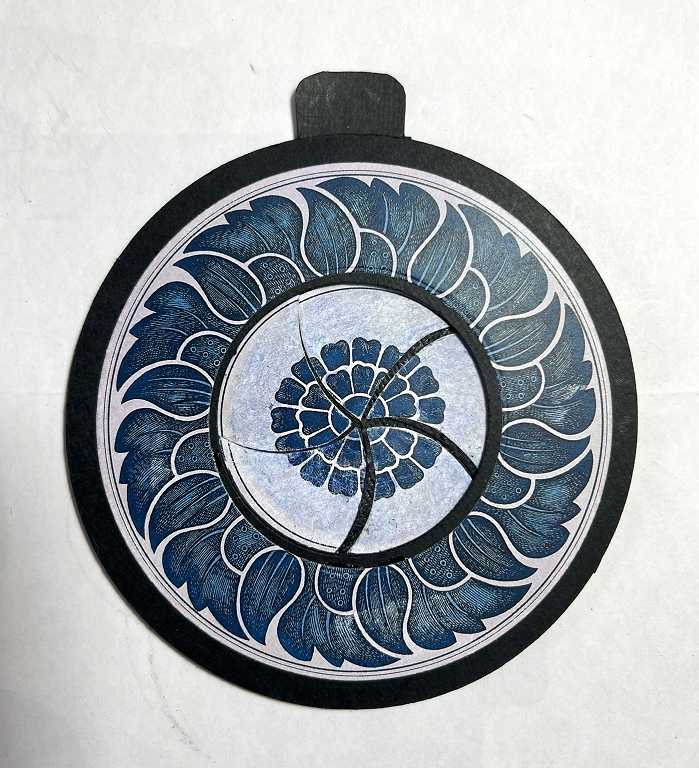
The pieces all stuck down onto the leaves. I had a terrible job with this, trying to line them up correctly and ensuring that there was no stray glue which would interfere with the mechanism. At one point I virtually took the whole thing apart, and was afraid I’d ruined it, but it came back together OK.
At this point I added a little colour to the central part, using a blue coloured pencil and blending it a little with the Tombow Dual Marker blending marker, which I find works very well with our modern materials.
This picture shows the iris in the closed position.
The mechanism works by pulling the lever. Late in the project I stuck an extra layer of black cardstock to the little pulling handle as it clearly wans’t strong enough.
Here is the iris in the half-open phase.

And here is the iris diahragm fully opened. All the leaves have disappeared between the various layers of cardstock.
The iris shutter page spread in the Oriental Style Album
Here is the completed spread.
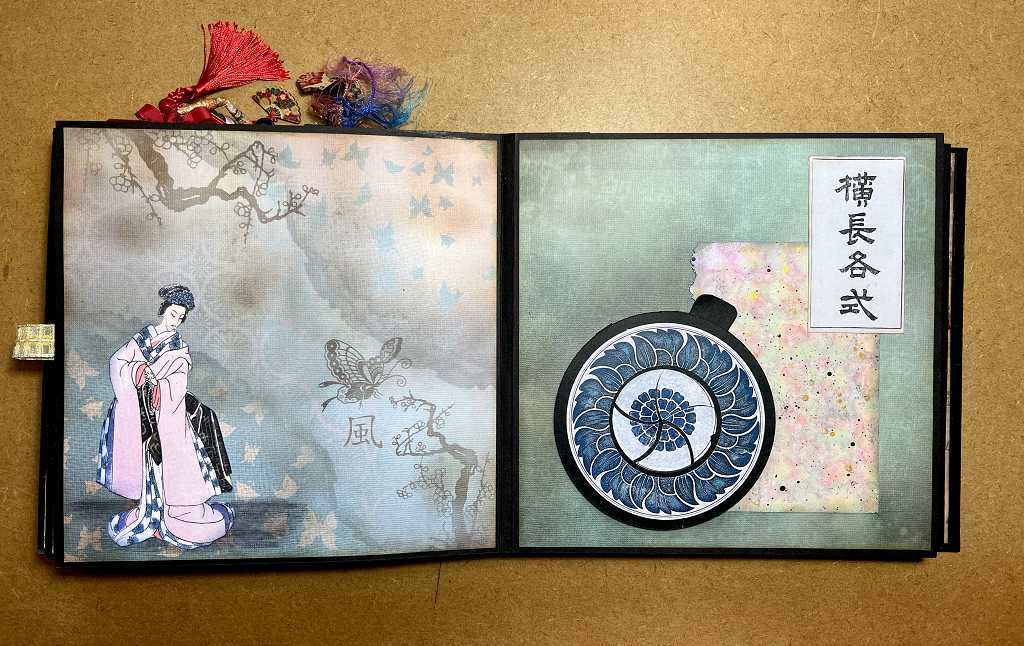
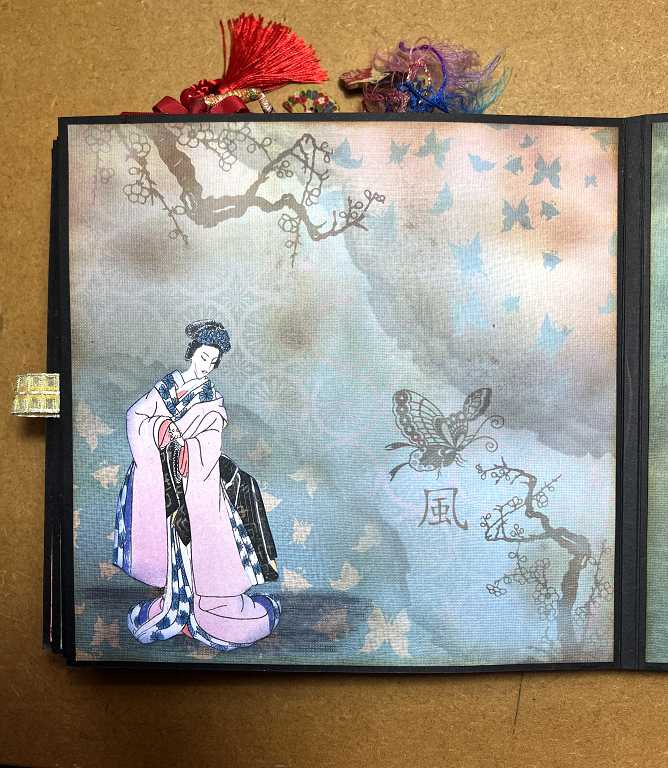
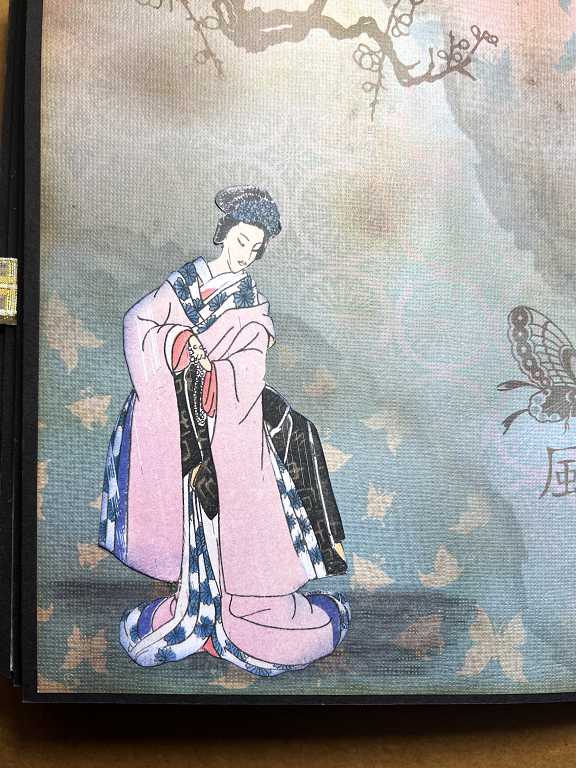
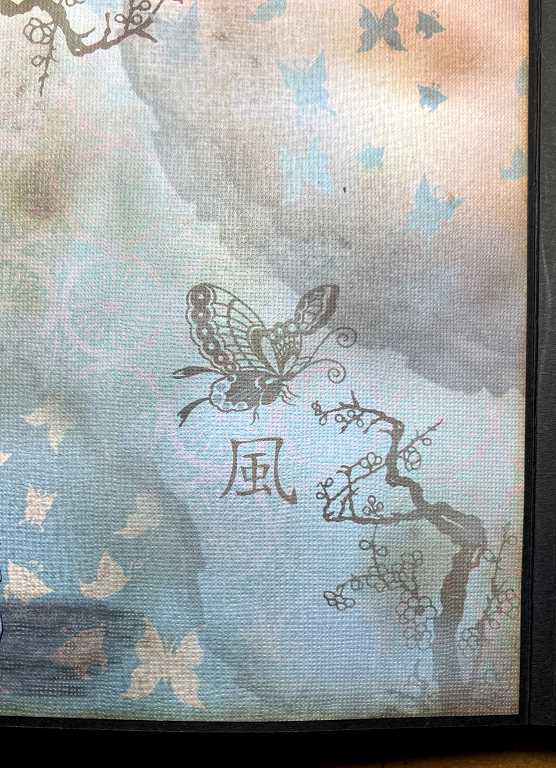
I decided to keep the embellishments on this spread relatively simple, as I did not want to cover too much of the absolutely beautiful background papers, especially the one on the left-hand page. I found a fussy-cut Japanese lady from my stash printed from the Graphics Fairy Premium Membership site and placed her at bottom left. I added some shading with a coloured pencil blended out with the Tombow blending marker, to “ground” her so that she didn’t look as if she was floating in mid-air. I also didn’t add too much to the right-hand page as it would have drawn the eye too much away from the left-hand page. Less is more on this spread.
A closer look at the left-hand page.
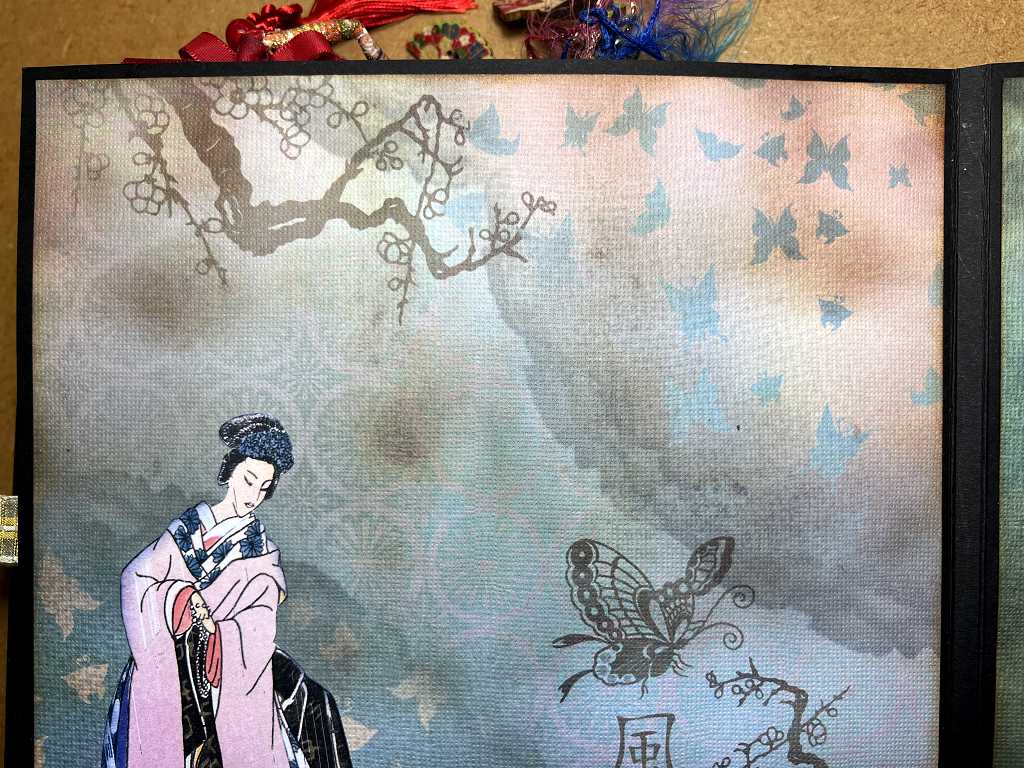
Moving over to the right-hand page:

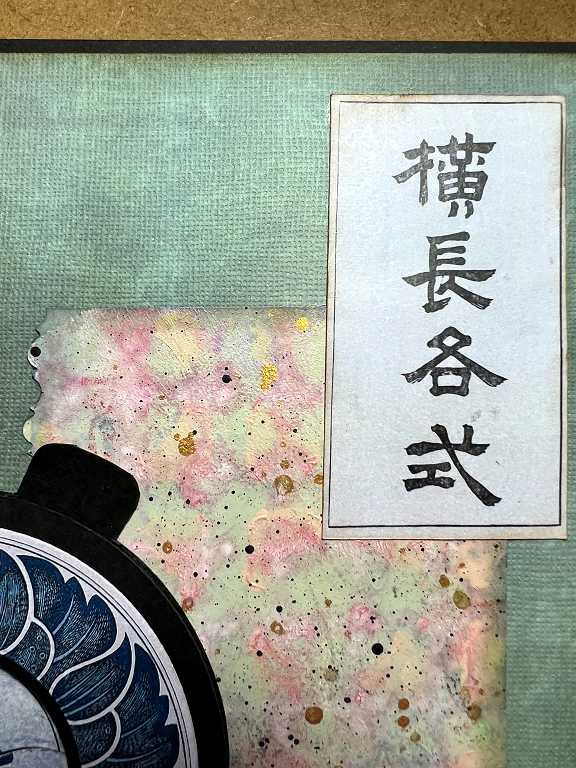
I decided to use one of my altered recycled Christmas cards for a layer of collaging on this page. The colours are subtle and gorgeous, and t seemed to fit with the theme. I cut one edge with some fancy scissors but most of this has been covered up. There are some gold spatters on this piece which really shimmer in the light. It was a simple matter to stick this down, and also the calligraphy strip at the top.
The iris shutter stuck down, in the closed position. I had chosen a small round image of another Japanese lady, and once I’d decided on the rough position of the iris shutter, I stuck her down, and arranged the iris shutter over the top, applying glue only to the back of the ring part while the mechanism was in the open position, to avoid sticking anything down that needed to move.

Grasping the handle and pulling it around in a clockwise direction, the hidden picture begins to be revealed as the leaves of the iris shutter move outwards.
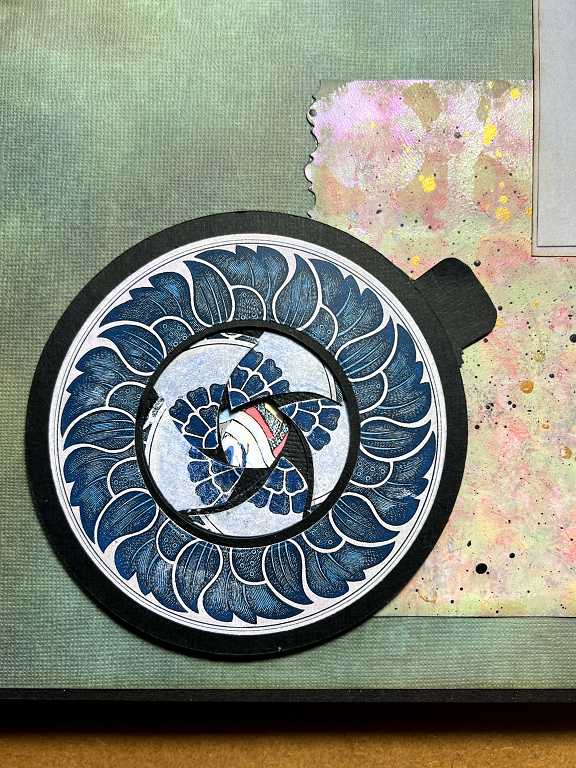
Finally, the iris shutter fully opened, showing the hidden picture underneath.

Another look at the completed spread.
Lessons learnt
While I did manage to get the mechanism to work eventually, with the extra small pieces glued to the leaves, it is not perfect and there are some gaps when the iris shutter is closed. I am glad that I was able to use the centre part of this attractive roundelle element, but in future I think it will be easier to make the leaves from either white, or a pale-coloured cardstock and embellish them with coloured pencils, markers, inks or paints. This would not add further bulk to the mechanism. and would also not create any edges which would be at risk of catching.
A final note – I did not stick the backing ring onto the reverse side of this iris shutter, because I knew it would be stuck down onto the page. The template kit does include this and you would need it if you were making a standalone iris shutter or if for some reason you wanted to see the back. In this case, it would have been superfluous, and would have ceated extra unnecessary bulk to an album which is already suffering from my early enthusiasm to add rather large beads!
I have made a short video of this spread, and once I’ve had a chance to download and edit it, I will add it below.
Oh this is exquisite! I particularly love the shutter – would love to see that in action, maybe I will when I come to see you one day! Beautiful work as always Shoshi, you are so talented, and very patient – your painstaking attention to detail really produce amazing results, well done!