POTTERING IN THE STUDIO
I spent a couple of hours in the studio this afternoon, doing this and that. There were a few odd things that I ended up doing, rather than embarking on any more pages in either book (only one page left to do in the Organic Journal).
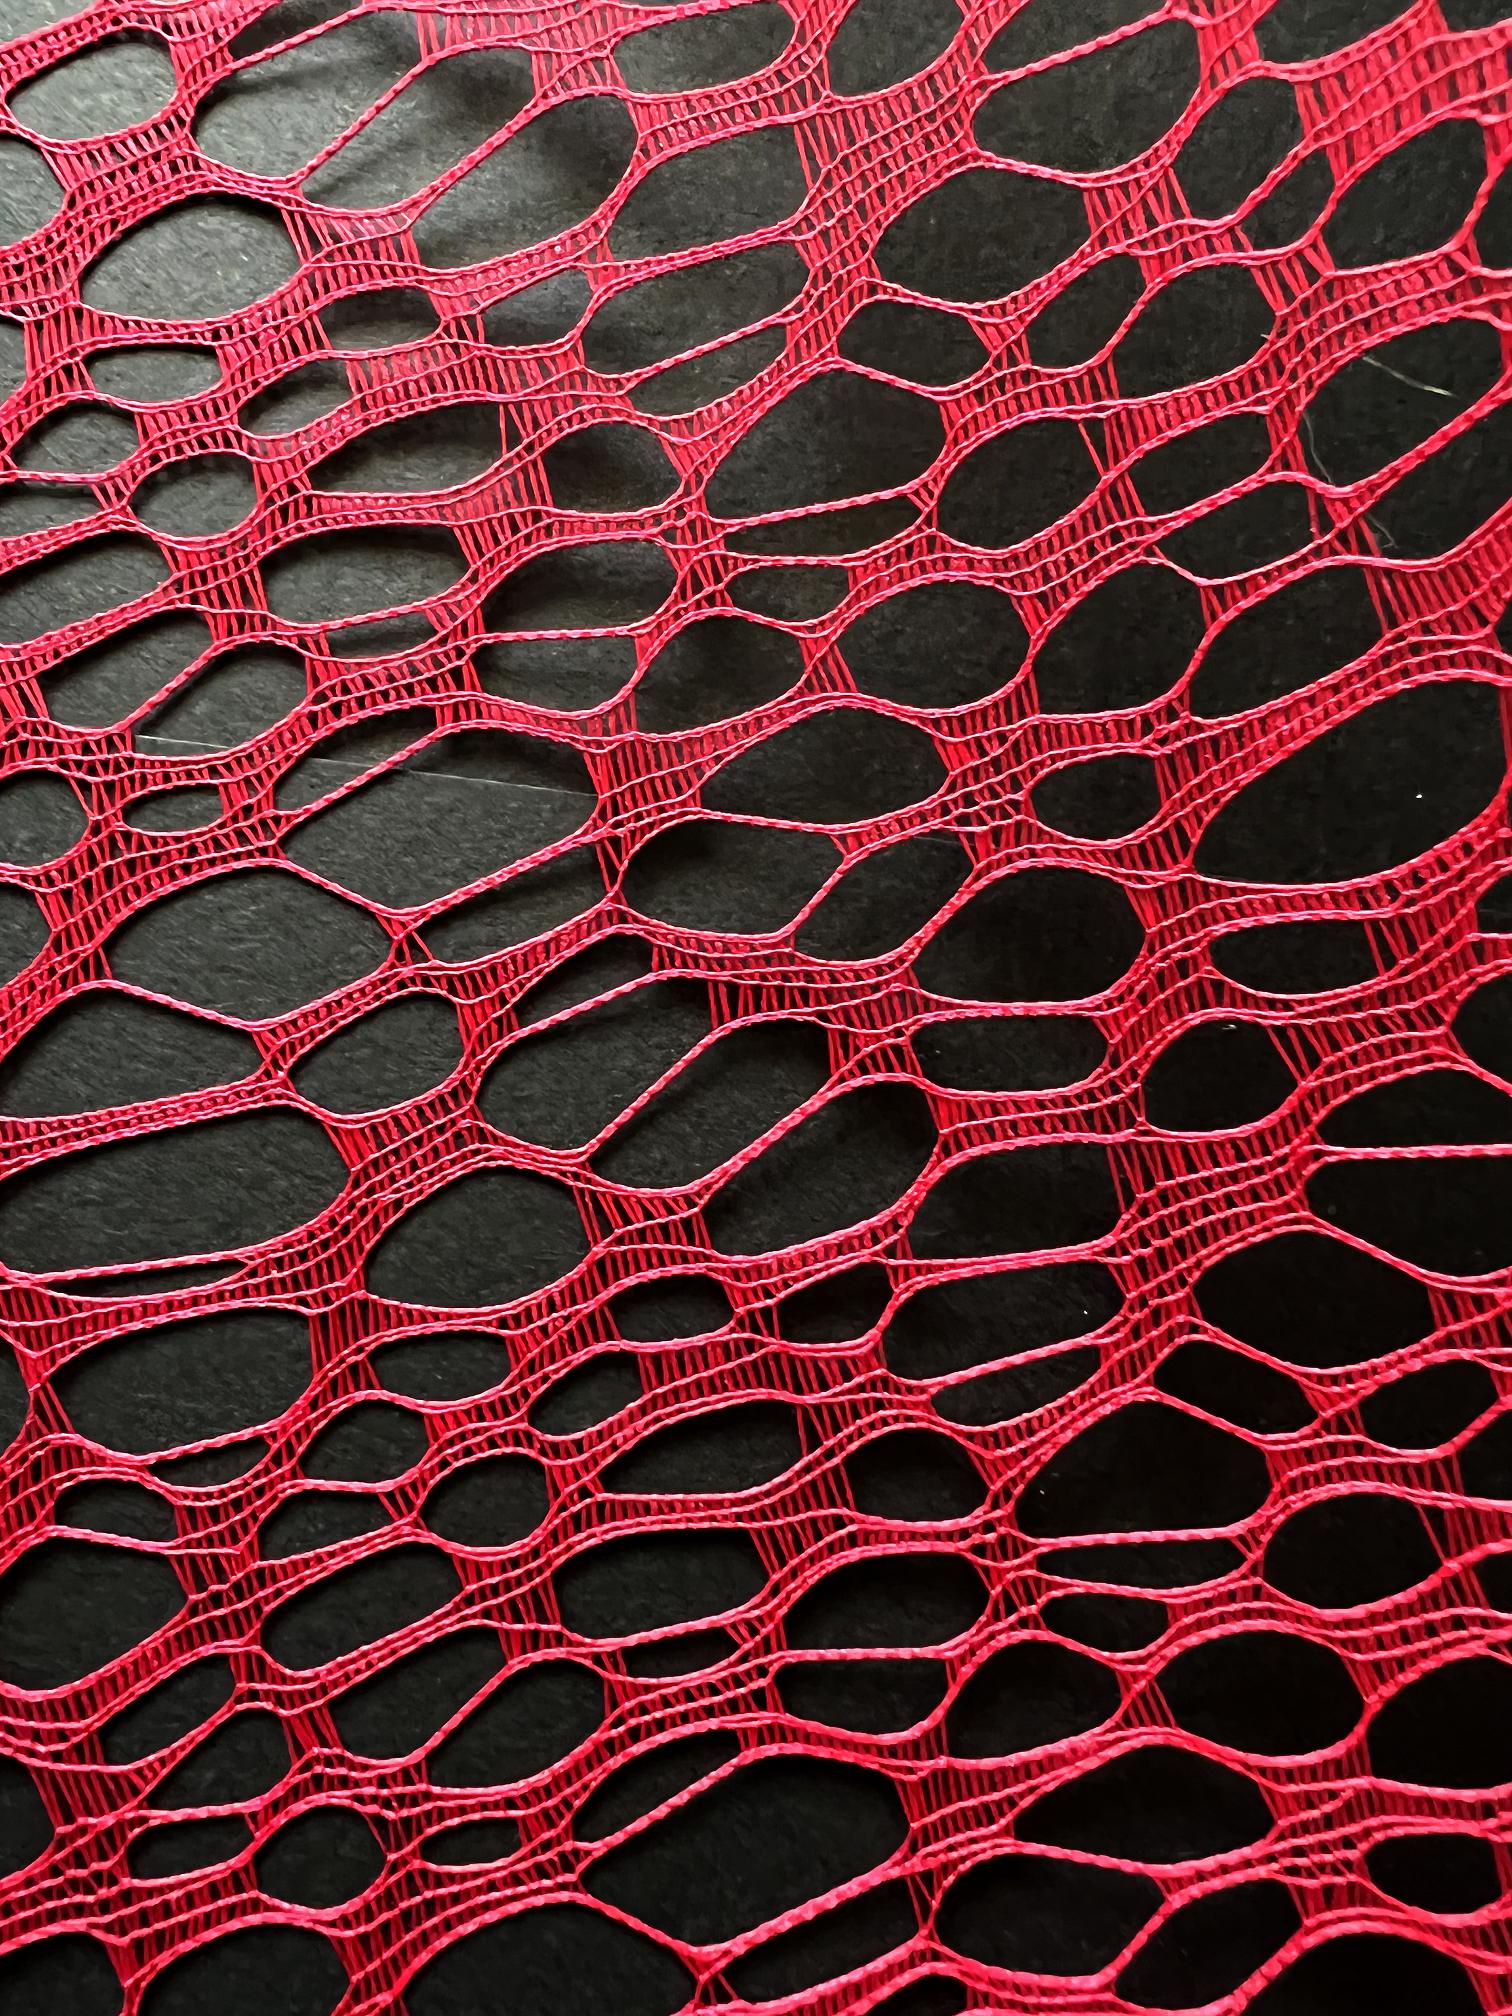
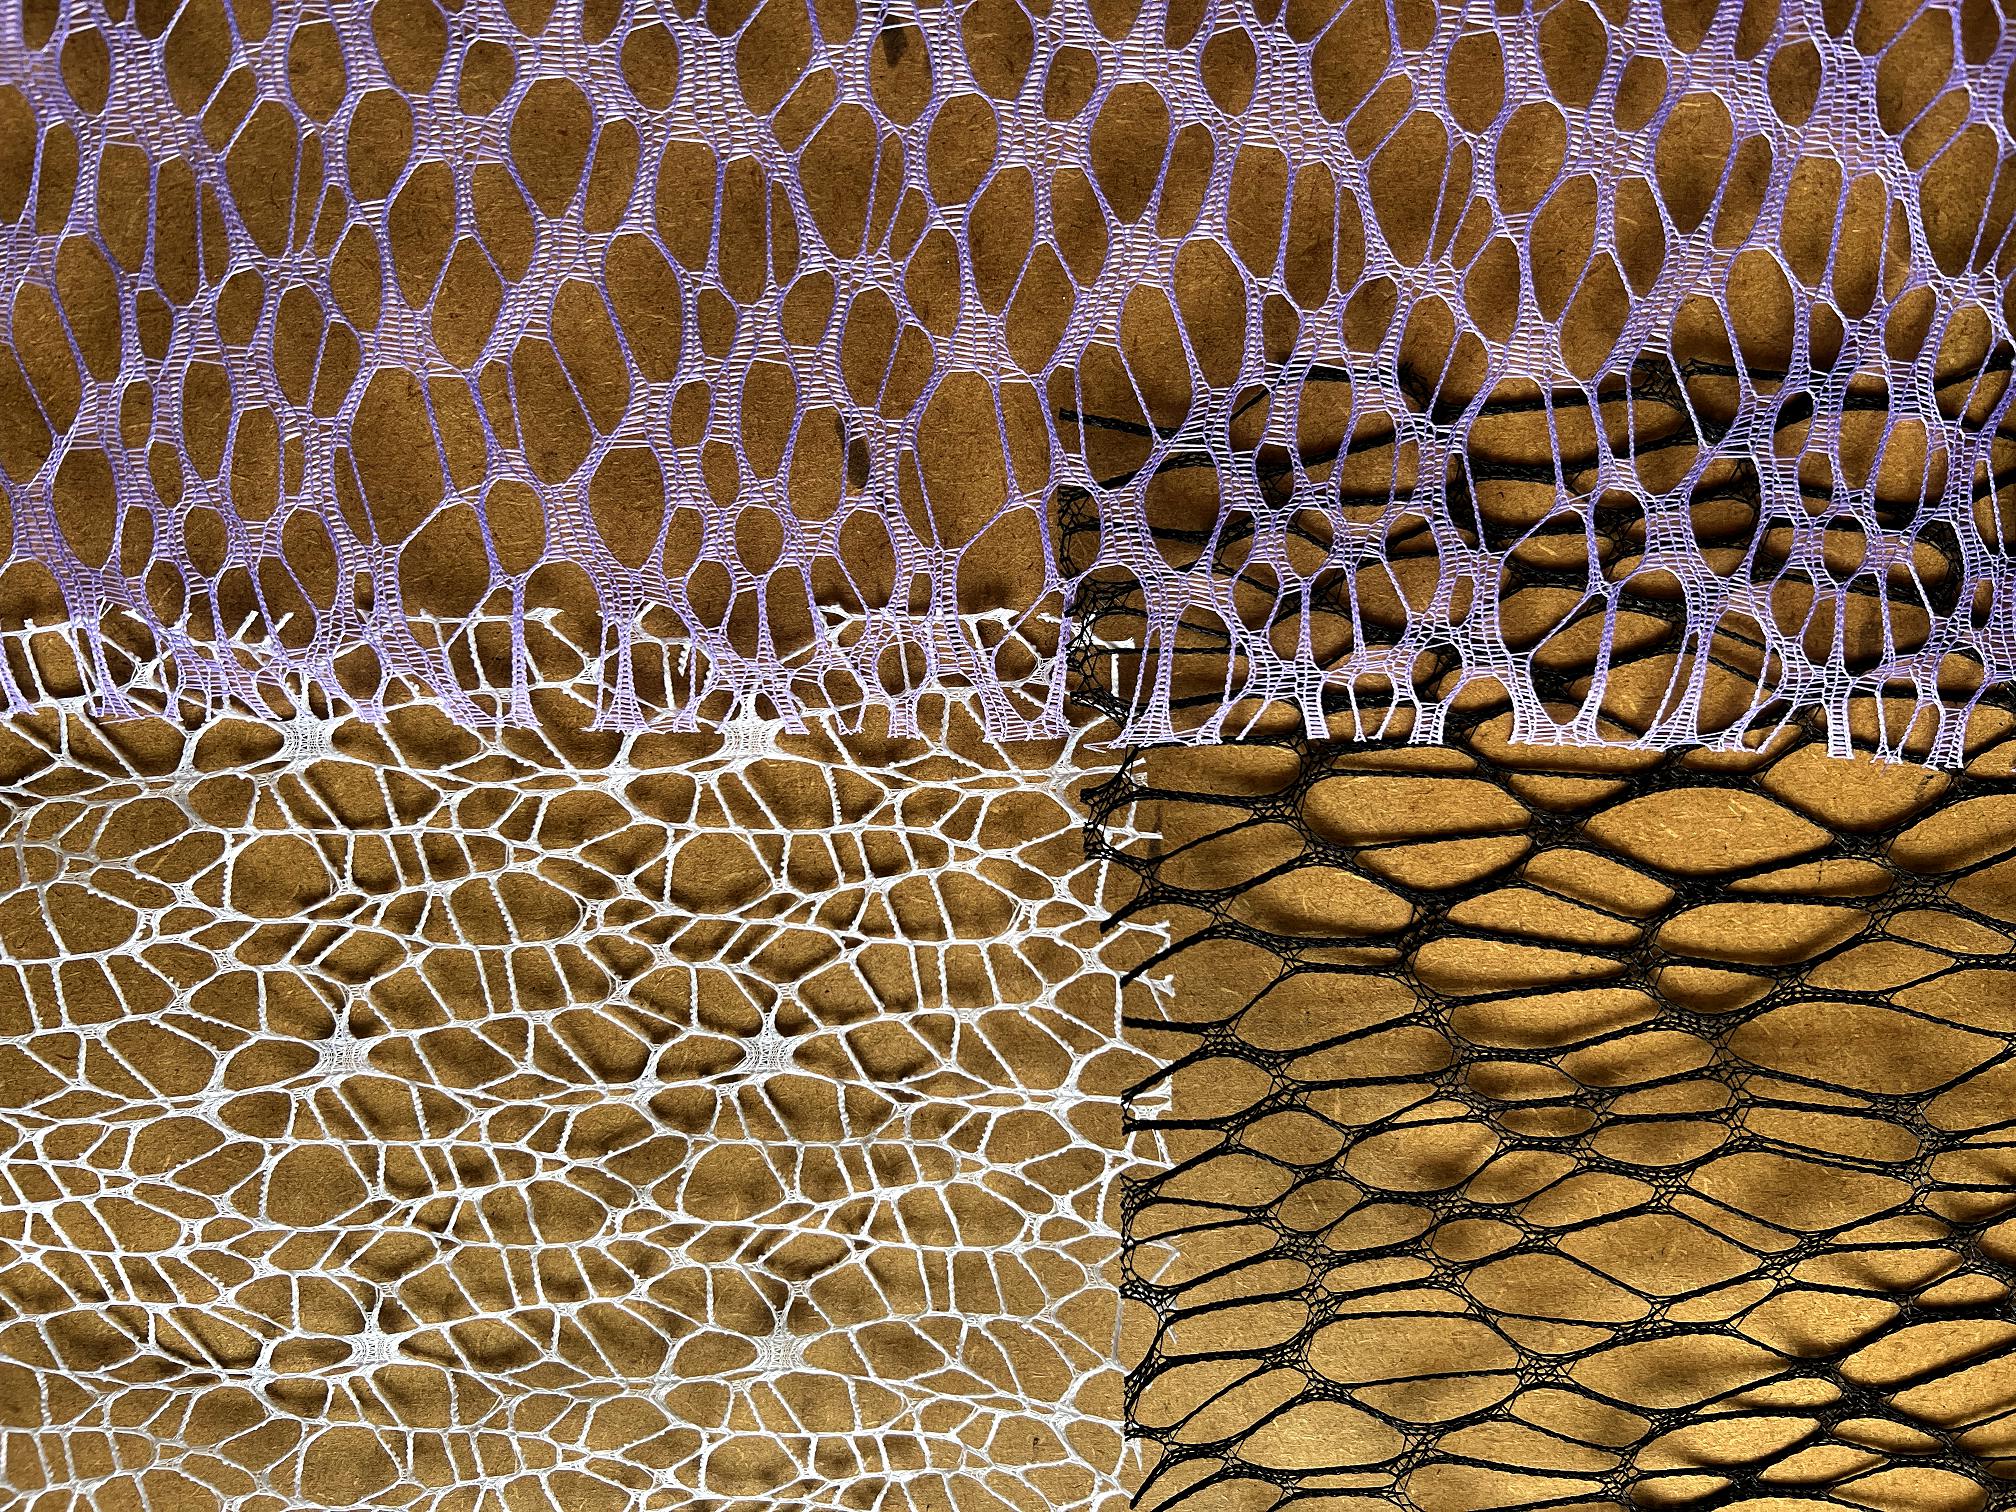
Spider mesh and fibre mesh from Dryad
Before I get started on my various projects, details of some new stash I got this week from a craft supplies firm called Dryad. I had forgotten all about Dryad but I remember them being in existence when I was at school, and in my young adult days I used to get fibre supplies from them when I started spinning and weaving. It was like a blast from the past to stumble across their website.
I was still on the search for speciality papers to immitate the beautiful Japanese Ogura Lace paper which is so illusive here in the UK. They had some mesh stuff which was a bit like the floral gift wrap I bought recently from AliExpress, so I went for it. Unfortunately they didn’t sell white alone, so I had to go for a mixed pack of colours, including a sheet each of black and white. They call this stuff spider mesh.

On close examination this material seems to be made of the same stuff as the AliExpress one, but the design is a bit different. Looking closer again, I noticed that there were two different designs in this pack; a more solid one and a more open one. All these materials are more like fabric than paper, and are made of some sort of plastic.
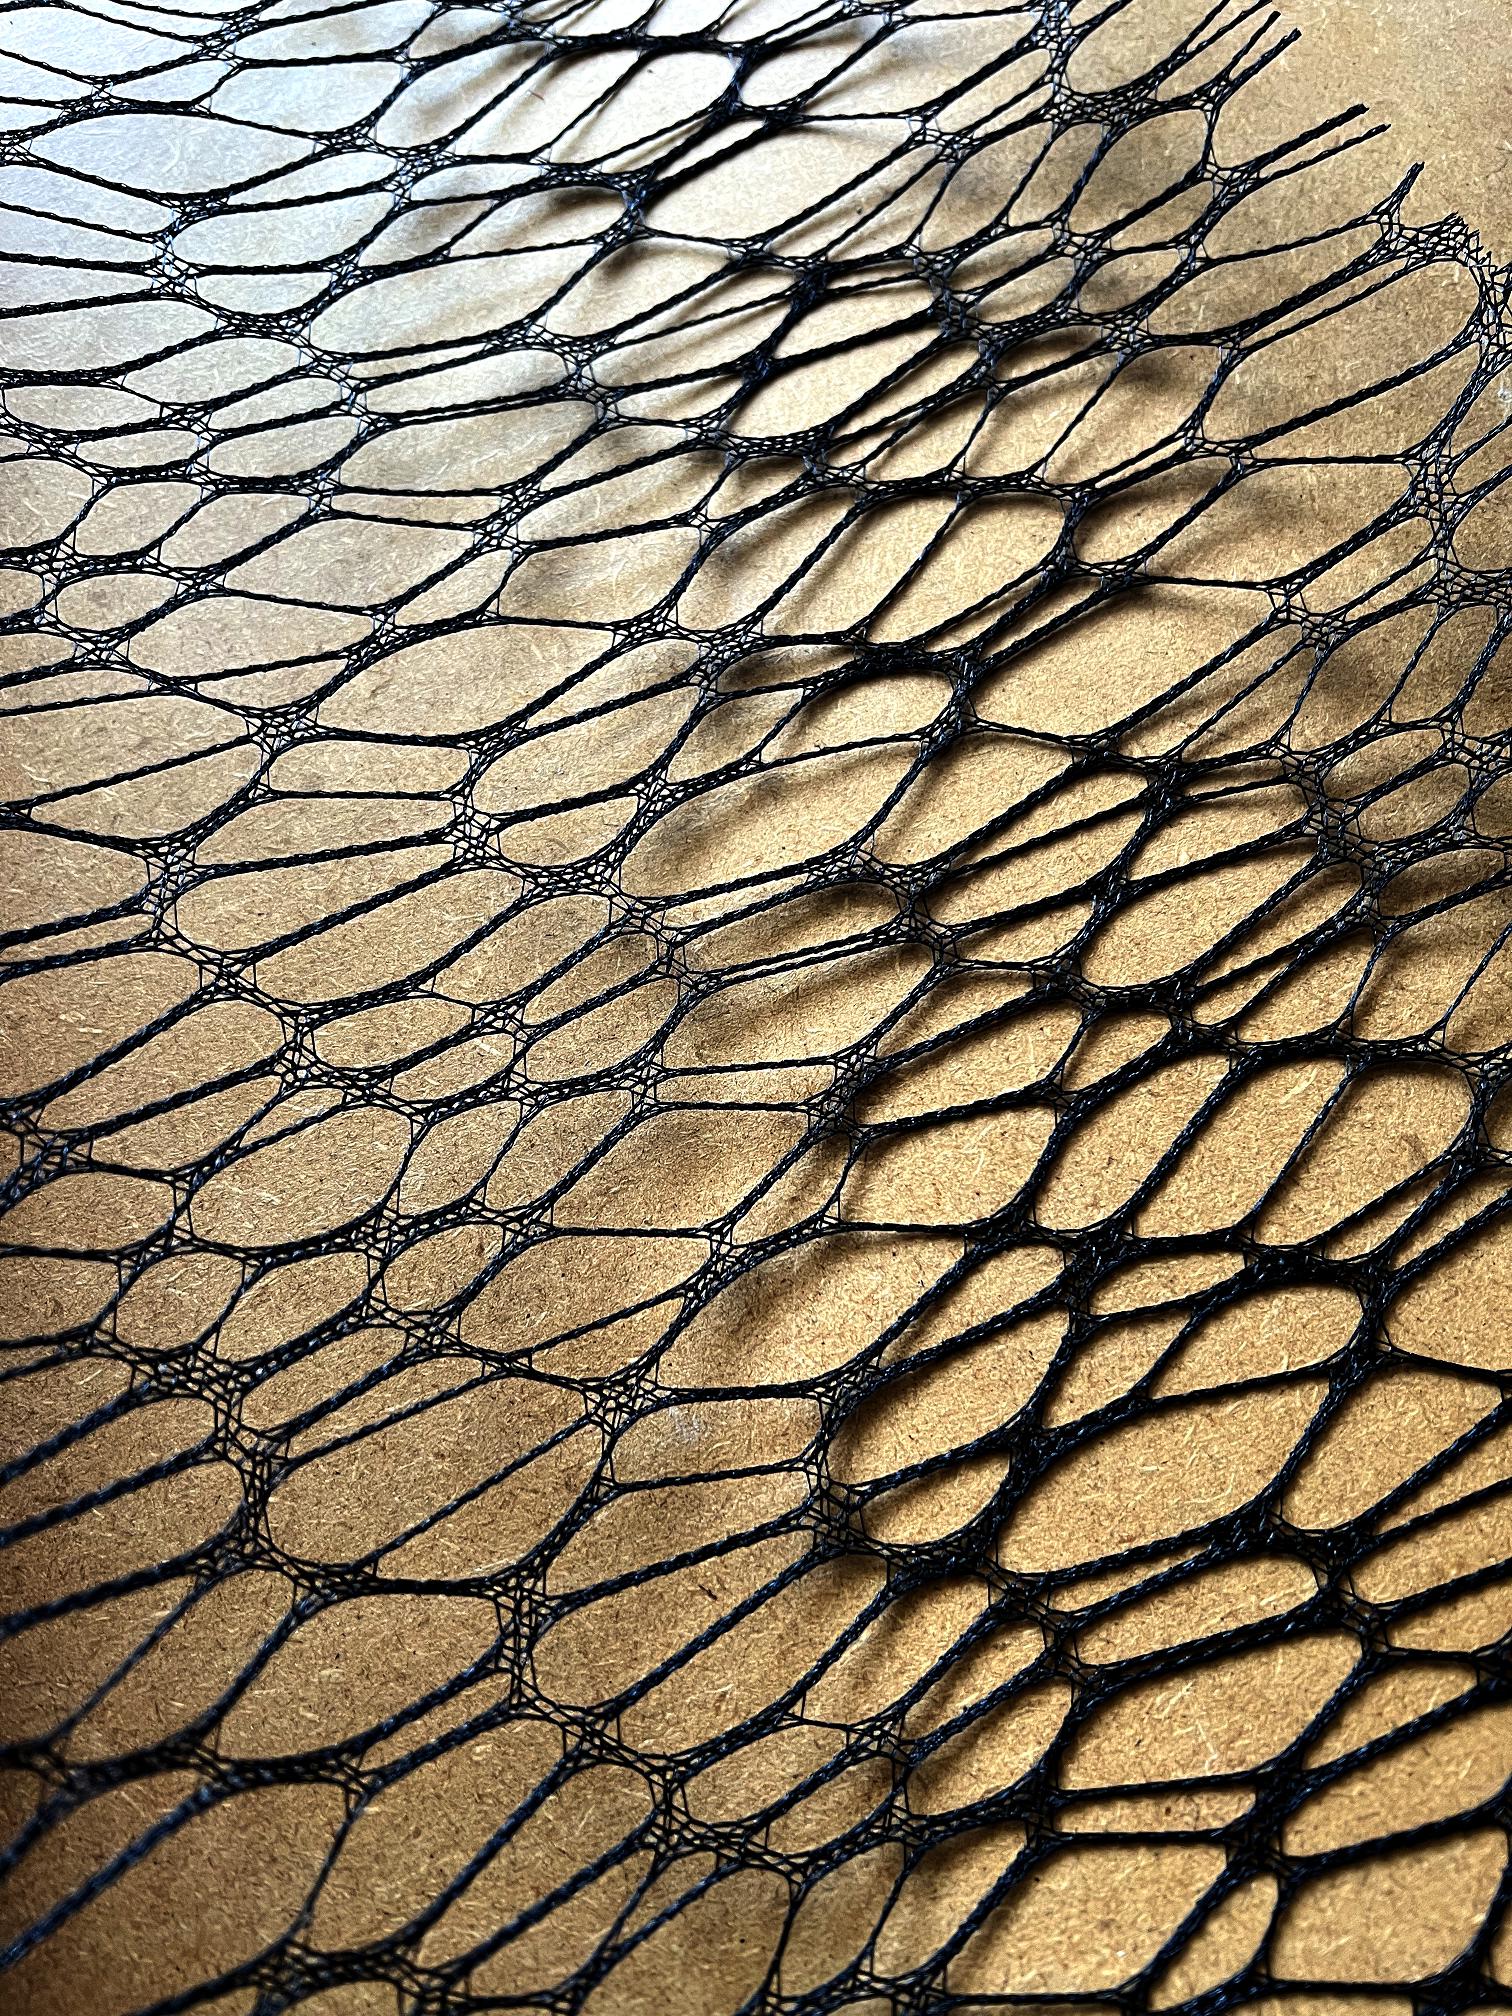
Double thickness, laid at right angles.
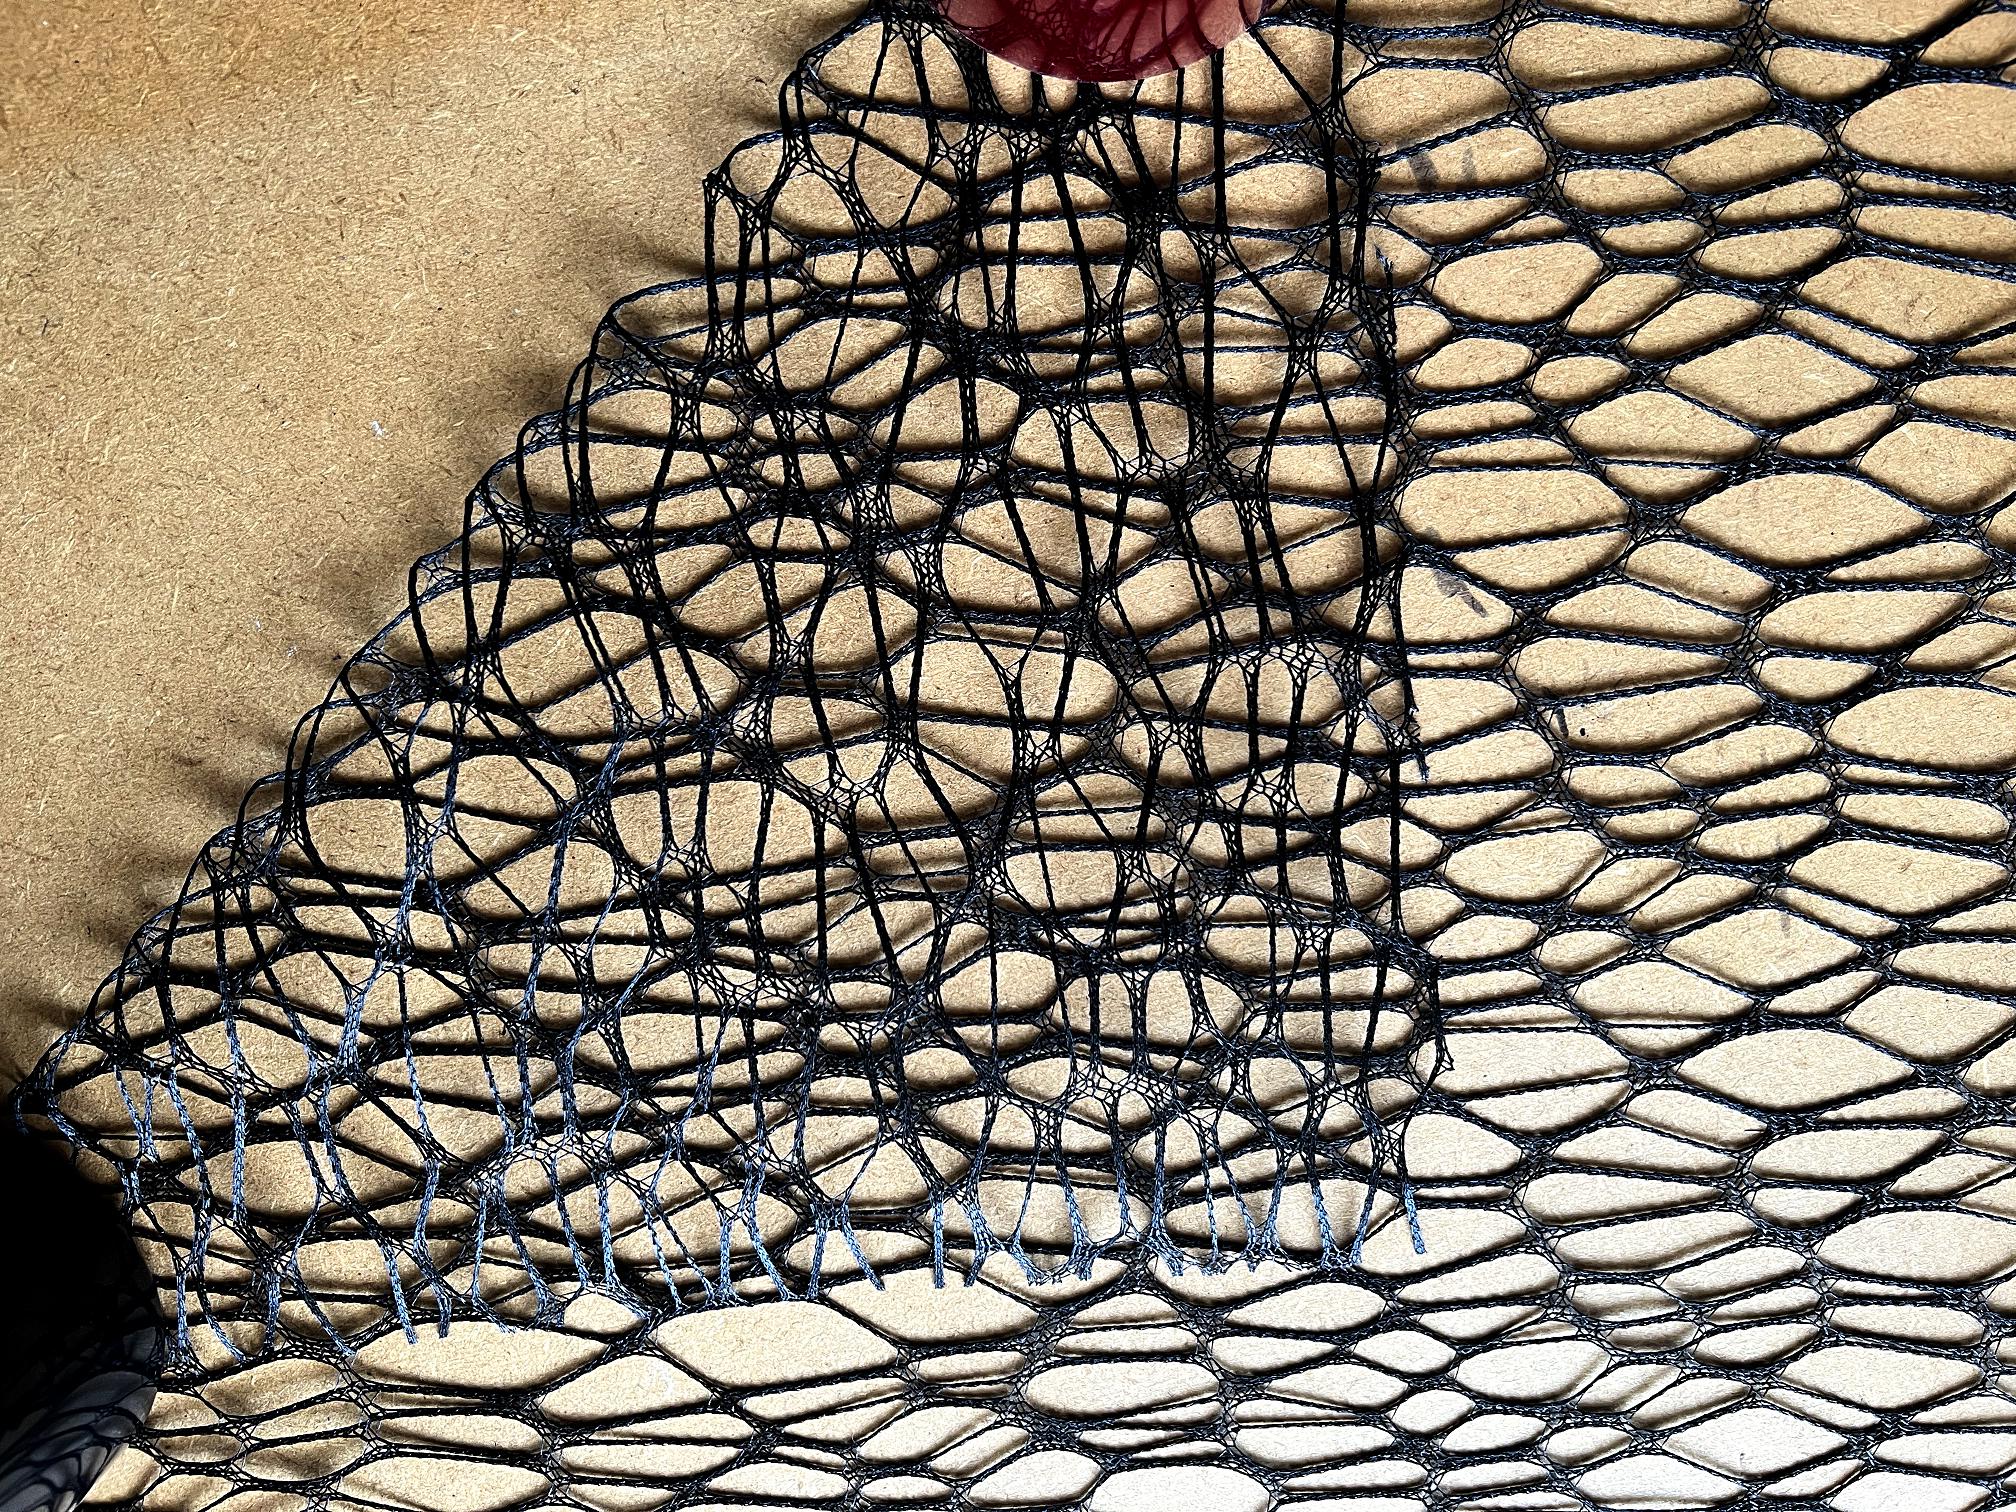
Triple thickness, at right angles again.
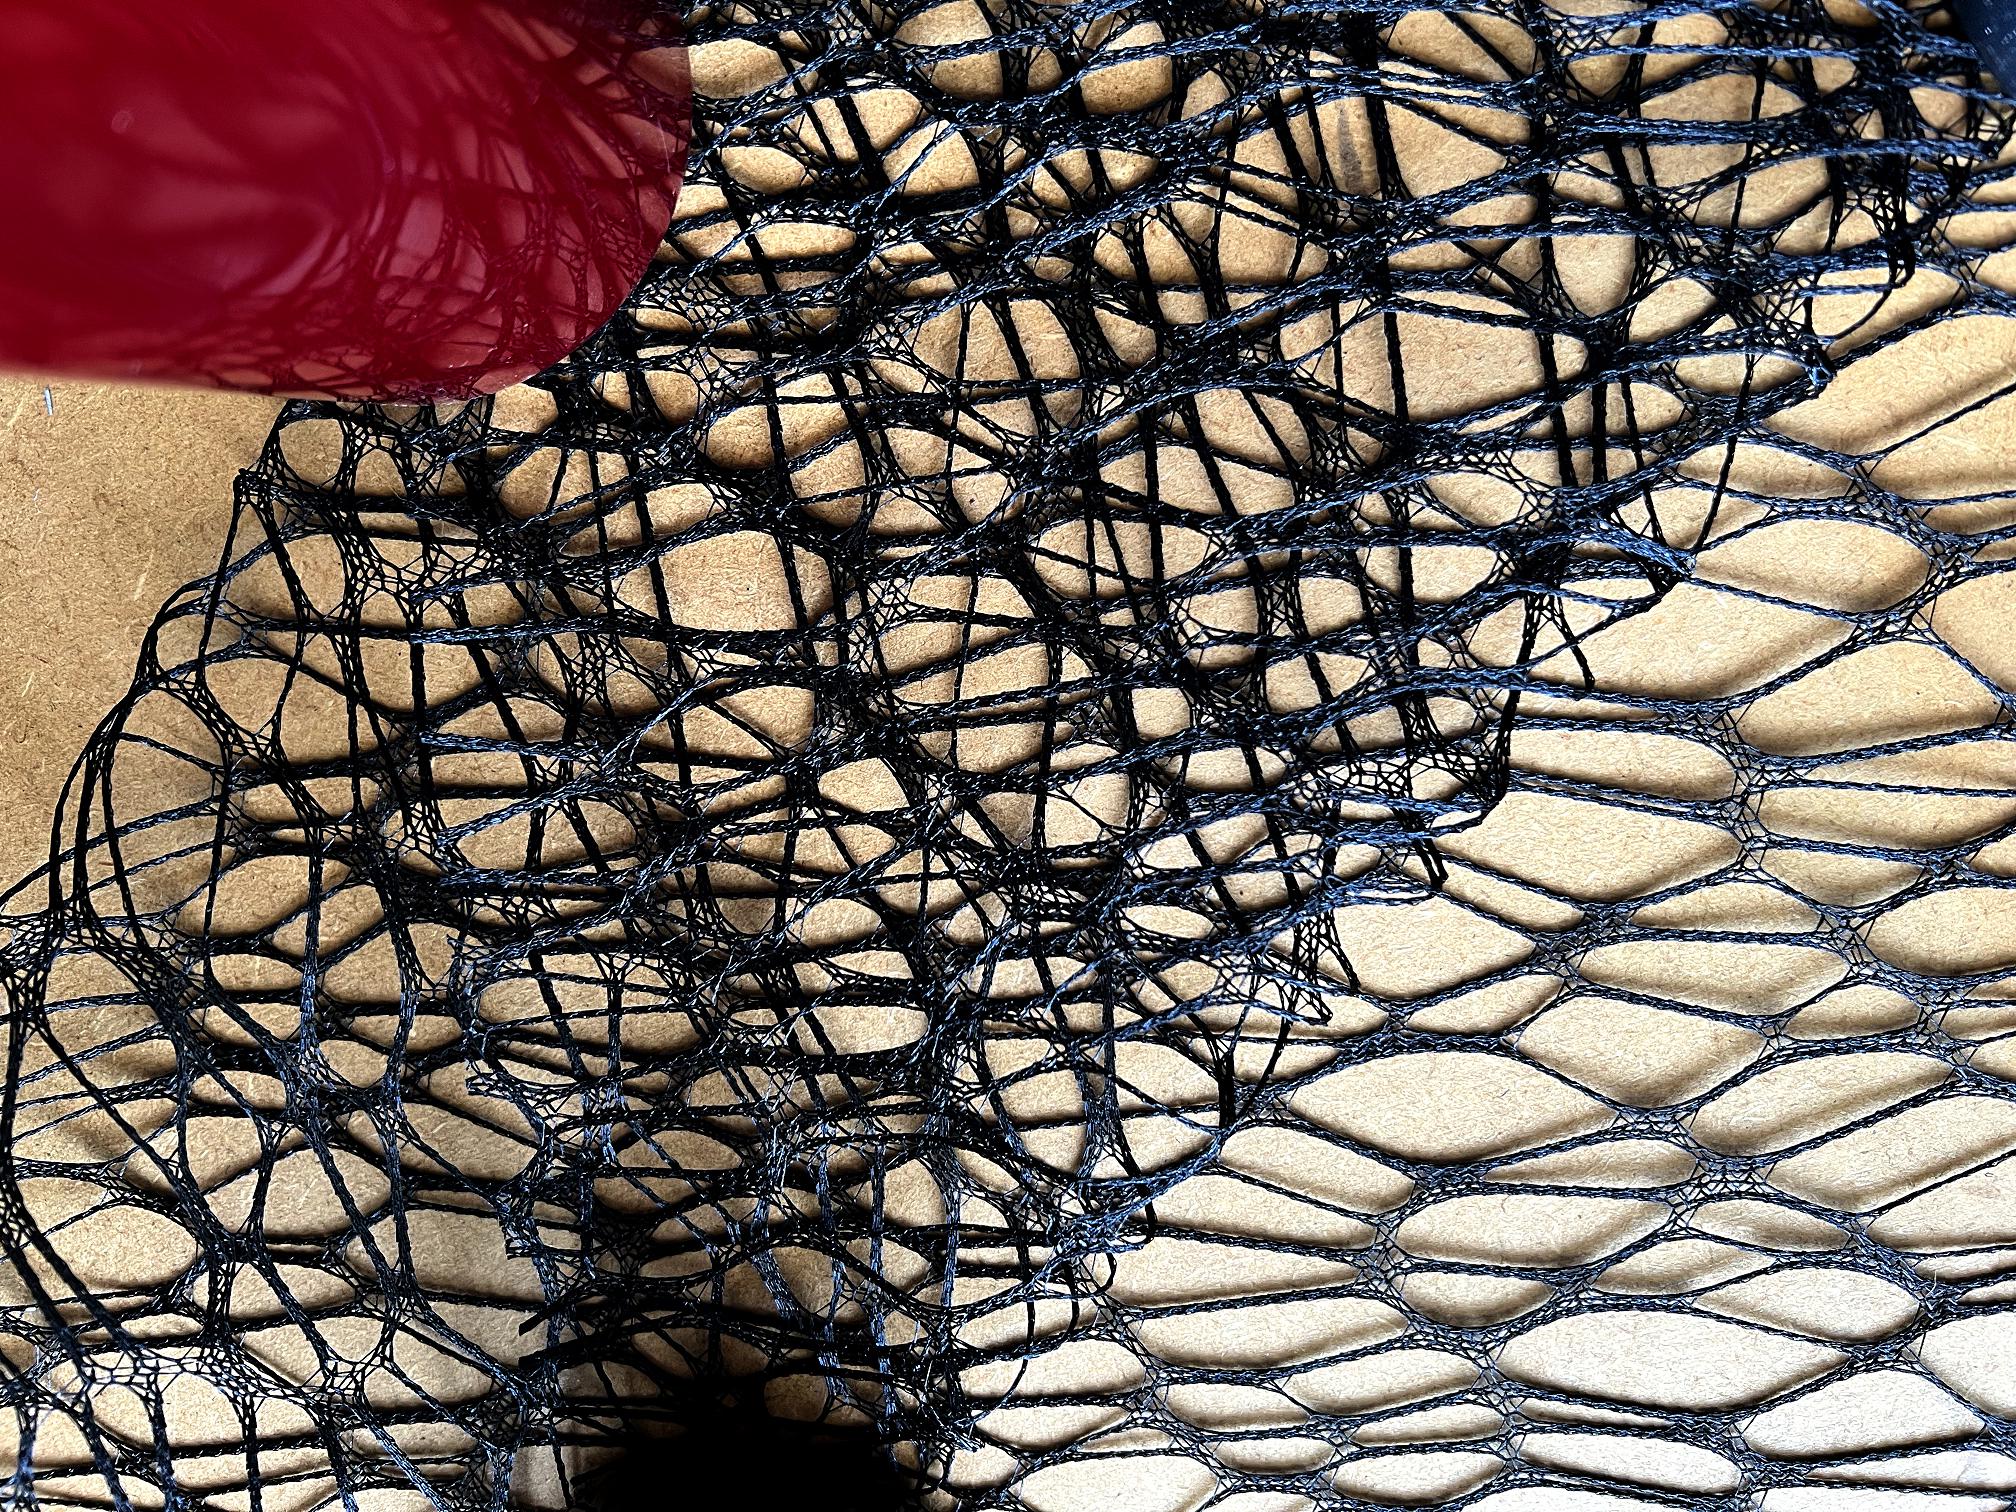
Quite an interesting mesh pattern can be built up. I think there is great potential in this, and it could be used in conjunction with other materials such as Tyvek, and perhaps even embellished with embroidery or beadwork. This material is definitely “think outside the box” stuff and has endless possibilities. I haven’t tried painting it yet but I can’t see that that would present any problems. It certainly takes gel medium OK.
Here is a comparison of the coarse and fine Dryad ones, and the AliExpress one (bottom left, white) to show the different patterns.
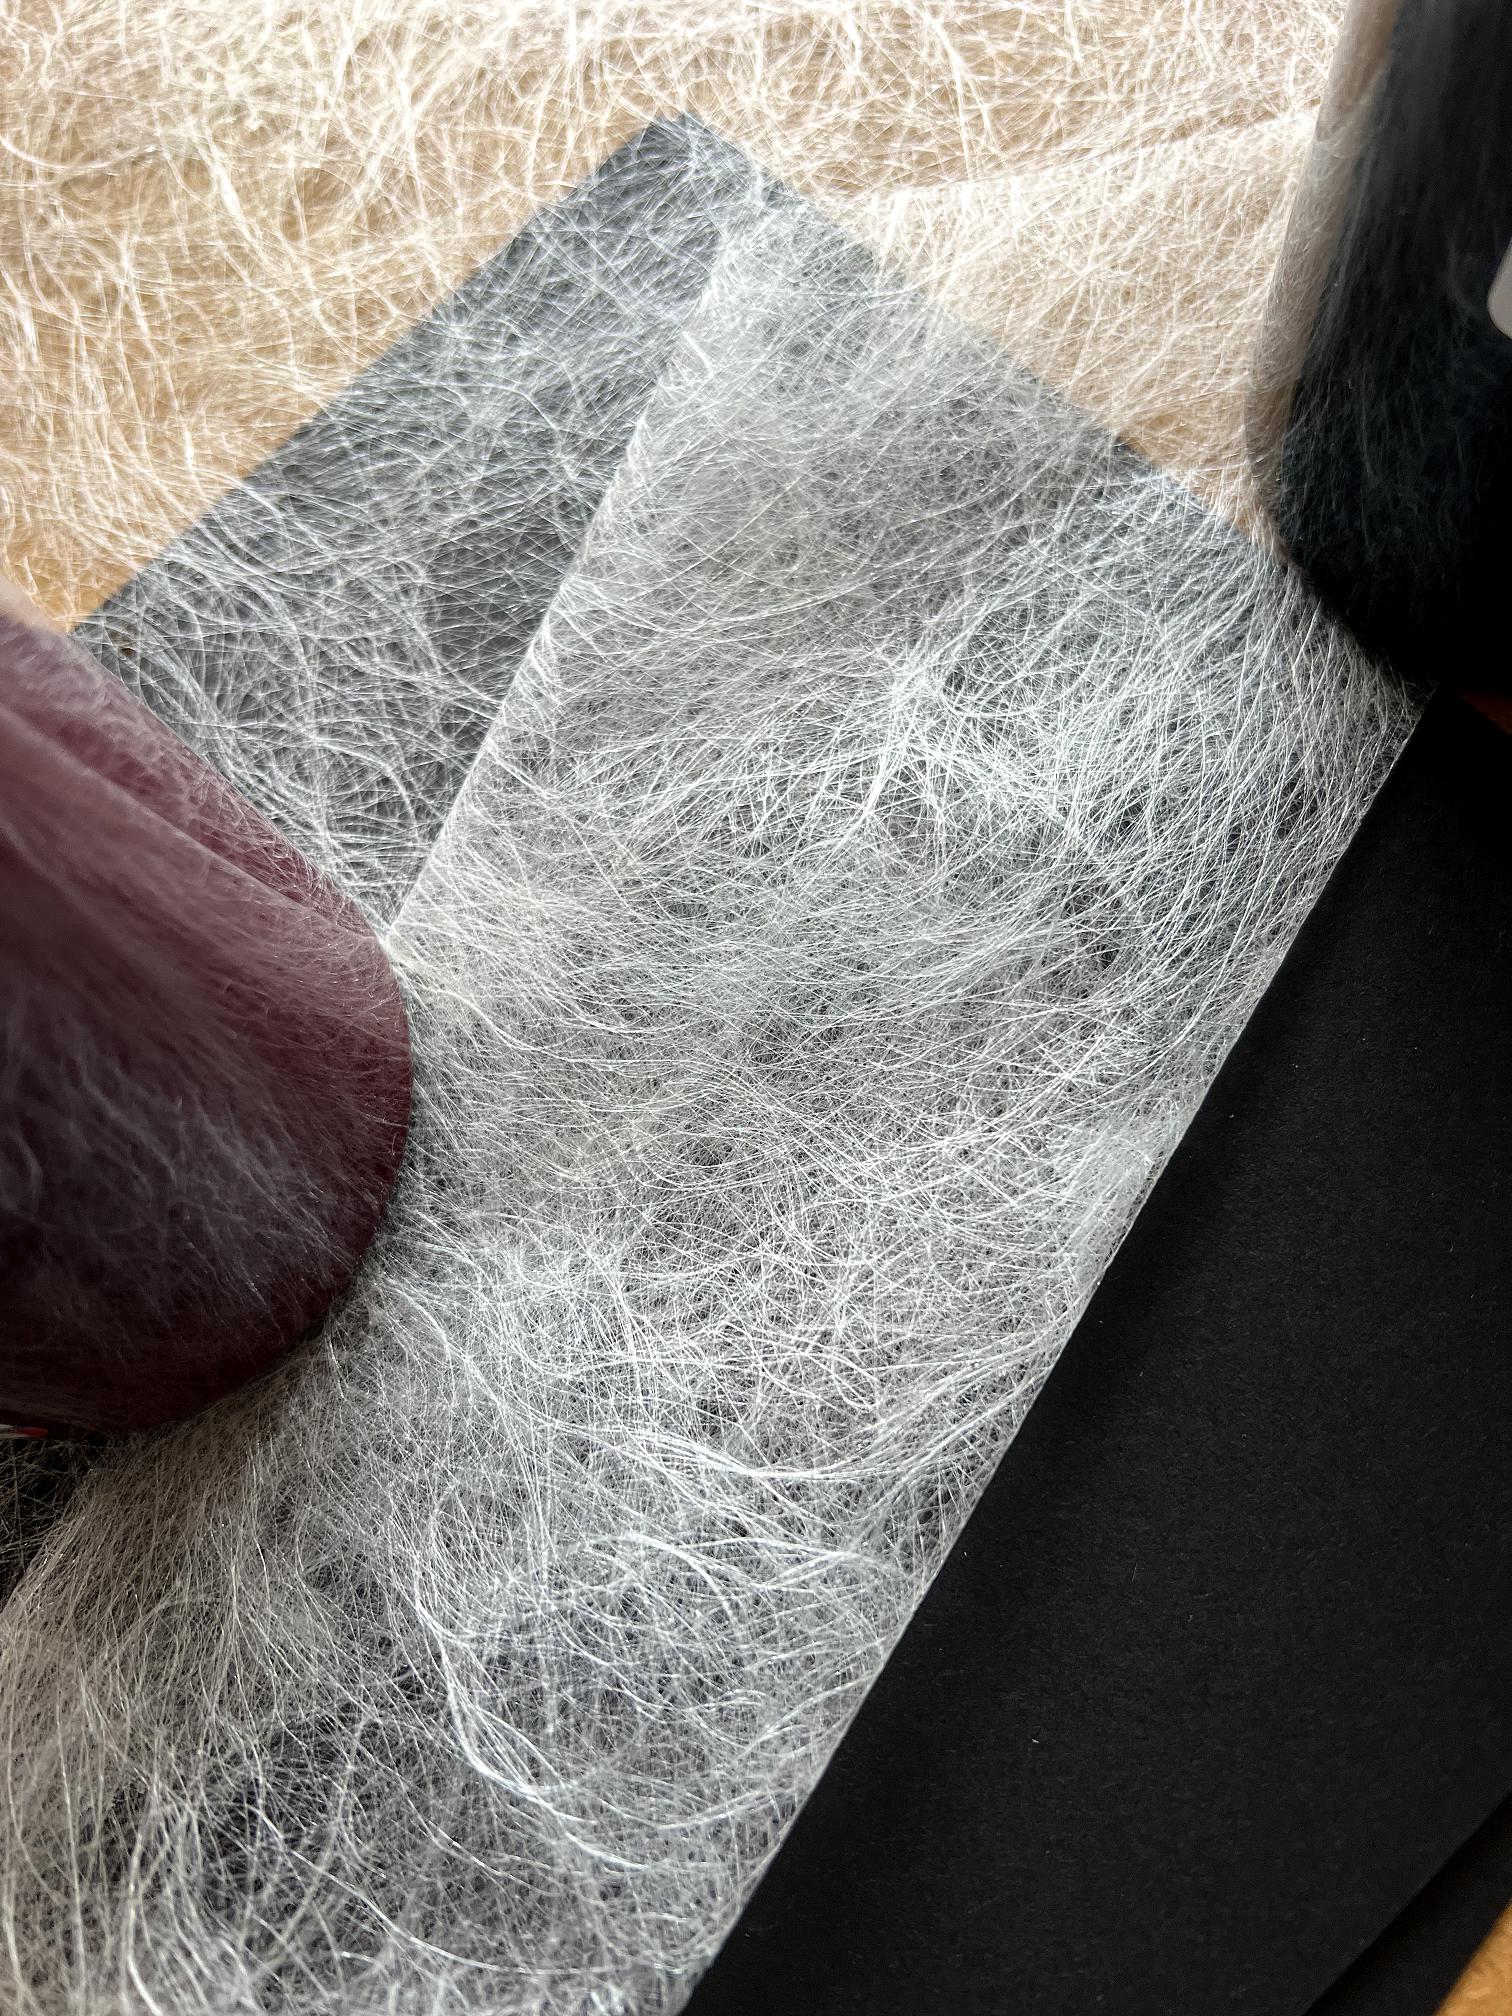
I also found this fibre mesh material on the Dryad site.

This stuff is absolutely gorgeous. It is light and strong, and I think it would take paint very well. As you can see it is pretty translucent, and I can see enormous potential in it. It will be interesting to see if it becomes more transparent when stuck down.
Here it is arranged in multiple layers.
I am now so attuned to looking for art potential in everything that I got pretty excited by Dryad’s entire parcel! Everything was rolled up inside this glorious single-sided corrugated paper which has a gorgeous texture…
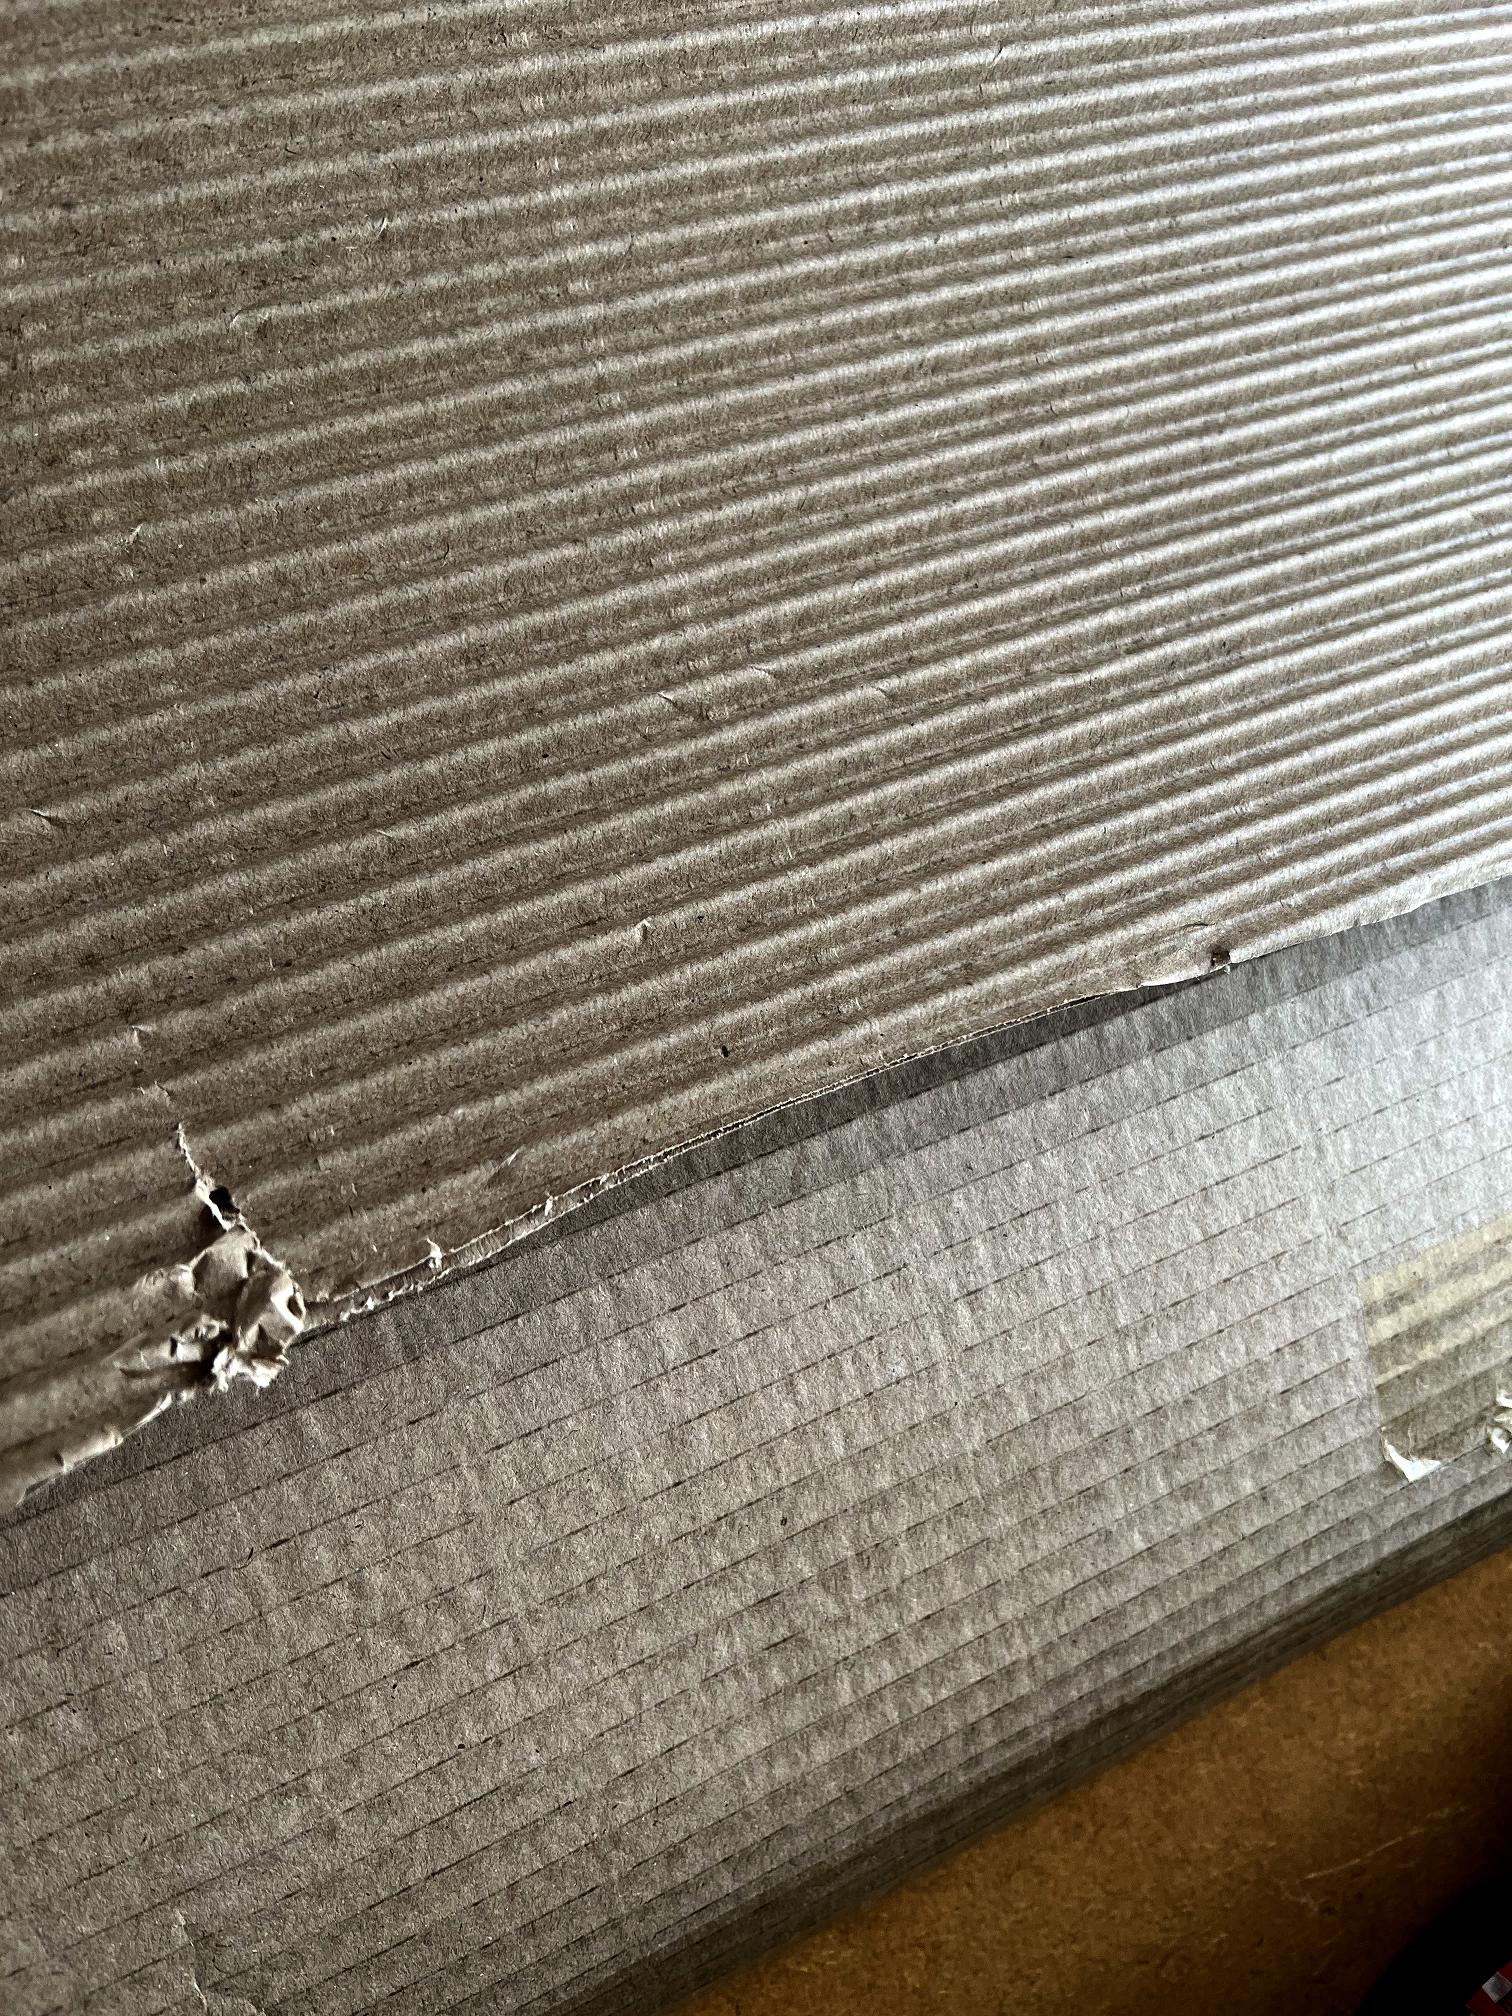
It could be glued down as-is, or the backing paper peeled off and the corrugations spread out, or squashed randomly or in a pattern. The paper could also be used as a texture-maker on the gel plate! Yummy!
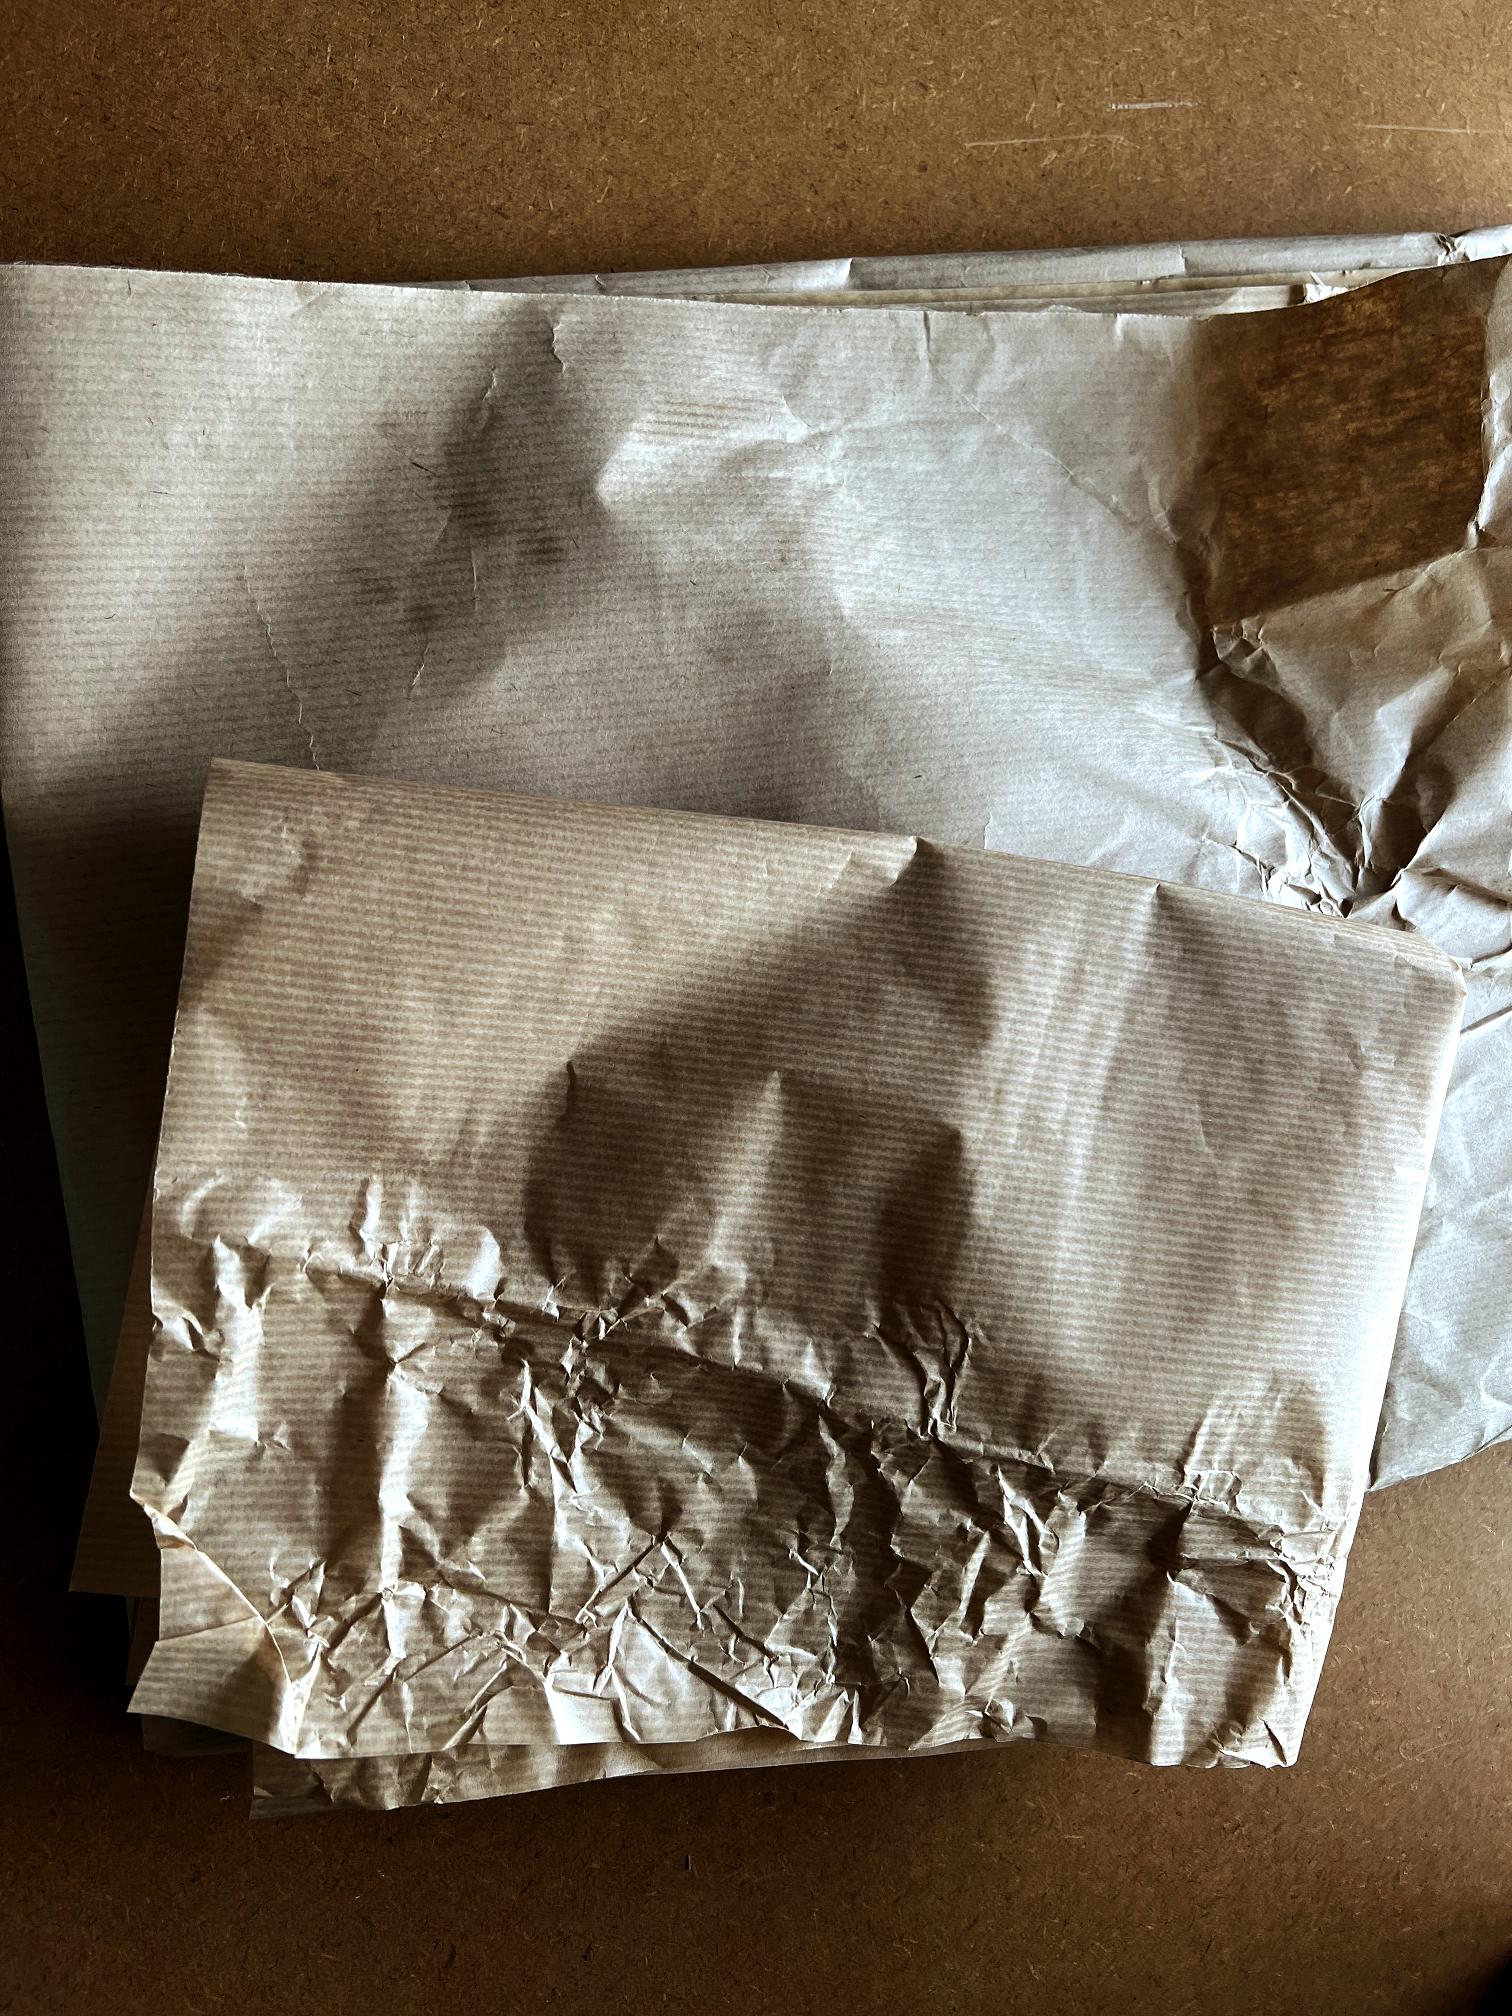
The fibre mesh was wrapped in fairly thin brown paper, and around the outside of the whole parcel was a large piece of thicker brown paper.
All grist to the creative mill!
On to my mini-projects from this afternoon.
Texture plate made from medication strips
I have been saving medication strips once they are empty. For years I have been wondering how to make art out of these. They are remarkably unyielding and unresponsive but I hate throwing anything away if it has the potential for creativity.
Since starting with gel printing, I have been looking at things a bit differently. It may not be possible to use certain things directly for art, but they could perhaps be adapted as tools. It occurred to me that if I could stick some medication strips onto a piece of mount board, this might make an interesting texture plate for the gel plate. These medication strips come in all shapes and sizes, with the blisters being either oval or round, and arranged in different patterns.
I selected a piece of mount board from my stash. I began by peeling off the loose foil from the back of the blister pack strips so they wouldn’t interfere with the adhesion. I saved these and stuck them onto a piece of tissue paper with soft matte gel medium, along with some green and silver gilding flakes – I forgot to photograph this. I put plastic on top and pressed it down. I shan’t know till it’s dry whether this will work or not, but I think it will be something like the other “paper” I made, using scraps of paper and gilding flakes:
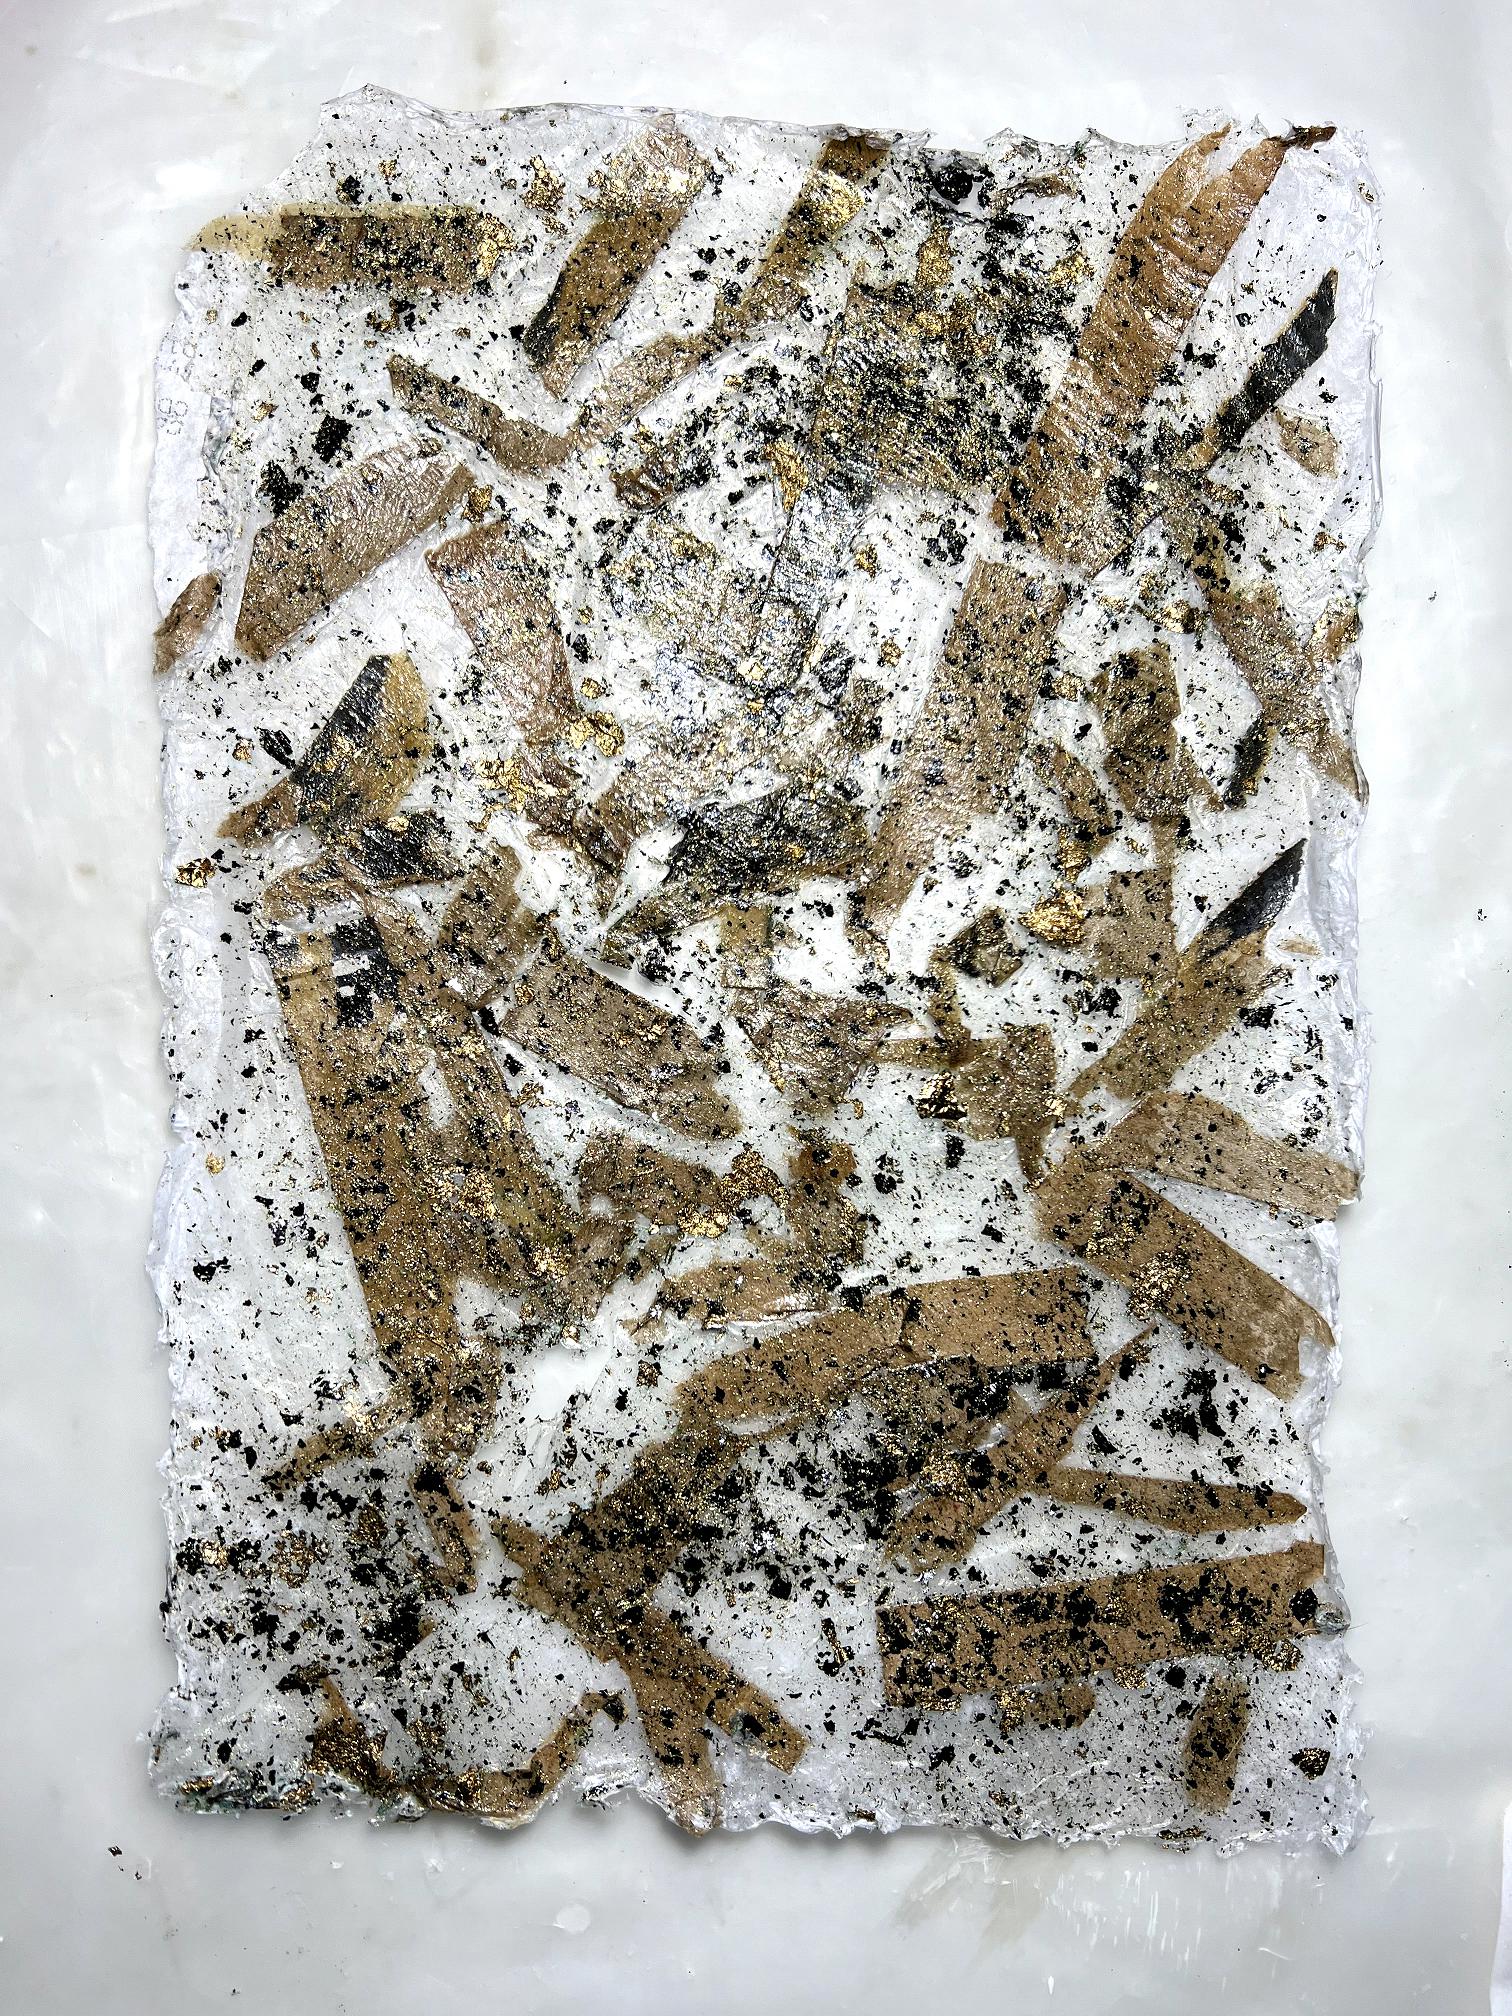
Anyway, here is the medication strip project at the beginning.
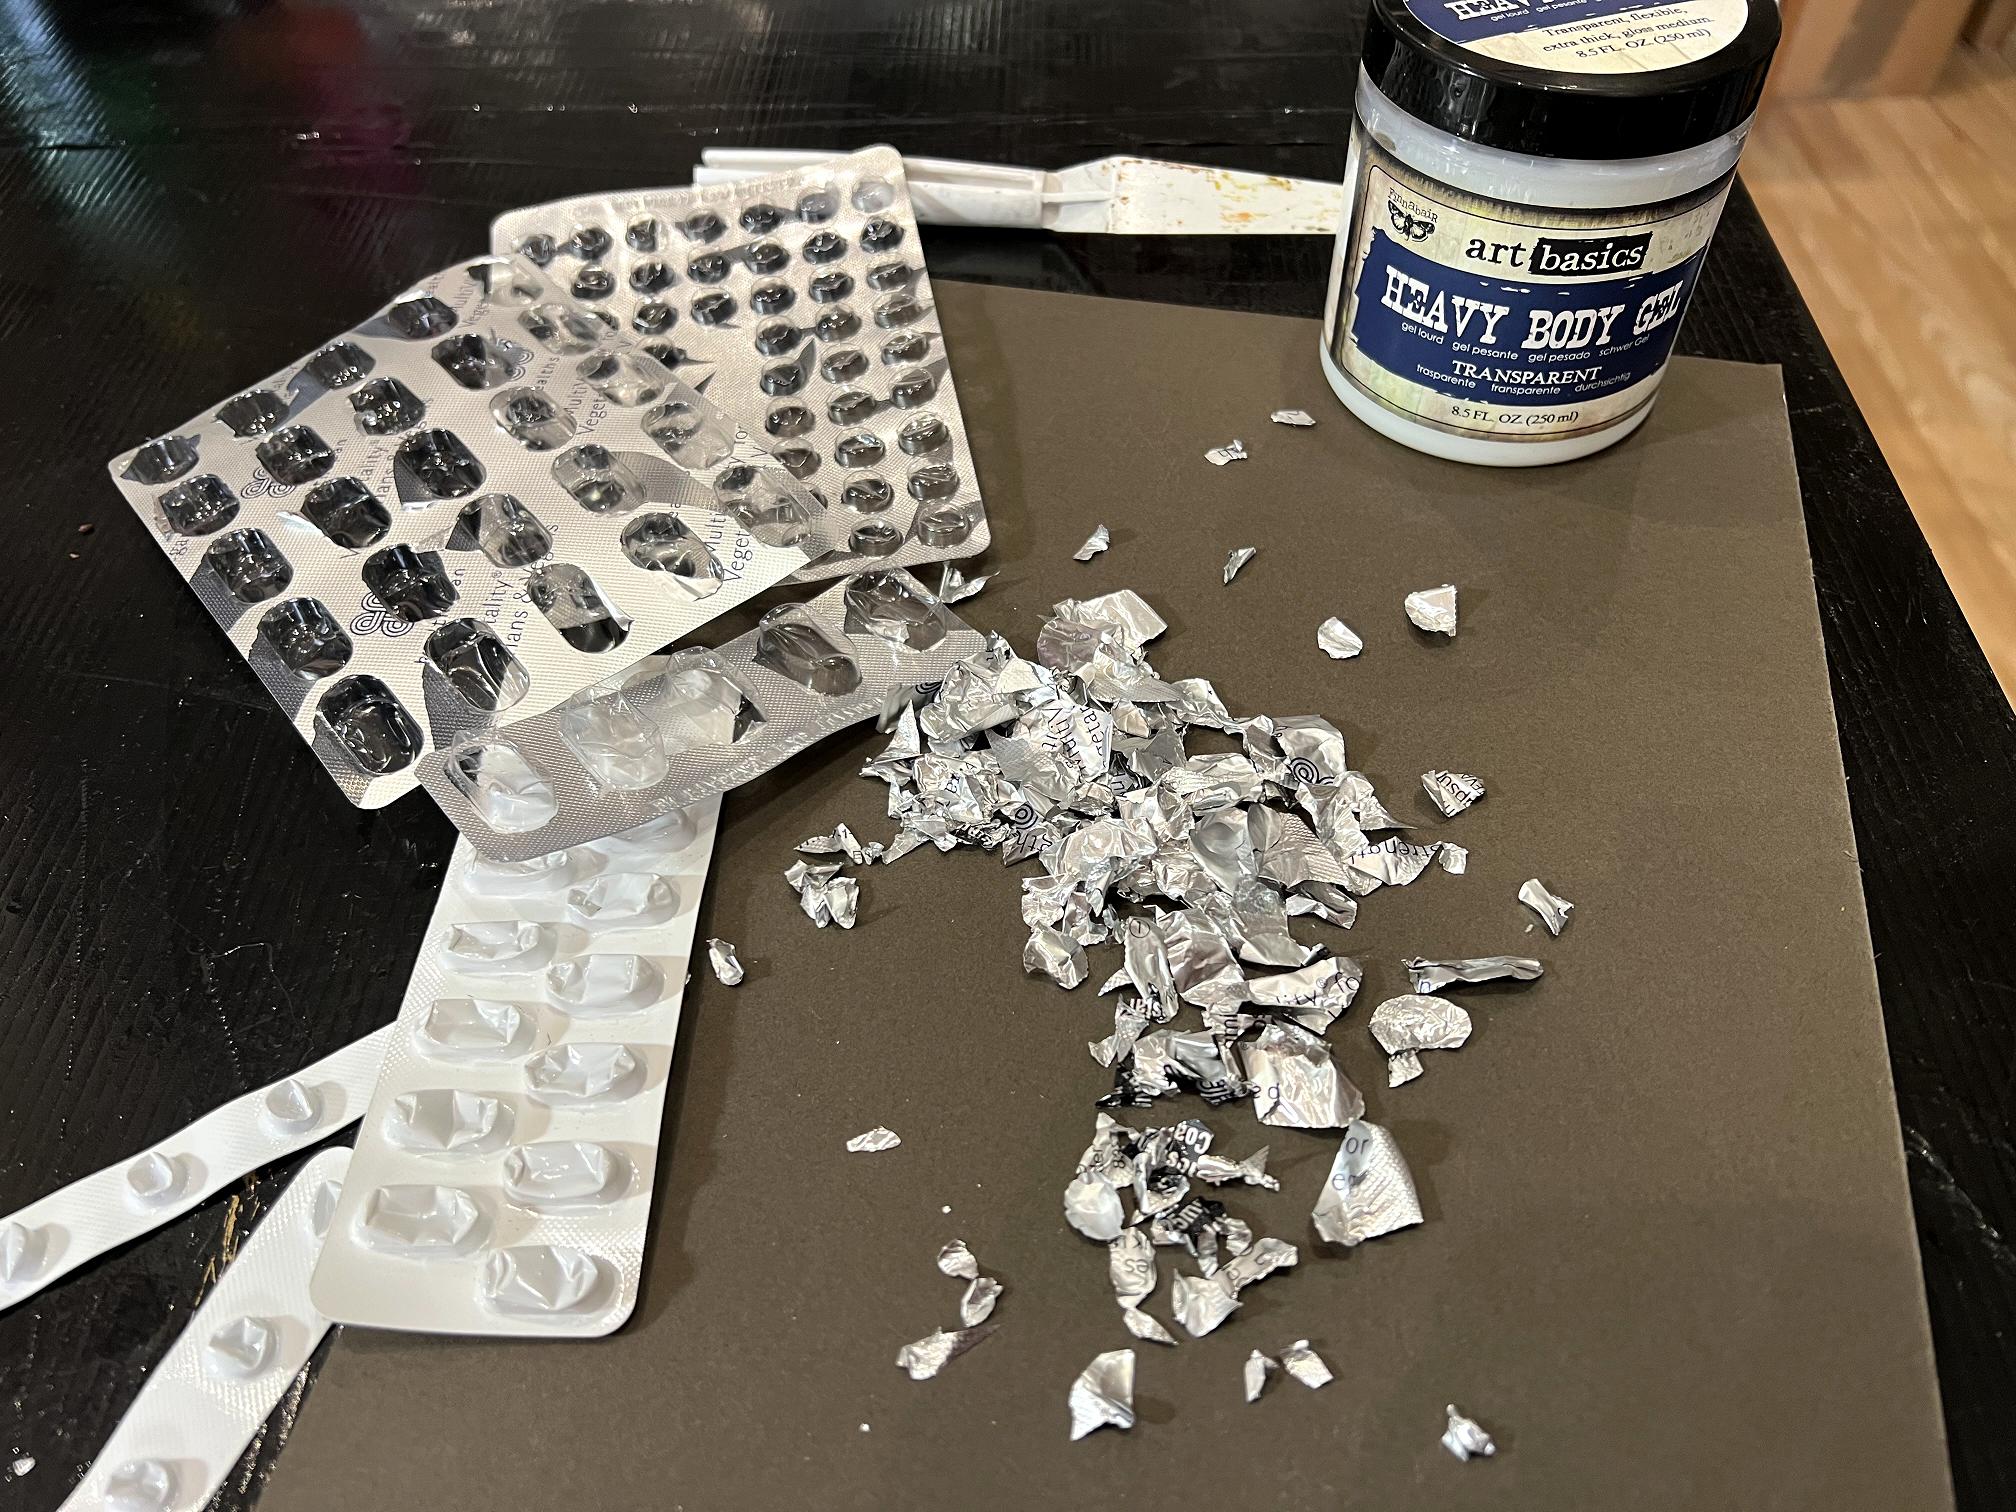
It was only when I’d finished that I discovered more strips. No matter, if this works, I can always add more.
I spread a fairly thick layer of heavy body gel medium onto the mount board and pressed the strips down. Of course, they sprung up again, but once I’d got a sheet of plastic on top, and then some heavy books, I am confident that they will stick down OK.
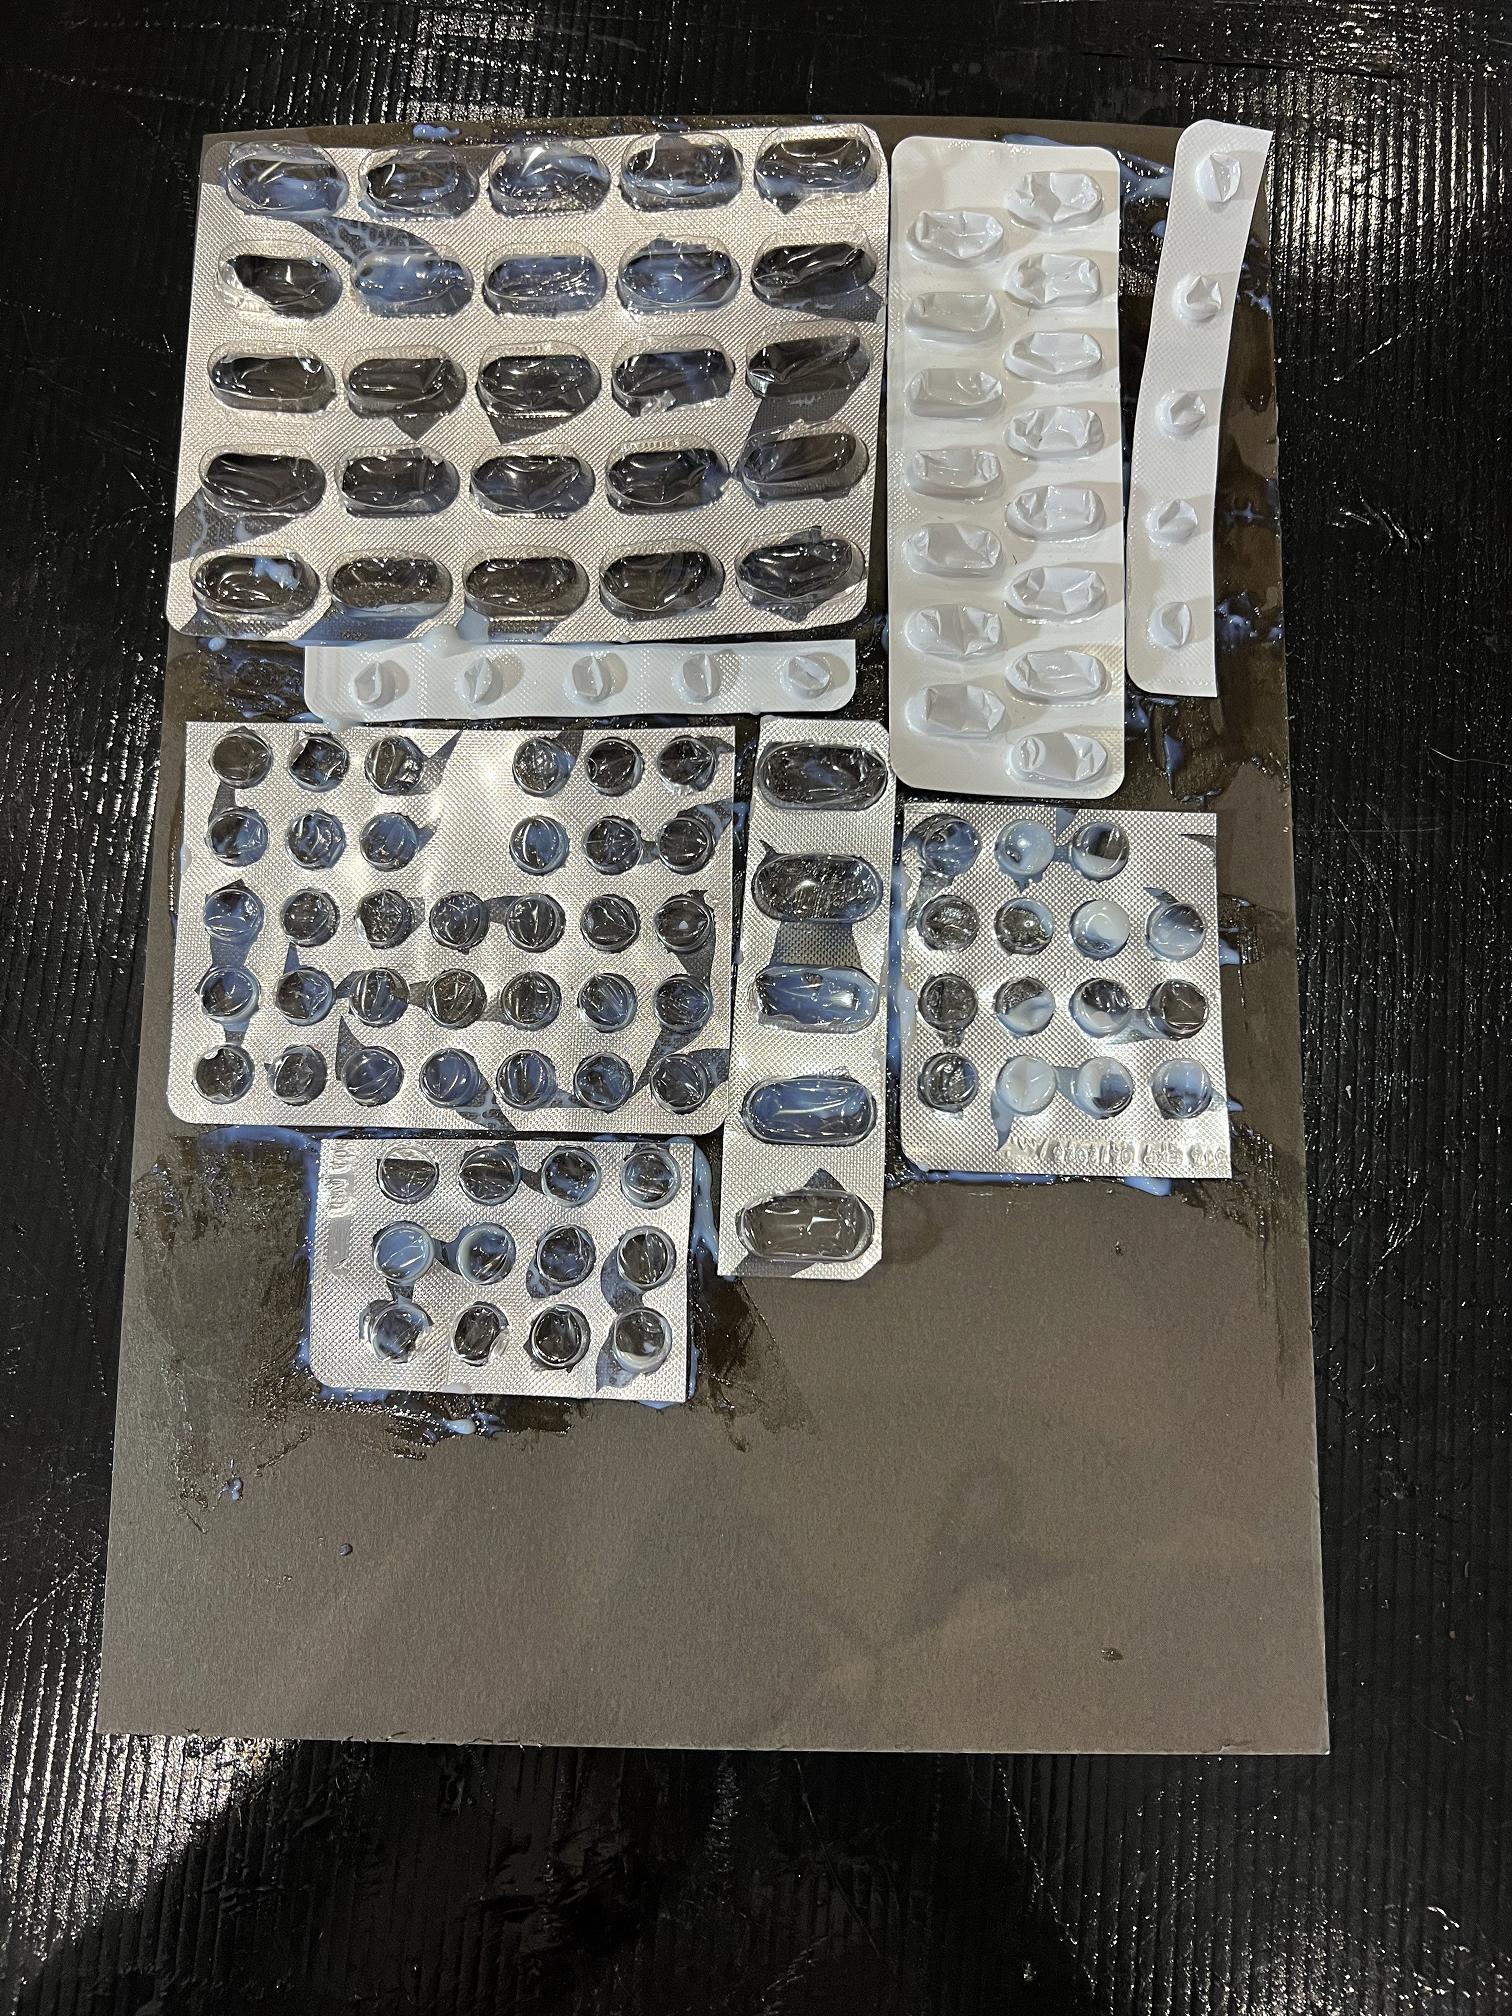
I think the blisters will produce interesting textures, because the surface of them has a random appearance, according to how they were pressed down to release the pills. Some are thicker than others and if I find the plate doesn’t work evenly, I can always push these ones down more. We shall have to wait and see.
Pierced paper
I have returned to the paper piercing activity I indulged in a few weeks ago.
This time, I used the leaflets out of medication rather than from my stoma supplies. I’ve been hoarding these for a while, and asked my hubby to put his out as well, rather than throwing them away. Using these papers for this technique saves a huge amount of work, as the technique involves folding a piece of paper into a concertina and then punching it, but the medication leaflets are already folded like that! I love the printing on them, too, because it adds another layer of texture.
My first one this afternoon was using the information sheet out of the anticoagulant I am on. This is folded into a small rectangle rather than a long narrow concertina, folded to the same size as a card that you are supposed to carry with you in case of accidents – any hospial would need to know that you are being anticoagulated before conducting any procedures on you in the event of your being brought in unconscious.
Being a different folded shape to start with, I decided to punch circles of holes, again using the Cropadile.
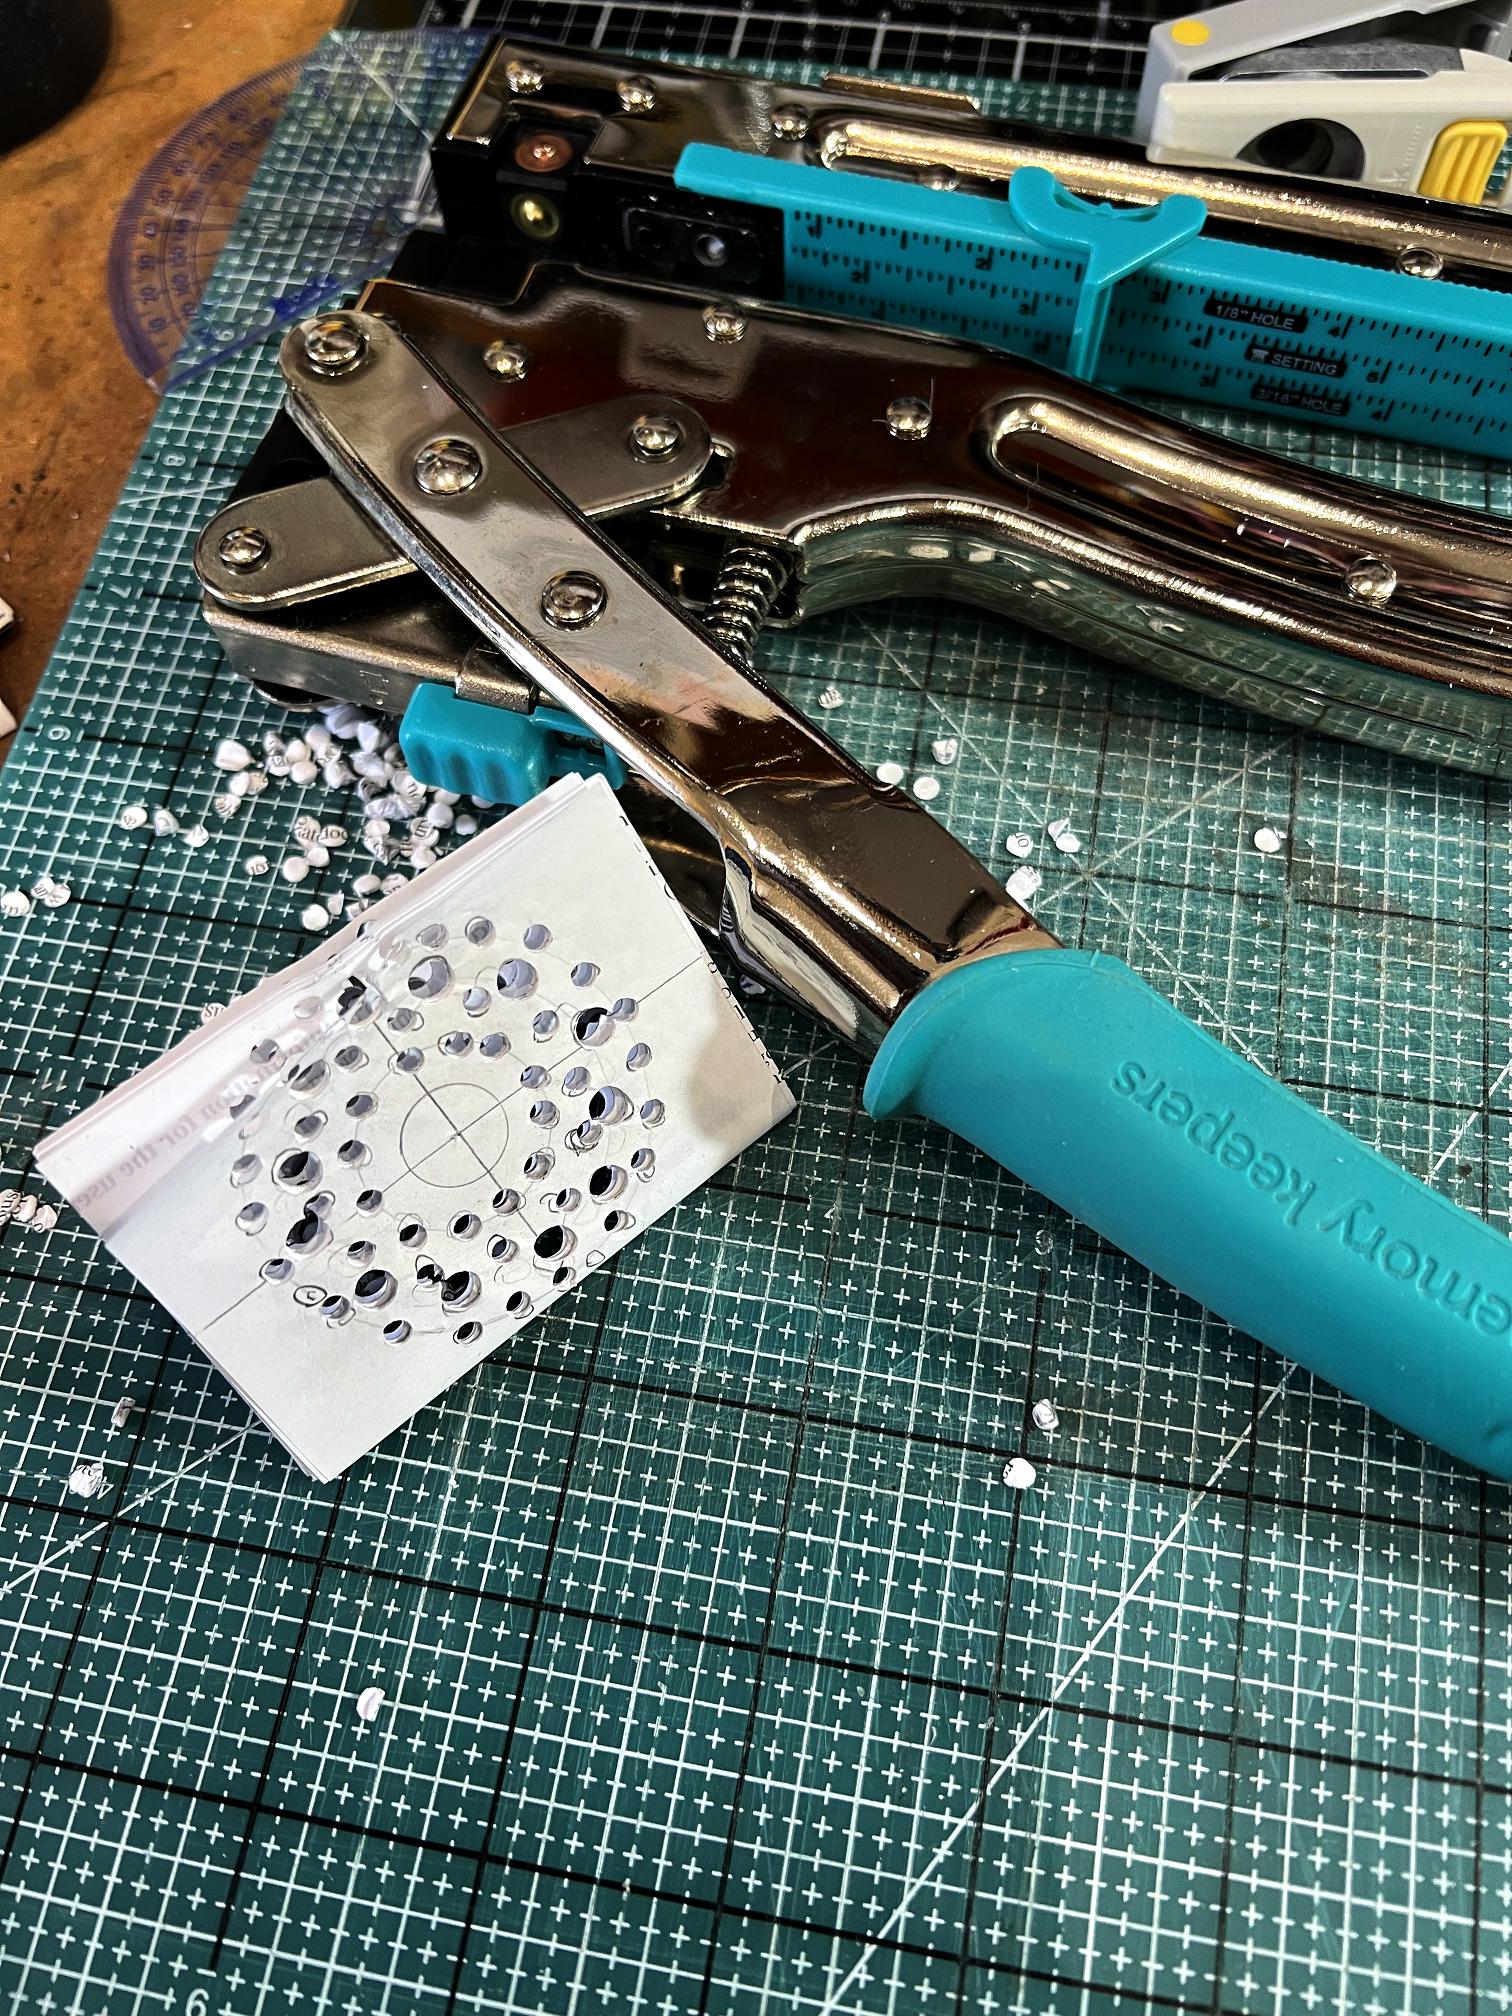
When unfolded, this paper is huge! Look how many circles I’ve punched!
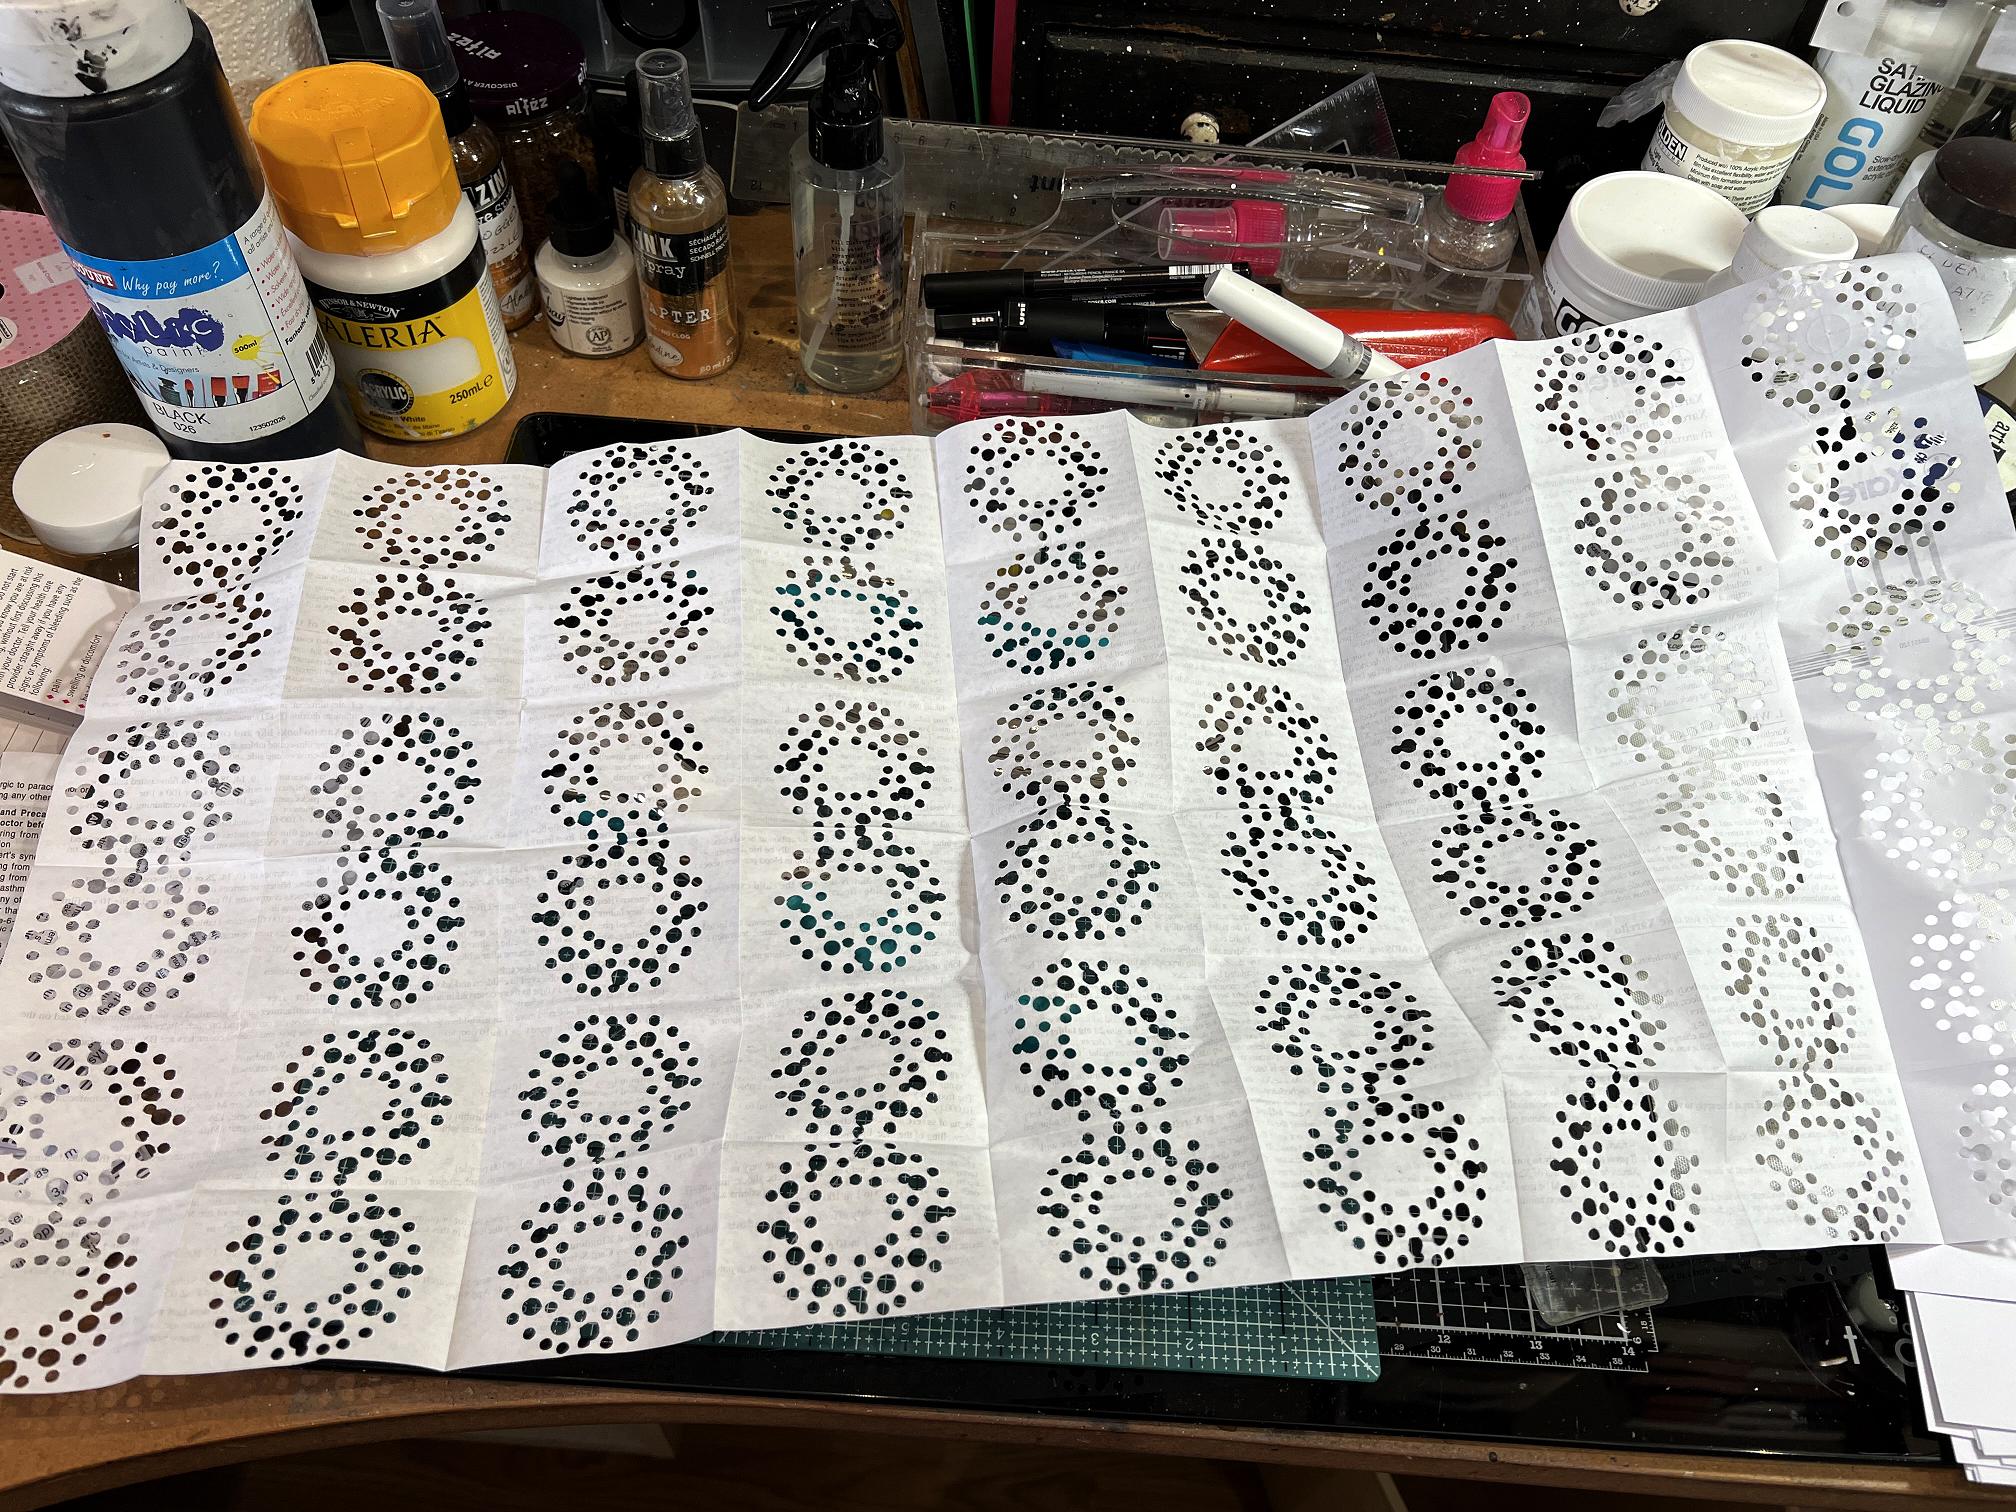
Some of them are a bit too close to the fold and have joined up a bit, but it doesn’t really matter. I think I could use this as a stencil on the gel plate. With a bit of build up of paint it woud become stronger. It’s excellent collage material, at any rate. I had thought of punching a larger hole in the centre (my 3/4″ punch) but it wouldn’t reach the centre.
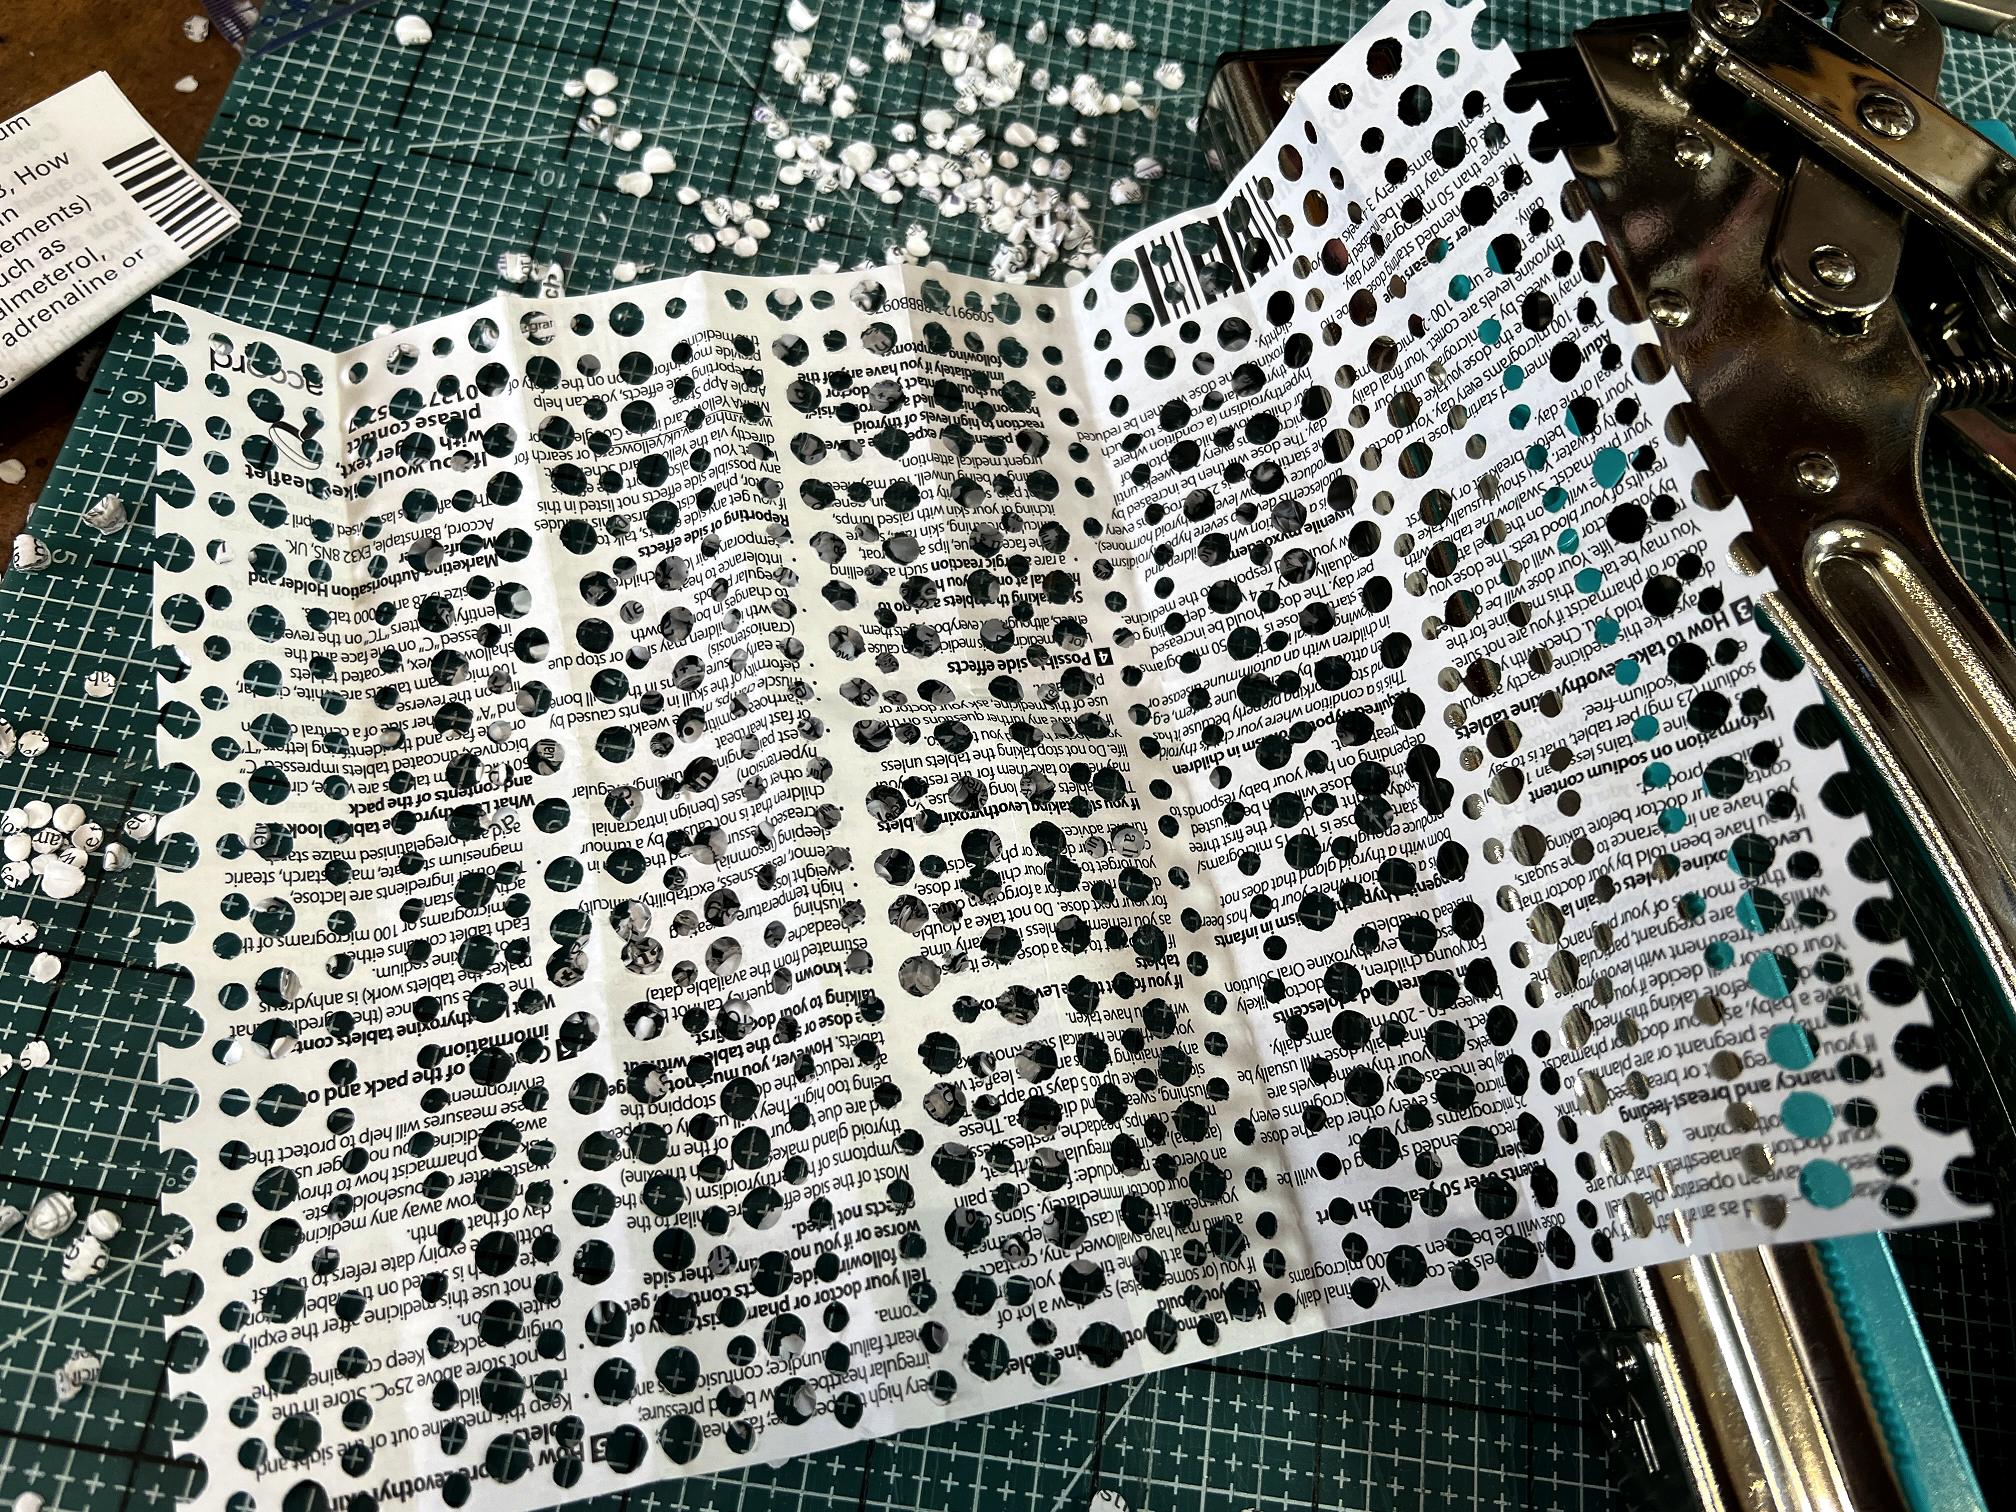
With two of the more common concertina-type folded ones, I created two different patterns of parallel lines of punched holes in the two sizes that the Cropadile will punch.

Unfolded, this is how the two pieces look.

The first one is huge! Loads of fun paper to play with here.
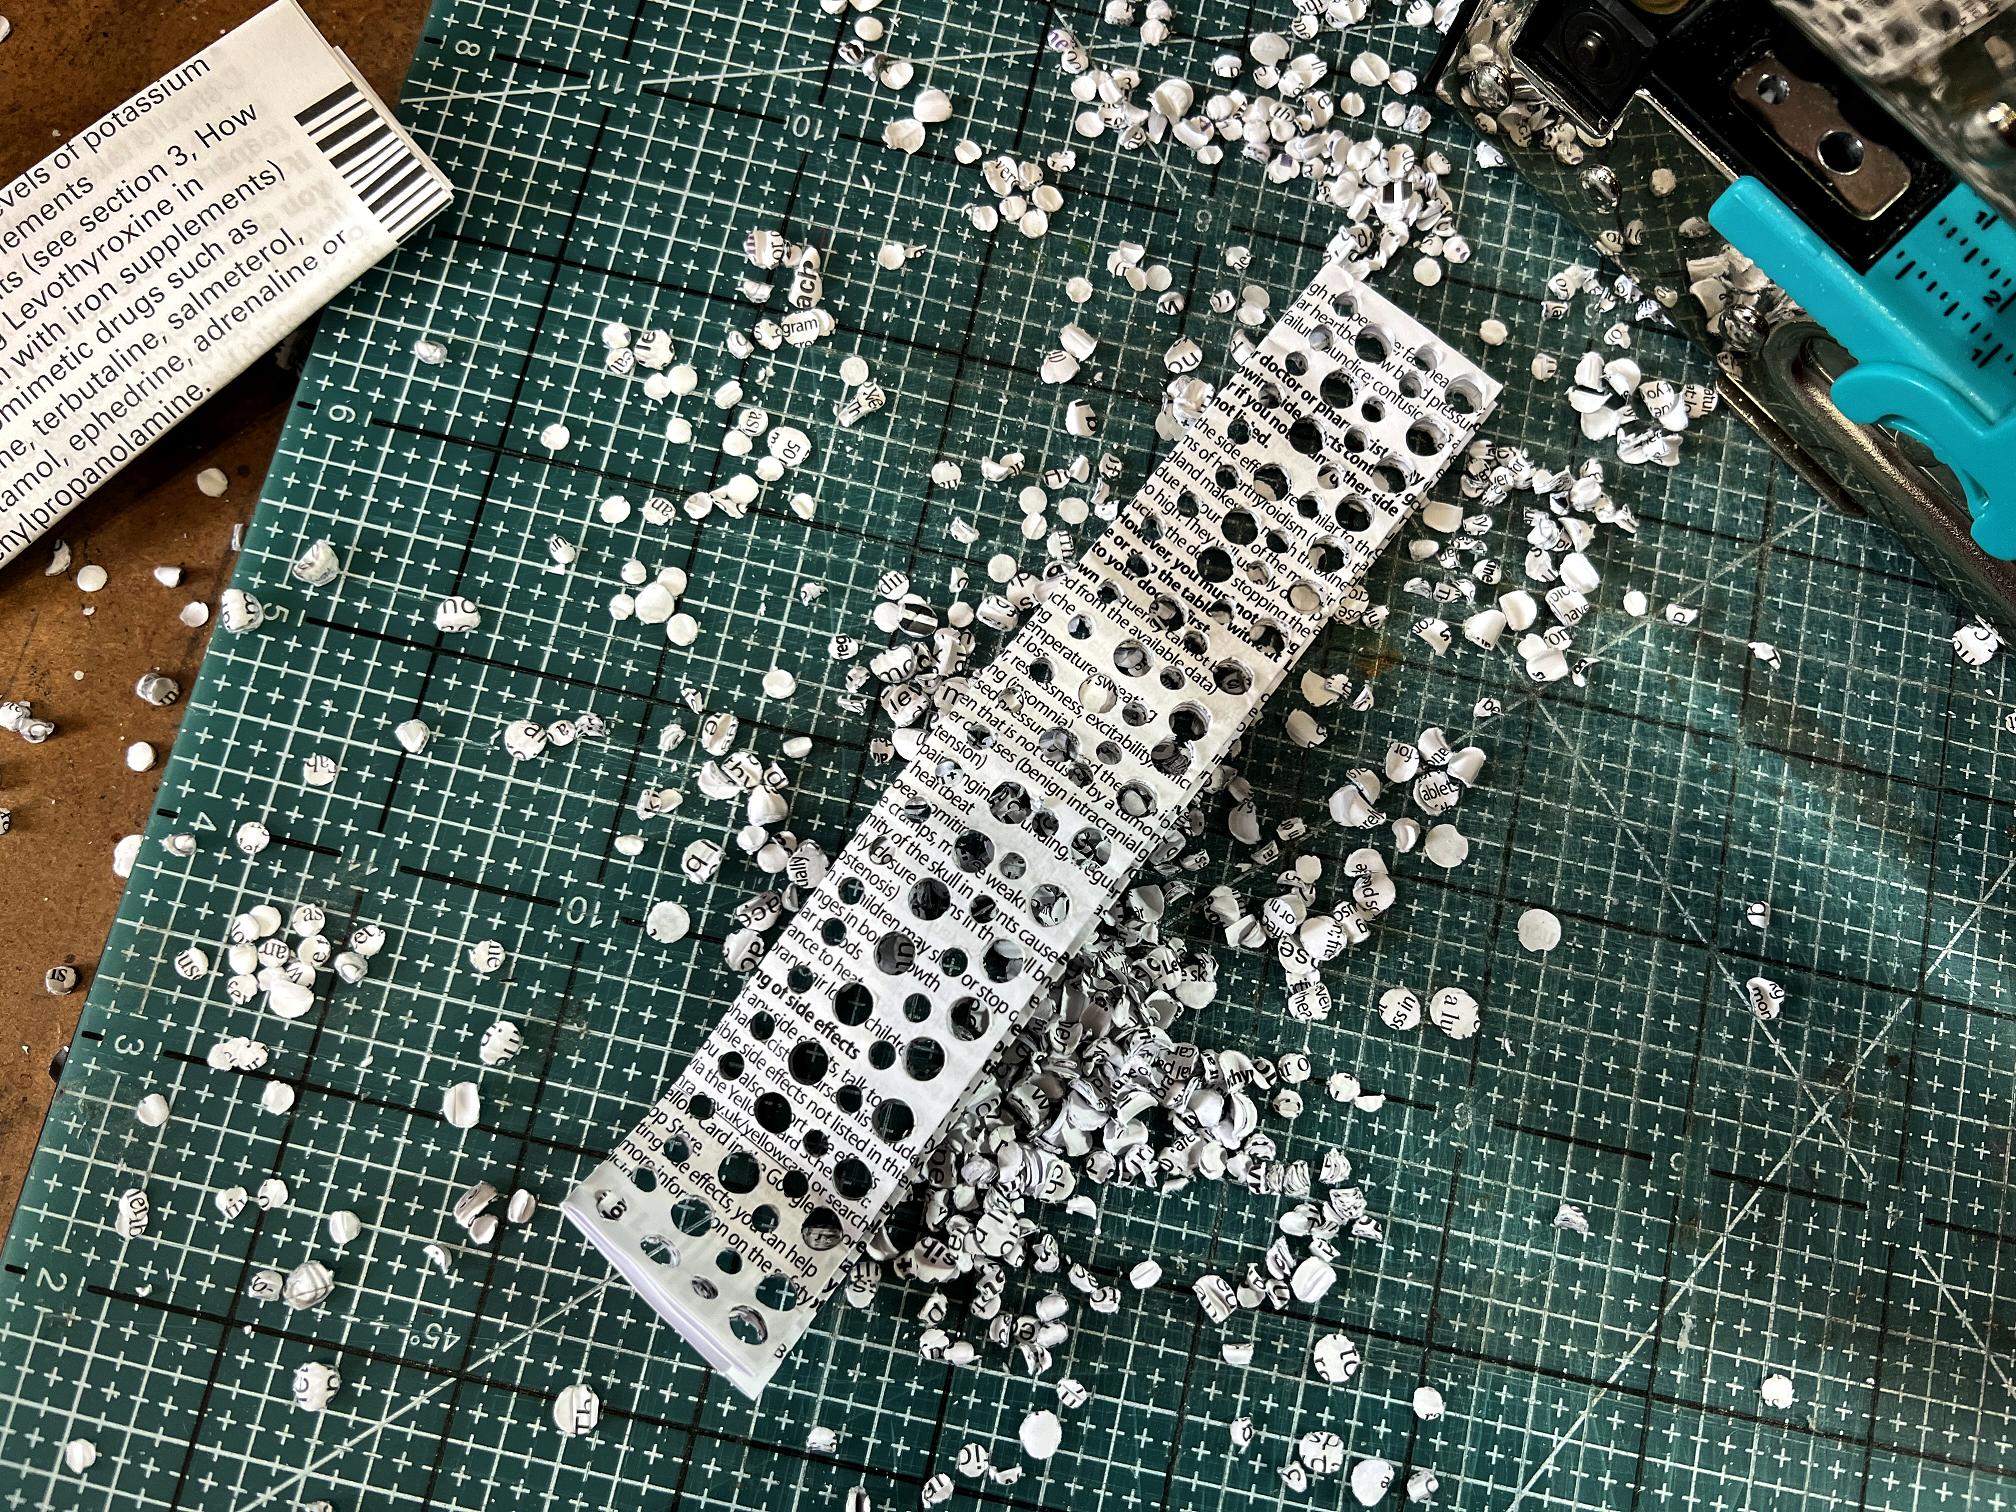
When I had swept up all the tiny circles of confetti and thrown them away, it occurred to me that I could have created an interesting background with these, sticking them down randomly onto a piece of dark-coloured paper! Next time… there’s always a next time!
By the time I’d created these three sheets, my hand was far too tired from punching the Cropadile to do any more!
Collage strips
This was something I watched Robyn McClendon doing on a YouTube video this morning while I was having my breakfast – making DIY postage stamps for mail art. I have been following her altered book project and she slotted in this instructional video because so many people had asked her how she made her stamps.
She showed how she stuck down bits from her scrap bag onto strips of paper, and then cut these down to postage-stamp size and stamped over them.
I think all of us have endless supplies of strips of paper and card that have been trimmed off various projects. I have watched a lot of videos on how to use these up, some more inspiring than others, but there is a limit to how many patchwork-style cards one can make!
I got out a few of my strips, and proceeded to stick down randomly selected scraps, tearing the edges to get rid of any straight cuts if possible.
This is the result.
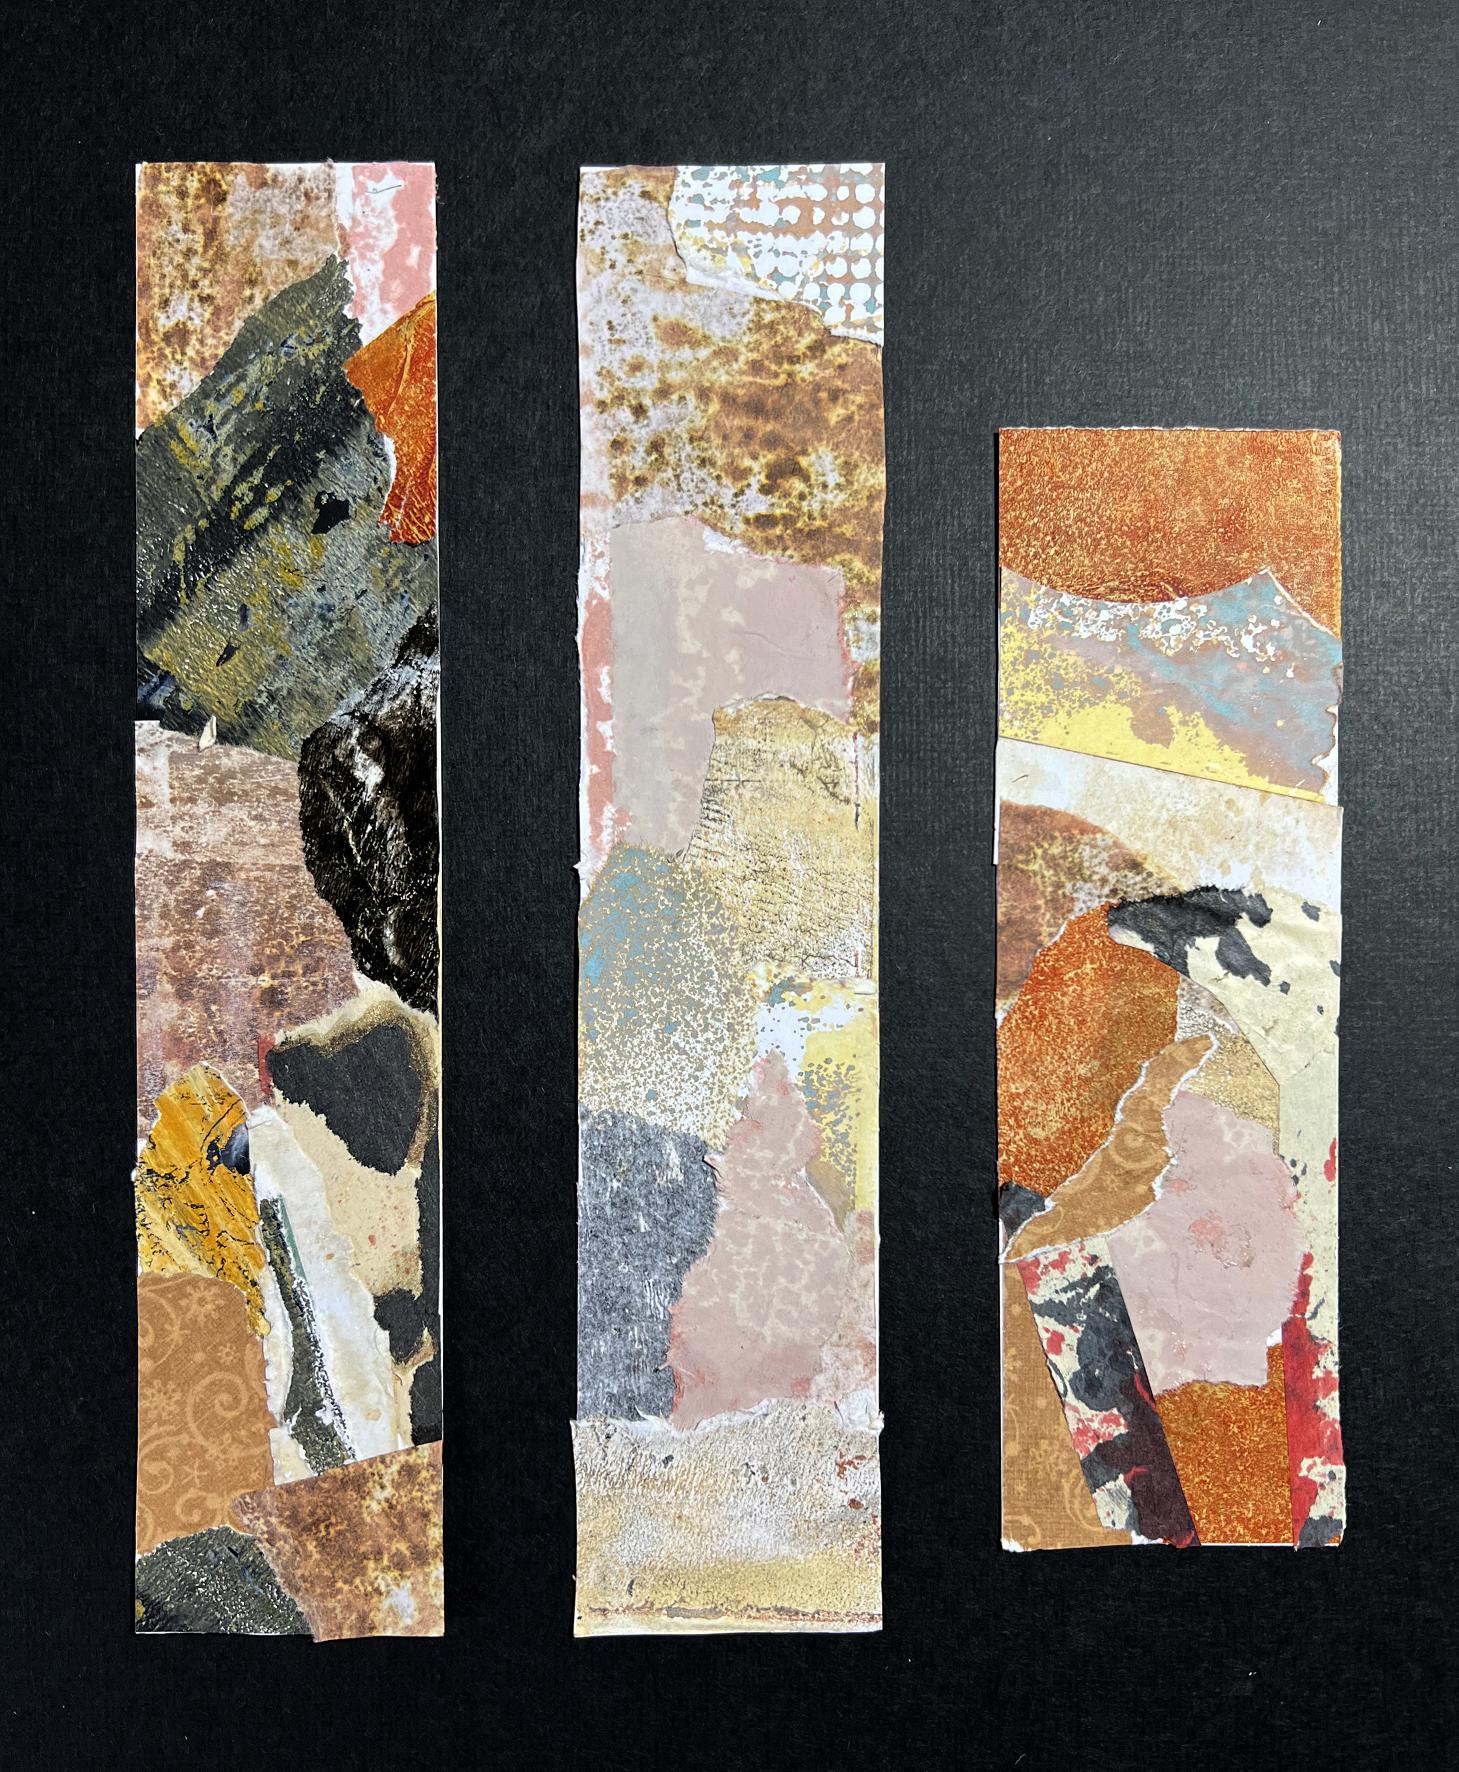
These could be cut up and used as any kind of collage element as well as DIY postage stamps. They would also make great bookmarks, or be used to embellish cards or tags, and they could be die-cut, and you could add stamping or painting, or stencilling – whatever takes your fancy, really. Robyn also added some of her scripting on top which was great. I am super-pleased with my first collage strips!
So at the end of the day, I didn’t finish the Organic Journal, or do any of the other things I originally intended, but I think I have achieved some interesting results. Sometimes it’s good just to potter, and play around with remnants of things that have been hanging around and cluttering up the studio for a while.
Amazing results Shoshi – who’d have thought that rubbish could produce such beauty?!!! As always wonderful results with all of these and the mesh, i particularly love the pierced paper and very clever to used pre-folded paper from pill packets!