MASTERBOARD BOOK – TEXT COLLAGE PAGES
Today I added five more pages to my masterboard book, which is a scrap-busting project that I started last month. It is an A4 spiral bound sketchbook which I am using to create a number of masterboard pages ready to be cut up and used in projects.
On a stash-busting mission
I am currently on a stash-busting mission because my studio is stuffed with Stuff and every box is bursting. Definitely time to use some of it. It is also very disorganised, with similar things stored in different places, so in the process of digging out stuff to use, I am also tentatively tackling the organisation side of things as well.
I have several different folders containing what could loosely be called “backgrounds” – some, such as maps, are stored separately but there are a lot of generic papers that don’t fall into any particular category.
1. Logitech instructions with two stencils
I have a folder with a lot of tea and coffee-dyed papers in it, which are mostly official correspondence such as bank letters and council tax bills etc. As long as there is no obvious confidential information visible, these make a good basis for mixed media and collage projects.
Today I found the folded instructions that came with a Logitech product I bought (I think it was my cordless mouse). This was a huge piece of paper covered with tiny print in multiple languages, which I had coffee-dyed at some point – ideal collage fodder! I cut and tore it into small pieces and used it to cover more than one page in my book.
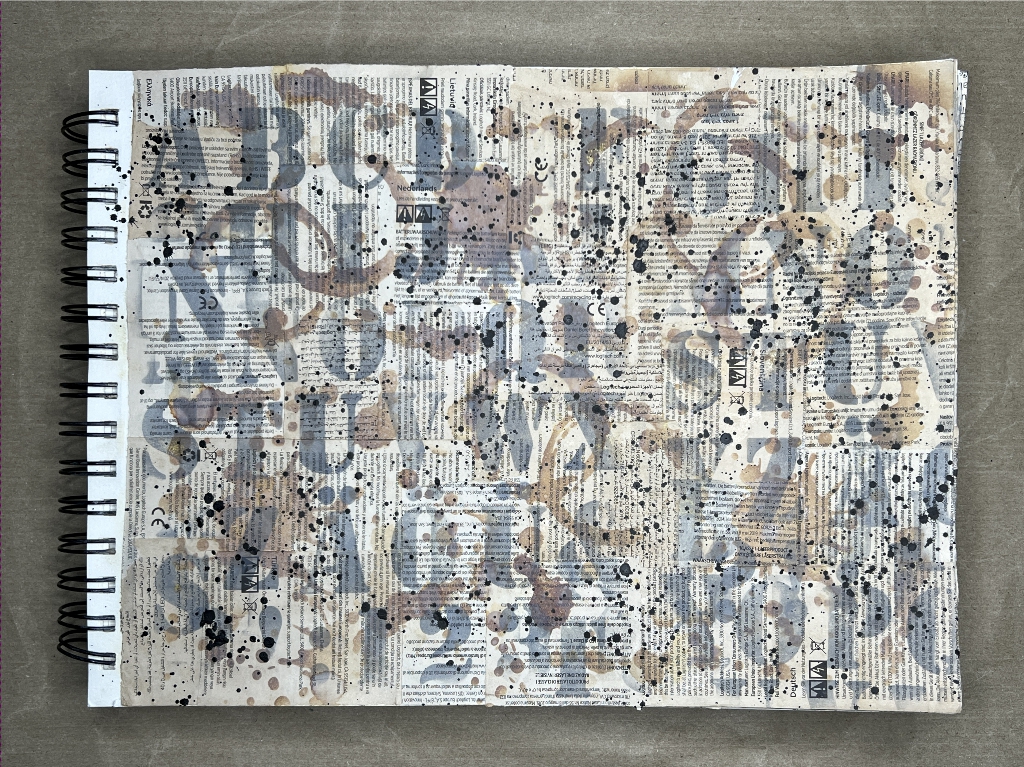
For the first one, pictured above, I used Vintage Photo Distress Oxide to stencil the spatters and coffee mug stains, and then Hickory Smoke Distress Oxide to stencil the alphabet letters. The first stencil is a Tim Holtz one and the letters was an unbranded one which may have come from AliExpress or Ebay.I am very pleased with this grungey neutral-toned background.
This week I have been following a series on YouTube by Luise Heinzl, and in one of the videos she did a tutorial on spattering. I have always struggled with this so I was anxious to see how she got such good results, which largely depend on the brush she uses. I dug around and found several fan brushes and eventually settled on a fairly stiff one which was narrower than the standard, and looked the most like the one Luise was using. I used some black Indian ink to add spatters to this page and it went very well.
2. Logitech instructions with single stencil
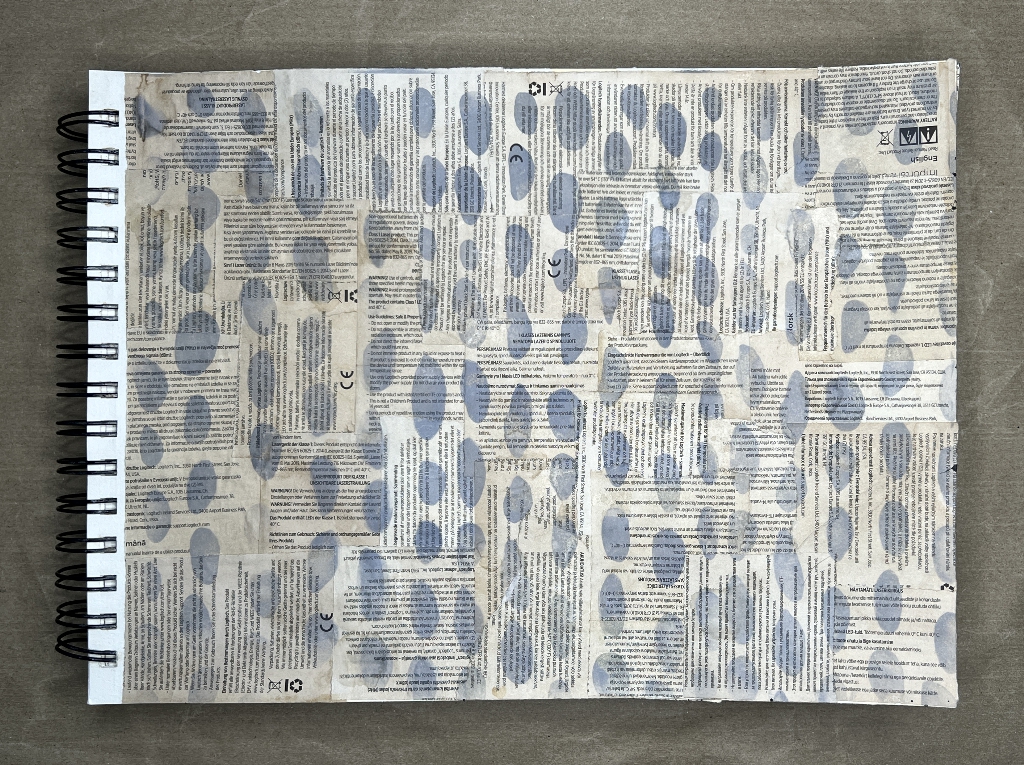
Plenty of the Logitech instructions to make another page! This time I used one of my own stencils and a single colour of Distress Oxide – again, Hickory Smoke. This time I didn’t add any spattering, but as before I did spritz the stencilling with some water to activate the oxide effect of the ink a little.
3. Financial correspondence with swirls stencil
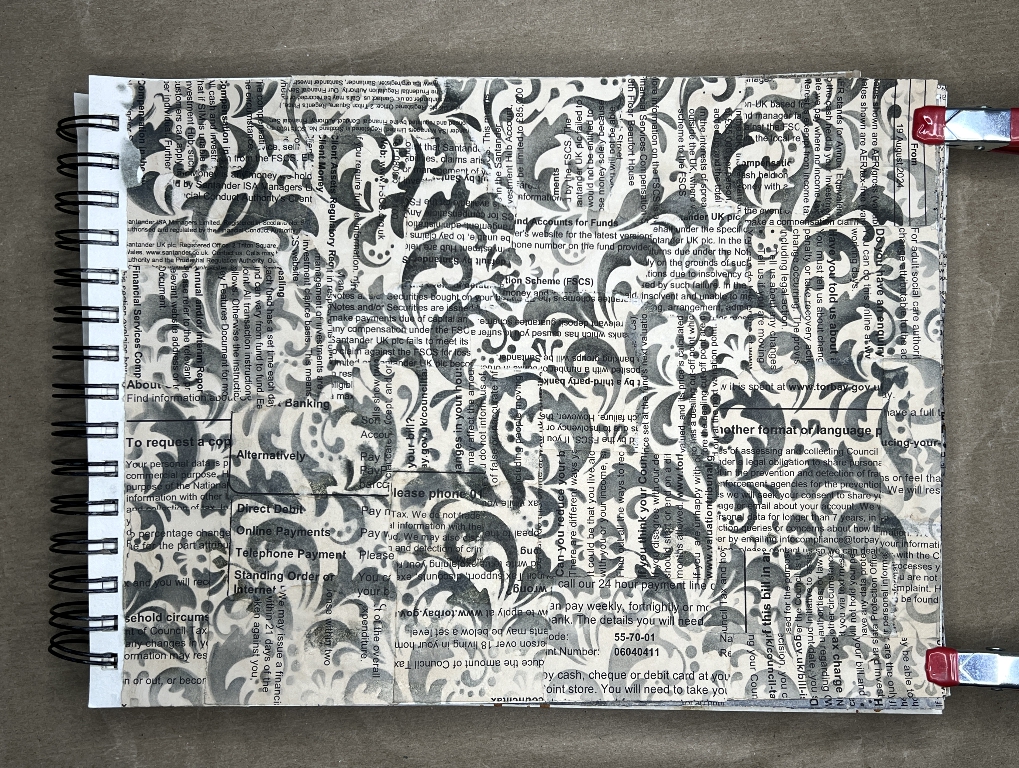
This time I used various bank reports and council tax bill infirmation sheets, cut into small pieces. This time I stencilled with Black Soot Distress Ink through a large swirls stencil – origin unknown but it may have come from AliExpress or some such outlet. It’s one of my favourite stencils.
4. Financial correspondence and Logitech instructions with Payne’s grey water and bleach
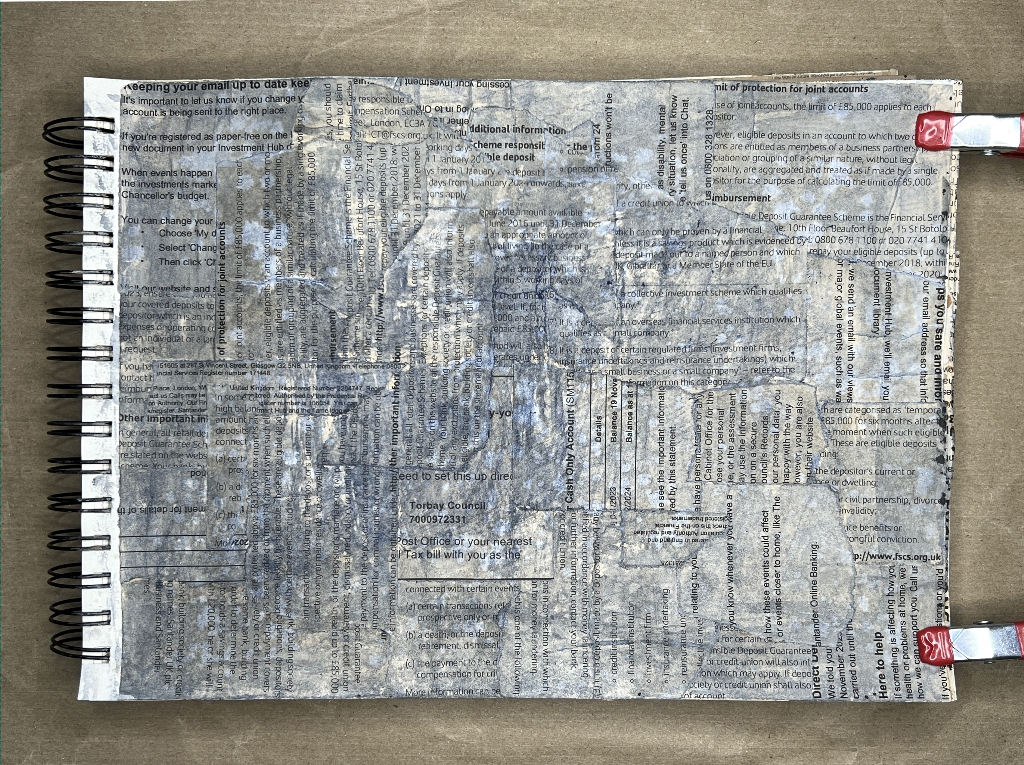
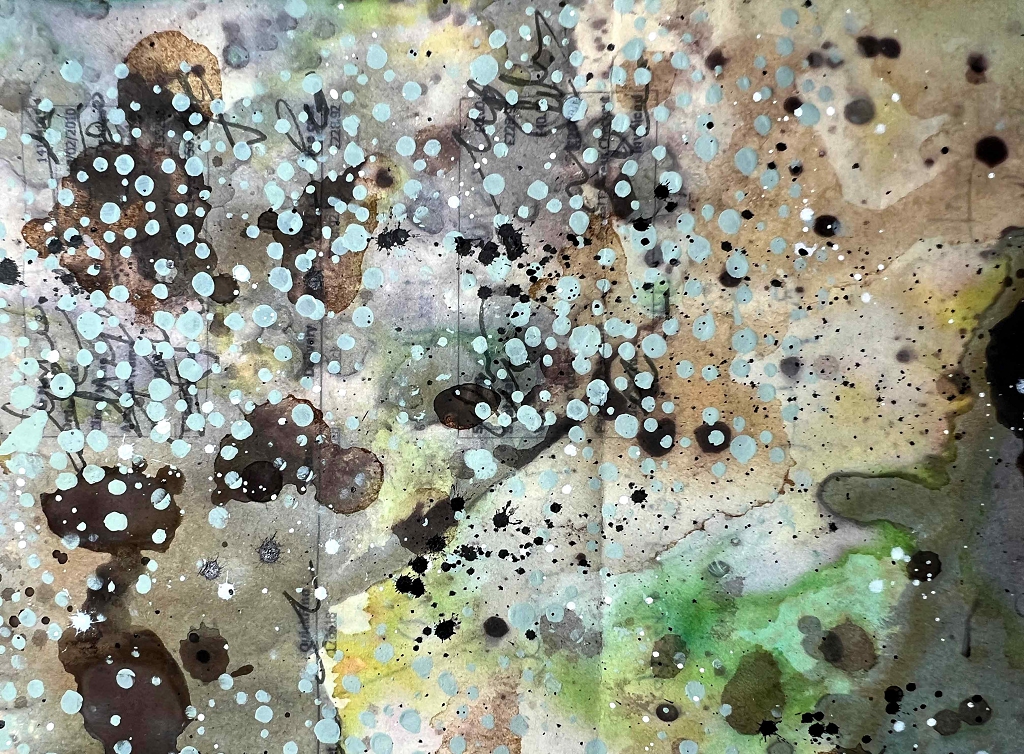
This was the least satisfactory of today’s collection. The Payne’s grey water (water with a little Payne’s grey acrylic paint mixed into it) came out somewhat muddy over the coffee-dyed papers but in a way I quite like the grunge! I painted on a layer of the weaker Payne’s grey water first and when it was dry, I added some of the stronger water randomly. When this was dry, I spattered it with bleach but this only took effect to a limited extent, although I do like the pale blue spatters it has left. With all the water treatment the pages were starting to buckle quite badly so I had to clip them down in order to photograph them. Also, several of the collage fragments were lifting so I had to stick these down again with glue stick.
5. Financial correspondence and Logitech instructions with rust water
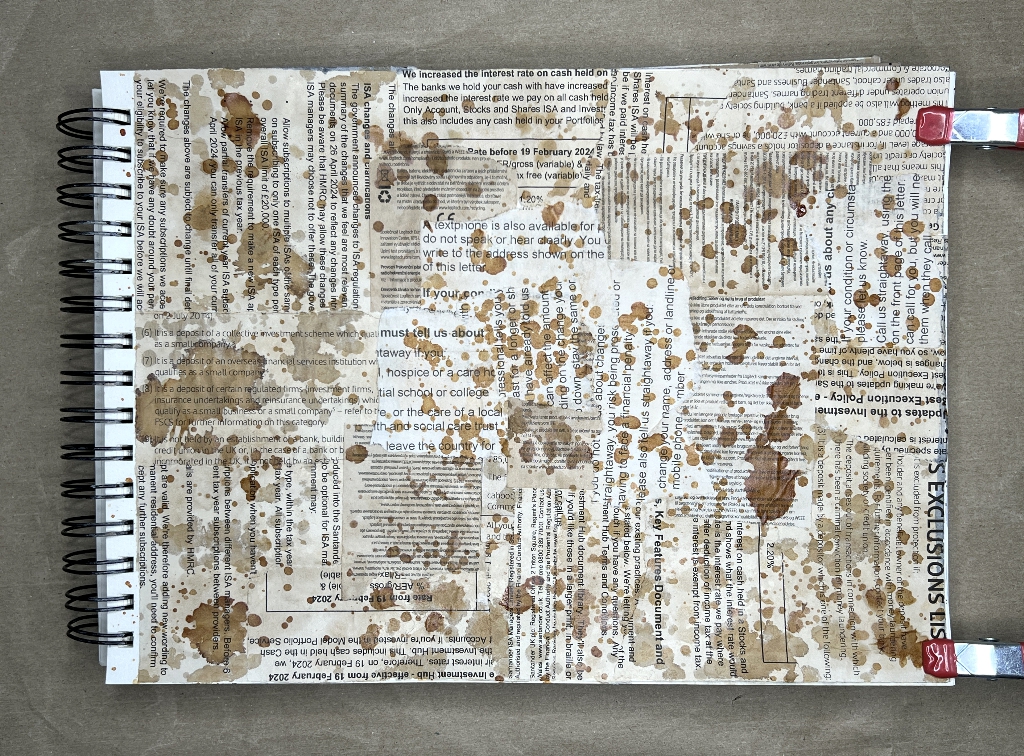
I really like how this one has come out. I painted on some weak rust water first, and when this was pretty much dry, I spattered on a generous amount of the stronger rust water. The larger areas of spattering which took longer to dry remained a rich rust colour, but the smaller spatters turned greyish, as rust water tends to do, and I really like the effect which has a multi-layered appearance. The clips were definitely necessary by this time as the paper was warping quite badly.
The book is now under some heavy books in an effort to flatten the pages.
I still have a stack of the scrap correspondence and shall definitely be using it for more collage and other projects. I have already created a number or mixed media sheets from other pieces.