BOOK ALTERING, GEL PRINTING AND DIATOMS
A busy couple of sessions in my studio today.
Altered book
A while back, my hubby gave me some old large format hardback books he no longer wanted, which were perfect for altering. I have never altered a book before (apart from my recent Organic Journal which I suppose was a form of book altering).
I have been following a course of videos by Robyn McClendon as she has taken us step by step through the process of altering a book. This has been a brilliant course, not only for her very clear instructions as to how to prepare the book and how to fill it and ultimately to cover it, but along the way she has shown us many useful techniques and had a lot of fun with gel printing.
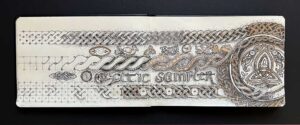
This is the book I have chosen for my first altered book.
Without its dust cover, it is a canvas-covered hardback book.
The book consists of many pages with text and illustrations:
and also some pages with text alone.
Depending on each spread and its content, I may incorporate some of the original printing in my designs.
Robyn’s instructions were for a book with separate pages glued into the spine, and this book has stitched signatures, so the approach was going to have to be different, or I would have ended up with loose pages falling out. Her book was also considerably thicker, resulting in 30 or 40 pages, if my memory serves me correctly, whereas this book, being thinner, is yielding only 13 pages. I feel that for a first attempt, this is enough; after all, my completed Organic Journal has only 15 pages. One has to use what one has at one’s disposal, after all!
The idea is that if you do not remove a considerable number of pages, once you have filled the book with collage and other art work, the pages become so thick that the book will no longer close.
Once you have removed the pages, the remaining pages are glued together in pairs, covering the place where the other pages were removed, and forming thicker and much more substantial pages for working on.
As my book is signature-bound, I found the centre of each signature by locating the stitching, and removed three pairs of pages from each one. The total number of pages in each signature was originally five pairs, so the remaining pairs of pages were then glued together. The book now feels much thinner than it did originally, but the binding is secure, as all the page pairs were removed from the centre of each signature, leaving the stitching intact, if a bit looser. The glueing together of the pages has reinforced this, though, as I was careful to push a good quantity of glue right down into the gutter.
I used PVA glue for this, applied liberally with a paintbrush, and working on the page from the centre of the spine outwards with a credit card to even out any bumps and remove air bubbles. I checked the corners and edges and applied more glue where necessary. I had to be careful to clean up the edges of the pages so that no glue remained to stick the resulting pages together. I did manage to get glue in the wrong place once or twice, and had to pull the pages apart where they stuck, and this damaged the surface a bit, but this will all get covered with paint or collage eventually, so it won’t matter. I made one mistake and realised it just in time, before I stuck the pages together – I was able to remove the wet glue with several paper towels moistened with water.
I left the book open at that page for several hours to dry, checking back regularly to make sure that none of the pages had stuck together. All the pages are now dry, and the book is ready for altering.
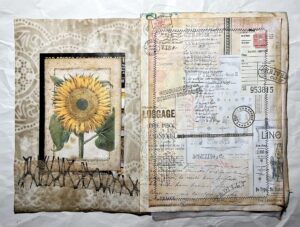
Robyn’s book was on the theme of mail art, in an abstract way following a traveller in a bygone era. I think I shall follow a similar theme of travel, as this will allow for many different themes and varying ethnic styles.
I have in my stash a small collection of postage stamps which I have never really known how to use in art, and his project willl give great scope for this. Last week I spent some time scouring the Internet for images of postage stamps and downloaded these, and then arranged them, using my desktop puplishing software, ready for printing and cutting out. I ended up with two A4 sheets of delightful and varied stamps.
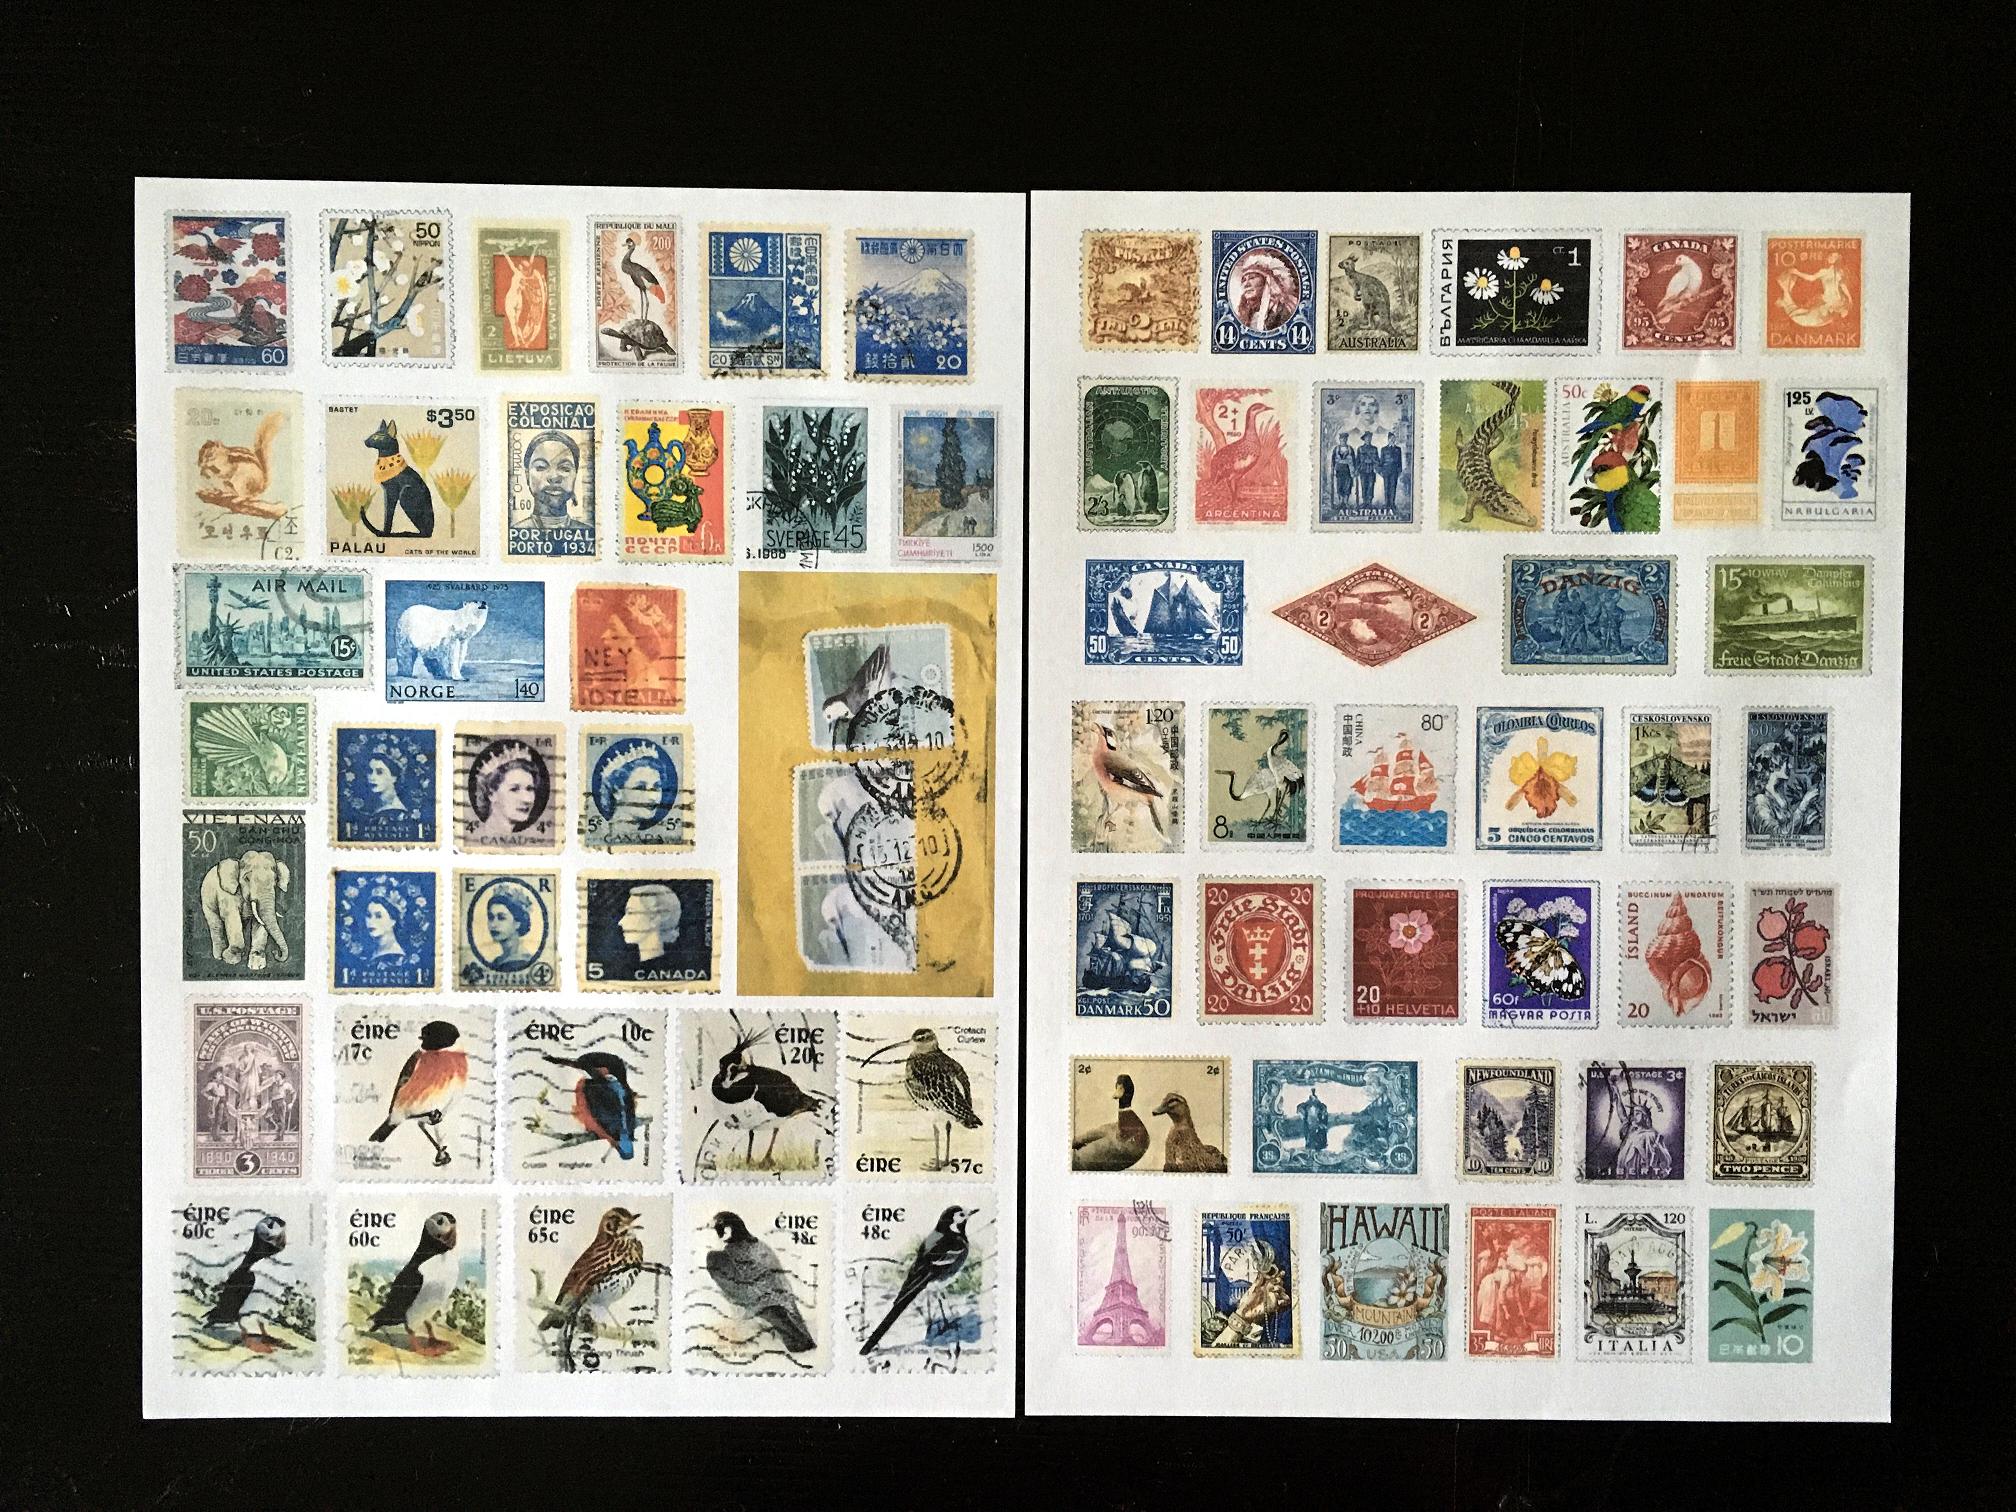
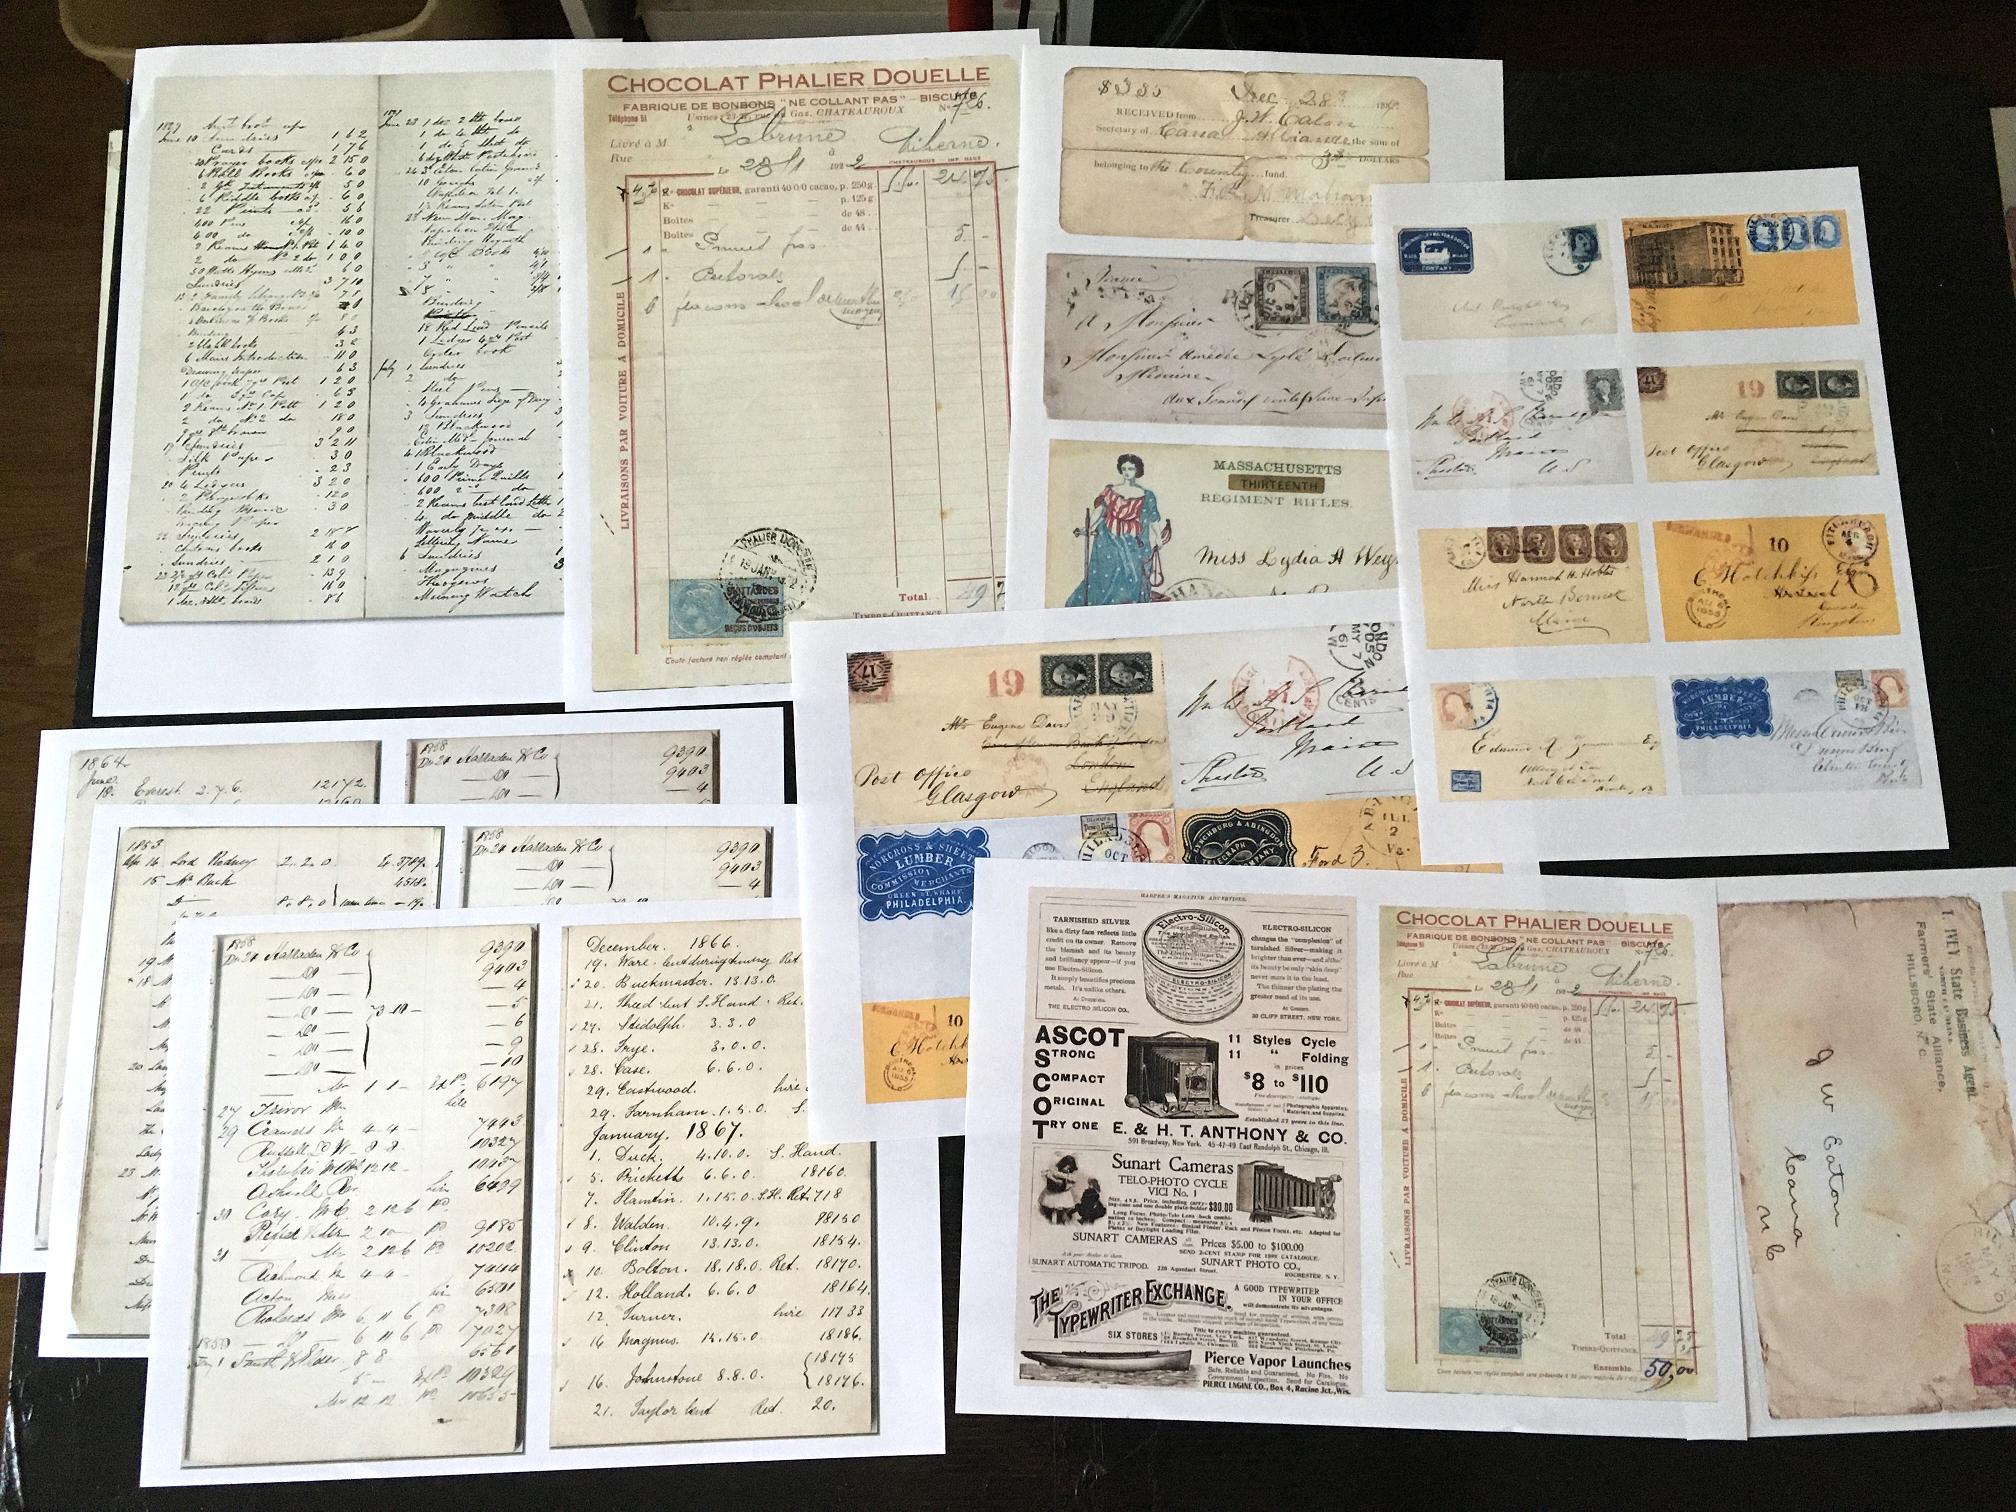
In the course of my search, I also found some vintage mail art and old documents which will incorporate very nicely into the theme.
It will be fun to experiment with some different colours for a change. For the Organic Journal I definitely tried to concentrate on neutral, earthy tones to co-ordinate with the cover. I shall continue with the vintage look, whose palette is predominently the same, but I shall allow myself some departure from this, especially in view of the beautiful colours of textiles and art from different cultures around the world.
Talking of different colours:
Gel printing session with iridescent jewel colours
Several weeks ago I bought a set of Arteza iridescent paint – many colours in small tubes in a box, and haven’t had a chance till today to try them out. They are described as “metallic” but I would say most of them were more pearlised.
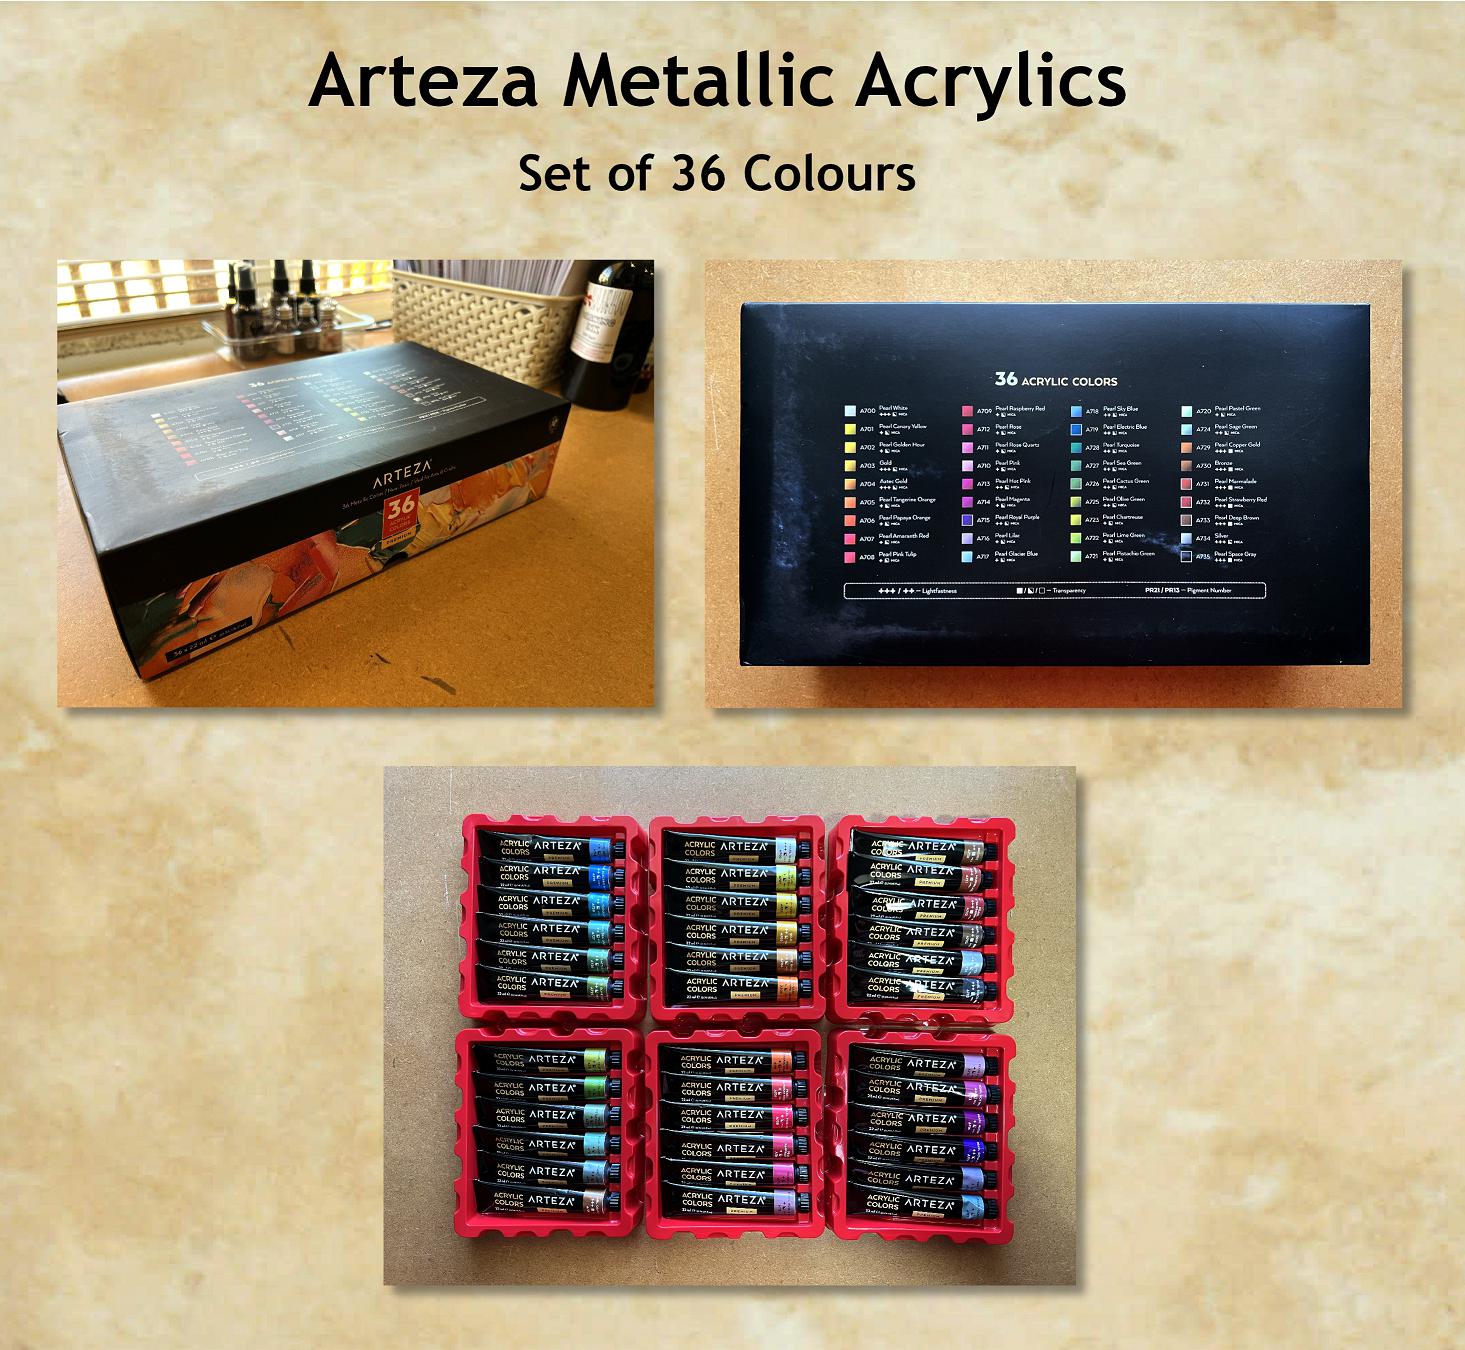
Arteza paints are extremely good quality with a high concentration of pigment, and ideal for the gel plate, and they are surprisingly inexpensive considering their quality.
I made some prints on tissue paper, using two colours, one at the top and one at the bottom of the sheet.
In one of my polywallets I have got a collection of gel prints which I either don’t like, of which I knew would need further layers, so I got these out and worked on them as well. Some of them still require further work.
This is the collection I made today. These ones are mostly the Arteza iridescents. I particularly like the one at centre top, which was done with two colours of the Arteza paints, and then used to pick up a ghost print of one of my Persian Tiles stencils that I made, which I tried for the first time today.
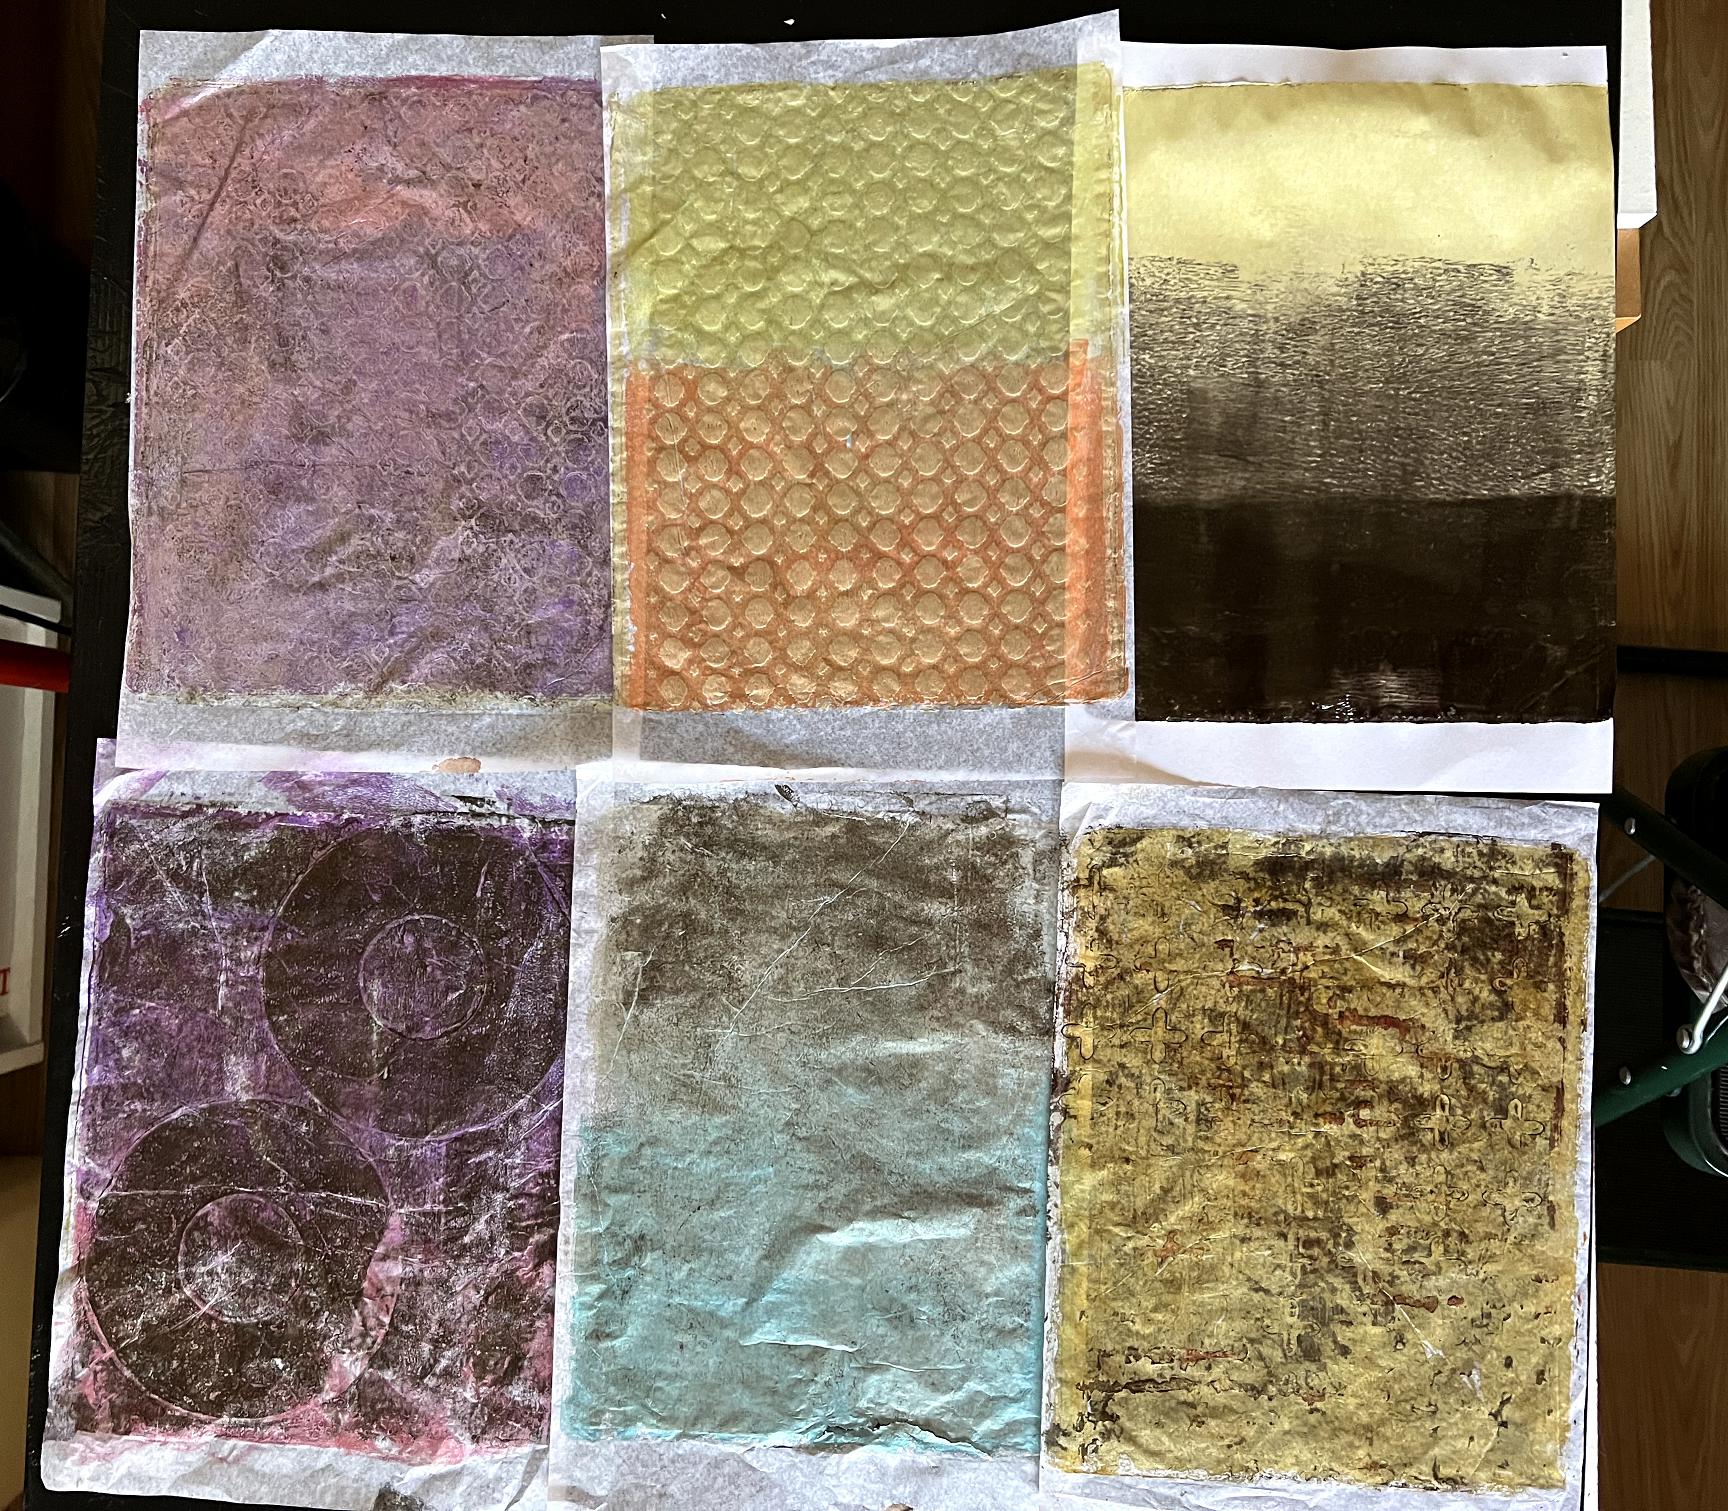
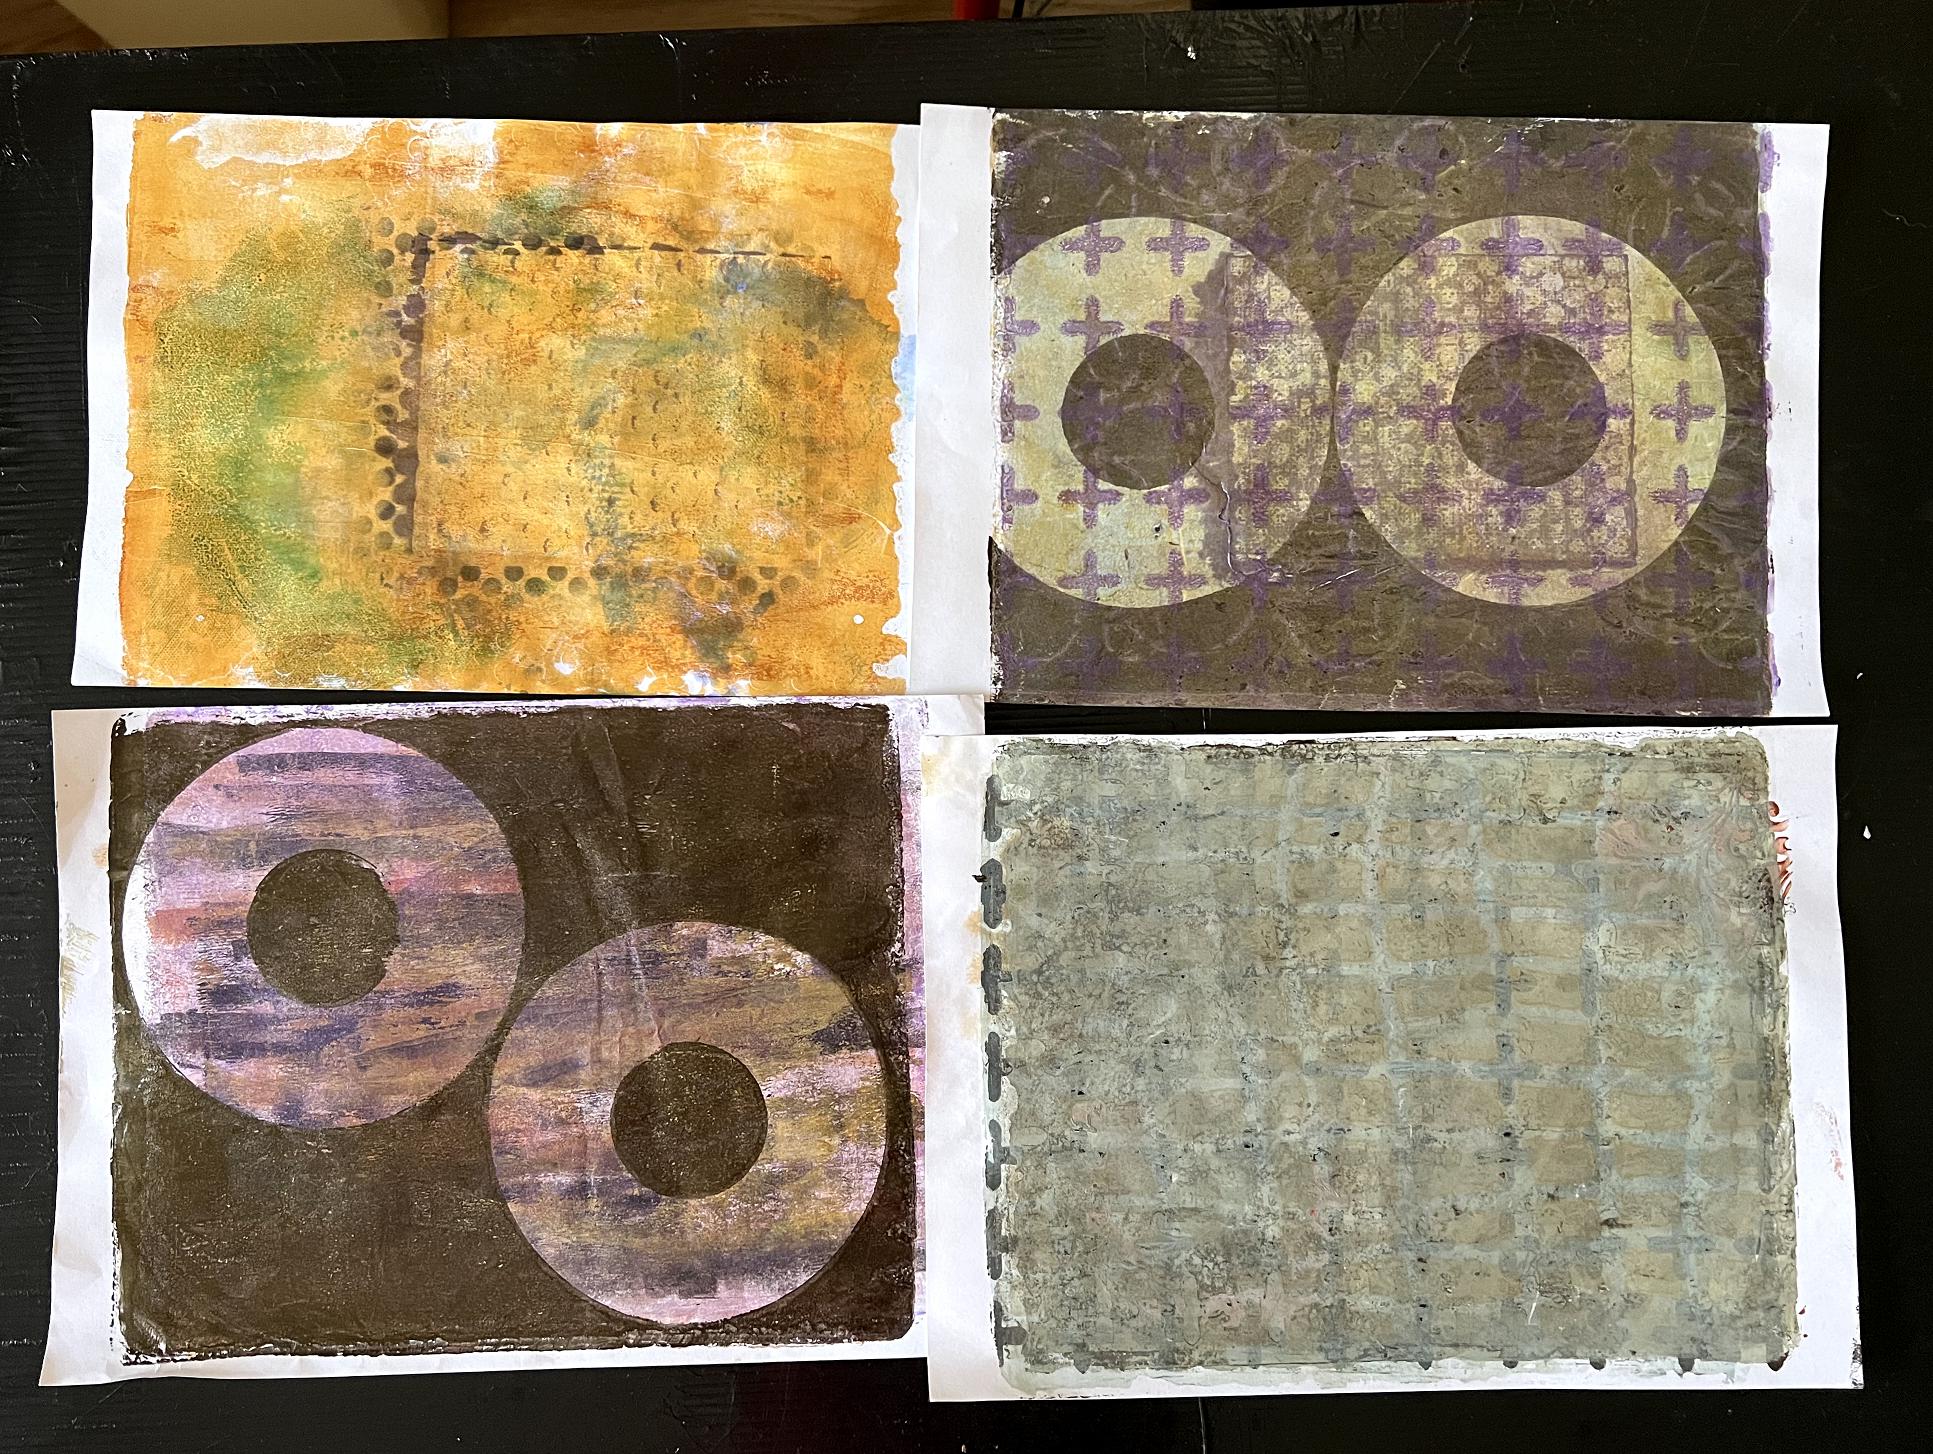
Some of these need further work. I definitely need to print off some more circles because these are lovely for focal points in collage.
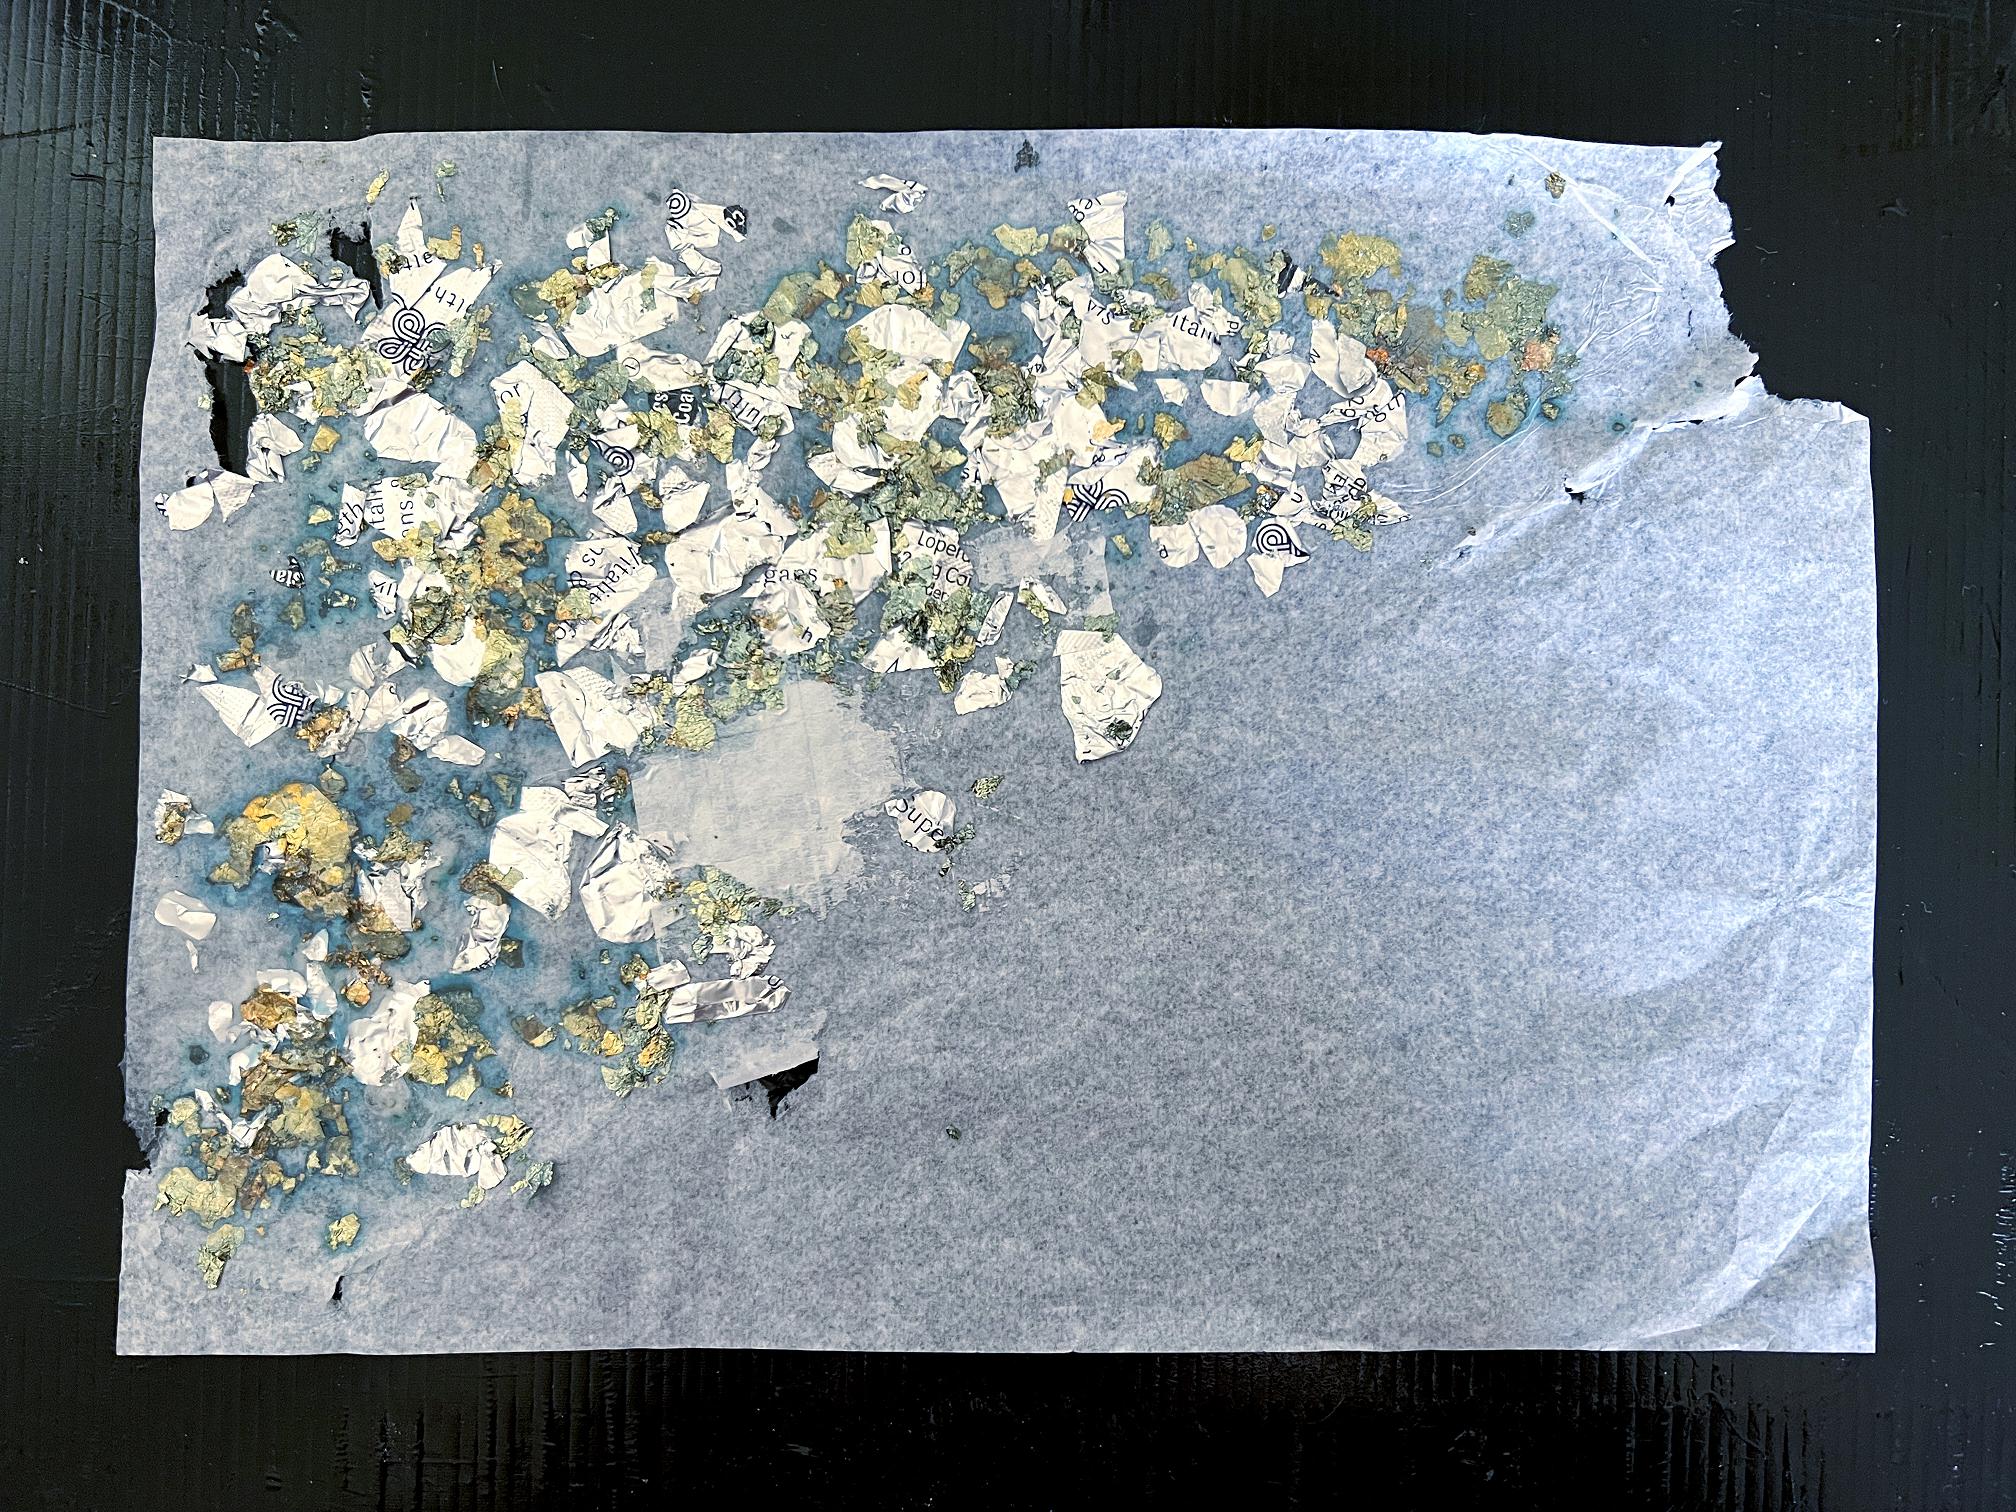
Medication blister pack foil
A few days ago I made a texture plate from medication blister packs, and after spending the time under some heavy books, these have now stuck down well. I have yet to try this texture plate. See this blog post for details.
I also mentioned that I picked off the loose foil from the back of the blister packs and stuck this onto tissue paper with some gilding flakes. I forgot to photograph this at the time.
After a few days under some heavy books, I checked the piece and found that it hadn’t quite dried, being encased in plastic, so I left it out for a few hours, by which time I could safely peel off the plastic. Unfortunately the plastic sheet had a label on it and this had stuck itself to the sheet. I managed to peel most of it off but a stubborn piece remains. It doesn’t matter – this was an experimental piece which also got a bit ripped in the process. Much of it is still useable, but it needs a bit more gel medium to stick down a few wayward pieces of foil.
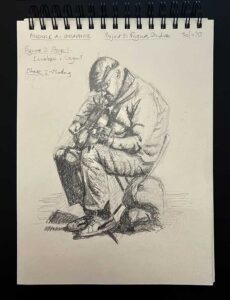
Another drawing in my Rhodia drawing book
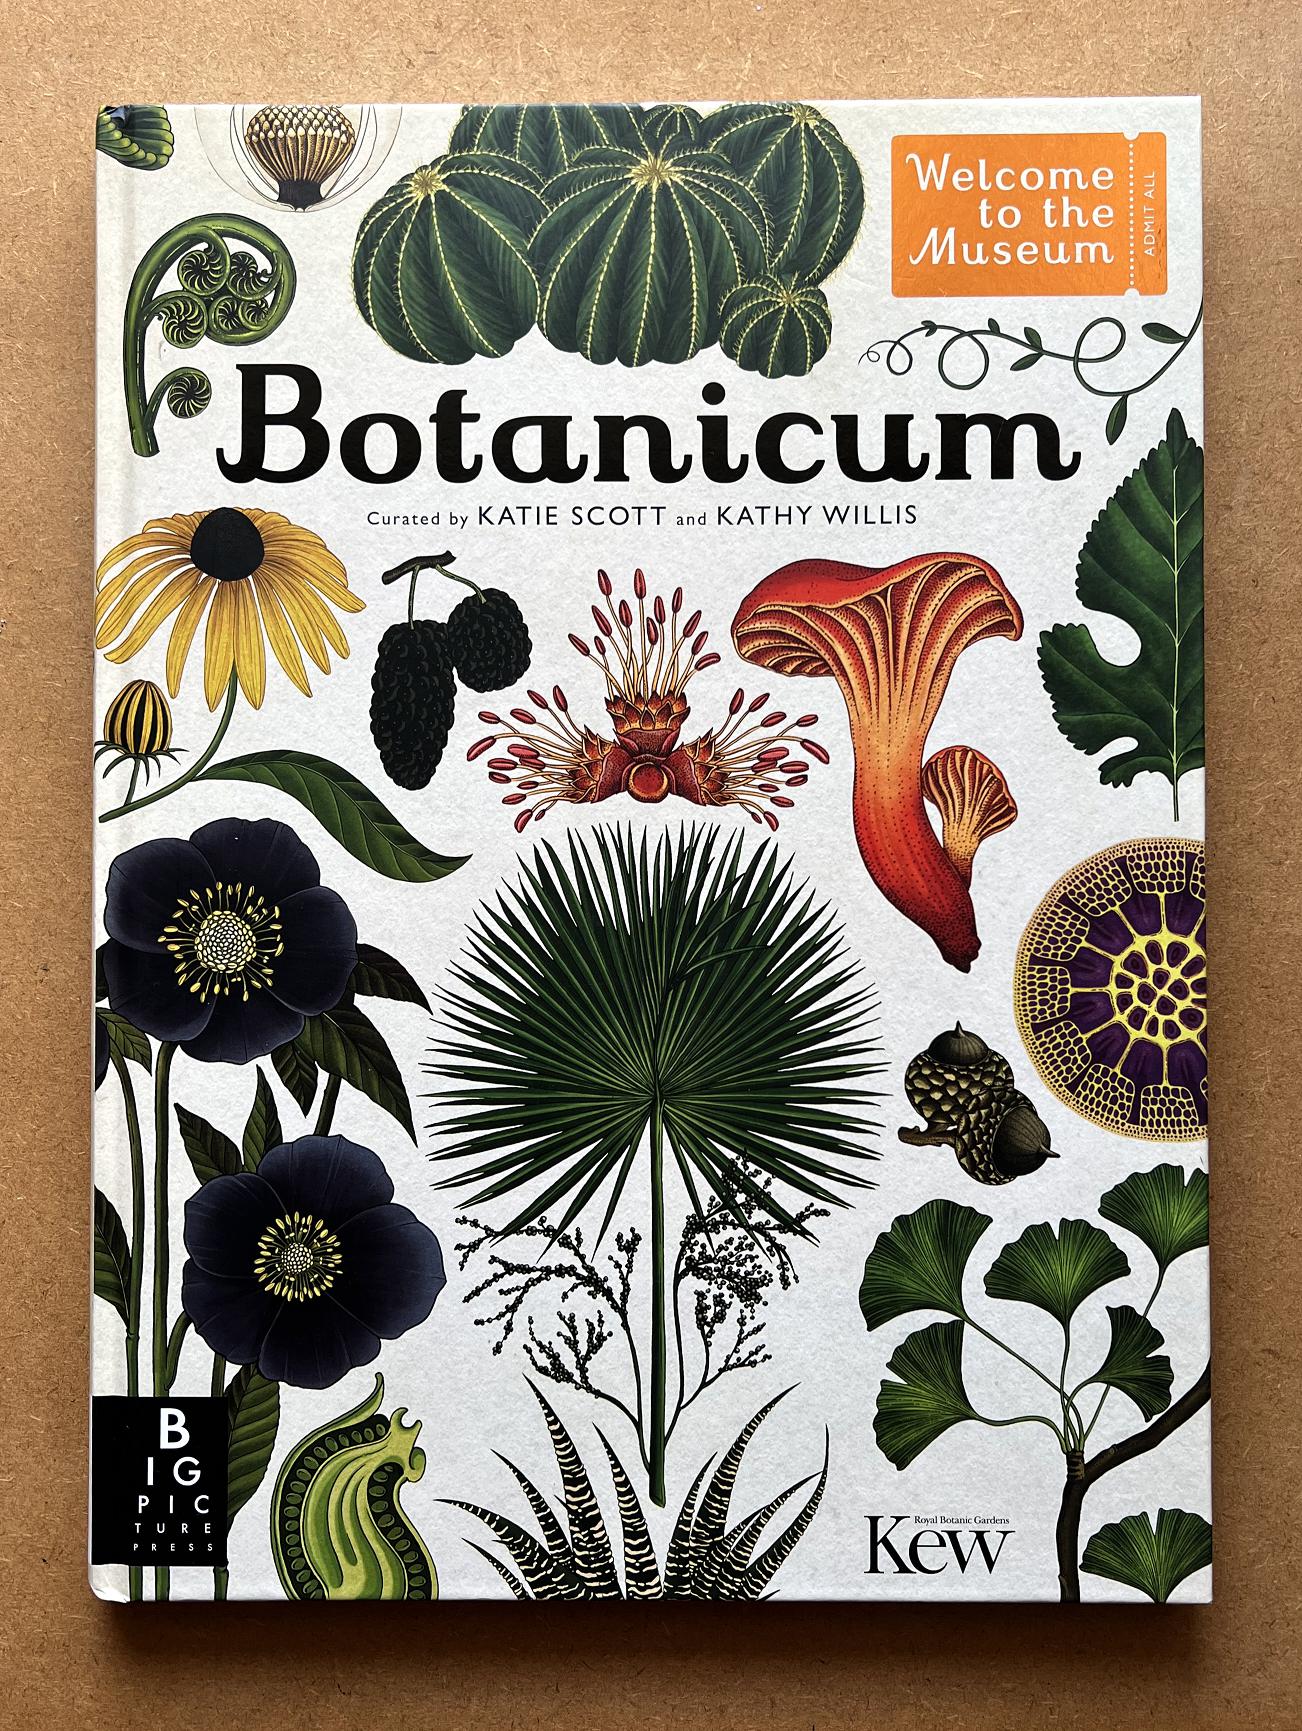
Finally, I felt like doing a bit of creating in the comfort of the sitting room last night, so I did another drawing in my small Rhodia drawing book, which I haven’t worked on for months. For my inspiration I used my new Botanicum book. Ever since I was a child, I have been intrigued by the incredible beauty of diatoms and other microscopic plants – so amazing in their delicacy and complex and beautiful design, and yet for centuries they remained entirely invisible, until the invention of the microscope opened up this amazing new world. Our God is truly the profligate Designer of such wonders that He kept hidden from our eyes for so long!
Here is my little effort at celebrating the wonderful world of diatoms.
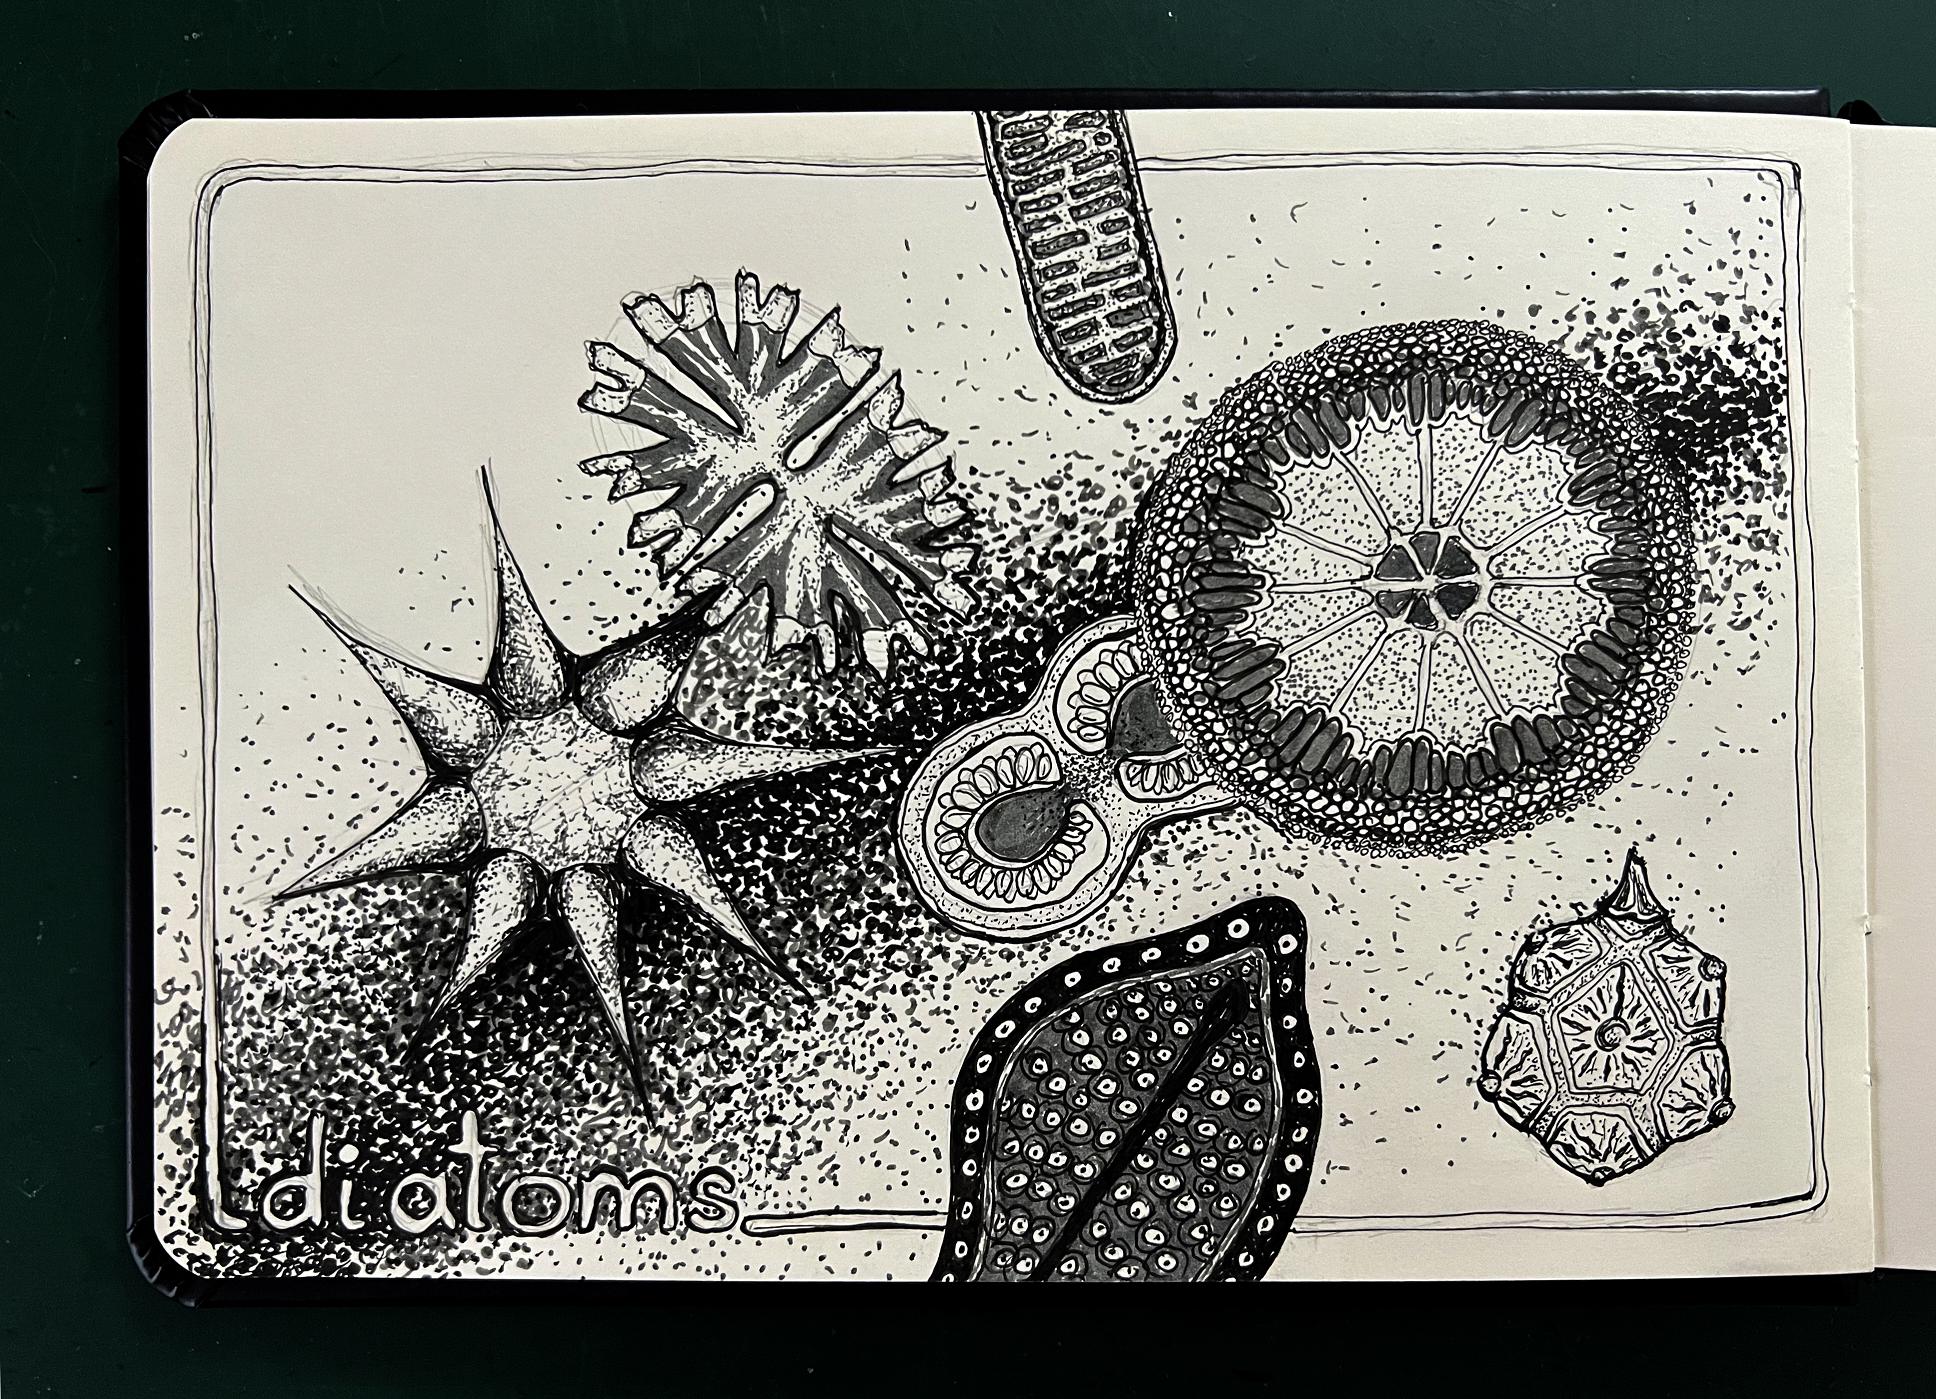
I am very thrilled with the Botanicum book which contains a wealth of inspiration from the plant kingdom.
Some lovely backdrops created there Shoshi and who’d have thought blister packs could be used for such creative works of art!! I’ve just started a “Shoshi Box” full of whatnots to see if you can turn some of the bits and bobs in there into something creative – will give it to you when I see you next!