Teabag Mini-Album Number Two
After setting this aside for a period while I was busy with other things, I was keen to get back to it and complete it. Please refer to this post for details of recent progress. What I intend to do in this current post is to show the photos of the completed album, and give full details of the final pages which haven’t yet seen the light of day on this blog. For details of how I made the earlier pages, please scroll back through my blog.
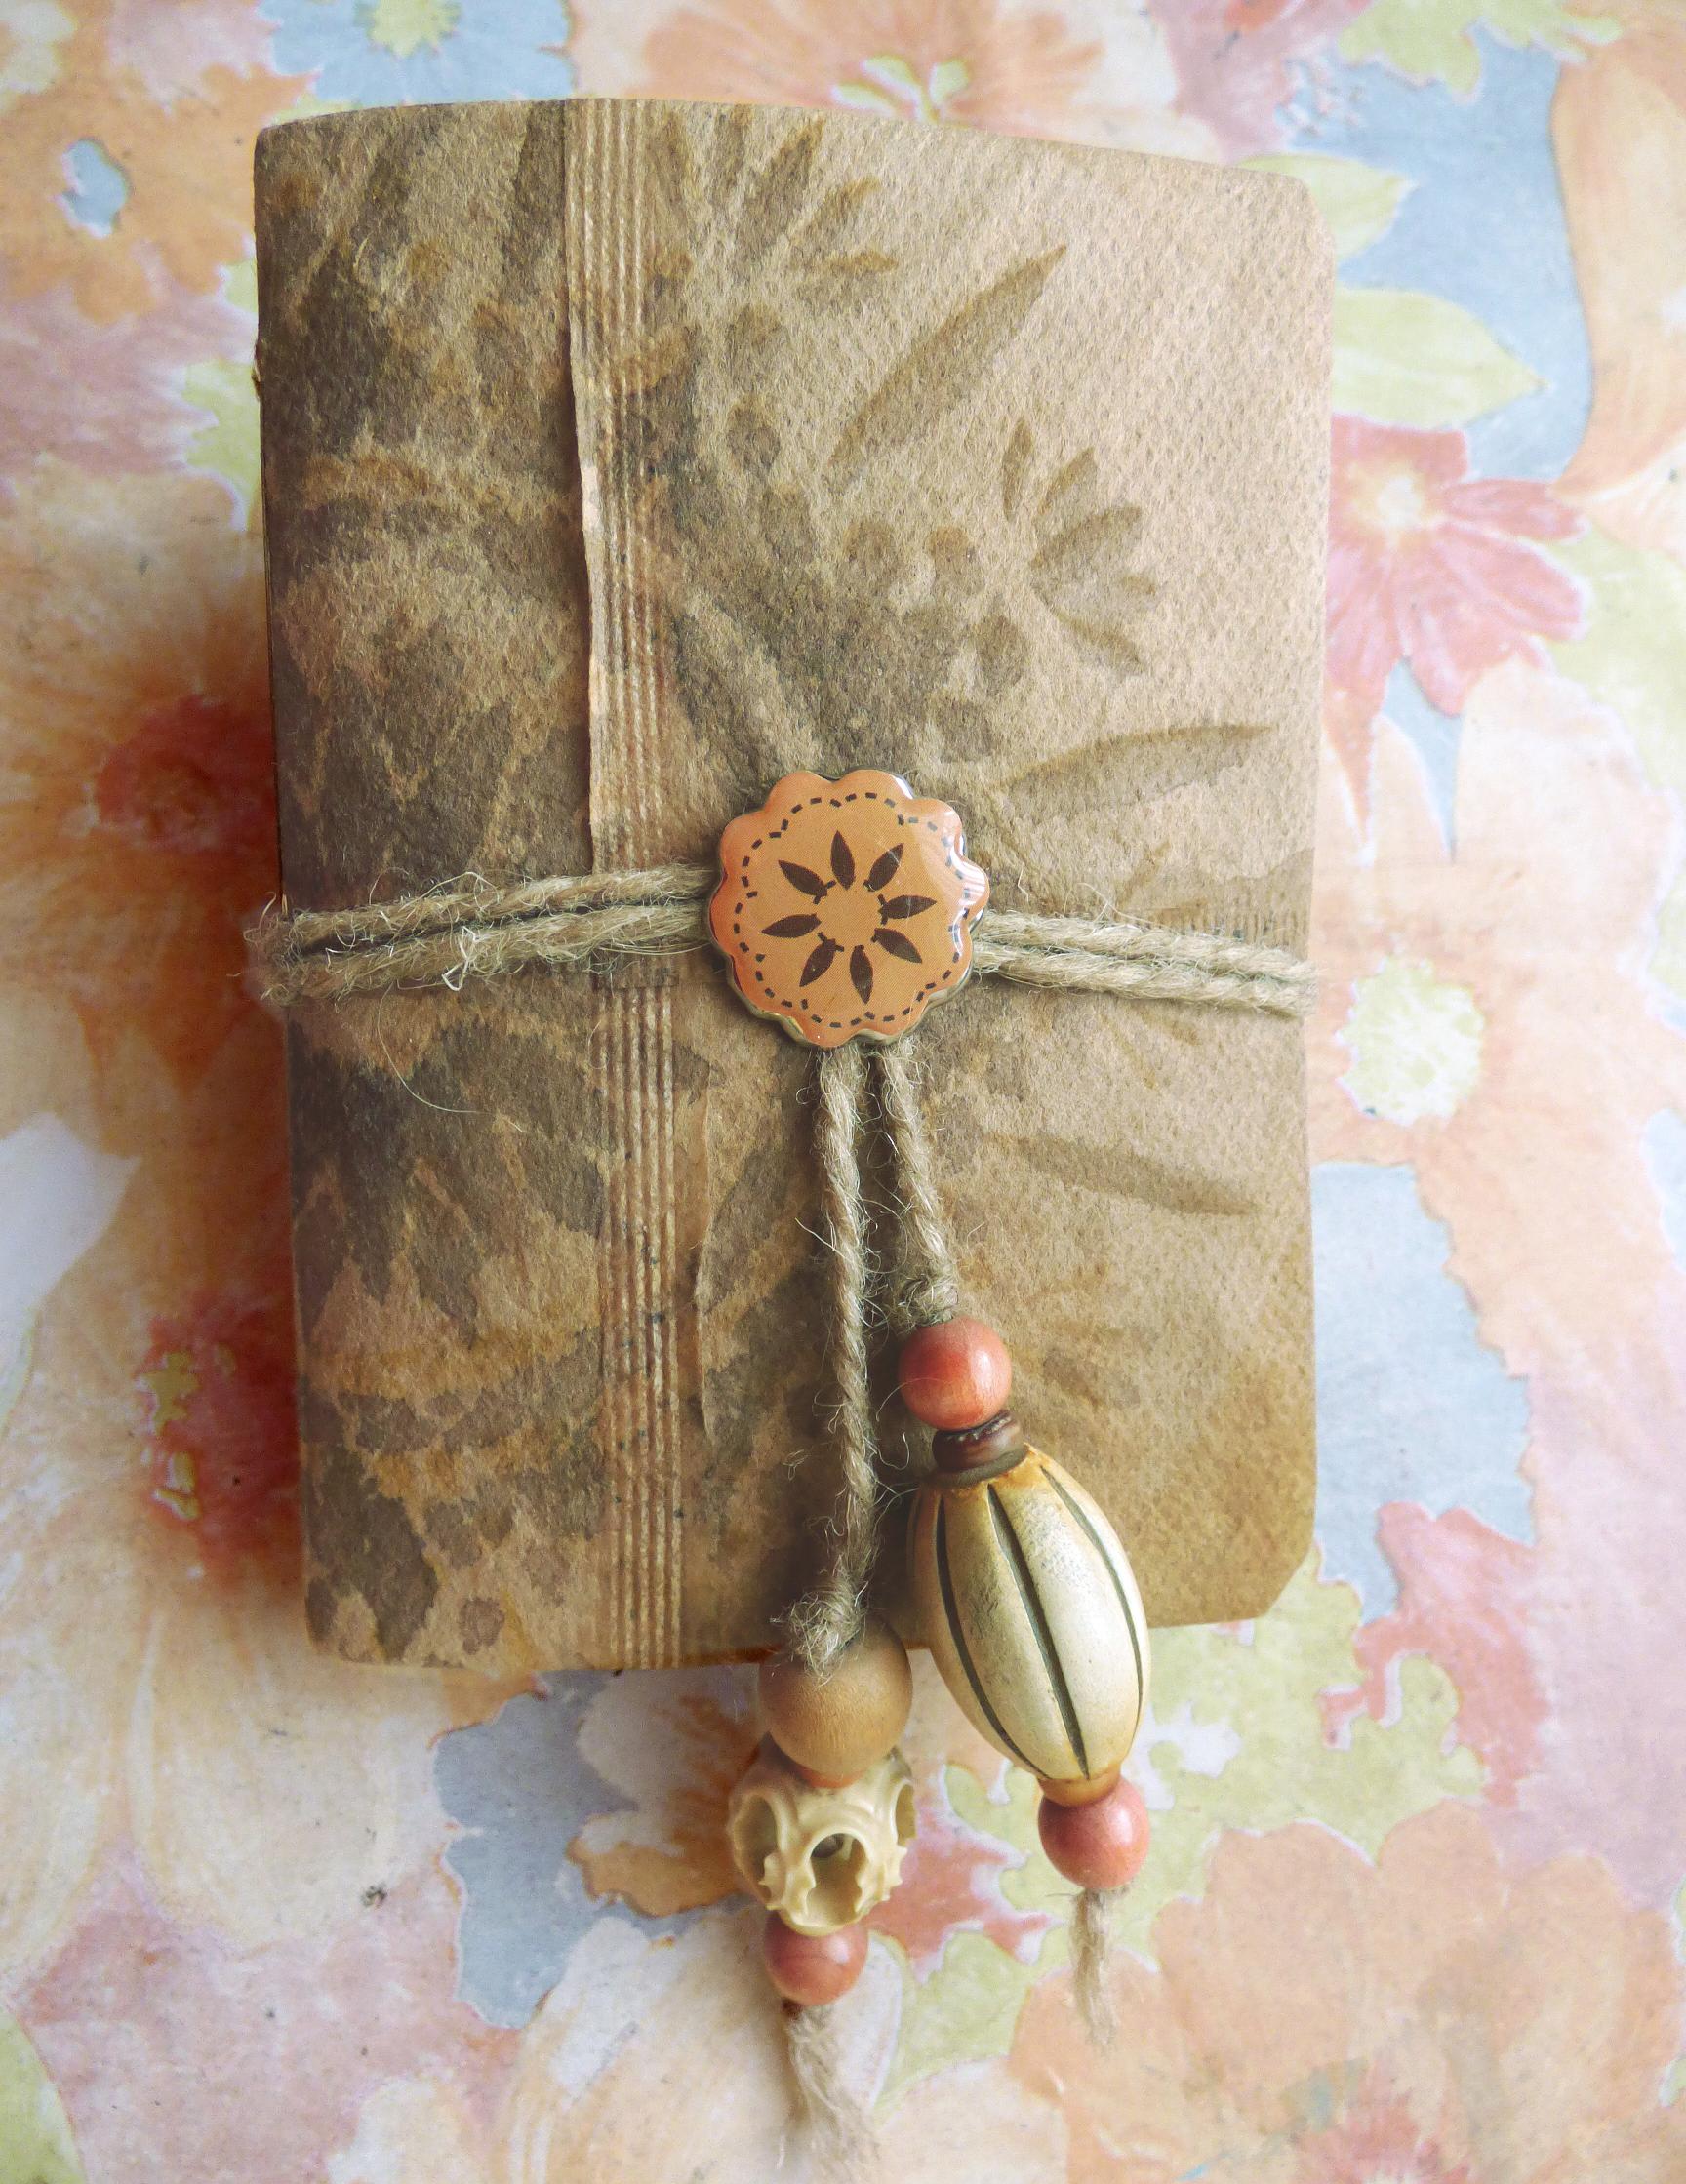
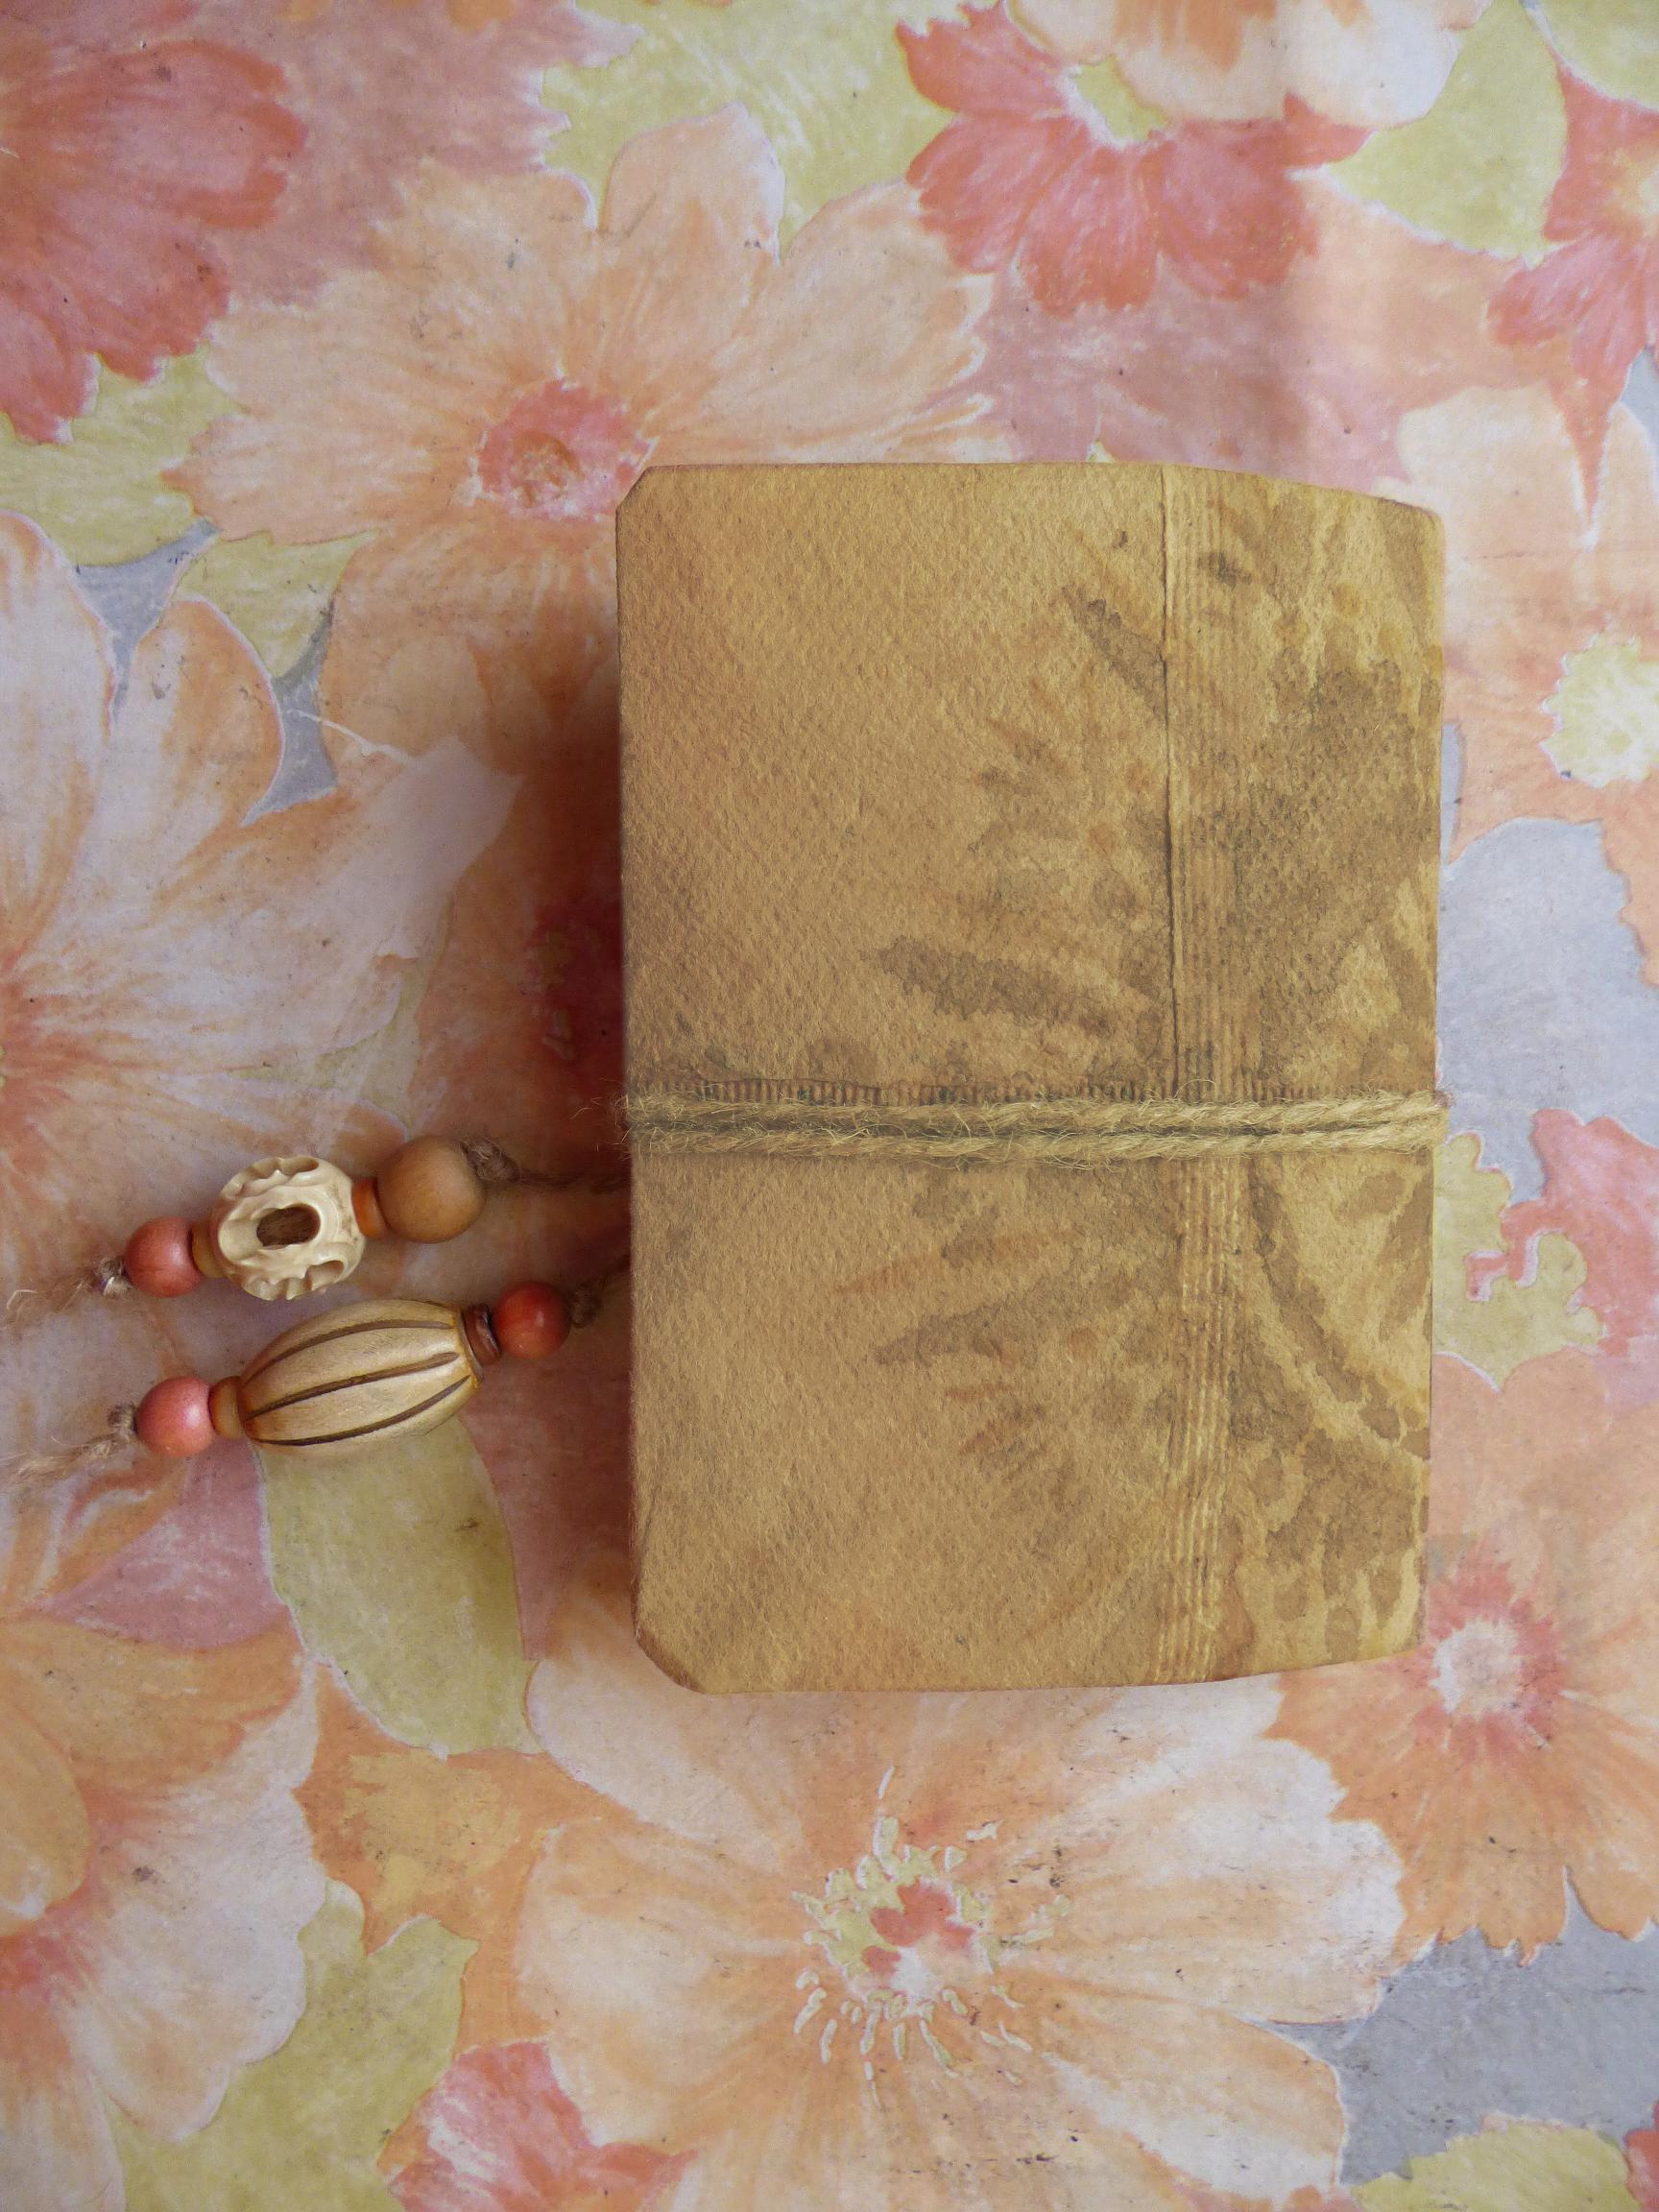
The front cover, complete with twine closure and antique beads.
Inside the front cover, and page 1.
Pages 2 and 3.
Pages 4 and 5.
Pages 6 and 7.

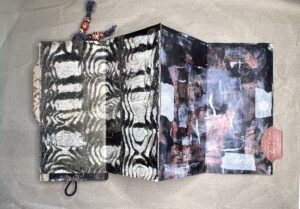
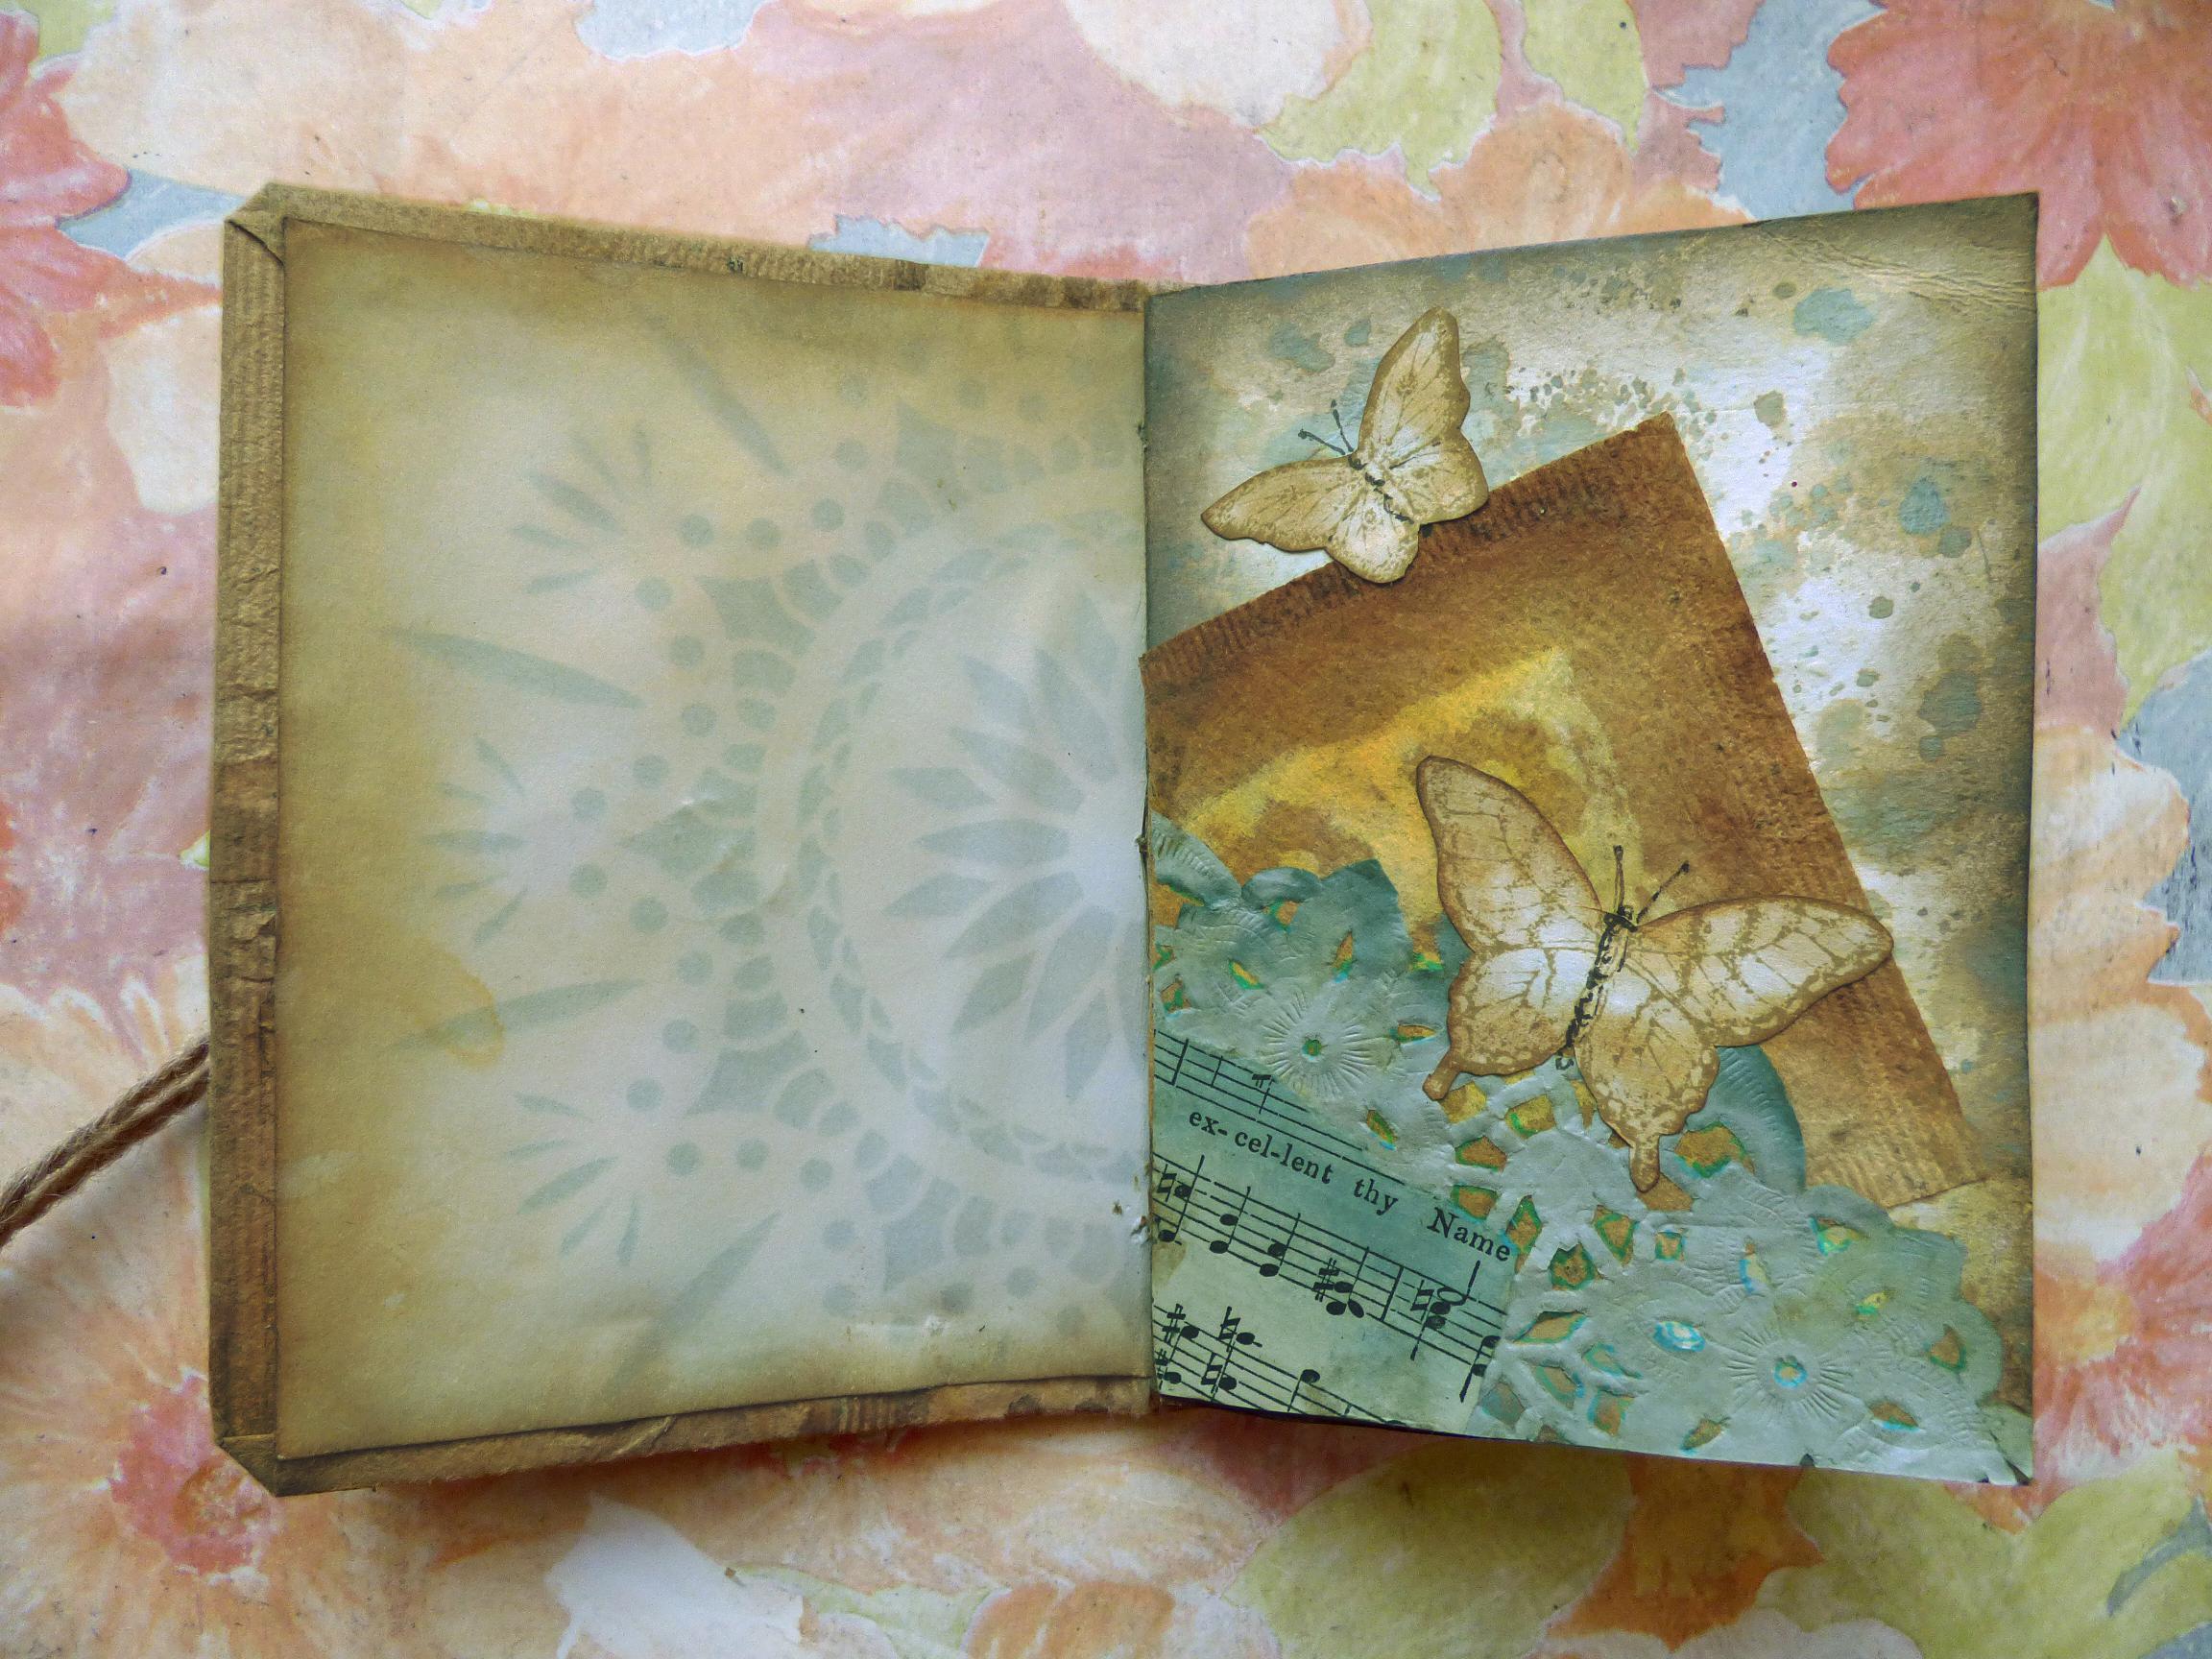
Pages 8 and 9.
Pages 10 and 11. Where I left off before, this was a work in progress.
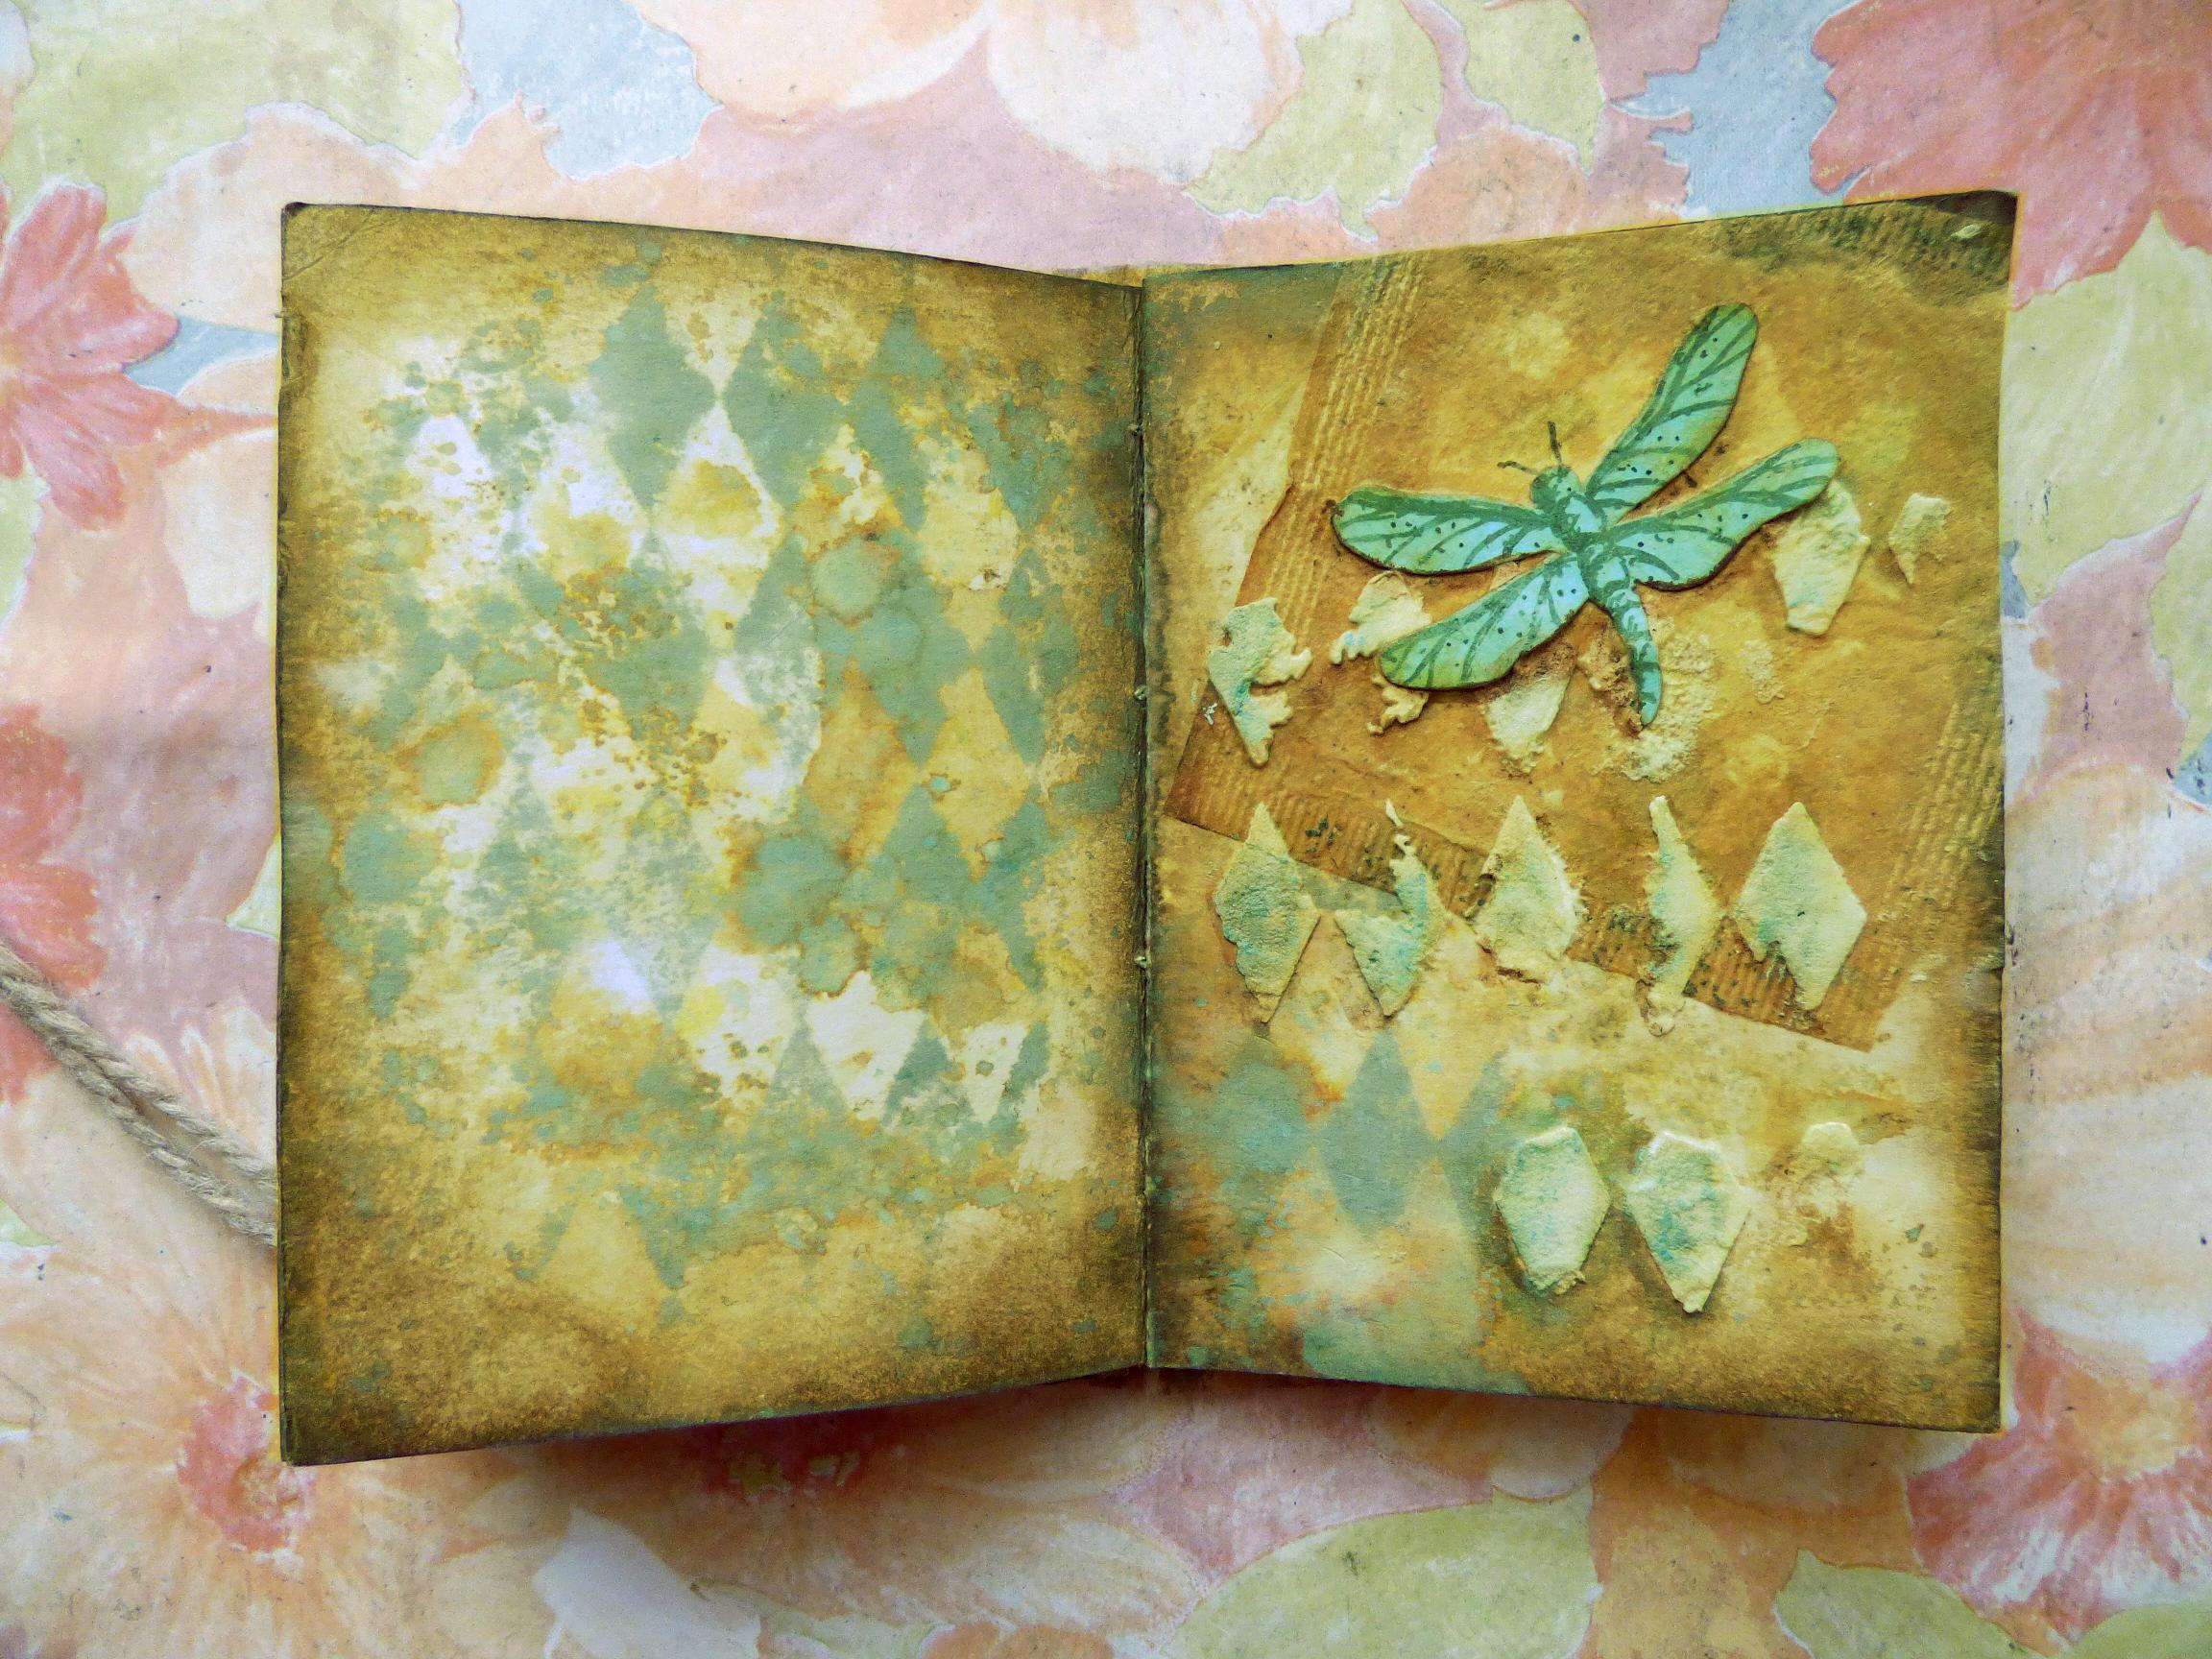
I completed the page with the addition of some light moulding paste through a stencil, to which I added more ink, and then added a turquoise die cut of a dragonfly from my stash (I don’t know where this came from – it was given to me ages ago in a batch of other stuff) which I toned down with some Distress Ink and added the detail with a marker pen.
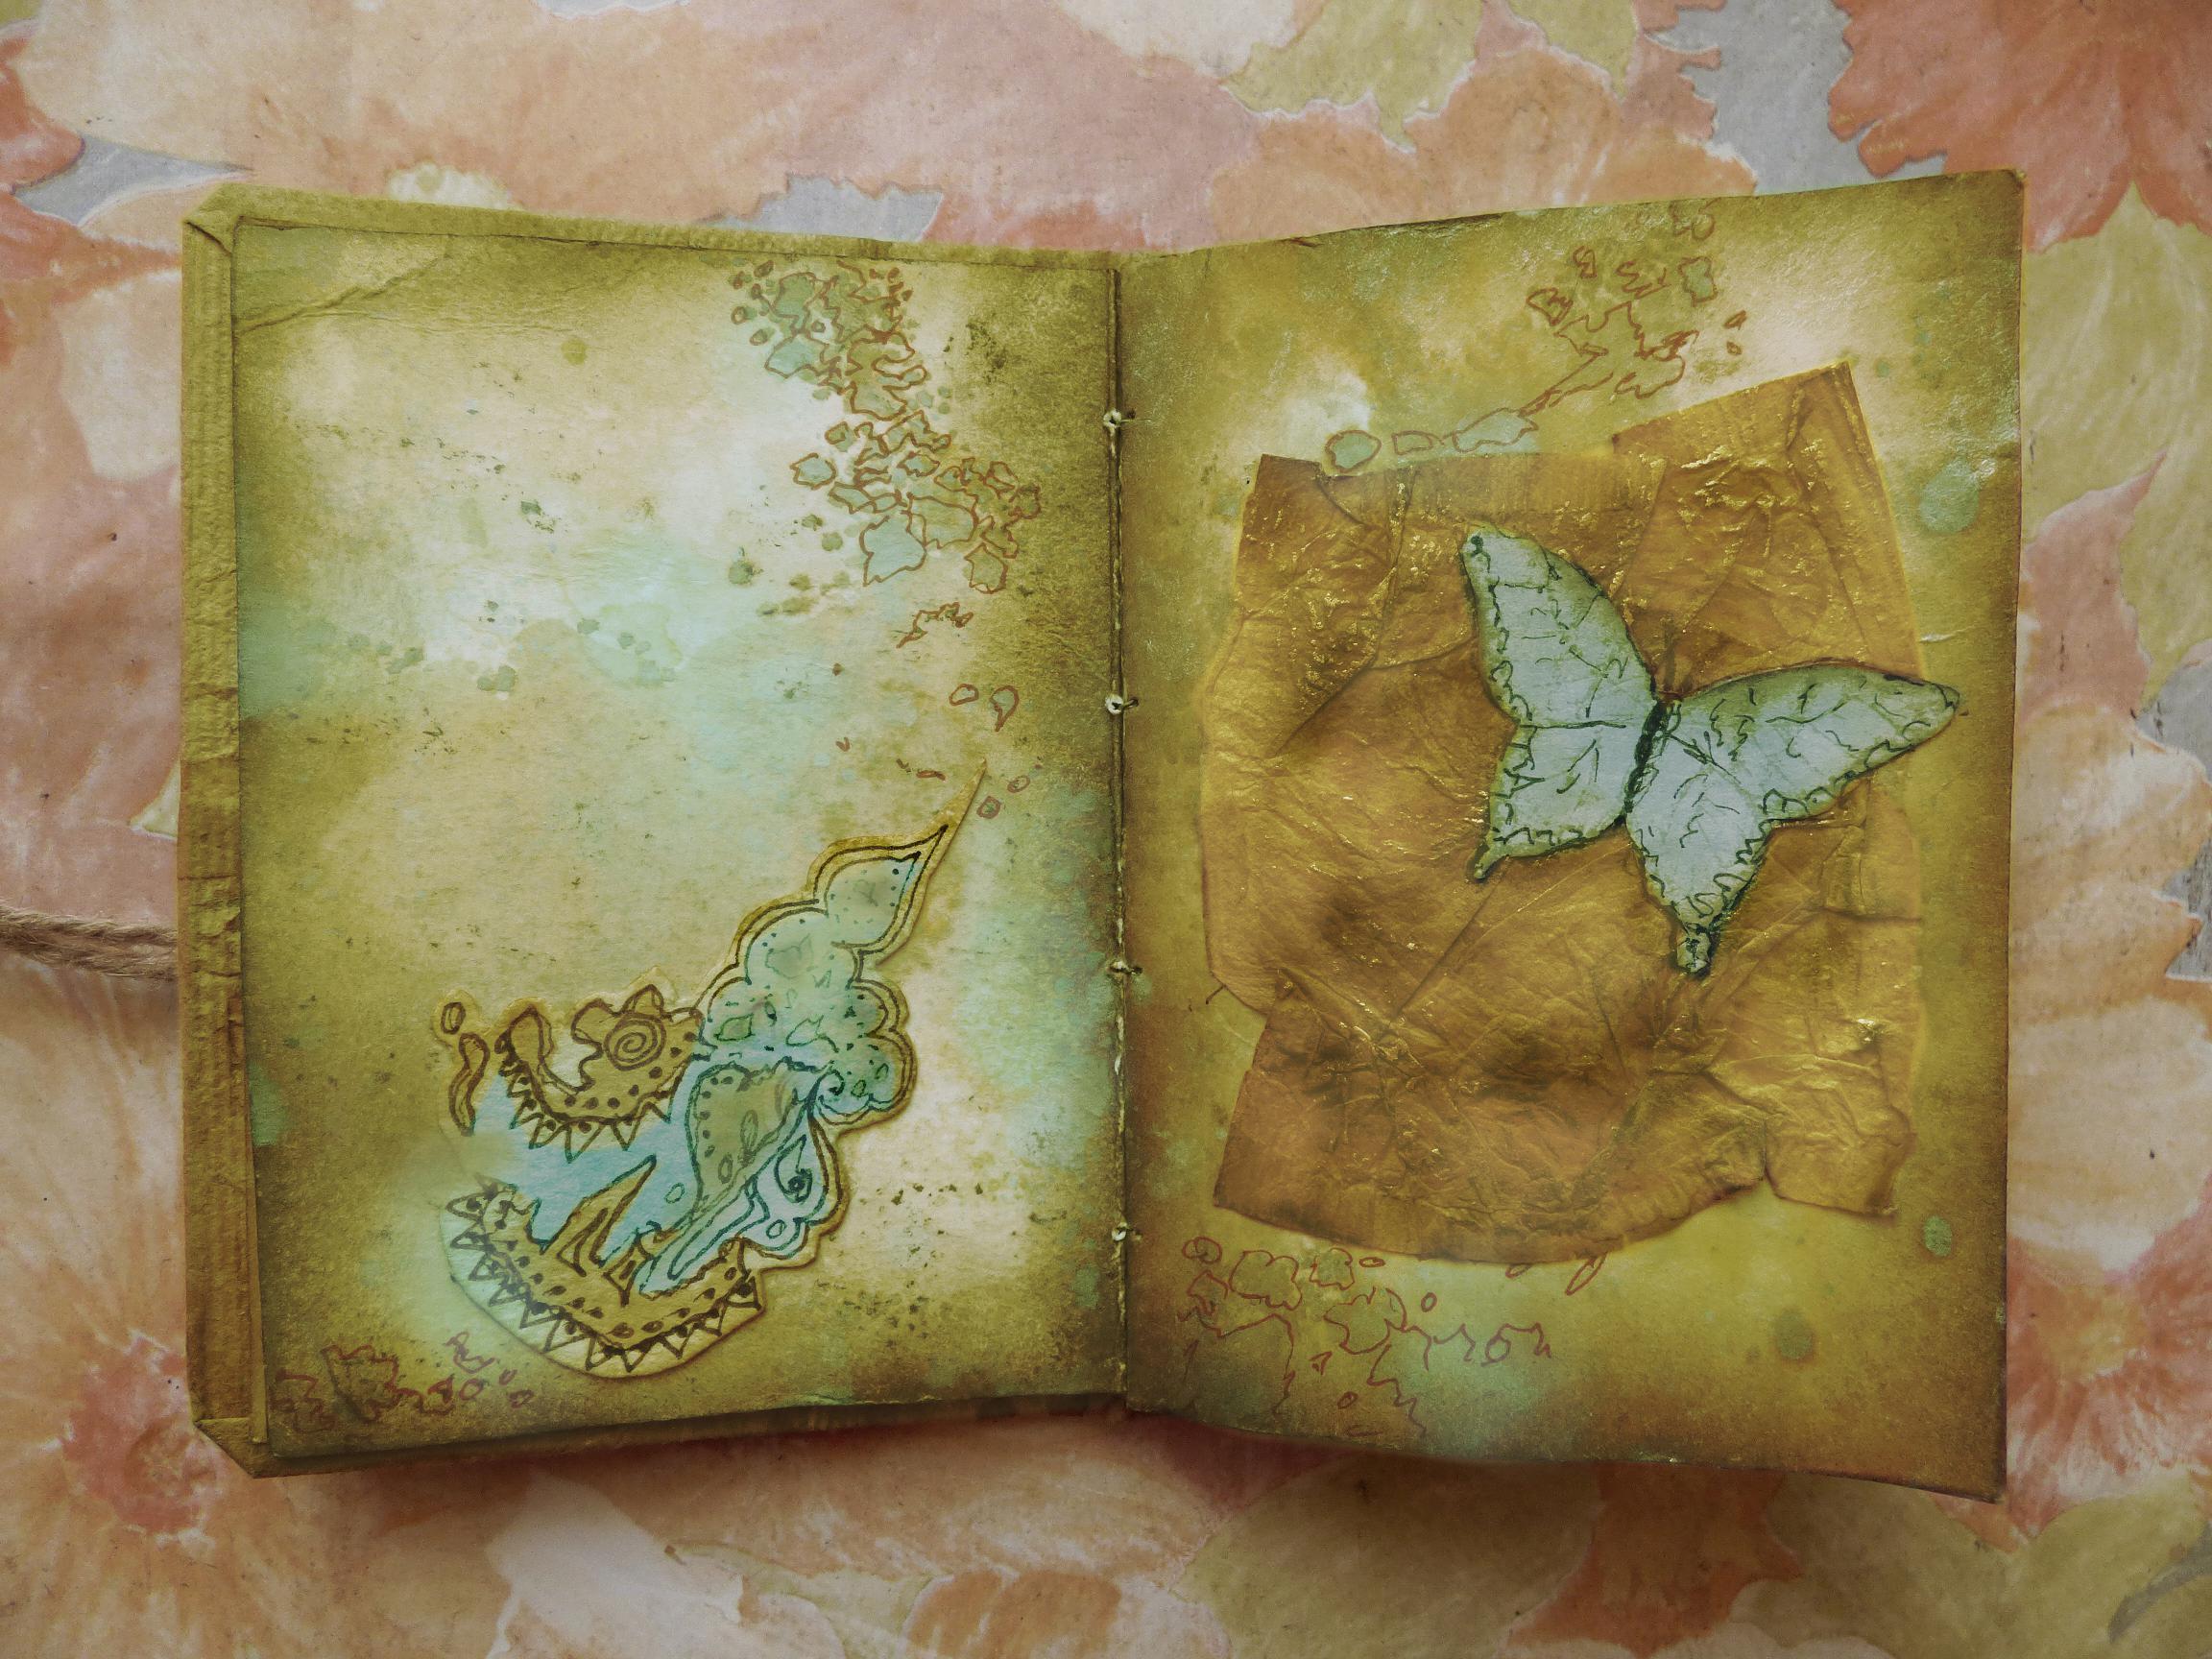
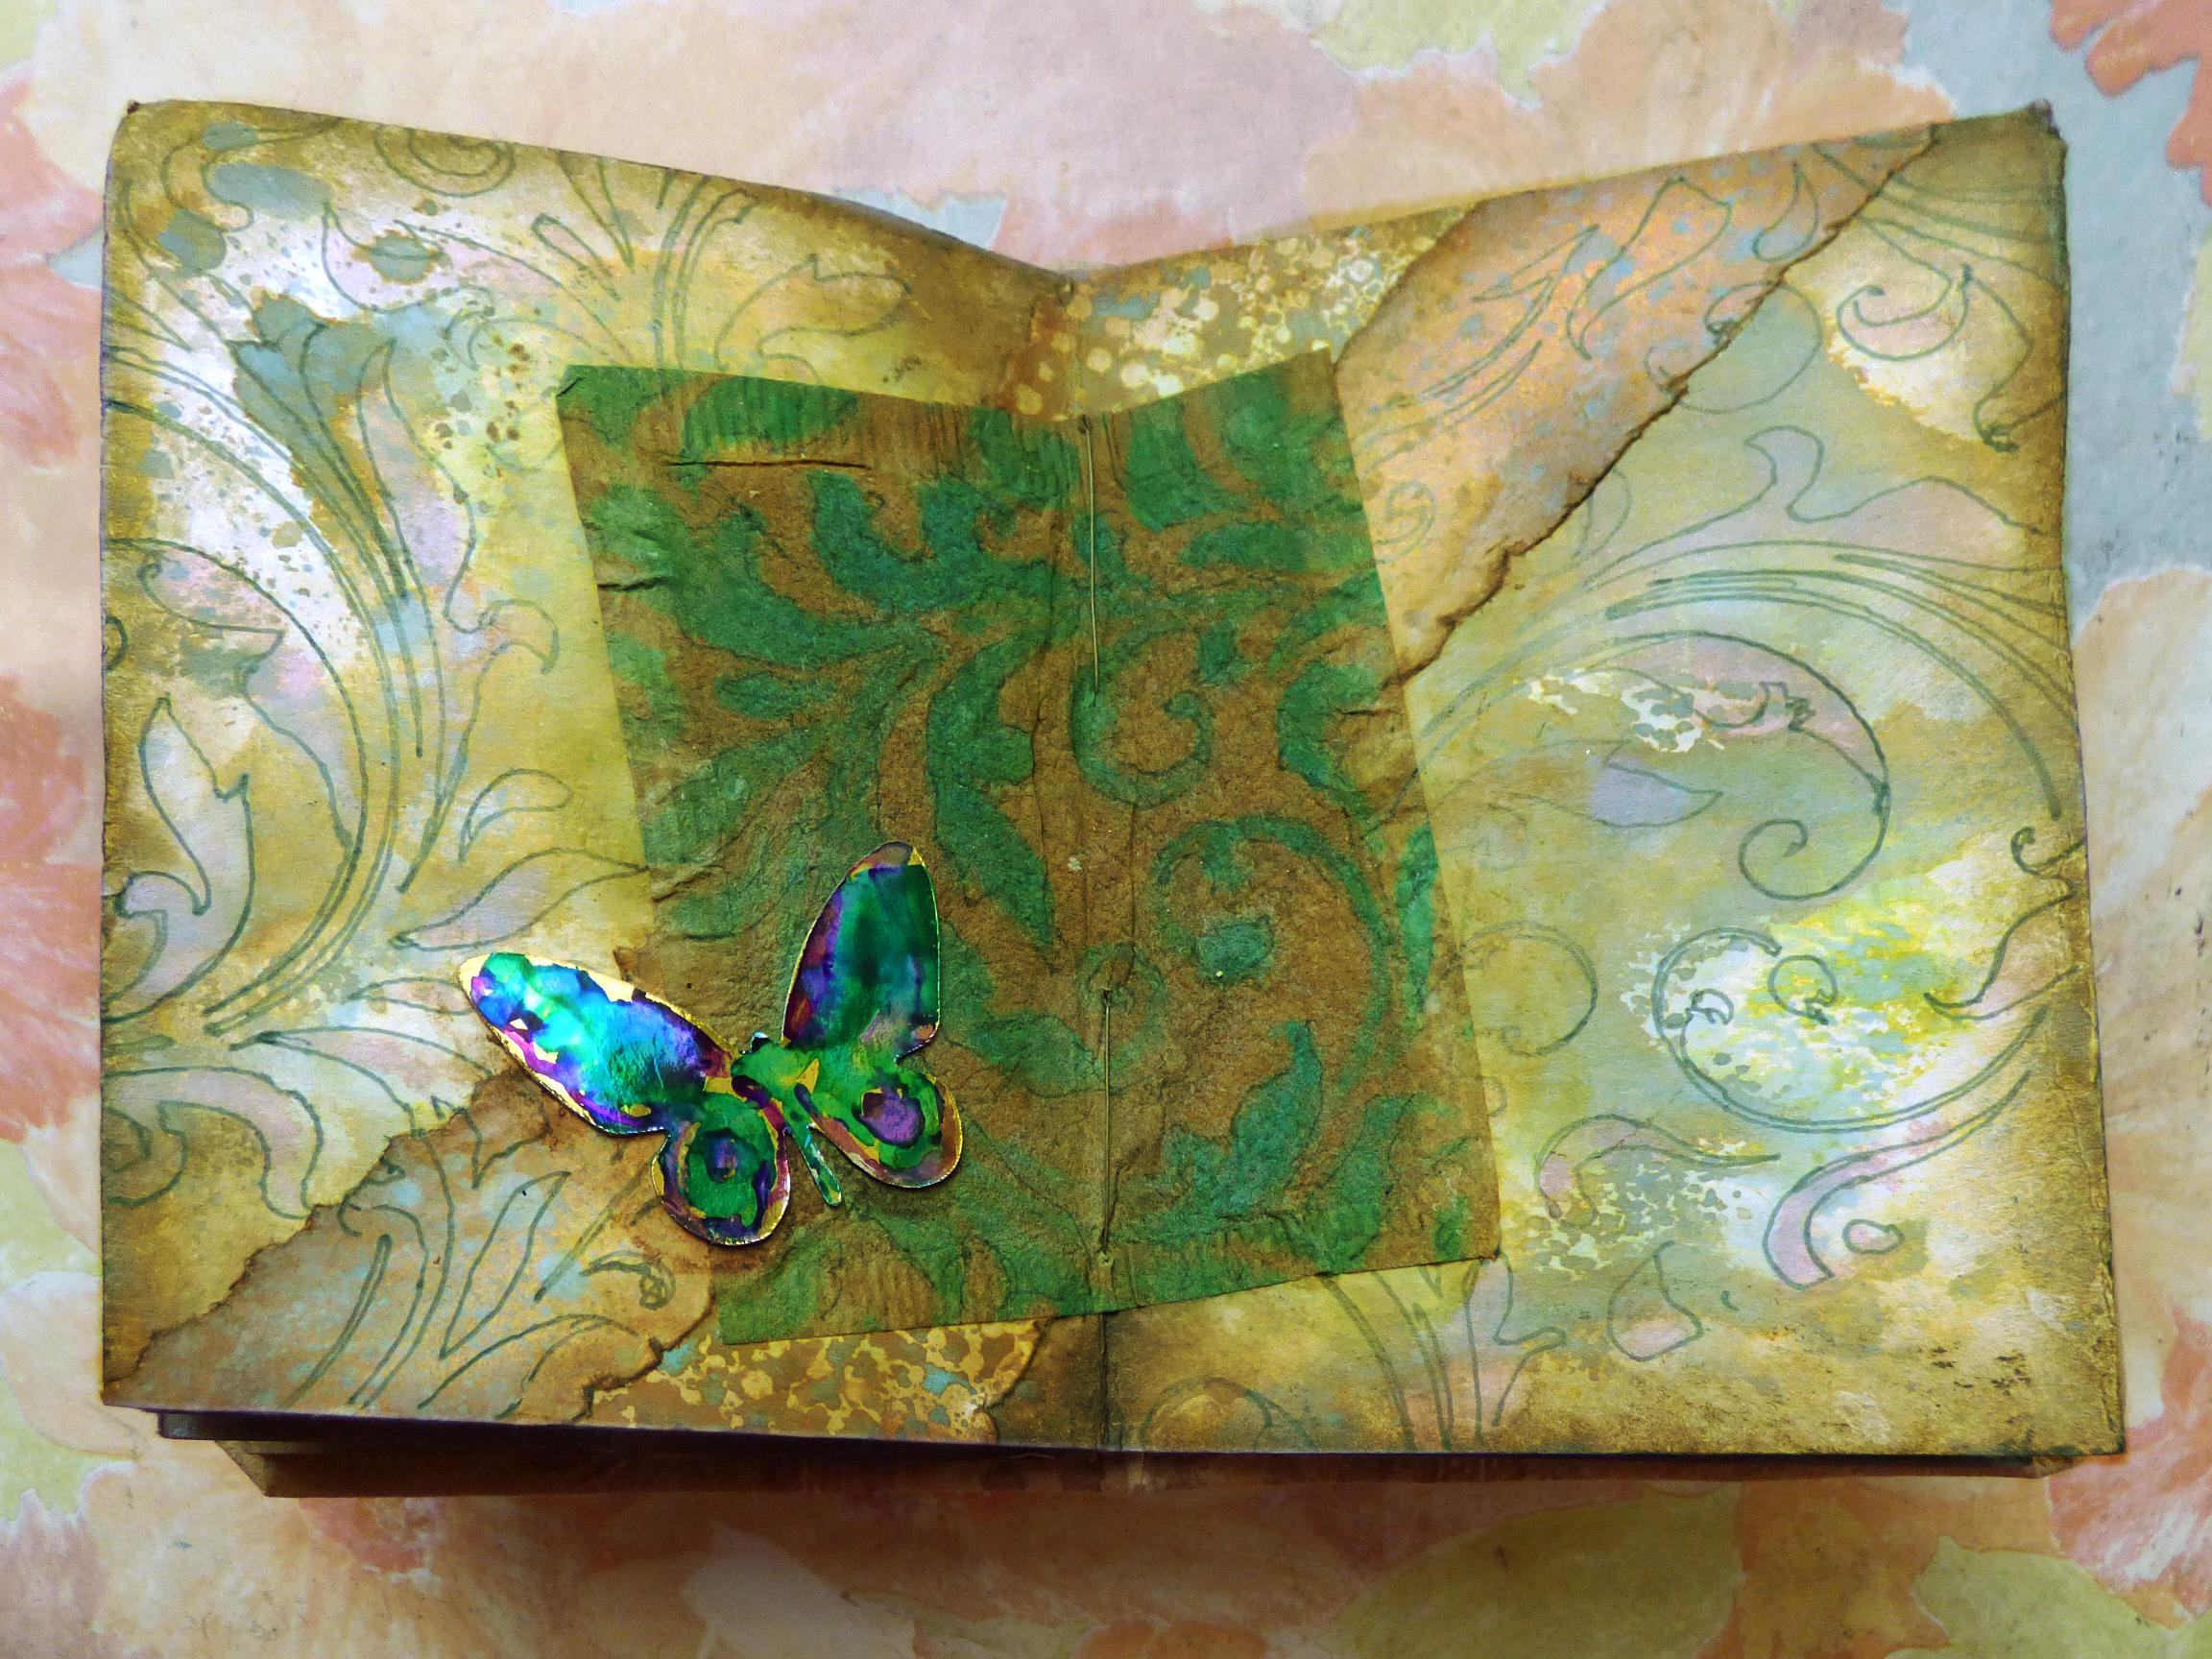
Pages 12 and 13. These were also a work in progress from before; it was left almost complete. All I did was add an embellishment in the form of a butterfly painted with alcohol ink – the only touch of bling in this whole album.
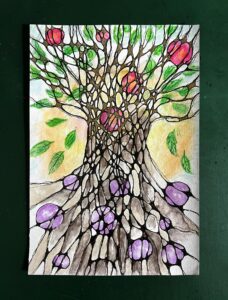
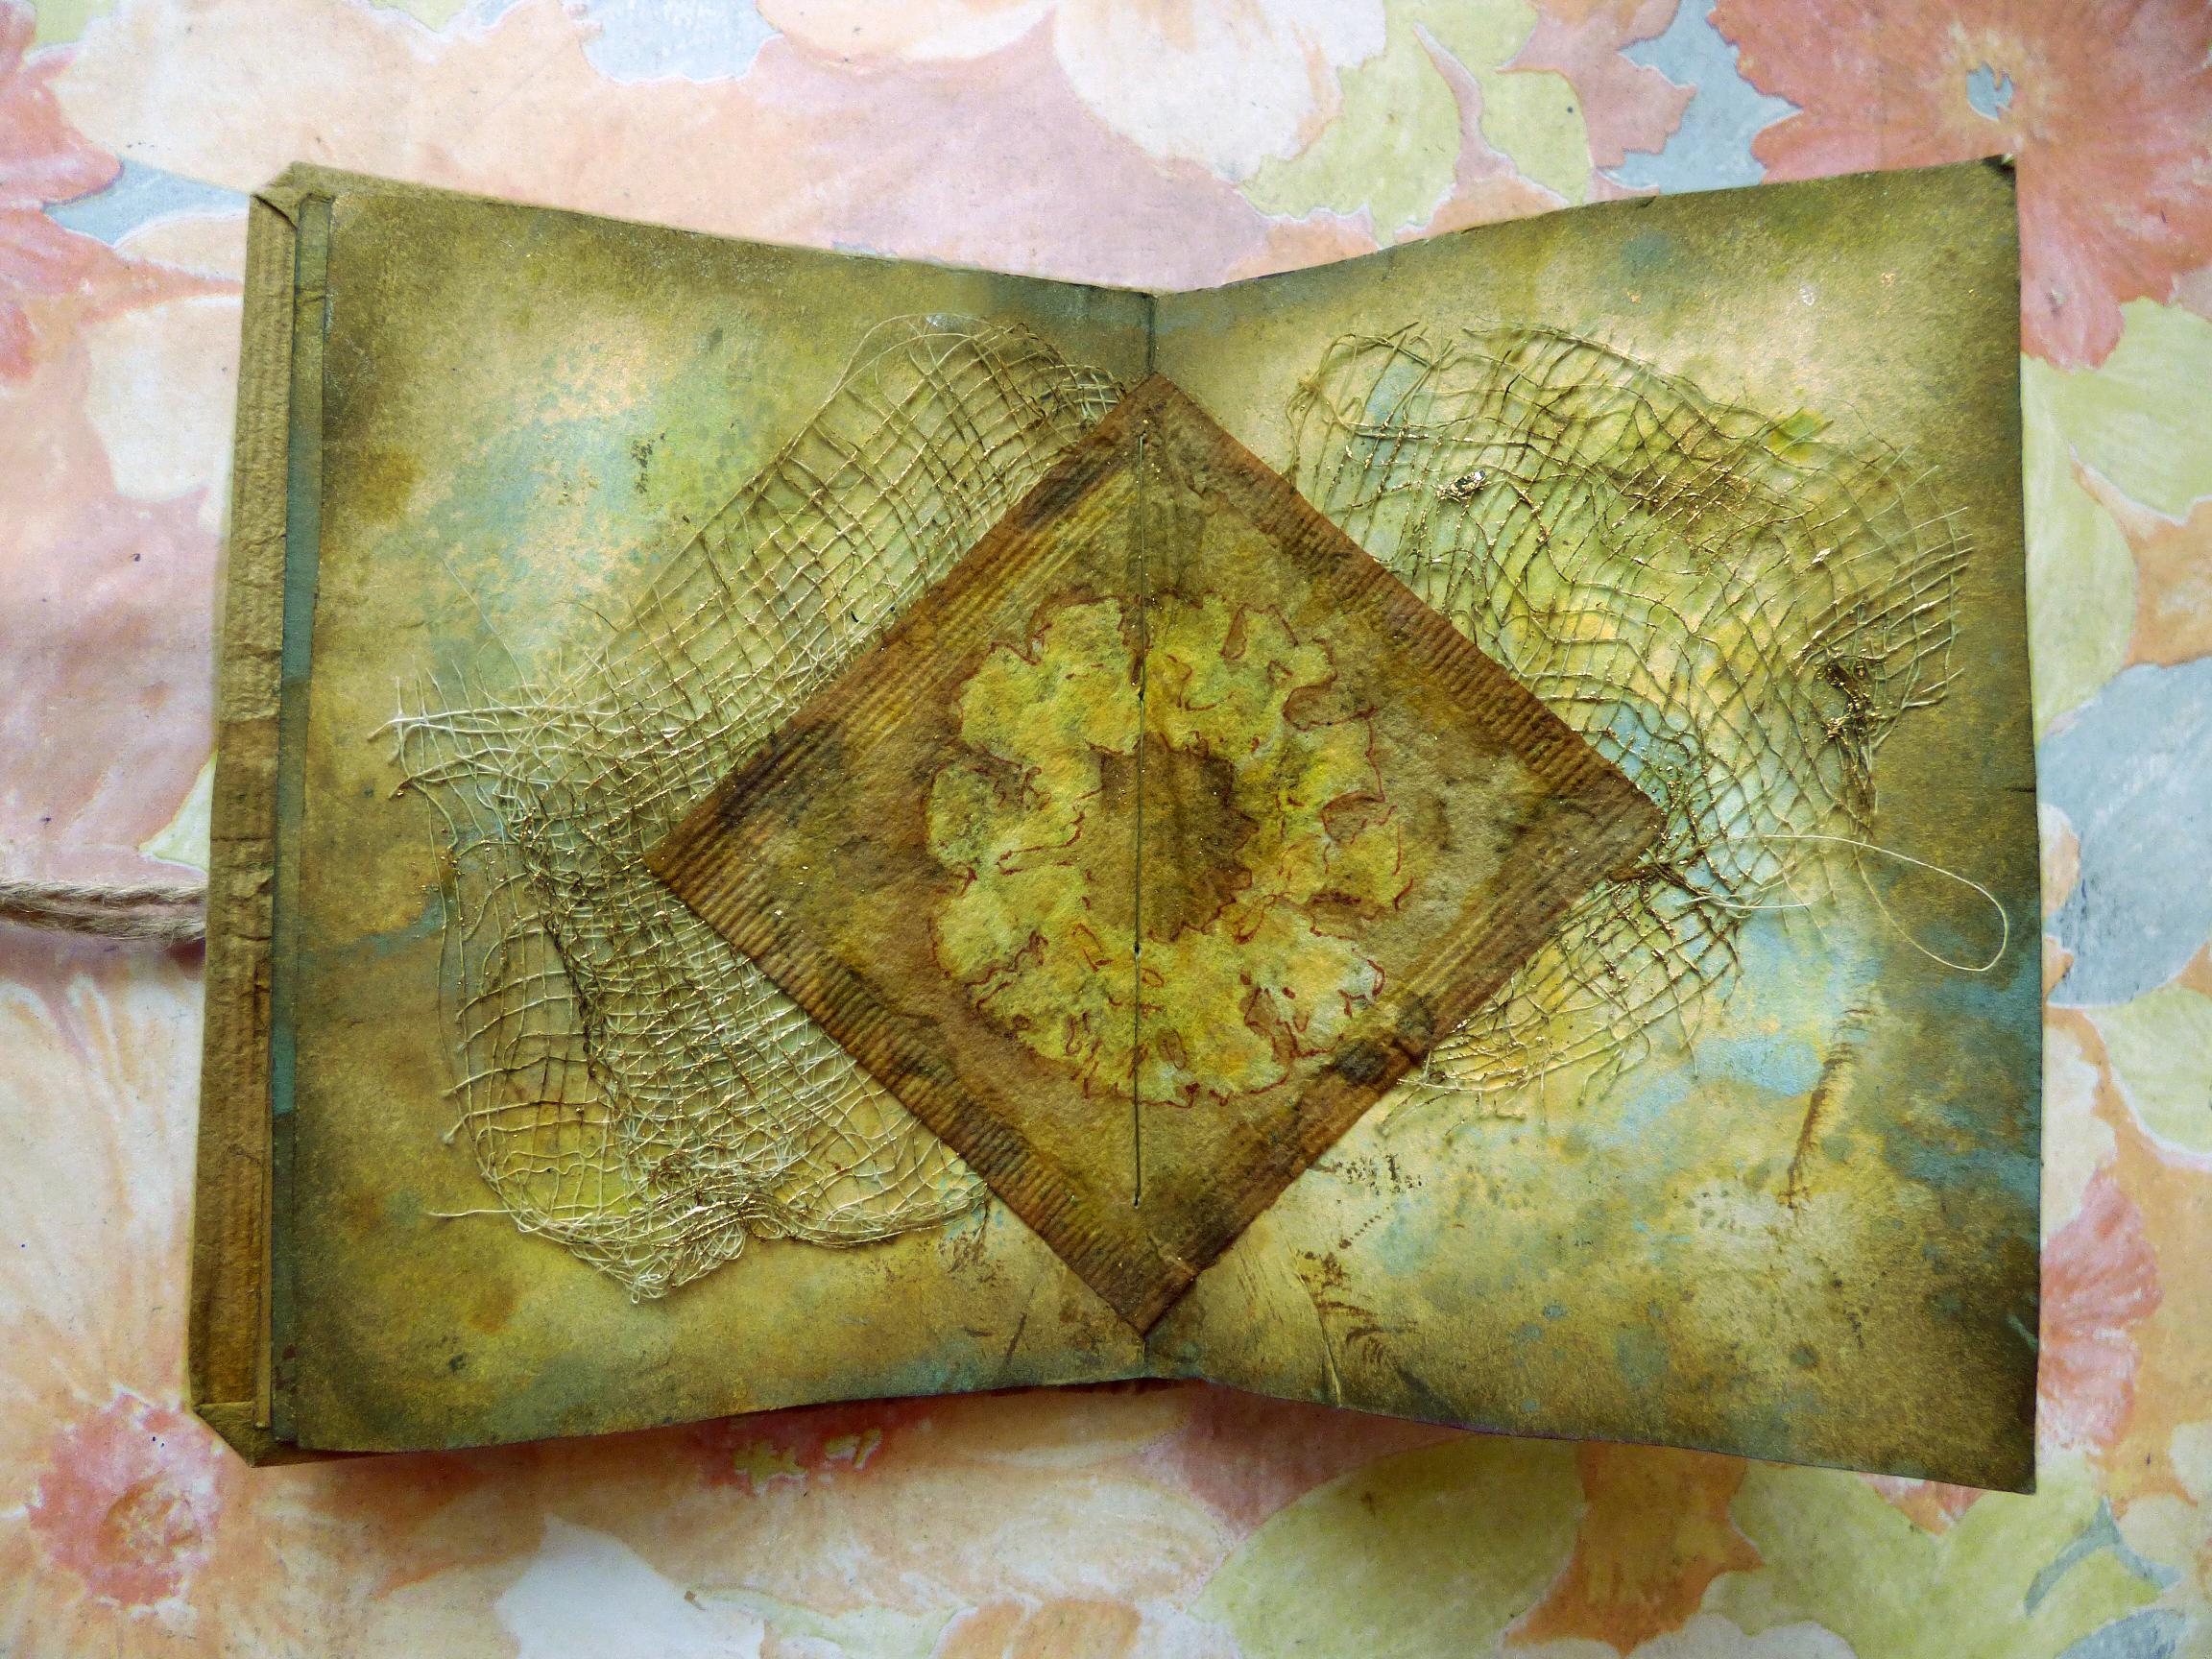
Pages 14 and 15. I loved doing this page – it had some unexpected surprises that worked really well.
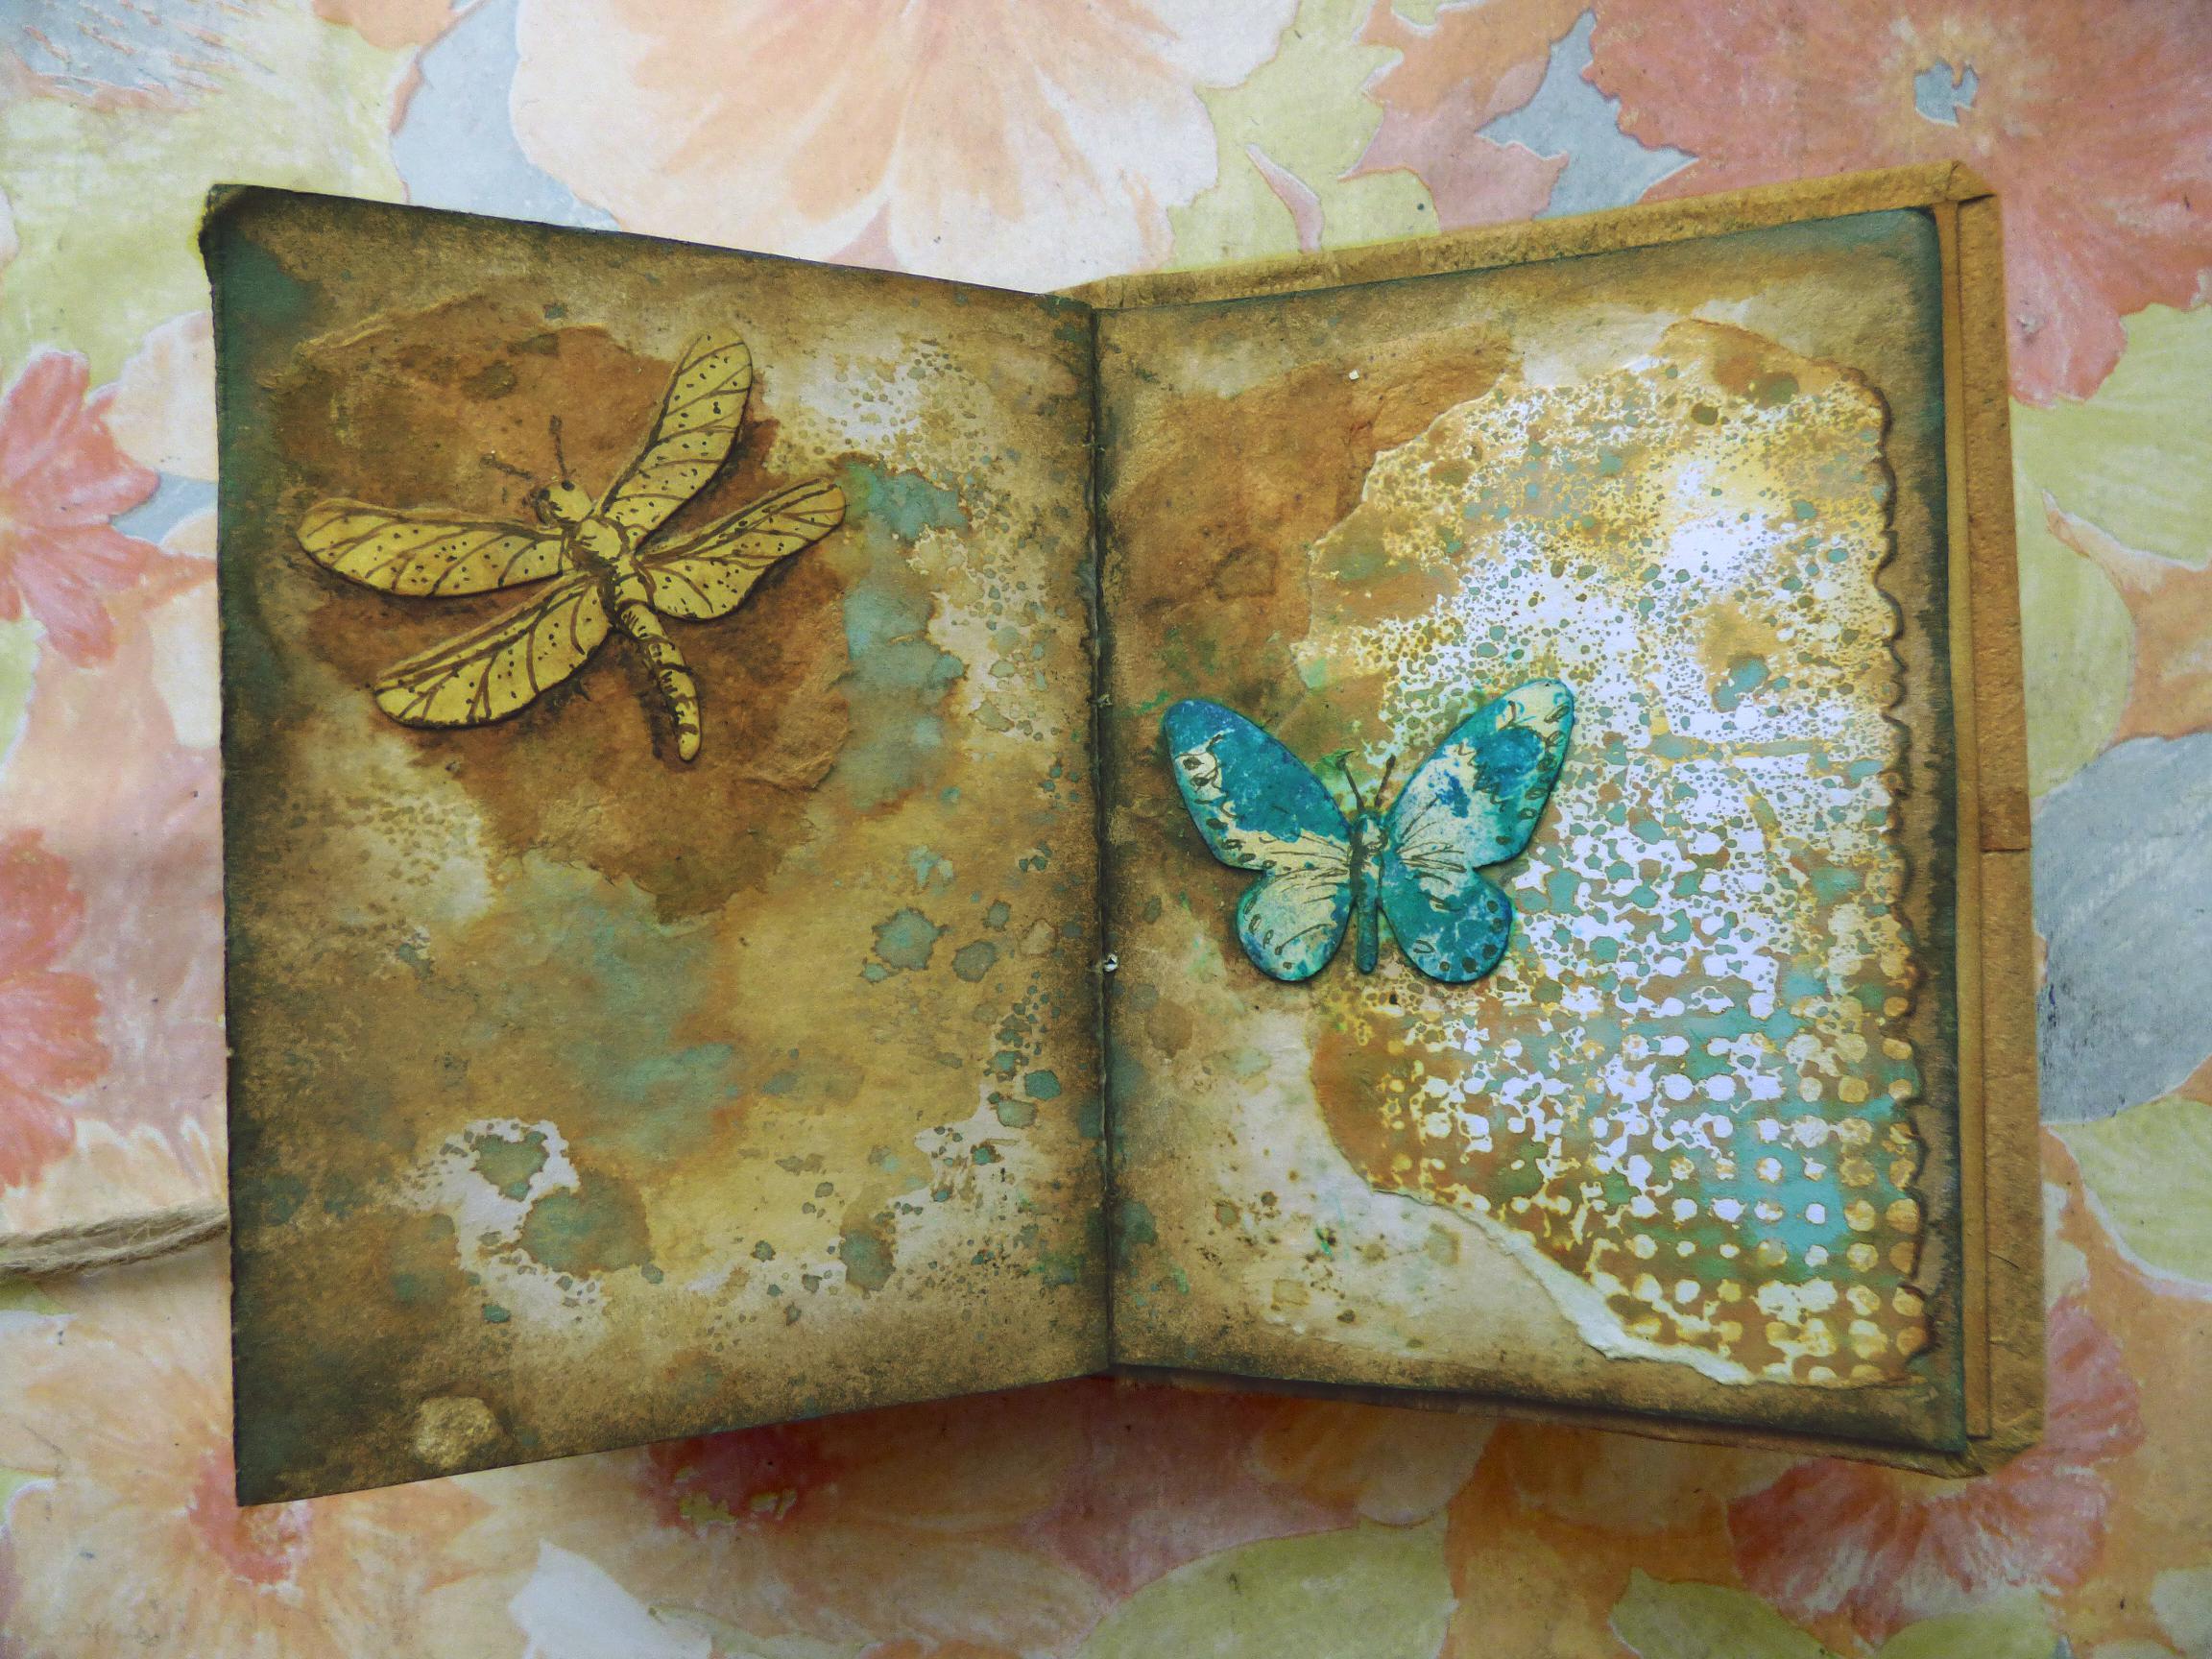
On the left, I tore out a piece of teabag as a background for the second die-cut dragonfly. I learnt a tip for tearing napkin paper recently – you take a fine brush and wet it, and paint with water where you want to tear it, and it then tears beautifully along the wet line, exactly in the right place. I thought the same technique might work with teabag material, and it did! I stuck the fragment down with soft matte gel medium and applied the dragonfly on top.
On the right hand page, the background was torn from one of my experimental pieces that I was working on when playing with my new inks. You can read about that here. I tore the left hand edge by hand, and the right hand edge I tore using my new deckle edge ruler which you can also read about in the same post. I added a little Vintage Photo Distress Ink along this edge. I simply adore this scrap – purely experimental, and I just love the colour combination and the general grunginess which came out. I’m not sure this isn’t one of my favourite pages in the whole album. Underneath this piece, at top left, is another teabag fragment, torn and stuck down with soft matte gel medium.
The butterfly was a happy accident. I had originally intended adding a plain white one. I had quite a few butterflies flitting around on my desk, and returning to my studio after lunch, I inadvertently chose a turquoise one instead, having forgotten my original plan. As soon as it was glued down, I realised my mistake. However, I thought I could bleach it and get the result I wanted, so I painted it with a fine brush dipped in neat bleach. The result was surprising. I had stuck the butterfly down with gel medium and had got some on the top surface, which acted as a resist to the bleach, so the decolouring was only partial. In the end, I absolutely loved it and thanked the Lord for happy accidents! I added a bit of detailing with a marker pen.
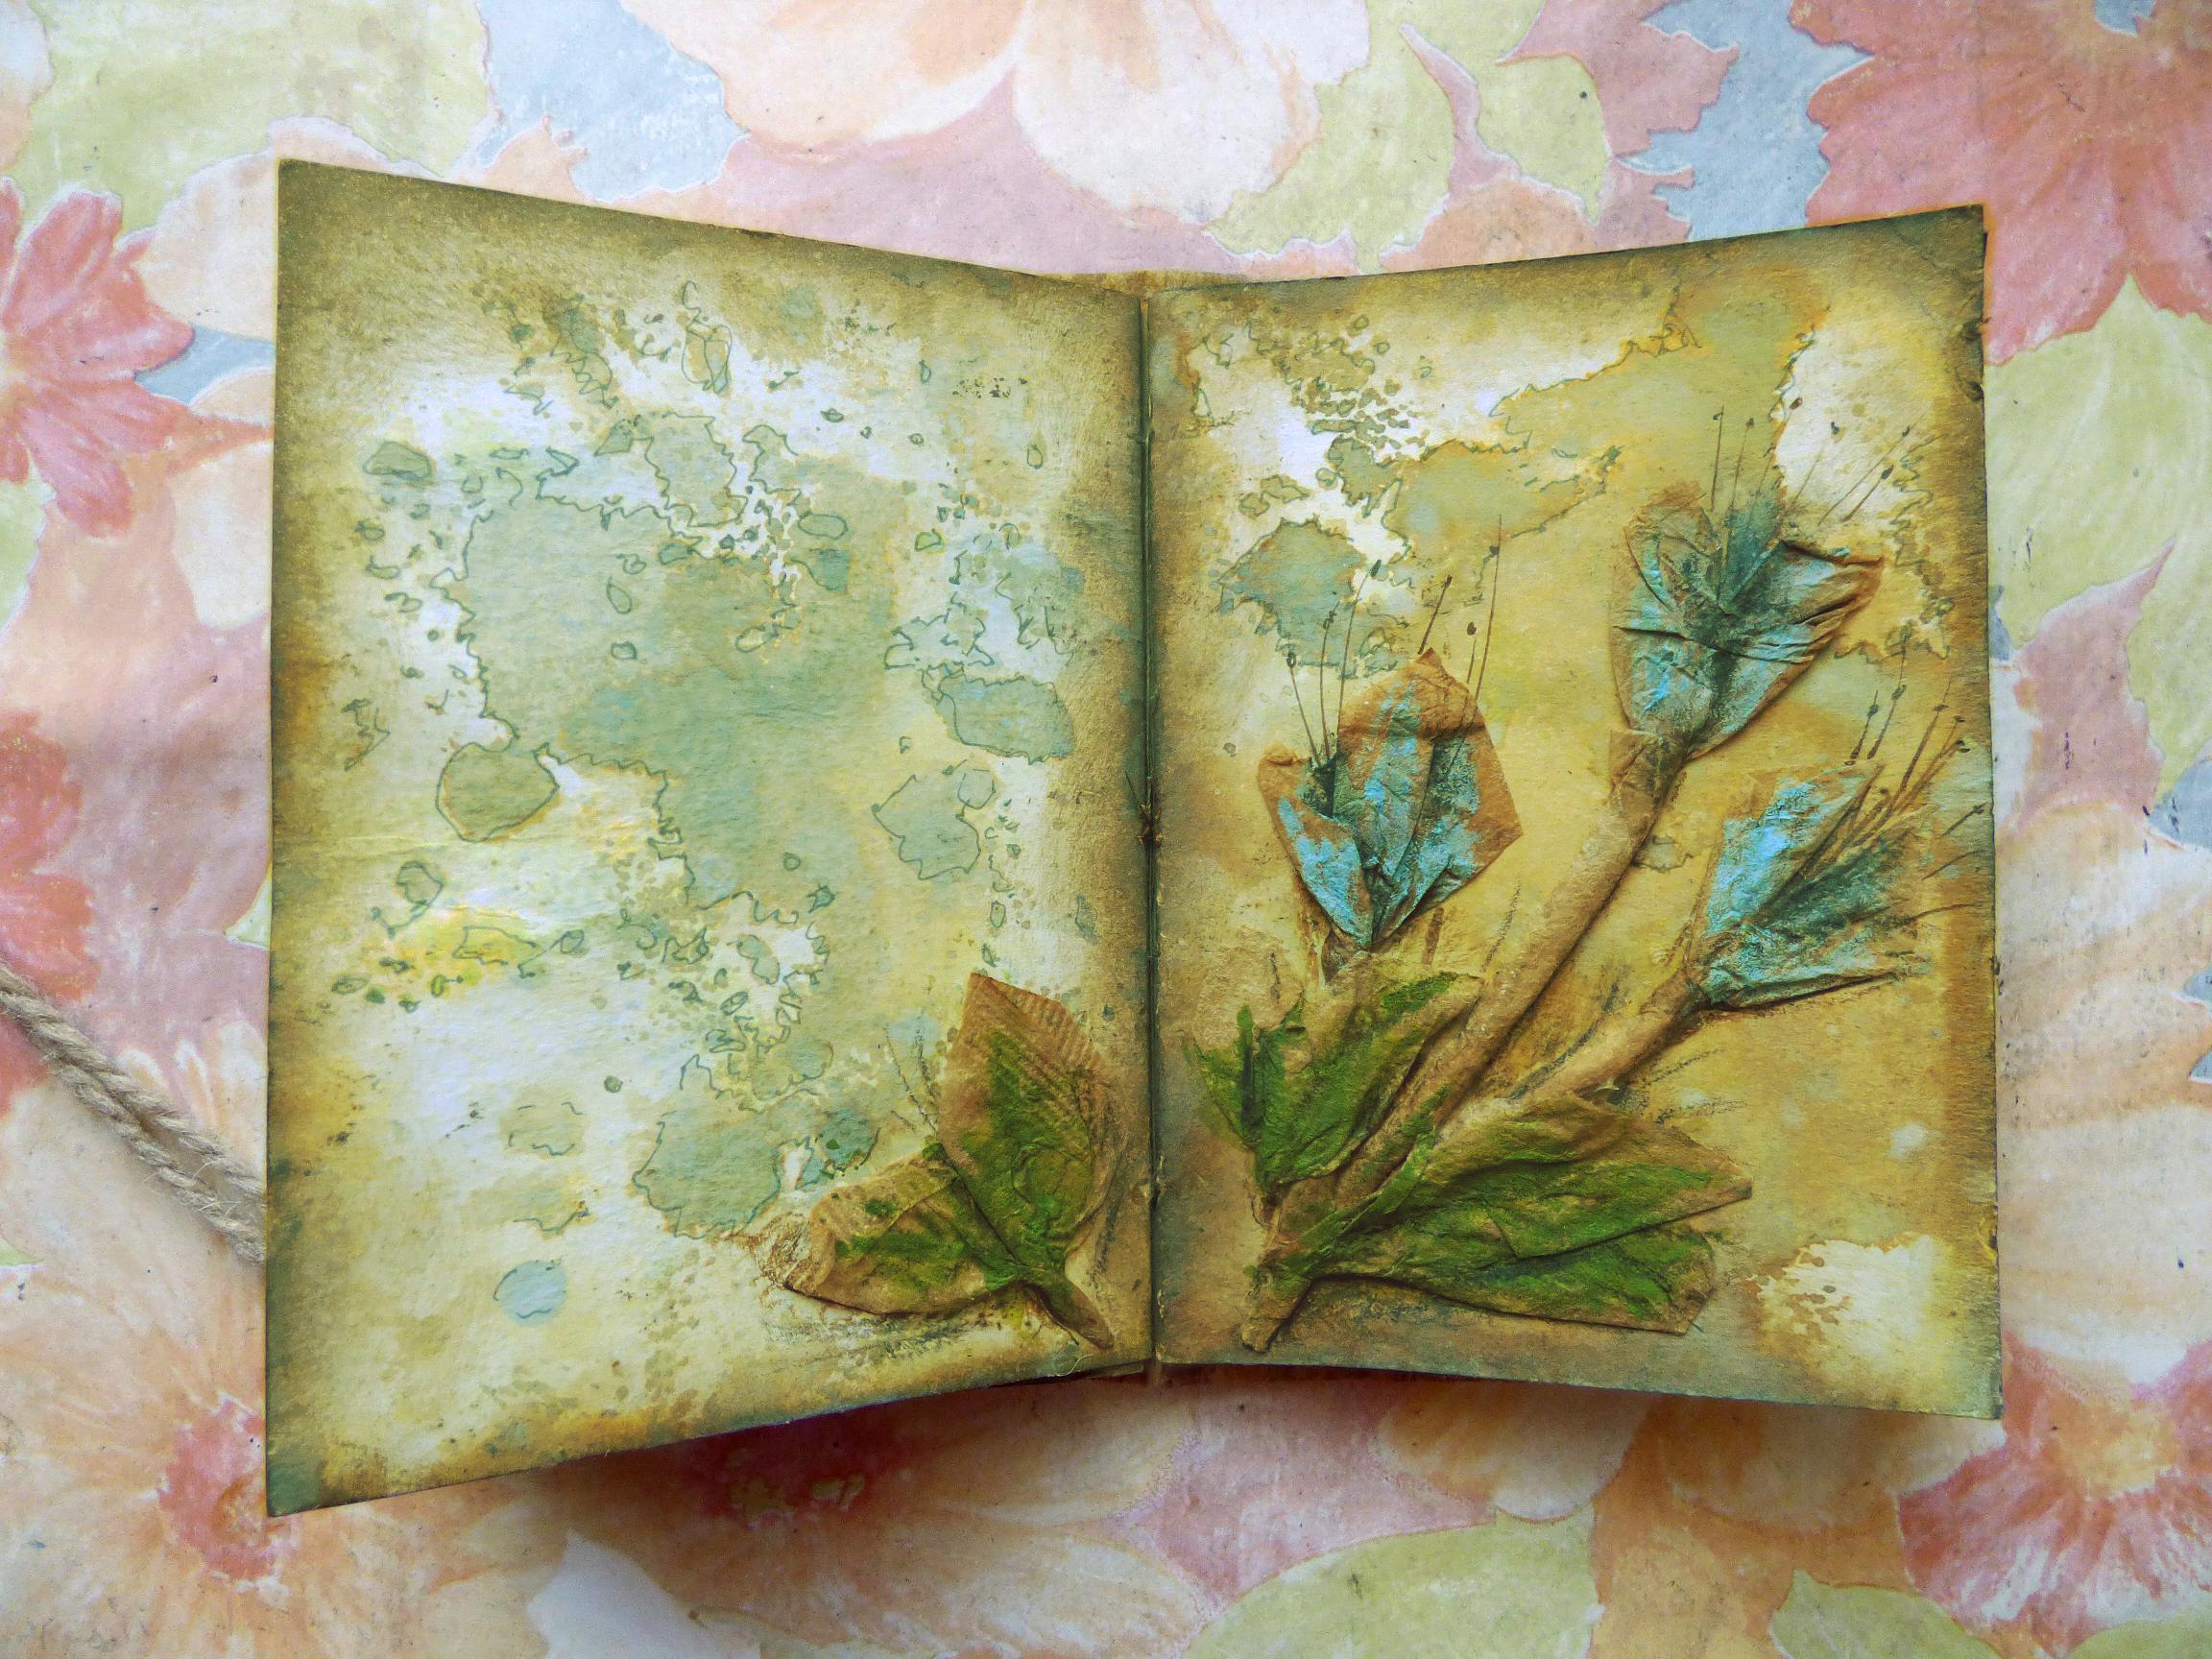
Page 16 and inside the back cover. The final page of the book.
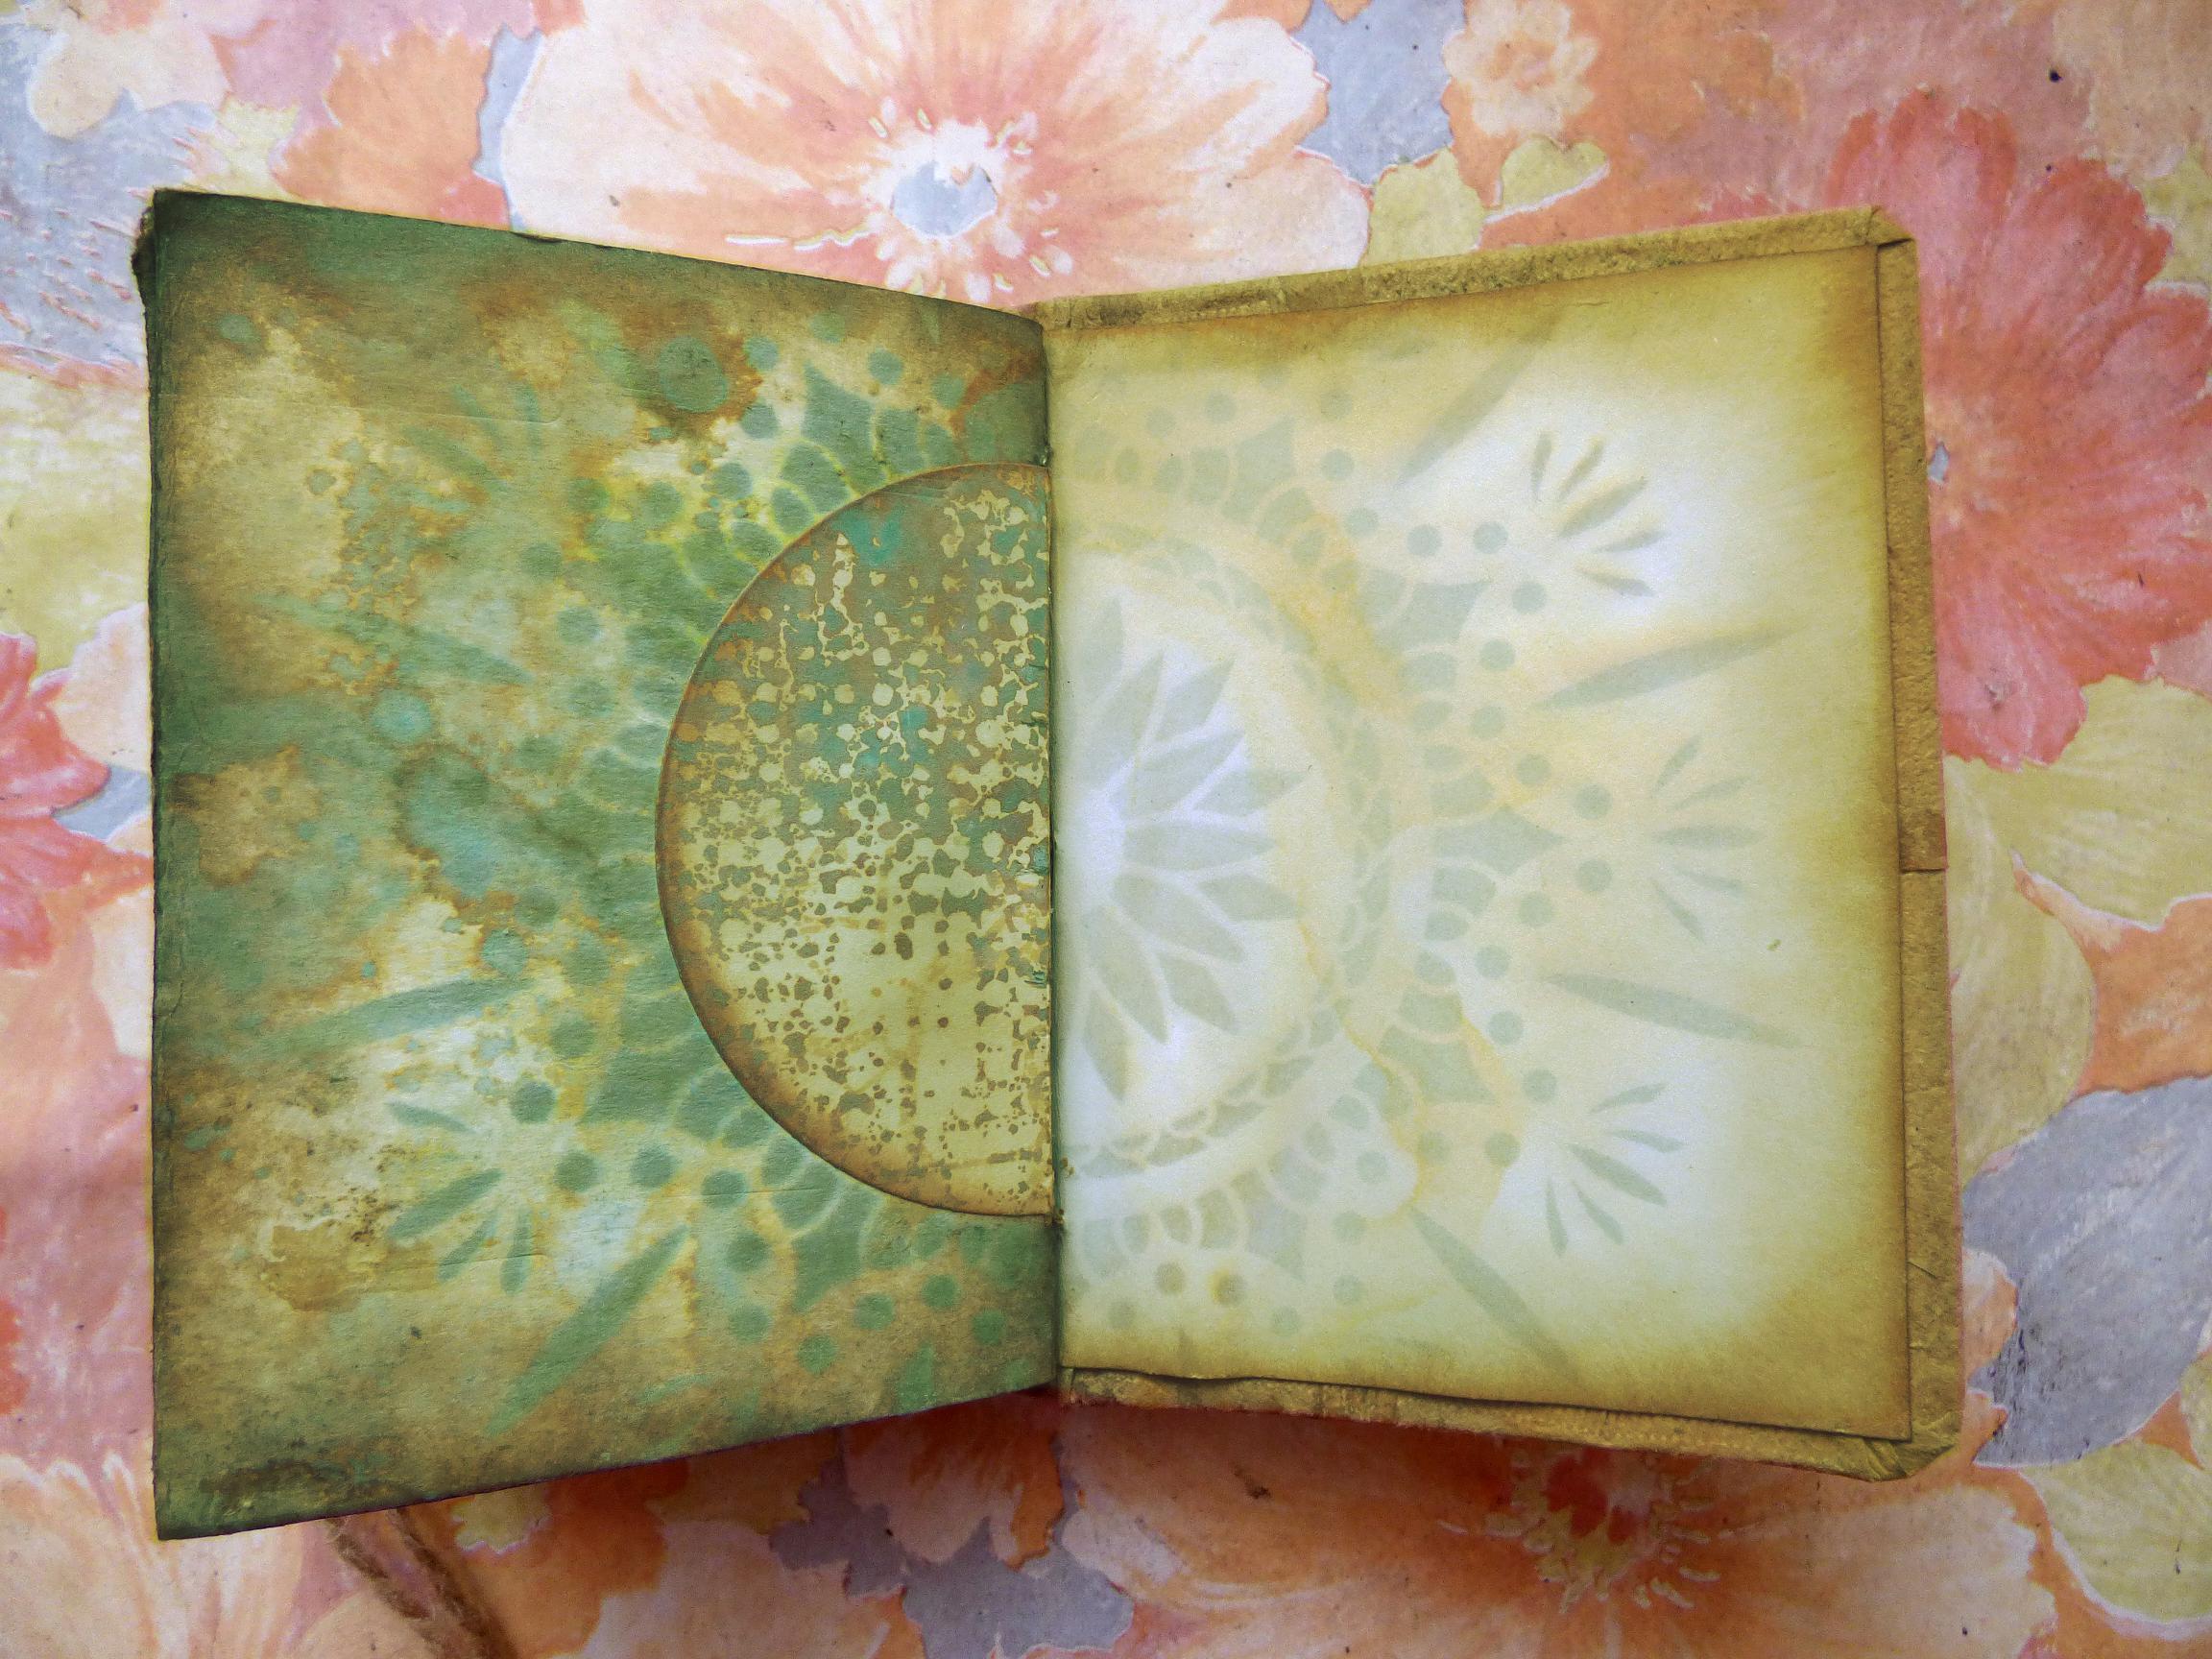
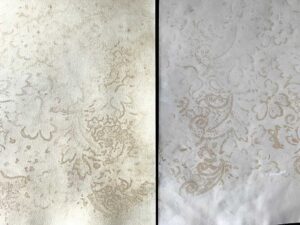
I was also very pleased with how this turned out. There are no teabag on this one. Last week a set of nesting circle dies I’d ordered arrived, and I was able to choose one exactly the same size as the circle of the stencilled design on the inside of the back cover. I cut this from some more of the experimental stencilled piece featured in the preious page, distressed the edge with Vintage Photo Distress Ink, and stuck it down, after I had used the same stencil to add some Distress Ink – I can’t remember exactly what I did but I think it is Speckled Egg Oxide spray.
The back cover of the book.
This features the same stencil. The whole cover is made of teabags glued together to form a sheet which was then stencilled, and I padded the card of the cover with layers of teabags which makes the cover feel really soft. The material itself is soft and almost feels like suede, and the padding gives it a luxurious feel. The whole book is very tactile.
Of the two teabag mini-albums, this is definitely my favourite. I look on the first more a a dry run, and with this one I was more bold with my ideas and added more materials and embellishments.
I also learnt how to bind two signatures together. I found a very good website via Pinterest and managed to join my two little signatures together as I sewed the first one. Because my little book was of a different construction from his, I simply stitched the two joined signatures into the cover, making holes in the cover and sewing in the gap between the two signatures. It seems to have worked very well.
I have got a larger set of Distress Oxide background pages ready prepared for one or two more teabag albums, of a larger size, but I am not going to work on these for the moment, as I am keen to start work on my new organic journal, and also to experiment with making background and collage papers.
Our thirty-sixth wedding anniversary
We celebrated our anniversary yesterday, 24th May. Hard to believe we’ve been married this long! I made a card for my hubby, the twin to the card I made for his recent birthday. That one was of the kitties asking to go out in the garden, and this one was of them asking to come in for tea!
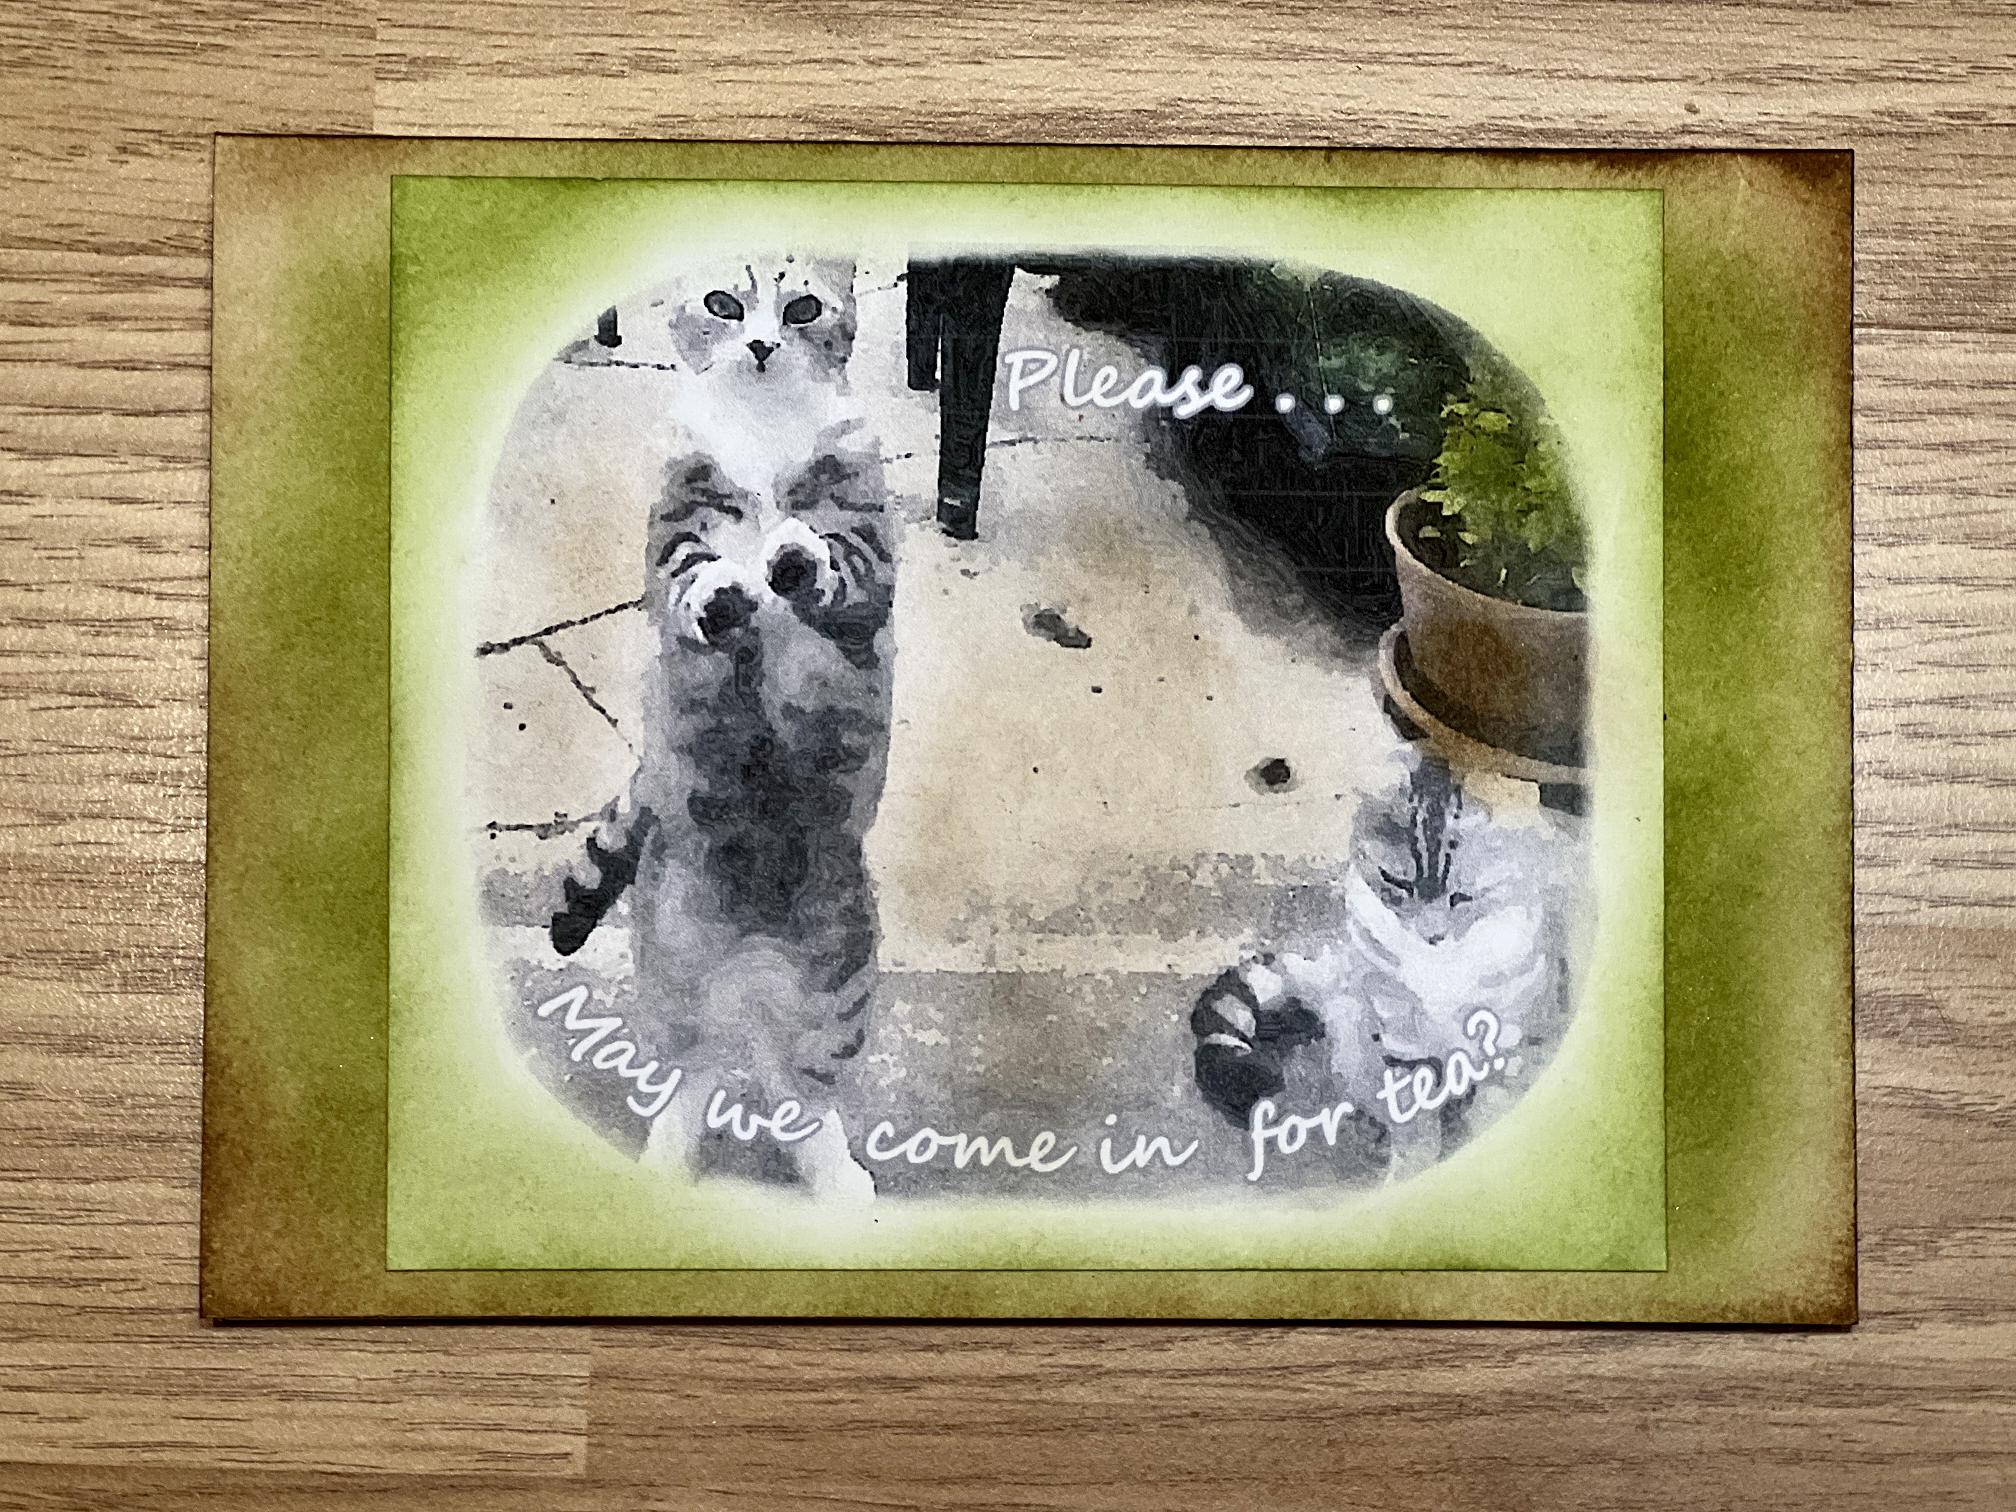
This one didn’t come out nearly as well, and I was far from pleased with it in many respects. The problem was that I have been so busy lately and left it till the last minute and I was not having a good day and was probably too tired to do anything properly! I struggled with the vignette. The vignette filter that comes with my photo editor is not customisable beyond being an oval (or possibly a circle) – I used this for the previous card and it was fine, but if I’d used it with this photo, I would have cut Ruby’s head off! So I had to design my own rounded rectangle vignette.
I was going back and forth between my desktop publisher and photo editor, and also up and down the stairs between the two laptops because I didn’t seem to manage to have all the information I needed in one place. In the end I took the downstairs laptop upstairs and eventually got it right. As before I manipulated the photo to give it an artsy feel. After desaturating it, I was able to tint it subtly with some Distress Ink when I’d printed it out. I wasn’t keen on the inked surround and wished I’d looked again at the birthday card which was better. Then I made a really stupid mistake – the card was finished, and I stamped the greeting inside, in portrait orientation instead of landscape!! I didn’t have time to redo the inside as a card liner so I left it as it was. My hubby was very gracious about it and said it contained all the relevant information so it didn’t matter! The card was also a combined happy birthday to Lily and Ruby.
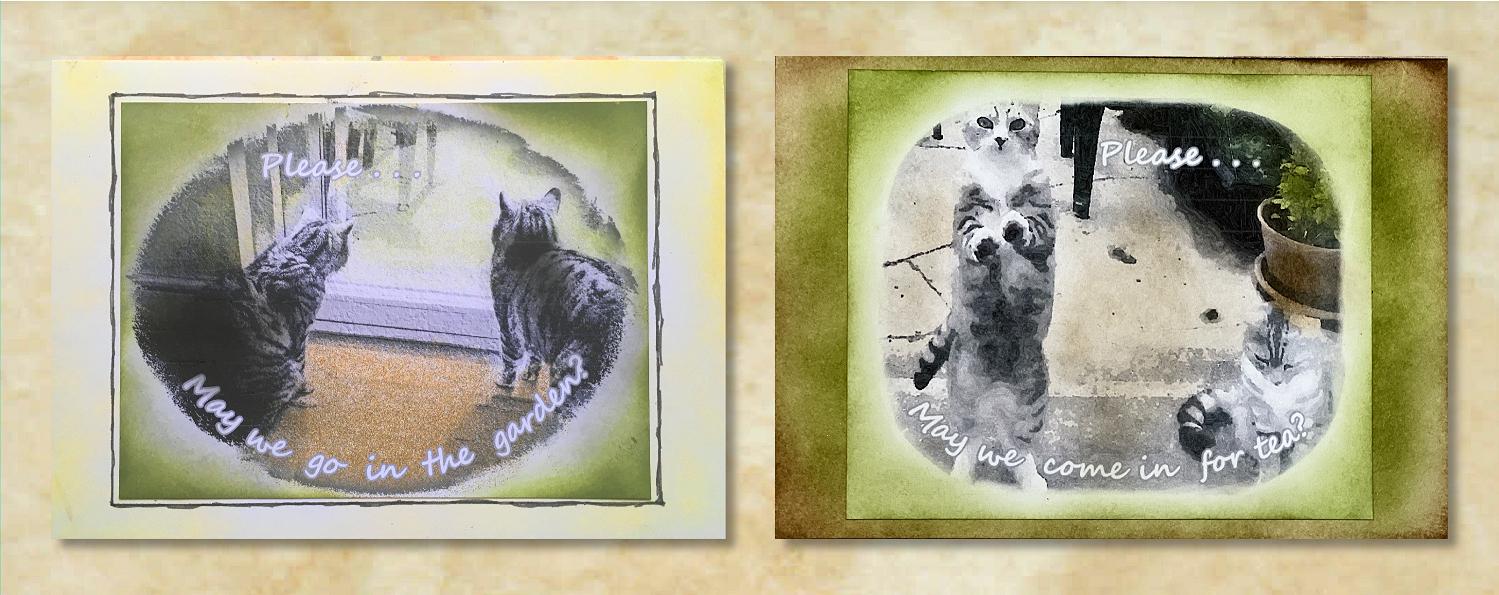
Here are the two cards side by side, for comparison.
The kitties’ birthday
Lily and Ruby celebrated their fifth birthday on our wedding anniversary! I can’t believe we’ve had them that long, although it also feels as if we’ve had them forever. We love them more and more with each passing year.
They had a lovely day, spending the afternoon in the garden which they love. In the evening we sat down over our meal to watch the videos I made of them as kittens, when we first had them. Lily, true to form, slept throughout – she is a lazy lump! However, Ruby, who had ensconced herself in the latest Amazon Prime box (just the right size for her) was rivetted by the videos. She then left the box and sat by the TV, transfixed.
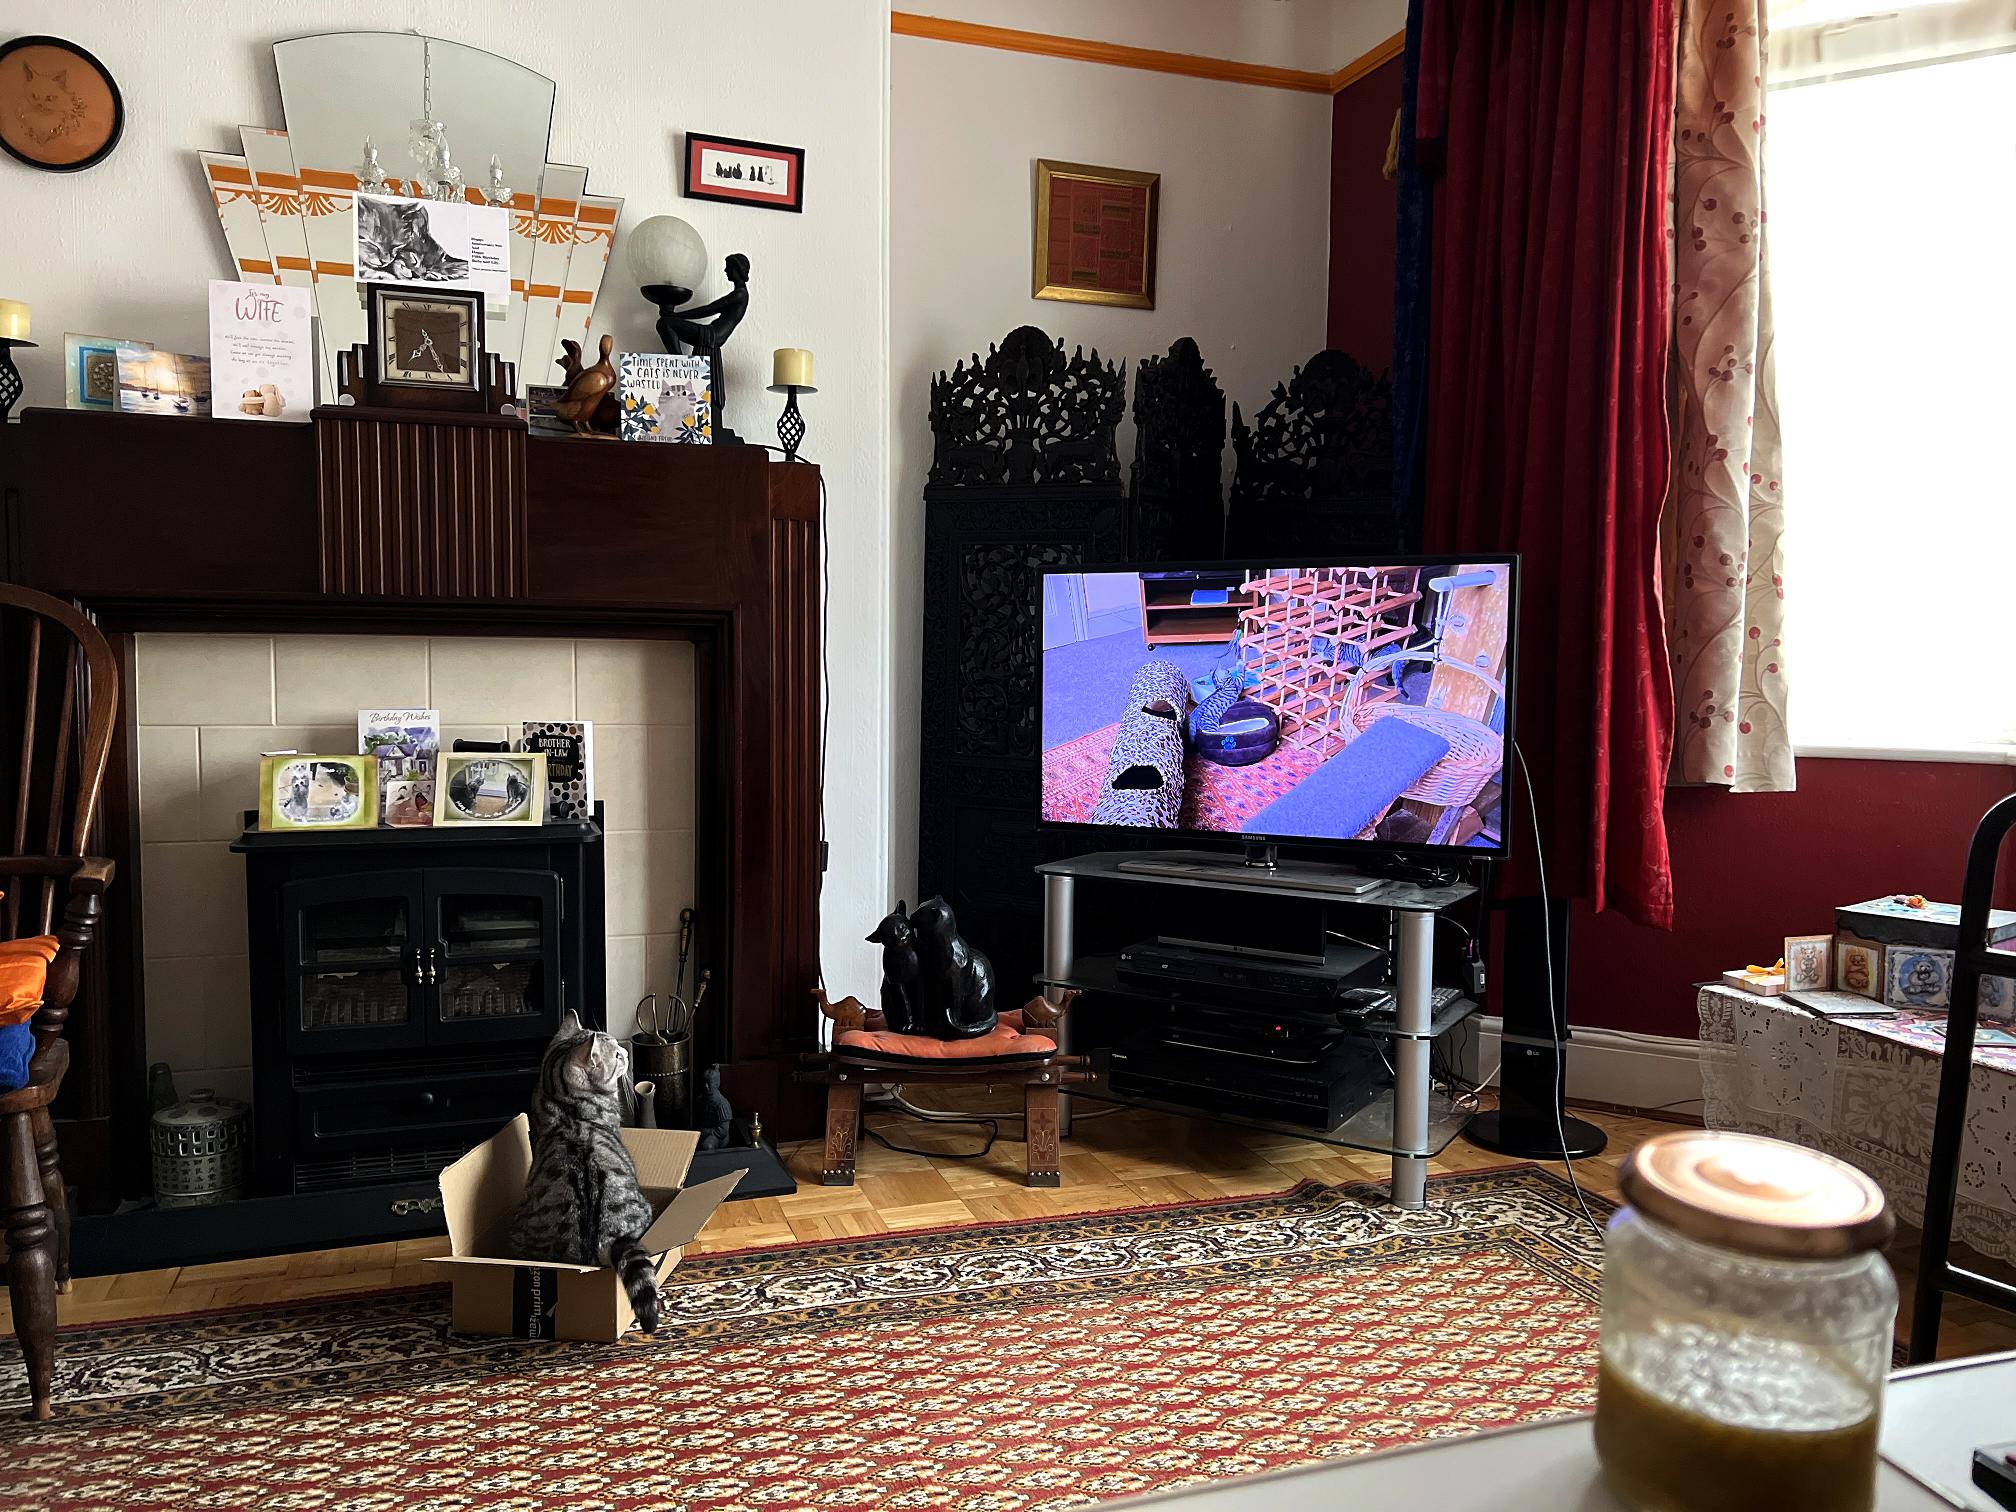
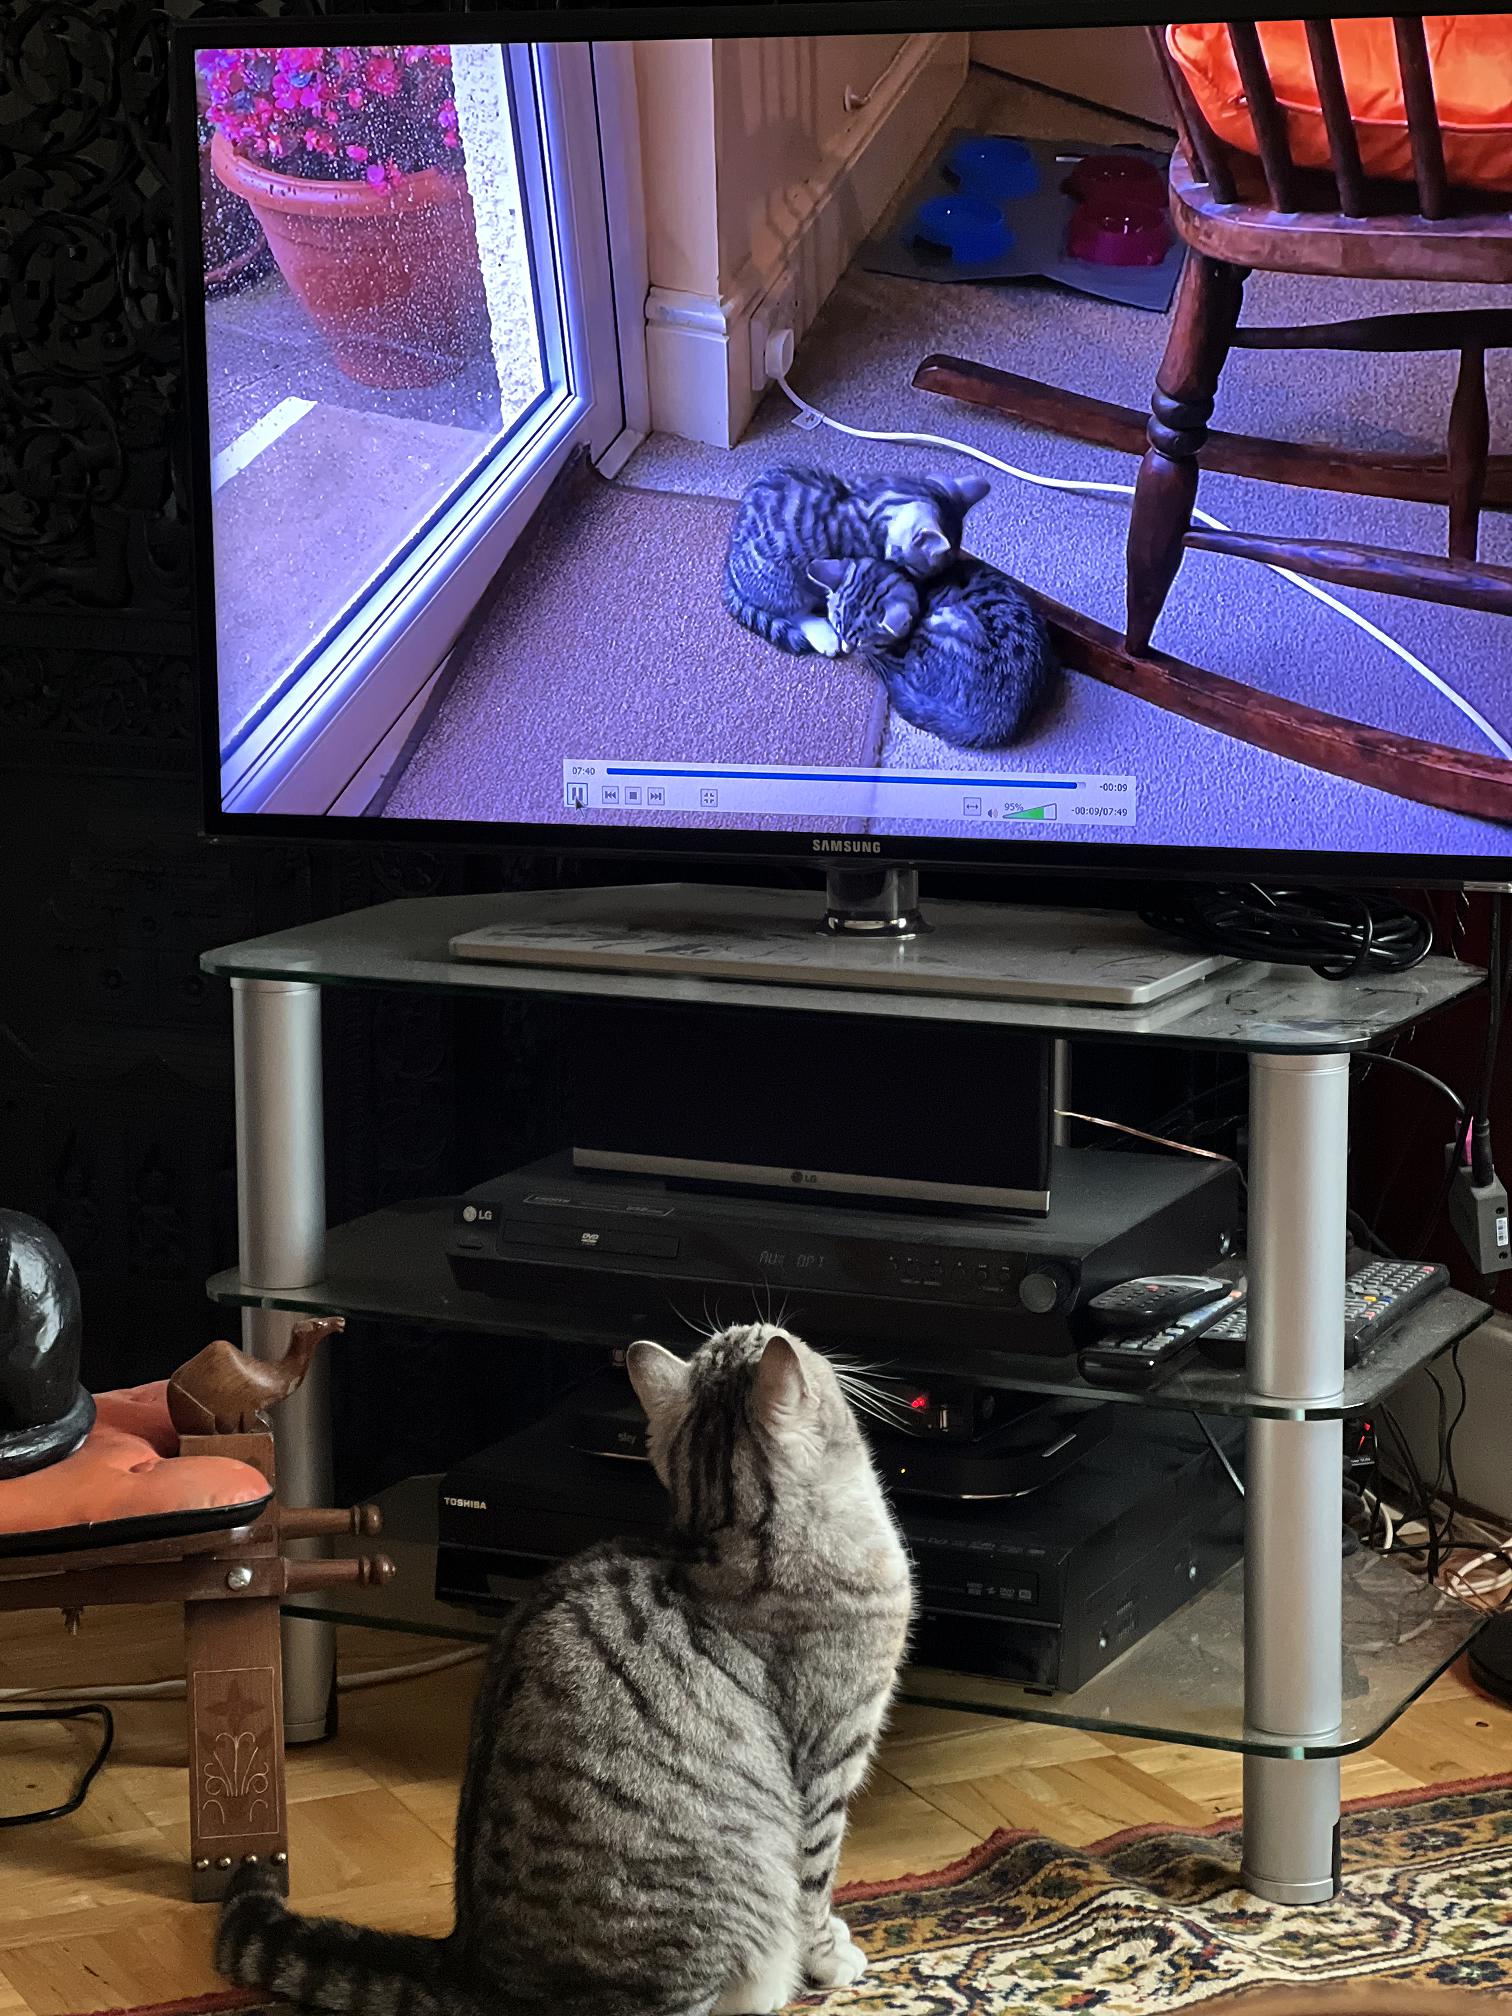
She generally shows no interest at all in the TV. I wonder if she realised she was watching herself? I am sure they know far more than we think they do.