JUNK JOURNAL – MAKE A JOYFUL NOISE PART 5
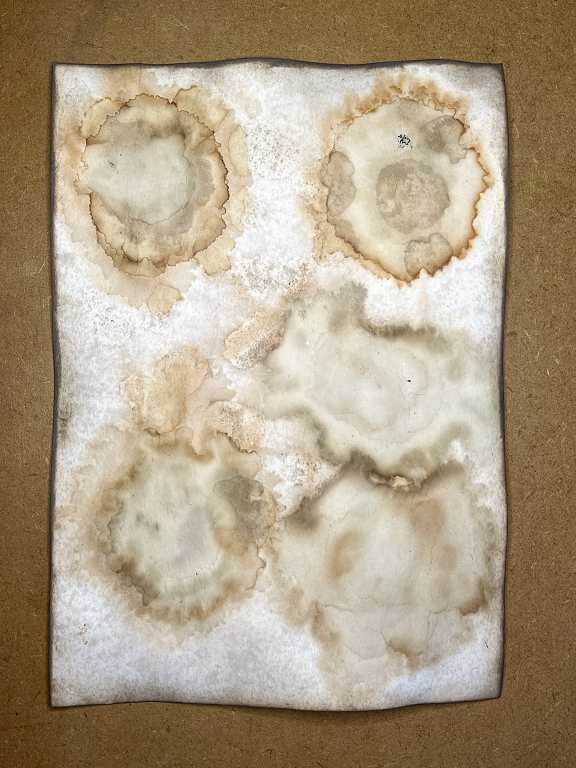
Teabag stain pages
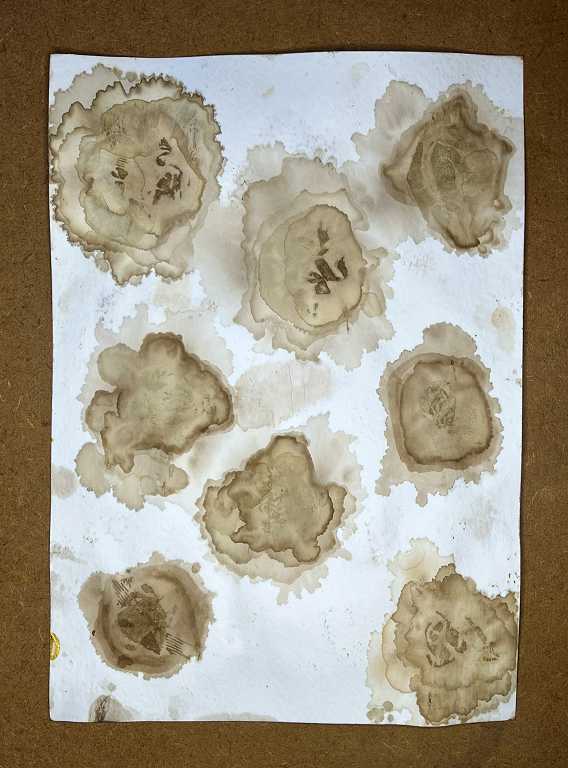
Some time ago I made a lot of sheets with teabag stains on them. After making the tea, I squeezed out most of the liquid from the bag and placed it on a piece of watercolour paper to dry, adding more bags as they became available until the page was full. It is best to put them down a bit screwed up rather than flat, and in this way they make more interesting stains with creases and less stained areas.
With this particular batch of samples, after removing the bags, I placed fresh ones on the stains left by the first, and then more, to create the layers, each of which has interesting frilly edges. I now have quite a few of these sheets in my stash and decided to use some in this album.
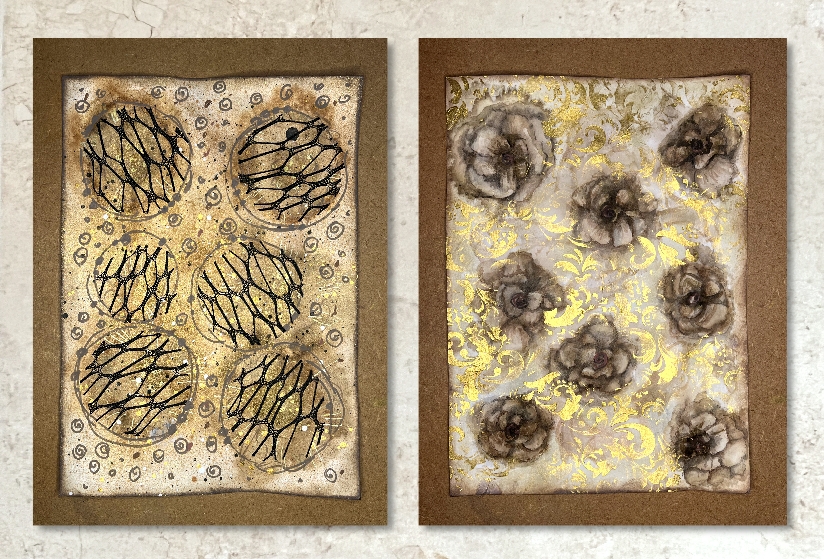
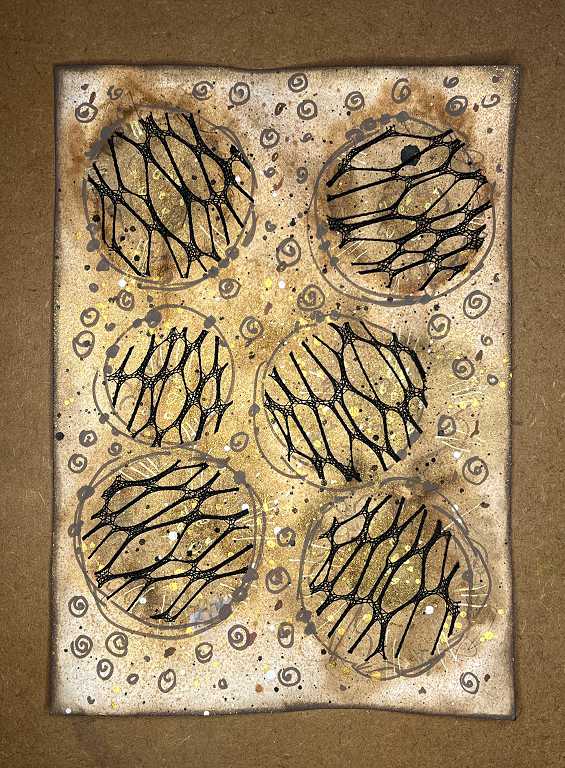
The first sheet
This one had a very white background so I sprayed it with some tea which gave quite a nice mottled effect. However, when I came back this morning to see how it had dried, some of the detail of the stains had been lost because of getting the paper so wet.
I added some embellishment in the form of squiggly circles around the stains, mark making, and spraying and spattering with ink. The Seth Apter iZink is a fabulous gold spray, but I find it rubs off, which is a major pain. I sprayed it with fixative and that seemed to work.
When I cut the circles out of the black plastic mesh on the cover topper, I saved them to use for this page. I stuck them down with really sticky spray adhesive, which made them very difficult to handle as I laid them down on the page.
A detail shot.
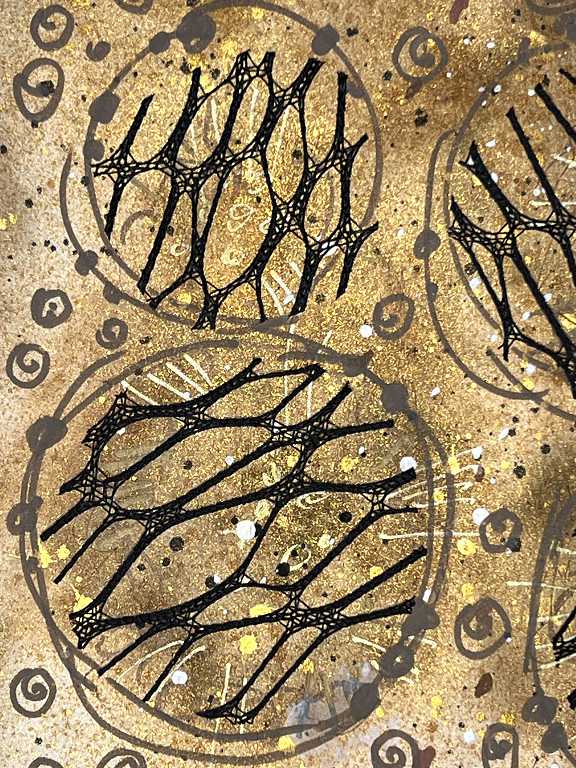
The gold spattering and spray really doesn’t show up on the photo. In real life, this page is very shimmery and rich looking.
When creating the stains, the tea soaks right through to the other side of the paper, so I shall be able to use the stains on the reverse as well, should I so wish.
The second sheet
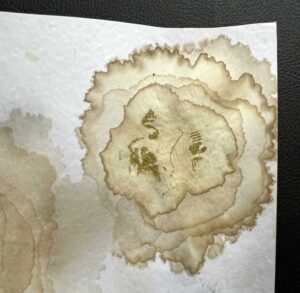
On this sheet you can clearly see the layered effect of the stains. I was tempted to do nothing with these, but in the end, decided to turn them into flowers. I used a combination of acrylic markers and watercolour for this. I also did some very loose watercolour leaves between the flowers but subsequent embellishment pretty much covered these up. Afterwards, I got rid of the white background with the application of some Old Paper Distress Ink. The final touch was to add some stencilling in gold, using Kuretake gold mica paste. This stuff is awesome! I really hesitated before doing this because I thought I might ruin what already looked OK, but I’m glad I went with my instinct because it came out amazing!
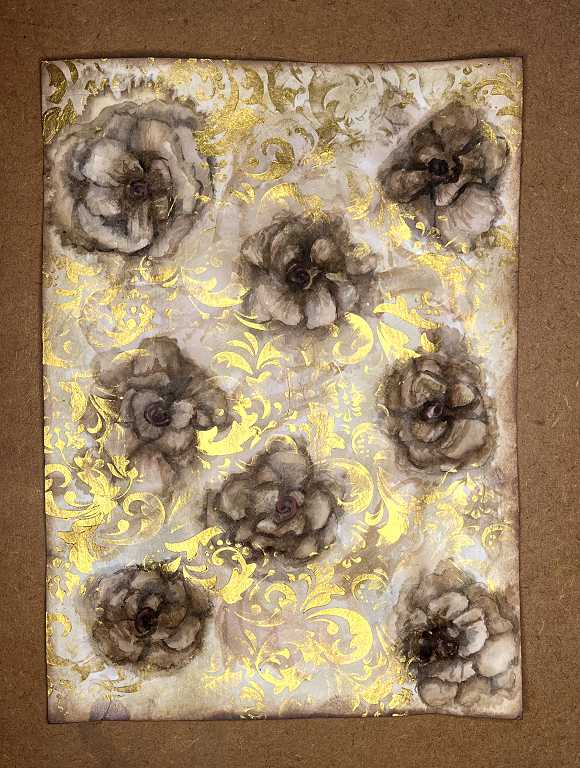
The result of this sheet is really rich and vibrant. Inking around the edges of both sheets gives a nice vintage finish.
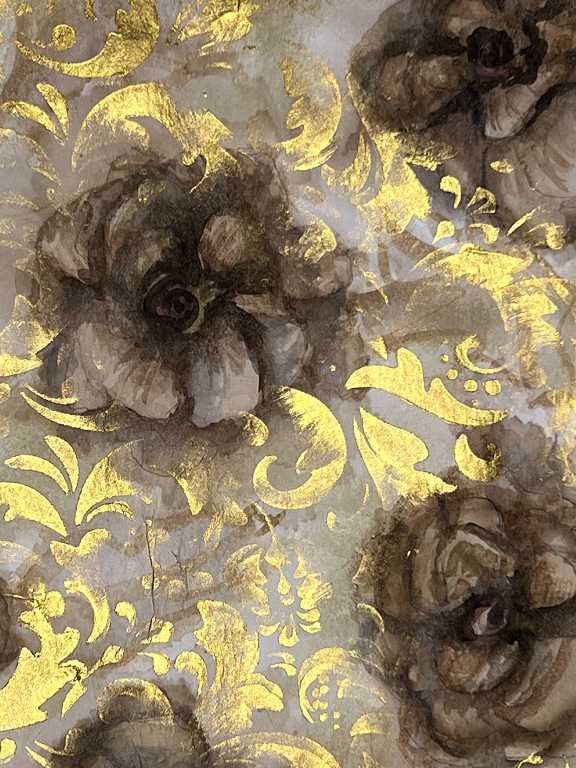
Here’s a detail shot of this page.
Nothing particularly noisy about today’s work. Not all the pages in the album will have sounds but once I get the pages arranged and bound, I may add more.
Very nice! Do you need to seal them somehow? Would the flower “run” if they were to get wet?
Thank you for your visit. I’m glad you like this. I didn’t seal this at all. The tea stains are definitely permanent but the watercolour would run if it got wet. However, it is very unlikely that this book will get wet – any book will get damaged in one way or another if it gets wet. If you wanted to try this technique and wanted to add further layers, and underlying layers were able to be water-activated, you would need to seal it. This is always a consideration with mixed media, and what materials you use, and in what order.