JUNK JOURNAL – MAKE A JOYFUL NOISE PART 7
I’ve decided this book is going to be too thick with a single signature, so I’m dividing the pages into two signatures.
Working on some pages and organising the first signature
Obviously at this stage, there is still quite a bit of work to do on many of the pages.
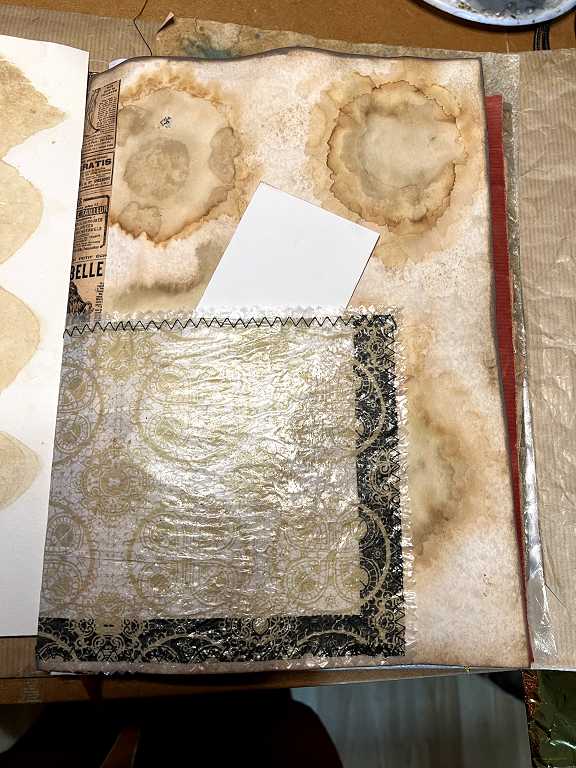
I made pockets out of the half napkin which I’d fused between cereal box liners. It will wrap around the entire first signature. I’ve glued the side and bottom and slipped a scrap of card into the pocket to show that it is translucent. The background page is the teabag stained page which I thought I would leave as it is, because the marks need no further embellishment.
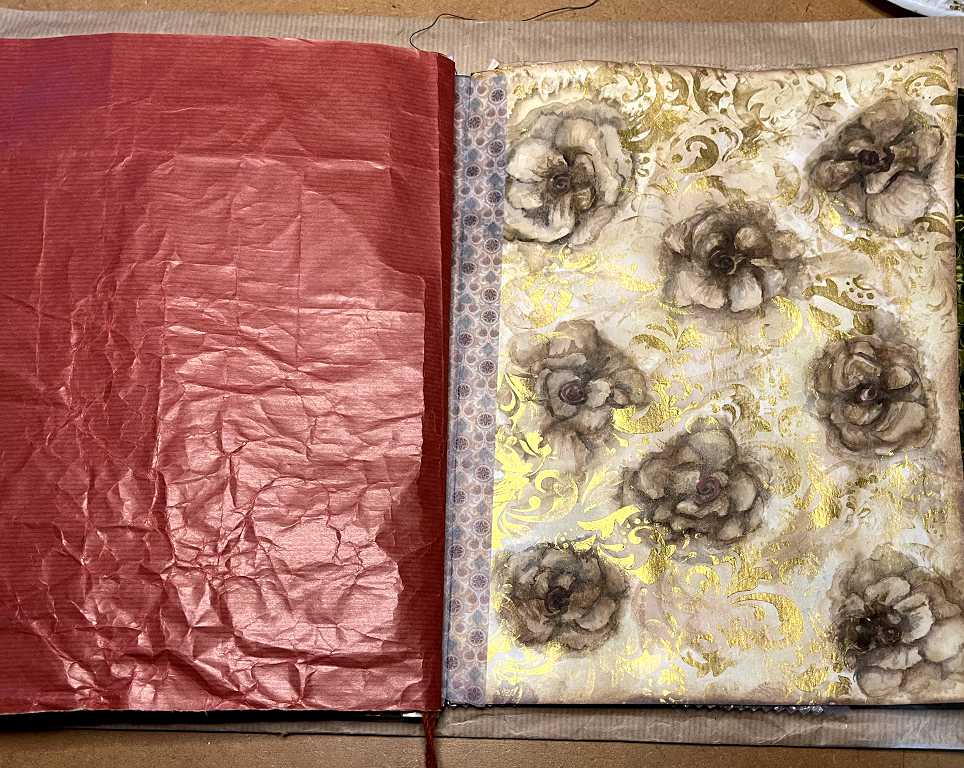
Turning the page, we get the front side of that teabag stained page, which I embellished with the black mesh. The page next to it is a piece of wrapping paper which is red on one side and brown on the other – unfortunately this is all I’ve got of it as it’s rather unusual.
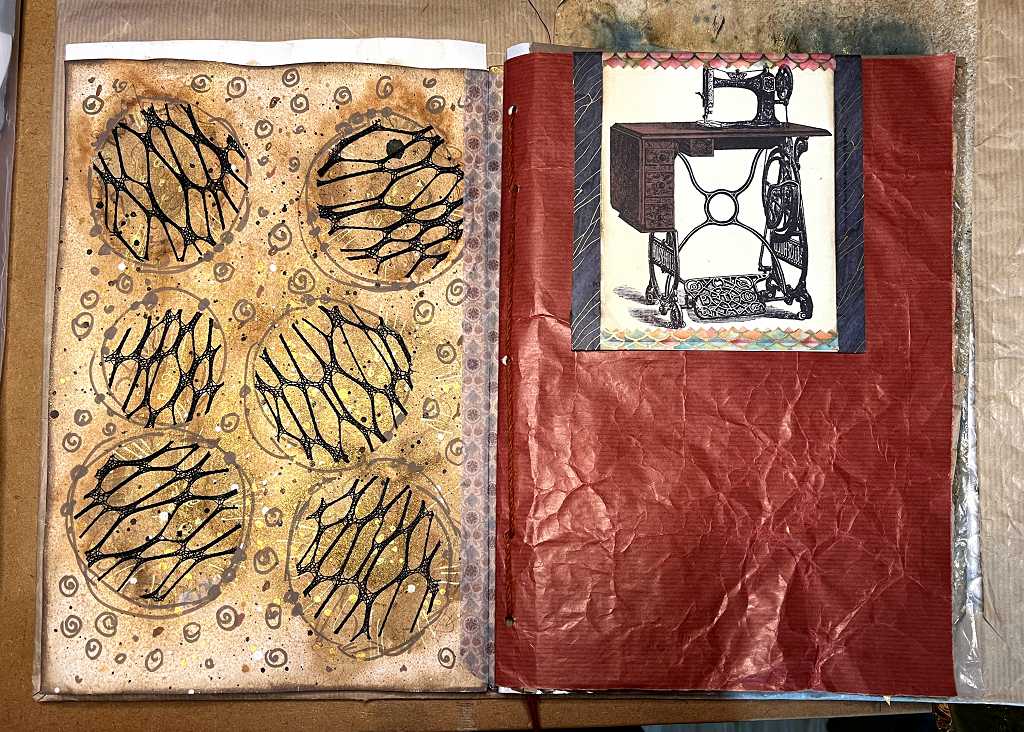
The picture on the top is the back of a 3-D Christmas card which I have wrapped over the top of the page. I covered the printing on the back of it with the picture of the vintage sewing machine and added washi tape borders. I’m not sure what else is going on this page at this stage.
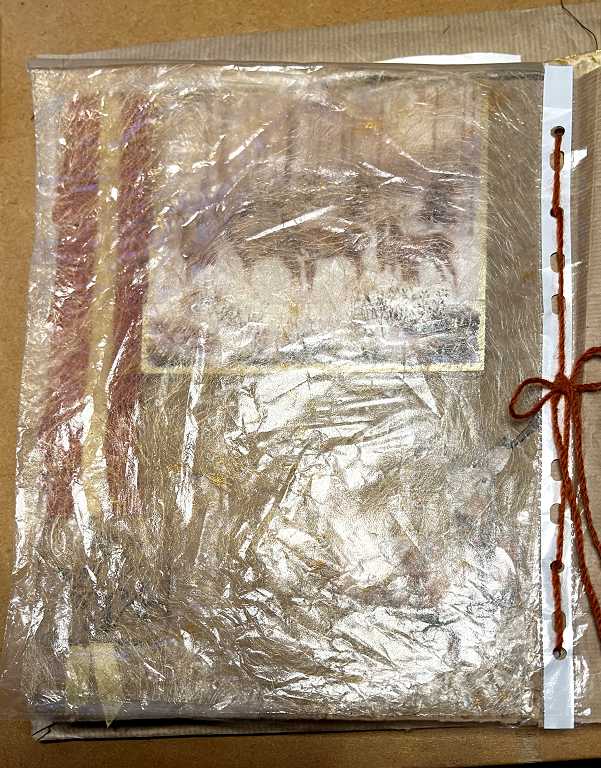
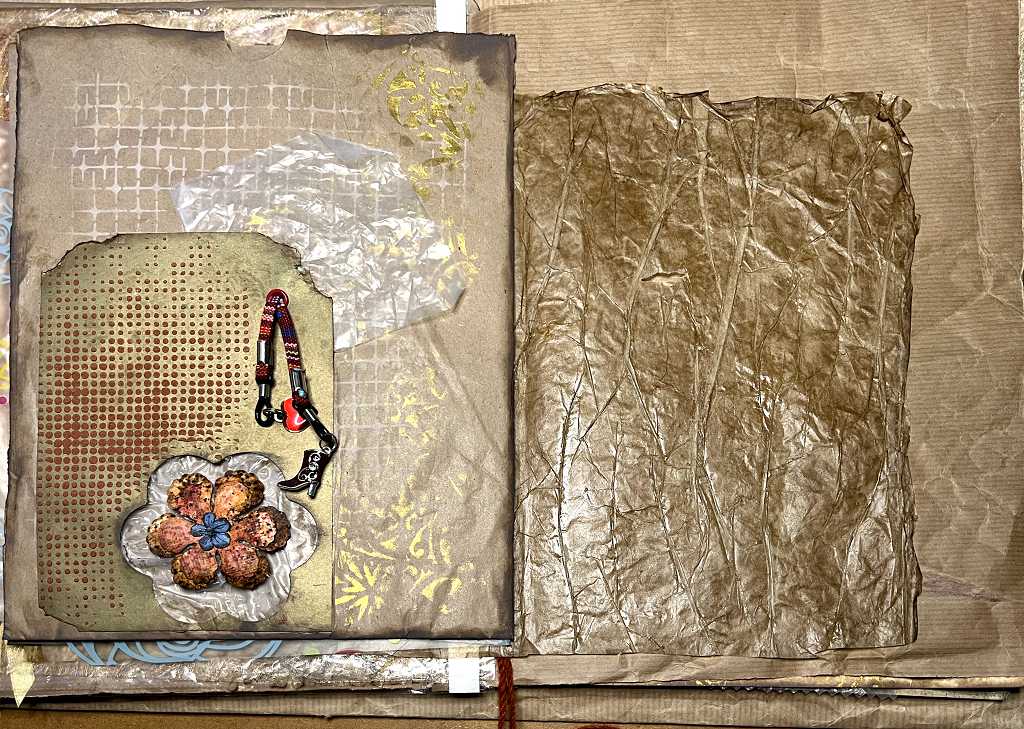
Turning the page, I have overlaid this page with a document sleeve which was a bit creased. I put a piece of fine florist’s mesh inside, which I’d sprayed with some gold ink, and sealed the top with a strip of washi tape. This tape is really too narrow and I may add something further. I laid the document sleeve on top of the page and marked where the circular holes were, and punched holes, through which I sewed the document sleeve onto the page with red twine, using a 5-hole pamphlet stitch. I tied a bow and secured it with glue. I’ve left the ends really long as I may add some danglies. The document sleeve is nice and rustly.
When I lift up this translucent layer, the page underneath is revealed, showing the front of the Christmas card placed over the top of the page. It is a 3-D card with three layers that pull forward when you stand the card up. I always save greetings cards to recycle – if the pictures can’t be used, then the card usually can, as it’s often pretty good quality. Some cards that can’t be used as they are have nice pictures you can cut out, and I found these two deer in my fussy-cut stash which I’d cut out, probabluy from another Christmas card. I layered them to add perspective. They had some weird colours around the bottom of their legs so I covered this up with a bit of packaging paper to which I added some gilding wax. I like the way it looks like foliage, and gives some dimension.
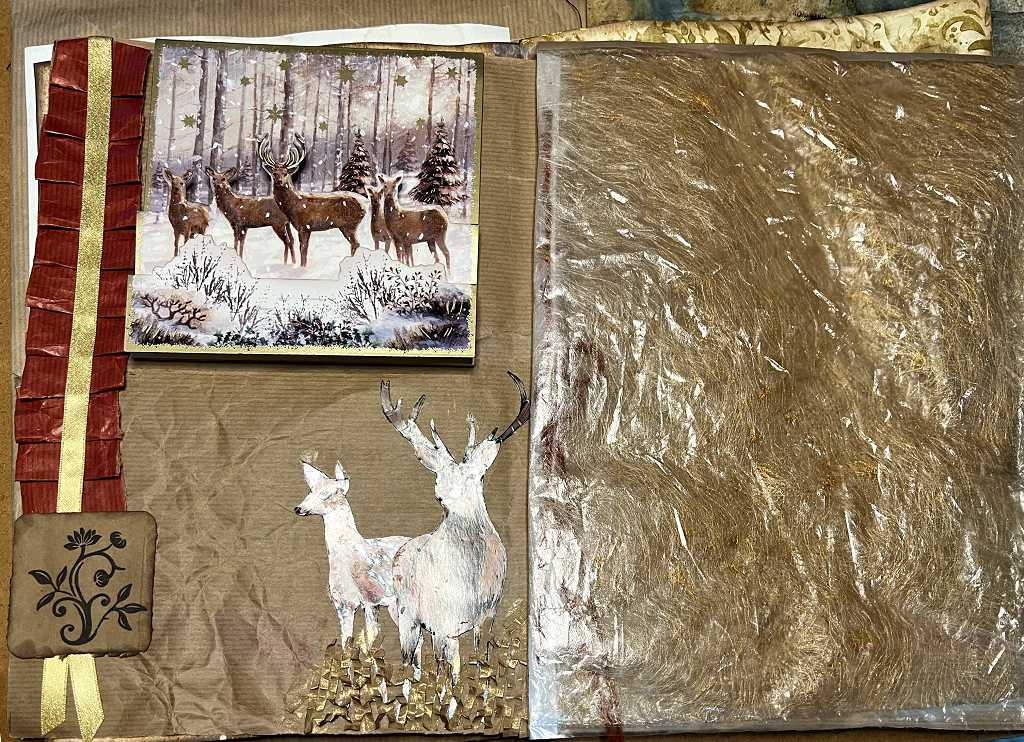
Down the left side I added a paper ruffle that I made on the sewing machine from the only offcut I had of the red paper. The ruffle wasn’t long enough to reach the bottom of the page so I stuck down some satin ribbon with double sided tape and added a small embellishment. I have several of these, cut from a gift flower box I received once.
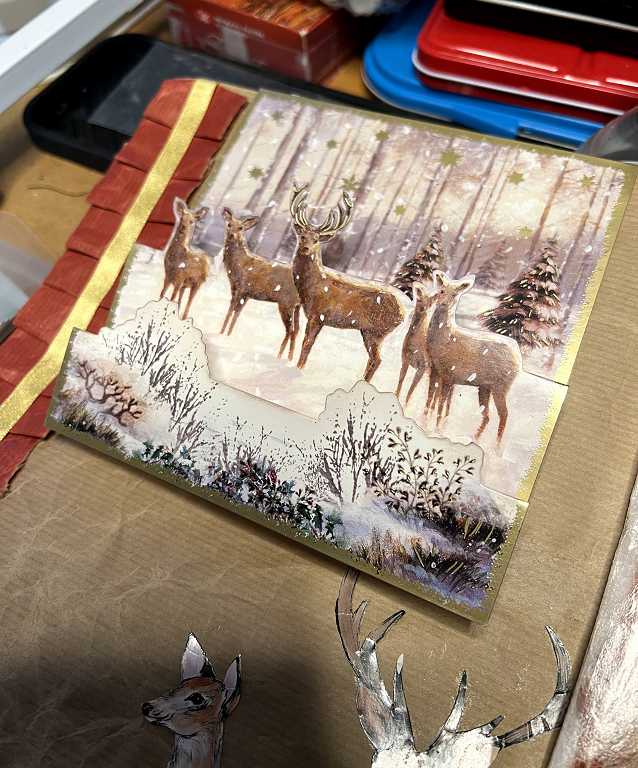
Here’s a detail of the 3-D card. I’ve attempted to show how it folds out, but it doesn’t show very well on the photo unfortunately.
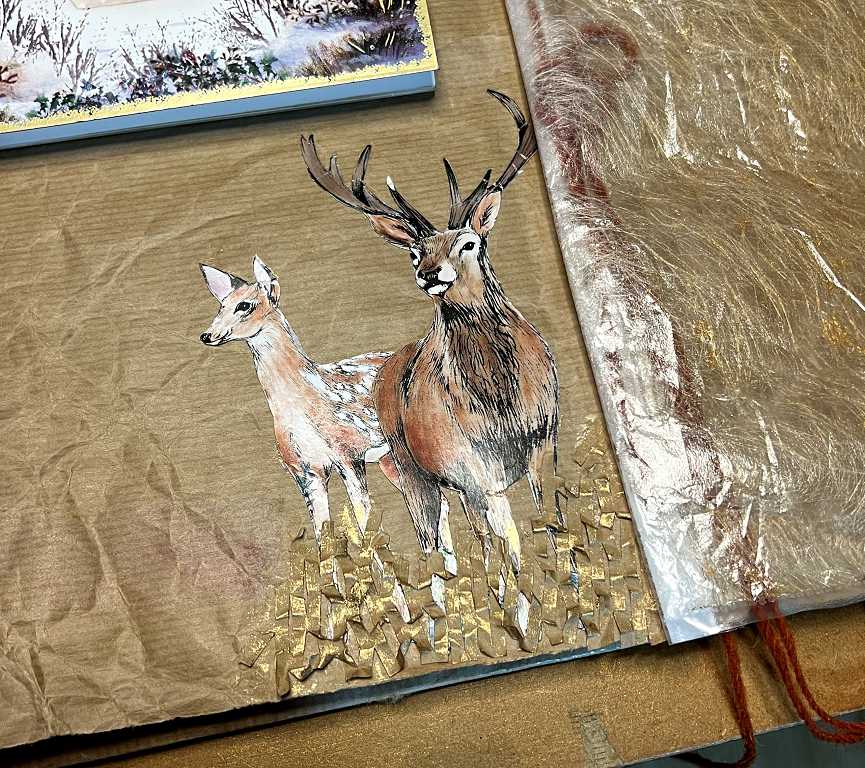
A detail of the other two deer. In this photo you can see the gold-sprayed mesh inside the document sleeve a lot better. Many of these rather shiny pages are a bit difficult to photograph.
The paper ruffle.
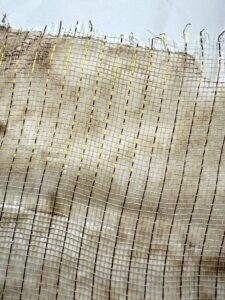
Turning the document sleeve back over the deer, the next page is revealed. This is another translucent piece which I made several years ago and it’s been hanging around in my stash. It is faux rice paper which is made from tissue paper – I think I applied PVA glue but it may have been acrylic medium, and I think it was tea-stained. It’s so long ago that I can’t remember how I did it. It’s pretty grungey, and very crackly to handle! Sounds rule, OK! in this album!
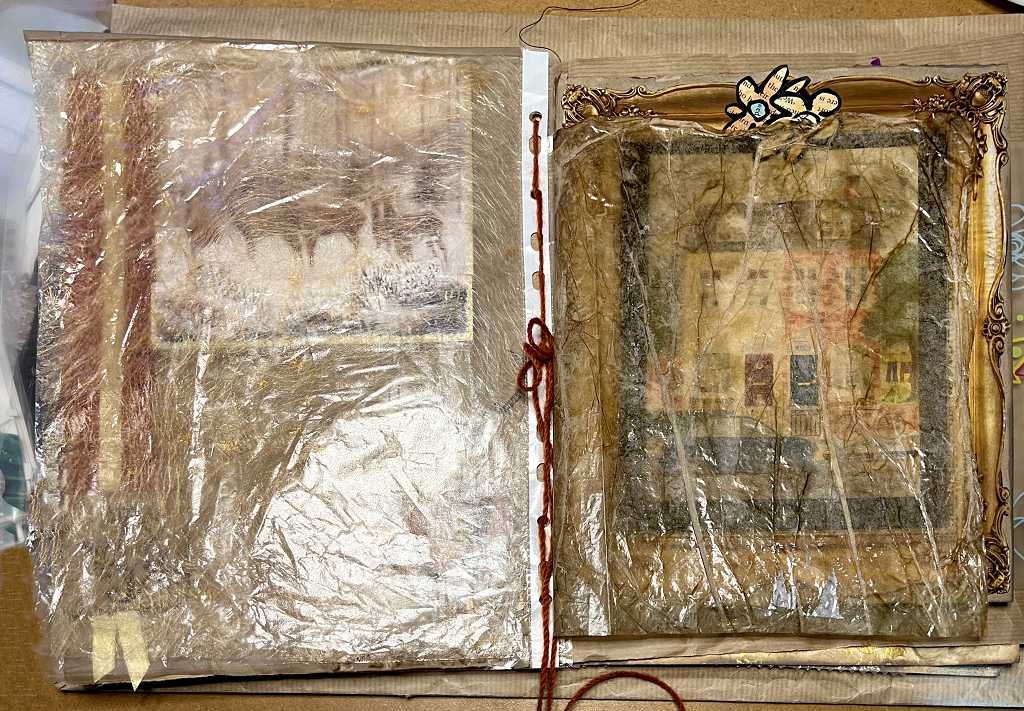
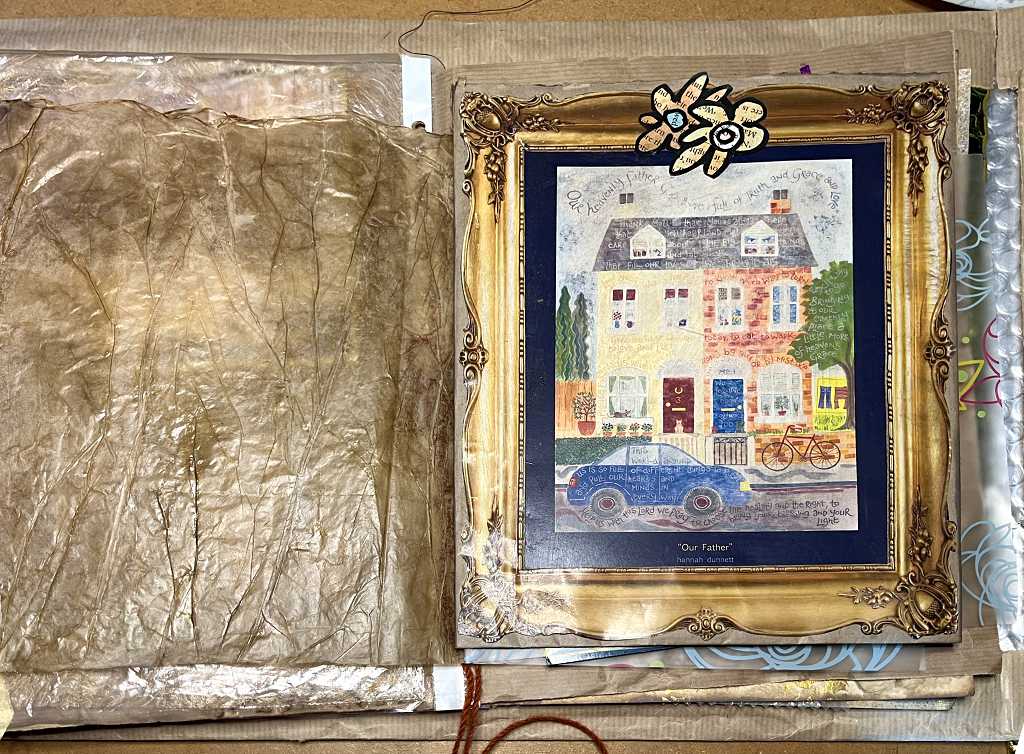
Turning this translucent page back reveales the house page.
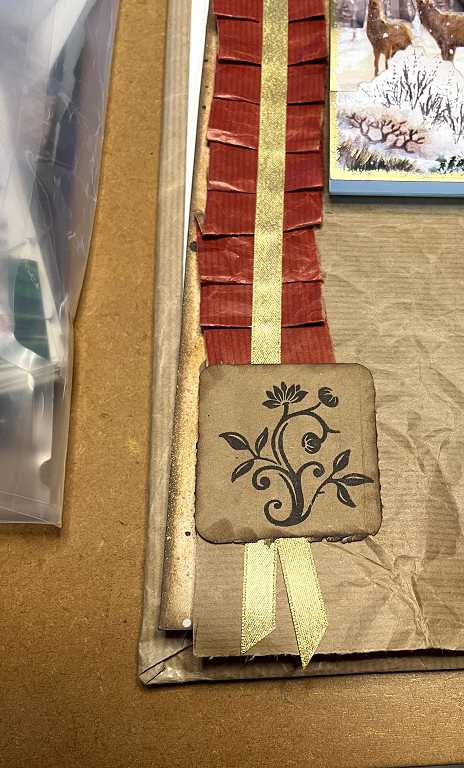
Turning again reveals the page with the bookmark, and on the right, another transparent layer. This is clear cellophane which I think came off some flowers. It’s printed with multi-coloured line drawings of flowers. It’s subtle, but adds interest, and it’s also nice and crinkly to handle.
![]()
Turning this over reveals the umbrellas greetings card. This design is printed on both the front and back of the card. The transparent layer makes the opposite page look quite interesting now.
![]()
Opening the umbrella card reveals the centrefold of the signature. I’ve stuck down various images to cover the sentiment and personal greeting in the card. I’ve written about this collage spread in more detail in a previous post. It definitely needs further embellishment.
As one turns the pages now, the pages mirrored by those in the first half of the signature will be revealed. Here you can see the back of the umbrellas card, and the other half of the transparent cellophane layer.
![]()
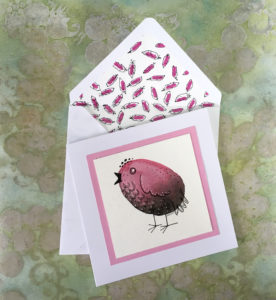
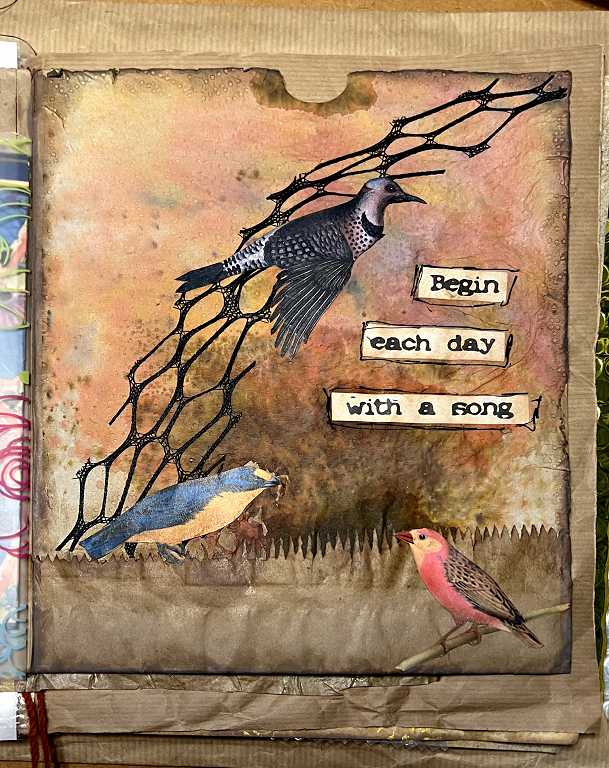
Turning this back reveals the paper bag page with the applied black mesh. I have added some fussy cut birds from my stash and some words. When thinking about sounds, we mustn’t forget about music! These birds are another example of pictures cut from cards, or digital printouts. I’ve got a lot of images from my subscription to the Graphics Fairy Premium Membership and they are all in png format with transparent backgrounds. You can print them out and edit them as you please. Every now and then I get a lot of printouts and cards, and sit down for an evening of fussy cutting, and I save the small images in paper CD envelopes with a translucent circular window in the front. The fit nicely into a small cardboard box, ready for riffling through when I need an image.
The transparent layer turned over, revealing the birds page.
![]()
Detail of the birds page. The background is a single layer of kitchen paper taken from my splat box. I keep a wad of kitchen paper in the bottom of the box and spray things there, to save ink being sprayed all over my studio. Over time, the papers get completely covered and the results are amazing. In addition, you get double for your money when you pull the two-ply paper apart! I didn’t attach this paper very firmly to the paper bag and when I started glueing down the cut-outs, it started to disintegrate. I really need to paint a layer of soft gel medium over the whole page to stabilise it. The black mesh was attached with spray adhesive. I like the uneven ragged edge of the paper bag which I turned up to make a feature of it.
Turning the page again, we’ve got the back of the paper bag with the dangly bits on it, and the other half of the faux rice paper.
Turning this back, there’s the brown paper which is red on the other side. Nothing interesting to see here as I haven’t started on this page yet.
![]()
Here’s the other side. Again, nothing done on this yet. The other page is the embellished teabag stain page I made, with the gold stencilling, which I wrote about before.
The reverse side of this has the teabag stains which soaked through, which I embellished with mark making. It has the other half of the cereal box/napkin pocket.
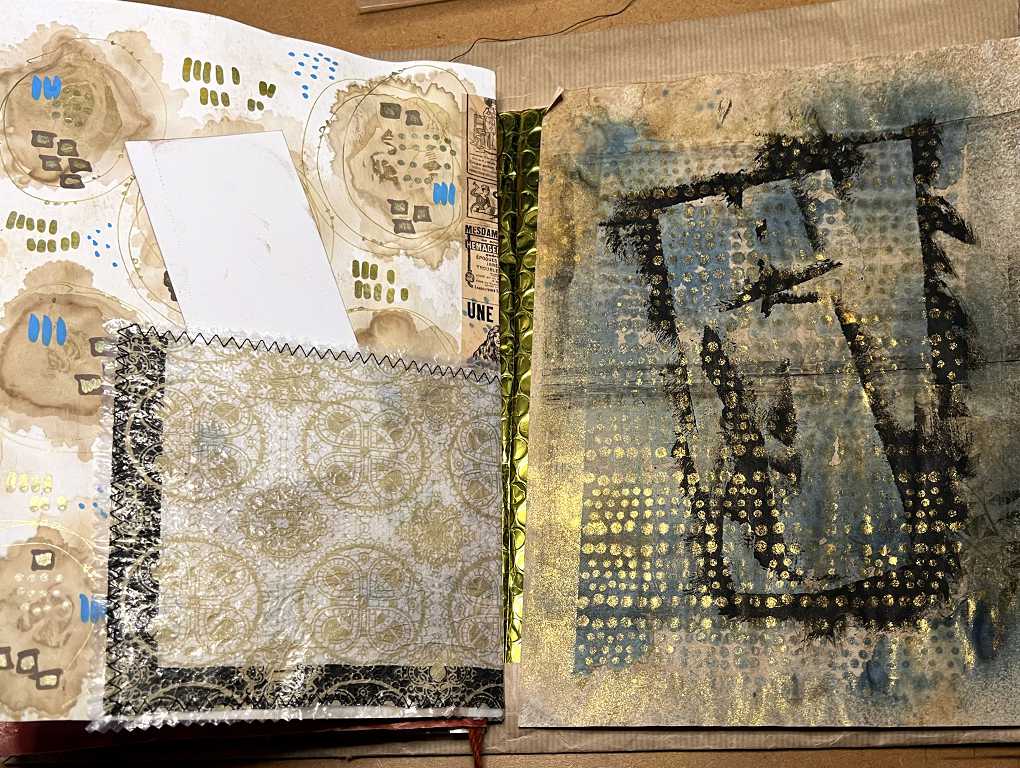
On the other side I’ve just laid down a piece of paper which has stencilling in gold on it, sprayed through a piece of punched medication leaflet. The other marks look as if I’d inked some tags or something – I really can’t remember how this came about! The effect is quite interesting, though. I am not sure at this stage whether this will be the final endpaper of the book, or whether it will be incorporated into the second signature.
There’s still a lot to do on this first signature before I can stitch it into the binding. I don’t want to do that until I am sure that I’ve got everything on the pages that I want. I may want to do some more machine stitching, or wrapping things between the pages and obviously nothing like that can be done once the book is assembled.
In the meantime I shall repeat the process with the second signature and continue adding embellishments to the pages.
For this first signature I have trimmed down some of the papers to fit better inside the cover. I quite like the gold of the original padded envelope I’m using for the cover – it will peek out between the two signatures as you turn the pages.