SCRAP-BUSTING – CLUSTERS, AND A NEW PRINTER
Another studio session in an attempt to reduce my overflowing scrap collection. I decided to make a set of clusters, simpler than my previous collection. The earlier ones are quite thick with a lot of layers and bead dangles etc. I needed to make some that would not be too bulky as album embellishments.
New printer
I have had a very busy time recently. For some time my laser printer has been printing a couple of pale vertical lines down the side of every print, and cleaning and replacing cartridges has made no difference. I have had to edit many full-page print-outs in order to reduce the size to avoid this blemish and in the end I got fed up with it, because it was time-consuming and inconvenient and sometimes I needed full-sized print-outs.
The printer went into the Computer Hospital (our wonderful local computer repair shop) and they told me that there was damage to an internal part which would need replacing. This part would be very expensive and would also involve many hours of labour to fit it, and it would also take a month to arrive. They said that I would spend my money far better on a new printer.
Lengthy research ensued. I need a colour laser printer because inkjet printouts will smudge with the addition of wet media. I needed to find a printer that would take heavy paper, glossy paper and transparencies, which limited the field somewhat. My old printer would only print if the computer was connected to the Internet, and since my Windows laptop is disconnected (because I no longer want to be involved with Microsoft shenanigans) I could not print direct from it. It runs old software that I have used for many years for designing, especially my desktop publisher which will not run on Linux. I have had to convert everything to pdf and copy it onto a flash drive and print from the office Linux laptop which has been very inconvenient and irritating. My old printer was an all-in-one and included a scanner which I rarely used, so I was able to reduce the initial cost by purchasing a printer only. I have opted for the Xerox C240.
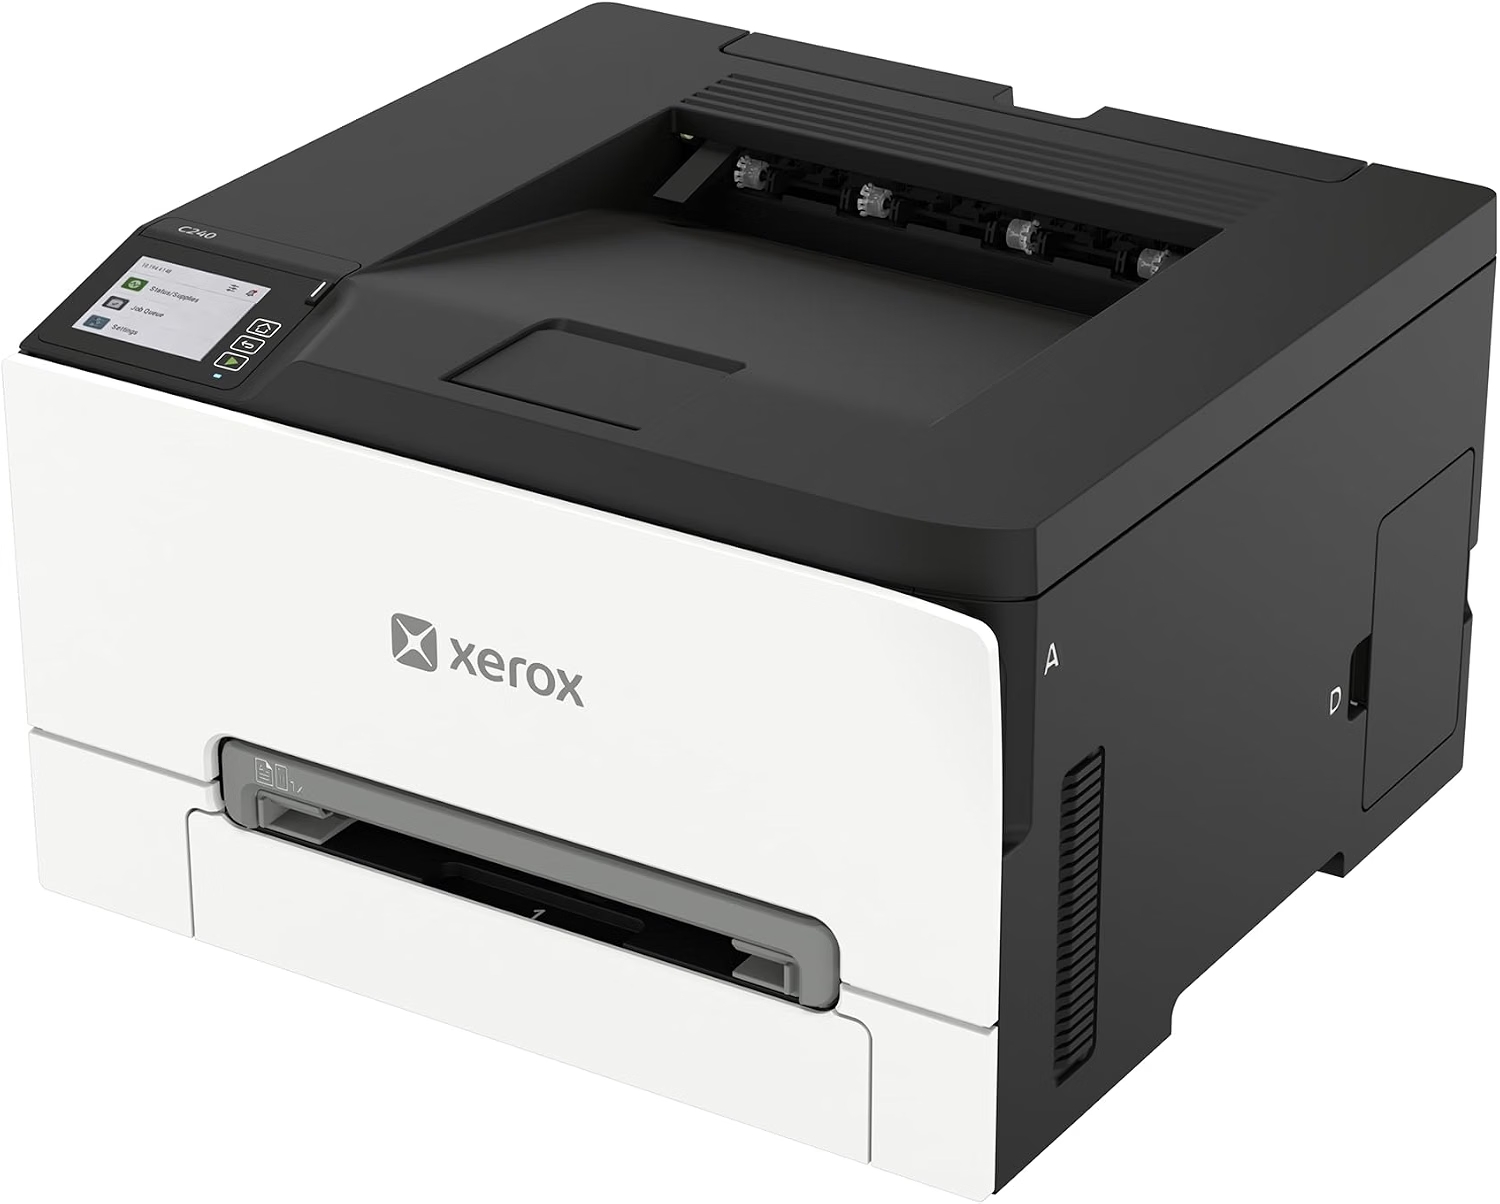
I then encountered problems getting it to run without Internet connection, and a really helpful guy on the Linux forum talked me through, step by step, the installation of a generic driver which has both Linux and Windows versions, and all three laptops now have this driver installed and work very well with the USB connection. I can still access the IP address online from any laptop for in-depth adjustments to the printer if I need to, regardless of the operating system, because the printer can still be connected to the Internet.
It has taken me quite a while to get this organised, particularly as the old printer was in for some time and I didn’t know what the outcome would be. I am very happy with the result so far. I have already cut up some of my test prints to use for collage!
It has all meant that there has been little time for creative endeavours, but today I was able to have an afternoon session in the studio and make some clusters.
The clusters
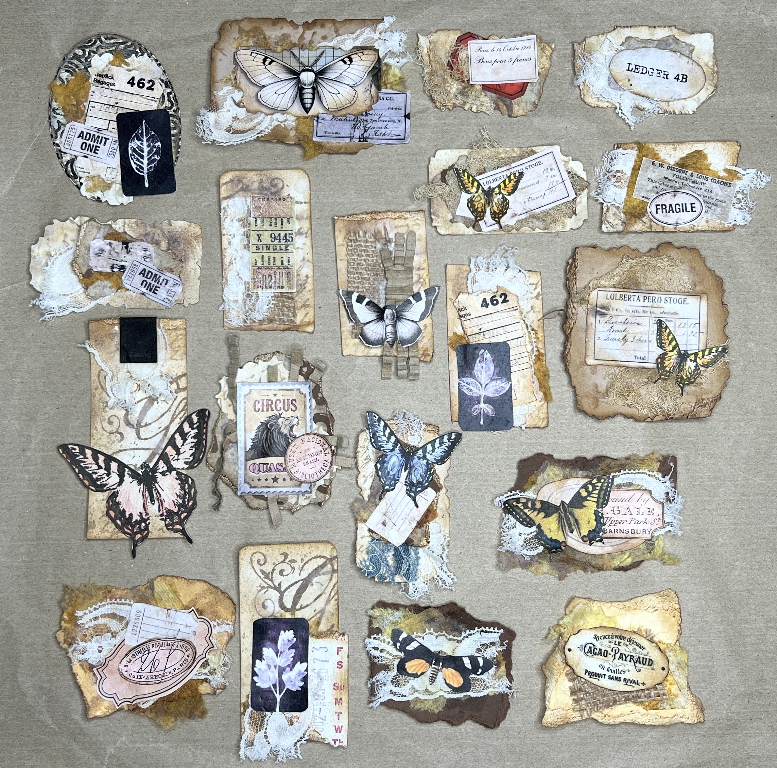
The bases of all these clusters are made from strips from my scraps box. The edges of most were torn, but I also used my deckle-edge scissors in a deliberately random way to create some more interesting edges. They were inked, stencilled and spattered and then layered with smaller pieces, labels, lace, burlap, fragments of inked kitchen paper and some crimped packaging paper fragments. The focal points were digital printout butterflies from various sources, and small botanical images, as well as more labels.
Close-ups
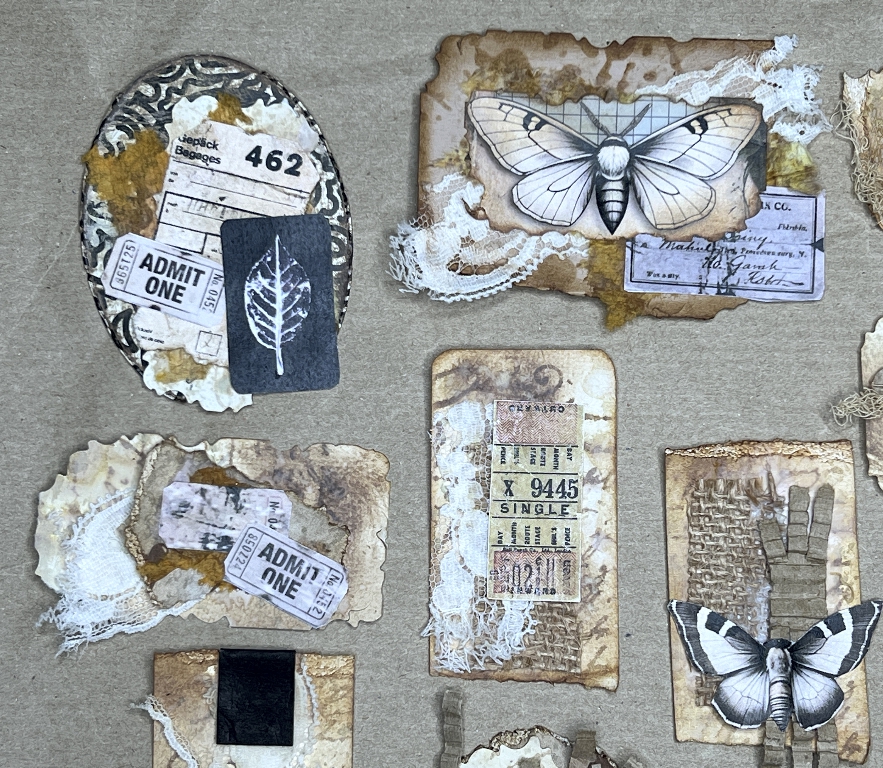
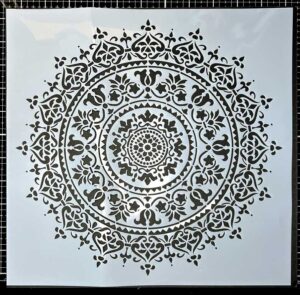
The ones at top right and bottom left show the effect of using the deckle-edge scissors in a random way. The one at bottom right with the moth, is layered with burlap and some of the crimped packaging paper, and I particularly like how the inking has emphasised the torn edge at the top. You can see how the initial stencilling on the base layer adds depth and interest and texture to the clusters. I am particularly pleased with the script one, which I have had for ages but had never opened – I can’t remember where it came from. When I opened it, it seemed to be solid and I wasn’t sure how it was supposed to work, but reading the package it described it as a screen-printing stencil for fabrics. The clear pattern parts which appeared solid have apparently been pierced with tiny holes or are otherwise porous, and the ink went through as normal.
The great advantage of this stencil is that there are no edges to get caught, and the pattern is uninterrupted by the standard “bridges” which stop pieces falling out when the stencil was cut. It is also a very detailed design. The back of the stencil is self-adhesive and you store it on a plastic sheet. This means that the stencil is held in place beautifully as you work the media through it. I am going to look out for more of these because the results are great.
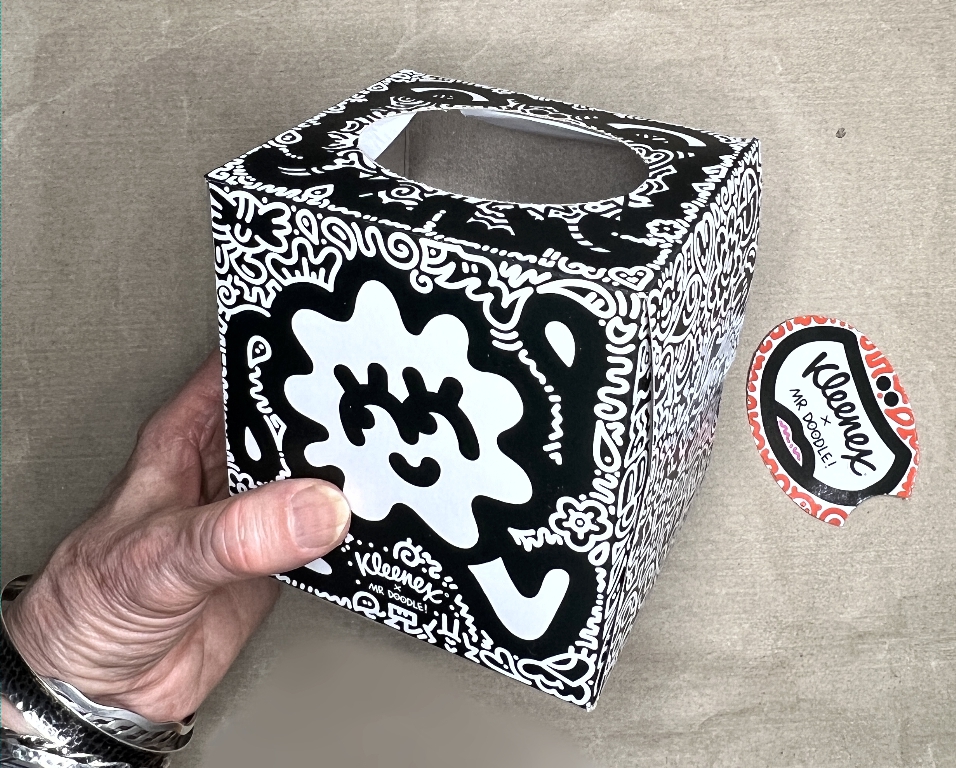
The base layer for the one at top left is the piece you pull out from the top of a tissue box. This box is one of a set of a dozen I bought a while back – the pulled out piece is from another box but you get the idea. It was a simple matter to cover up the text in the middle, after I had sanded the piece to reduce the shine and to distress it a bit.
More close-ups.
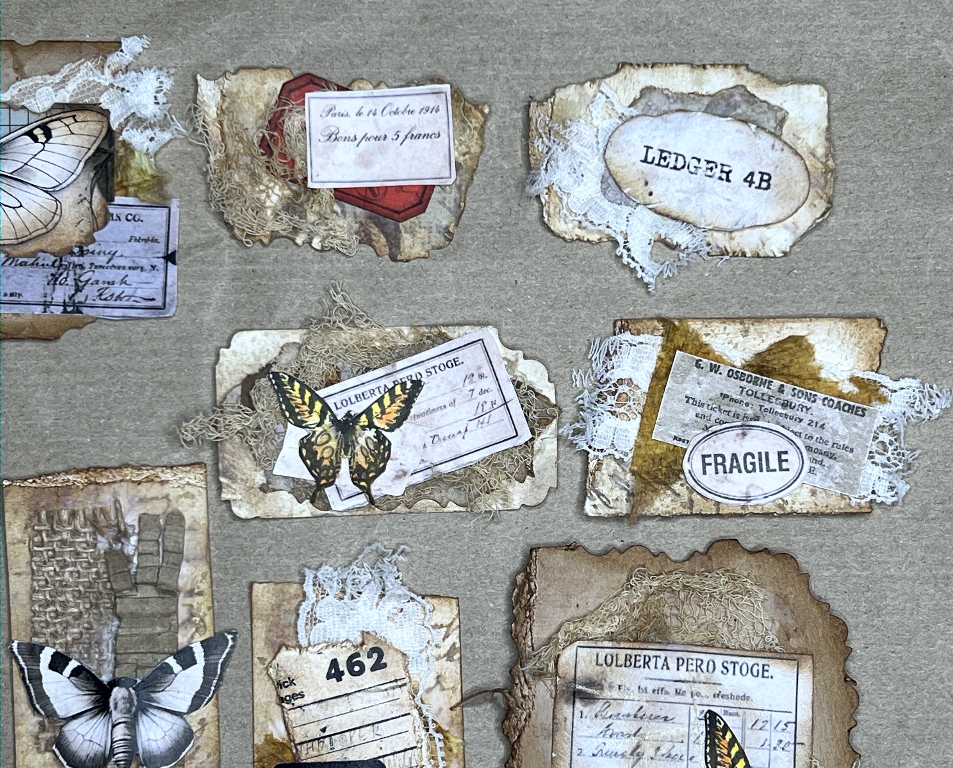
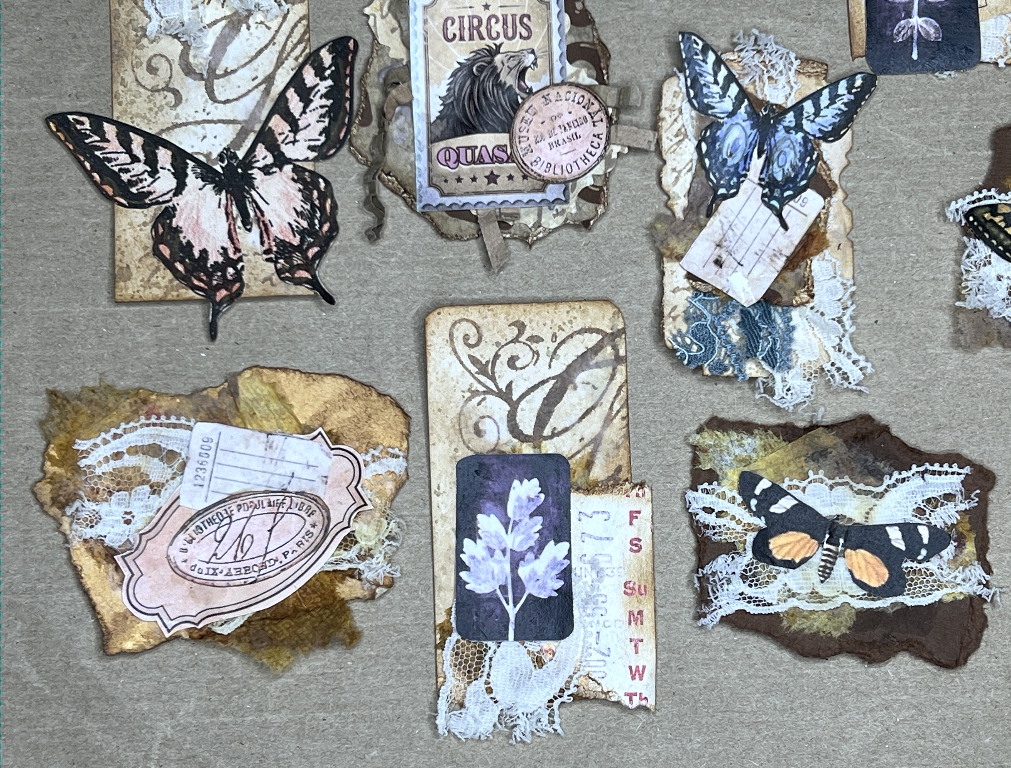
The swirls are from the screen-printing textile stencil. They’ve come out so well. You can see more of the irregular cutting with the deckle-edge scissors.
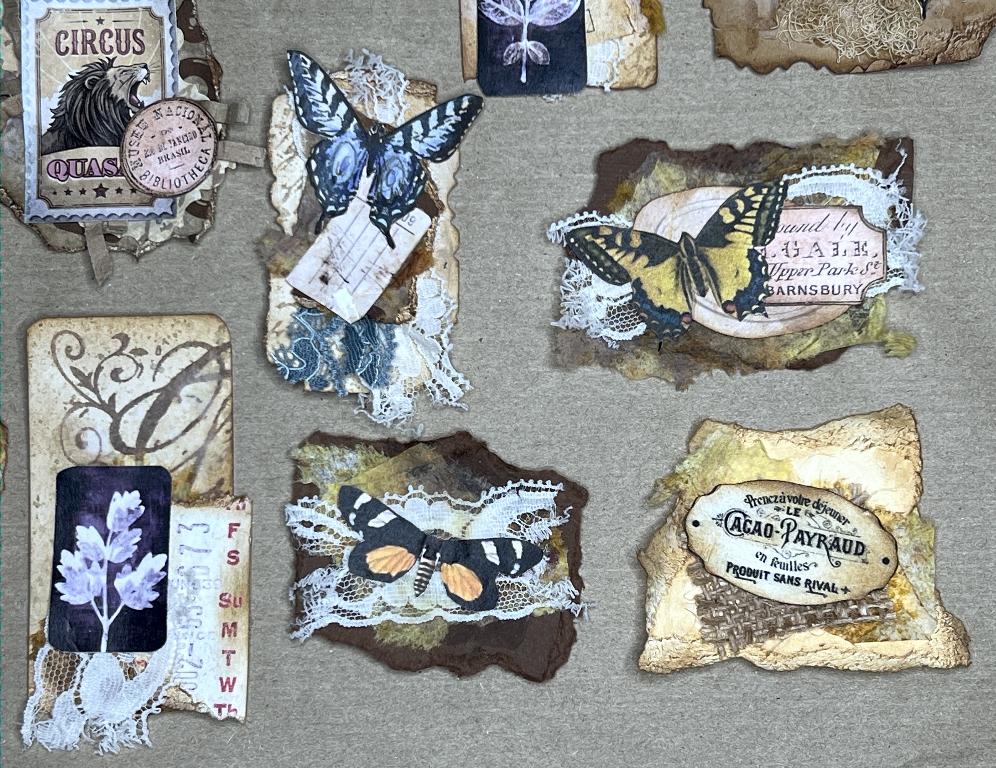
I can always add more to these if I want, including stitching, eyelets and dangles etc. but for now they are a useful addition to my stash in the form of nice flat clusters.