TAGS FROM CAT FOOD BOXES
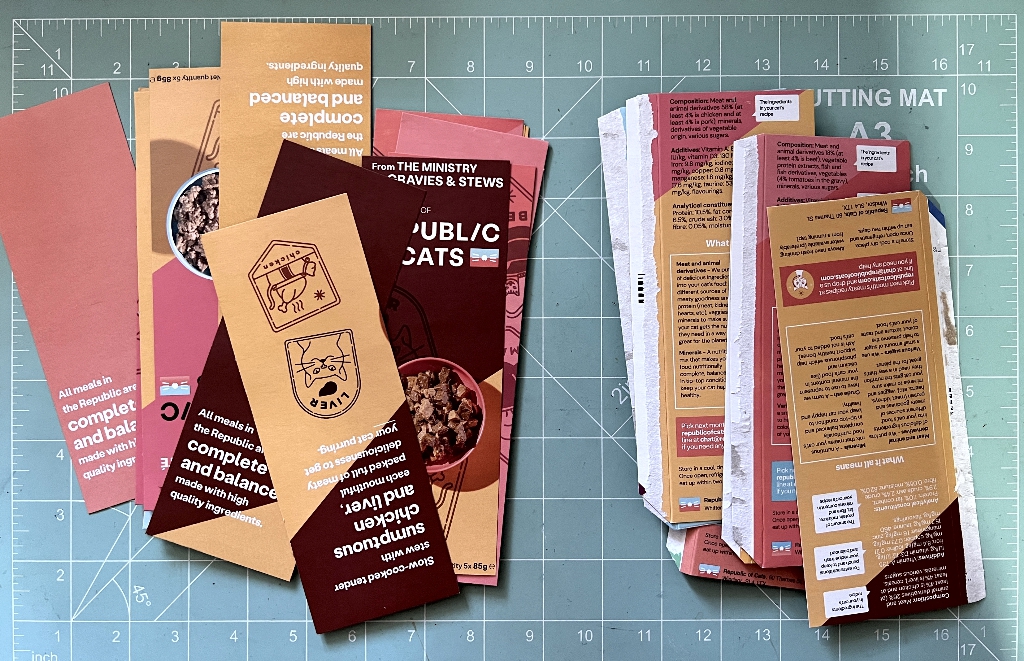
My hubby was throwing some cat food boxes into the recycling bin the other day and I intervened on their behalf, offering them a new lease of life. These boxes contain several small tins of the food we get on subscription online. The boxes have some nice plain coloured areas and I thought I could use them as a foundation for some interesting tags. The colours also co-ordinate quite well together.
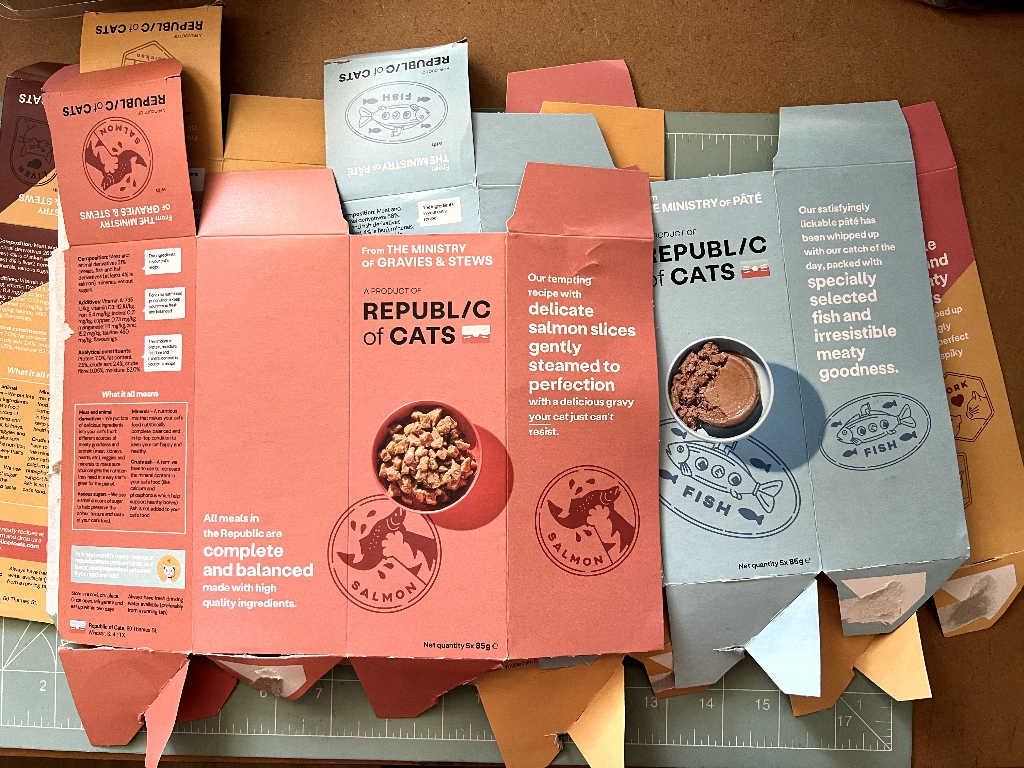
After opening them up, I trimmed off all the tabs from top and bottom using my guillotine. Then I cut them into vertical panels, and separated out the ones with the tab which had been to glue them into a box. I thought I could perhaps use these as flip-outs or pockets. I’ve set them aside for now.
Coffee dyeing book pages
A few years ago my hubby gave me a large format hardback book about navy guns that he no longer wanted (he said it was very boring!!). At that time I made a start on altering this book and so far I’ve done several pages, on a travel theme. This project has been on the back burner for some time until the urge returns to work on it further. One of the first steps was to remove quite a few pages in order to reduce the bulk so I could add collage, and I stuck the remaining pages together in pairs to make them more robust.
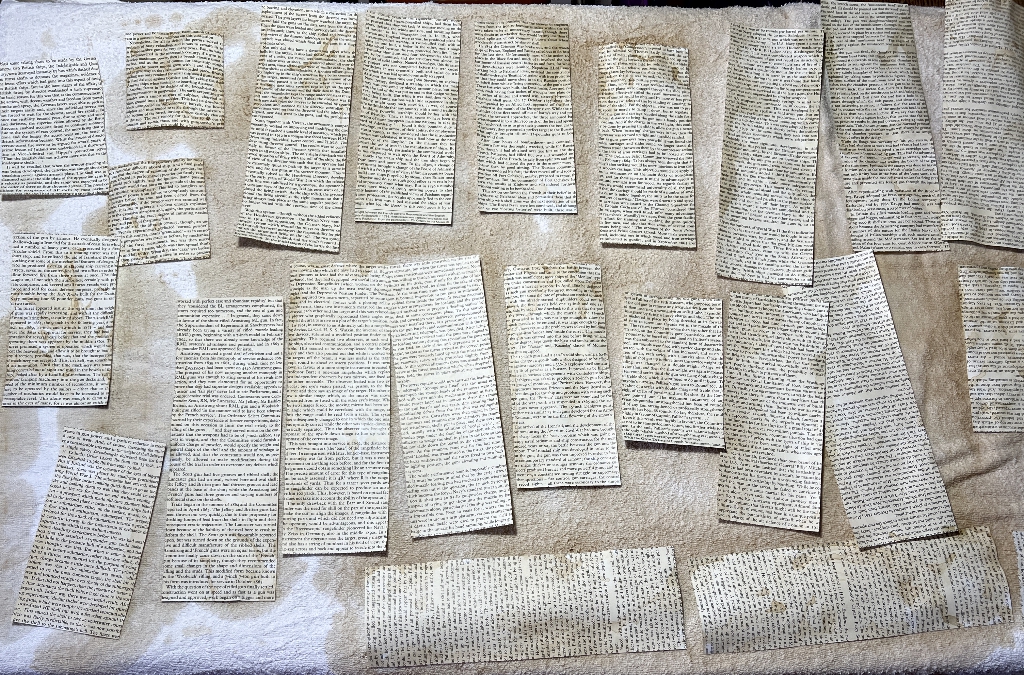
I kept the pages I’d torn out for use in other projects, and at last I got them out and cut them up, removing the white borders. I spread out these pieces on an old bath towel and sprayed them with coffee.
Using some of these papers, and also some other pages from old books, I covered the text on the tags, leaving the plain colours of the card in places. The colours are lovely. The pages from the ancient books didn’t need to be dyed as they were genuinely aged. I incorporated pages with illustrations in some cases but generally kept them fairly neutral.
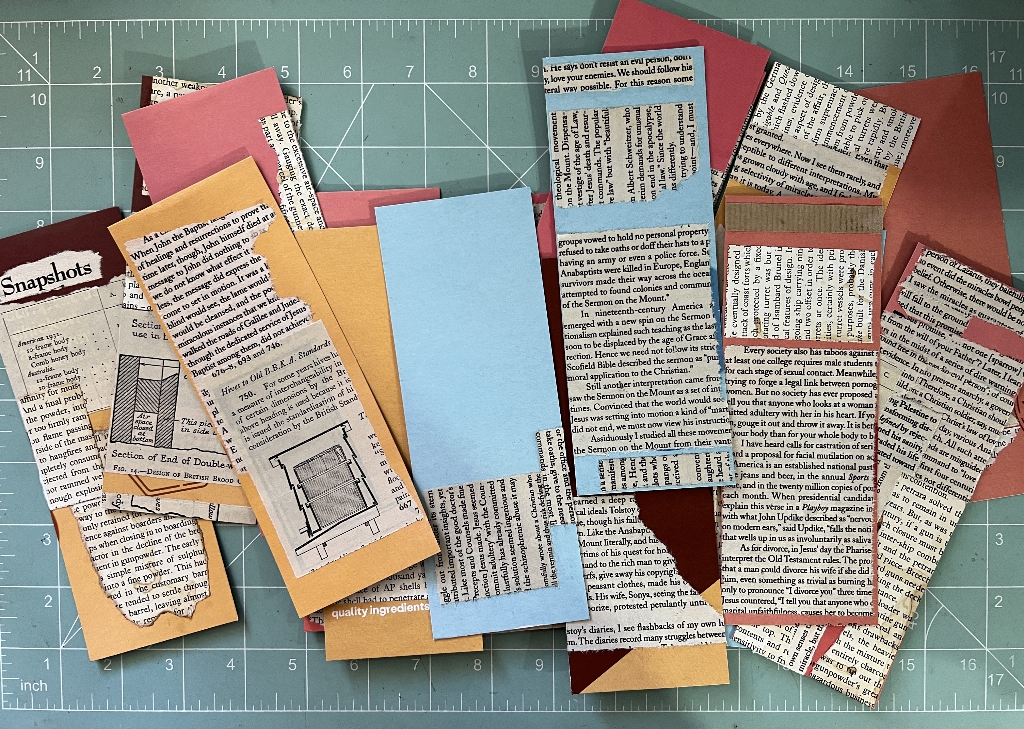
Some of the pieces were overlapped and I rotated many of the pieces. The result was a number of plain card tags ready for further embellishment.
Decorating the tags
This has to be the most fun part. I dragged out pouches of scraps and pictures from greetings cards and magazines, more book pages with illustrations, stencils, inks and glue. Lots of glue (mostly glue stick). Most of them were backed with more book pages.
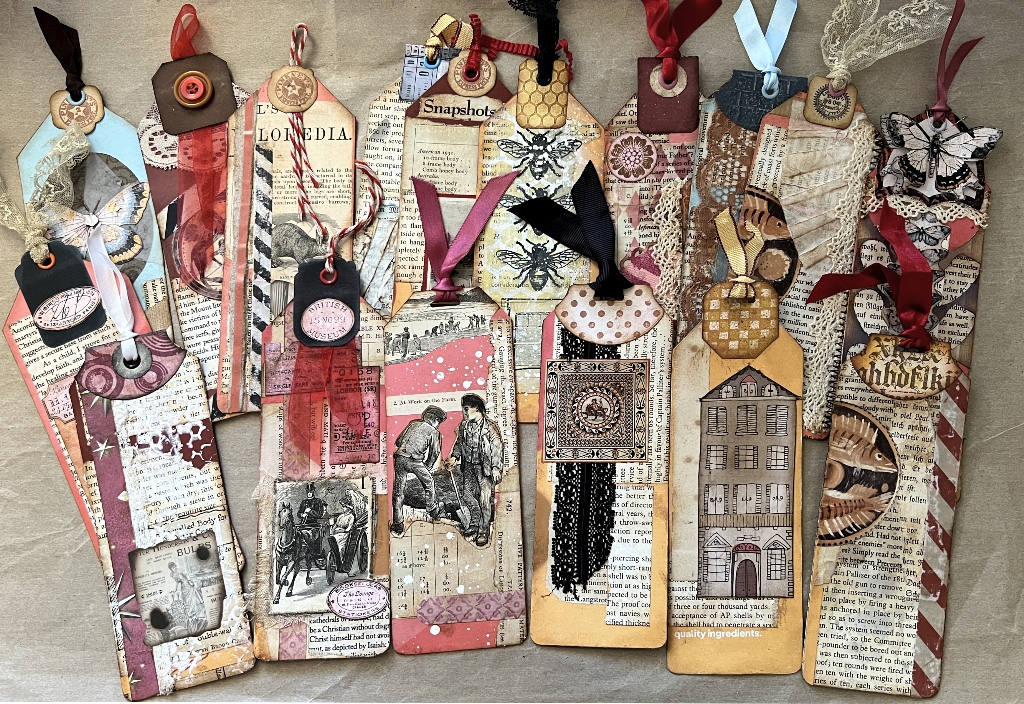
I made 17 in all. Here they are at the end of the decorating phase. I trimmed the tops into the traditional tag shape and rounded the bottom corners.
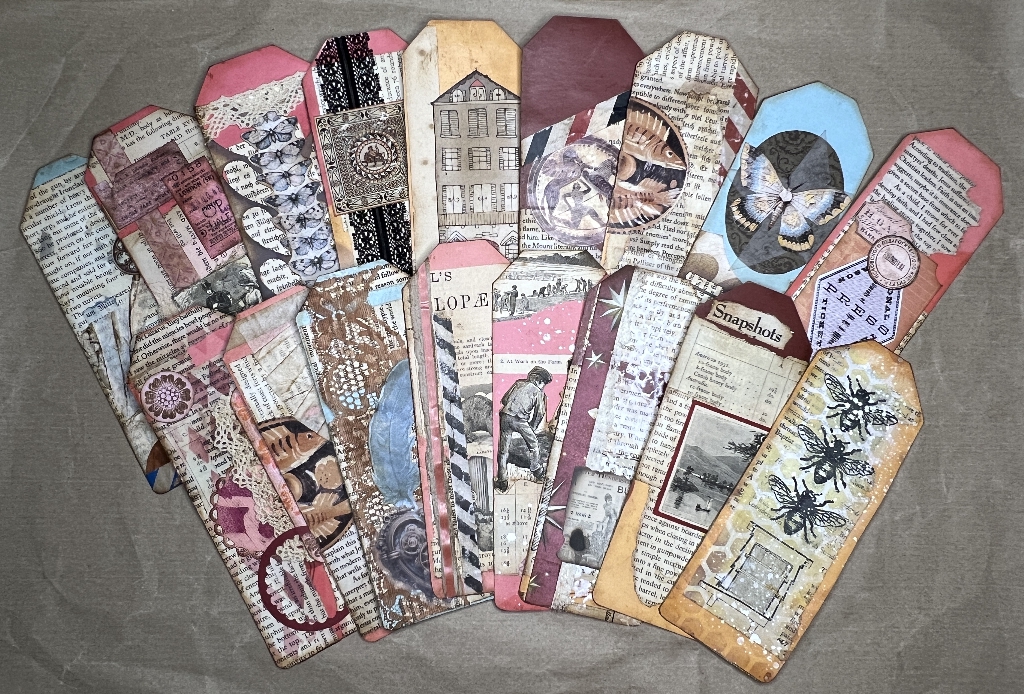
I love the look of all the tags together like this. The colours all co-ordinate quite well and you can still see the original colour of the cardboard packaging.
In addition to the usual paper collage, I also incorporated some lace, a bit of tea-dyed fabric, bits of coffee filters, some machine stitching, stamping and stencilling, using Distress Inks and Distress Oxides and a bit of gesso. Paper strip scraps and my DIY washi tapes were also included, and raiding my die cuts box I found plenty of negative spaces left over from when I’d punched or die-cut out various shapes. The butterfly tag, top row, 3rd from the left, was a case in point. Some time ago I cut out a whole lot of the moving parts for an iris shutter (a rotating interactive paper structure) from 12 x 12 paper on the cutting machine.
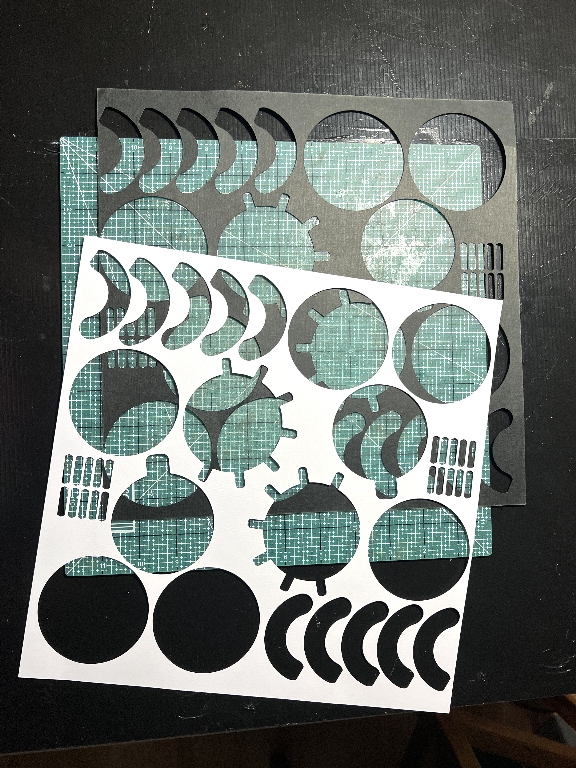
The shapes of the negative spaces left from the cutting were very interesting and I used these as stencils, building up layers and getting some fascinating results which I also digitised. I cut a strip from the negative space where I’d cut several arc-shaped curved pieces. The other butterfly tag at the end of the row has some more negative space from that project, which can be seen later.
Making tag toppers
The final step was to add a topper on the top of each one. I watched a video the other day of someone mass-making small tags and each one had a different and interesting style of tab to act as a topper. This was also a tremendously fun part of the project, and it also helped make inroads into my scraps. I did a separate post about the making of these tabs.
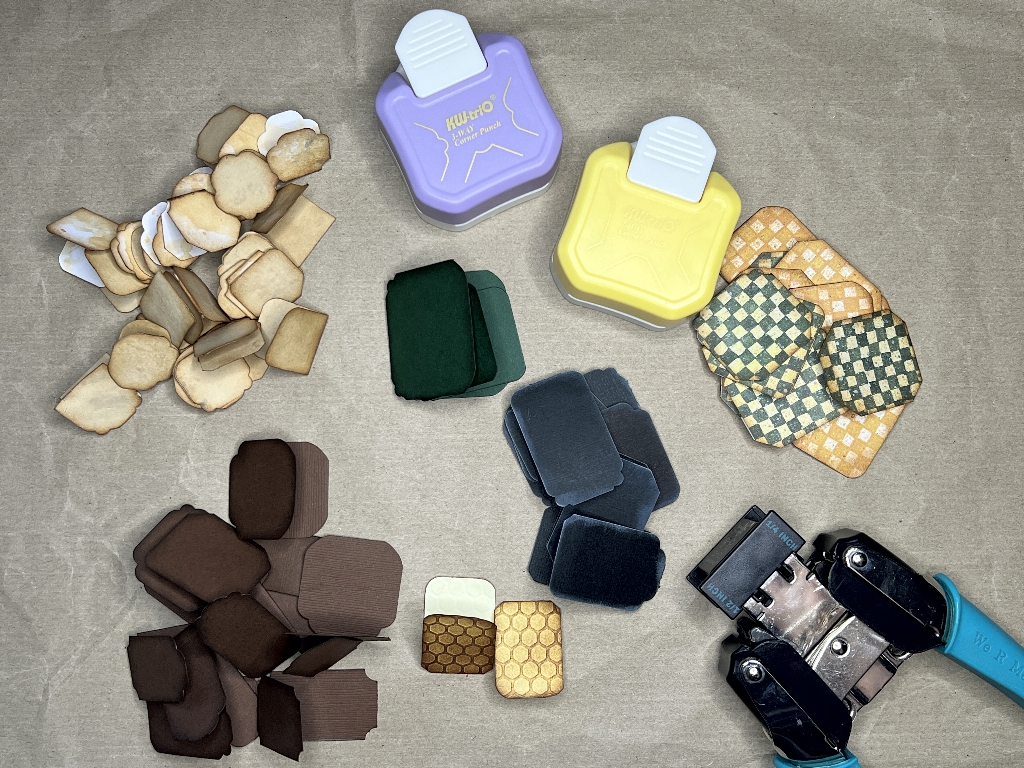
Decorating the tag toppers
Most of them didn’t require much actual decorating, but I added some stamping to some, and most had a hole punched and an eyelet added once I decided which tab would go on which tag. I also pulled out some whale tail tabs I made some time ago – these make excellent tag toppers. Here is the whole collection of 17 completed tags.
A bit more detail
I took a some photos of a few tags in each, grouped according to the type of topper they had.
Small tabs
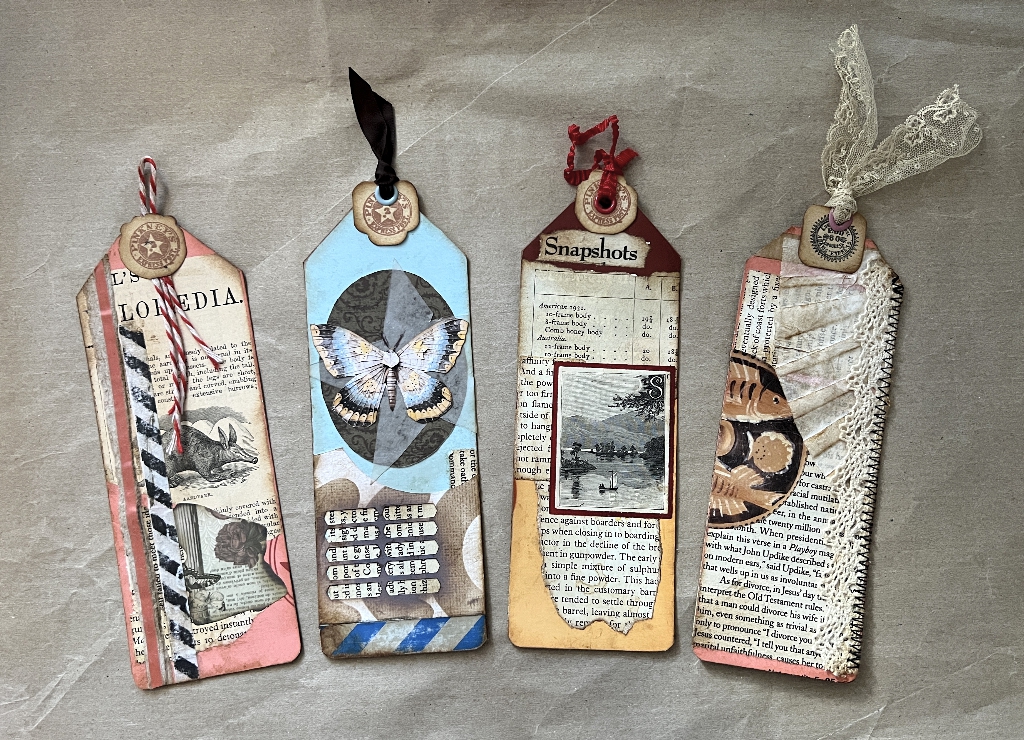
Working from left to right:
- Pages from Cassell’s Complete Cyclopaedia, an ancient book I have. A burnt-effect sticker at the bottom. Some of my DIY washi tape and a strip of that red stuff from Amazon packaging – you pull it off to open the parcel. I often keep this as it’s an effective decorative strip. The tab has a small circular stamp added (as do the rest in this group), and I made a hole in the top fold, through which I threaded the butcher’s twine and glued the whole thing in place.
- I glued down a dark coloured die-cut oval from my stash (probably cut out from making a frame) and glued down a tracing paper star that was part of a collection given to me by an elderly lady who no longer does crafting. I overlaid this with one of Luise Heinzl’s butterflies. There is a small strip of my DIY washi tape along the bottom, and the brown part is the negative space left after cutting the iris shutter mechanism I mentioned before – you can see the inking on the background, and the small slits cut out which formed part of the mechanism, revealing the book page underneath. There is quite a bit of the original pale blue card which had no printing on it, and I’ve left that plain, apart from a bit of Distress Ink around the edges of the tag. I threaded some plain black ribbon through the pale blue eyelet I set at the top of the tab.
- Again, fragments of old book pages and an illustration from my large Victorian vintage book. The orange and dark red of the background were part of the original packaging panel. The ribbon through the eyelet at the top of this tag was from a Lindt Easter bunny – my hubby used to give me one each year and they always had a collar made from this crimped red ribbon, with a little bell attached (which I also always saved, of course).
- More book page collage and an image from a magazine, cut in half – I used the other half on another tag. The fan-shaped part is pleated coffee filter emphasised with a little ink on the folds, and I stitched a length of lace down one side with the sewing machine. More lace through the top of the tab.
Larger tabs
Again, from left to right:
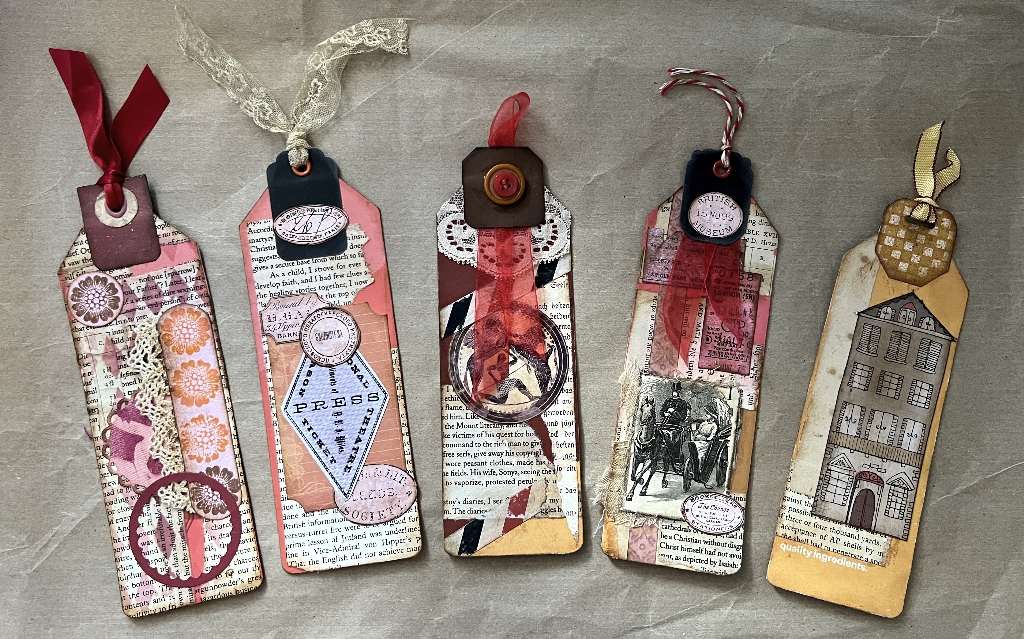
- Book pages, in this case stencilled with some dark red ink to form the background. A small stamped flower repeated on a cut strip of card and again at the top left. A random scalloped-edged die cut circle from my stash, and also a dark red negative space from cutting another scalloped-edged circle. More lace. A DIY hole reinforcer cut with two different sized circle punches and the addition of an eyelet, through which I have threaded a scrap of dark red ribbon, embellishes the tab.
- Labels stick down on a larger die-cut orange piece over book pages. I added a label to the bottom of the black topper and threaded some lace through the pink eyelet.
- Book pages and DIY washi tape, and another magazine image. I covered the top of the tag with a piece of lace, and the tab is decorated with two layered buttons sewn on. I cut a slit in the top fold and threaded the scrap of organza ribbon through, and allowed the tails to come down over the tag. I really like this one!
- Printed pink digital washi tape at the bottom, more book pages and labels, and an image from the Victorian book. Again I added some of the red organza ribbon, and this time, there is some red butcher’s twine through the eyelet at the top. There is a scrap of tea-dyed fabric stuck down under the image with a frayed edge projecting beyond the edge of the tag.
- A tea-dyed and spattered strip down one side, a fragment of book page and a house image from a greetings card. I left the original text, “Quality ingredients” on the bottom of the tag, and used one of my patterned tag toppers with some ribbon threaded through the eyelet. This is quite a simple tag but quite effective.
Whale tail tabs
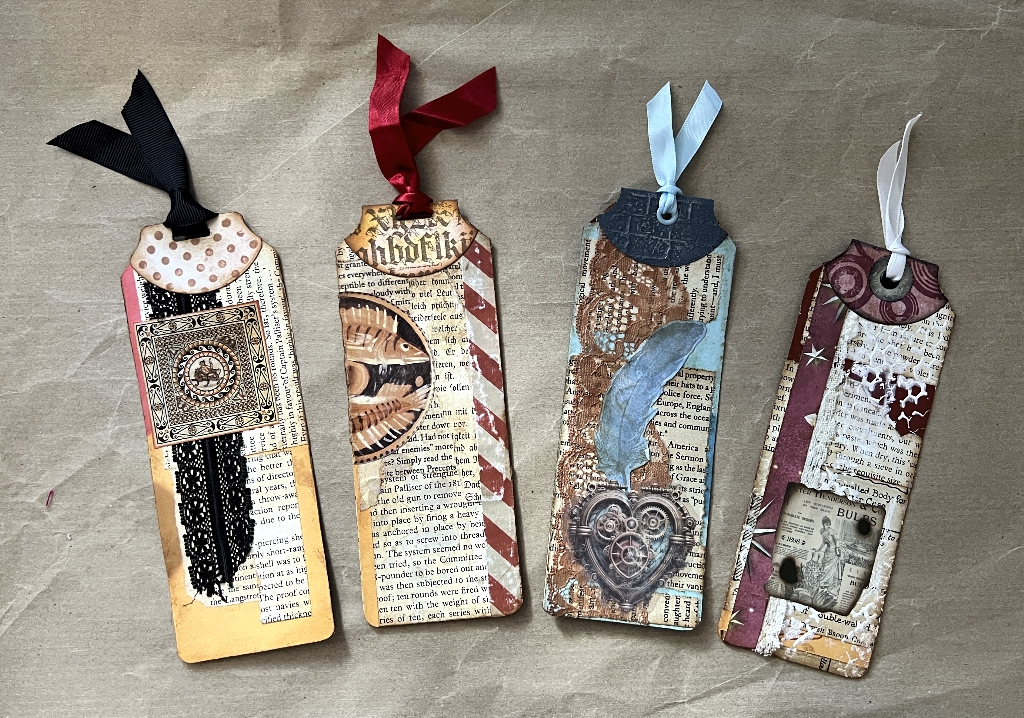
- Book pages, and a magazine illustration stuck down over a piece of black lace. Spotted stencil tab with a slot punched in the top, through which I threaded some black ribbon.
- The other half of the circular image used above, some DIY washi tape, fragments of book pages. I chose the whale tail tab with the gothic script which echoes the fragment of paper from my recently acquired German book which is printed throughout in this gorgeous script. Another slot punched in the top, threaded with some dark red satin ribbon.
- Book pages overlaid with some brown lace and a fussy-cut blue printed feather to pick out the blue background colour of the tag. A metallic-look sticker at the bottom, and the whale tail tab also has a metallic look, a pale blue eyelet and ribbon.
- Book pages stencilled with gesso, and a strip cut from a Christmas card down one side. Another burnt effect sticker, and a whale tail tab with circles, an inked DIY hole reinforcer and some white ribbon.
Miscellaneous toppings
These were some of my favourites in the collection.
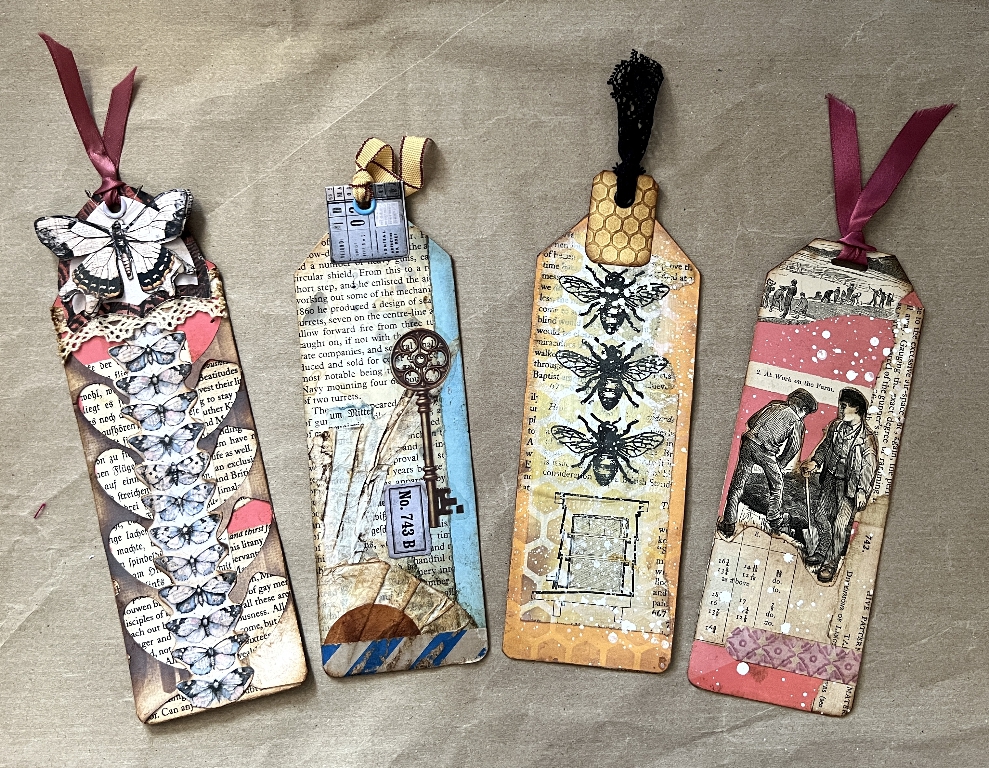
- Butterfly strip stuck down over the waste from the iris shutter mechanism which shows the book page underneath, and glimpses of the original colour of the card. The shapes look almost like wings. I stuck a piece of lace over the top of the tag, and then added a shield-shaped label front and back. I’ve had these in my stash for ages and I never really liked them, but I stuck them down upside down and punched a hole for an eyelet at the top, and they make an interesting alternative topper! It’s always nice to find a use for unloved bits and pieces. One of Luise Heinzl’s butterflies tops it off. One of my favourite tags in the set.
- More pleated coffee filter, DIY washi tape, a label and a key sticker. For the tab, I used a label which I folded in half, added an eyelet and some ribbon. This gorgeous grosgrain ribbon is only in short lengths, and I have several pieces of it. It formed the handles on top of the packaging for Christmas panettoni that I got each year. I left the right-hand side of the card exposed and picked out the pale blue colour with the embellishments.
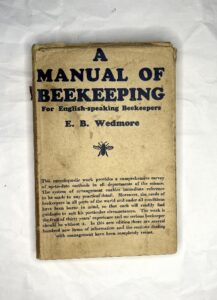
- This bee tag has a book page from the old bee-keeping book I bought in a hospital waiting room recently. I stencilled over the top with a honeycomb stencil. I dry-brushed some gesso over the centre part of the book page and stamped the bees, and then spattered the whole with a weak solution of Dr. Ph. Martin’s Bleed Proof White. The tab topper was made from a scrap of embossed honeycomb card that was left over from a beehive explosion box I made many years ago. It was topped off with some black lace to echo the bee stamping and the beehive diagram, and again much of the background is the exposed original orange card. This is another of my favourite tags in the collection.
- Book pages and an illustration from the Victorian book, of men at work on the farm. I fussy cut the figures and reserved the background distance in the picture to stick down at the top of the tag. There’s a strip of pink digital washi tape at the bottom. Because I didn’t want to cover up any of the image at the top, I didn’t add a topper to this tag at all, but simply punched a slot and threaded through a bit of red ribbon. Quite a bit of the red original colour of the card is exposed, and I spattered it with white as before.
The backs of a selection of tags
Most were simply covered with a single piece of book page and inked around the edges, but a few are worthy of note.
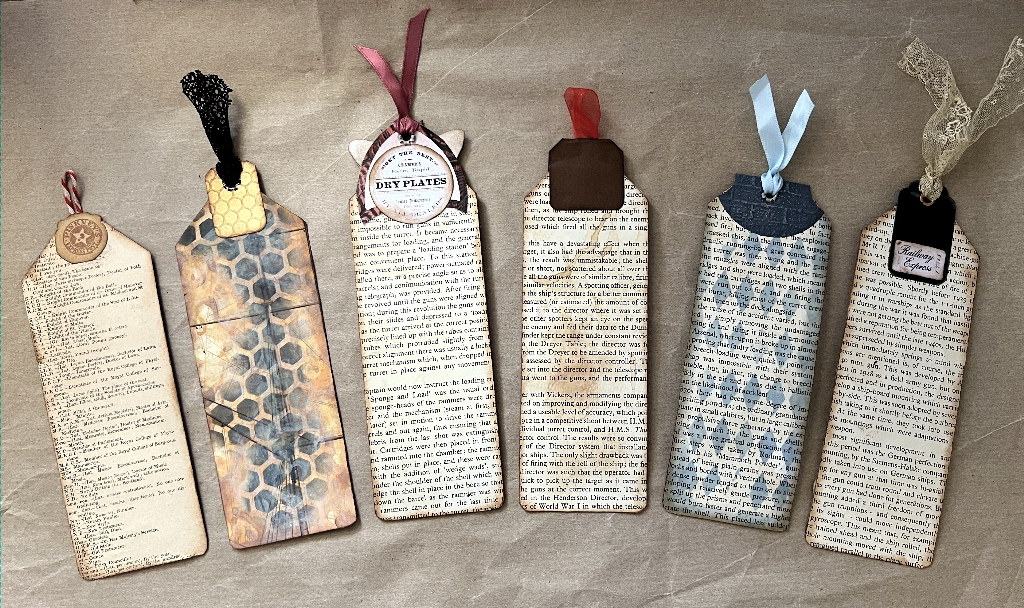
- A list of abbreviations from the Cassell’s Cyclopaedia. I like the small print of this, and the list format.
- The reverse of the bee tag. Originally this was a book page but I decided to use the other side which had the rigging of a ship (from the old Navy book) but once it was a bee-themed tag this didn’t fit, so I spent a long time trying to obliterate the image with successive layers of inking and stencilling! Eventually it was fine, and the lines of the masts and rigging just add texture.
- The back of the butterfly tag with the upside down shield topper. I added a circular label to this.
- A coffee-dyed book page with some extra spatters.
- Some blue ink stencilling on the tag with the metallic effect topper and sticker.
- A label added to the back of a very plain black topper threaded with lace.
Conclusion
I thought I’d add a couple of montages of close-ups of some of the more interesting tag toppers.
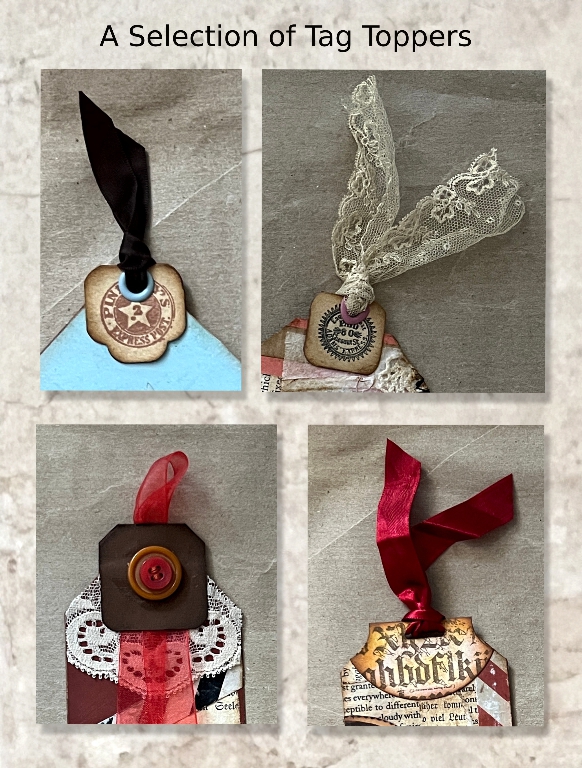
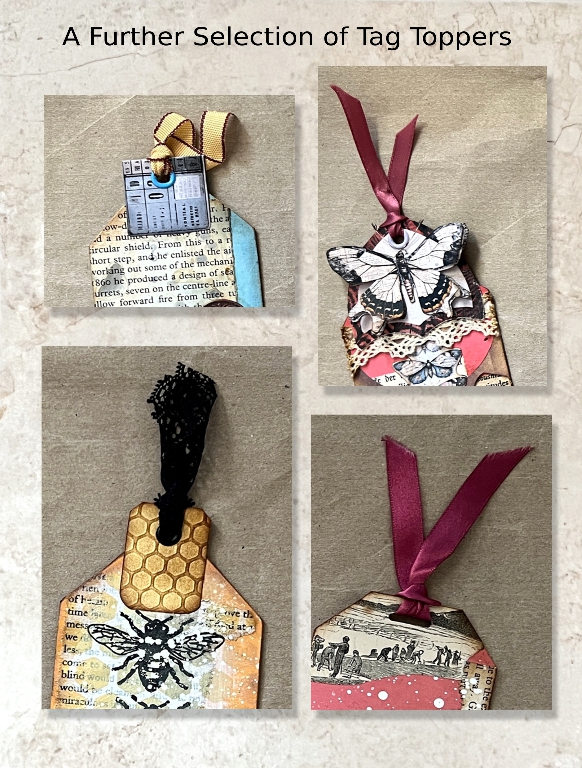
I am feeling particularly chuffed over these montages. As I have mentioned before, I have been really fed up since moving over to Linux that my ancient and much beloved desk-top publisher, Serif PagePlus, will no longer work. I have a computer in the studio which is still running Windows 11 but disconnected from the Internet, and I can still use PagePlus on that, but it would be convenient to be able to do this kind of work on the Linux laptop downstairs.
Along with PagePlus no longer working, its sister program, PhotoPlus, which was my favourite photo editor for many years, fell into the same camp. I am now using Krita as my photo editior on Linux and it’s a good program, albeit not as user-friendly. Being a graphics program as well as a photo editor, there are many things you can do with it, and I have discovered that I can make these montages. The process is a lot more laborious and time-consuming, working in layers, but it does work, and I think it is going to be very useful.
Here are the final results of my labours.
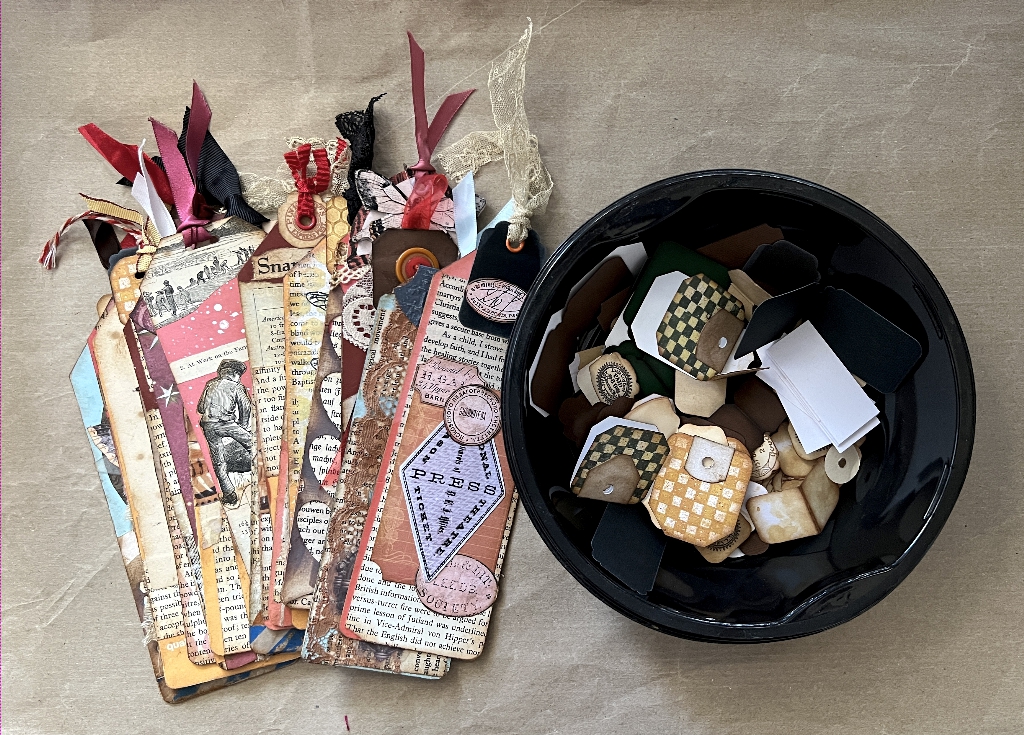
A scrumptious pile of tags for my stash, ready for use, and a bowl of left-over tag topper tabs, some partially embellished, to be stored away in like manner. I shall certainly be doing more of this kind of thing, in order to get on top of my overwhelming supply of scraps and offcuts. Make art out of rubbish!