
UV RESIN USING NAIL ART MATERIALS AND JUNK MAIL IMAGES
This was supposed to be an entire session dedicated to making inroads into my UFOs (UnFinished Objects) but as usual I ended up doing something else! The second half of the session did go according to plan though, and there will be details of this in due course.
Non-art materials for art
I love to think outside the box and use materials that are not strictly art related. I recently came across a whole new world of nail art. I never have my nails done as I do a lot with my hands and nail varnish always chips off pretty quickly, and I couldn’t do what I do if I had the long nails so popular today. Nail art has therefore been pretty much on the periphery of my vision although I do admire people’s hands when they have their nails done beautifully.
A lot of non-art material and equipment is much cheaper than the dedicated art-related stuff, and often much more varied and useful. Florists, DIY, food packaging, Amazon packaging, even farmers’ suppliers, have been known to provide materials and equipment for my art, including a lot of recycled stuff that most people throw away.
Nail art materials
In a recent AliExpress order I bought some metal charms (now all separated and stored with the rest of my charms), some nail art stickers and silicone brushes.
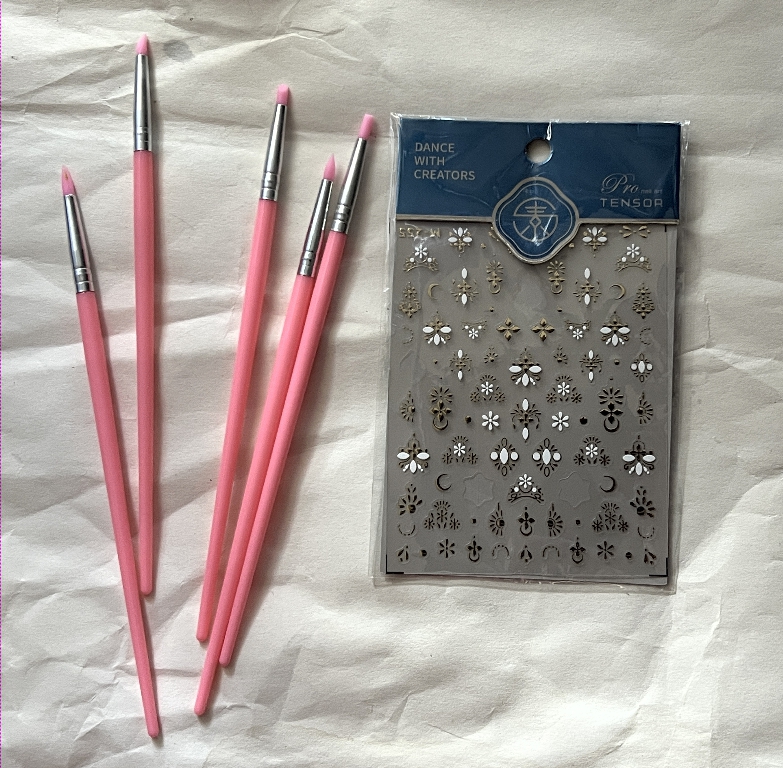
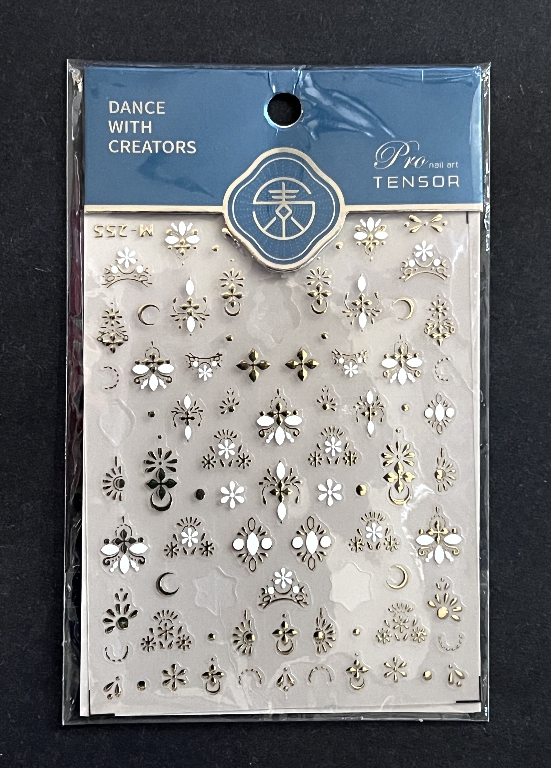
I thought these tiny stickers would be ideal for UV resin charms. In the above photo they look dull, but in reality they are gold and white.
The silicone brushes are very fine and soft-tipped, and ideal for pushing the resin around into all the nooks and crannies of the shape you want to coat with the resin. Up until now I have used a cocktail stick but these brushes are much better.
Ribbon buckles
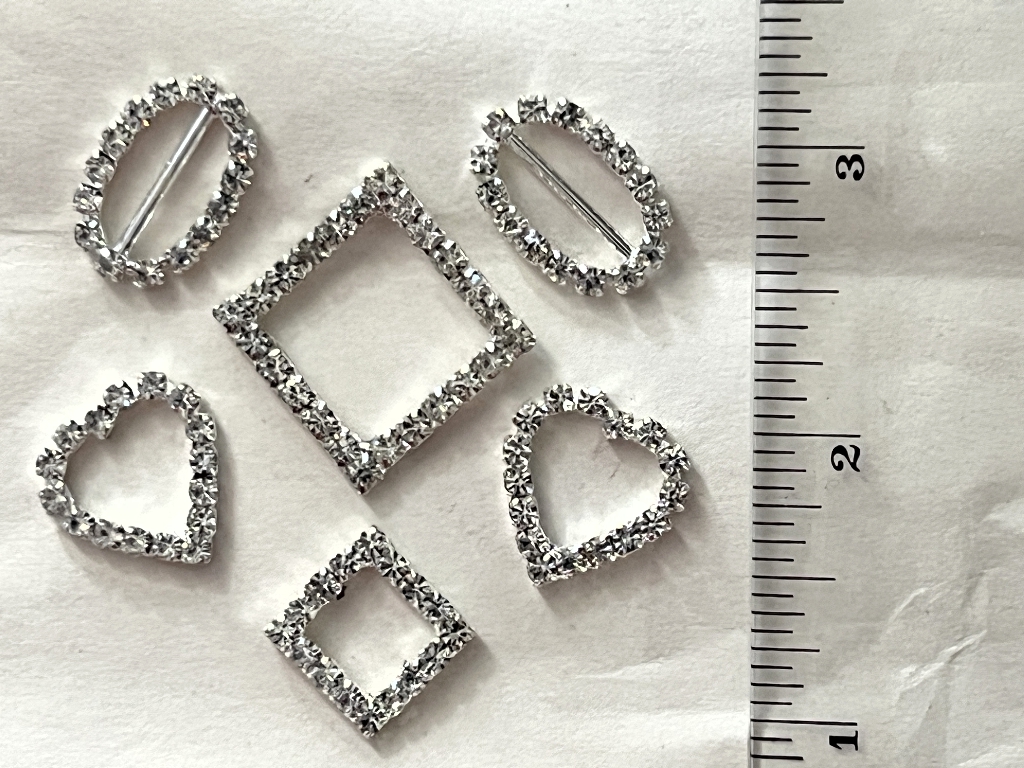
Some time ago I bought a pack of these sparkly little buckles, after watching Toni of Crafty with Toni on YouTube – she was making stick pins with UV resin embellishments. She removed the cross-bar from the buckles with relative ease, but I struggled to snip them off mine – perhaps they were thicker than hers. Anyway, I managed in the end, but had to give up with the small ovals because a) I was then exhausted and my hands were hurting with the effort and b) it is very difficult to get the snips close enough to the end of the bar in order to cut it. I may try again sometime but for now they are going back in my stash.
In real life these little buckles look much more sparkly than in the photos. They glitter like diamonds!
The fruits of my labours
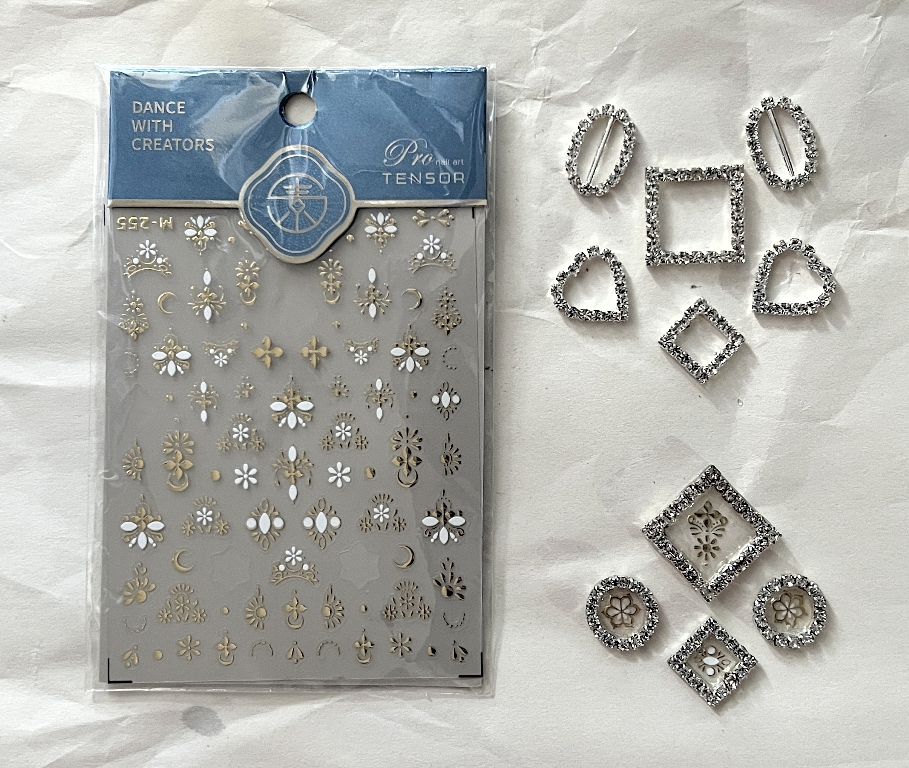
I made four of the little shapes or charms. I took a small piece of scrap acetate and stuck down a selection of the tiny stickers, using some fine-pointed tweezers. Then I laid down the sparkly buckles around them, having added a dab of glue to stop them moving around. Then I filled them with resin and cured them.
Once the resin was hard, I cut the acetate between them, and then trimmed it away, close to the edges of the charms. The resin is firmly stuck to it and it doesn’t need to be removed. It served its function as a substrate onto which to adhere the stickers, and being clear, you cannot tell that it is there at all. You just end up with a transparent background behind the stickers.
The result
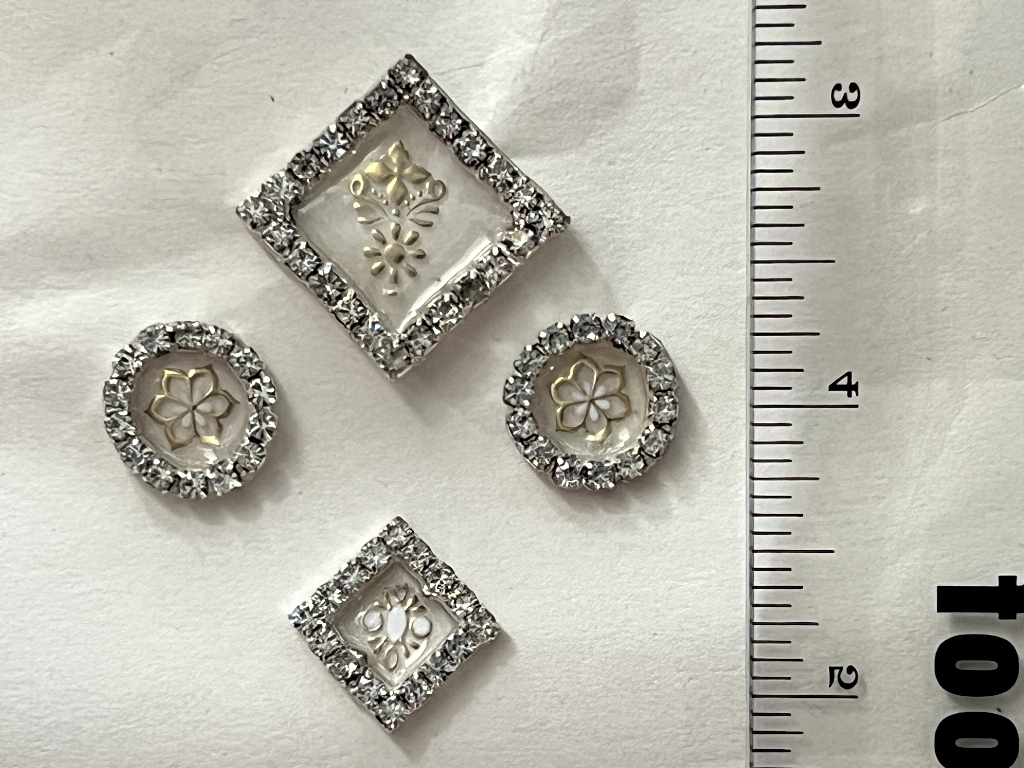
Again, very much more sparkly in real life.
They look great on a black or dark background.
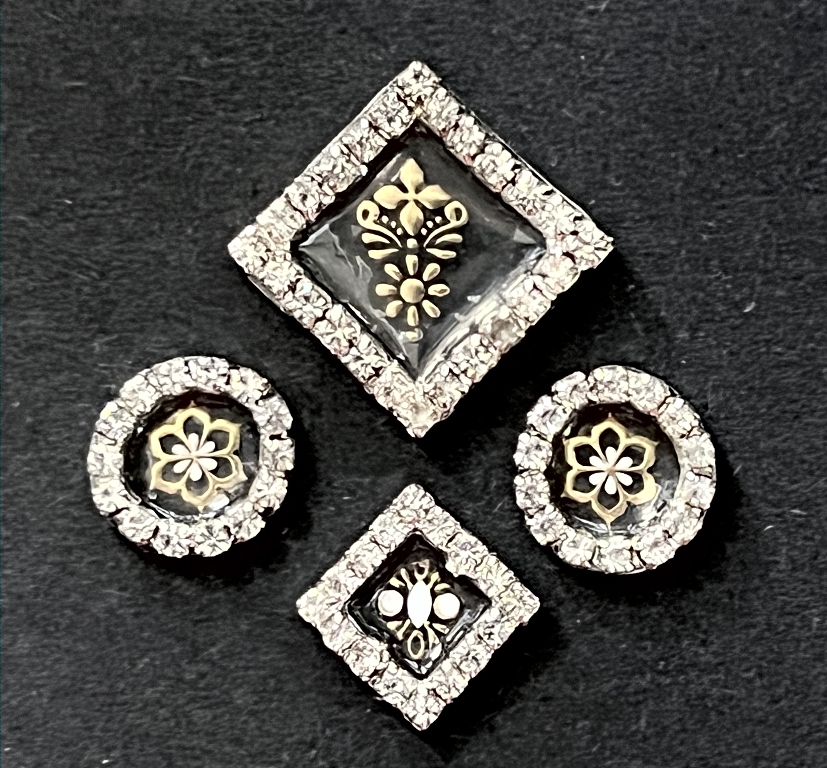
I don’t think I am going to be able to make a hole in any of these in order to suspend them with a bulb pin or jump ring. They will probably just have to be glued down, although I could always add them to stick pins as Toni did. They are amazingly sparkly.
Resin over junk mail images
We recently received another flyer from the firm that makes periodic visits to the area in order to buy people’s old gold. I used the frame from the front cover in a previous project. This time it was on the way to becoming another glue book – scrap paper, magazines or junk mail to lay your cut-outs on in order to apply glue stick without the latter getting all over your desk. When the page is thoroughly sticky, you simply turn to the next page. This time, I was about to turn the page and start with a fresh glueing page, when I noticed examples of the sort of things this company will buy off people – military medals, watches, coins etc.
I got down my various circle punches and cut them out. The images weren’t often the exact size of the punch but that didn’t matter. The difference disappeared in the process of the project. To cut the circles properly, I put the brochure page into the punch with a scrap of plain paper. Punches won’t punch very thin paper. They came out a treat.
I have a selection of different sized gold-coloured rings which make ideal borders for small circular images for resining. Not very many were suitable for this little collection so I simply applied resin onto the image with no frame. I did back each one with a circle of thicker paper to make them a bit more substantial.
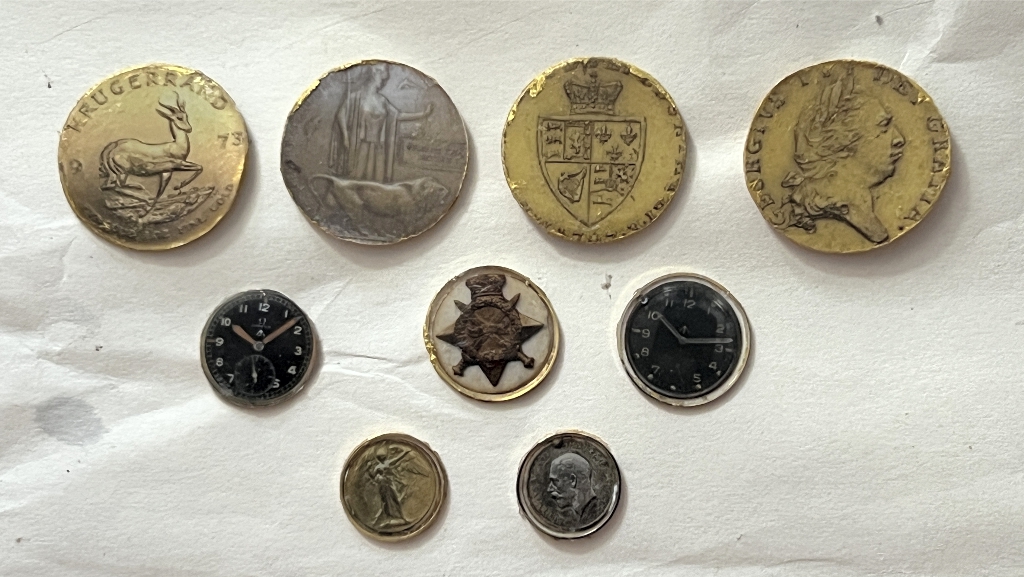
When I cured them, most came out OK, and a few had to be trimmed. I would have done better to leave out the acetate in this case, because it ended up only partially stuck down, and when I peeled it off, it left a bumpy mess on the reverse of the pieces.
Problems…
I spent some considerable time trying to deal with this – I had by this time packed all the resin stuff away and didn’t want to be bothered setting it all up again, but applying resin to the backs after painting them would have been a good option.
My main mistake was to apply gilding wax to the back of the pieces. It always happens to me that however careful I am, I end up getting gilding wax on the face of the piece, where I don’t want it. I took some isopropyl alcohol and started to rub it off, and then remembered that this is how you remove resin!! I tried acetone without much success, and the surface of the pieces was looking distinctly dull. I cleaned them up with metal polish which seemed to work OK, but most of the backs were still a mess.
I painted Sunflower Sparkle Perfect Pearls on top of what was left of the gilding wax on the larger ones, and then applied a layer of Glossy Accents which dries to a hard shiny transparent surface like resin. I tried to speed up its really slow drying time with my heat tool but that made the situation worse as the Glossy Accents tended to creep away from the heat, making it really bumpy.
In the end I painted Sunflower Sparkle Perfect Pearls on top of the still wet Glossy Accents, and sponged on a little Kuretake gold mica paste on the smaller ones.
This is the result.
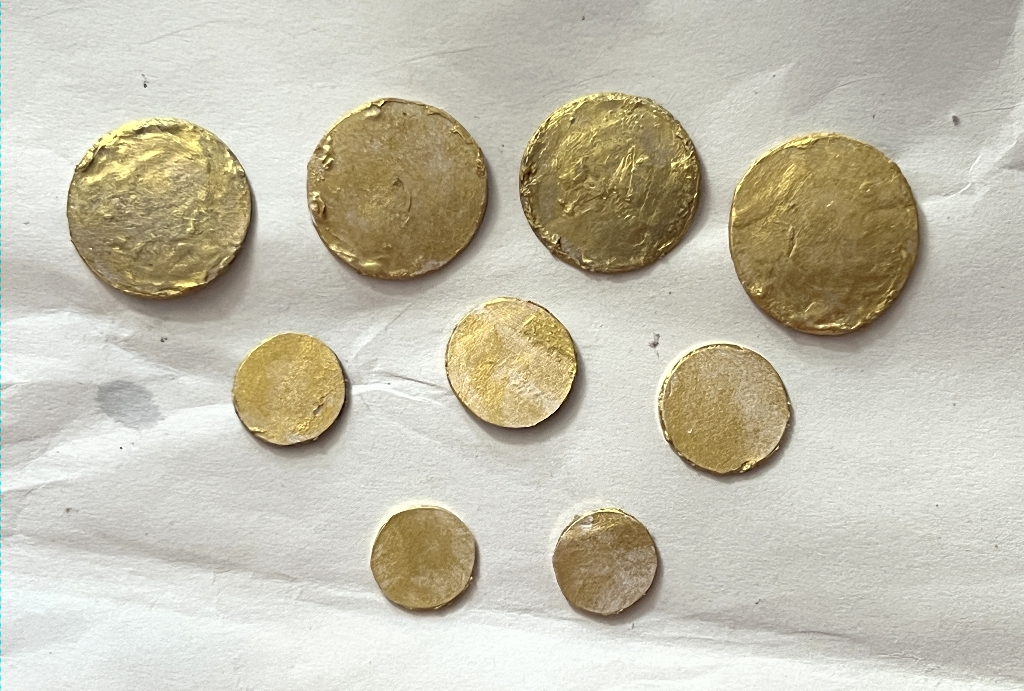
Not at all what I wanted but in the end I decided it was a sort of grungey look and therefore acceptable – or maybe even intentional to the uninitiated!
Another problem I have noticed when resining over thinner card pieces is that they tend to warp during the curing. You can flex them a bit but they are never as flat as you want them. I am not sure what to do about this, apart from perhaps stacking more layers of card glued together.
Anyway, these will probably end up with holes punched through them and being made into charms or dangles of some sort.
I am sure that in due course we will receive another brochure from the gold purchasing company, and I’ll have more images like this to play with. Anyway I have plenty more small circular images from digital downloads. It’s just that I couldn’t resist having a go with these free junk mail images!
It’s all experimentation and if things don’t work as intended, sometimes all that is required is a change of mindset that makes them acceptable after all!!













Haha…love that “UFO’s”!! UnFinished Objects! Those buckles and nail art bits inside do indeed look fabulous on a black background! The Sunflower Perfect Pearls look delicious – another one to add to All Your Golds maybe. What a lovely shade of gold. Will look forward to seeing what you do with these!